February Bulletin Board: Printable Fabric & Heart Build Sheet
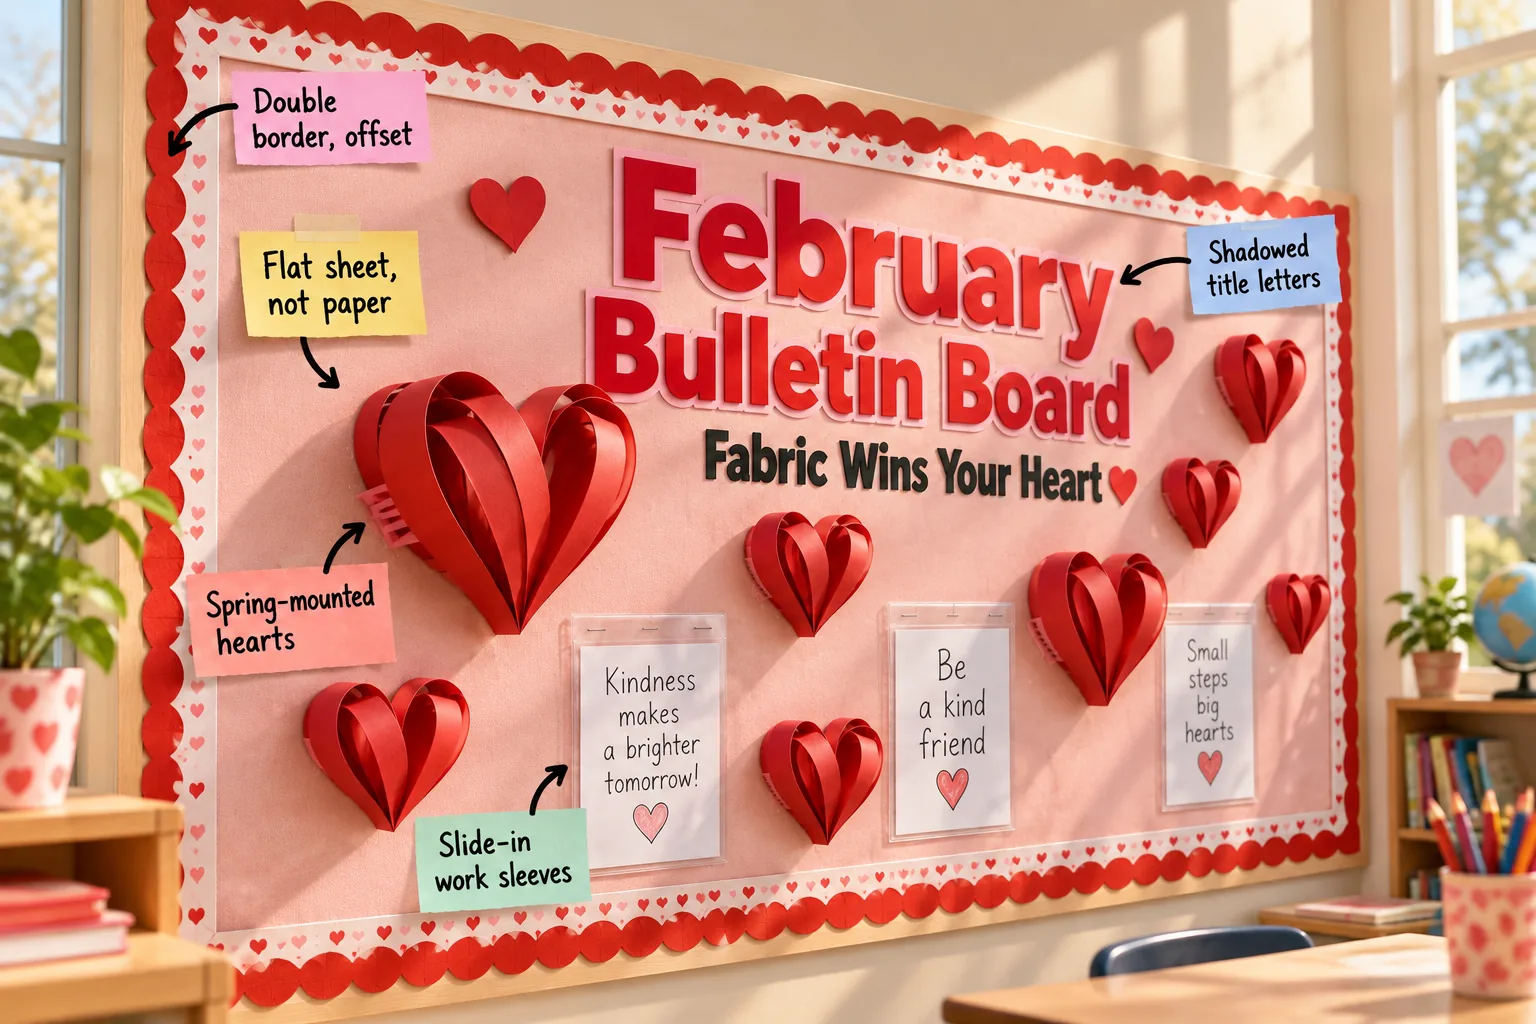
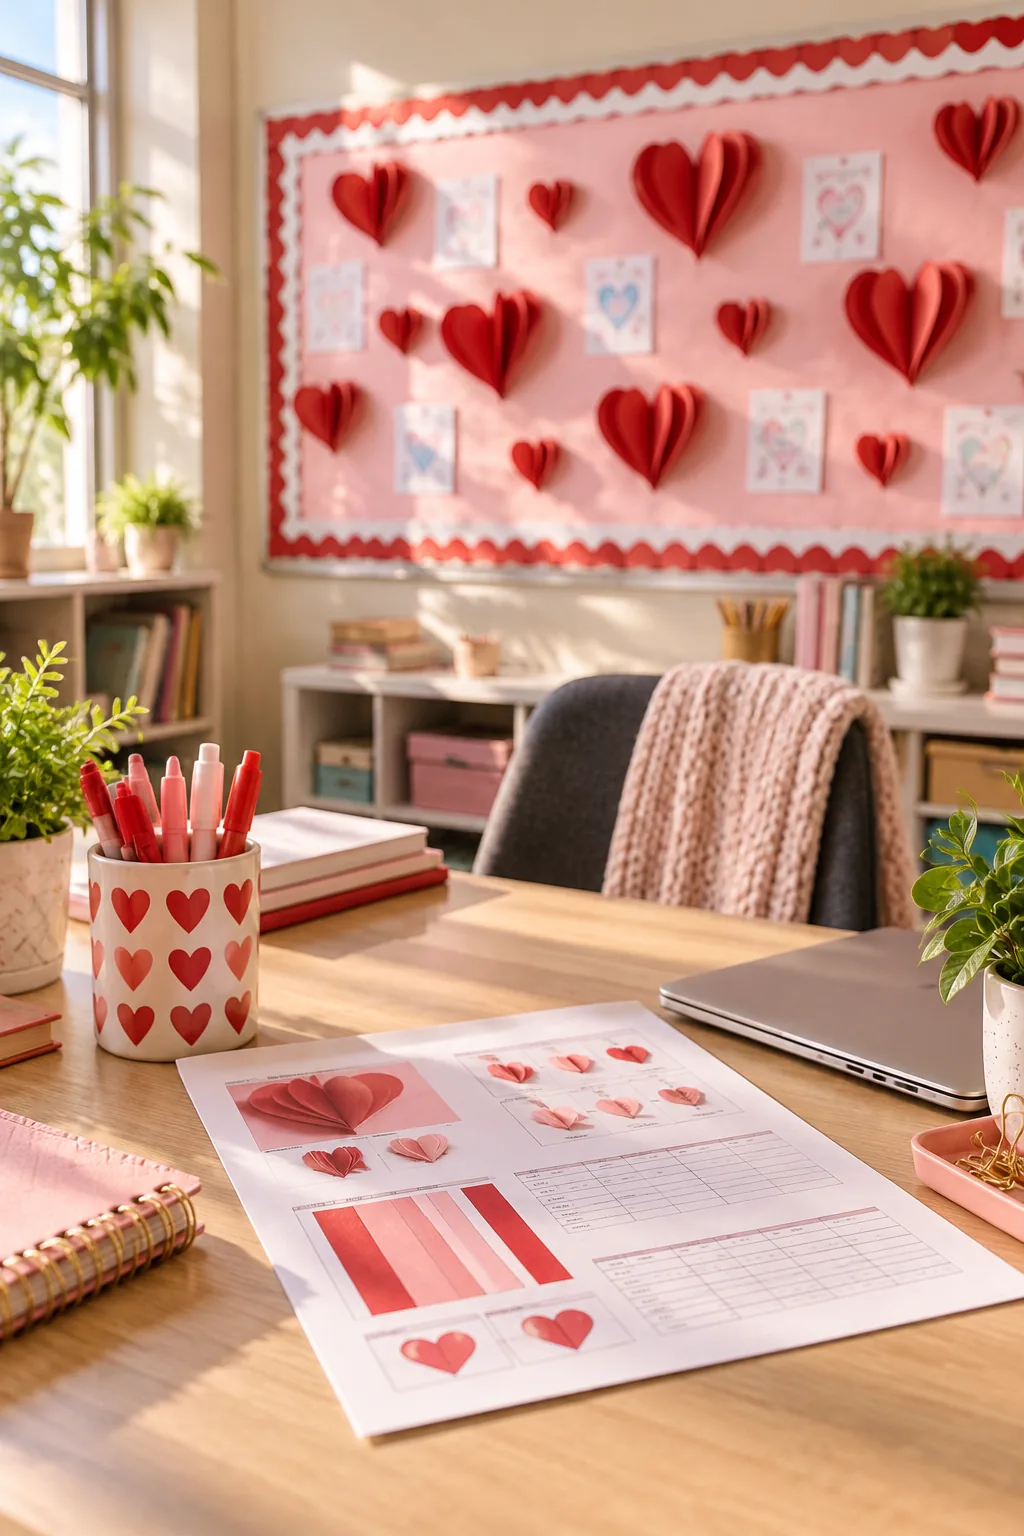
You can measure, prep, and assemble this exact 3D heart bulletin board using our printable cut lists and yardage charts. Grab the complete printable build sheet with exact fabric yardage, border lengths, and a paper-strip cutting guide below to recreate this dimensional design.
Swapping Paper for a Fabric Foundation
A standard twin flat sheet perfectly covers a classic 4×6 foot classroom board, leaving just enough excess to wrap the edges cleanly. I actually switched to fabric backdrops in my own craft room because it completely resists fading and looks incredibly premium.
- Twin flat bedsheet in soft blush pink
- Heavy-duty staple gun with 3/8-inch staples
- Fabric scissors for trimming excess material
This simple swap completely hides staple holes whenever you rearrange your mood boards or student displays throughout the month.
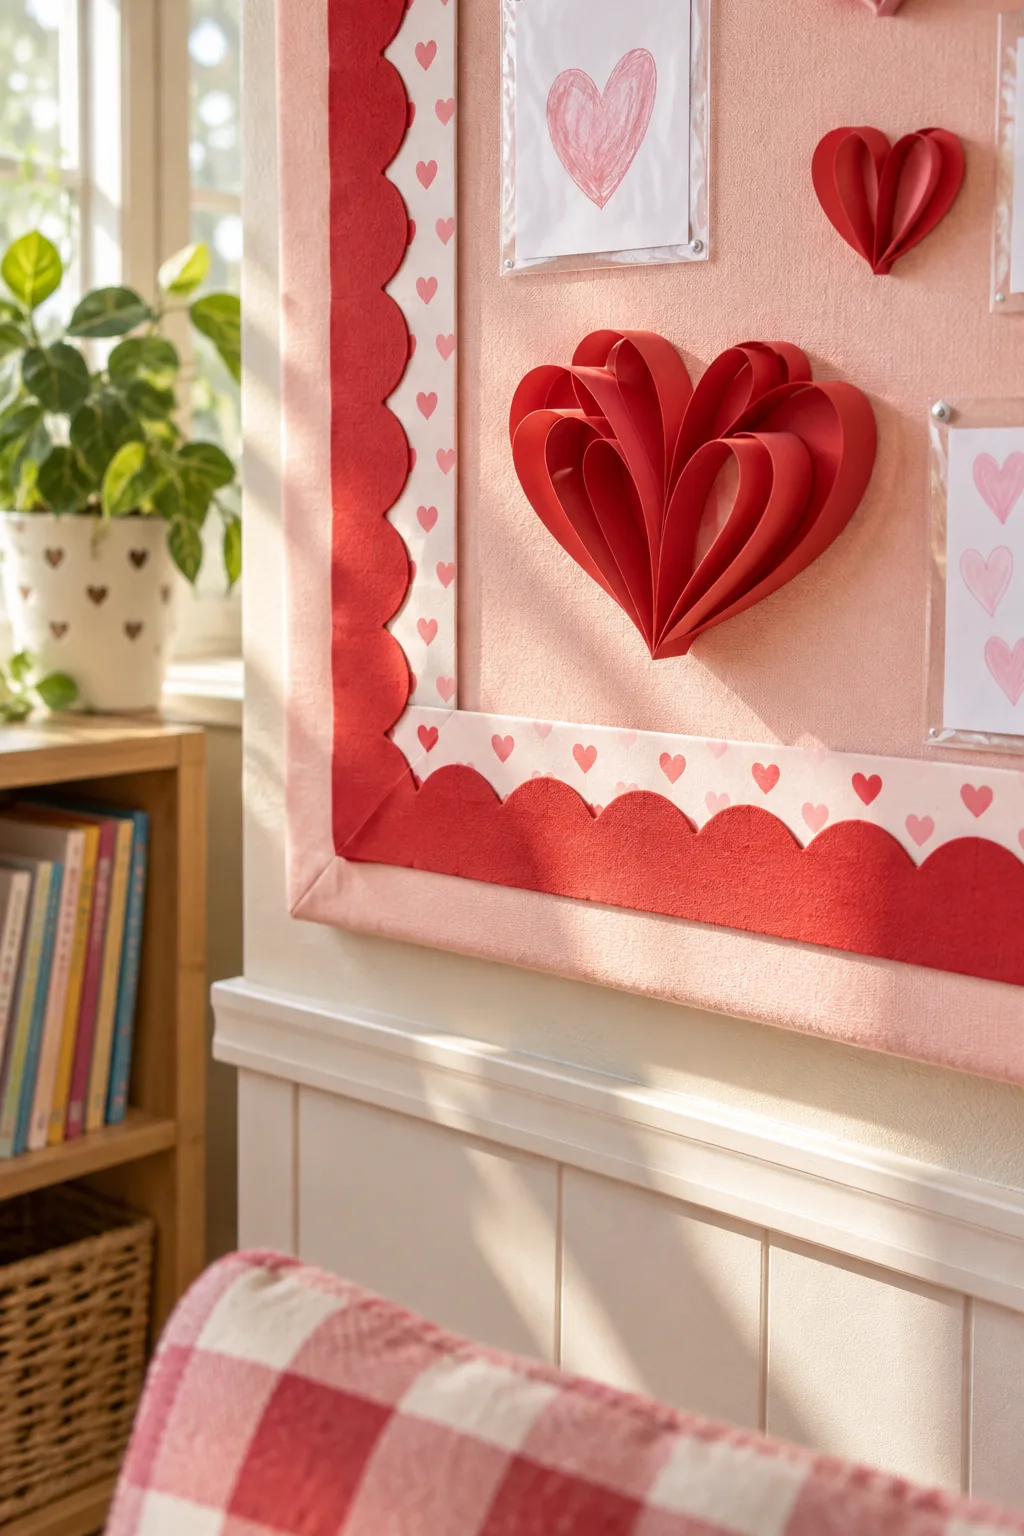
While fabric is incredibly forgiving, taking five minutes to prep it properly ensures a completely smooth, professional finish without awkward wrinkles.
Selecting the Best Fabric Weight
When shopping for your backdrop, always choose a cotton-blend microfiber rather than a heavy canvas or thin silk. This specific weight stretches tautly across the cork without tearing at the staple points or sagging under the weight of your decorations.
Layering the Offset Double Border
You can create instant architectural depth by placing a wide red scalloped border directly behind a narrower straight white-and-pink border.
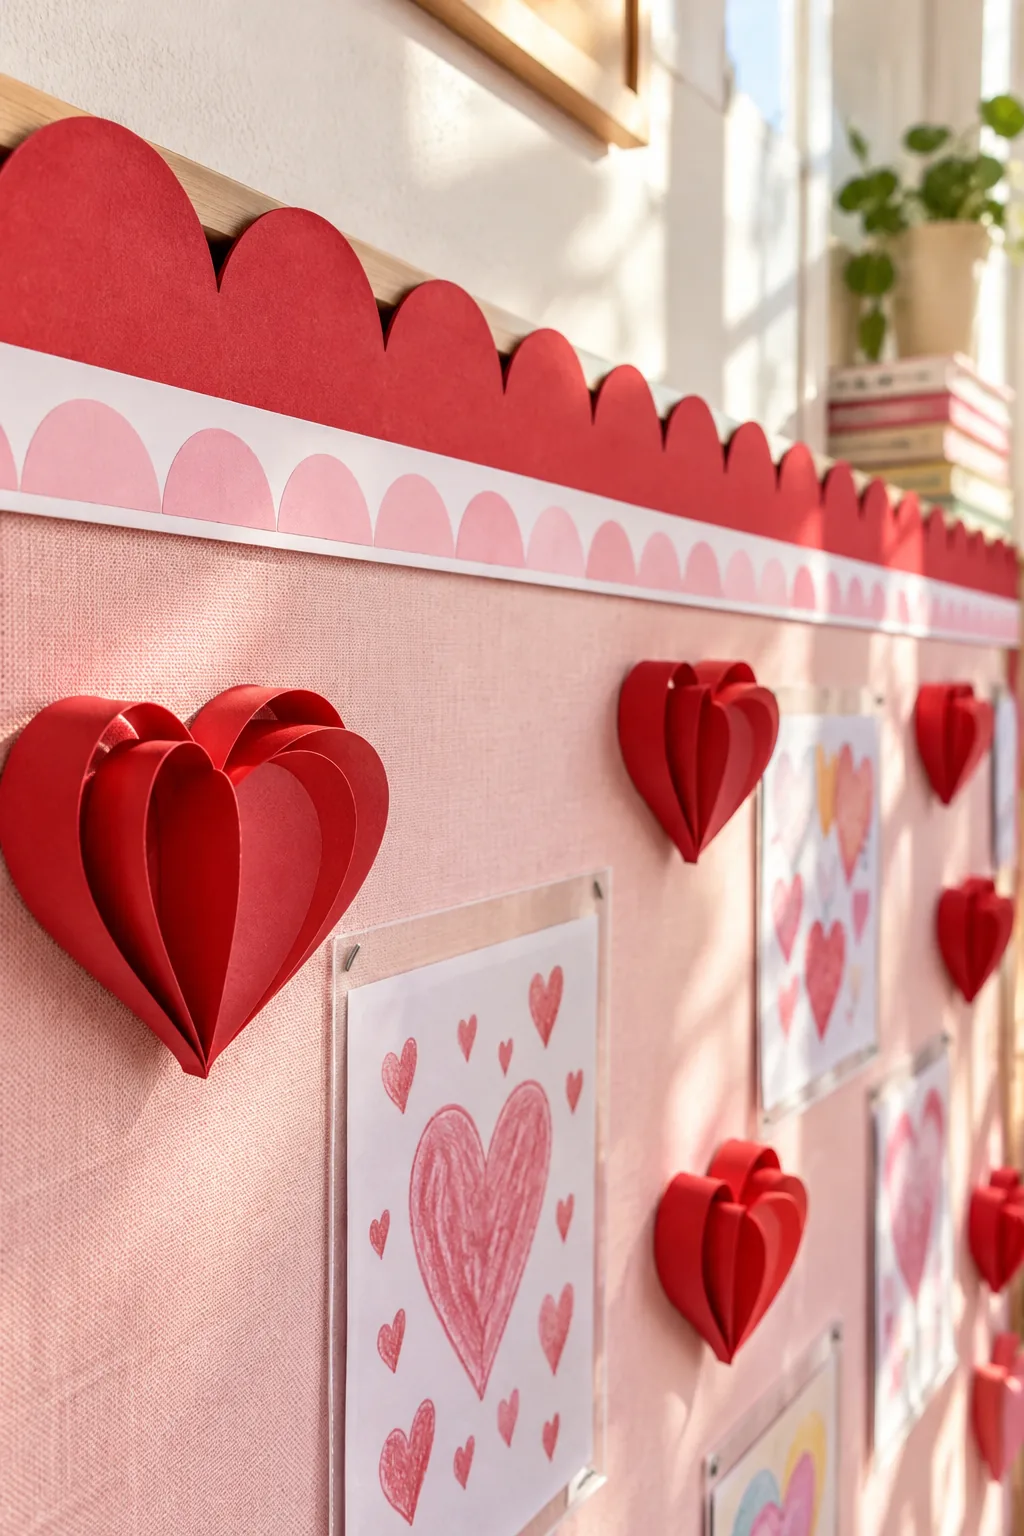
Staggering these two distinct shapes draws the eye inward toward the center of your display while framing the soft blush fabric beautifully.
Calculating Your Border Yardage
A standard 4×6 foot board requires exactly 20 linear feet of each border style to frame the perimeter without awkward patching. Measuring your exact border lengths before you start stapling prevents those frustrating gaps in the bottom corners.
Cutting the Shadowed Title Letters
To create a two-tone title, simply cut your identical phrase twice from two different colors of sturdy cardstock.
Offset the top red layer about a quarter-inch down and to the right over the bottom pink layer to create a crisp, faux drop shadow effect.
Choosing the Right Cardstock Weight
Always use a 65-pound cardstock or heavier for your title letters so they stand up to classroom humidity. Lighter paper tends to curl at the edges once exposed to the air, which ruins that sharp, layered shadow effect.
Shaping the 3D Paper-Strip Hearts
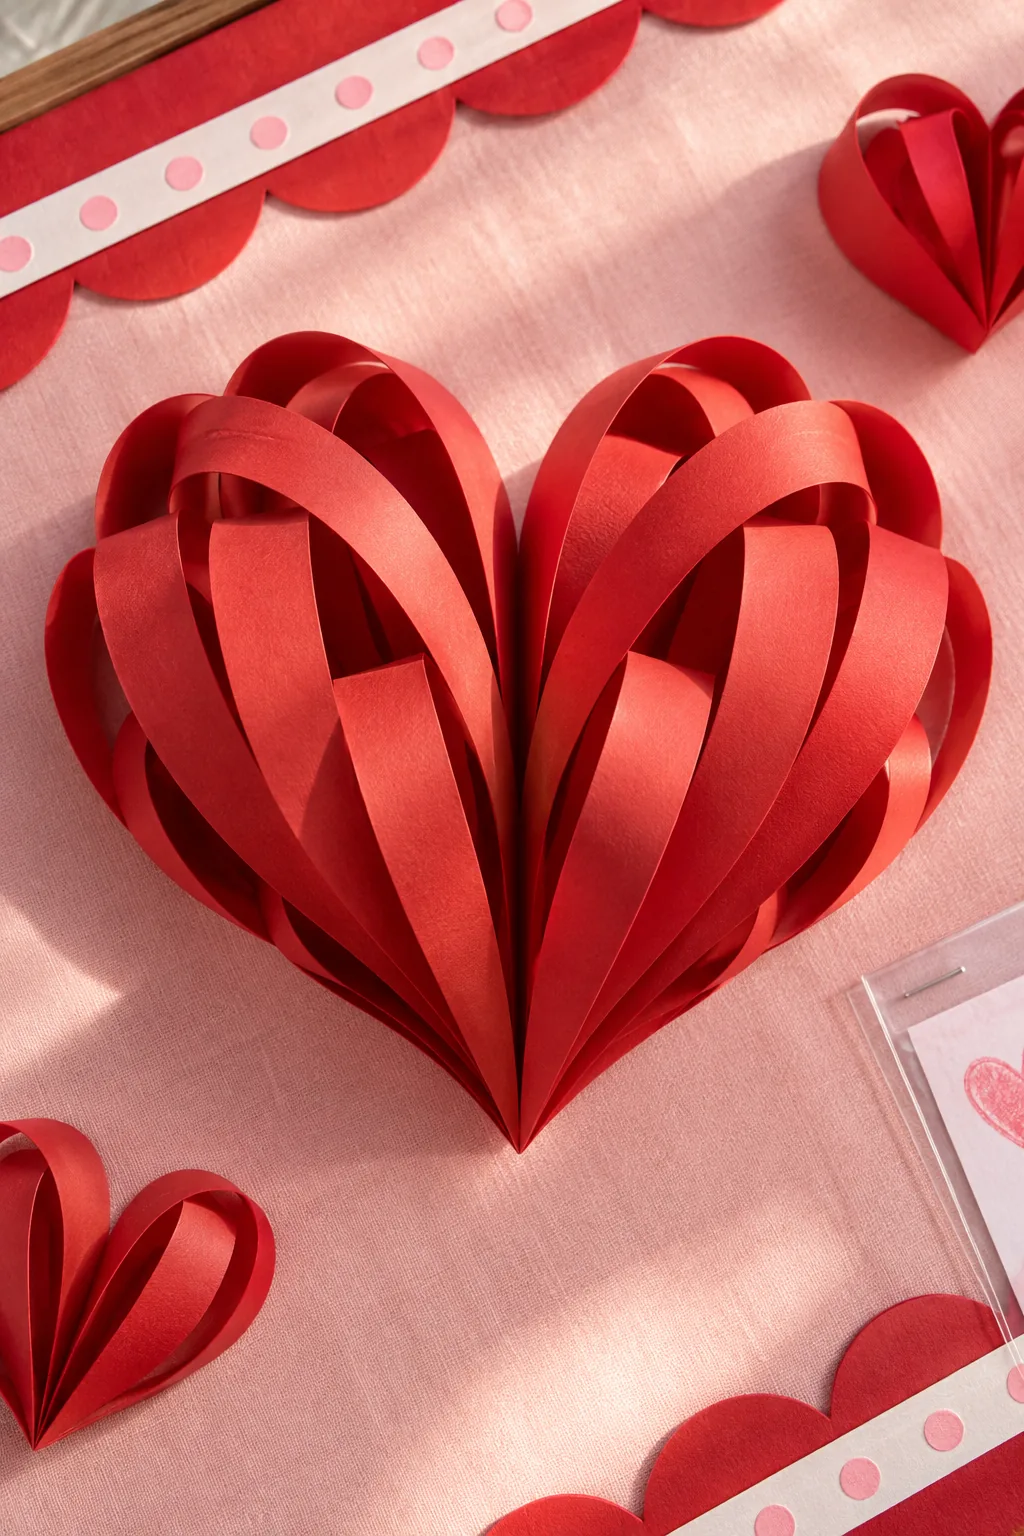
Cutting your red paper strips to exactly 1-inch widths ensures uniform loops that look incredibly neat when assembled.
Stack these paper strips from shortest to longest before stapling the base together to create the perfect rounded heart volume.
Scaling the Heart Dimensions
You can easily adjust the overall size of your 3D hearts by changing the length of your longest paper strip.
Keeping the one-inch width consistent while playing with the lengths ensures all your hearts still look like a cohesive, matching set.
Adding the Accordion Spring Mounts
Folding a small pink paper strip into a tight accordion creates a perfect spring mount to lift the 3D hearts off the fabric backdrop. I use this exact trick for my kids’ birthday banners because that simple one-inch lift creates dynamic shadows.
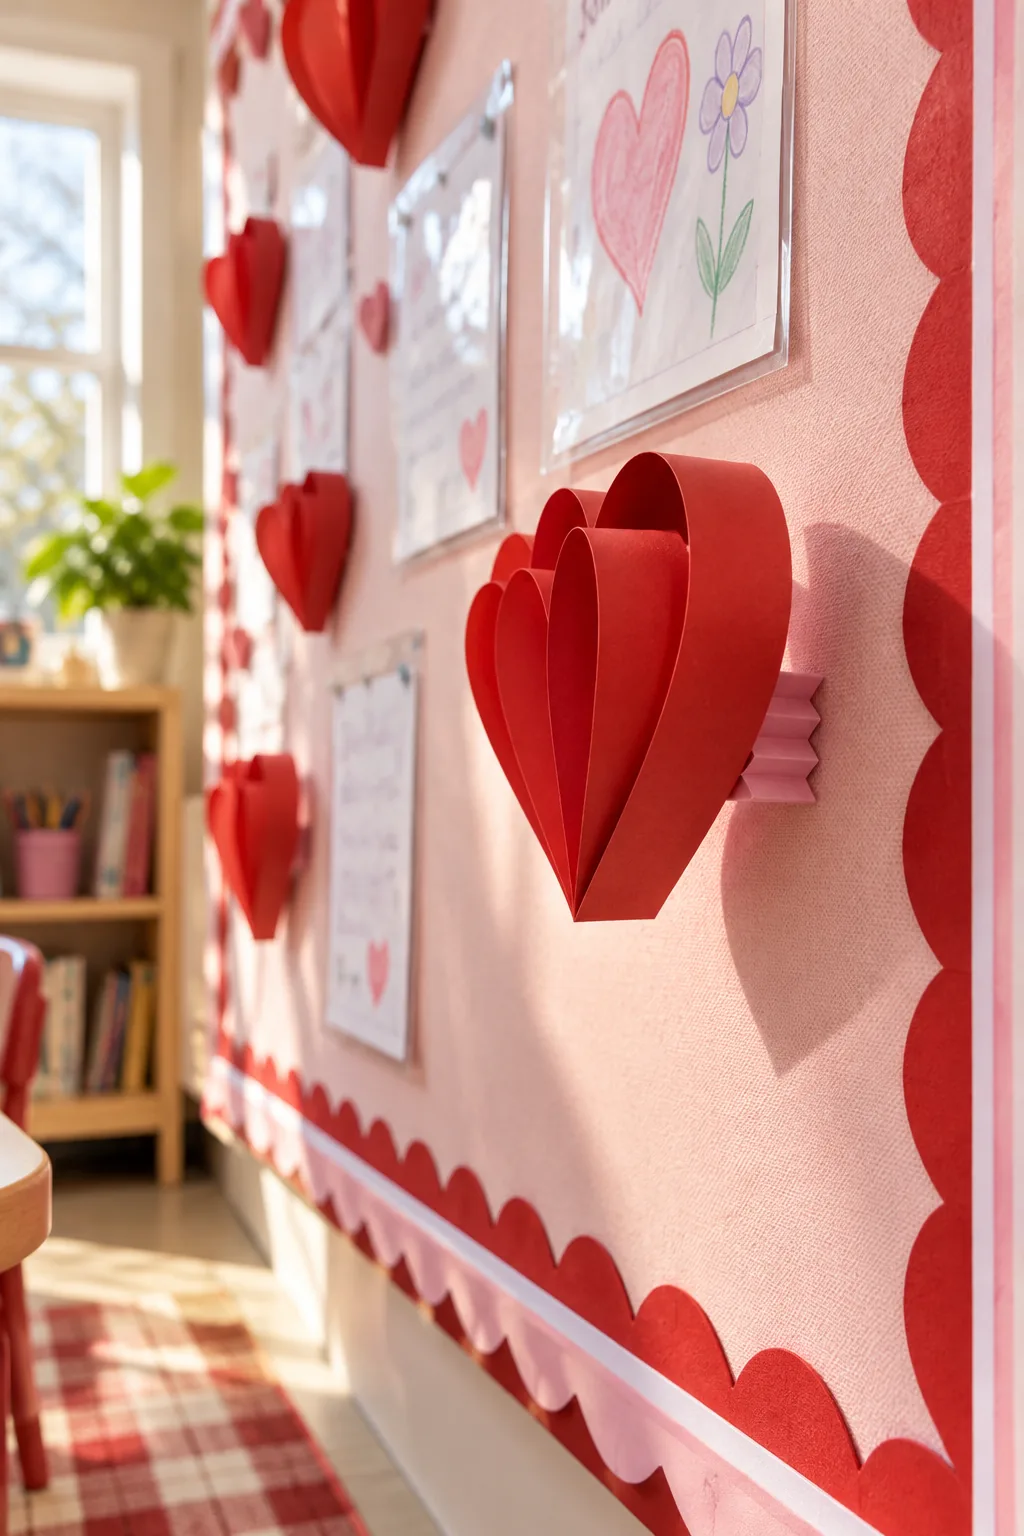
These lightweight paper springs provide plenty of bounce without requiring any heavy or damaging mounting hardware.
Positioning the Dynamic Shadows
Mount your accordion springs slightly off-center on the back of each heart so they tilt at natural, varying angles. This deliberate asymmetrical placement makes the hearts look like they are genuinely floating and fluttering across your board.
Installing the Slide-In Work Sleeves
Stapling clear page protectors directly to the board means student kindness notes can be swapped out easily without ever removing staples.
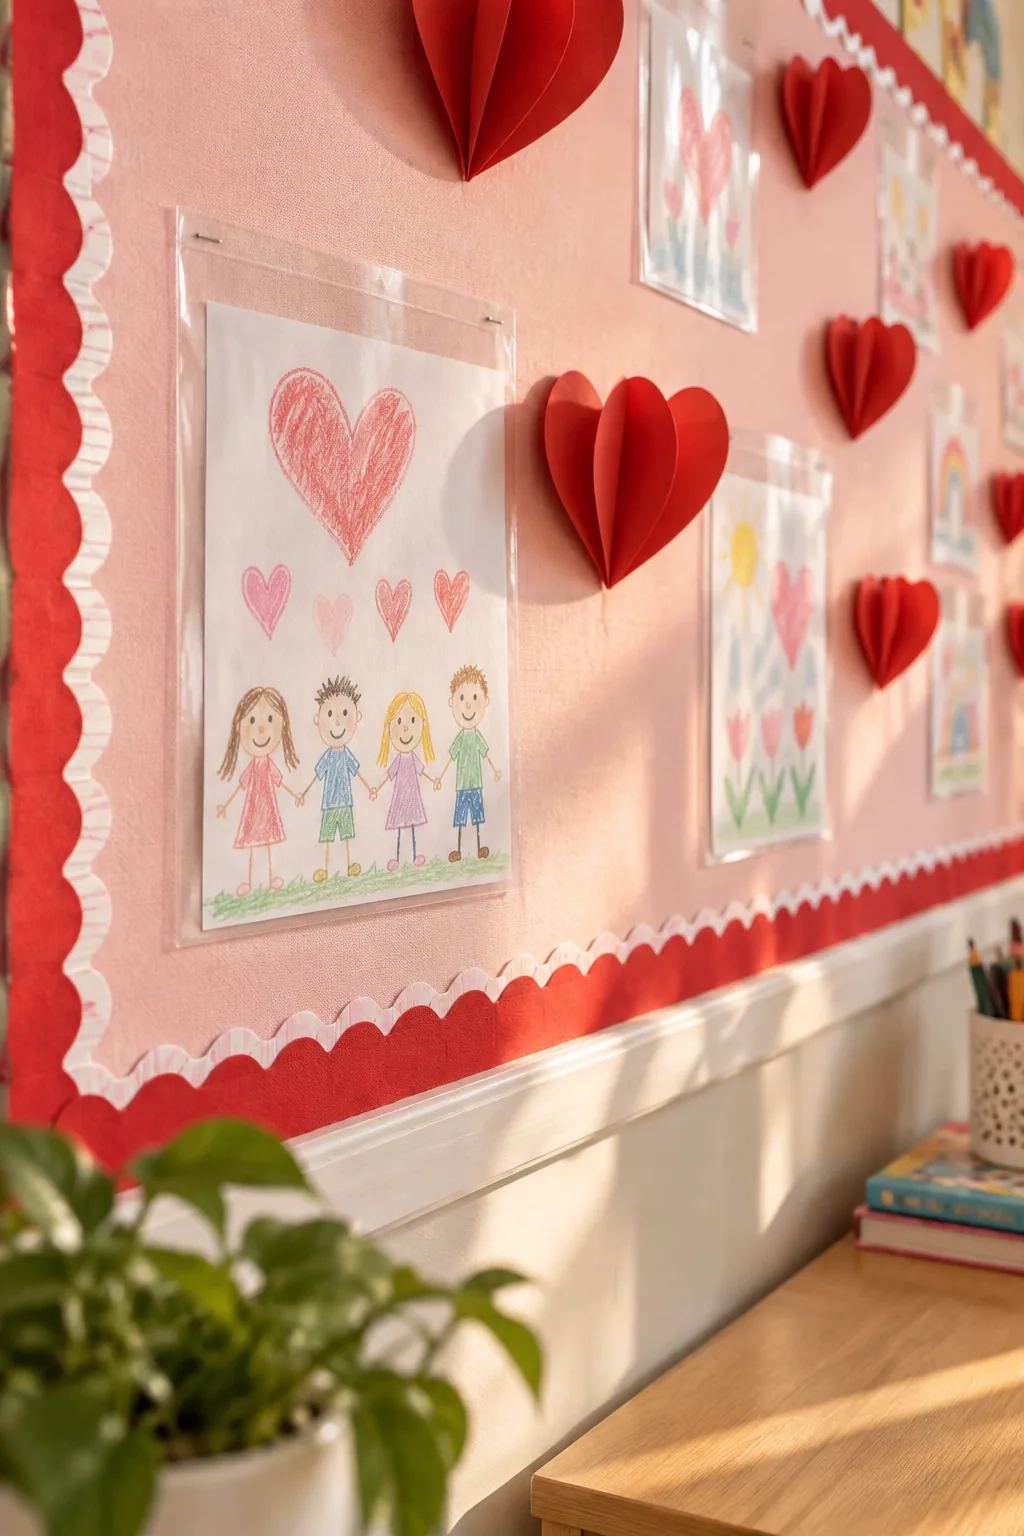
To keep the display looking neat even when students are actively sliding their work in and out, follow these installation rules.
Arranging the Final Board Layout
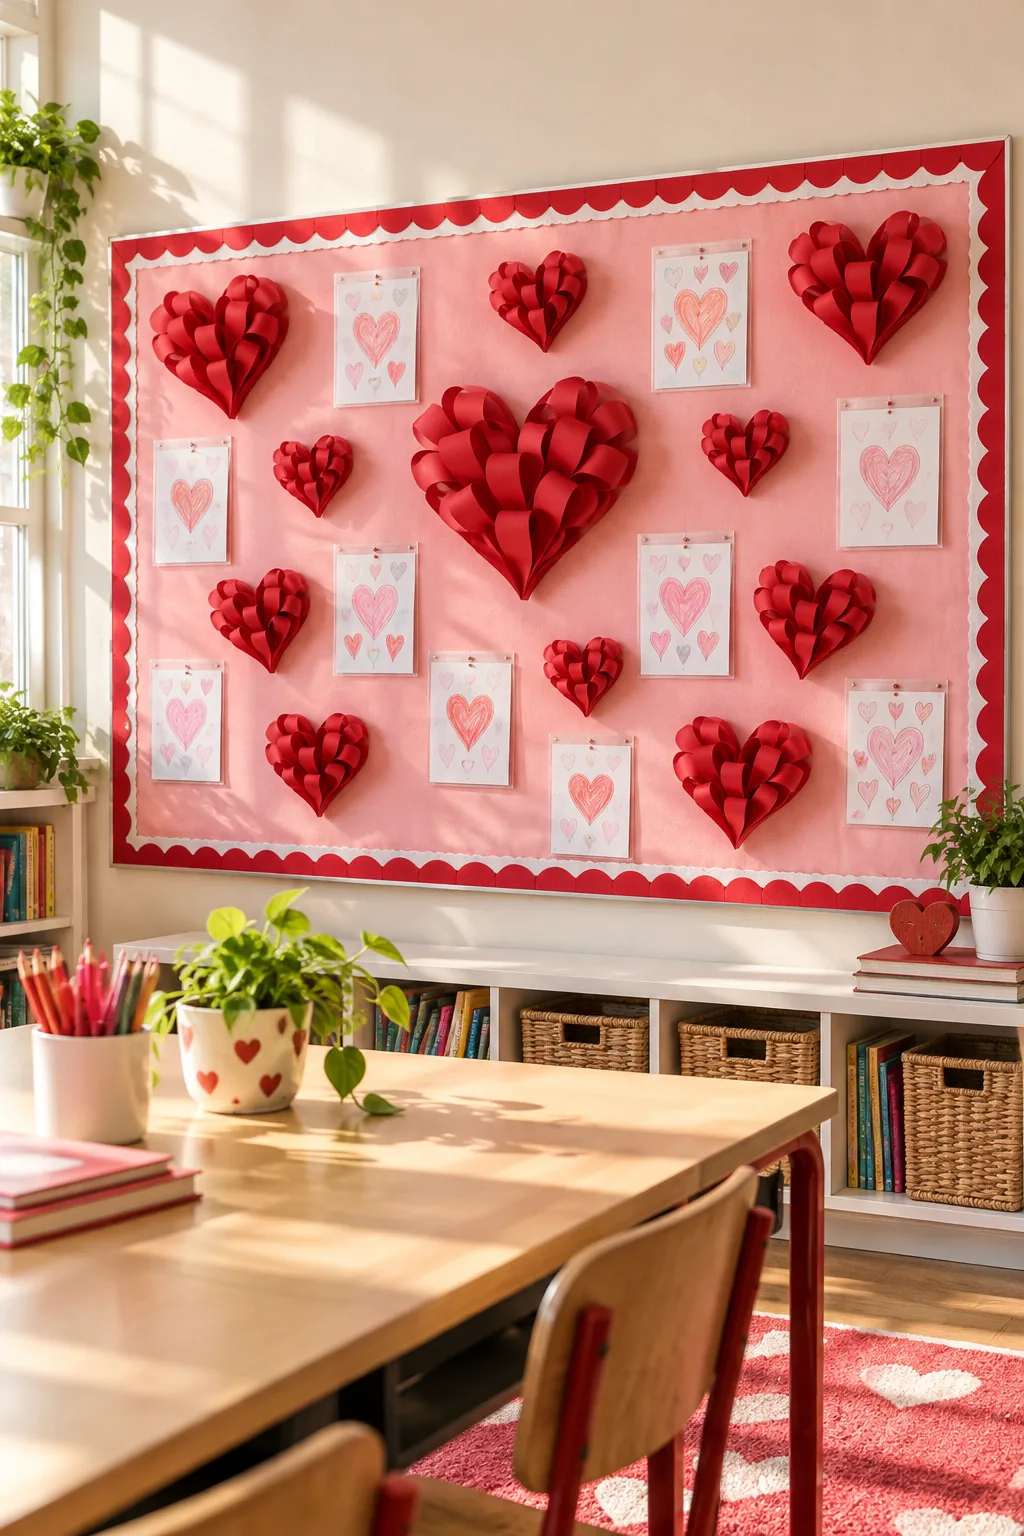
Balancing the heavy 3D elements with the flat, structured work sleeves keeps the entire 4×6 space from feeling cluttered. When I arranged my own studio board, I placed the largest spring-mounted hearts right near the title to firmly anchor the design.
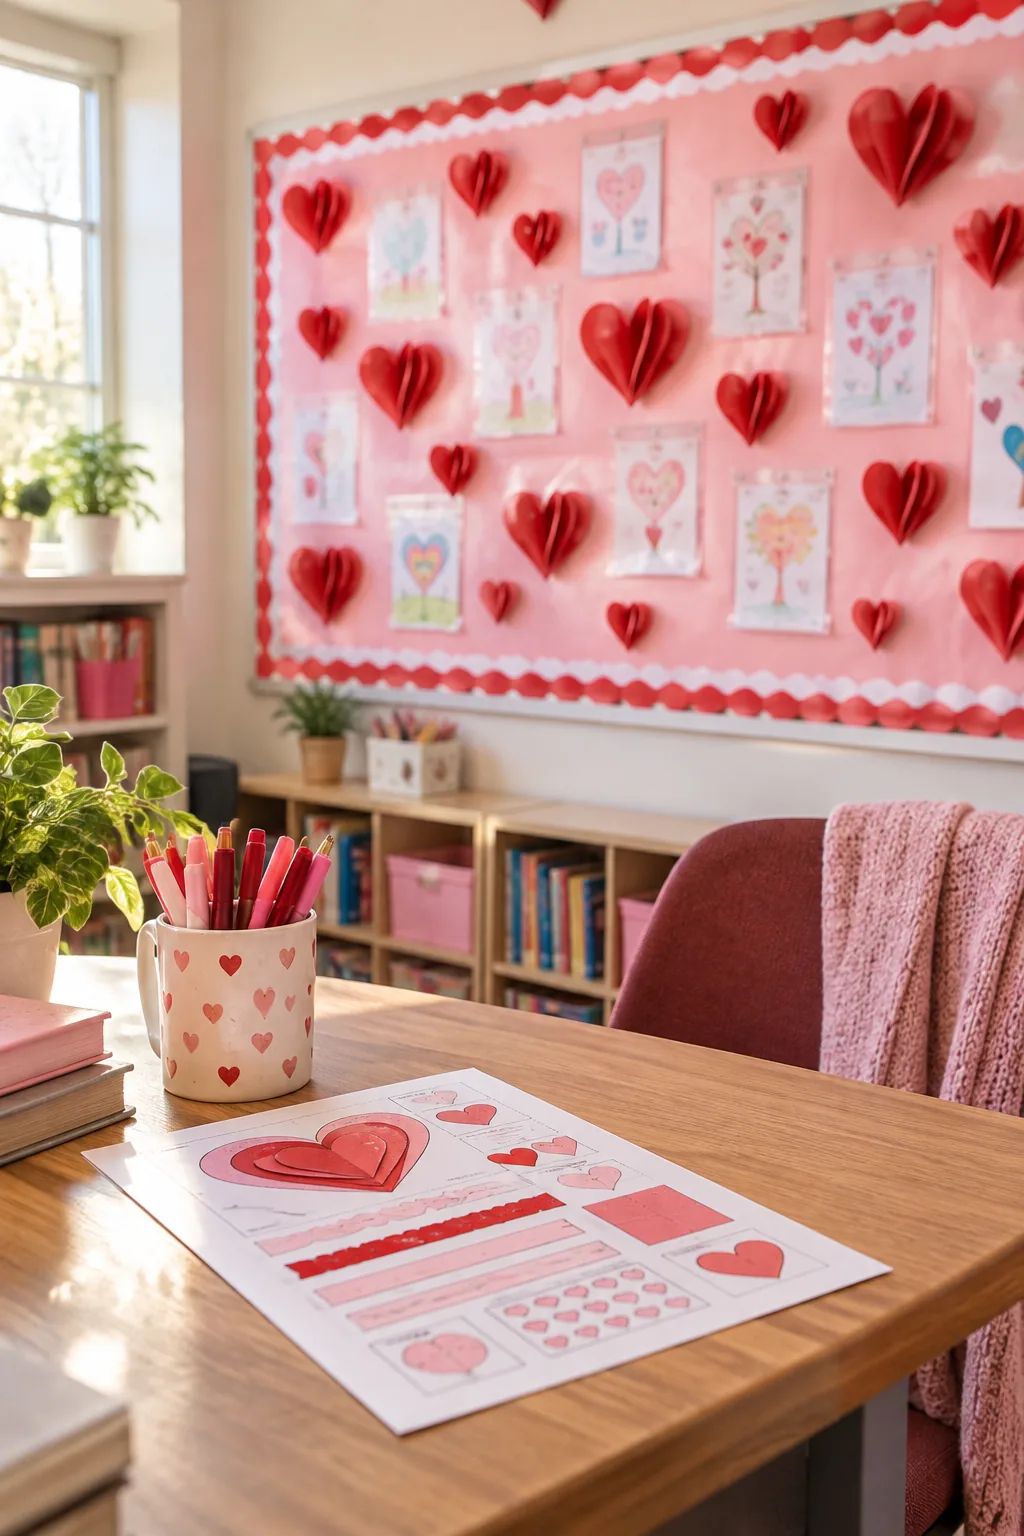
Scatter the smaller hearts diagonally among the student work to naturally guide the eye across the entire display.
Spacing the Display Elements
Maintaining consistent spacing between your flat sleeves and your dimensional hearts is the secret to a professional-looking layout.
- Measure three inches down from the scalloped border before placing your title.
- Keep all 3D hearts at least one inch away from the clear sleeves.
- Align the bottom row of sleeves precisely with a level.
These strict spacing guidelines ensure your vibrant, textured elements feel deliberately styled rather than haphazardly pinned up.
Your Printable February Build Sheet
Our complete one-page printable reference sheet takes all the guesswork out of sizing your backdrop and borders for standard classroom dimensions.
| Board Size | Fabric Yardage | Scalloped Border | Straight Border |
|---|---|---|---|
| 3×4 ft | 1.5 yards | 14 linear ft | 14 linear ft |
| 4×6 ft | Twin flat sheet | 20 linear ft | 20 linear ft |
| 4×8 ft | Full flat sheet | 24 linear ft | 24 linear ft |
The download also includes the specific paper-strip cutting list with exact lengths for the hearts, plus the step-by-step setup order.
More February Board Styles to Try
Adapt the 3D heart technique to match your classroom's unique aesthetic with these variations.
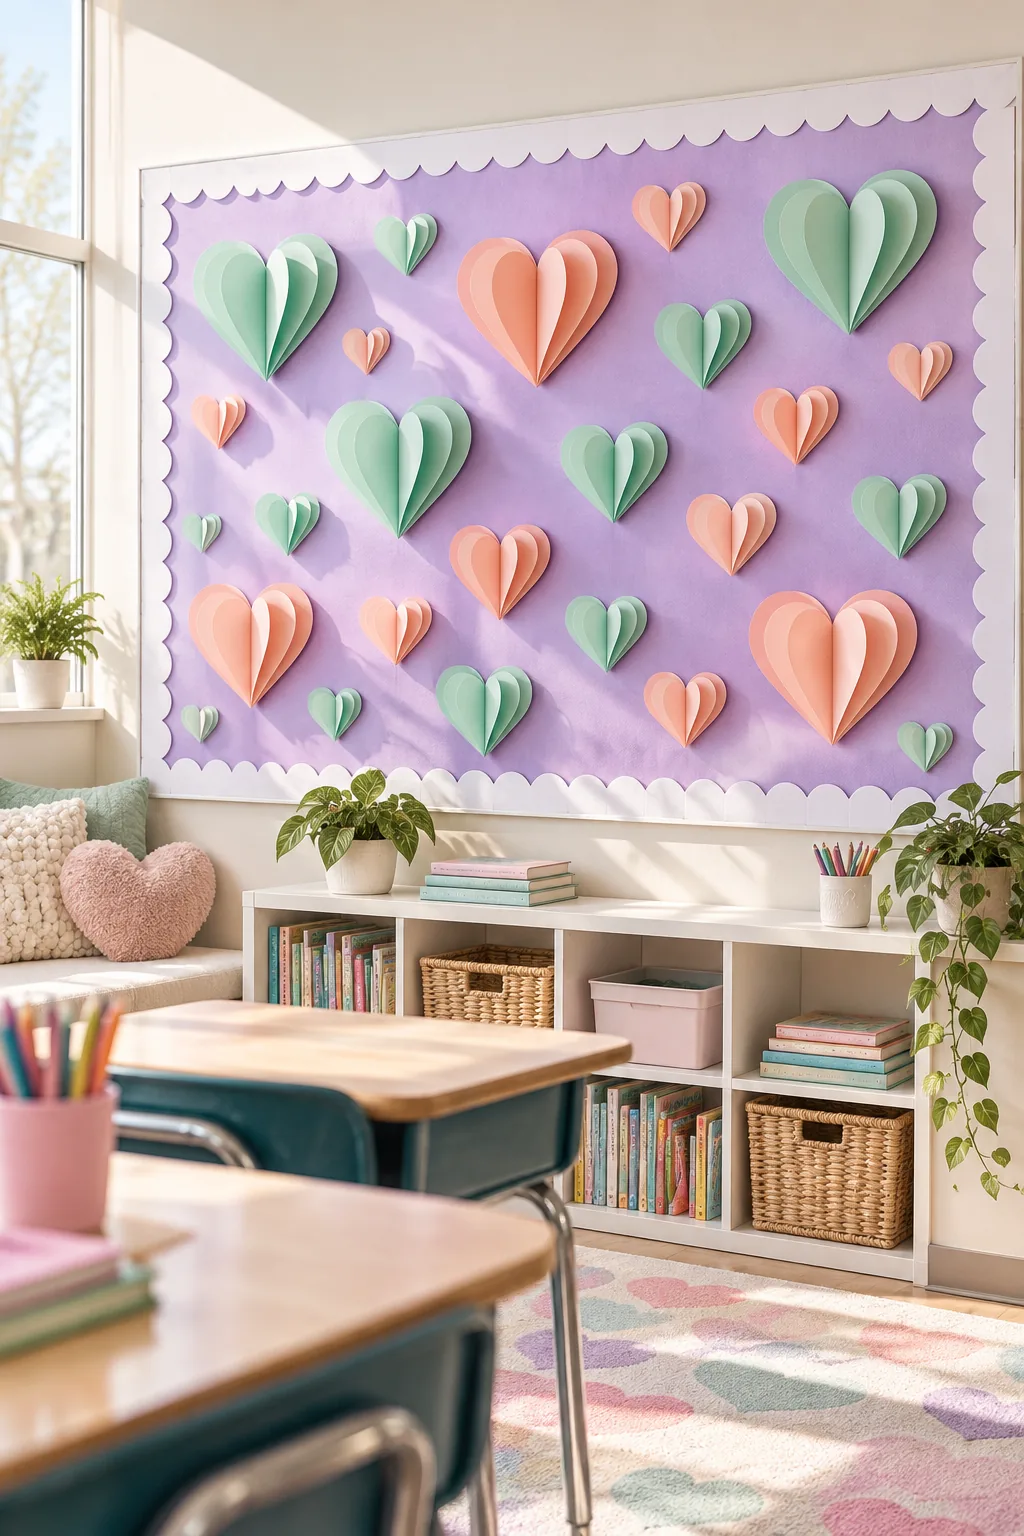
Pastel Candy Hearts: Swap traditional reds for mint and peach paper to create a softer, candy-inspired aesthetic.
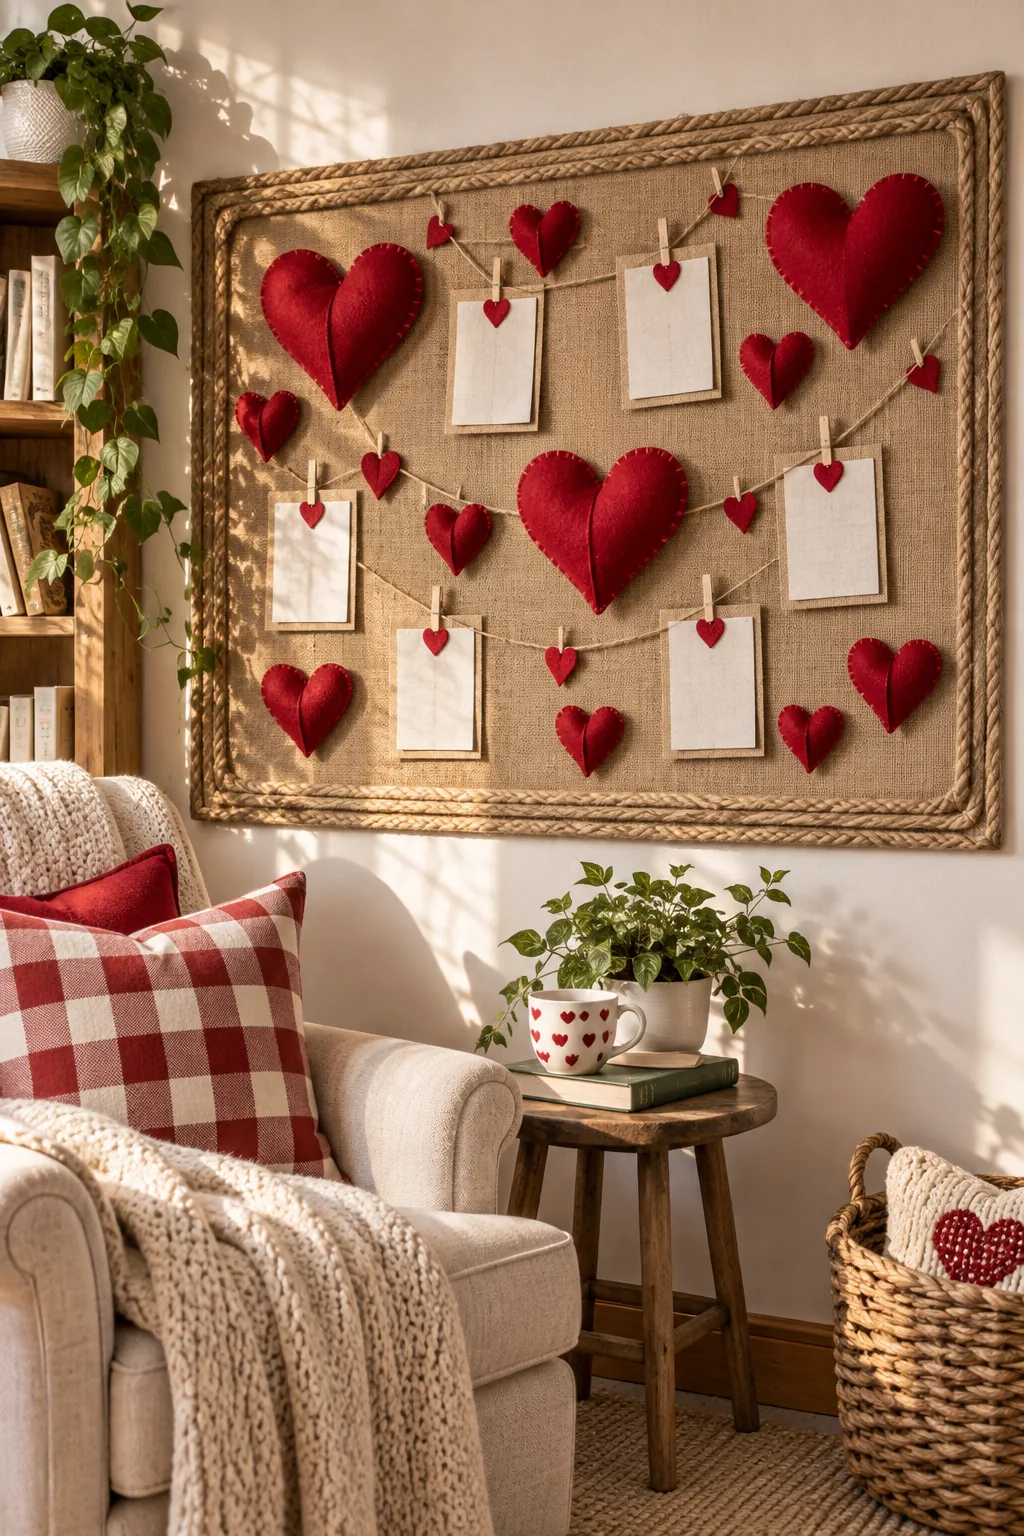
Rustic Farmhouse Valentine: Use a textured burlap foundation and deep crimson felt to bring warmth to a cozy reading corner.
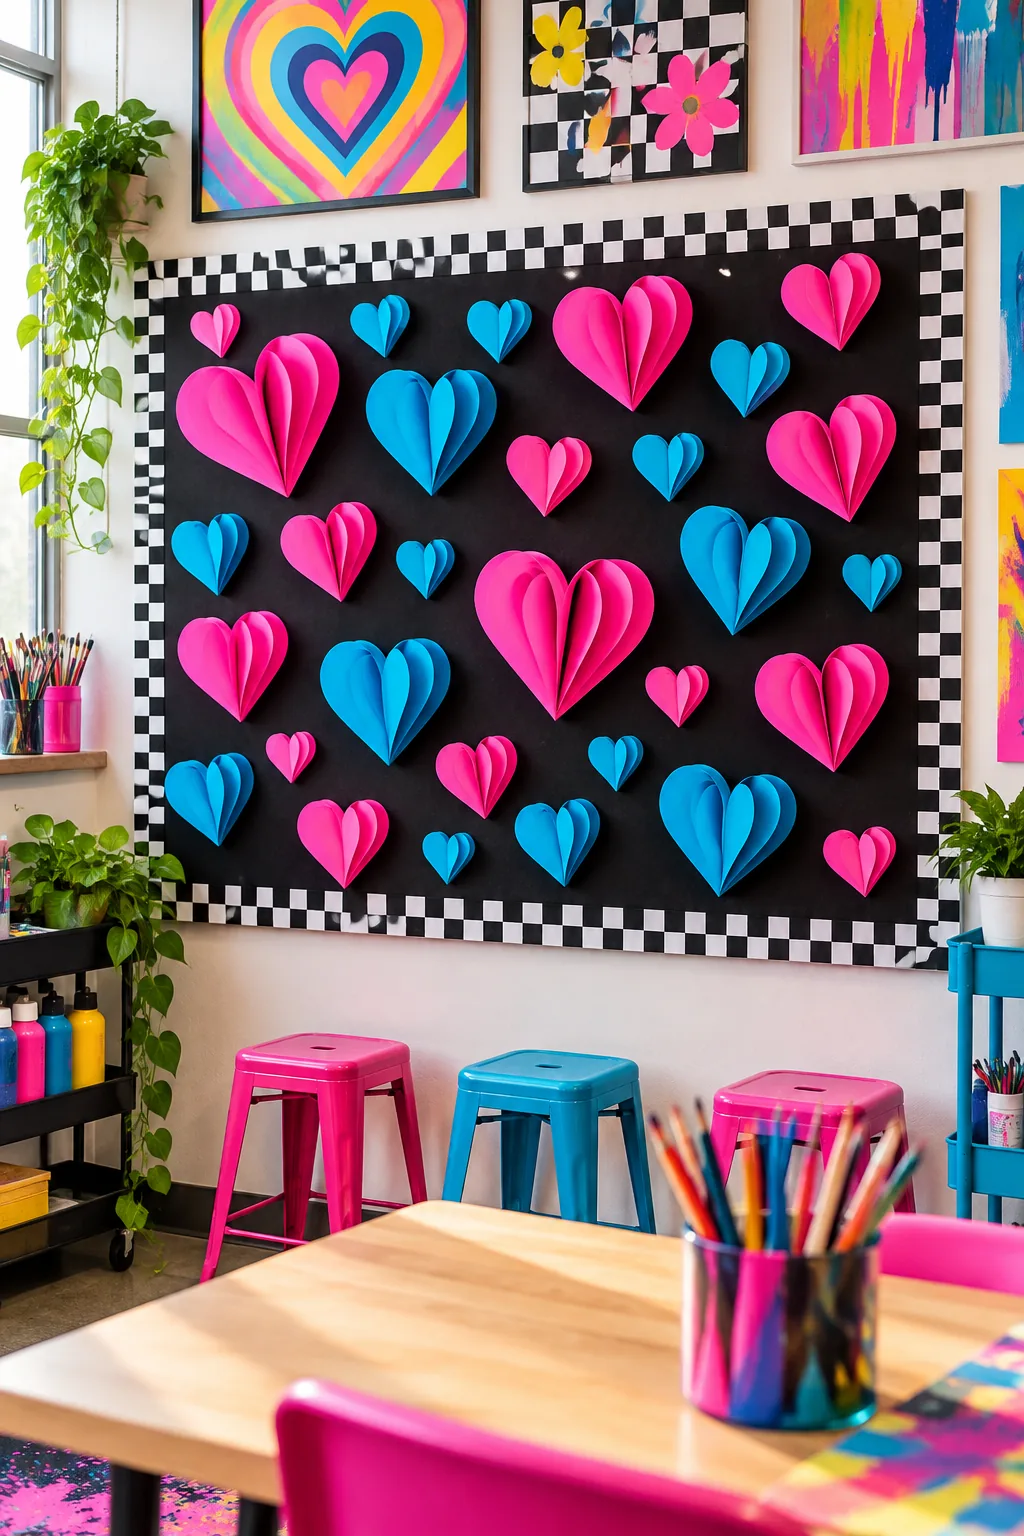
Neon Pop Art: Anchor electric pink and blue paper hearts against a stark black background for maximum visual impact.