How to Paint a Perfect Wall Arch with Crisp Painter Lines
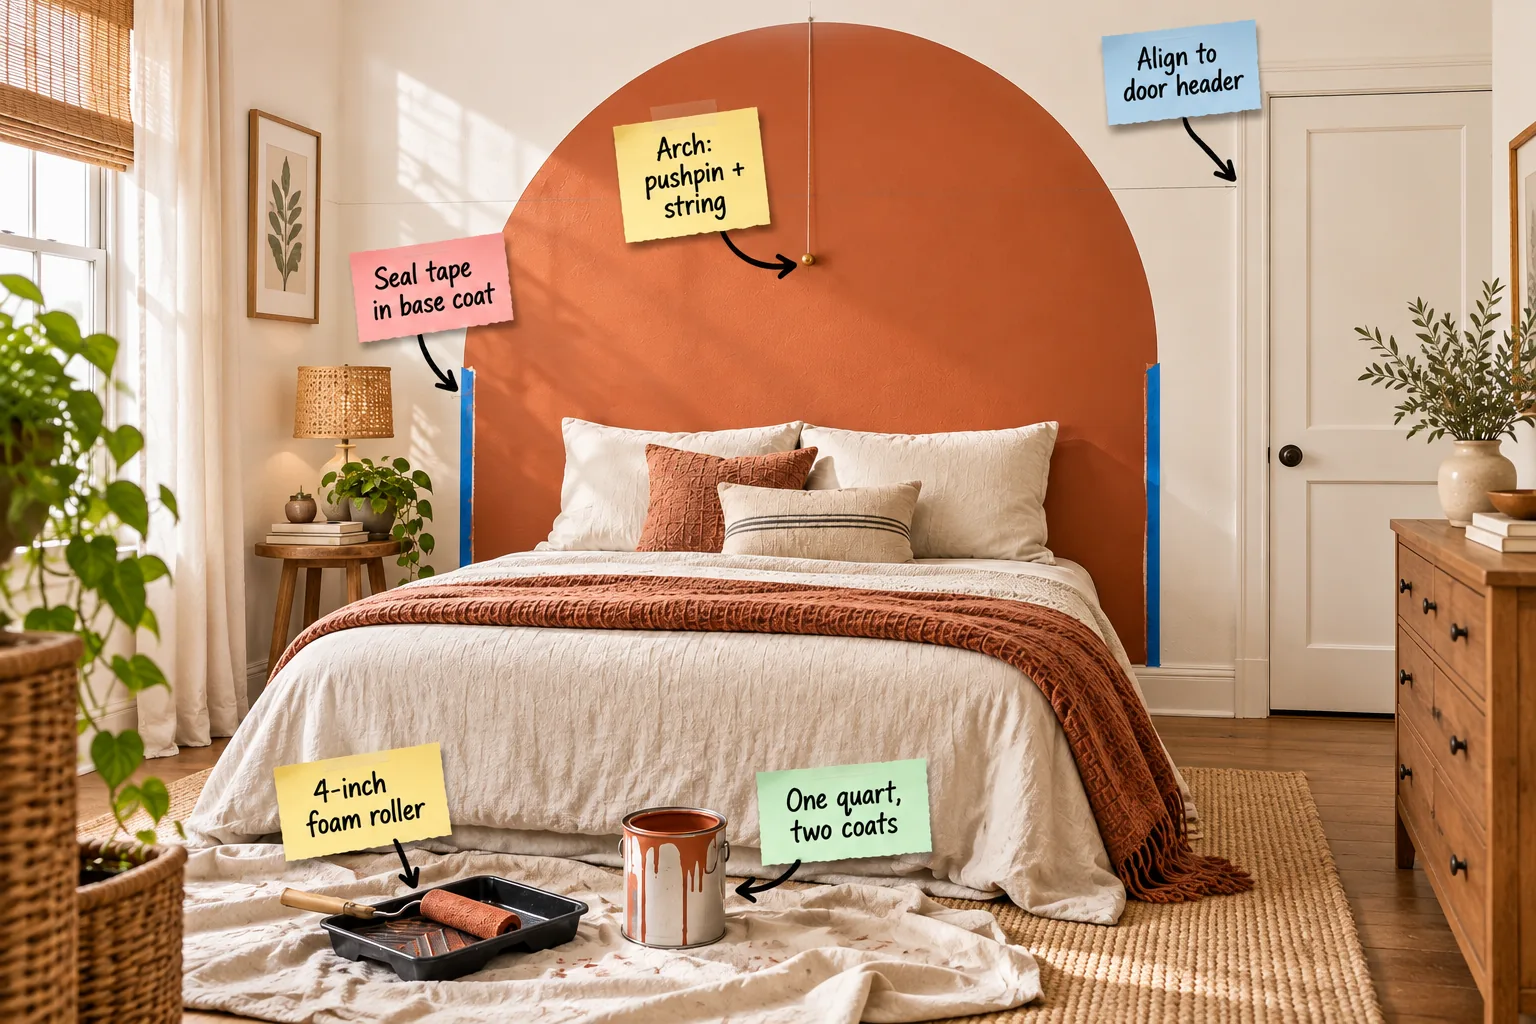
Grab our printable two-page painted arch step sequence to confidently master string-compass layout, tape-sealing order, and exact paint quantities. You will be able to lay out, tape, and paint a flawless wall arch with razor-sharp edges every single time you tackle a bedroom update.
Aligning the Arch Springline
The foundation of any great wall feature is determining exactly where the straight vertical legs stop and the top curve begins. I always recommend using a laser level to align to the door header, matching your arch’s springline to an adjacent 80-inch frame.
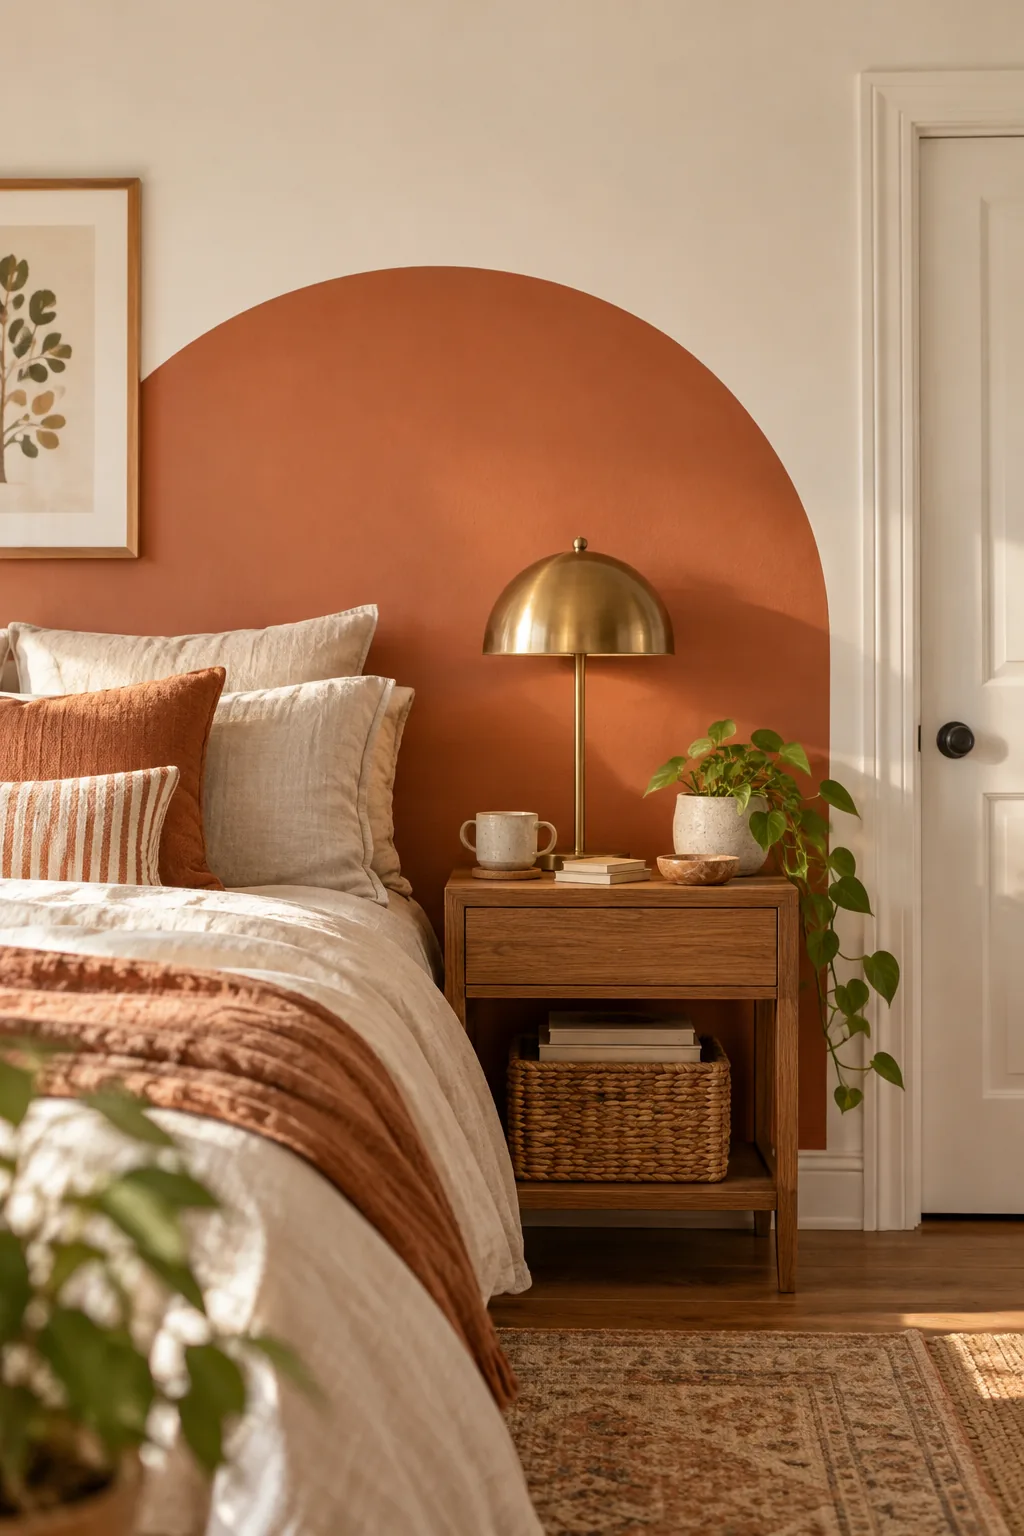
Grounding your new painted headboard in the room’s existing architecture creates instant visual harmony that feels intentional rather than random. Taking the time to map this 80-inch transition point ensures your finished design naturally belongs in the space alongside your trim.
- Matching the height of nearby windows keeps the room’s sightlines consistent, preventing the arch from feeling awkwardly placed or disproportionate on the wall.
- Aligning with built-in cabinetry establishes a cohesive horizontal datum line across the entire bedroom, making your ceiling feel significantly taller and more expansive.
- Referencing existing picture rails or wainscoting caps integrates the new painted shape seamlessly into historic or architecturally rich interiors without fighting the original details.
- Using a standard 80-inch door header as your visual guide guarantees the curve peaks at a comfortable, natural height for leaning against your pillows.
Drawing the Perfect Curve
Creating a flawless semi-circle requires a simple but precise Arch: pushpin + string compass anchored exactly halfway between your taped vertical legs. Tie a pencil to a rigid piece of cotton twine, pull it taut from that center point, and smoothly scribe your top arch.
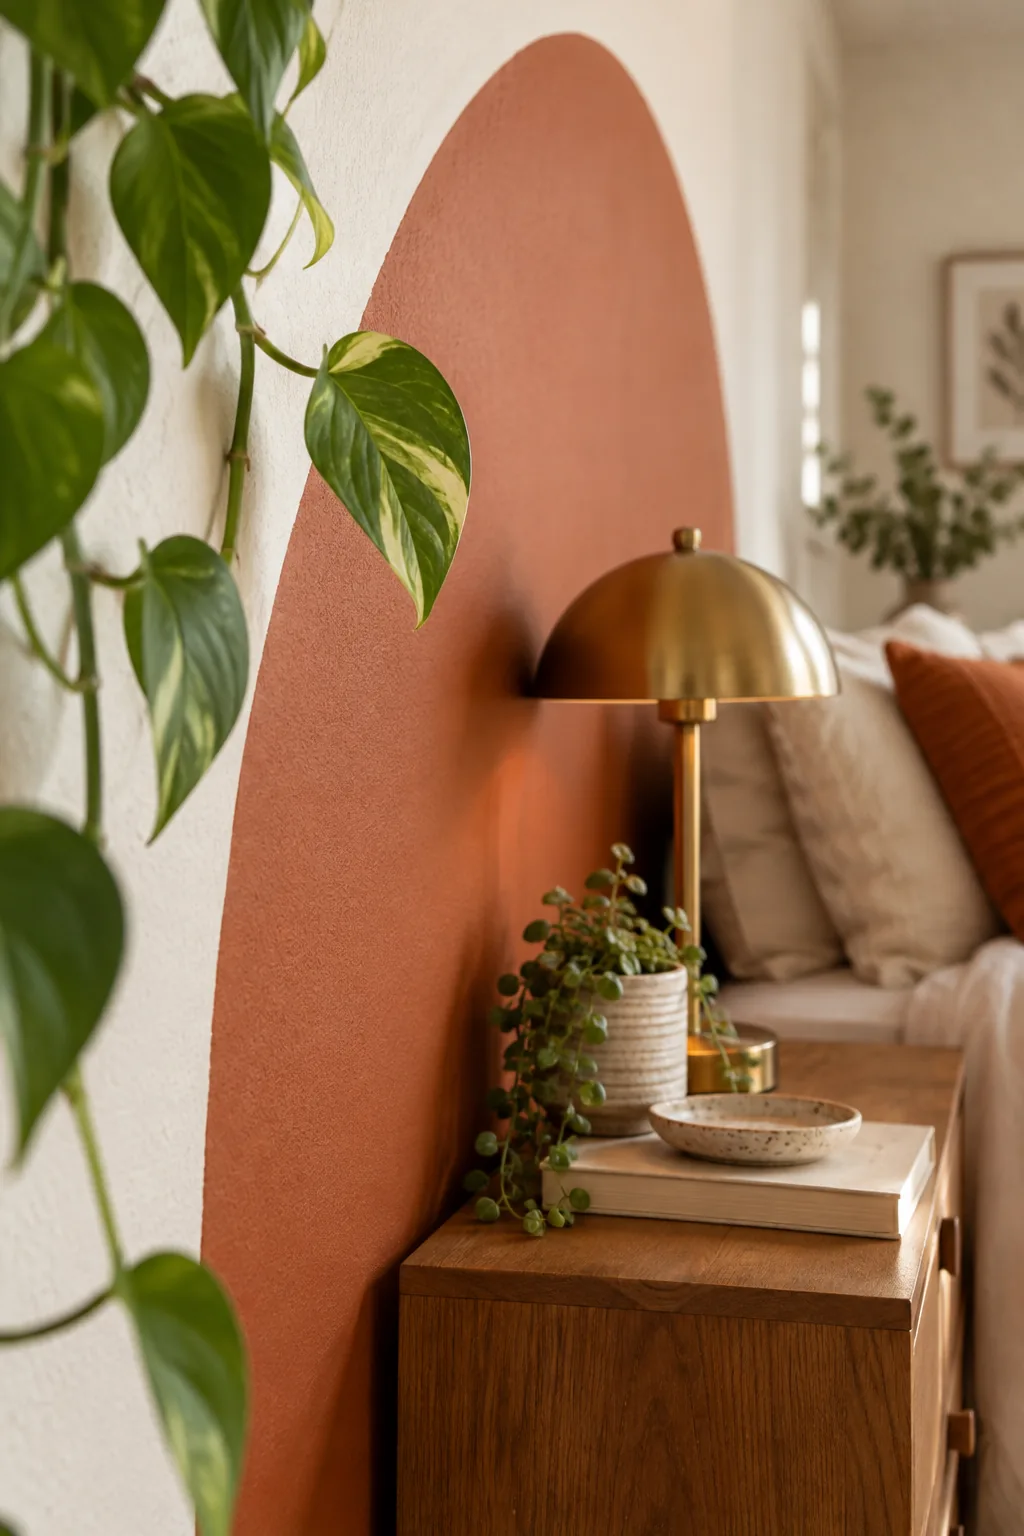
A perfect semi-circle requires a completely rigid radius line, so avoid these common layout errors before you start drawing on your wall.
Taping the Straight Edges
Once your pencil layout is complete, run high-quality painter’s tape down from the springline directly to the baseboard. When I painted my guest room arch last fall, I learned the hard way that skipping the burnishing step leads to hours of frustrating touch-ups.
- Wipe the wall down with a damp microfiber cloth to remove invisible drywall dust, ensuring the tape adhesive can grip the texture securely.
- Tear off manageable three-foot strips of tape rather than wrestling with one long continuous piece that might stretch or warp out of plumb.
- Overlap the horizontal seams slightly, pointing the overlaps downward to prevent any sneaky paint droplets from finding their way through the tiny gaps.
- Press the tape gently into place along the outside edge of your vertical pencil lines, checking your work with a spirit level as you go.
- Burnish the inner edge vigorously with a flexible plastic putty knife to create a tight physical barrier against the bumpy wall surface.
- Double-check the entire taped boundary under bright task lighting to spot any lifted edges before you open your paint cans.
Sealing Tape with the Base Coat
The absolute most important crisp-line secret is to seal tape in the base coat before applying your new terracotta shade. Brushing a light layer of your existing white wall paint over the tape’s inside edge completely fills any microscopic gaps in the adhesive.
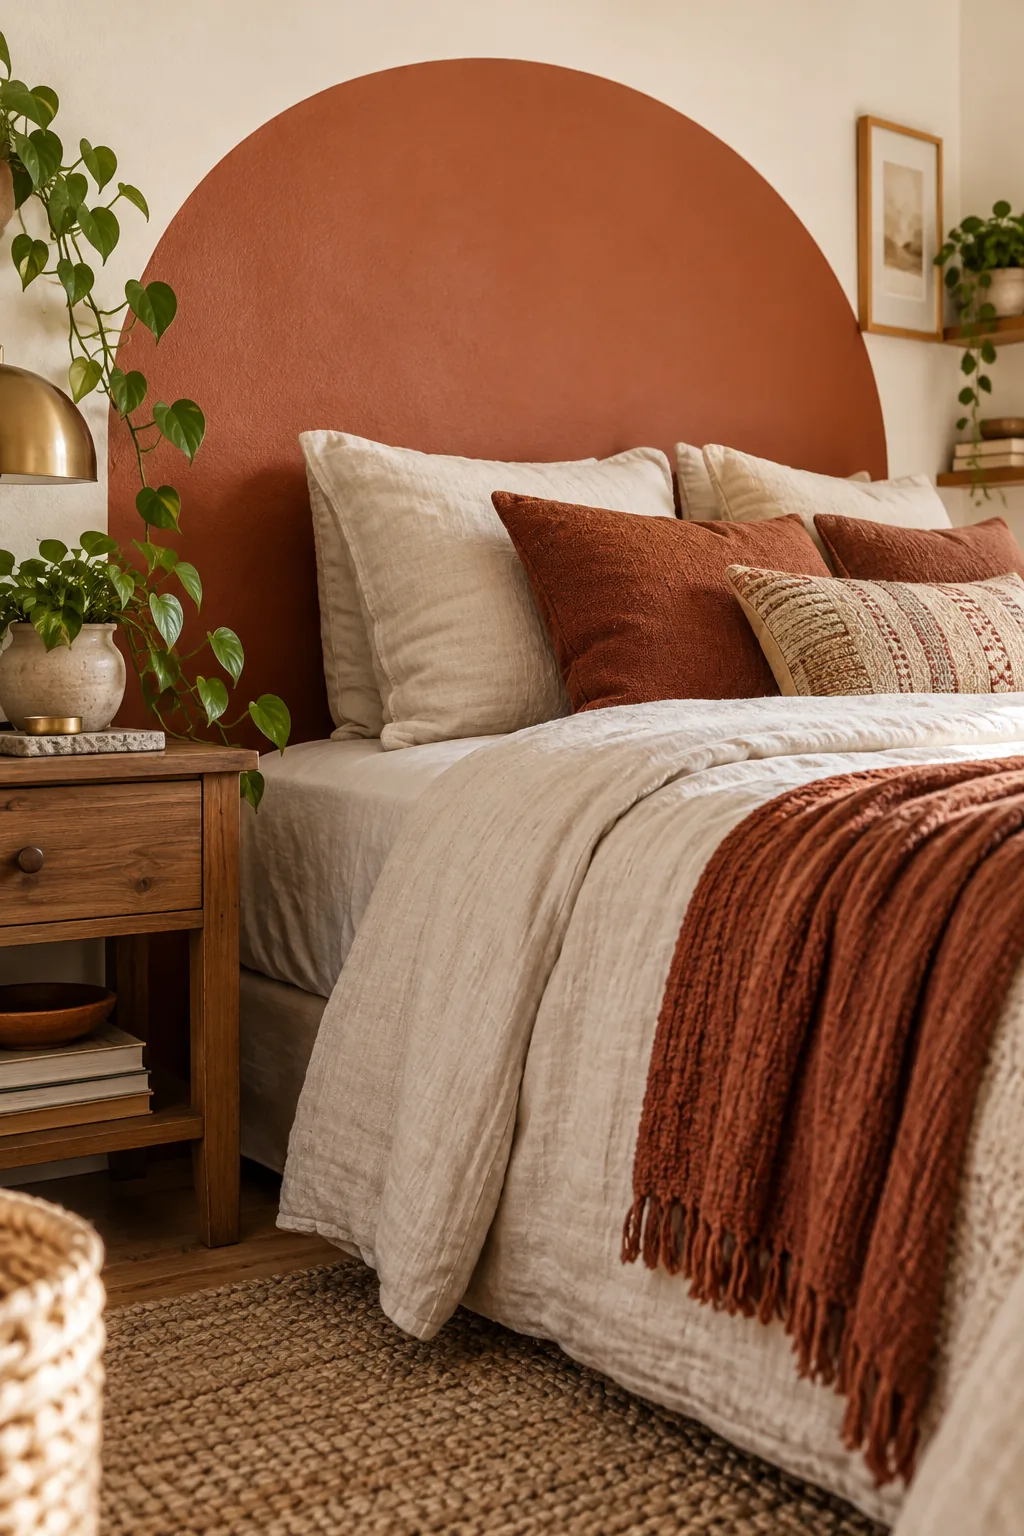
Letting this white sealing stripe dry completely ensures the contrasting terracotta color cannot bleed underneath the boundary. This simple preliminary step is the only guaranteed way to achieve a flawless vertical line on moderately textured drywall.
| Room Humidity | Temperature | Base Coat Dry Time | Top Coat Wait |
|---|---|---|---|
| Low (Under 40%) | 70°F – 80°F | 45 minutes | 2 hours |
| Moderate (40-60%) | 65°F – 75°F | 60 minutes | 3 hours |
| High (Over 60%) | 60°F – 70°F | 90 minutes | 4 hours |
| Damp/Rainy | Below 65°F | 120 minutes | 6 hours |
Applying Paint with a Foam Roller
To achieve a perfectly smooth, brushstroke-free finish, I highly recommend applying your primary color with a 4-inch foam roller. High-density foam distributes the pigment evenly without leaving the heavy stipple marks typical of standard woven nap rollers.
- Carefully cut in along the curved pencil line using a stiff, angled sash brush, working in short, confident strokes to maintain the boundary.
- Load your foam mini roller evenly in the plastic tray, rolling it back and forth until saturated but not dripping with heavy clumps.
- Fill in the center of the arch using smooth, overlapping vertical strokes, working quickly to blend the wet edge into the brushed border.
- Feather out any thick ridges immediately with a light, pressure-free pass of the roller to ensure a completely flat, professional surface texture.
- Inspect the first coat for any light patches or missed texture pockets before letting the entire surface dry according to the climate guidelines.
Taking your time during this application phase guarantees a rich, velvet-like appearance that elevates the entire bedroom design. Rushing the rolling process often traps tiny air bubbles in the finish, which dry into noticeable craters.
Paint Quantities and Coats
Deep, rich hues require consistent application, and you will need exactly one quart, two coats on a standard 60-inch wide queen bed arch. Buying premium interior paint ensures the terracotta color achieves full opacity without requiring a frustrating third pass over the wall.
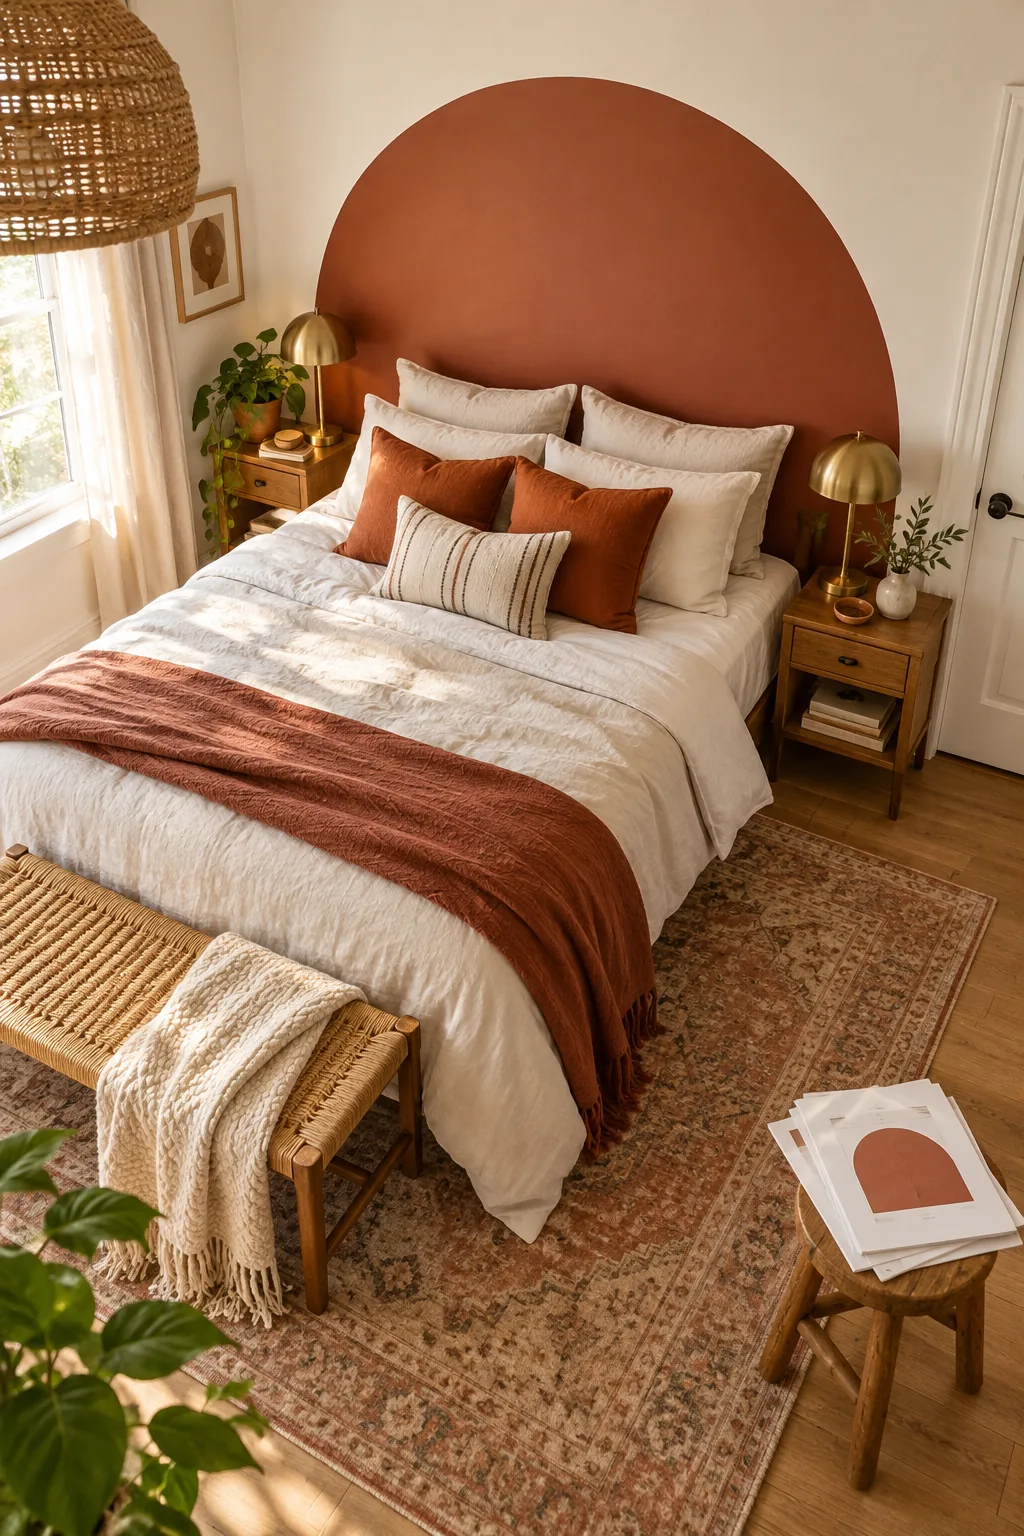
Planning your paint purchase accurately prevents mid-project store runs, so always measure your specific bed frame width before heading to the hardware store. A king-size bed requires a significantly wider 80-inch arch, which pushes the volume requirement just past a single quart.
Timing the Tape Removal
The secret to a perfect reveal is pulling the tape at a 45-degree angle while the second coat is still slightly tacky. During my very first arch project, I waited until the paint fully cured overnight, and it disastrously peeled the new terracotta edge right off the drywall.
The Painted Arch Step Sequence
Now that you understand the mechanics of the crisp-line secret, you are ready to use our complete Painted Arch Step Sequence. This printable two-page guide compiles all the layout measurements, tape-sealing order, and coat timing rules into one handy document.
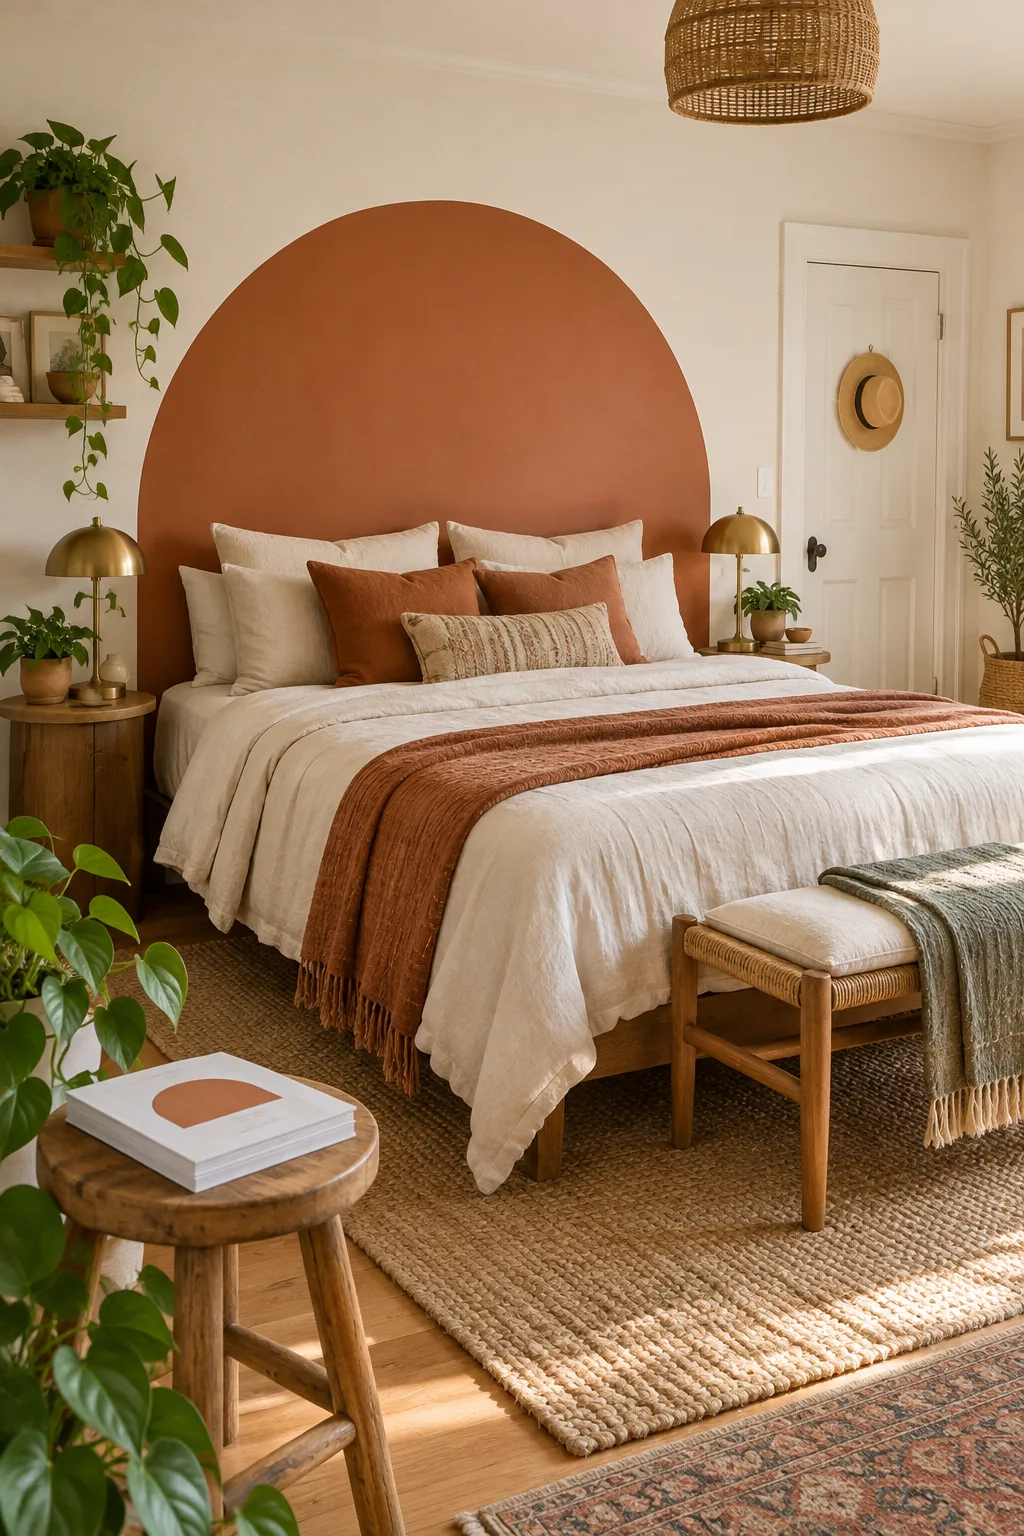
Before heading to the hardware store, download the complete reference guide to keep these specifications on hand during your project.
Painted Arch Ideas for Every Room
Explore how different colors and placements can transform a simple painted arch into a custom architectural feature.
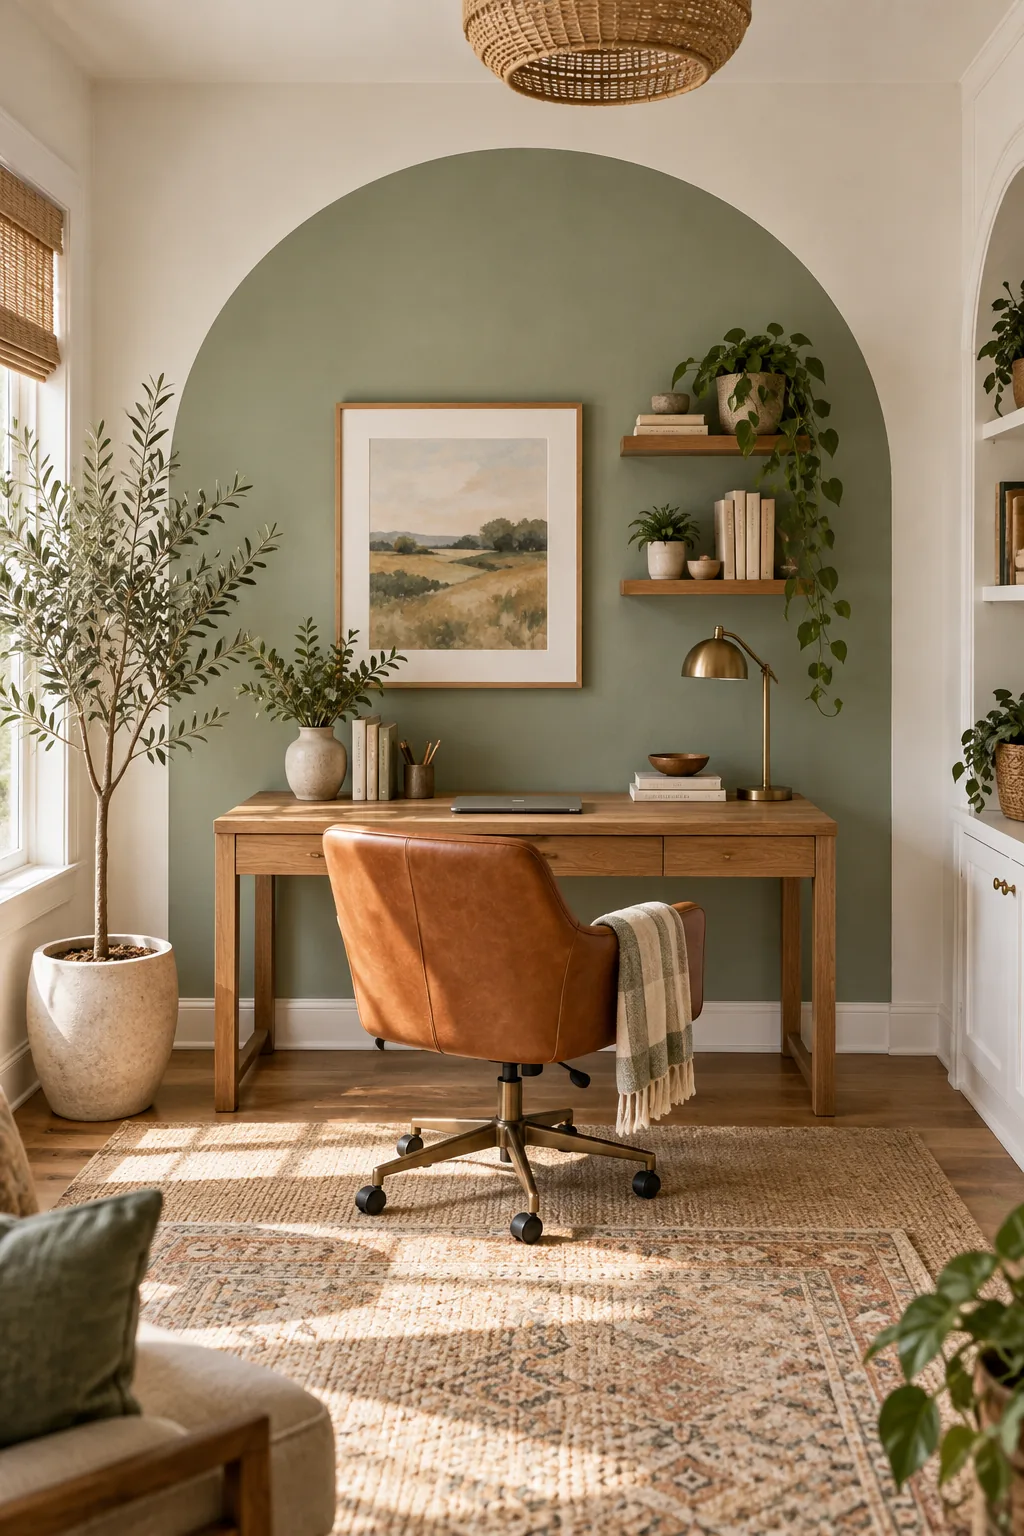
Sage Green Office Desk Arch: A muted green arch defines a workspace in an open room, pairing beautifully with natural wood tones and leather.
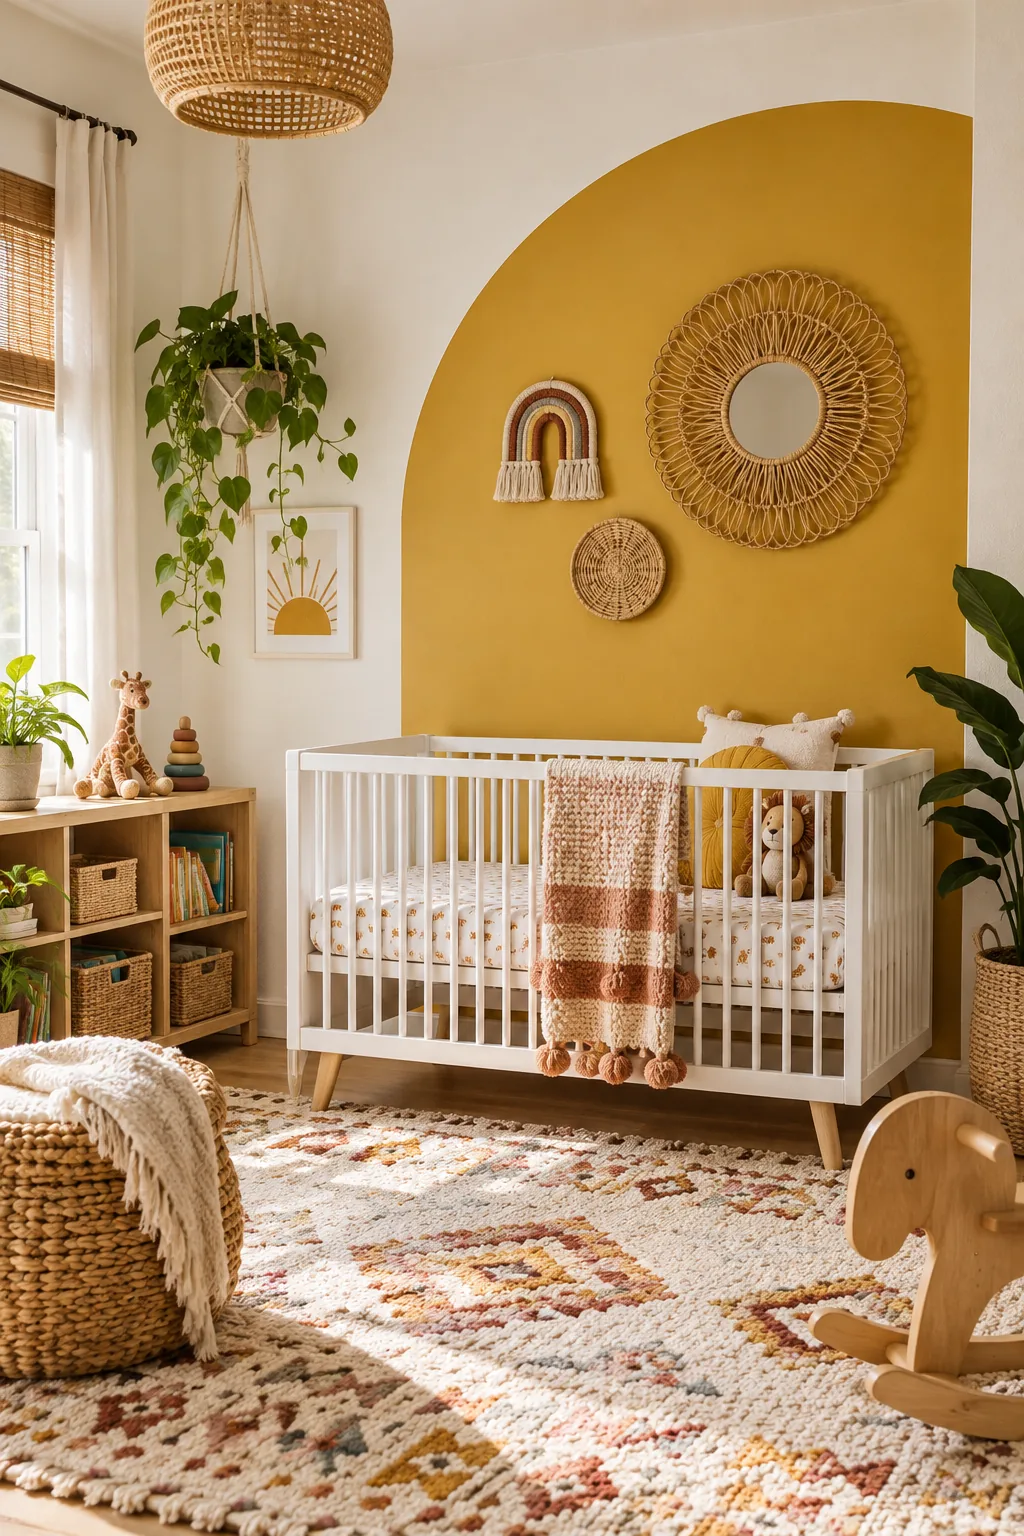
Mustard Yellow Nursery Accent: An asymmetrical off-center arch adds a playful, organic shape that perfectly highlights a simple crib.
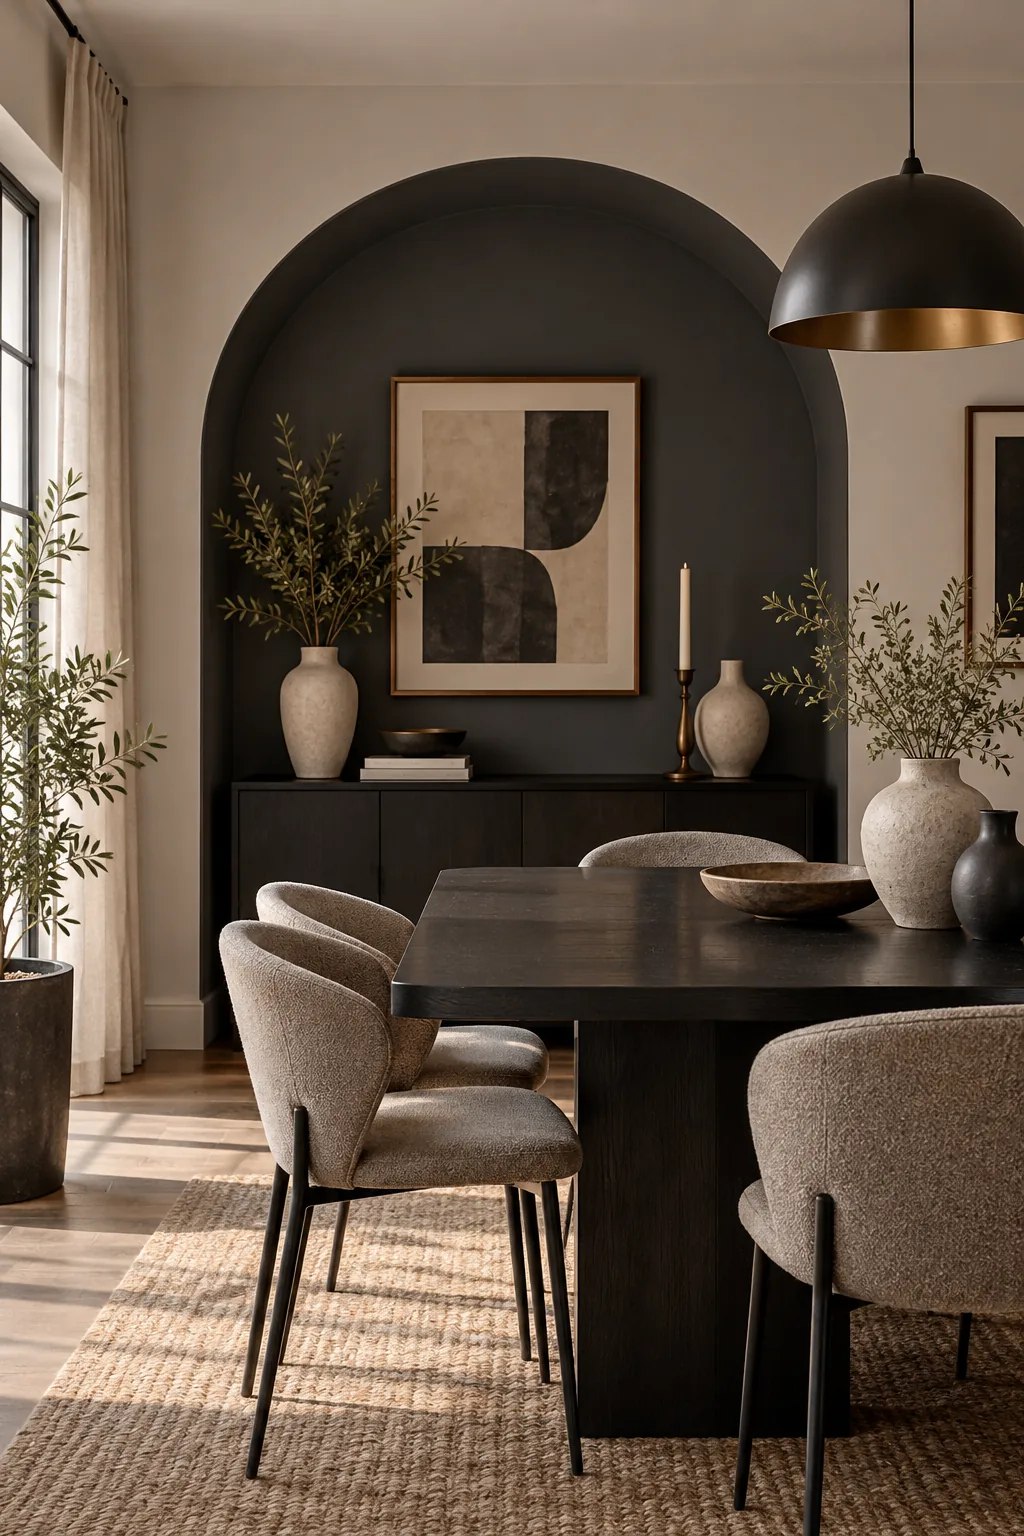
Charcoal Dining Room Alcove: Deep charcoal paint creates the illusion of an architectural alcove, adding depth to a flat dining room wall.
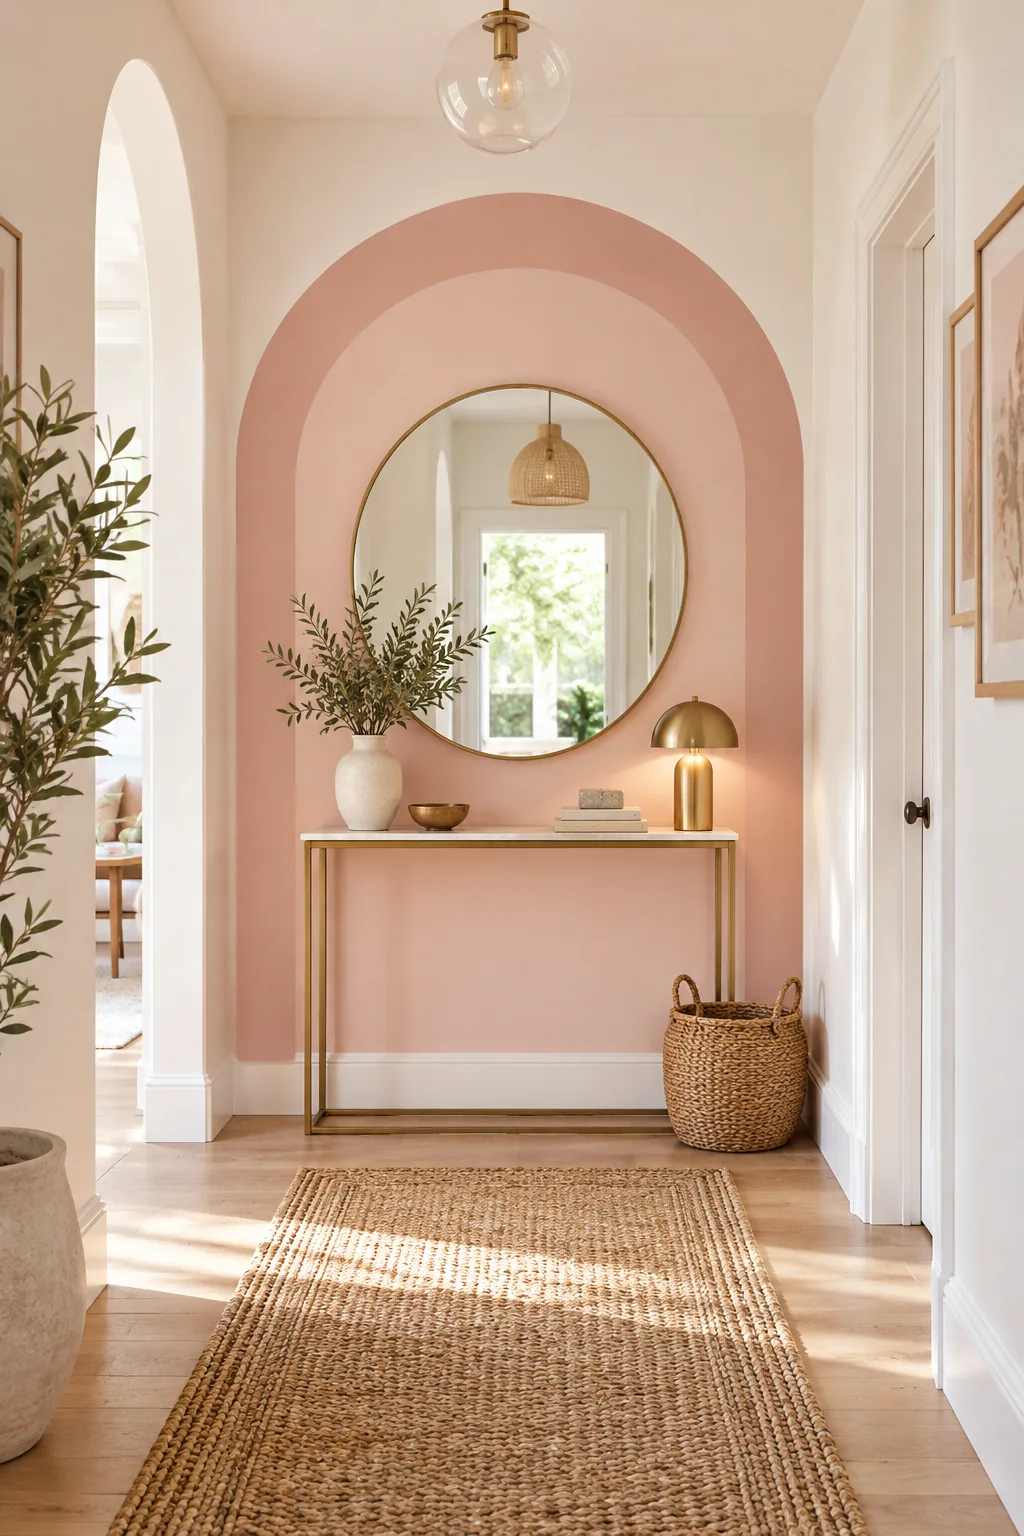
Blush Pink Hallway Double Arch: Overlapping two arches in soft blush tones turns a blank hallway into a custom contemporary art piece.
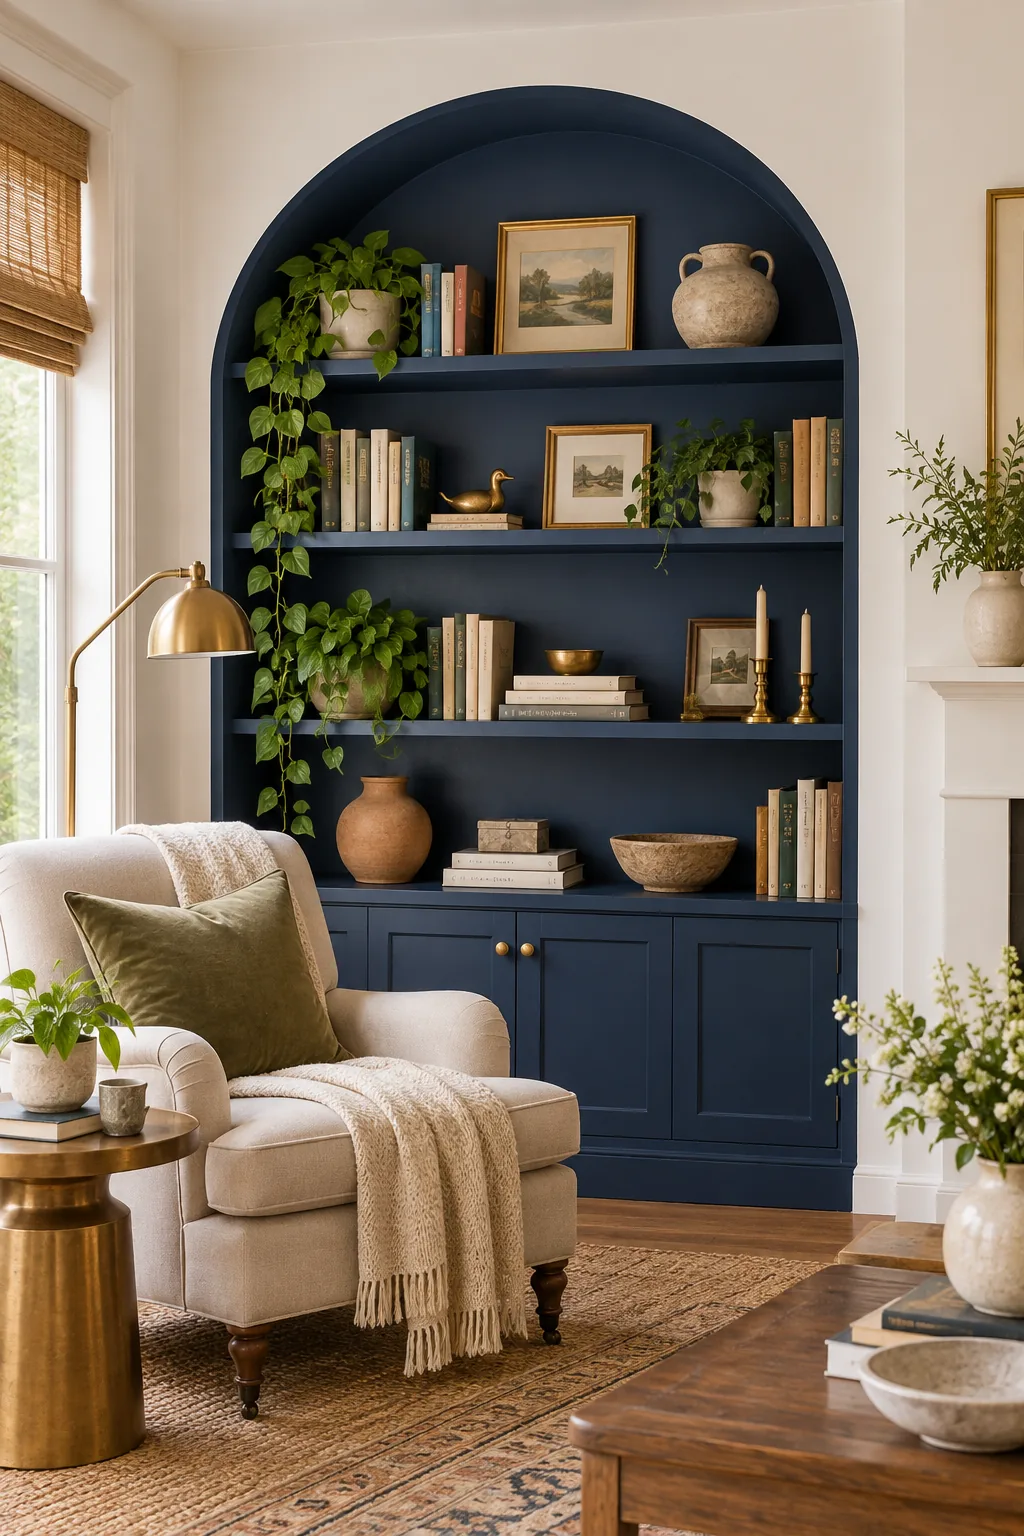
Navy Blue Bookshelf Frame: A half-arch painted in rich navy blue anchors a freestanding bookshelf, making it feel like custom built-in cabinetry.