
3 Season Room on an Existing Deck: The Complete Material List
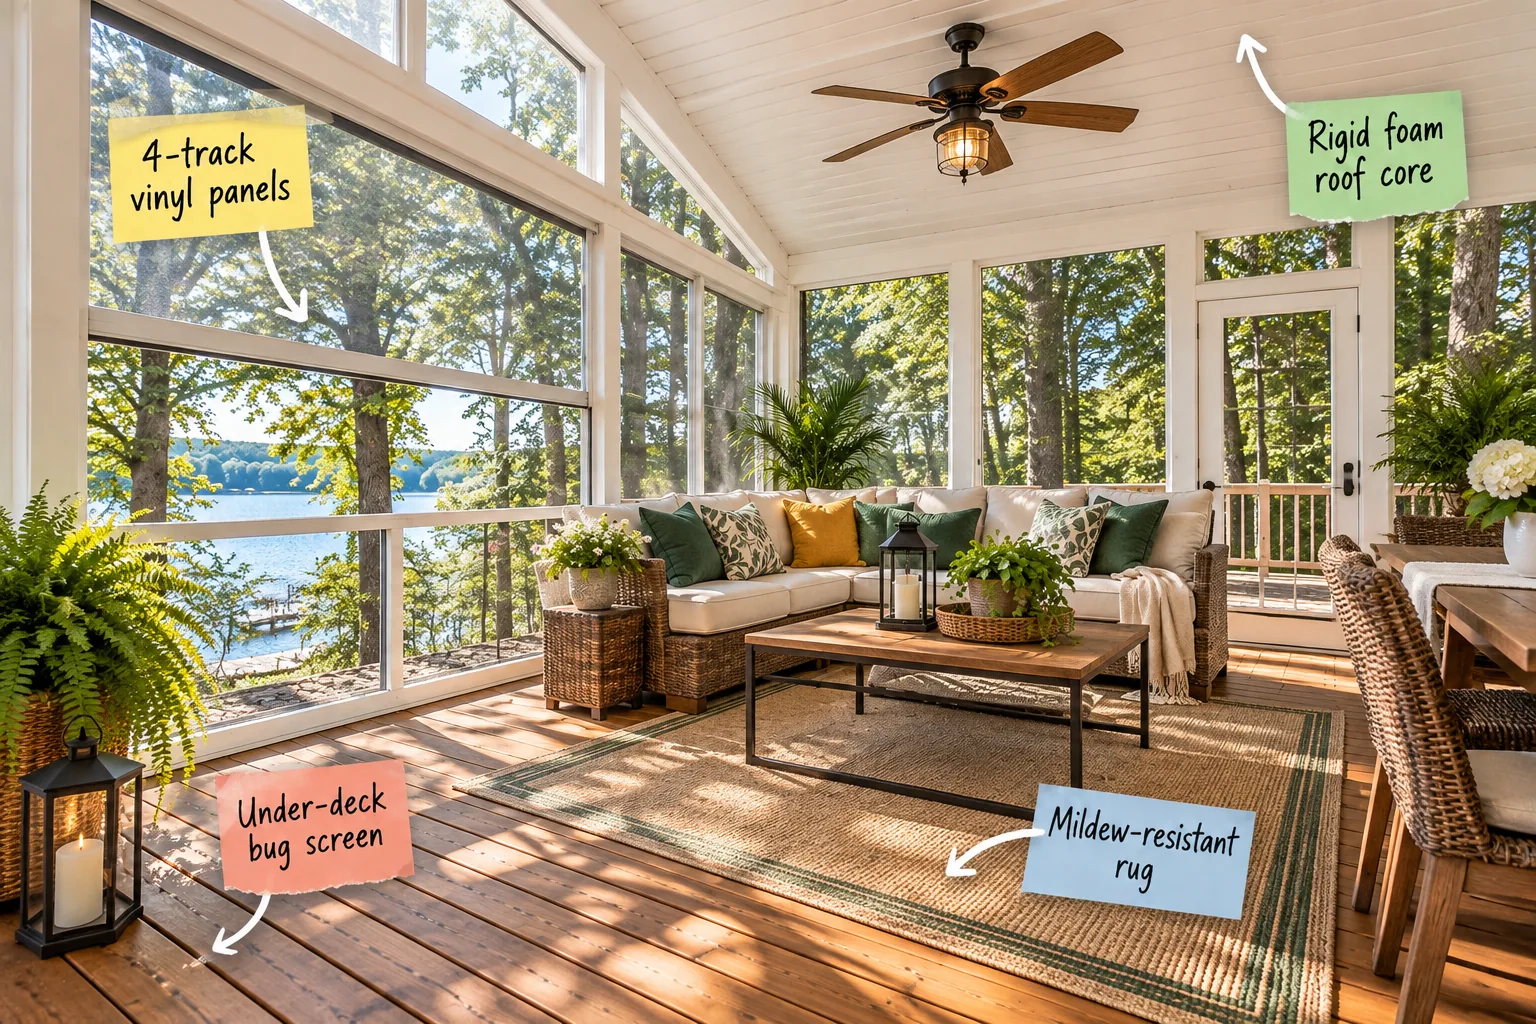
Grab the exact deck conversion material list you need to turn your open patio into a breezy, bug-free living space. You will be able to source the exact materials and structural components needed to enclose your existing deck beautifully.
The Complete Deck Conversion Material List
Building a durable 3-season room requires specific weather-resistant components that work together seamlessly. This exact material breakdown gives you the quantities needed to enclose a standard 12×12 foot deck footprint without second-guessing your supply run.
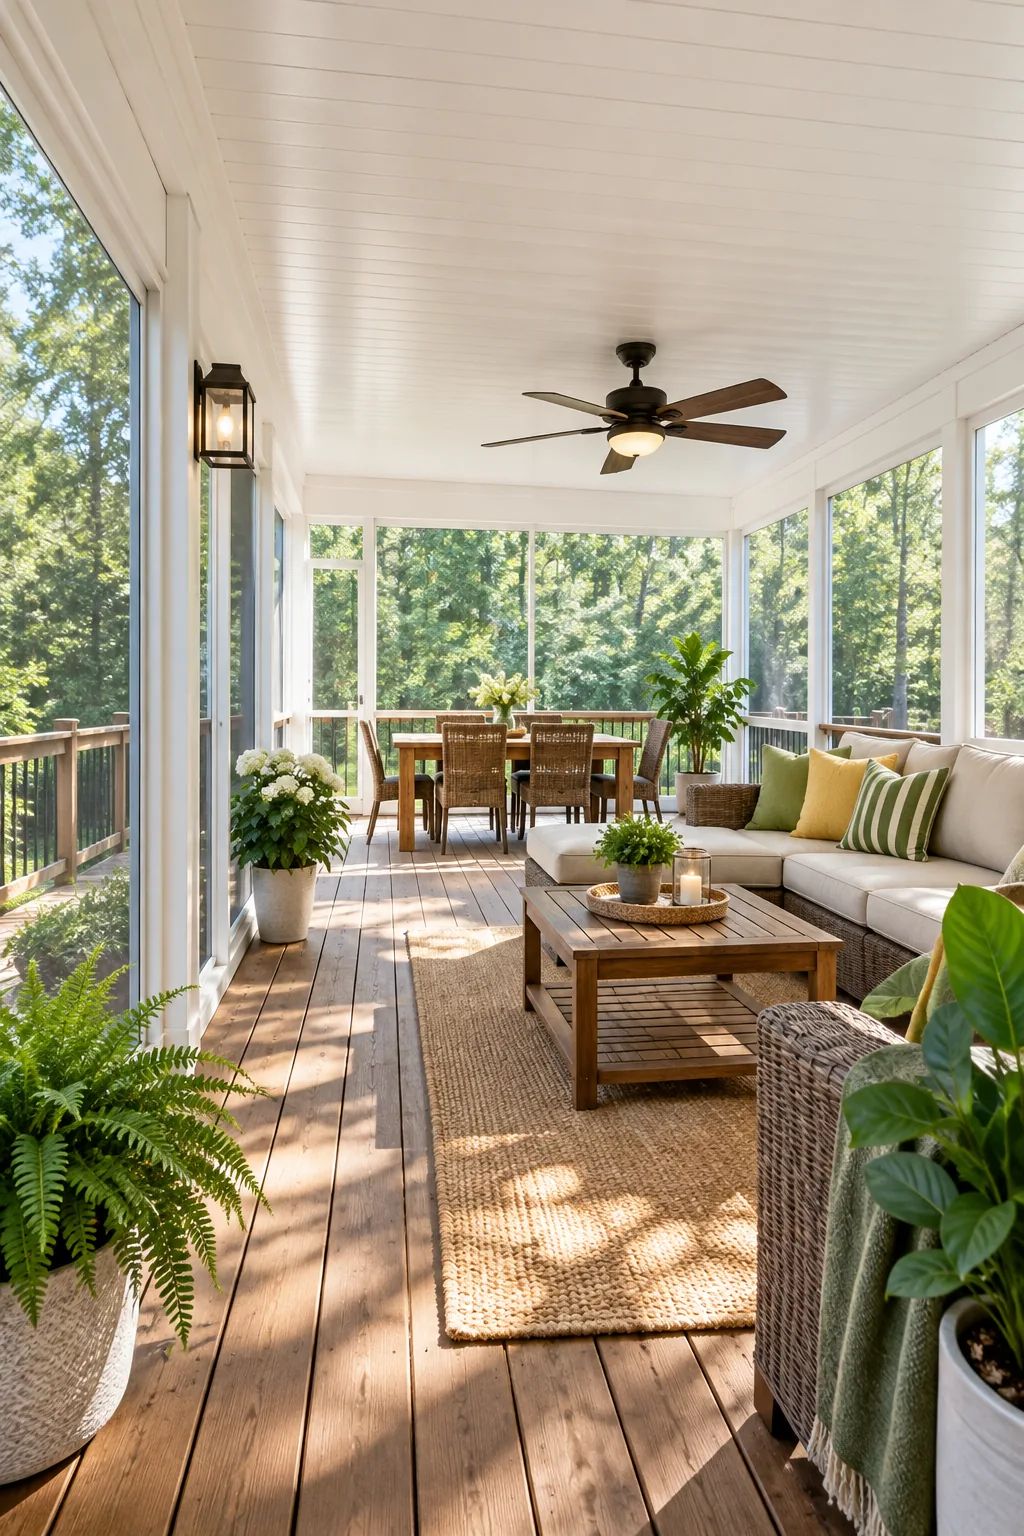
Use this comprehensive checklist to gather your framing lumber, specialty window tracks, and structural insulated roof panels. Having everything delivered at once saves you multiple trips and keeps your weekend build perfectly on schedule.
- Phase 1 Framing: Eight 4×4 treated posts for structural wall support.
- Phase 2 Flooring: 150 square feet of 20×20 fiberglass mesh screen.
- Phase 3 Enclosure: Six custom-sized 4-track vinyl window units.
- Phase 4 Roofing: Four structural insulated panels with a foam core.
Checking Your Deck’s Weight Capacity
Before purchasing materials, verify that your current framing can safely support the added weight of walls and a roof. When I converted my own Austin patio, I used a standard load calculation method rather than guessing, saving me from costly foundation repairs.
Reinforcing the Existing Ledger Board
The connection where your deck meets the house takes on significantly more stress once you add a solid roof structure. Adding staggered half-inch galvanized lag bolts every 16 inches along the ledger board ensures the entire room remains structurally sound.
Blocking Pests With an Under-Deck Bug Screen
A fully sealed room is useless if mosquitoes simply fly up through the floorboards. I learned this the hard way on my first porch build, so now I always install a tight 20×20 fiberglass mesh screen directly beneath the decking planks.
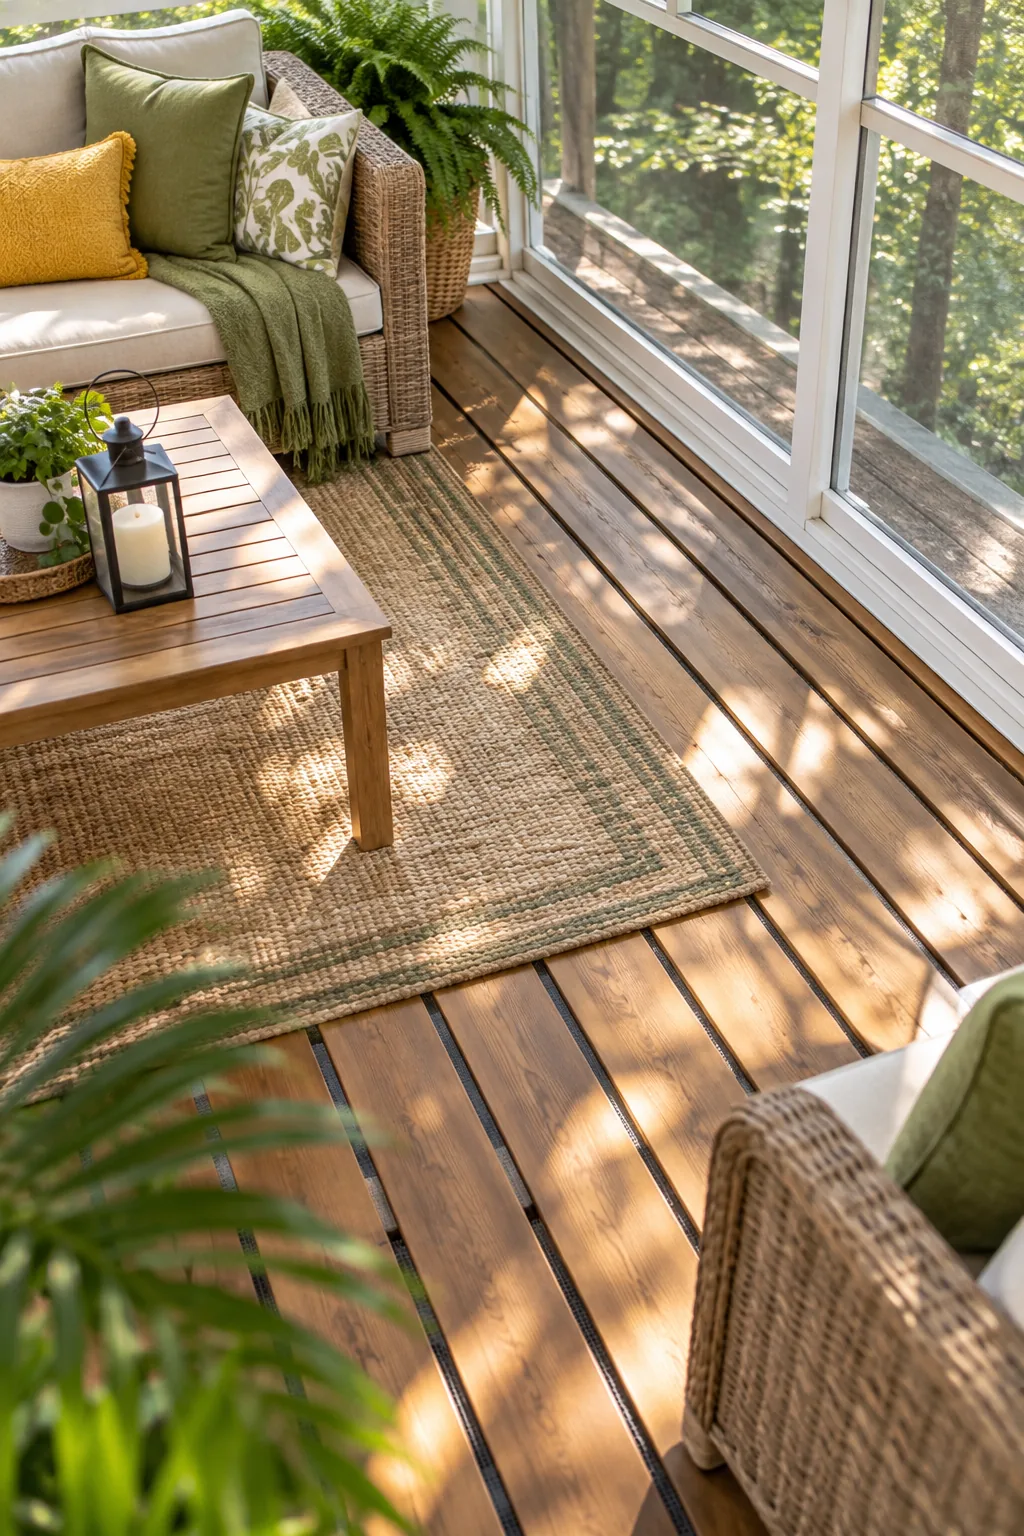
Staple the mesh firmly to the bottom of the floor joists before adding any exterior skirting. This specific gauge blocks even the smallest no-see-ums while still allowing rainwater to drain freely through the floorboard gaps without pooling.
Framing the Walls for Window Panels
Build your wall framing to match the exact rough opening requirements of your chosen window system. Standard 4×4 posts spaced at 36-inch to 48-inch intervals provide optimal structural support while maximizing your unobstructed view of the yard.
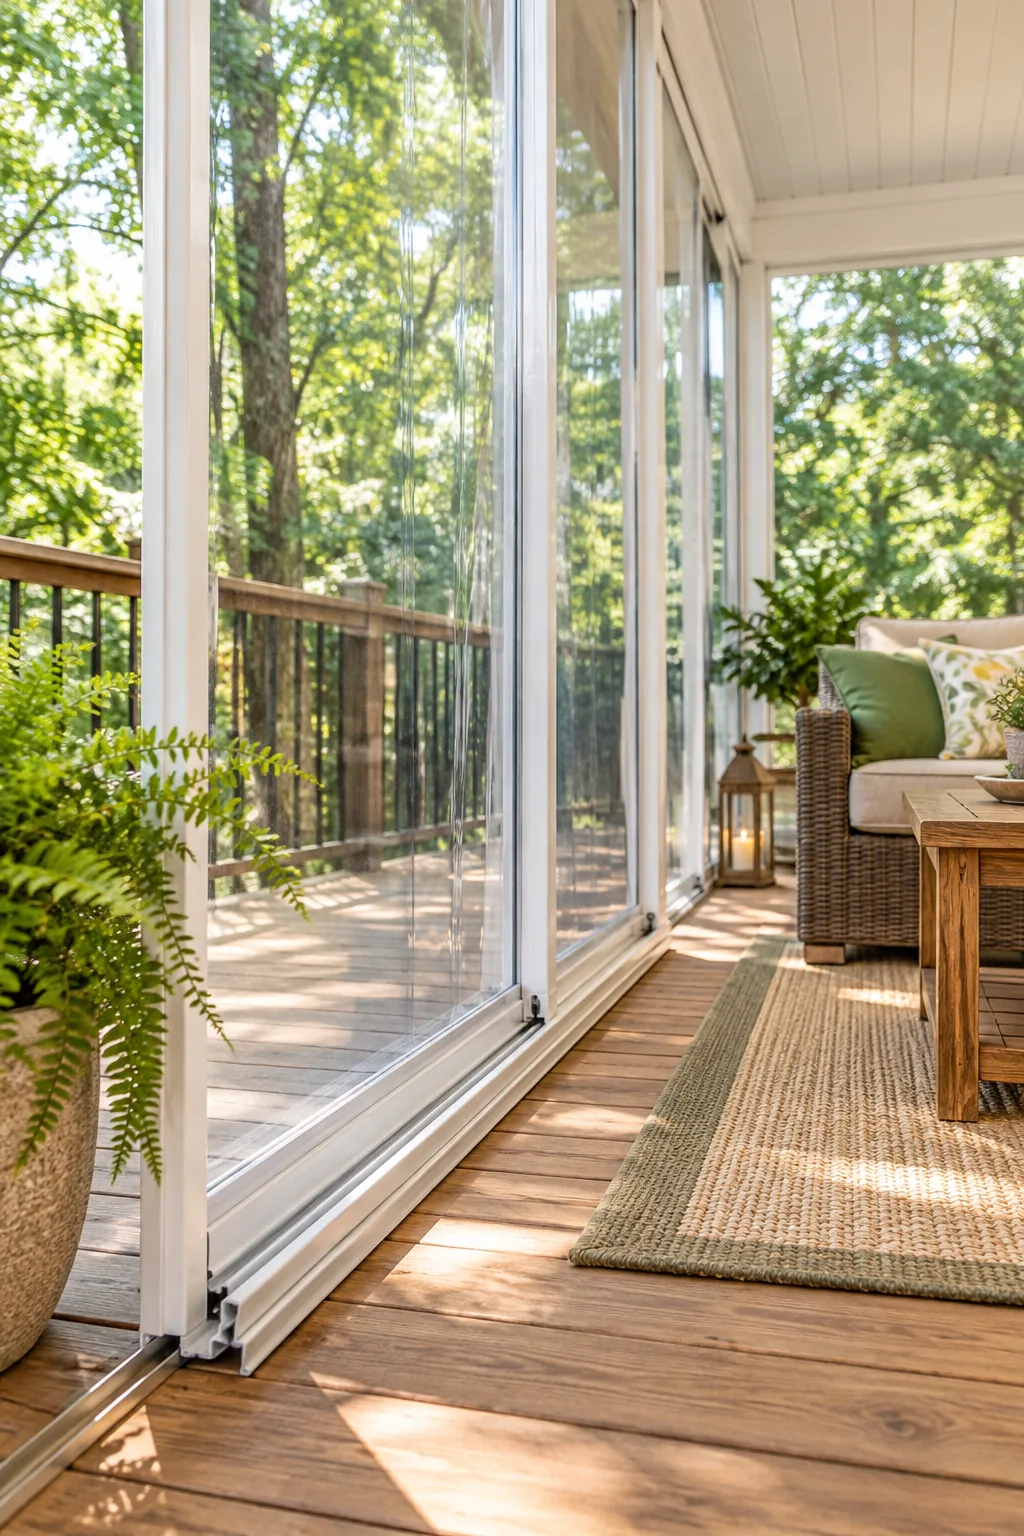
Ensure every post is perfectly plumb and square before securing the top plate. Even a quarter-inch deviation in the framing can cause the flexible window tracks to bind, making them difficult to slide open during the warm summer months.
Securing the Corner Posts
The four corners of your new room bear the brunt of the structural load and wind resistance. Using heavy-duty galvanized steel post bases anchored directly into the deck blocking prevents any lateral shifting when seasonal storms hit your backyard.
Installing 4-Track Vinyl Panels
Fit the flexible vinyl panels into your newly framed openings to create the walls. I absolutely love how this stacked 4-track system allows up to 75 percent ventilation when fully opened, giving you a true screened-porch feel on breezy days.
Trimming the Exterior Framing
Once your vinyl tracks are perfectly secured, wrap the exposed treated lumber with durable PVC trim boards. This highly resilient finishing step completely hides the rough construction joints and protects the raw wood from rotting over time.
Insulating With a Rigid Foam Roof Core
Top the structure with structural insulated panels featuring a solid rigid foam core. A core thickness of 3 to 4 inches provides a continuous thermal barrier, effectively preventing radiant heat transfer from baking the room from above.
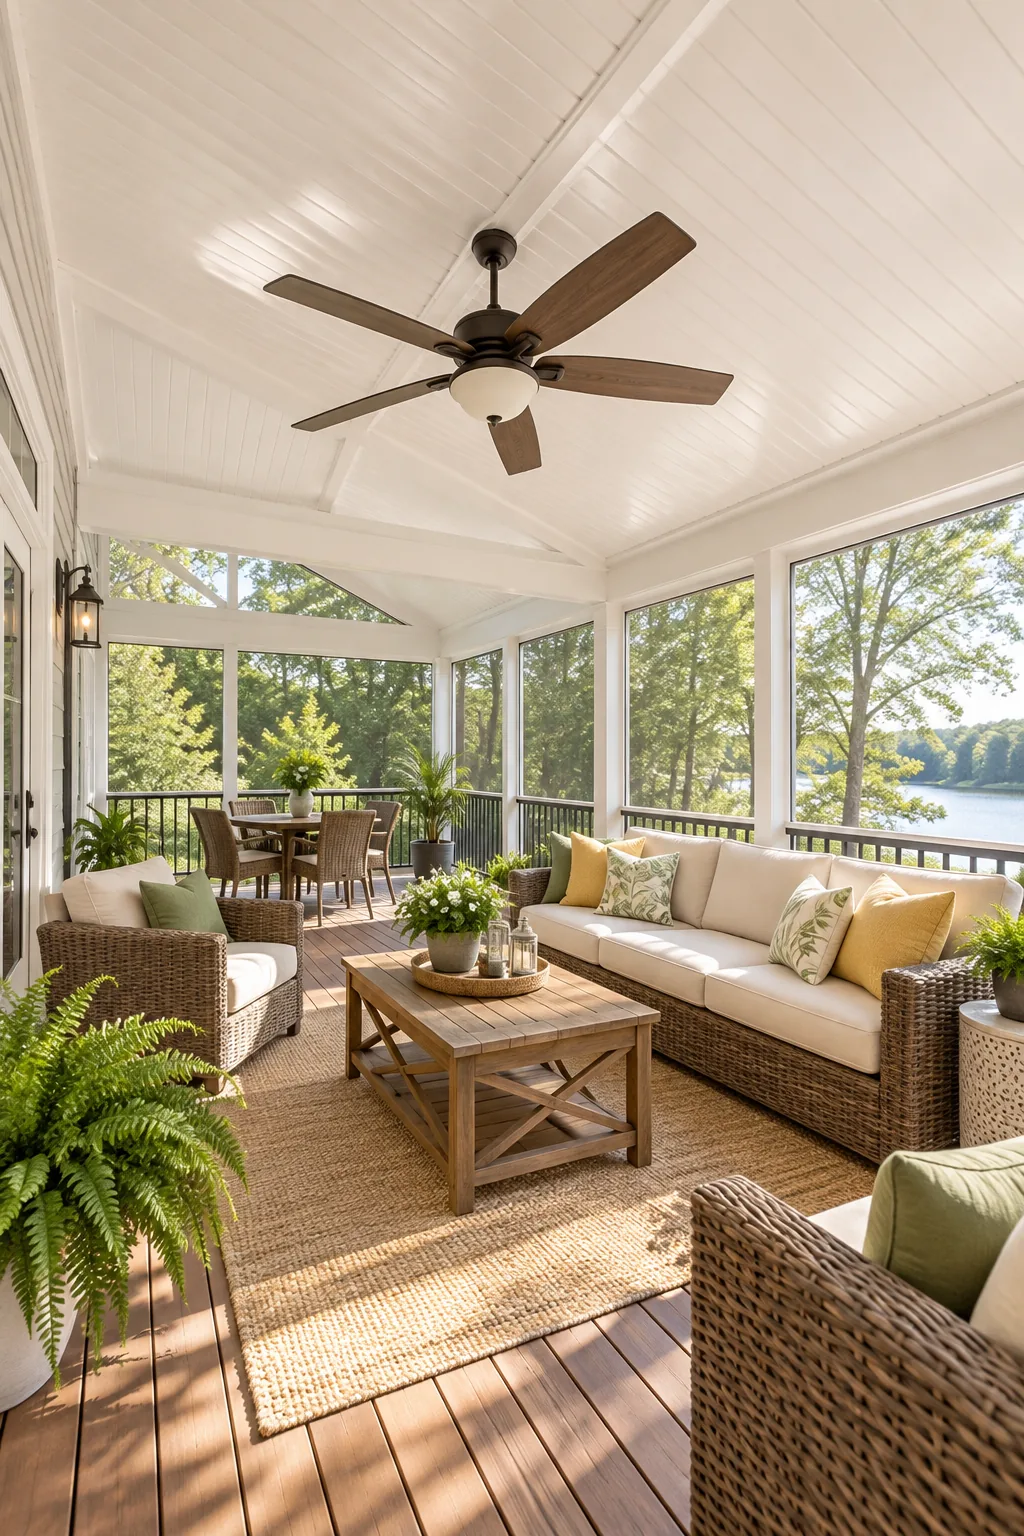
These specialized panels easily lock together, offering an impressive R-15 to R-20 insulation value depending on your chosen thickness. This high-density foam core keeps the space dramatically cooler than a standard aluminum patio cover ever could.
Sealing the Roof Connections
Every seam where the insulated roof panels meet must be completely waterproofed to protect your new interior. Running a continuous bead of high-grade exterior polyurethane sealant along the interlocking joints guarantees a leak-free ceiling during heavy spring downpours.
Anchoring the Space With a Mildew-Resistant Rug
Finish the floor with a tightly woven, 100 percent polypropylene rug that withstands natural temperature swings and occasional moisture. This specific material adds interior-level softness underfoot and defines your seating area beautifully.
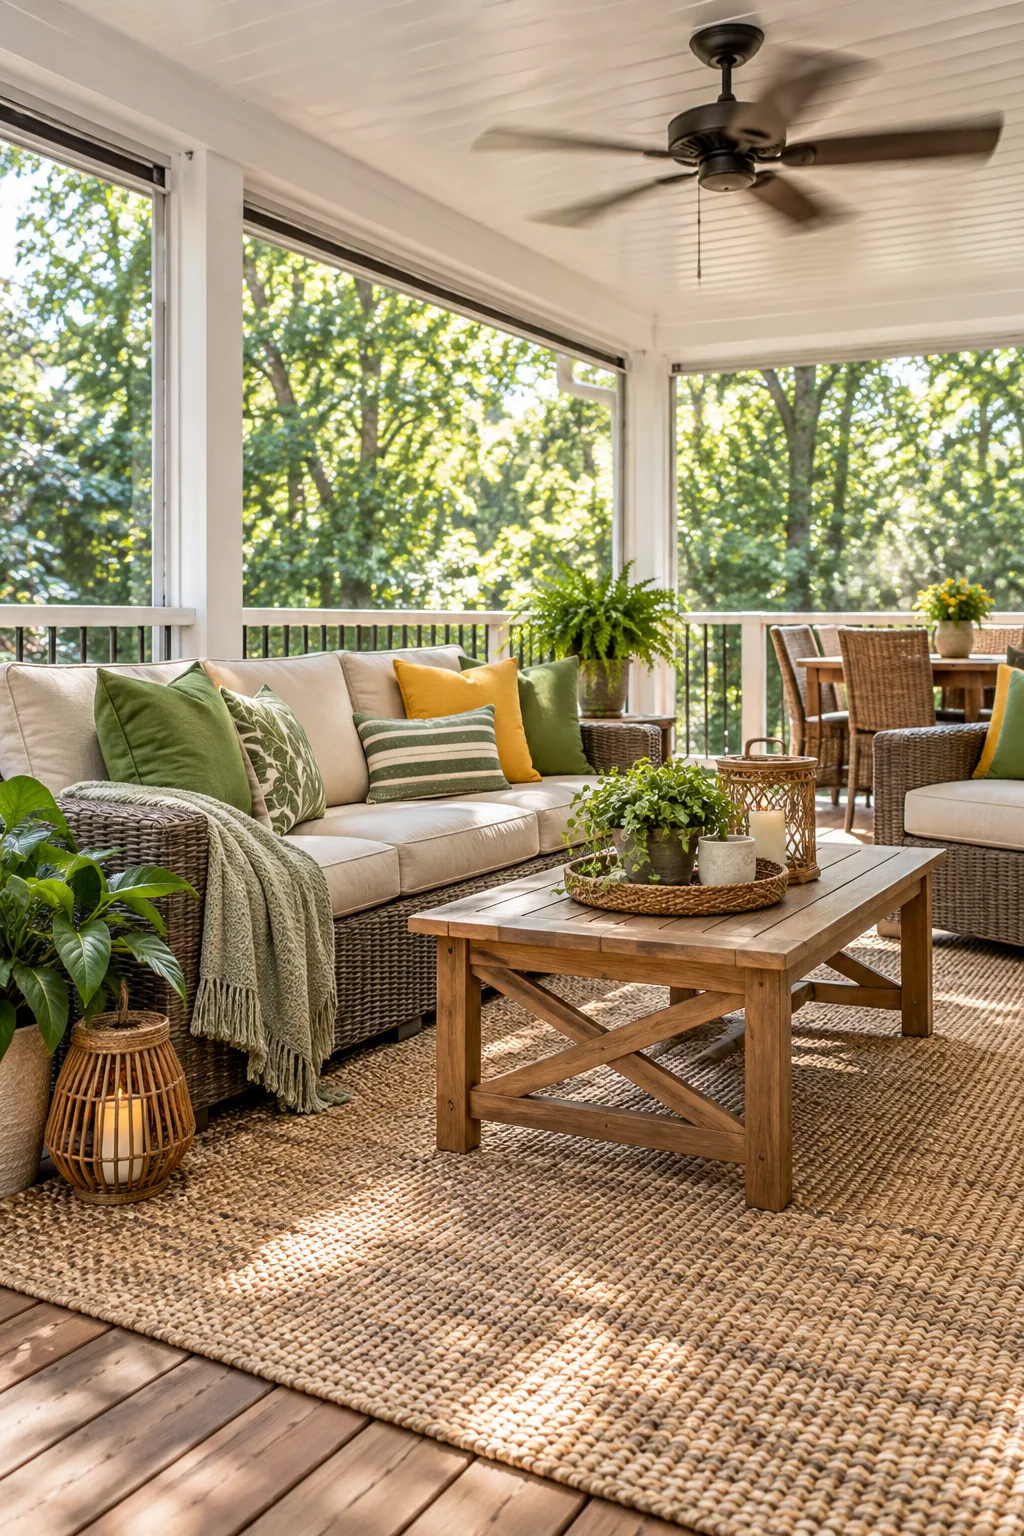
Unlike natural fibers, synthetic polypropylene will not trap condensation against your wooden deck boards. This crucial breathability ensures your beautiful new flooring setup never develops hidden mold or mildew spots underneath the furniture.
Arranging All-Weather Lounge Seating
Select durable furniture frames crafted from resin wicker or powder-coated aluminum. These specific materials resist UV fading and moisture damage if rain happens to blow in through the open screens during a sudden, unexpected afternoon storm.
| Material | Durability | Maintenance | Best For |
|---|---|---|---|
| Resin Wicker | High UV resistance | Wipe with damp cloth | Classic porch styling |
| Powder-Coated Aluminum | Rust-proof finish | Mild soap and water | Modern, lightweight setups |
| Teak Wood | Natural weather resistance | Annual oiling required | Warm, organic textures |
Position your heaviest seating pieces along the interior wall to keep the main traffic pathways clear. Leaving at least 36 inches of clearance around the coffee table ensures everyone can navigate the room comfortably.
Choosing UV-Resistant Fabrics
Top your all-weather frames with cushions wrapped in genuine solution-dyed acrylic fabrics. Because the color is mixed into the liquid polymer before the yarn is even spun, these vibrant cushions will never fade in the harsh afternoon sun.
Adding Ambient String Lighting
Run commercial-grade string lights along the perimeter of your new insulated ceiling panels to create a warm, inviting glow. Plugging these waterproof bulbs into a smart outdoor dimmer switch allows you to instantly set the perfect mood for evening gatherings.
3-Season Room Styling Ideas
Once the build is complete, choose a distinct style to make the new space feel like a true extension of your home.
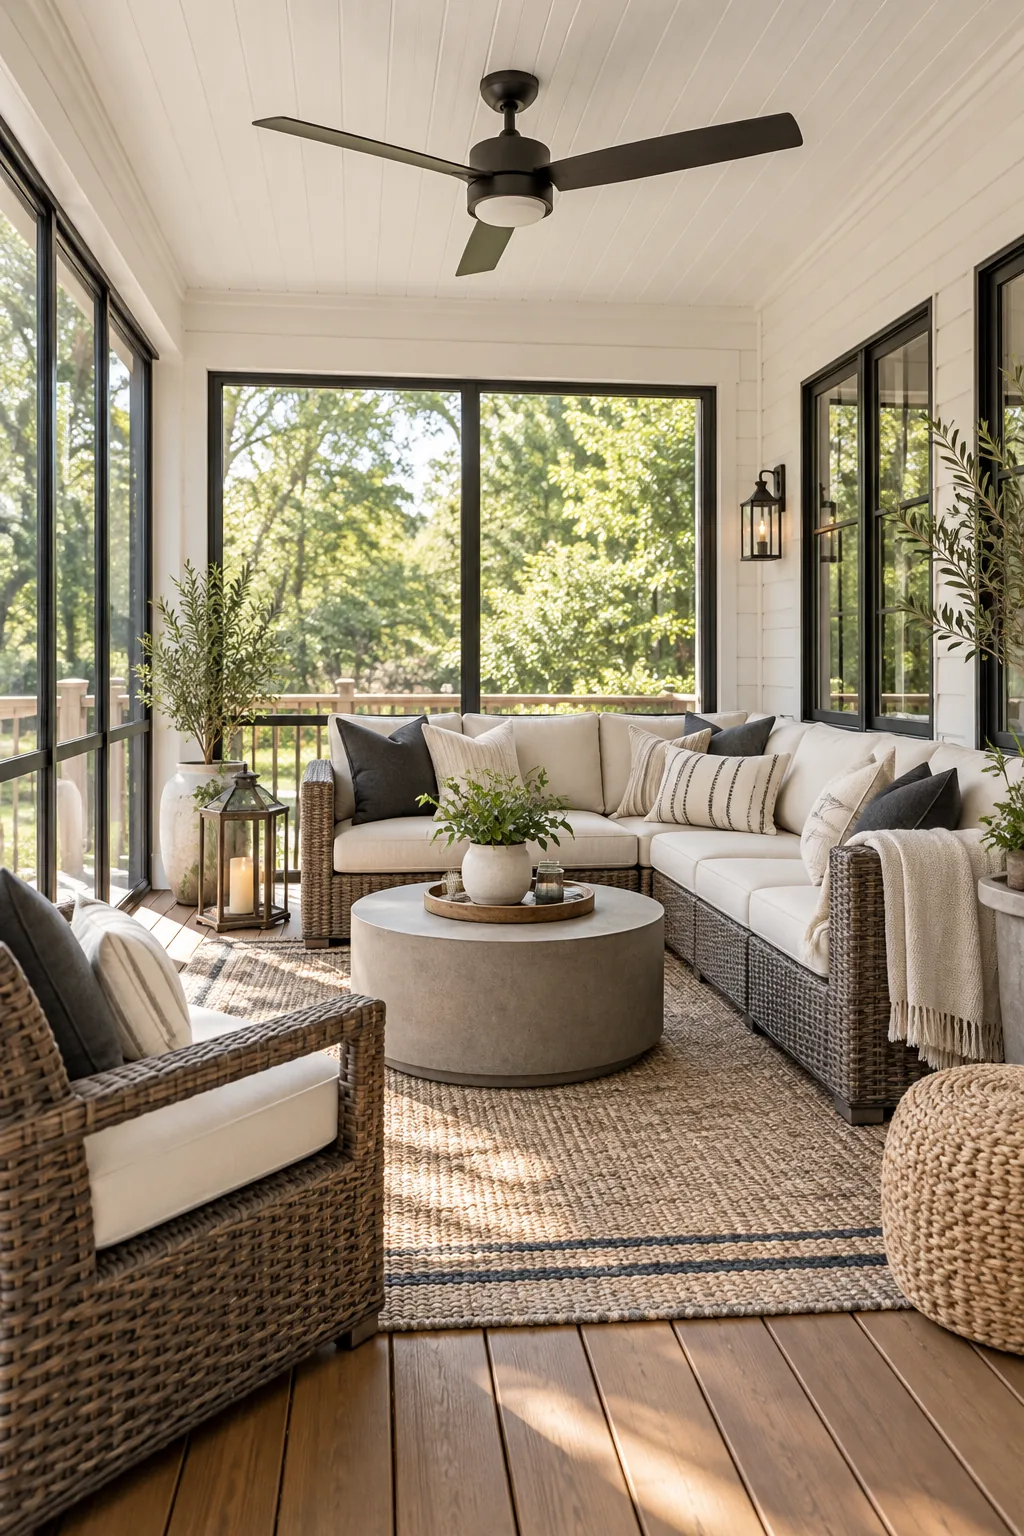
Modern Farmhouse Contrast: Black aluminum frames pop against white shiplap walls, creating a crisp, architectural look you can soften with oversized cream cushions.
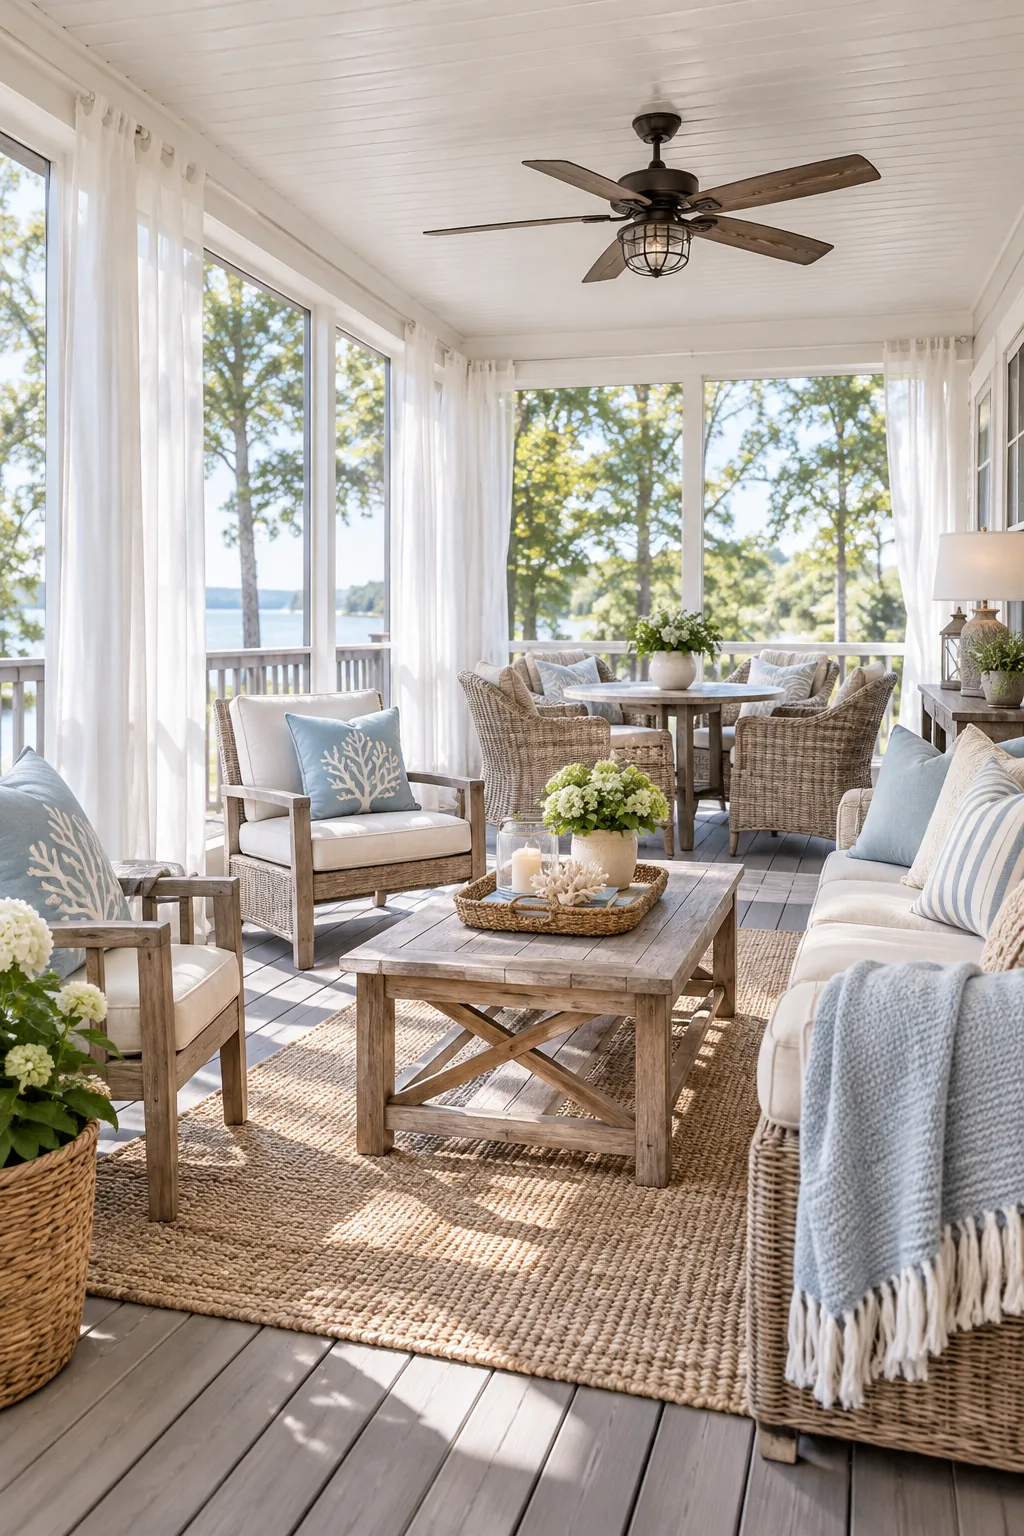
Breezy Coastal Cottage: Light blue accents and weathered driftwood tones pair perfectly with bright white framing to emphasize a relaxed, lakeside atmosphere.
Rustic Cedar Retreat: Natural cedar paneling and dark bronze tracks blend the room directly into the surrounding woods for a cozy, cabin-inspired feel.
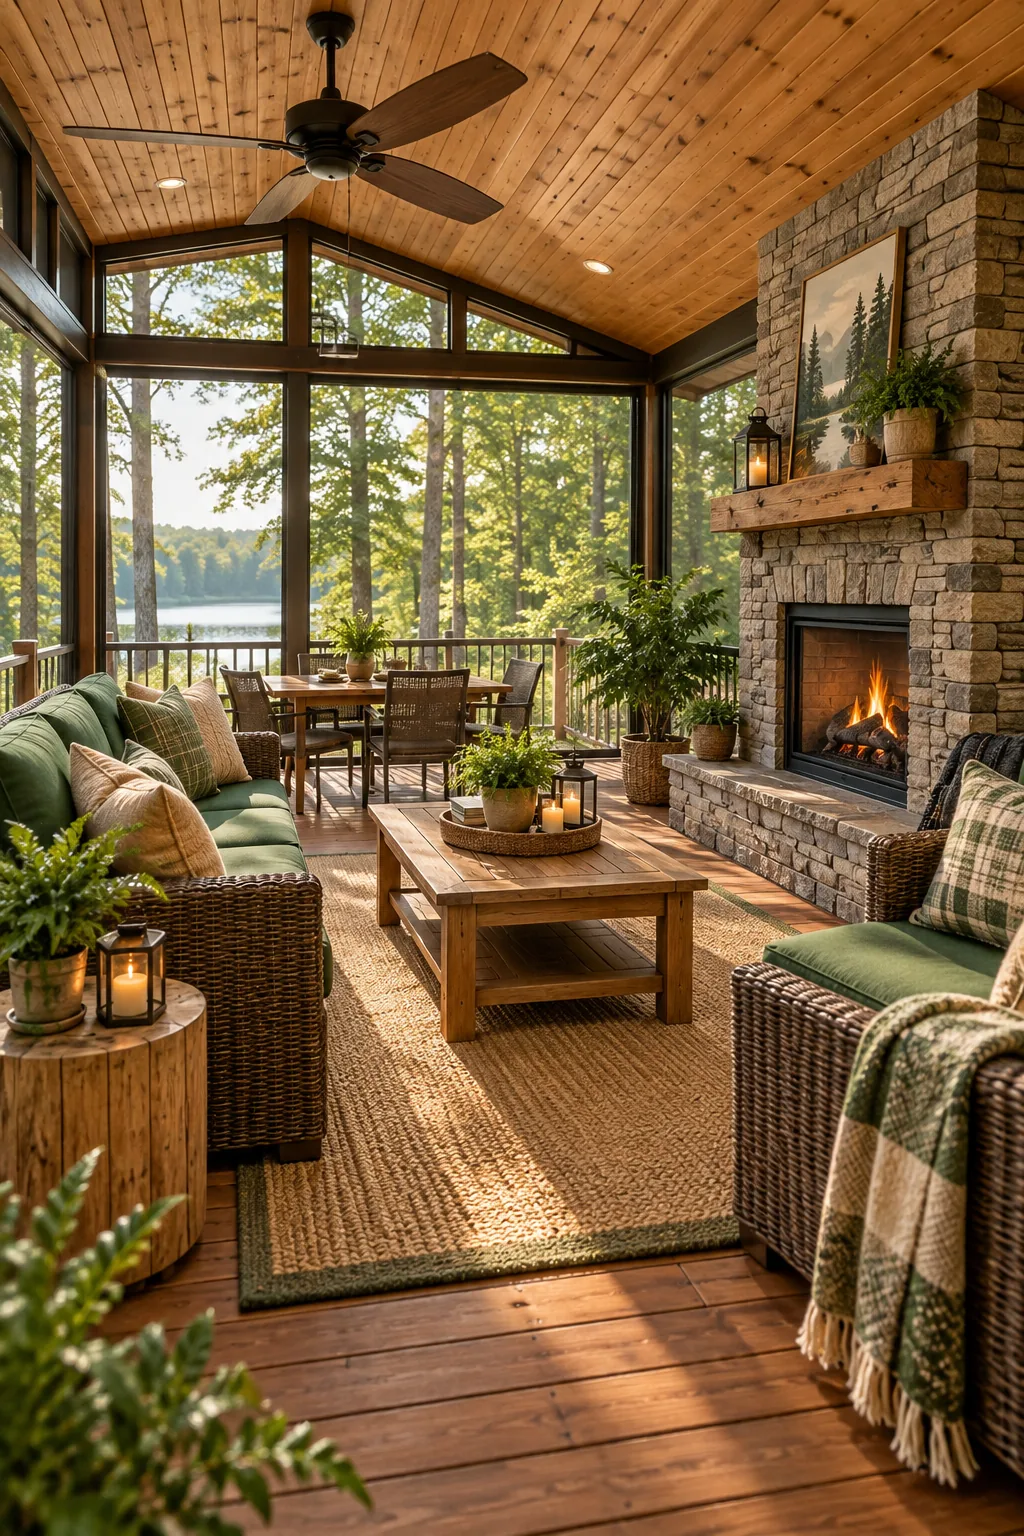
Managing Airflow for Three-Season Comfort
Maximize the usability of the room by pairing your adjustable wall panels with a high-velocity, outdoor-rated ceiling fan. In my own space, running the fan constantly during July is the only way we survive the intense Texas heat.
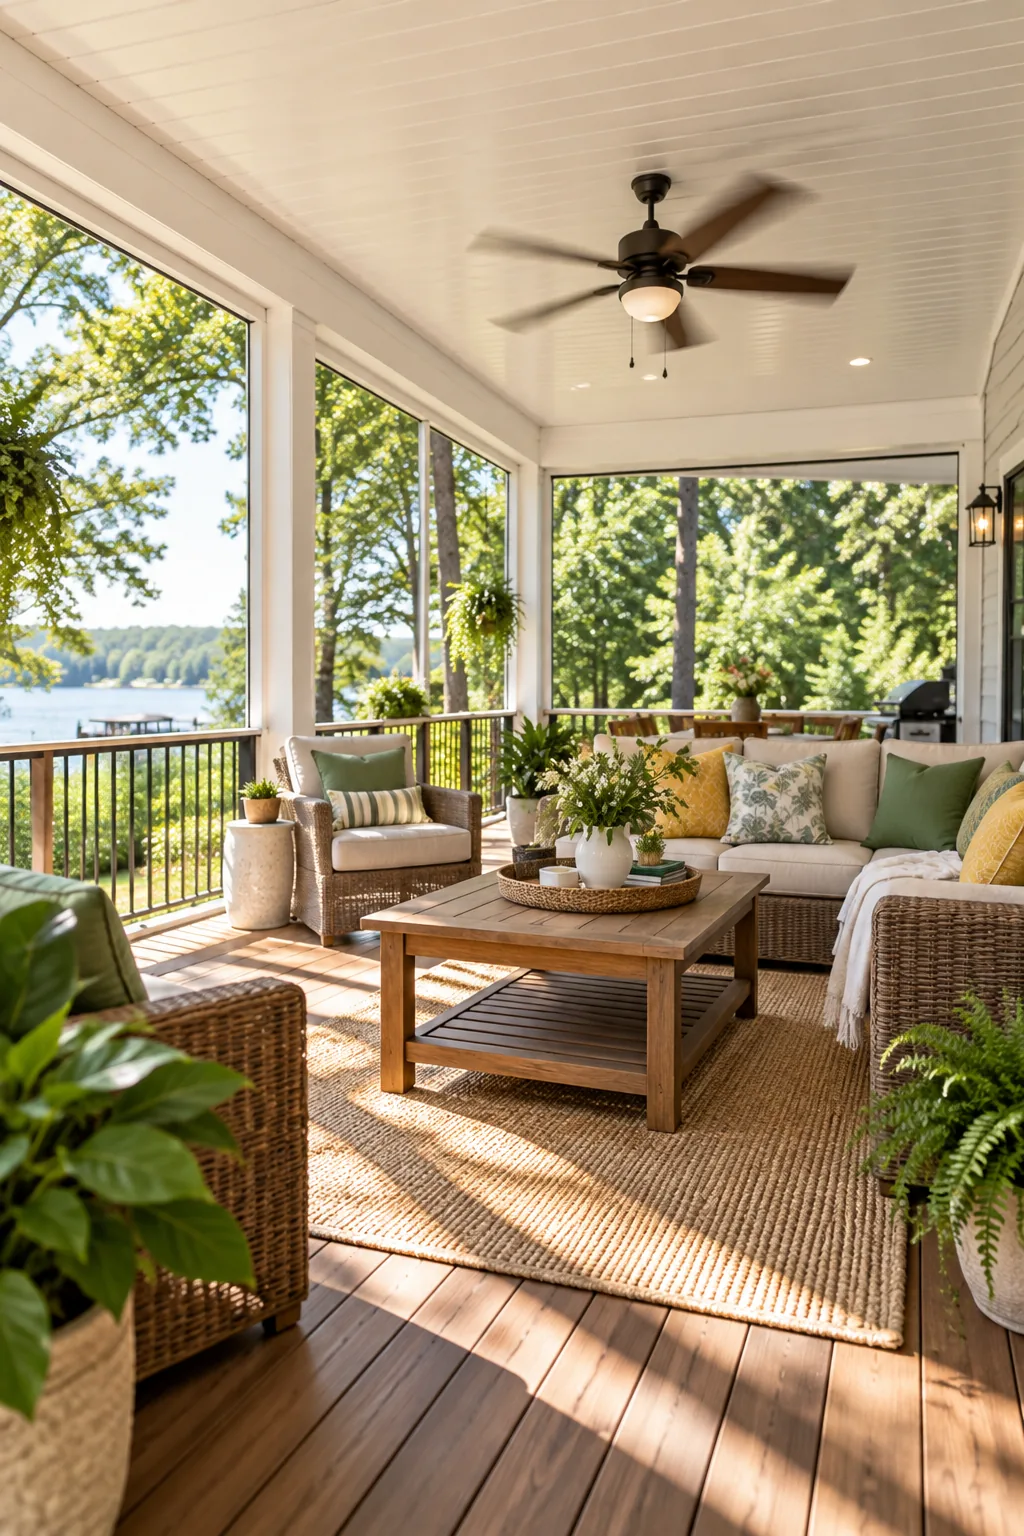
Balancing top and bottom ventilation pushes hot air out efficiently, keeping the enclosed space wonderfully comfortable even on stagnant late summer afternoons. Drop the top window sashes down while the fan circulates the cooler air from below.