Mobile Home Skirting on a Slope: The Complete Cut Sheet Guide
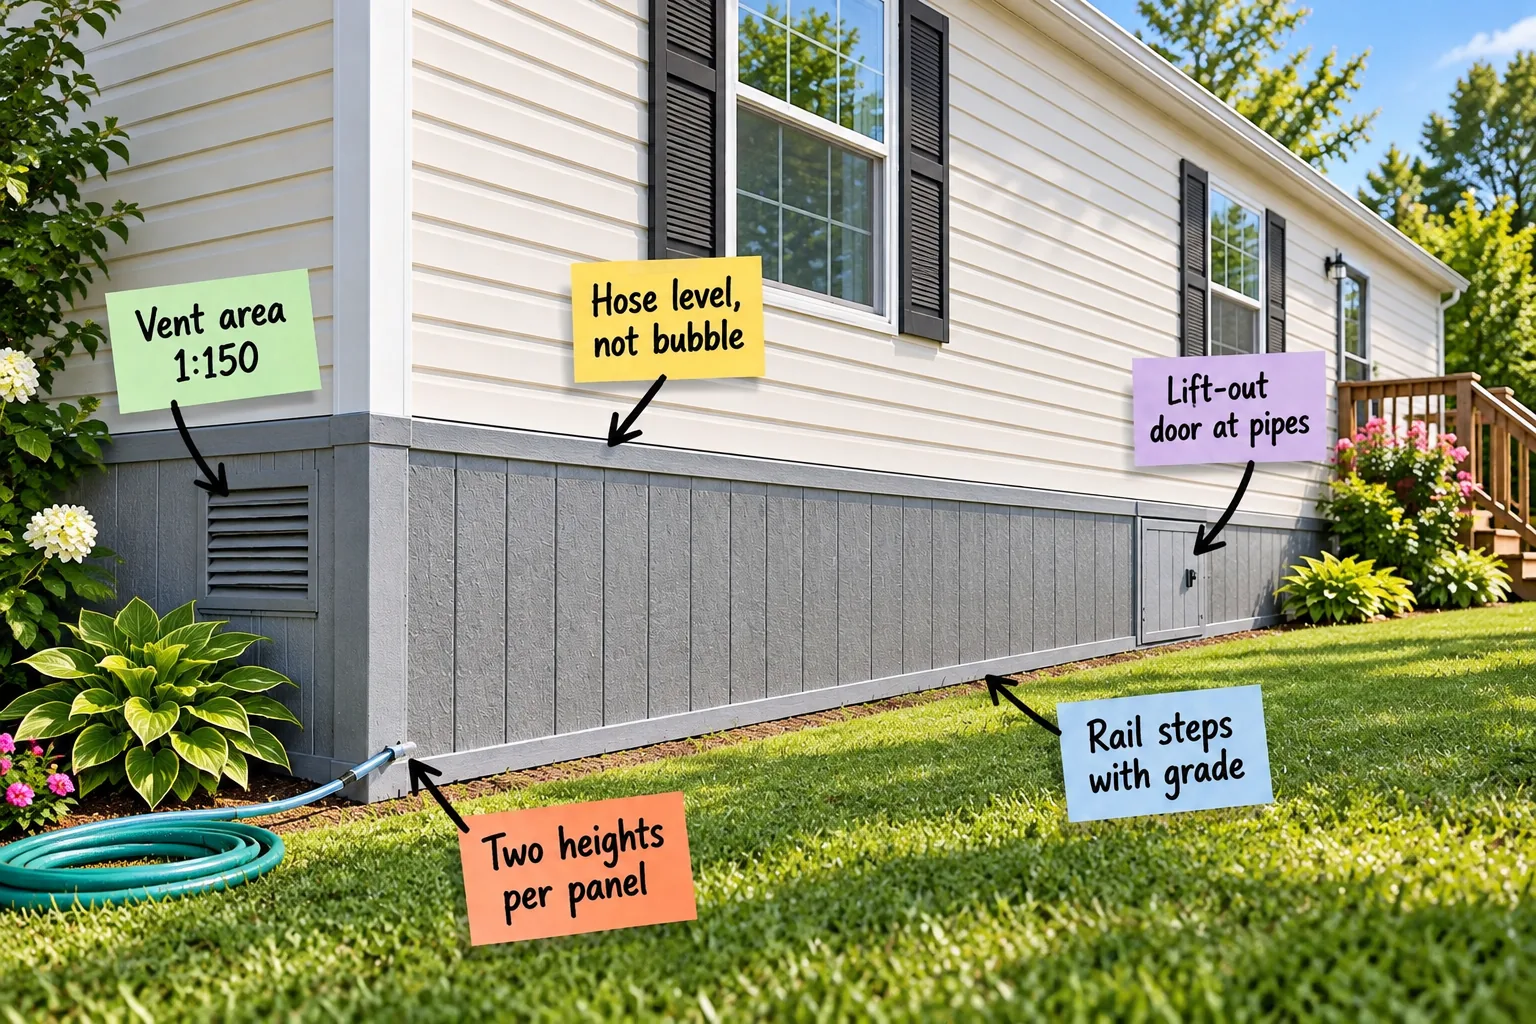
You will be able to measure, cut, and vent a perfectly level skirting installation on uneven ground using our printable Sloped-Lot Skirting Cut & Vent Sheet. We follow the installation geometry from the level top line down to the sloped ground, finishing with ventilation and access planning.
Establishing the Level Top Rail
Securing a perfectly horizontal top rail is impossible with a standard short level over long spans, so you must use a water-filled hose level instead. This simple tool guarantees your top rail remains perfectly horizontal just beneath the siding across the entire home.
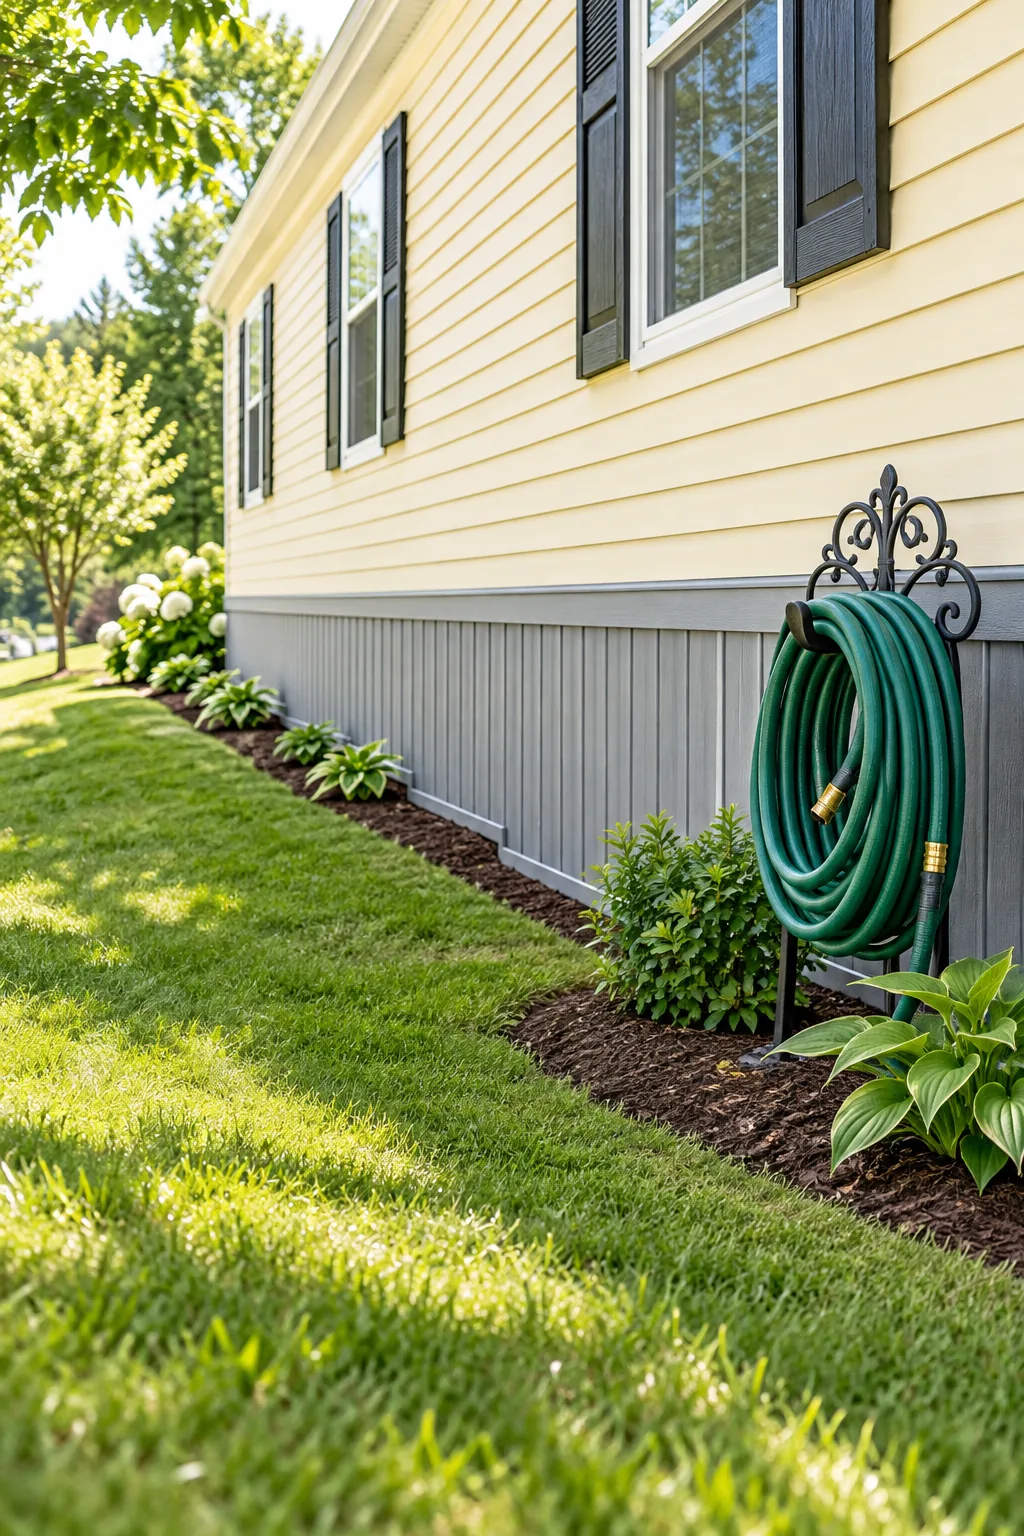
Establishing a true baseline with this liquid method dictates the accuracy of every subsequent cut you make around the perimeter. Once that top line is permanently locked in, you have a completely reliable reference point to measure down to the uneven soil below.
Choosing the Right Hose Level Diameter
When setting up your fluid measurement system, selecting the correct tubing size prevents air bubbles from ruining your horizontal baseline. A wider tube allows the water to settle much faster, which significantly speeds up the process of marking your top track locations.
- Purchase clear vinyl tubing with a minimum inner diameter of 3/8 inch to prevent capillary action.
- Fill the entire length with brightly dyed water so the meniscus is visible from a distance.
- Flush all trapped air bubbles out of the line before taking your very first measurement.
- Leave the reservoir bucket slightly elevated to maintain consistent fluid pressure throughout the long tubing.
Using this specialized fluid tool eliminates the compounding errors that happen when you flip a standard carpenter’s level end over end. You will save hours of frustrating adjustments simply by letting gravity determine the exact horizontal plane for your skirting project.
Marking the Siding for Track Placement
Snapping a crisp chalk line between your established fluid marks creates a highly visible guide for driving your mounting screws. This continuous bright line ensures your top rail pieces align perfectly at every seam, creating a flawless visual boundary against the home’s original siding.
Stepping the Bottom Track Downhill
Because the ground slopes considerably, your bottom rail must follow the contour by stepping down in distinct sections rather than bending. Securing it firmly into the soil or a treated wood perimeter ensures the track remains beautifully flat and completely tension-free.
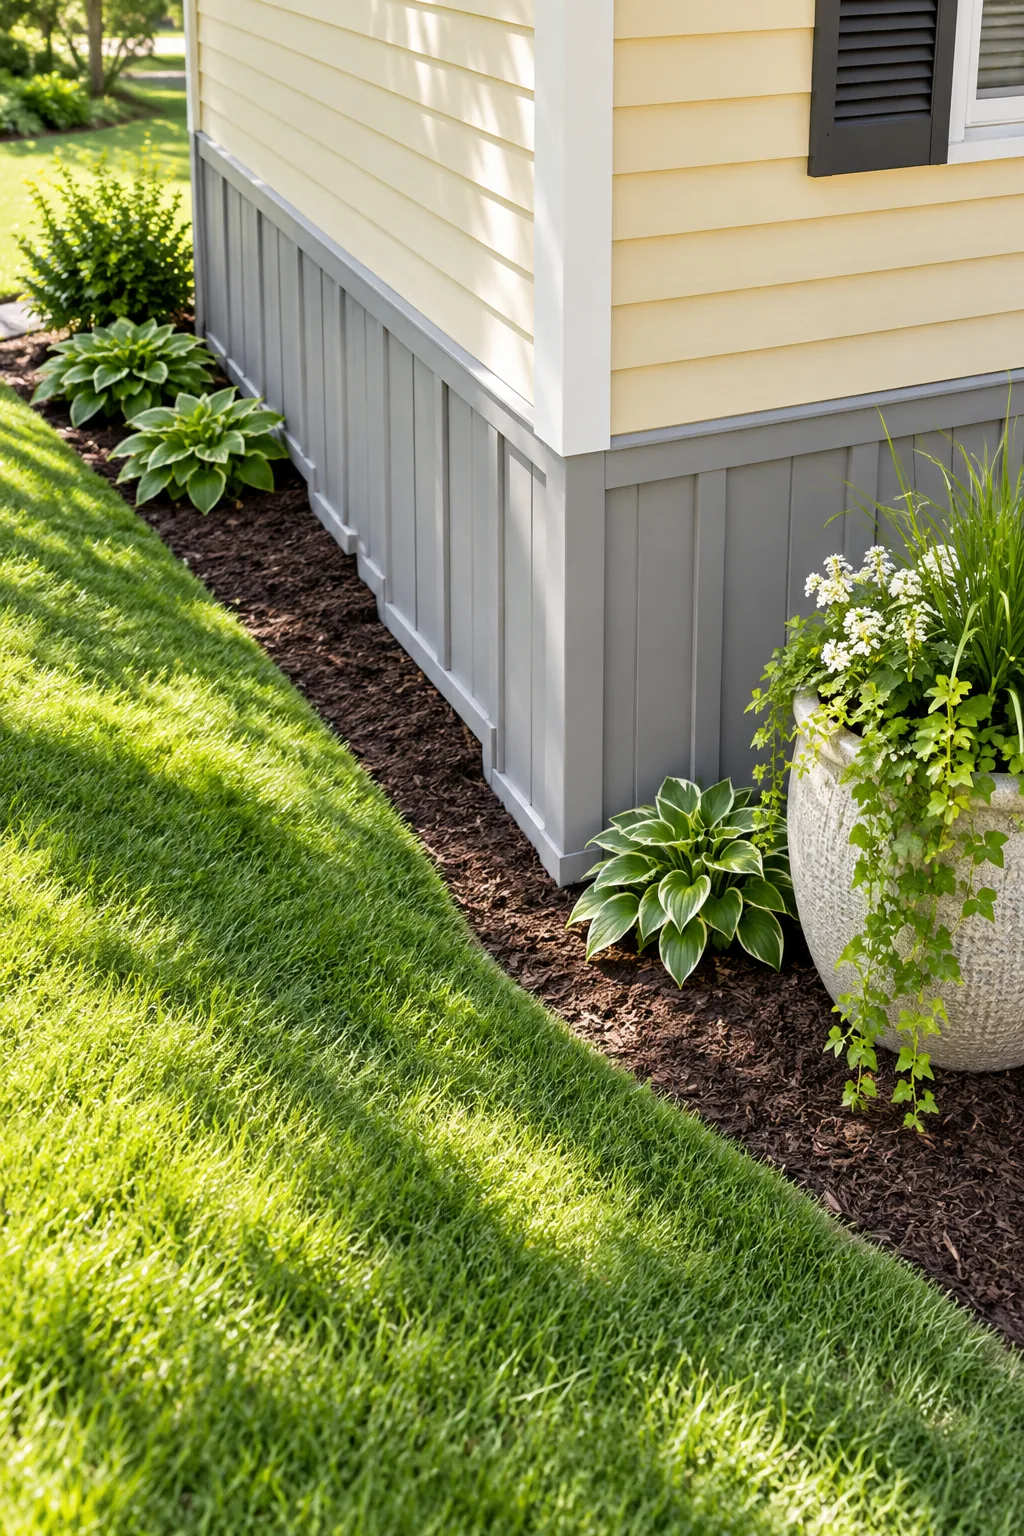
A track that steps cleanly with the grade prevents the vertical vinyl panels from warping outward under seasonal pressure. This stepped foundation allows you to lock the bottom edge of each panel securely without forcing the rigid material into an unnatural curve.
Securing the Track in Rocky Soil
Driving standard landscaping spikes through the bottom rail is often impossible when your sloped lot contains heavy gravel or buried stones. Upgrading your anchoring hardware ensures the stepped track will never shift downhill during heavy spring rainstorms or severe winter soil heaving.
- Dig a shallow, level trench for each stepped section to remove loose topsoil and small rocks.
- Lay down a heavy treated lumber perimeter directly into the trench to serve as a solid base.
- Drive heavy-duty galvanized rebar stakes through the lumber deep into the difficult subsoil below.
- Fasten the vinyl bottom track directly to the leveled lumber using exterior-grade deck screws.
Creating this reinforced wooden foundation absorbs the natural movement of the hillside while keeping your vinyl components perfectly aligned. Your skirting will remain incredibly durable because the structural load is carried by the anchored timber rather than the fragile plastic track.
Measuring Two Heights Per Panel
On a sloped lot, every vertical panel requires a custom angled bottom cut to sit flush against the stepped track. You must carefully measure the top-to-ground drop at both the left and right edges of each panel position to determine the exact angle.
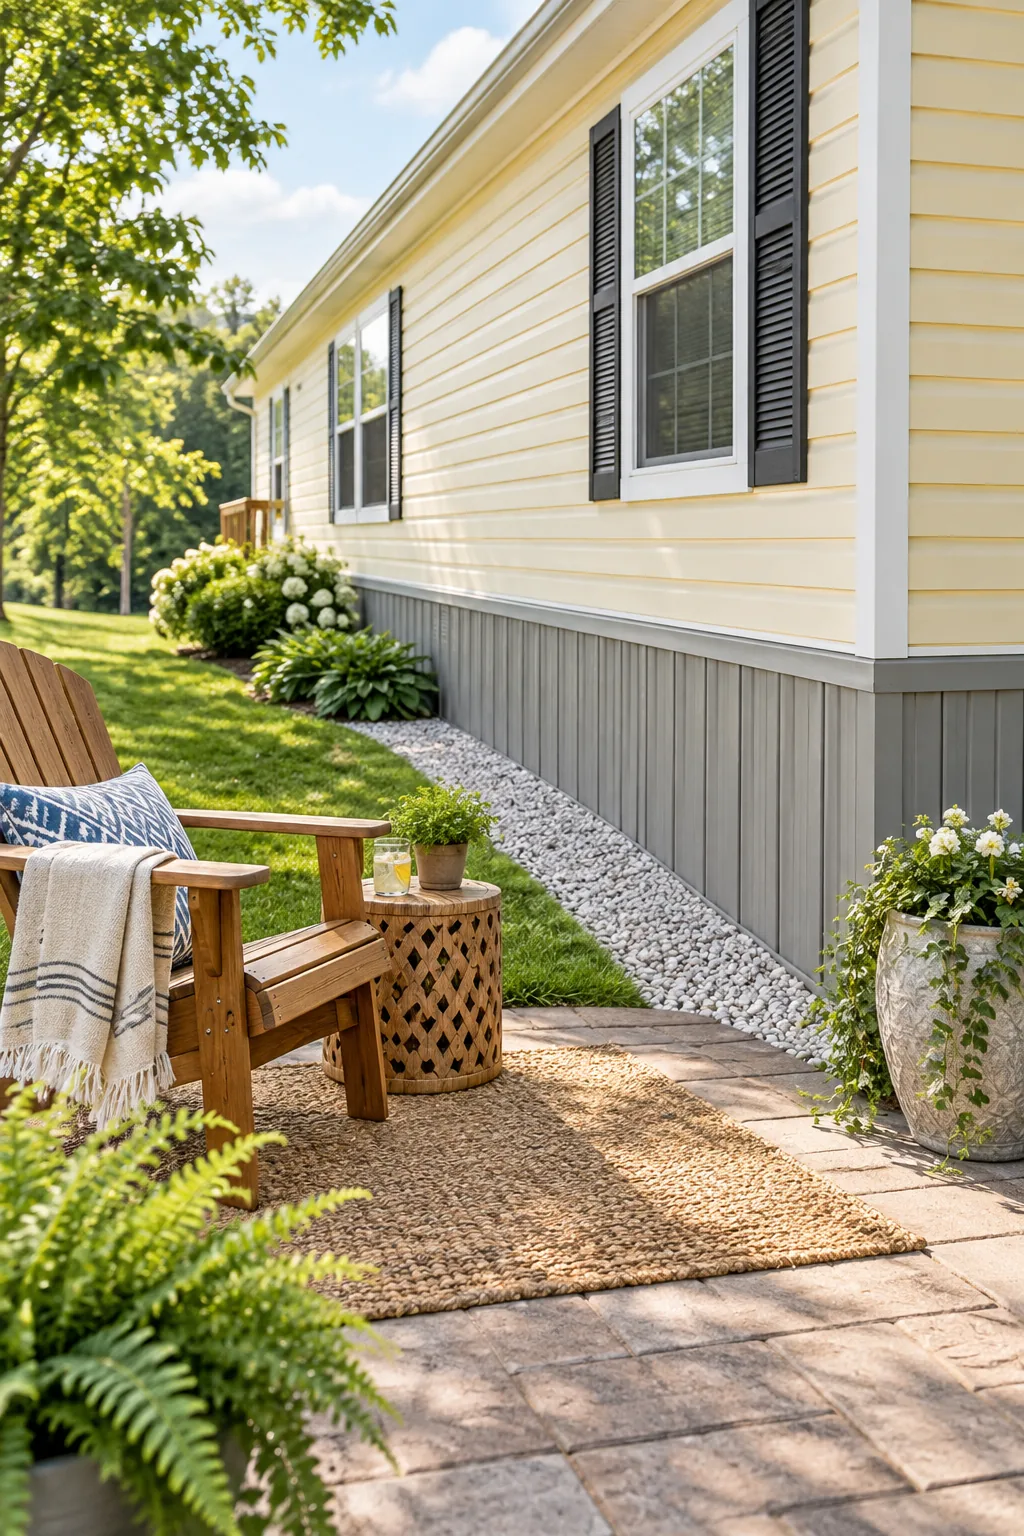
Recording these two distinct vertical heights guarantees your panel matches the slope perfectly without leaving unsightly gaps at the corners. Taking the time to capture both dimensions prevents the jagged, uneven look that ruins so many DIY mobile home skirting installations.
Transferring Angles to the Cutting Station
Drawing a straight line between your two distinct height marks on the vinyl panel creates the exact cutting path required. Using a fine-tooth circular saw blade installed backward prevents the thin plastic from shattering as you slice through the long angled profile.
Sizing the Crucial Expansion Gap
Before cutting any panels, you must subtract the manufacturer-specified expansion gap from your total drop measurements. This critical empty space left between the ground and the panel bottom prevents winter frost heave from pushing upward and permanently buckling your expensive vinyl.
Even the most precise angled cuts will fail completely if the skirting cannot move freely within its tracks. Ground swells significantly during seasonal freeze-thaw cycles, and your installation must accommodate that massive upward shift without transferring the intense pressure to the siding.
Accounting for Ground Swell Variations
Properties with heavy clay soil require a slightly larger expansion allowance because they retain more water and heave violently when frozen. Checking your local building authority’s recommendations for frost depth will help you adjust the standard gap to survive your specific regional climate.
Calculating the 1:150 Vent Ratio
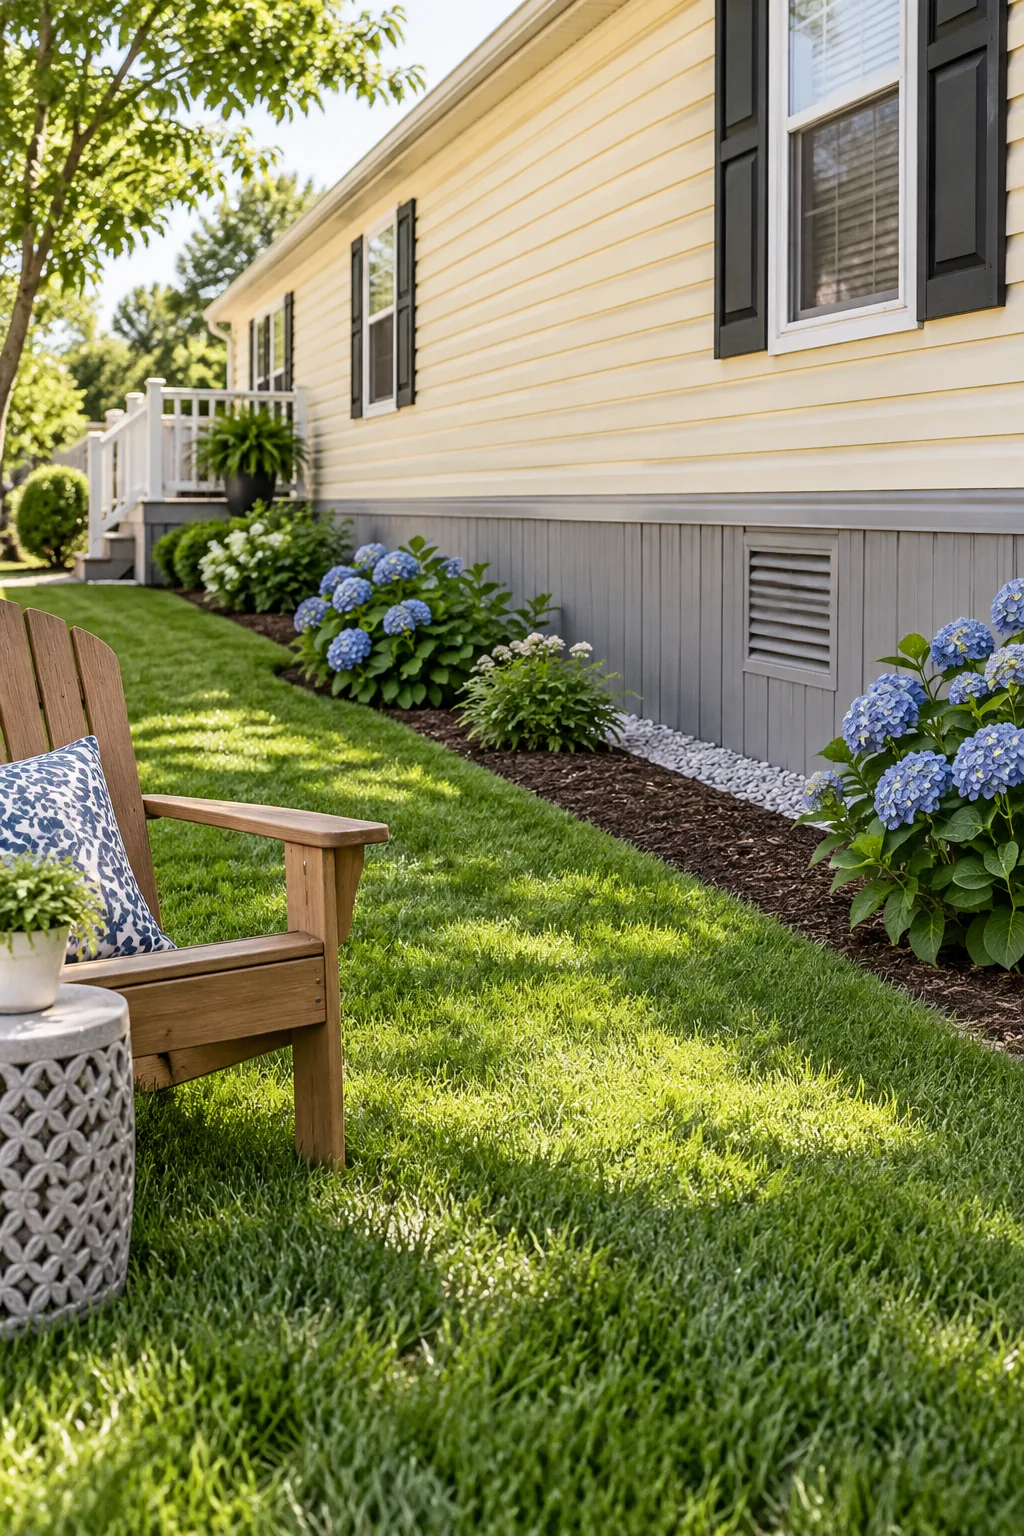
The standard building code requires a strict 1:150 ventilation ratio to keep the enclosed crawlspace completely dry year-round. This means you need exactly 1 square foot of net free vent area for every 150 square feet of interior floor space above.
| Home Size (Sq Ft) | Required Free Area | Standard Vent Panels | Corner Placements |
|---|---|---|---|
| 800 | 5.3 sq ft | 6 panels | 4 panels |
| 1,000 | 6.6 sq ft | 8 panels | 4 panels |
| 1,200 | 8.0 sq ft | 10 panels | 4 panels |
| 1,400 | 9.3 sq ft | 12 panels | 4 panels |
| 1,600 | 10.6 sq ft | 14 panels | 4 panels |
Translating your total home square footage into the required number of louvered vent panels keeps trapped moisture from rotting your floor joists. Once you calculate the exact total panel count, you can start mapping out their permanent locations along the sloped perimeter.
Adjusting Vent Ratios for Damp Climates
Homes built over unusually damp soil or active springs often benefit from upgrading to a more aggressive 1:100 ventilation ratio. Adding these extra louvered panels ensures aggressive cross-breezes can evaporate the persistent ground moisture before it ever reaches your delicate fiberglass floor insulation.
Positioning Vents Near the Corners
Building codes generally require vents to be placed within 3 feet of each corner to eliminate stagnant dead air pockets under the home. When I skirted my own sloped backyard studio, marking these mandatory corner spots first saved me from having to pull and recut panels later.

Once those crucial corner locations are permanently locked in, you must distribute the rest of your calculated vent panels evenly. Spacing them out systematically maximizes the healthy airflow across the entire footprint of the foundation, keeping the hidden crawlspace fresh and dry.
Framing Around Corner Obstructions
If a concrete patio or heavy utility meter blocks your ideal corner vent location, simply shift the louvered panel to the nearest clear section. Maintaining the continuous airflow pattern is far more important than achieving perfect visual symmetry on the exterior of your mobile home.
Building Lift-Out Doors for Utility Access
Framing a removable access panel directly beneath your water and drain connections is absolutely essential for emergency winter maintenance. I learned this the hard way when a pipe froze under my Austin home, and I had to frantically unscrew frozen panels because I hadn’t built a lift-out door at the pipes.
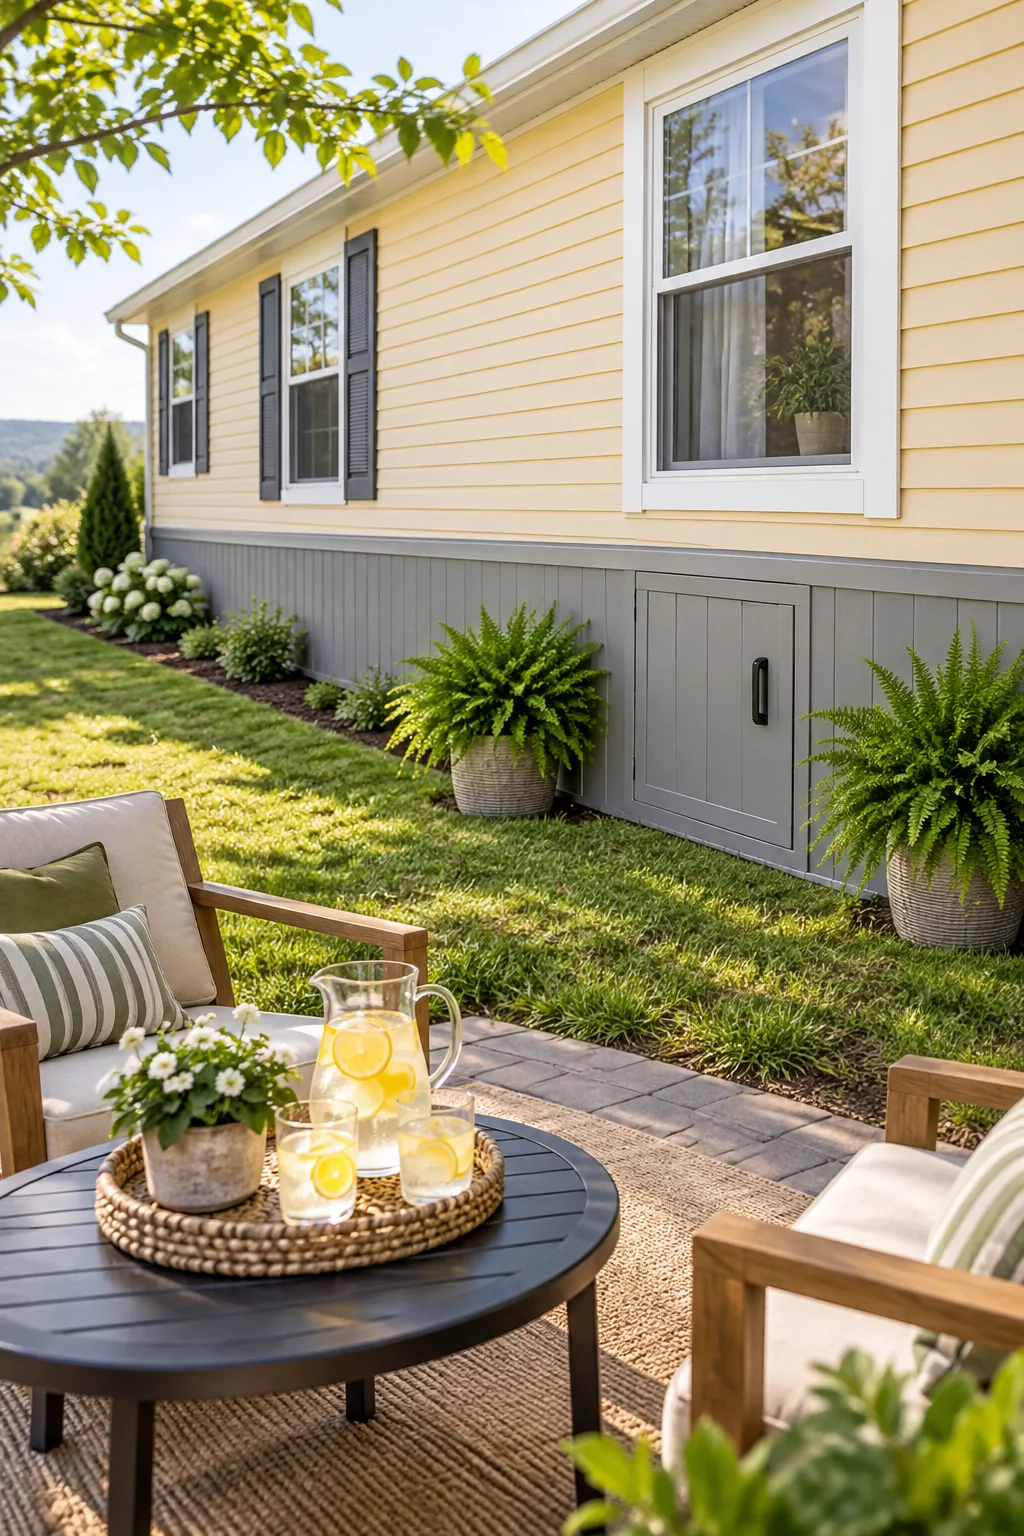
Placing this reinforced lift-out door directly beneath the bathroom or kitchen window ensures rapid, stress-free access during messy plumbing emergencies. A well-framed utility door drops smoothly into the bottom track while remaining completely secure against heavy winds and curious neighborhood wildlife.
Weatherstripping the Utility Access Panel
Adding a thick layer of foam weatherstripping around the interior frame of your lift-out door prevents freezing drafts from blasting your exposed water lines. This simple insulating upgrade takes only five minutes but provides incredible peace of mind when the winter temperature unexpectedly plummets overnight.
Using the Sloped-Lot Skirting Cut Sheet
Our printable Sloped-Lot Skirting Cut & Vent Sheet tracks your complex panel-by-panel grid and required expansion gaps effortlessly. Last spring, having this exact sheet on a clipboard kept me perfectly organized while batch-cutting twenty angled panels for a steep hillside project in the blazing sun.
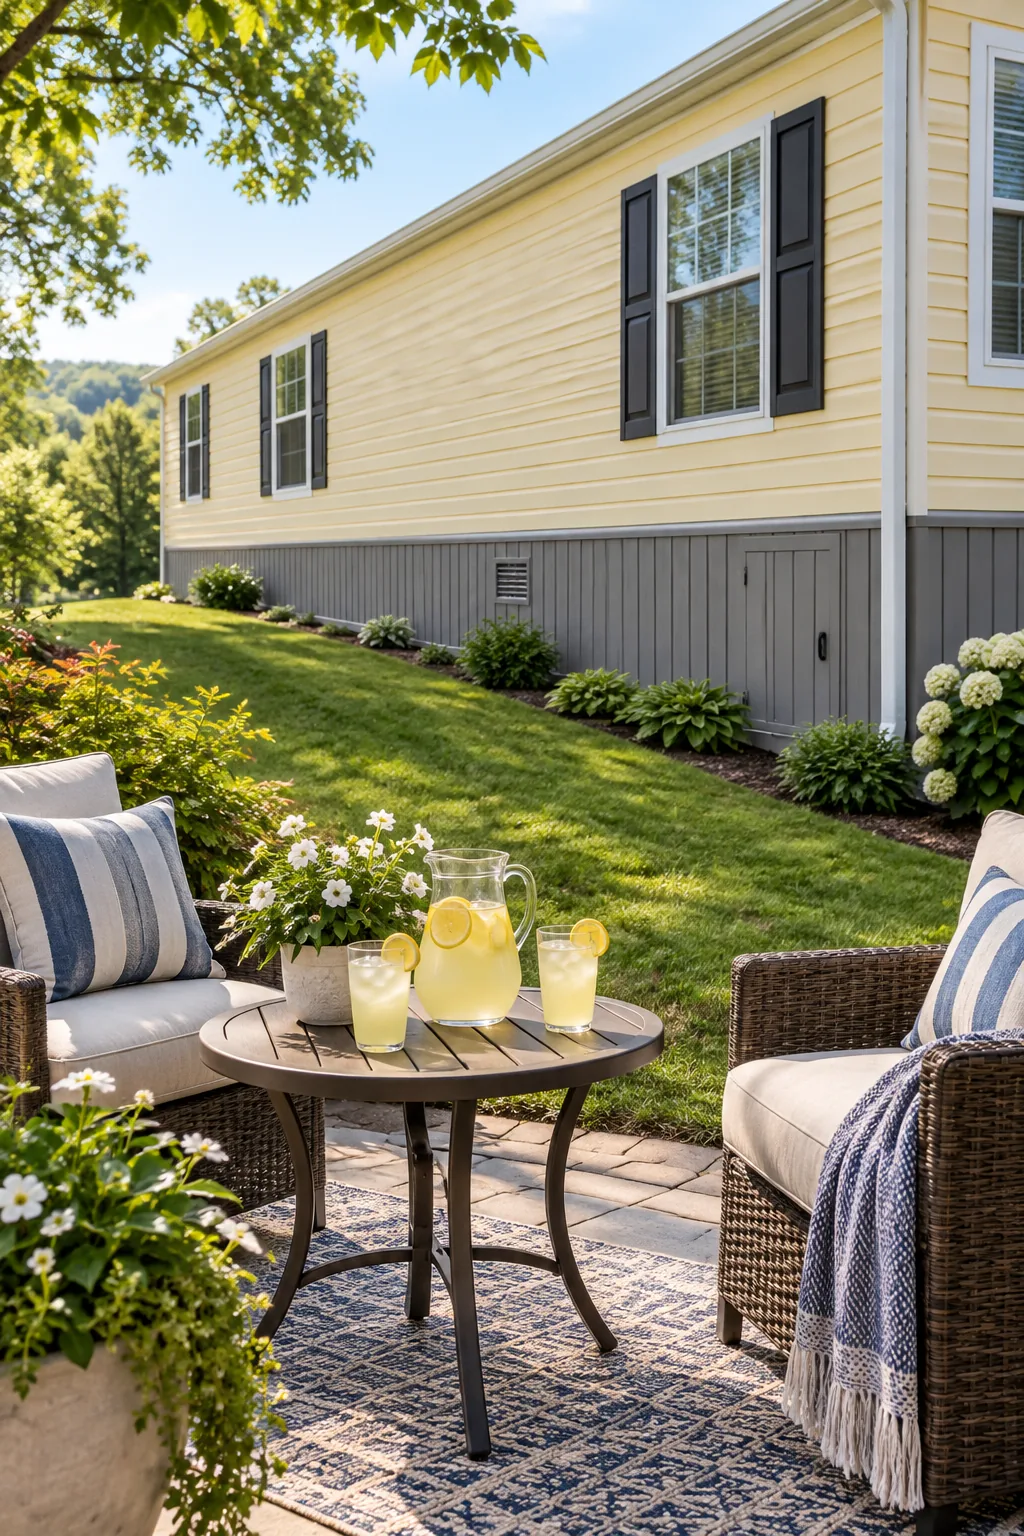
Page two handles the vent ratio math and provides a visual corner placement checklist so your crawlspace breathes properly from day one. Print this comprehensive guide before you measure a single drop, and you will confidently master any uneven ground without wasting expensive materials.
5 Sloped-Lot Skirting Styles to Inspire Your Exterior
Before you start measuring your drop, explore how different materials and colors can completely transform your home's foundation.
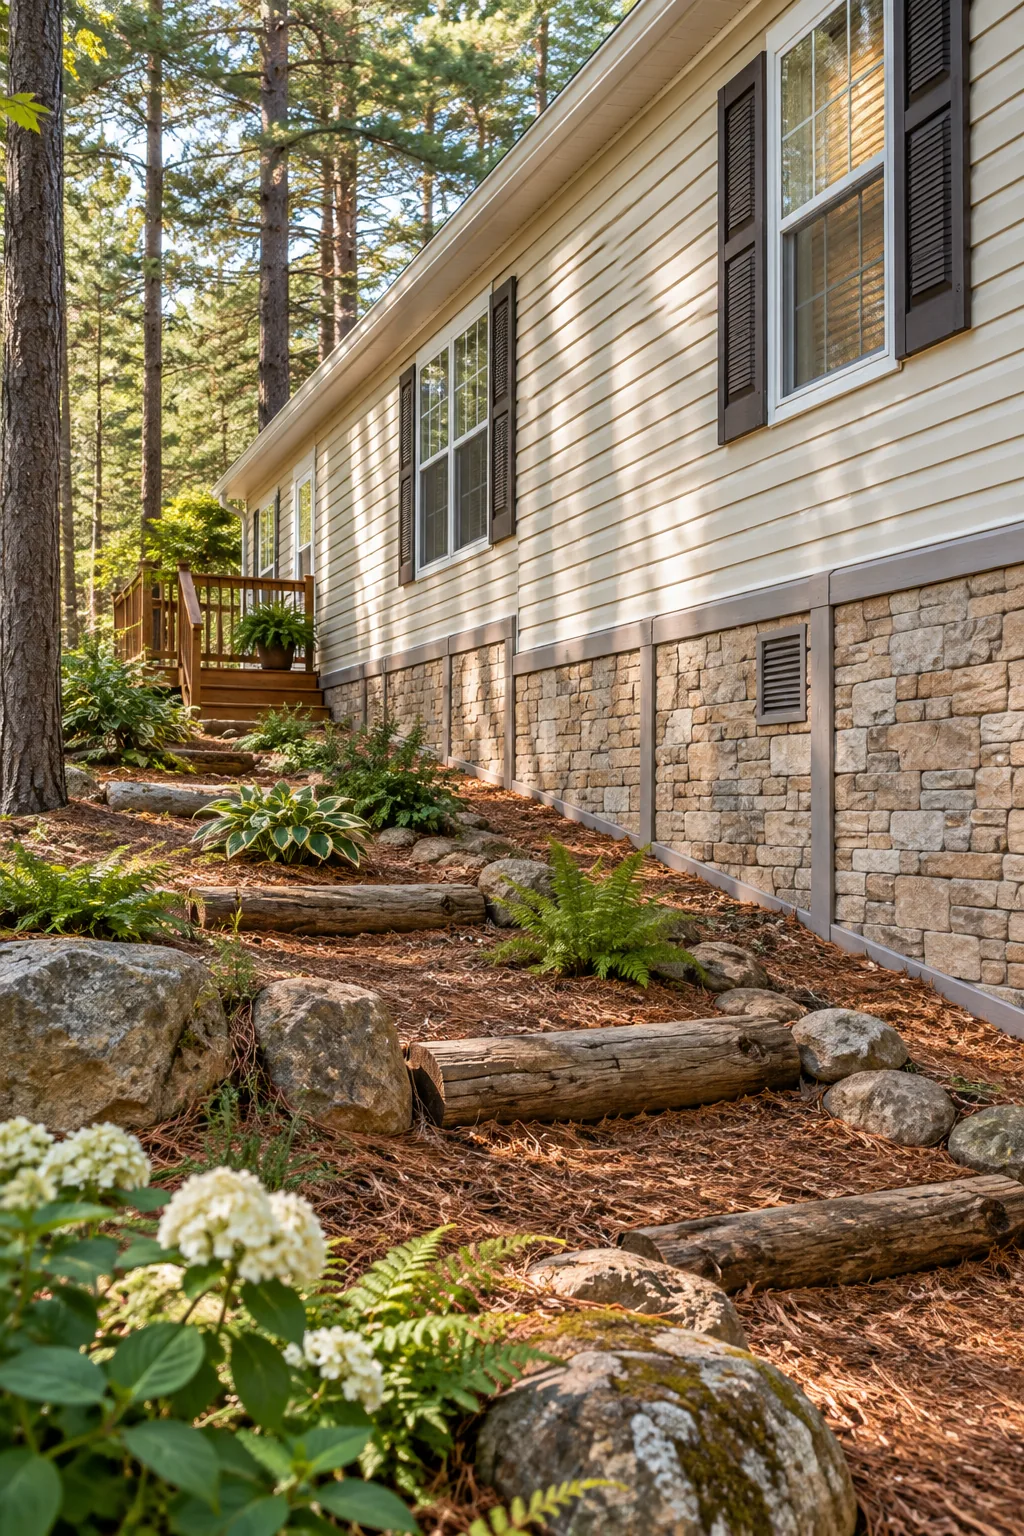
Rustic Faux Stone: Faux stone panels offer incredible texture and easily disguise uneven ground when stepped down a steep woodland grade.
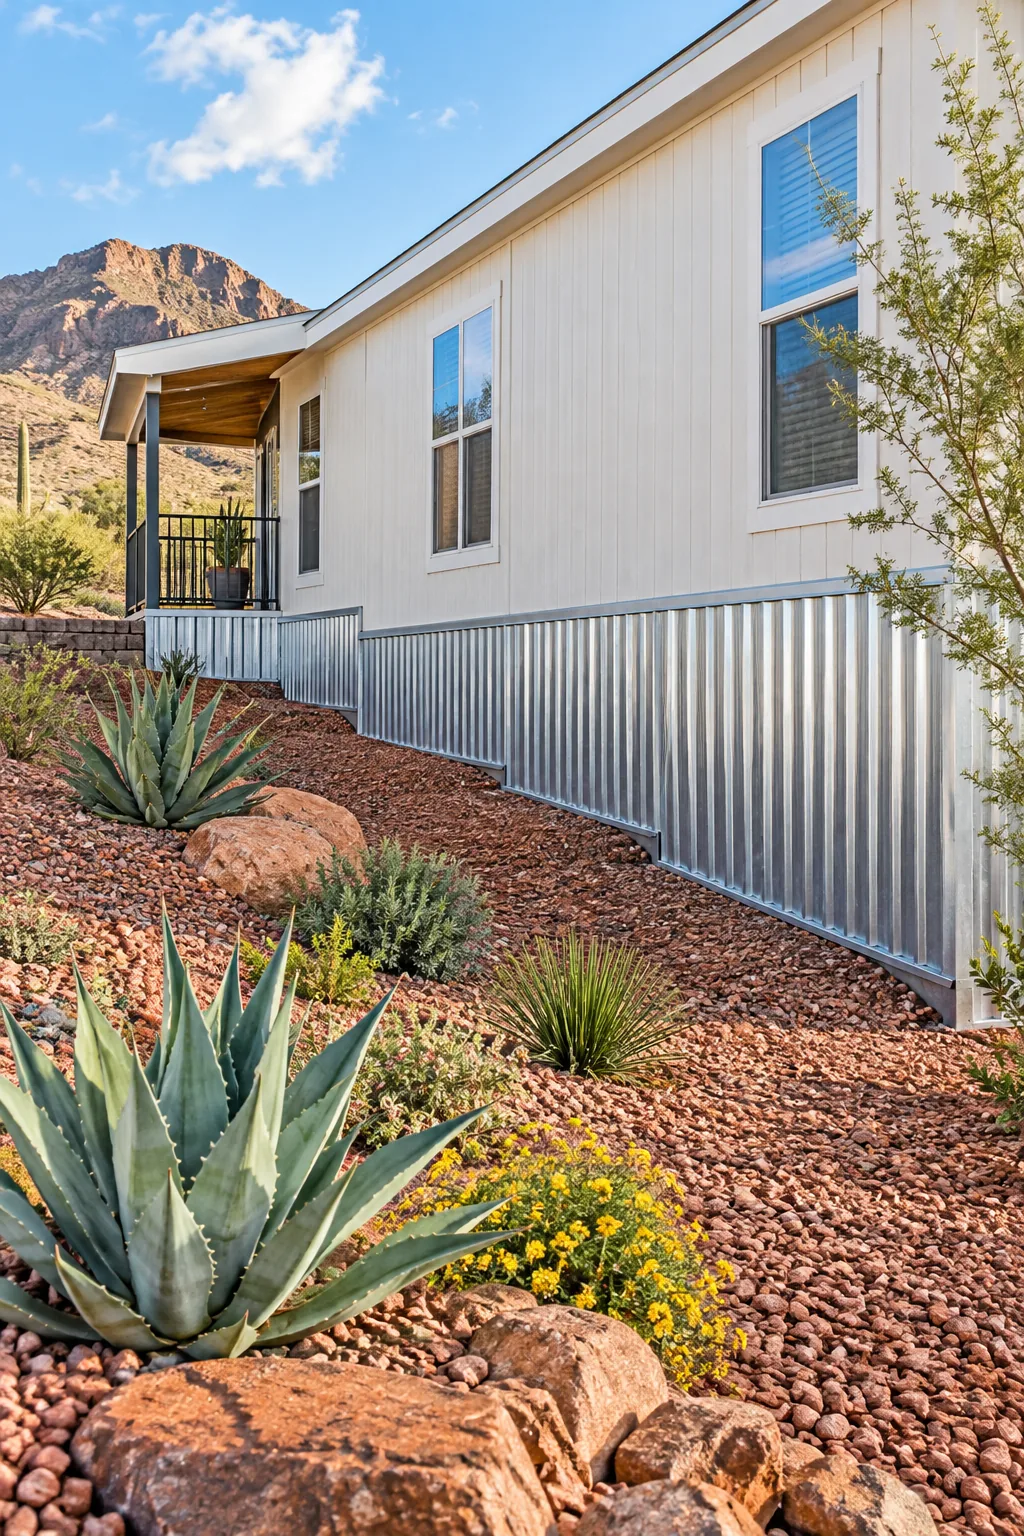
Galvanized Corrugated Metal: Corrugated metal brings an industrial, modern edge to the exterior while standing up flawlessly to harsh desert climates.
Backed White Lattice: Installing solid black backing behind traditional white lattice creates depth and hides the framing while maintaining a classic cottage feel.

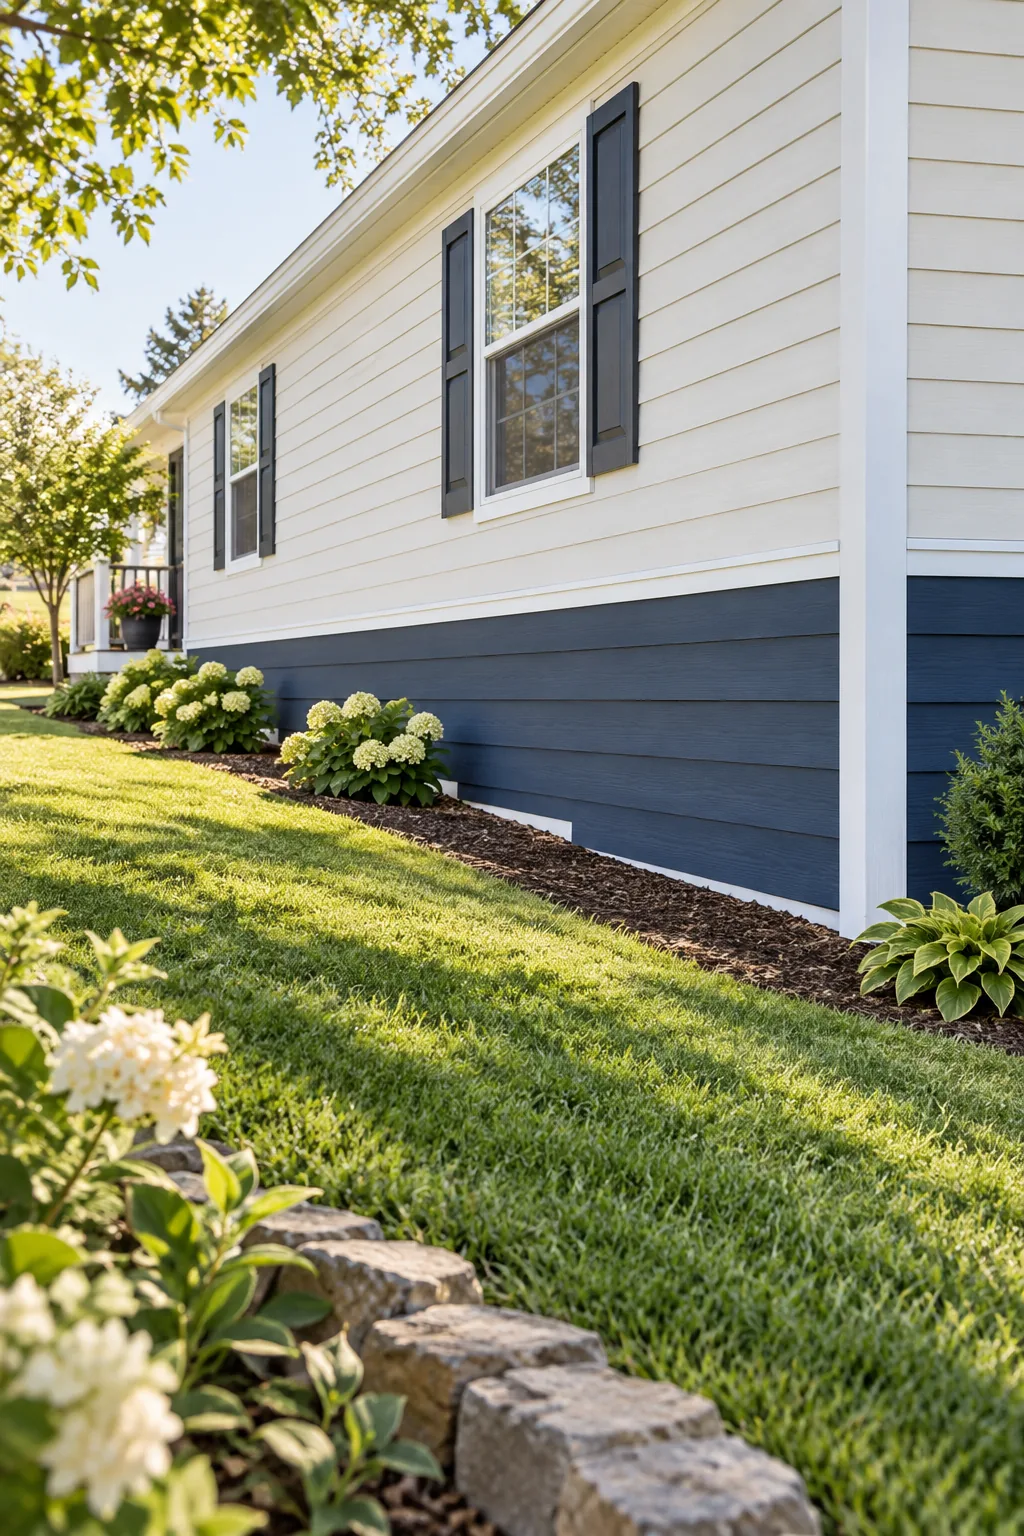
Navy Fiber Cement: Horizontal fiber cement boards painted in a bold navy blue give the foundation the permanent, high-end look of a site-built home.
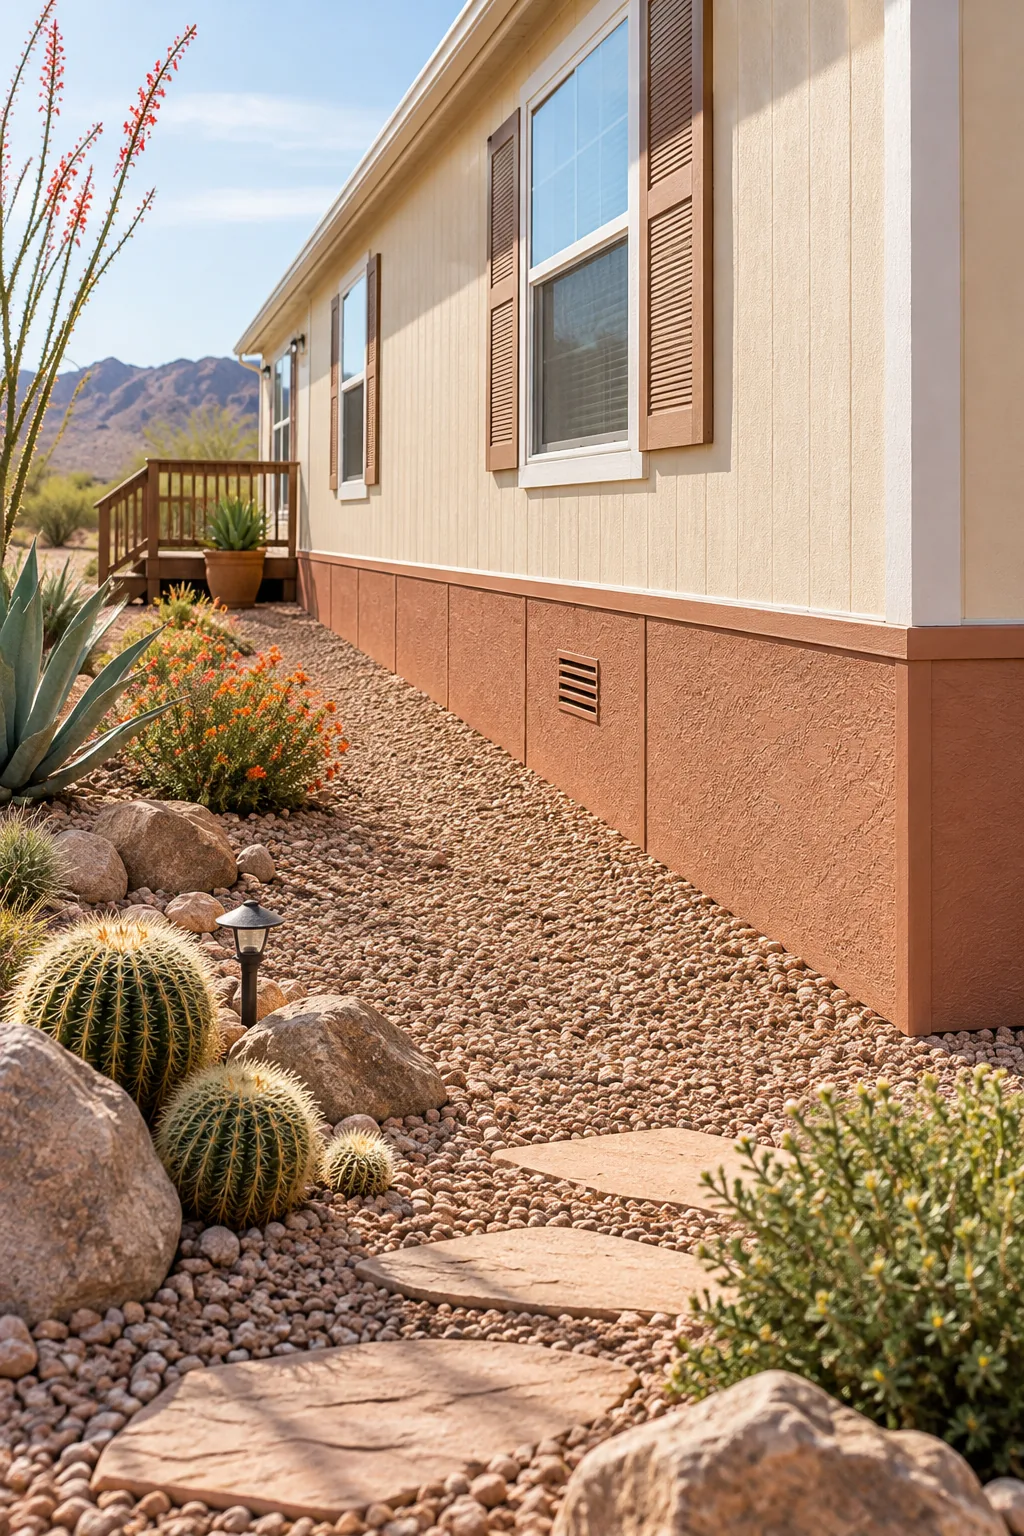
Terracotta Stucco Foam: Insulated foam panels with a textured stucco finish provide excellent thermal protection while blending seamlessly into a southwestern landscape.