
13+ Brilliant Bathroom with Tub and Shower Ideas
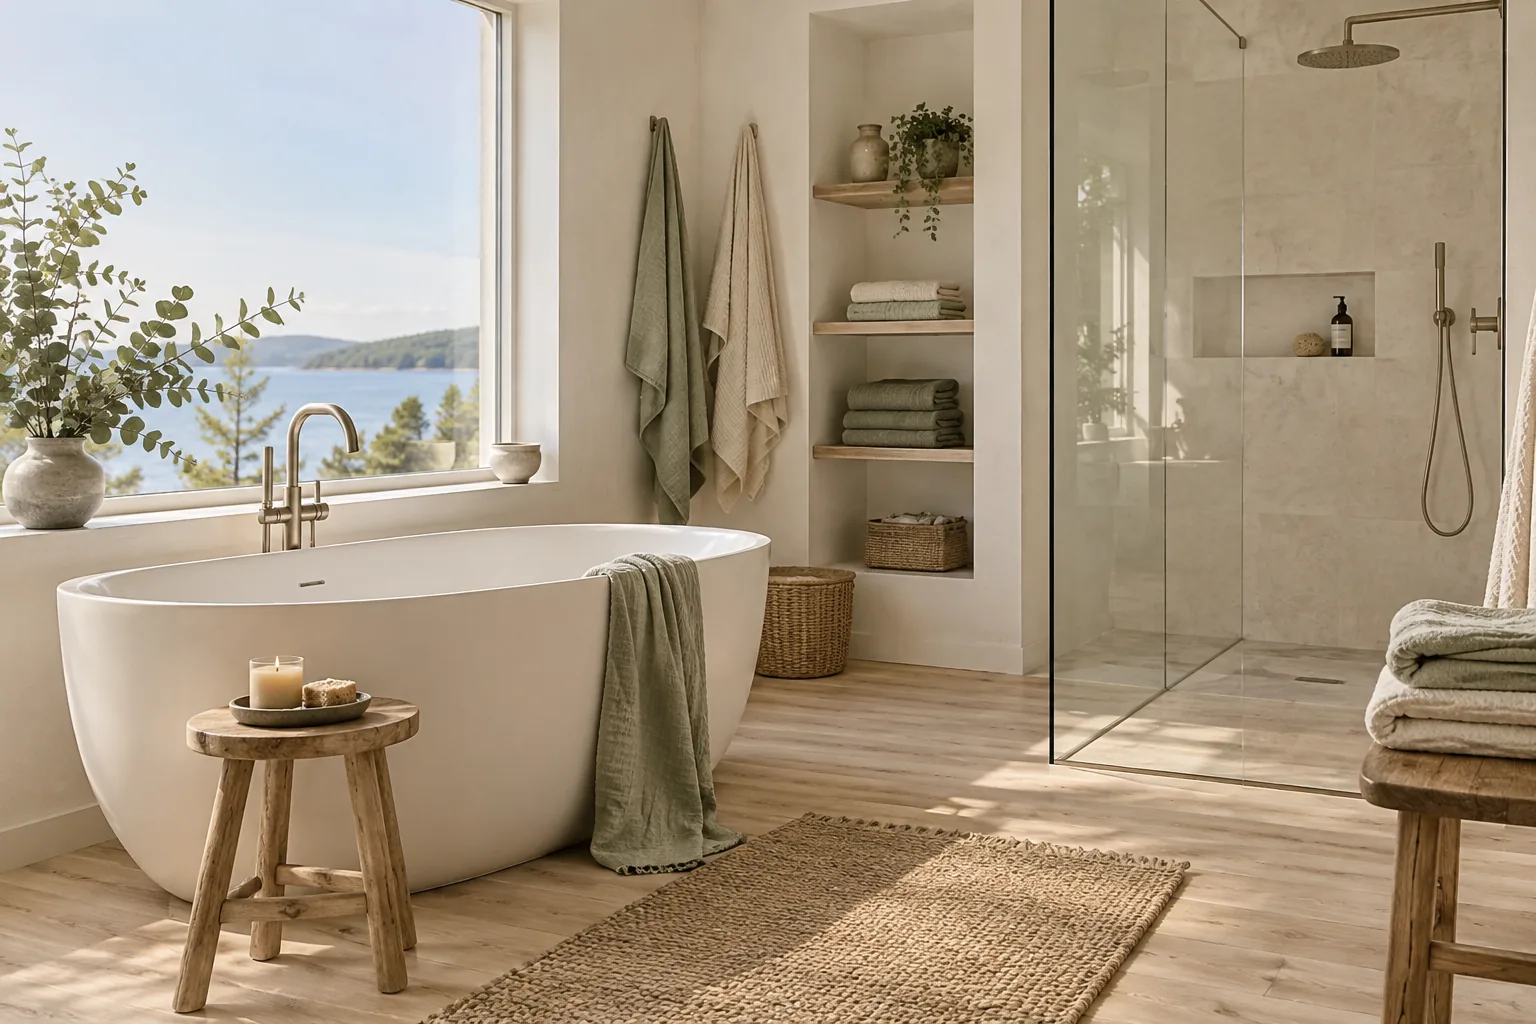
Fitting a bathroom with tub and shower into one space requires smart layout planning and the right fixtures. I use these layout tricks constantly to give my clients the luxury of both without making the room feel cramped.
1. Glass Enclosed Wet Room
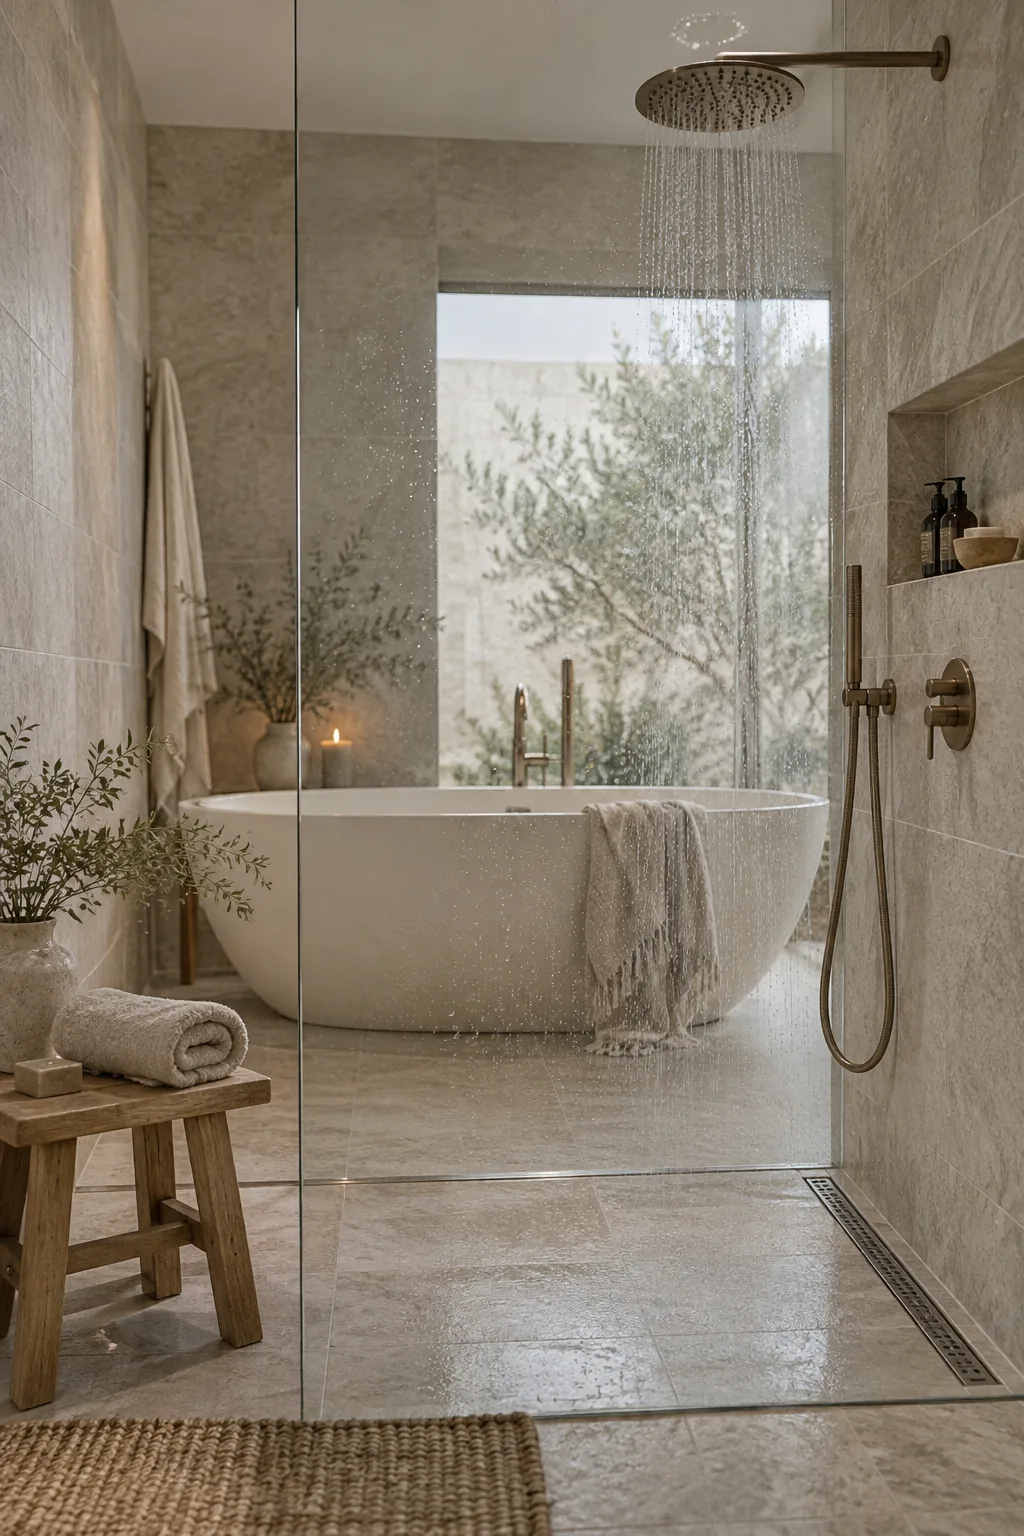
A standard wet room layout takes up roughly 30 square feet of your bathroom footprint. Placing a freestanding tub directly behind the shower zone keeps all the splashing contained while maximizing your usable floor space.
2. Built-In Tub with Glass Partition
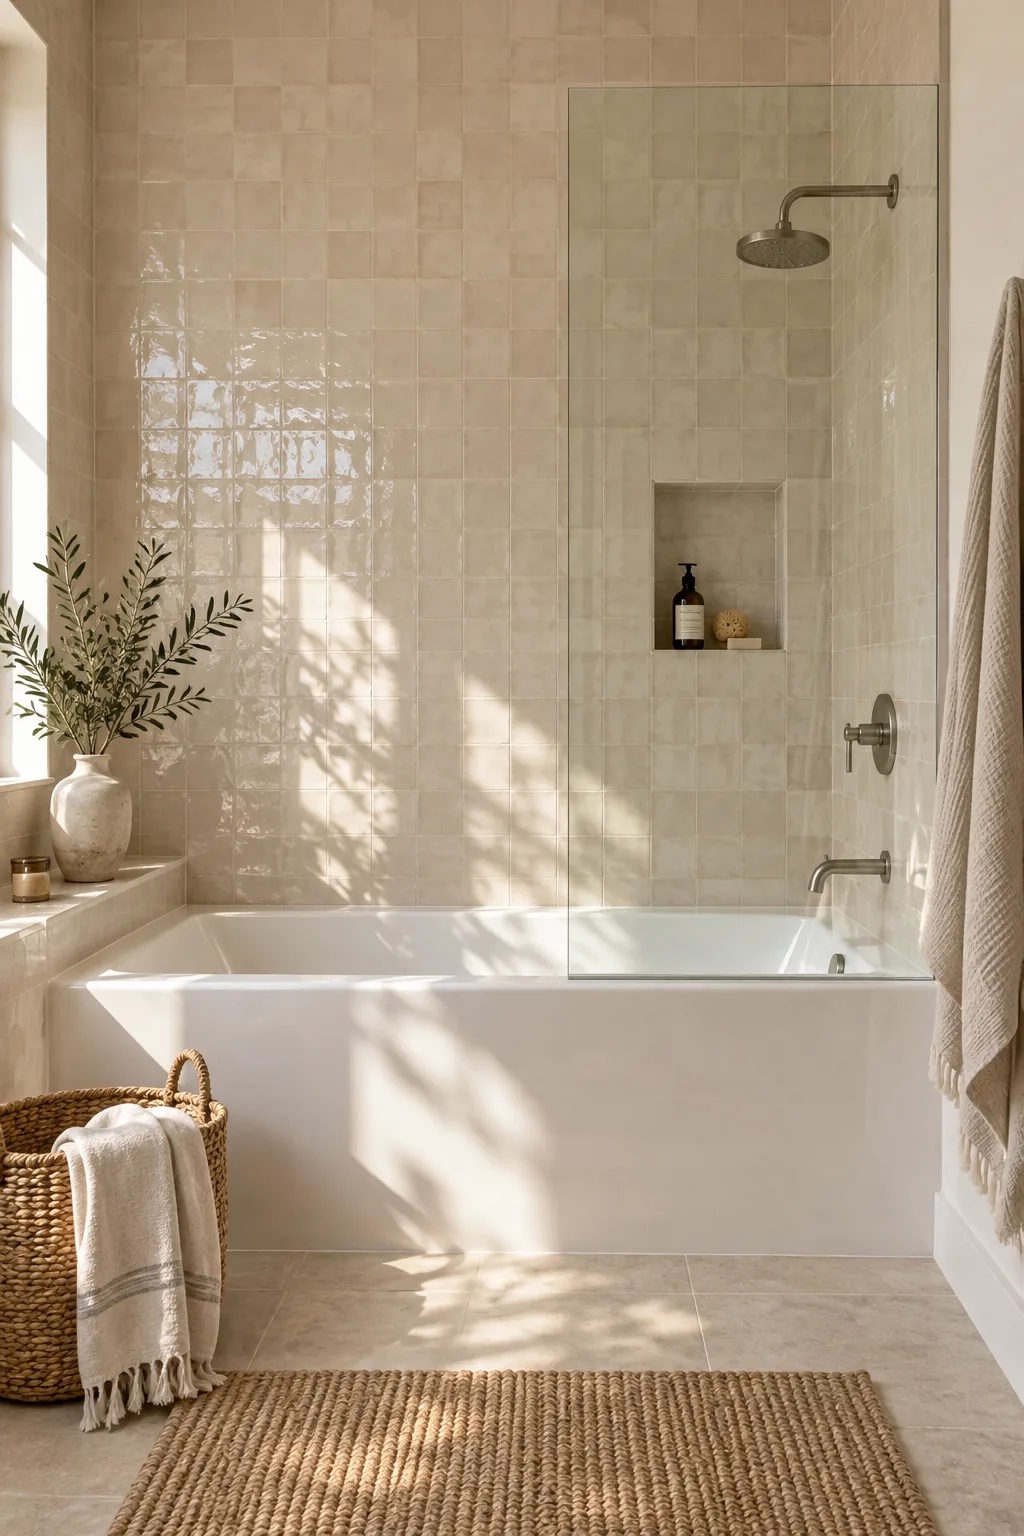
Using a half-glass wall instead of a shower curtain instantly opens up the room visually.
You get the functionality of a combo unit without the heavy, dated look of a solid enclosure. The glass allows natural light to bounce around the space, highlighting your tile work.
Why it works: Why it works: A clear sightline makes a standard-sized bathroom feel twice as large.
3. Cohesive Tile Wrapping
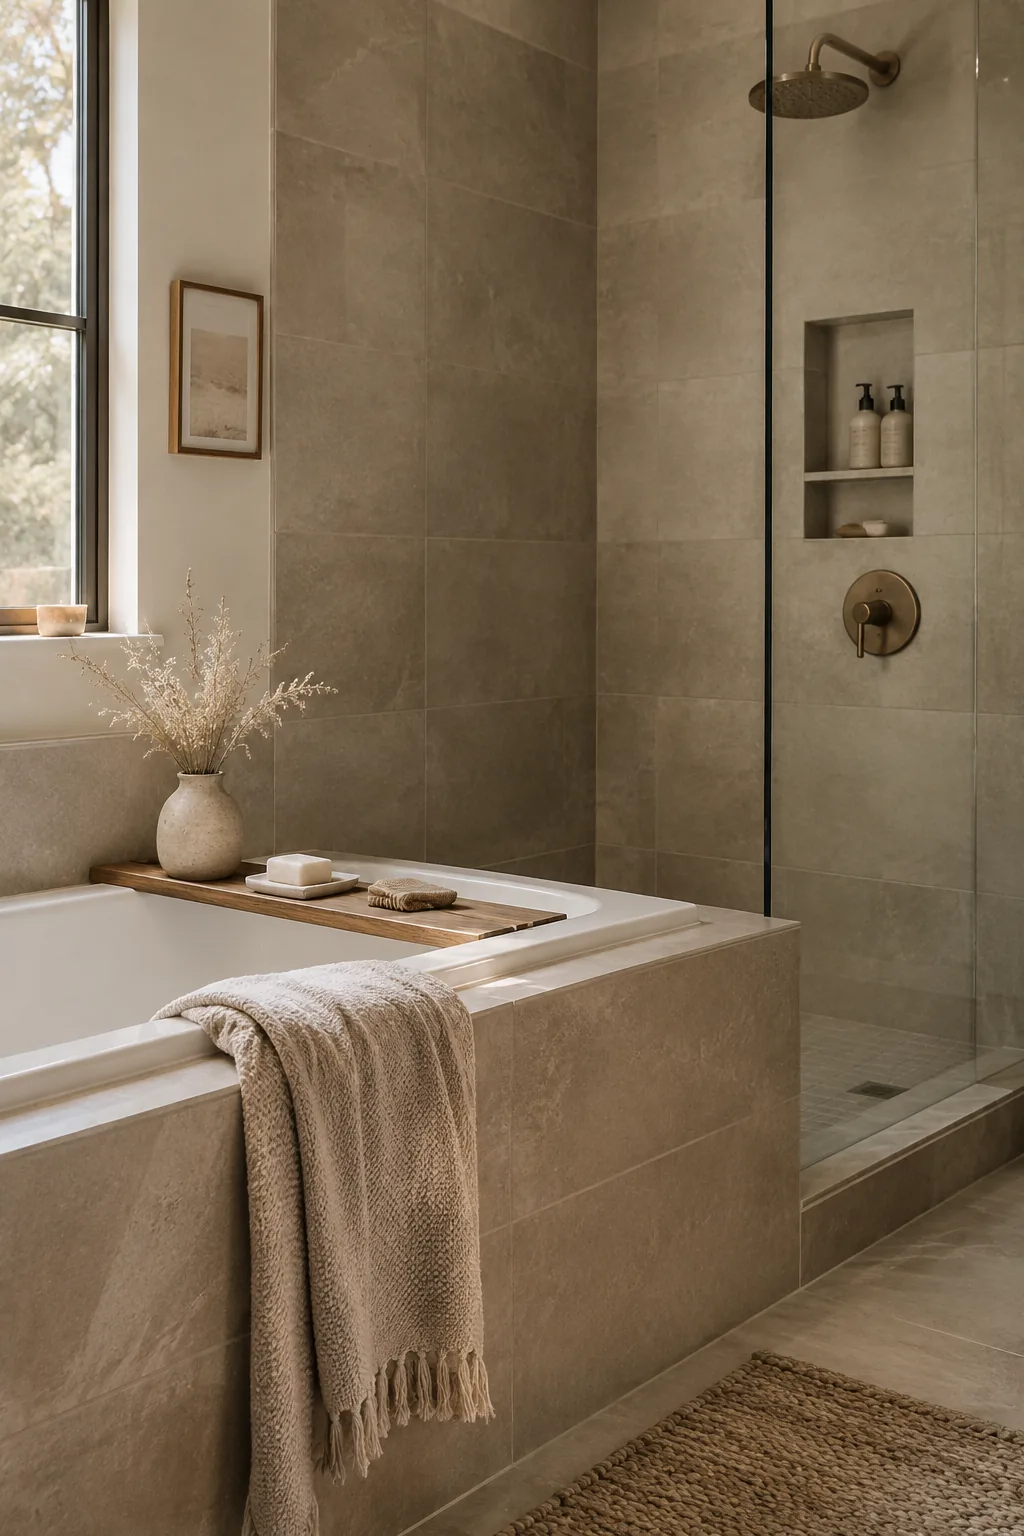
A seamless, spa-like aesthetic happens when you run the exact same large format tile across the shower walls and around the tub surround. This visual continuity grounds the space, leaving room to add character with:
- Matte black plumbing fixtures
- Warm wood floating shelves
- A plush textured bath mat
4. Corner Tub Beside a Walk-In
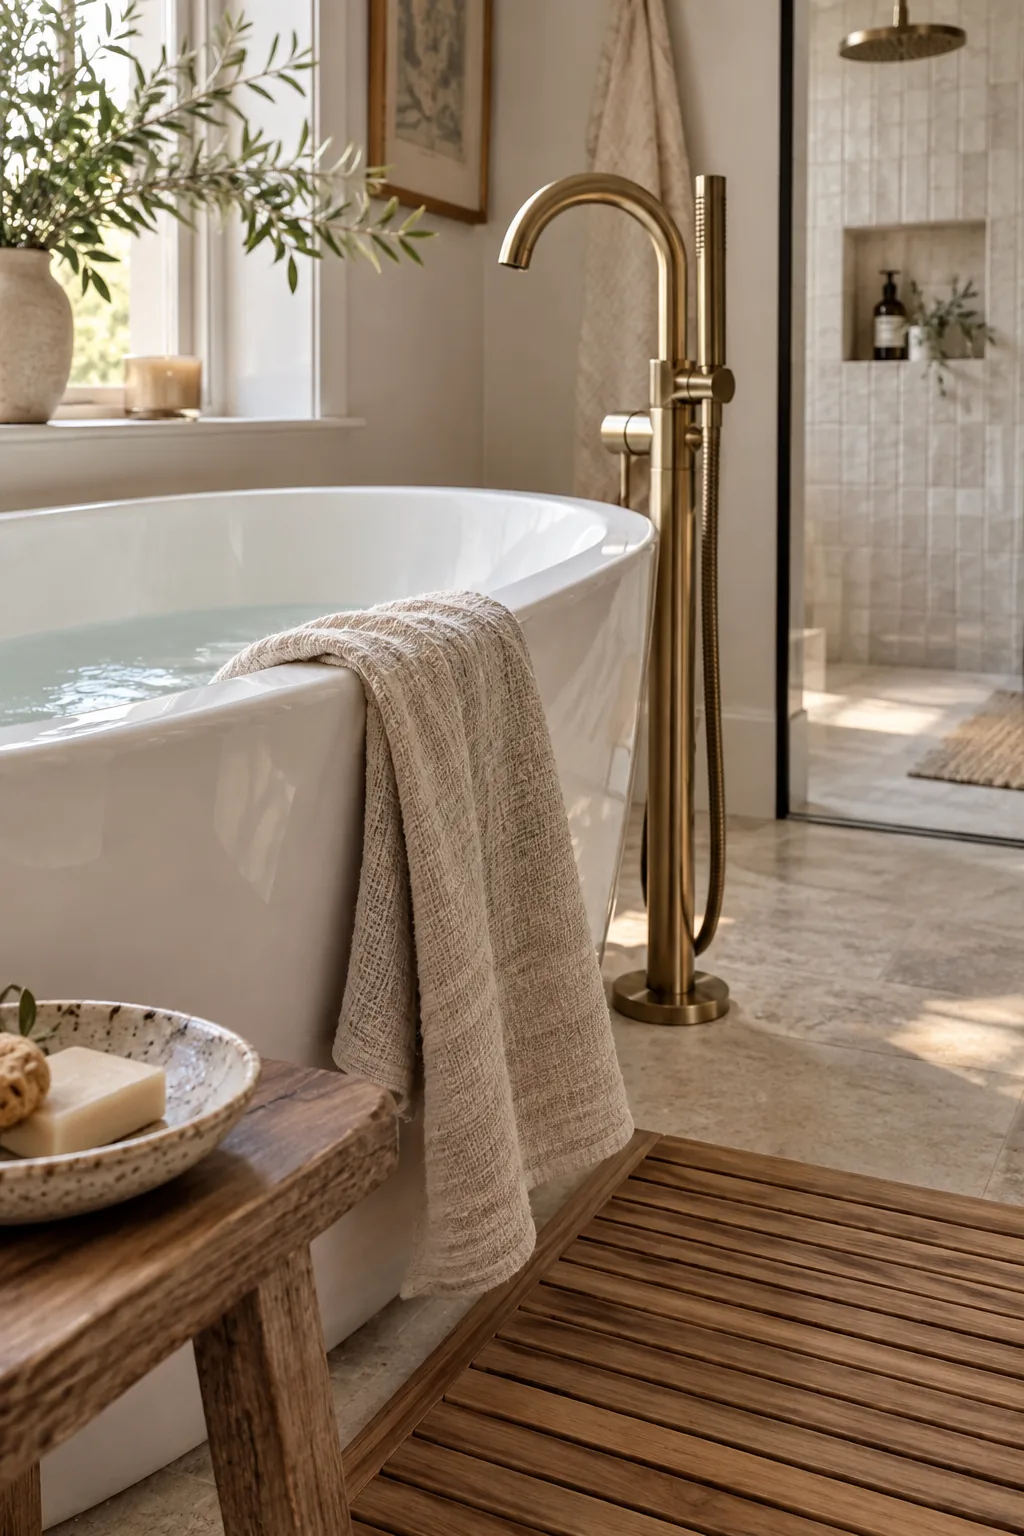
Angling a freestanding soaking tub into a dead corner leaves the adjacent wall completely open for a spacious shower stall. It utilizes every awkward inch of a square room while keeping the traffic path clear.
Why it works: Why it works: Corner placements naturally draw the eye diagonally, making the floor plan feel deeper.
5. Side-by-Side Symmetrical Layout
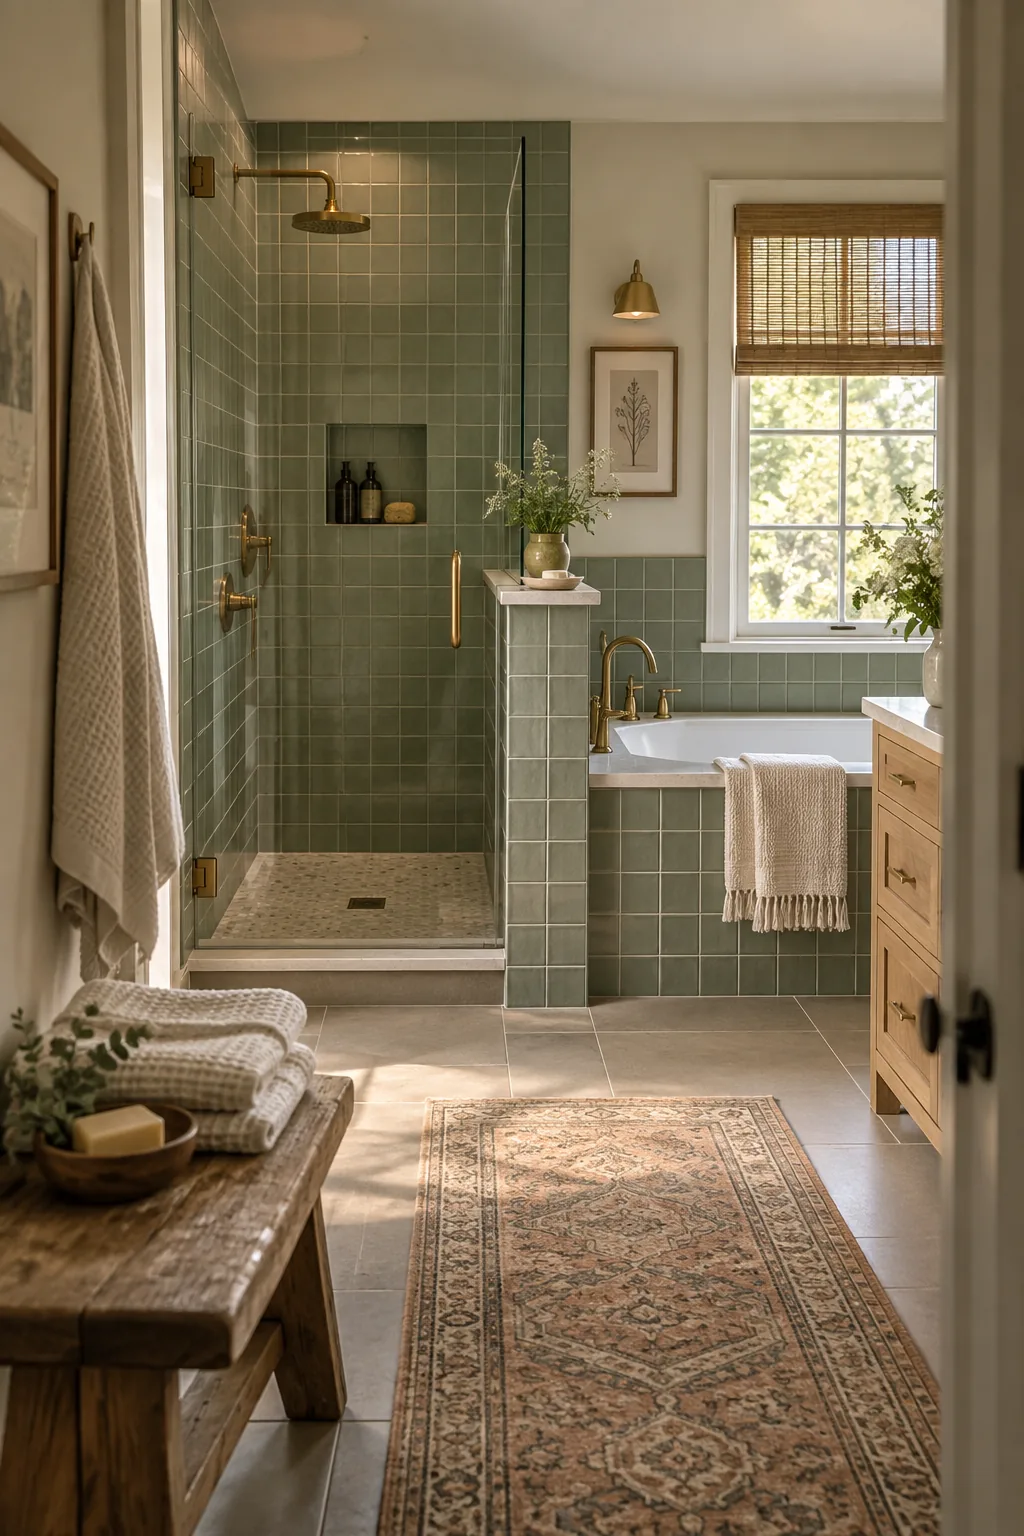
A balanced layout requires at least 10 feet of uninterrupted wall space. Placing a walk-in shower and a built-in tub side by side creates a highly organized, linear flow. I usually divide the two zones with a sleek pony wall topped with quartz to provide a handy ledge for both sides. This setup is incredibly practical for busy mornings. To pull this off flawlessly, you need:
- Matching hardware finishes
- A shared focal tile wall
- Identical lighting above each zone
6. Framed Archway Separation
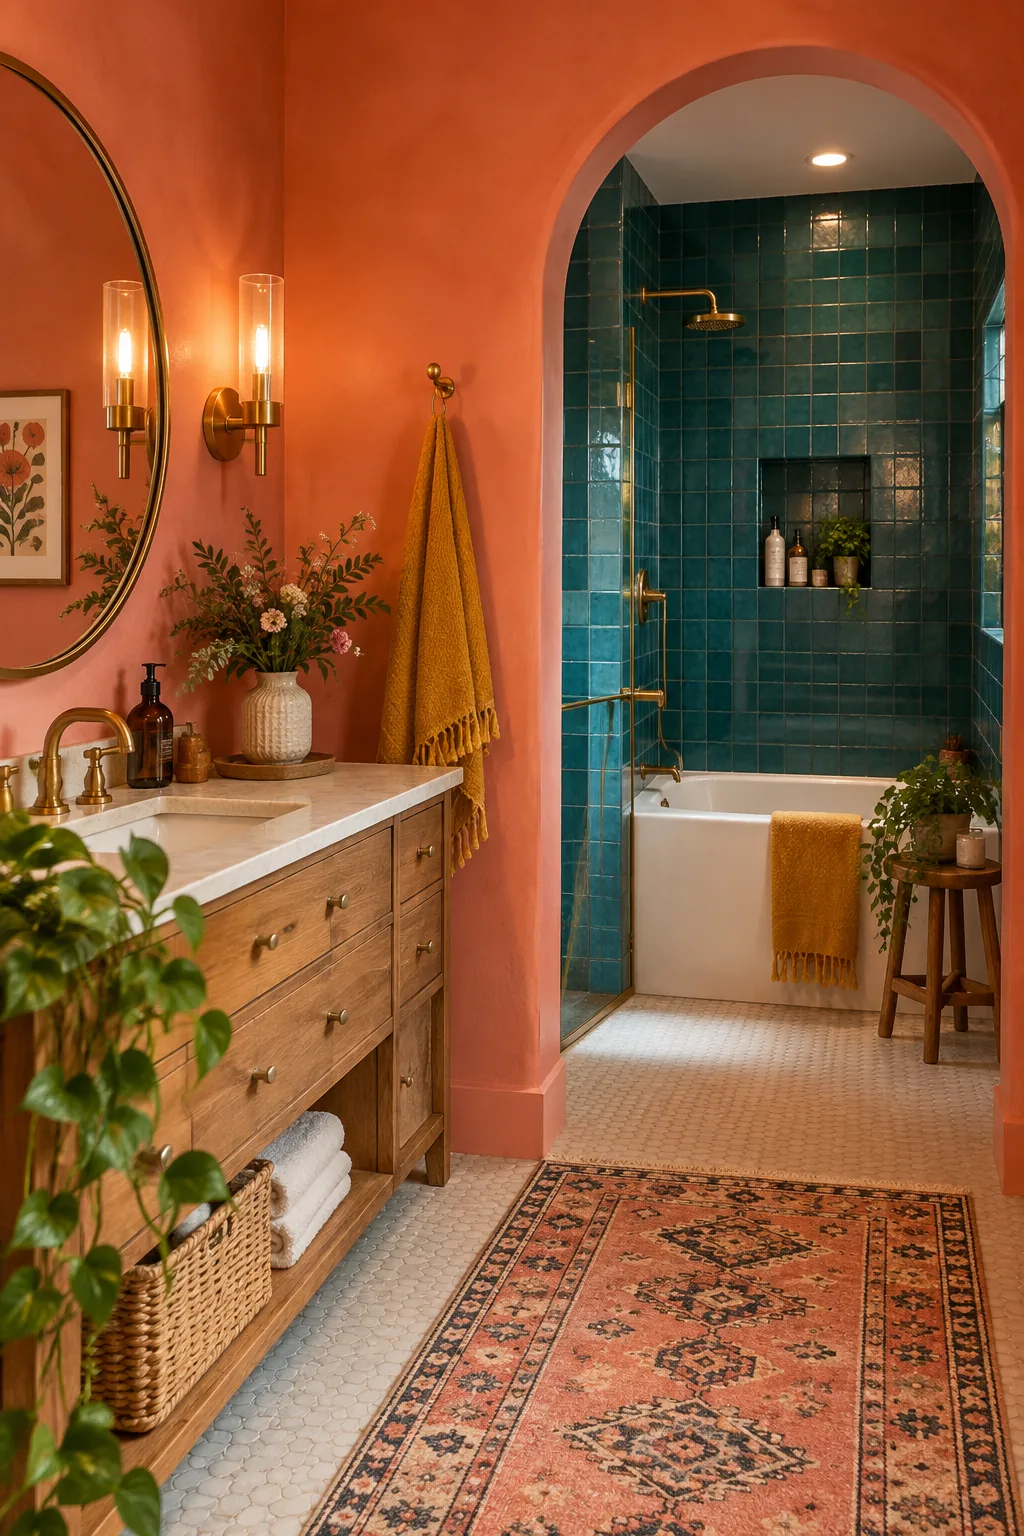
An architectural archway naturally divides the vanity area from the bathing zone. This structural detail adds instant custom character to an otherwise basic rectangular room. I love tucking the tub and shower behind this curved frame to create a cozy, intimate retreat. The arch hides the bulky shower tracks and tub plumbing from the main doorway. It is a brilliant way to introduce soft curves into a room full of hard edges.
7. Platform Step-Up Design
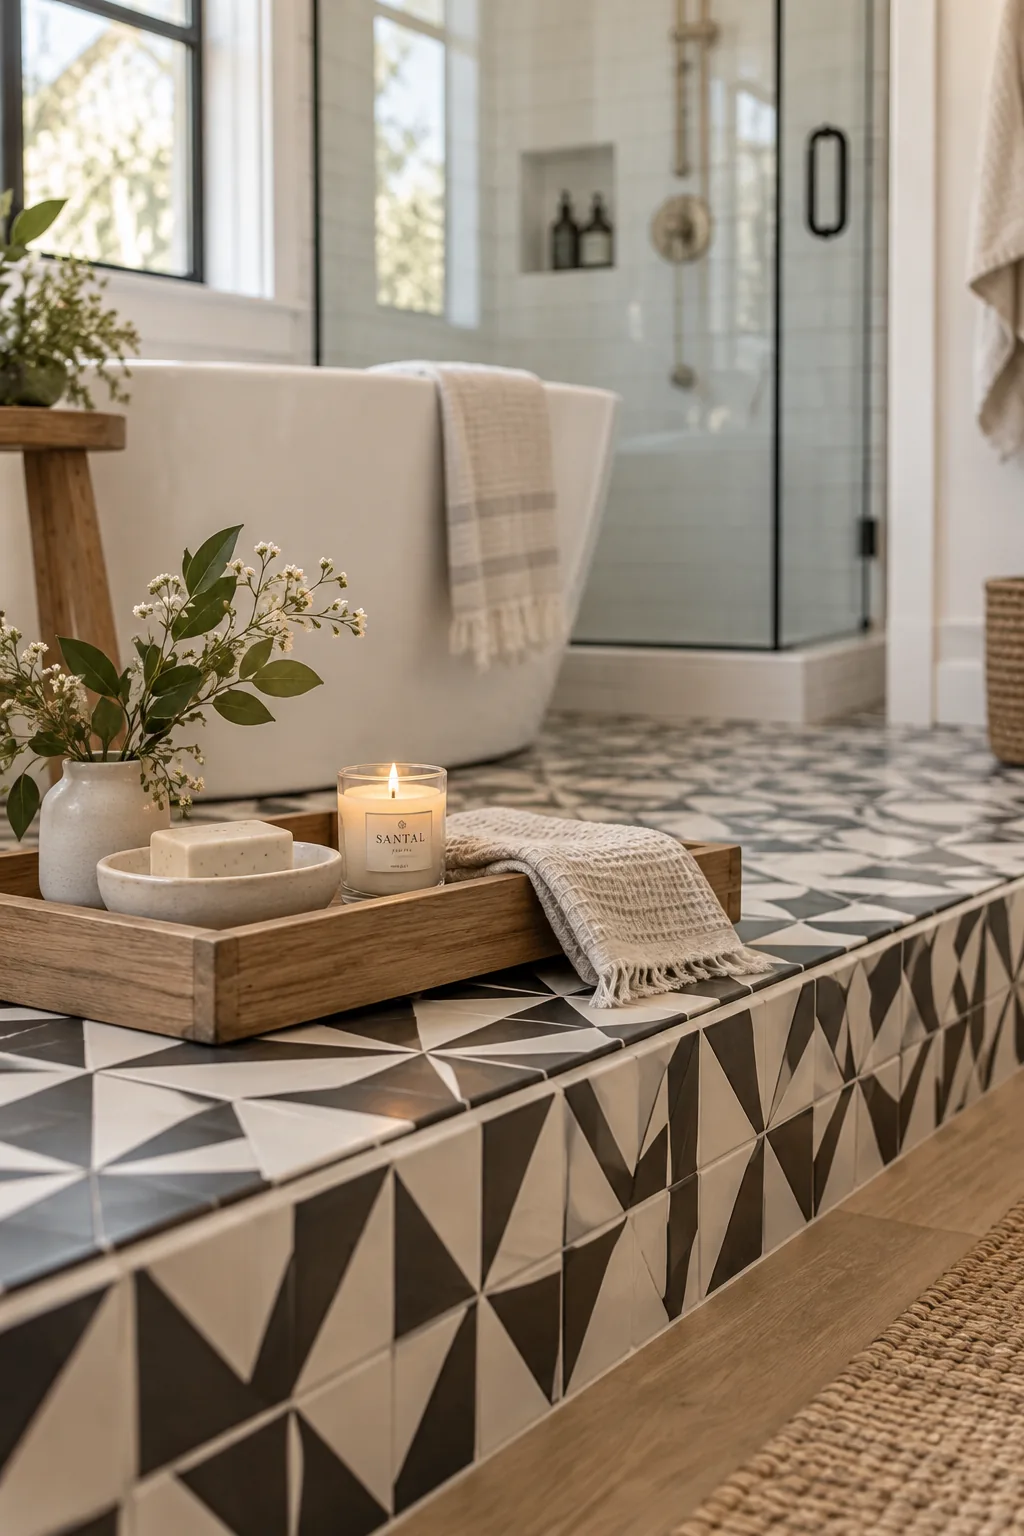
Elevating the back third of your bathroom by just six inches completely changes the spatial dynamics. This raised platform clearly defines the wet area where both the tub and shower live. It also gives you the necessary clearance to hide complex plumbing lines without tearing up your floor joists. Covering the step in a high-contrast tile turns a functional transition into a striking design feature. The elevation change makes the bathing experience feel incredibly luxurious.
8. Moody Dark Stone Enclosure
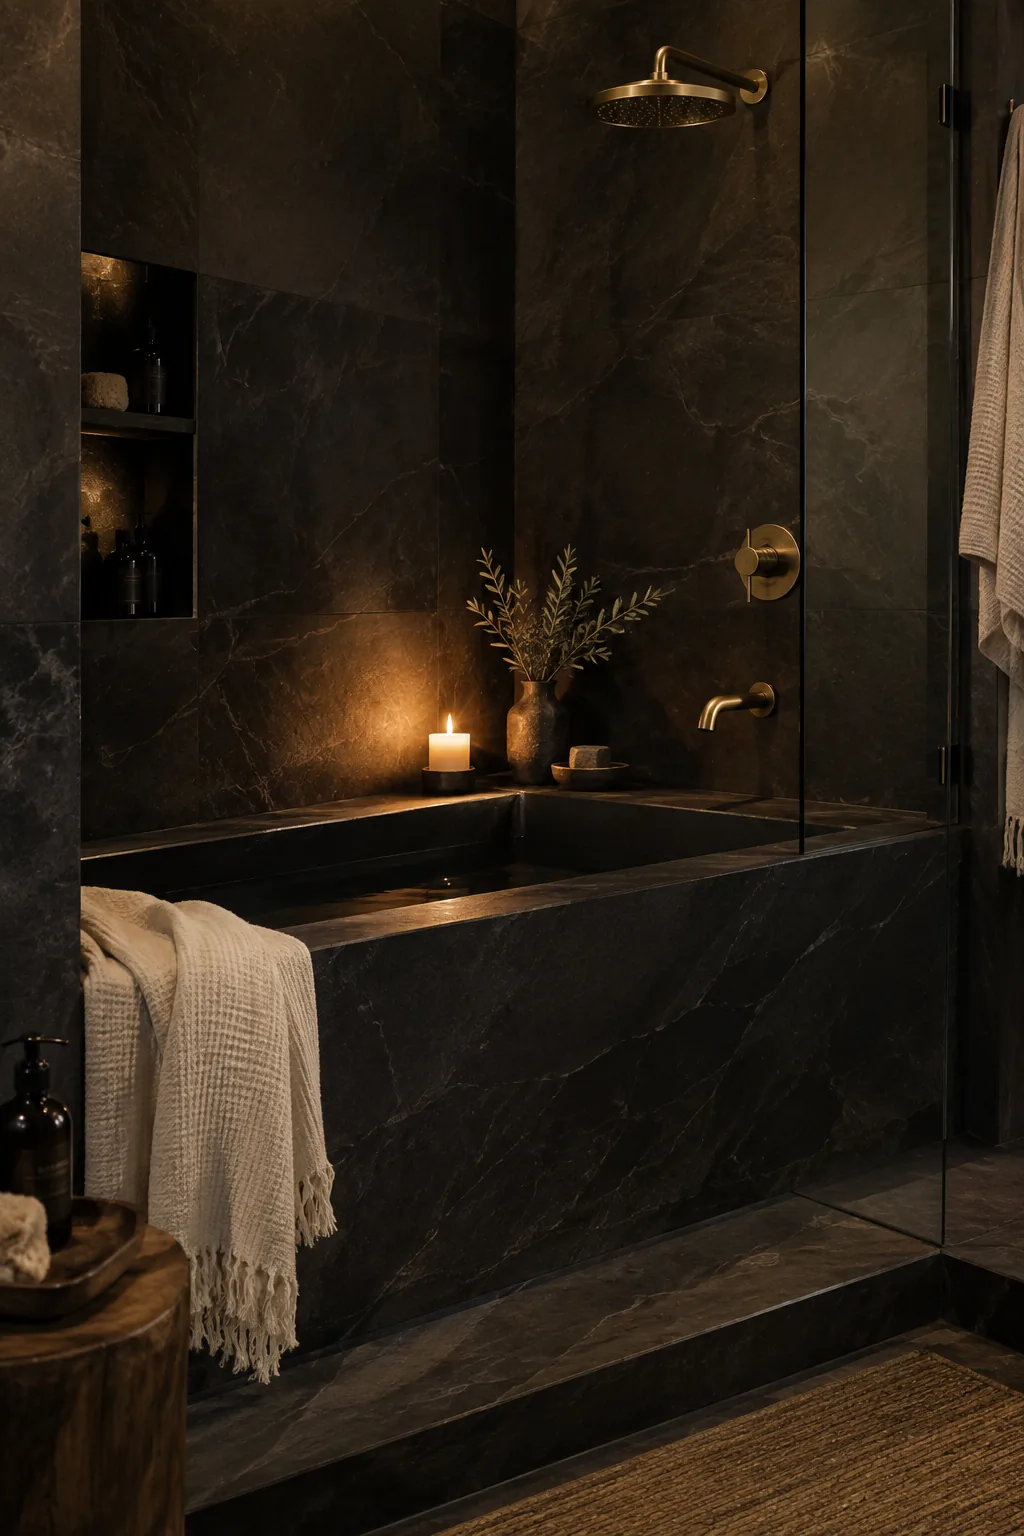
A dramatic, cave-like retreat emerges when you wrap the entire shower and tub combo in dark slate or charcoal porcelain. The moody palette blurs the boundaries of the fixtures, making the separate elements feel like one massive, custom-carved stone block.
9. Freestanding Tub Inside the Shower
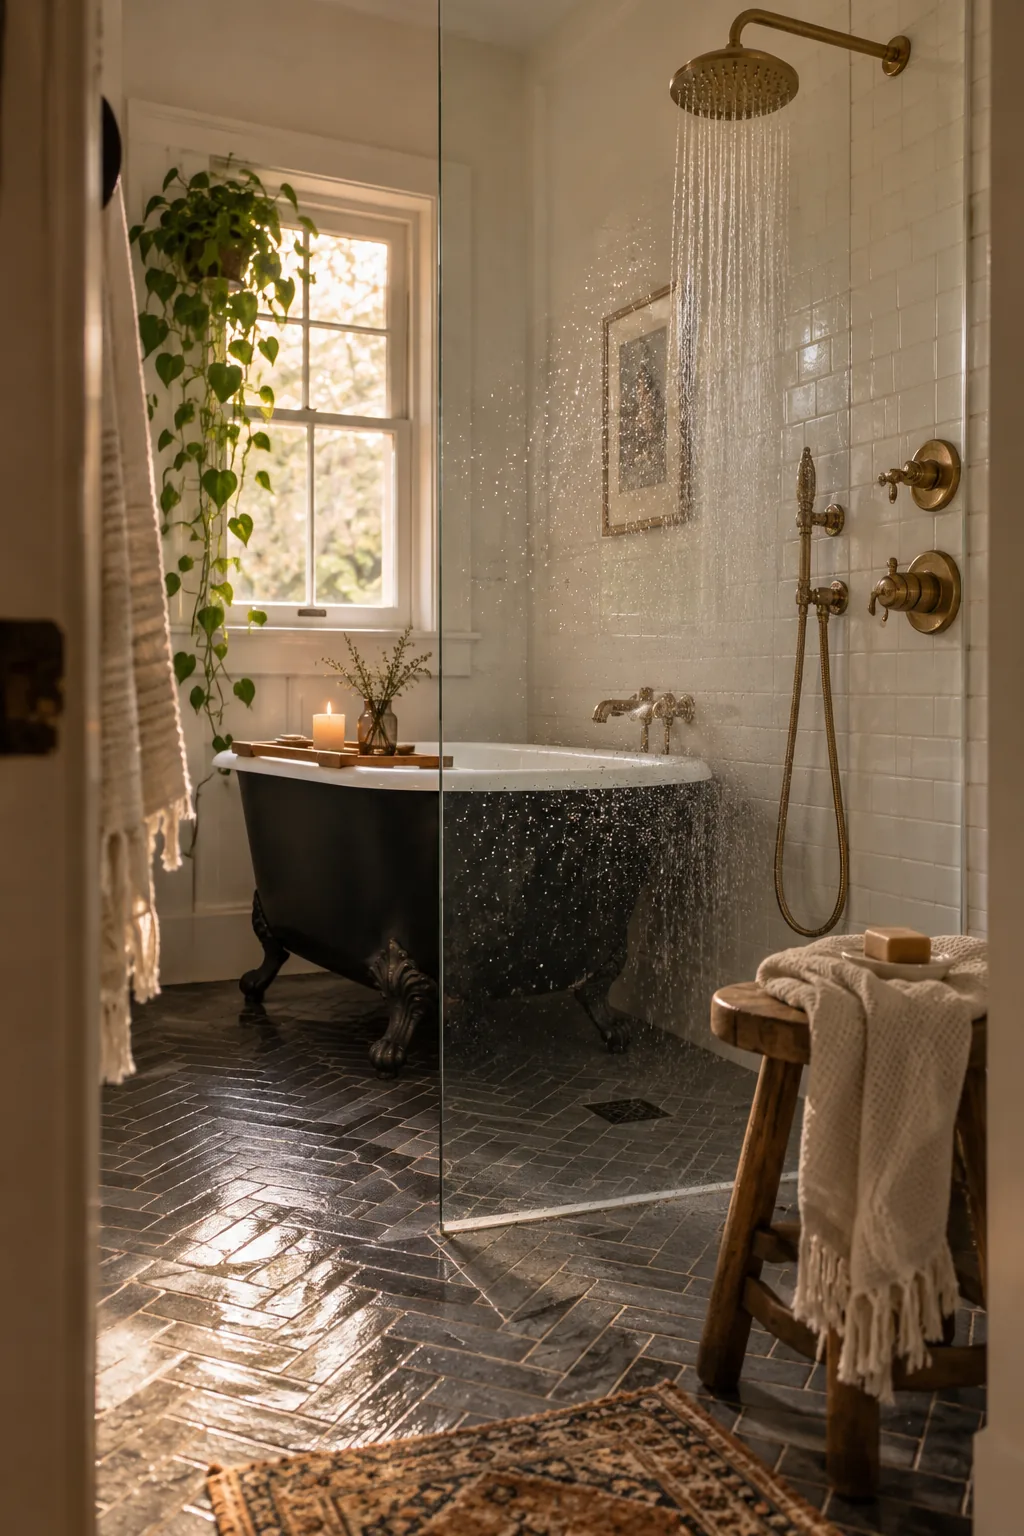
Putting a clawfoot or modern freestanding tub directly behind the shower glass works beautifully because it eliminates the need for two separate waterproof zones. You can splash all you want in the tub without worrying about drywall damage. It is the ultimate space-saving hack for narrow layouts. Make sure you include a few essentials:
- A handheld sprayer for the tub
- Slip-resistant floor tile
- A floor-mounted tub filler
10. Skylight Over the Bathing Zone
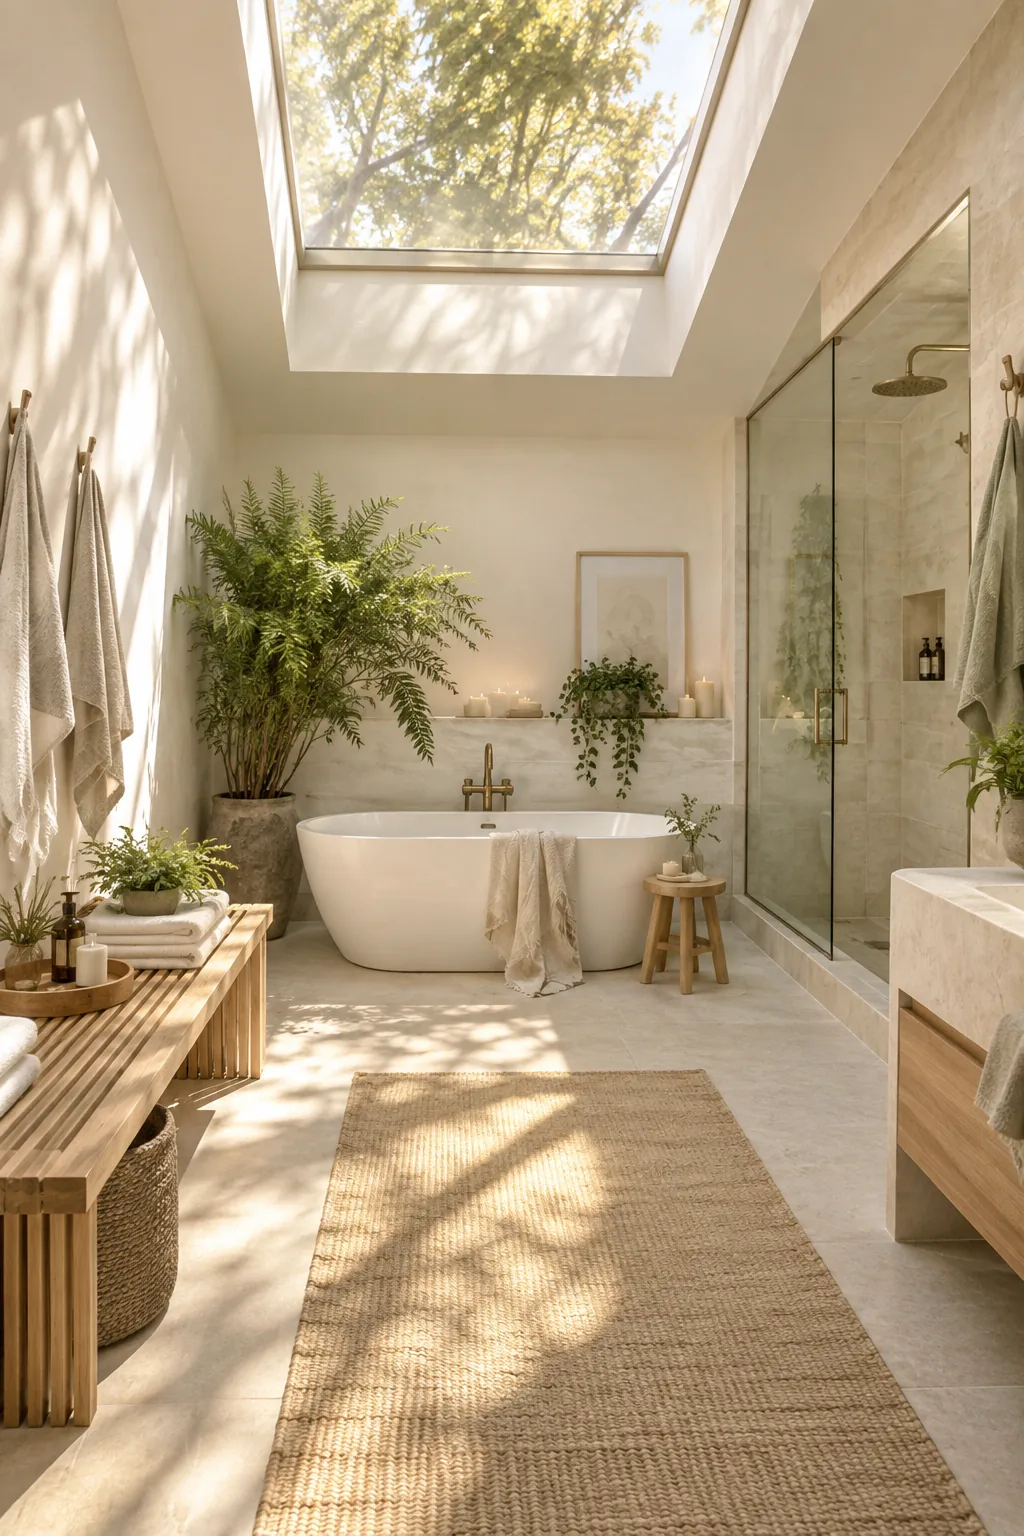
I always try to steal light from the ceiling when a bathroom lacks good exterior walls. Centering a large skylight directly above the tub and shower area floods the darkest part of the room with sunshine. It makes morning showers feel like you are standing outside.
You will never regret adding natural light to a damp space.
11. Double Glass Doors
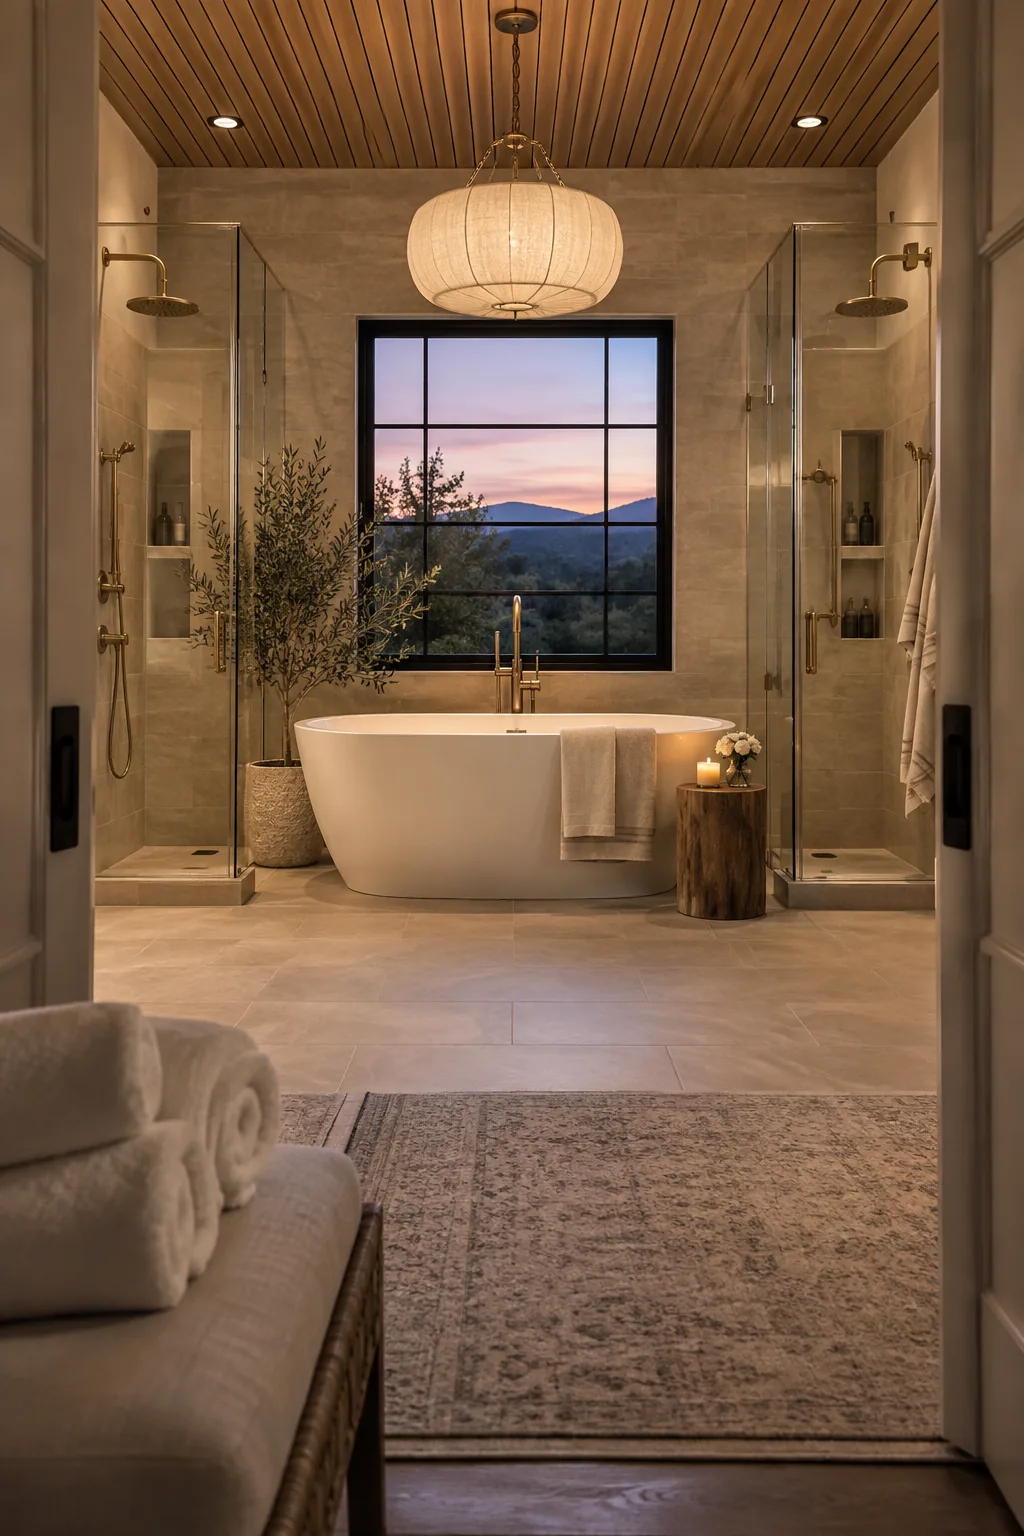
Flanking a central tub with dual glass shower entrances creates perfect symmetry.
This layout allows two people to use the wet room simultaneously without bumping elbows. You get a high-end hotel vibe while keeping the plumbing consolidated on the back wall.
Why it works: Why it works: Symmetrical layouts naturally calm the brain and bring order to chaotic mornings.
12. Built-In Niche Spanning Both Zones
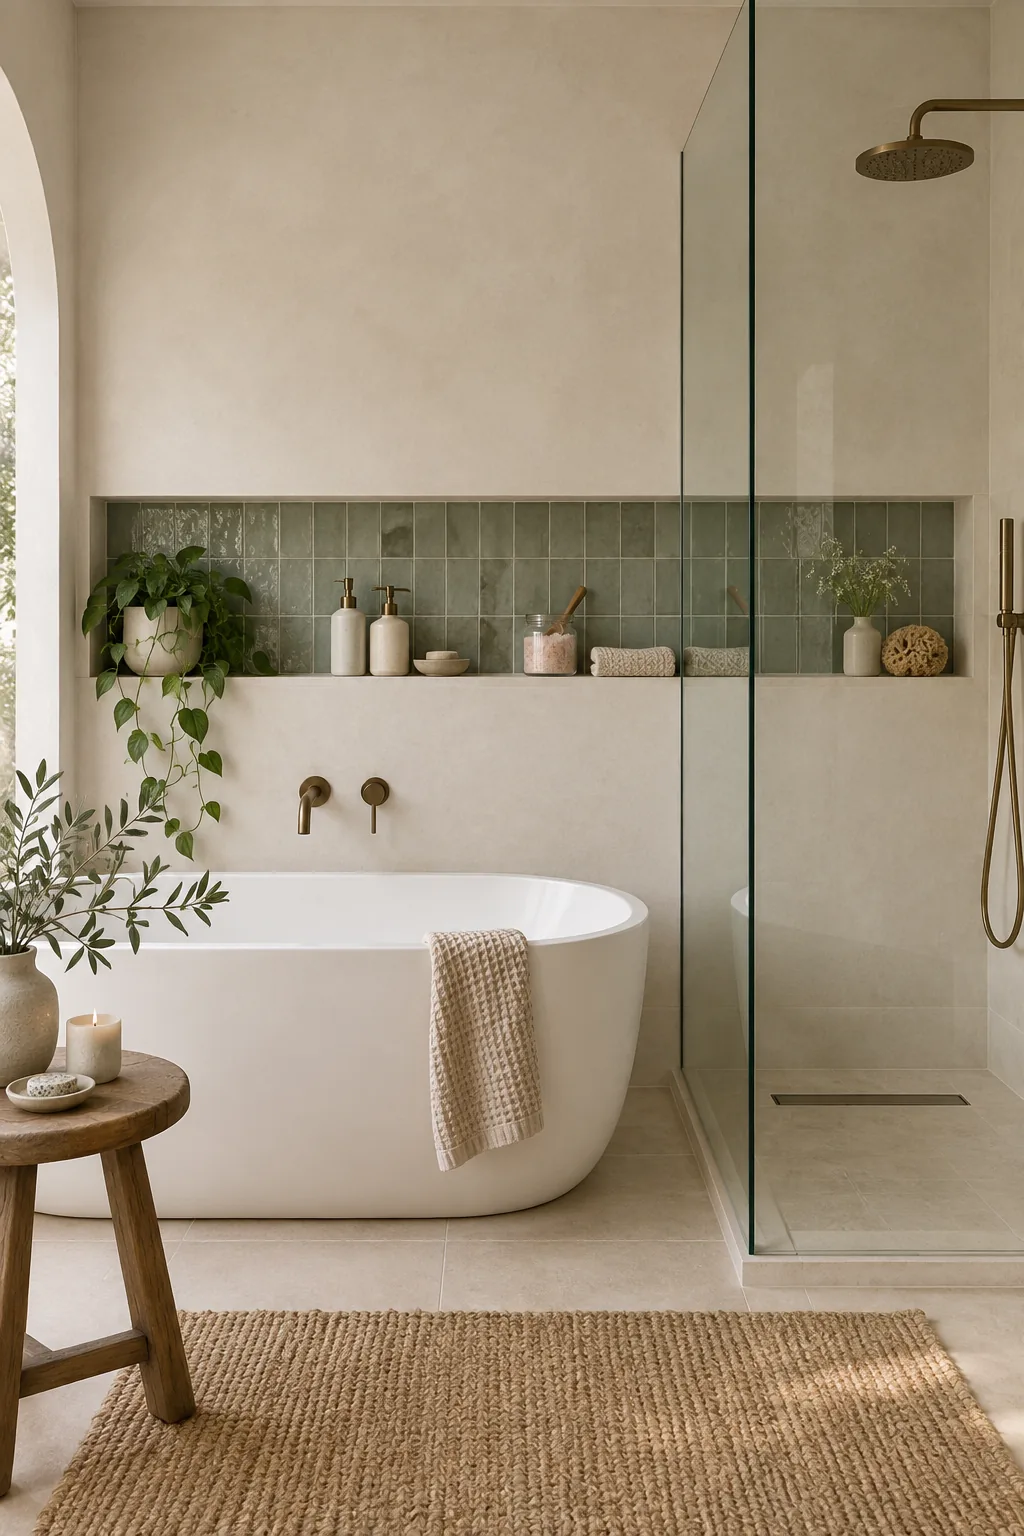
I am slightly obsessed with running one continuous recessed niche across the entire back wall. Instead of carving out a tiny square for the shower and another for the tub, a massive horizontal shelf connects the two spaces visually. It provides miles of storage for your heavy shampoo bottles and bath salts. Wrapping the inside of the niche in a contrasting accent tile makes it pop against the main wall. This simple framing trick makes standard ceiling heights look much taller.
13. Floating Bench Between Fixtures
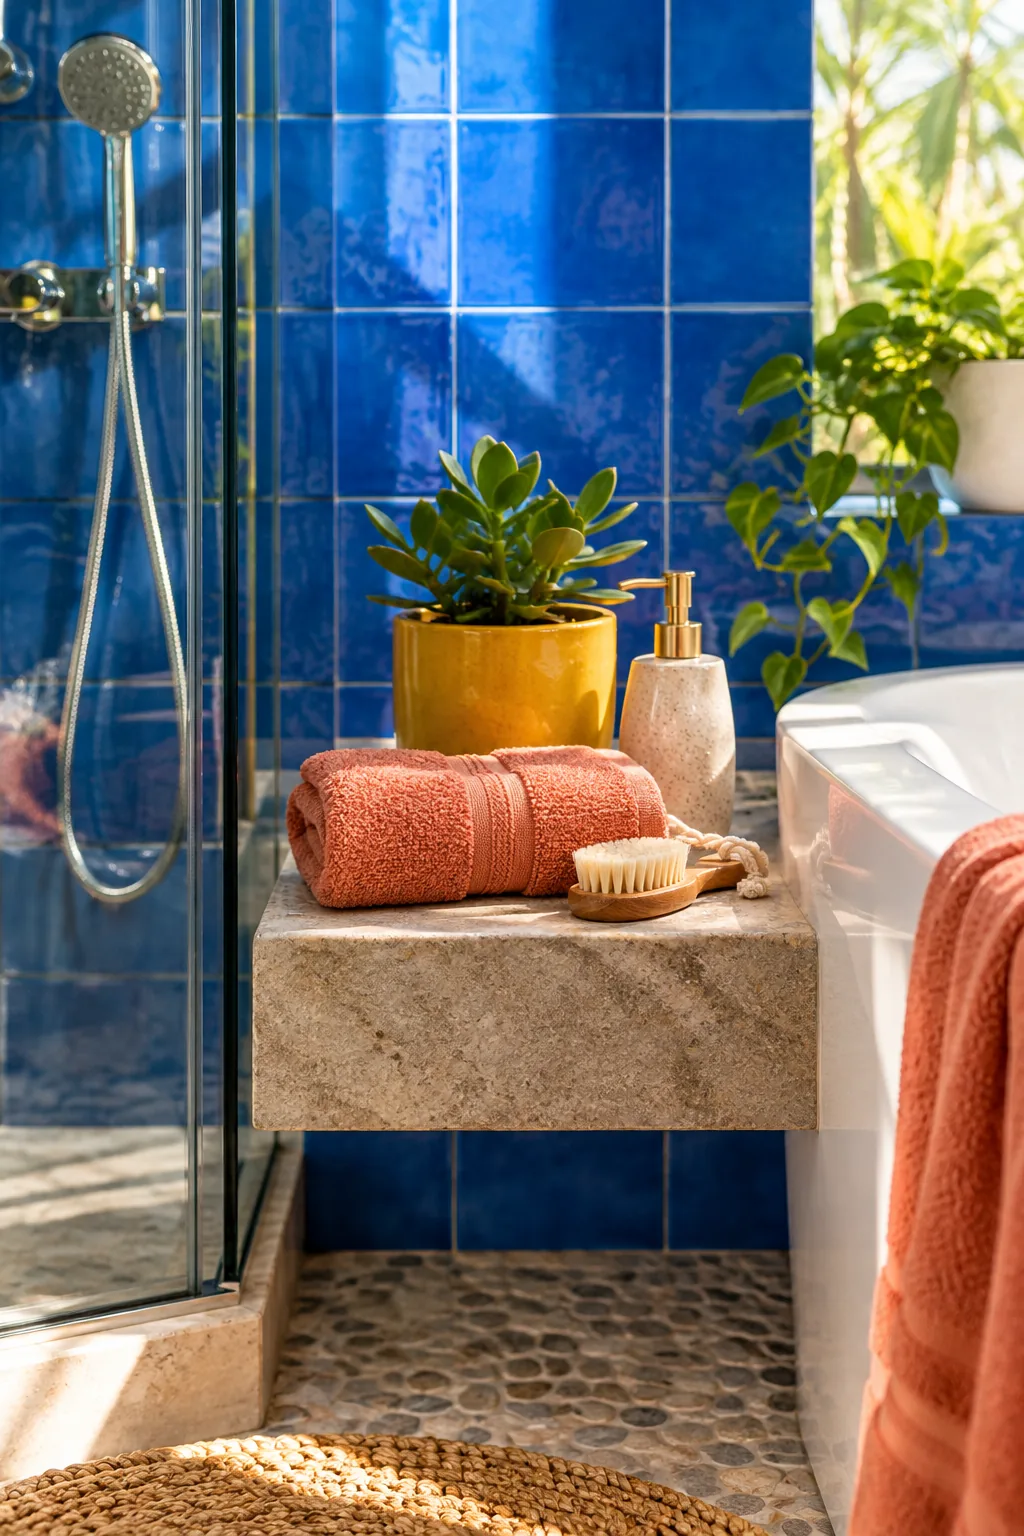
Install a thick slab of waterproof stone between the shower head and the soaking tub to serve as a shared seating area. It bridges the gap between the two fixtures while giving you a spot to shave your legs or set down a towel.
14. T-Shaped Central Layout
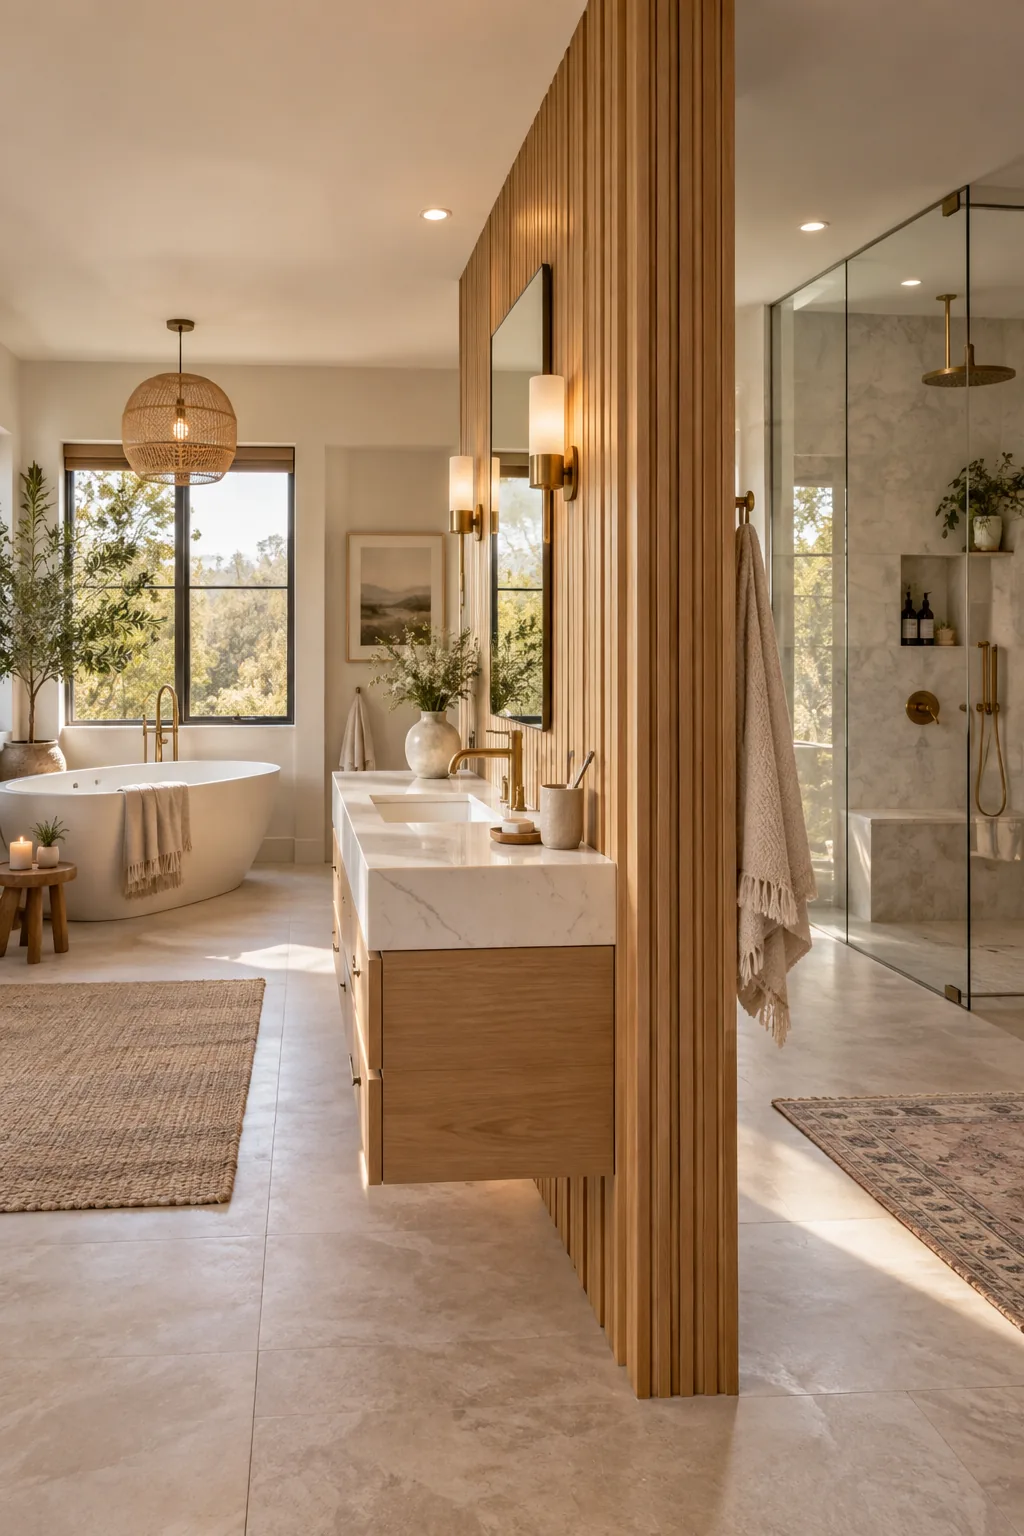
A T-shaped partition wall requires a room that is at least 12 feet wide. Placing the shower stall on one side of the T and the tub on the other gives both areas total privacy. The front of the partition serves as the perfect anchor for a double vanity.
It is a brilliant way to break up a massive, echoey room.
Why it works: Why it works: Centralizing the plumbing on one shared partition wall drastically cuts down on construction costs.