
Modern Barn Door Clearances: The Ultimate Hardware Cheat Sheet
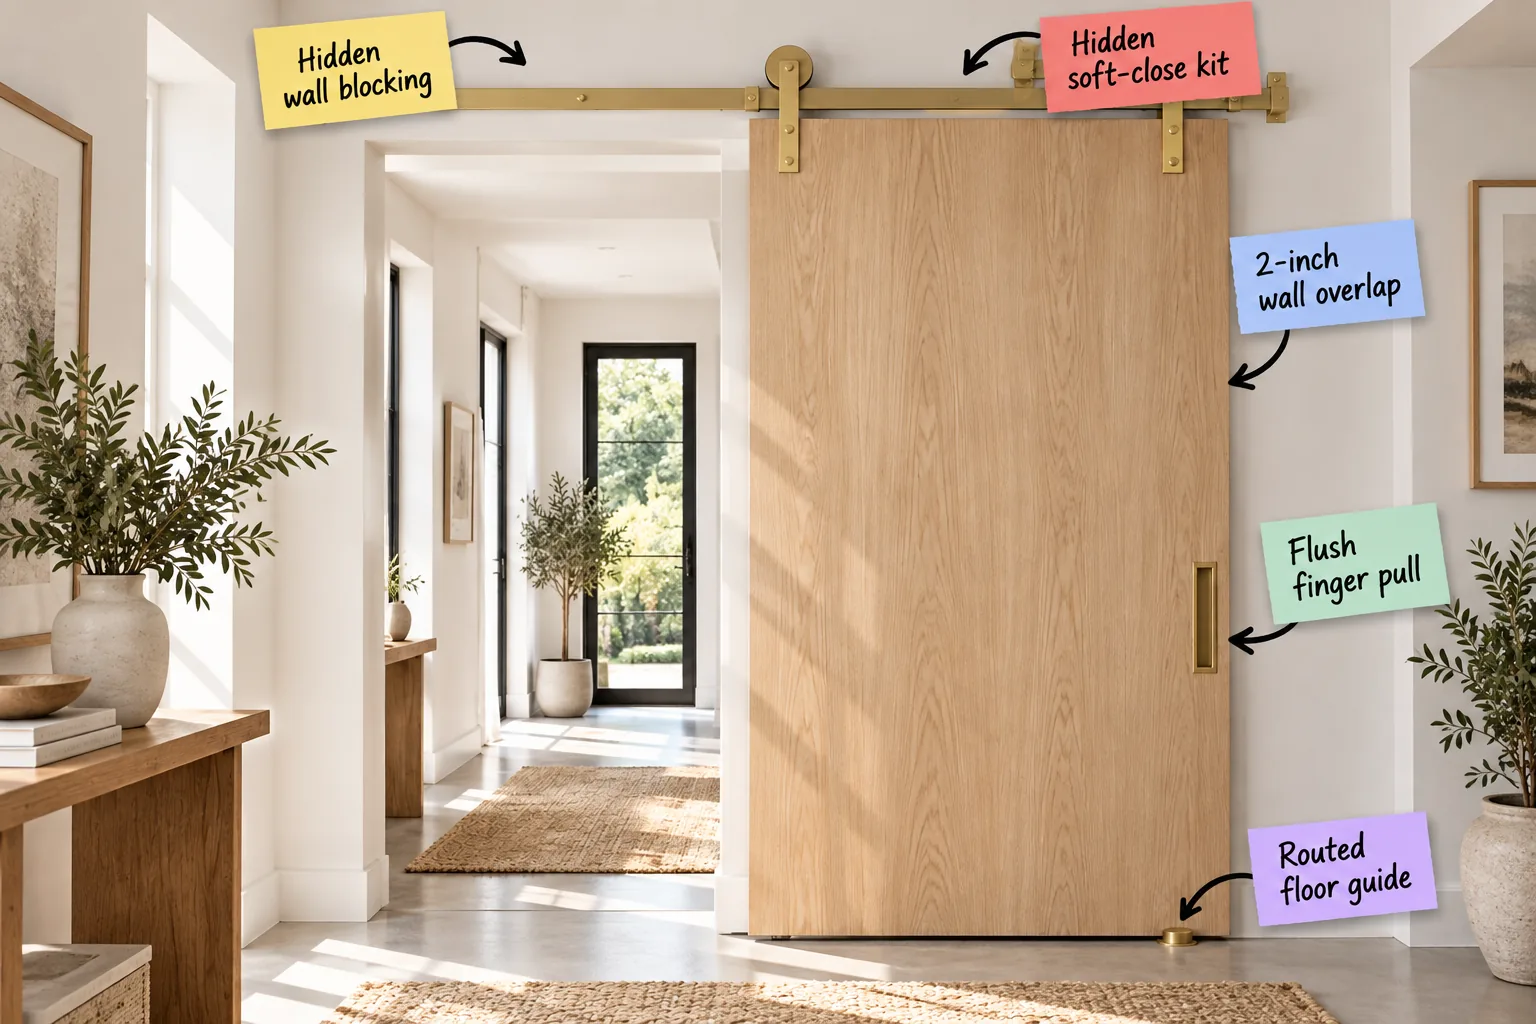
Mastering your modern barn door installation starts with our hardware clearance and measurement cheat sheet, giving you the exact overlaps and hidden glide secrets for a flawless finish. You will be able to spec your door size, map out wall blocking, and verify every critical clearance.
Anchoring the Track with Hidden Blocking
Standard drywall simply cannot support a solid white oak door, so you must install a continuous 2×6 horizontal wood block directly between the wall studs. This critical structural addition provides a rock-solid mounting surface for every single heavy-duty track lag bolt.
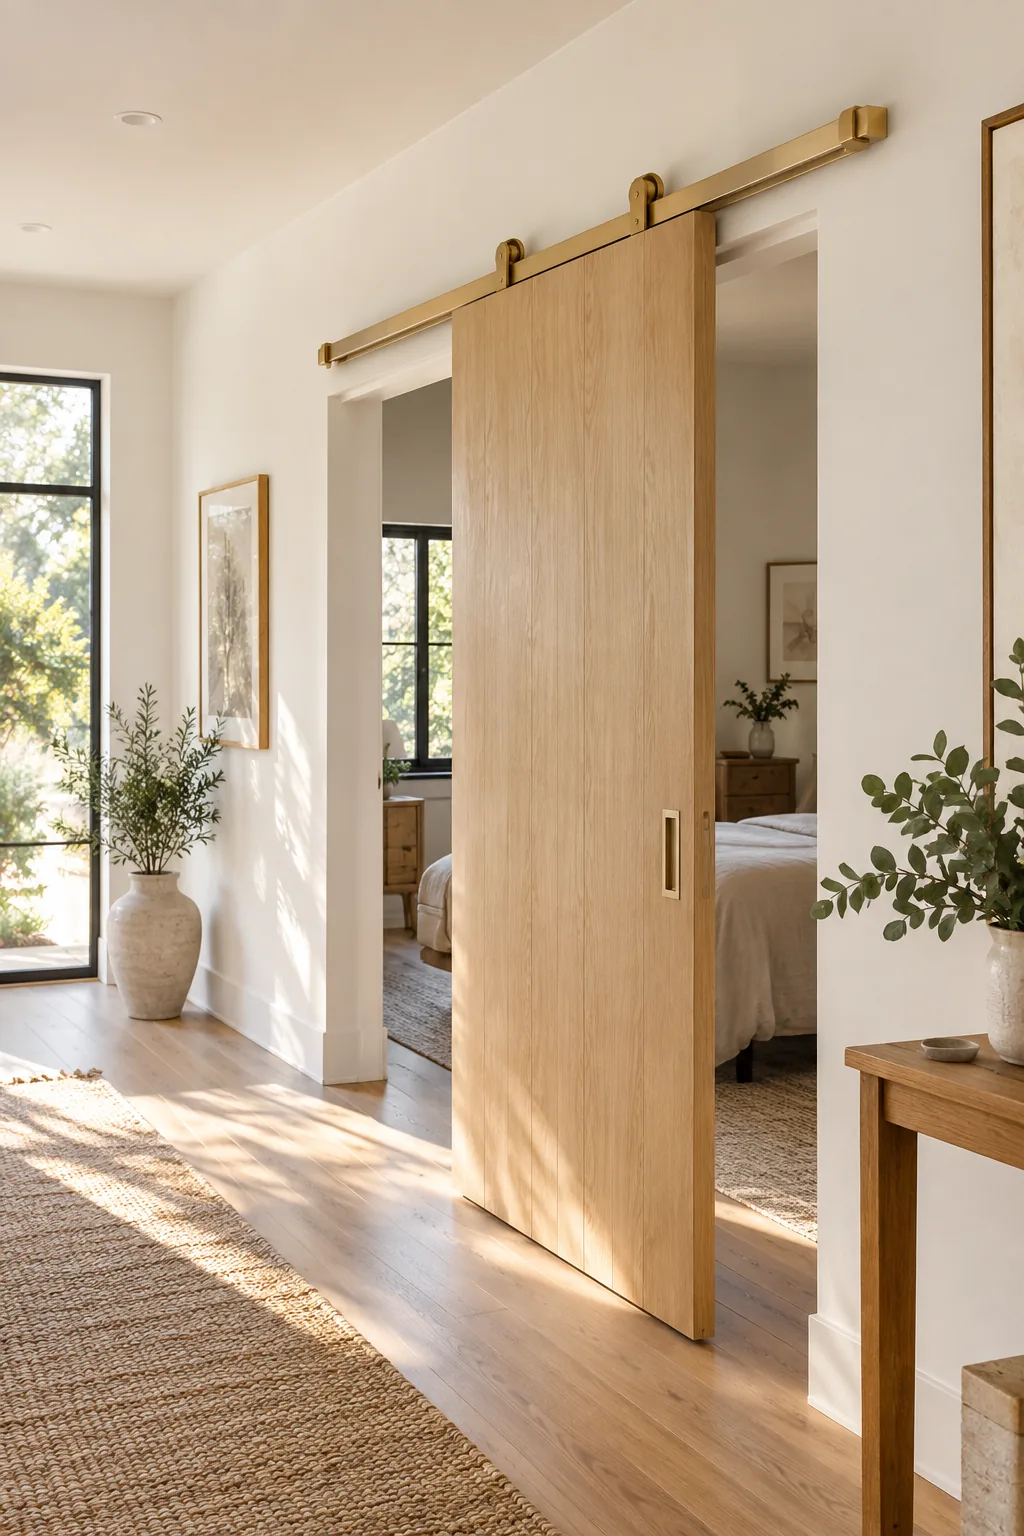
With this hidden wall blocking securely fastened behind the drywall just behind the track, your heavy brass rail will never sag or pull away from the wall. This hidden framing secret guarantees a lifetime of perfectly level, reliable sliding action.
The Truth About Drywall Anchors
Many first-time installers mistakenly assume heavy-duty toggle bolts will safely hold a modern solid wood slab over a standard opening without that blocking. Relying entirely on hollow drywall to support dynamic, rolling weight is a fast track to a sagging rail and severely damaged plaster.
- Dynamic load failure: The constant back-and-forth motion slowly wiggles standard wall anchors loose over time.
- Track deflection: Without solid backing, the metal rail can bow slightly under the center weight.
- Hardware pull-out: Heavy solid white oak panels easily exceed the shear strength of basic fasteners.
To achieve that perfectly smooth, silent glide, your structural support system must be engineered directly into the framing before the wall is even finished. Planning ahead saves you from disastrous hardware failures down the road.
Calculating the Ideal Track Length
A common DIY mistake is buying a metal rail that barely clears the opening, which ruins the illusion of a floating architectural feature. The hardware must be significantly longer than your actual door width to allow full, unobstructed access to the room.
- Measure the opening: Record the exact width of your finished drywall or cased opening.
- Double the width: The track must be at least twice the width of the doorway.
- Add soft-close buffer: Tack on an extra six inches total to accommodate specialized catching mechanisms.
Following this simple measurement formula guarantees your wood panel clears the entryway completely. It also leaves plenty of necessary room for the hidden mechanical stops to function properly at both extremes of the track.
Silencing the Glide with a Soft-Close Kit
A concealed soft-close actuator catches the door mechanism, gently slowing the heavy wood before it slams into the end stop. When I built the sliding door for my Austin home office, adding this brilliant kit completely stopped the annoying bounce-back effect.
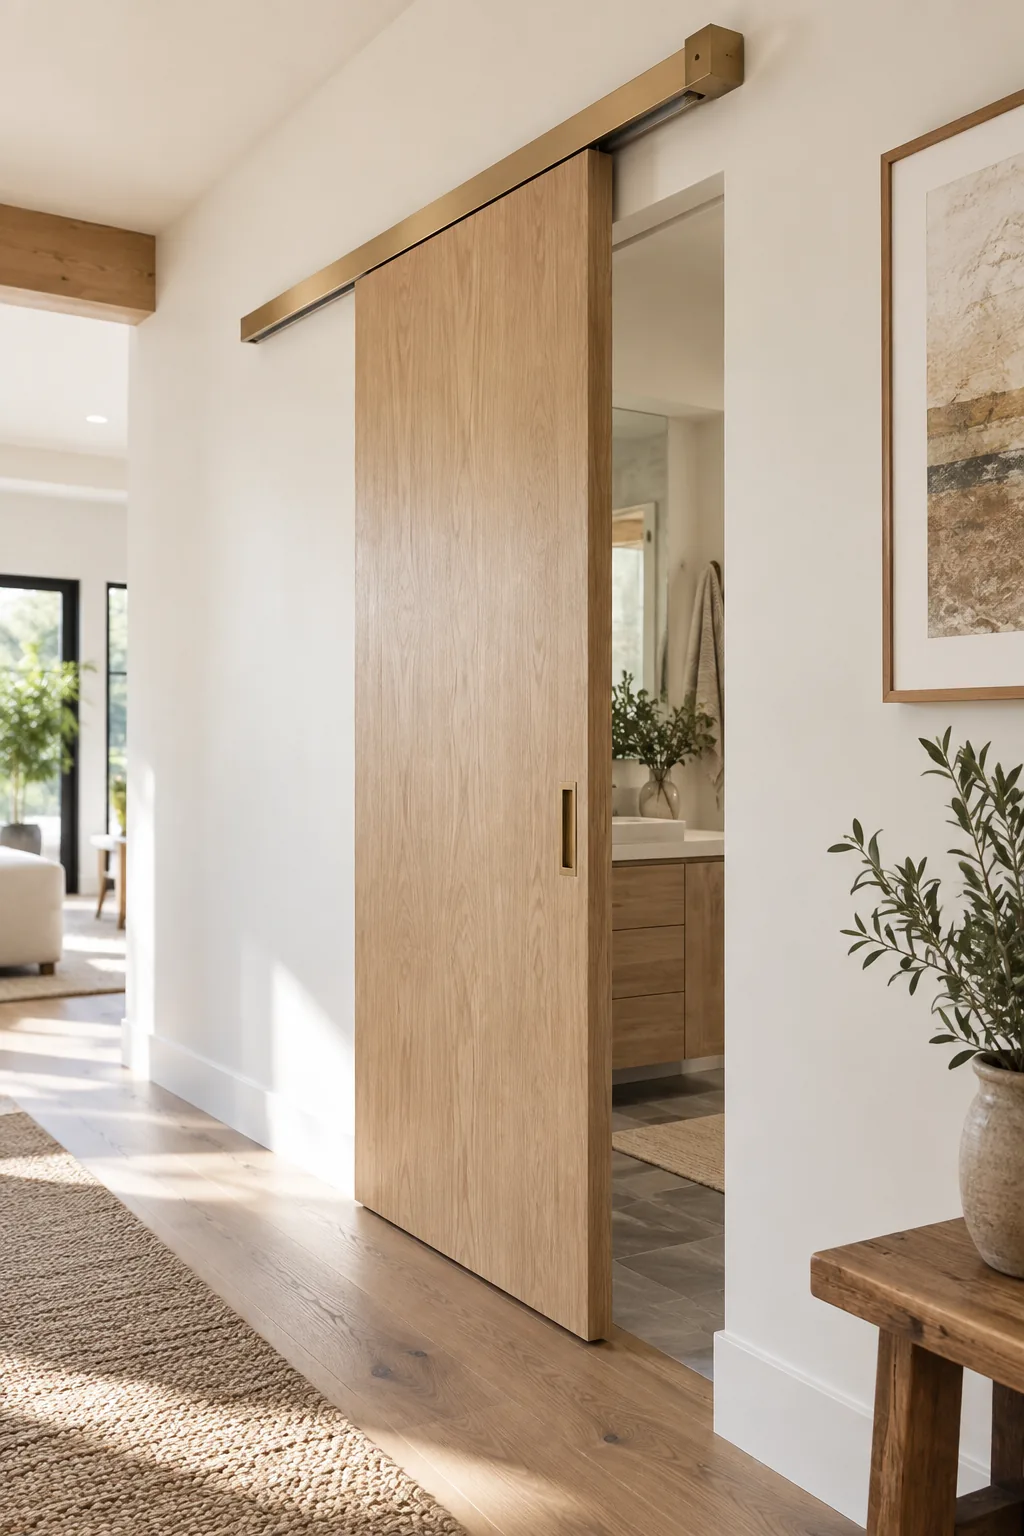
These specialized mechanisms tucked behind the track rail typically require at least 2 to 3 inches of track space at both ends to function properly. This hidden soft-close kit elevates the entire feel of the room, providing a luxurious, silent stop.
Adjusting for Door Weight Limits
Every piece of sliding hardware is rated for a specific maximum load, and exceeding it will quickly degrade the nylon rollers. You must match your solid core or hardwood panel to the correct heavy-duty rail system to ensure long-term durability.
| Door Material | Average Weight | Required Roller Type | Track Rating |
|---|---|---|---|
| Hollow Core | 30 – 50 lbs | Standard Nylon | 100 lbs |
| Solid Pine | 70 – 90 lbs | Reinforced Nylon | 150 lbs |
| White Oak | 120 – 150 lbs | Steel Bearing | 200+ lbs |
| Glass & Steel | 180 – 220 lbs | Heavy Duty Steel | 250+ lbs |
Always weigh your finished slab before purchasing the hanger straps. The internal bearings must safely support the rolling friction without grinding, ensuring your heavy architectural feature glides effortlessly with just a light push.
Sizing the Panel for a Wall Overlap
Amateur installations often suffer from awkward visual gaps when the slab barely covers the doorway. I learned this the hard way in my guest bedroom, where I actually had to rebuild a door because hallway light poured in through the side cracks.
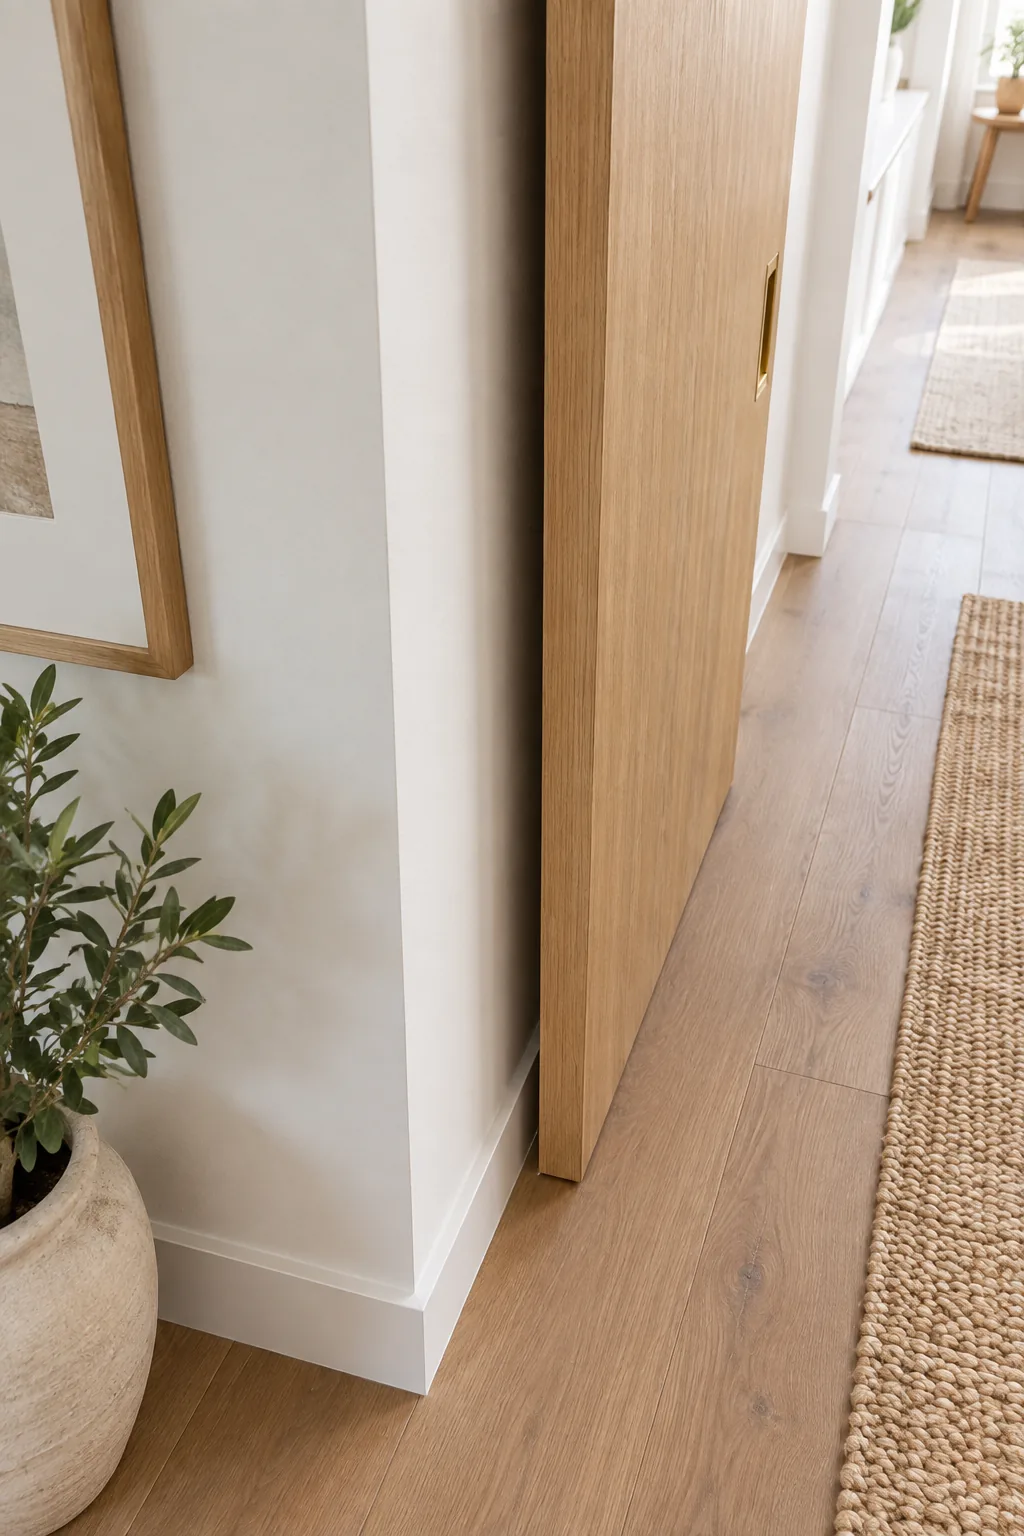
The golden rule is that your panel must be at least 4 inches wider than the opening to guarantee a strict 2-inch wall overlap on both sides. This vertical side edge of the door overlapping the opening ensures total privacy.
The Hardware Clearance Cheat Sheet
Before drilling a single hole into your finished drywall, verify these four non-negotiable clearances to ensure your door glides perfectly without scraping the wall or baseboards.
Checking these specific measurements off your list guarantees your hardware is positioned flawlessly. Nailing these exact dimensions prevents the dreaded wall-scrape and keeps your heavy slab tracking perfectly parallel to the drywall.
Navigating Baseboards and Trim
You must calculate the spacer depth carefully to clear any existing baseboards or decorative molding. In my own hallway, I had to order custom extended standoffs because my vintage craftsman trim was exceptionally thick and blocking the glide path.
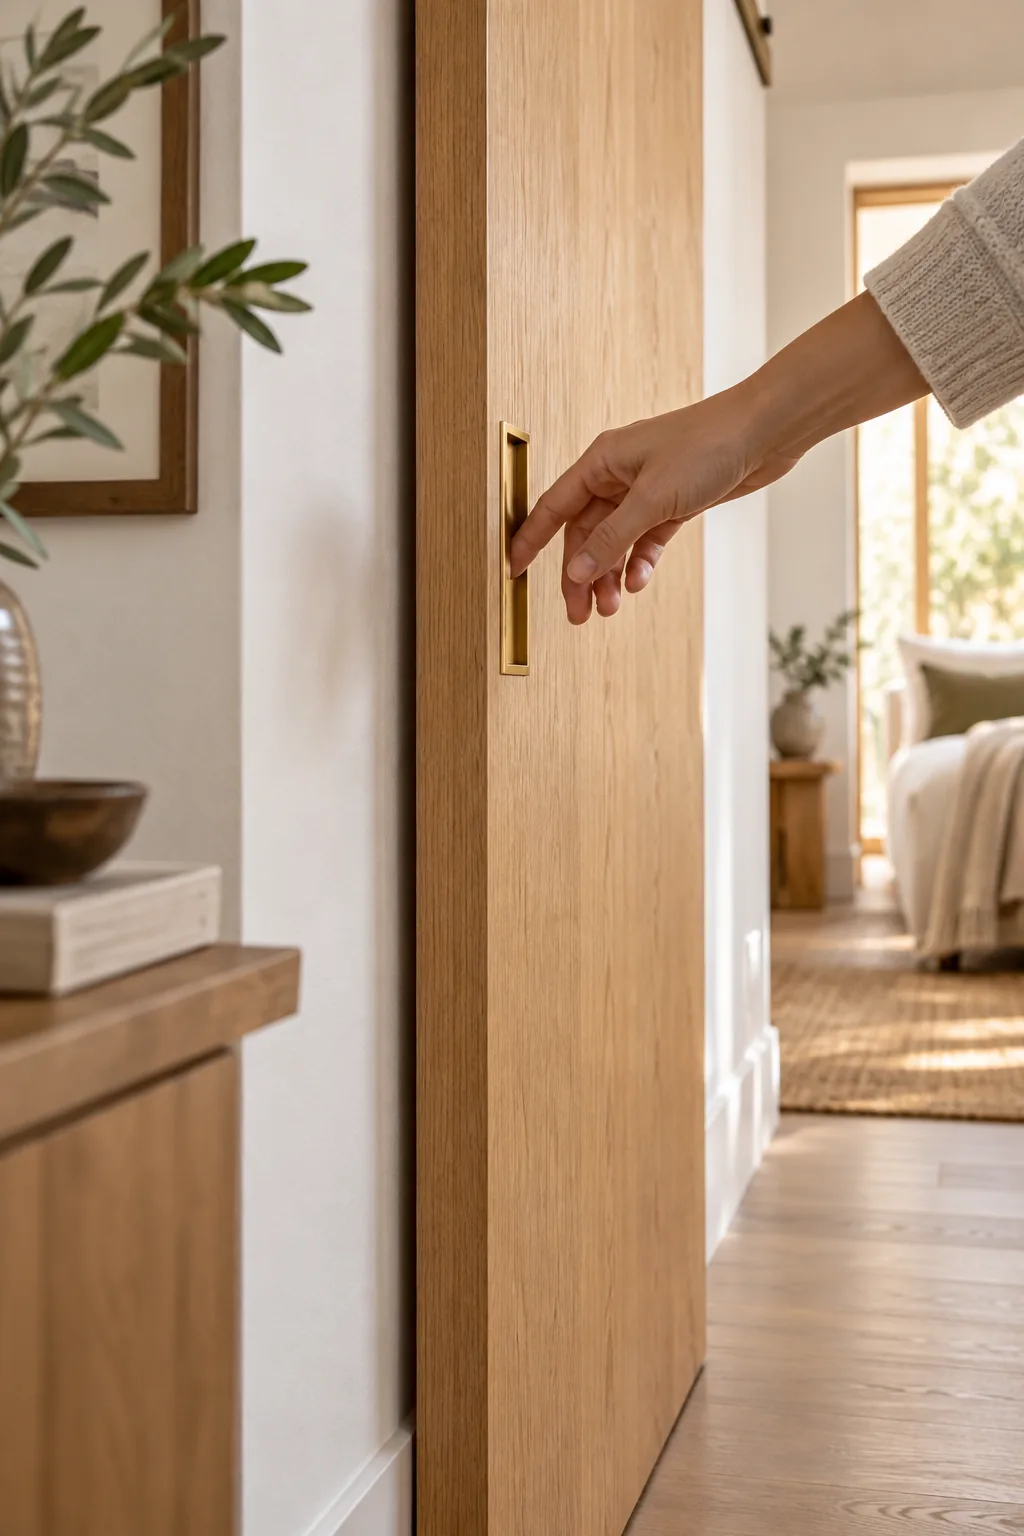
The critical gap between the back of the door and the wall should be exactly 3/8 to 1/2 inch wider than your thickest piece of trim. This precise spacing allows the heavy wood to move freely without ever catching on your millwork.
Accommodating Light Switches and Outlets
Electrical fixtures located directly behind the sliding path often cause unexpected clearance headaches during the final hanging phase. Standard switch plates can easily scrape the interior wood face if your wall gap is too tight, ruining your beautiful finish.
Planning your electrical layout around the sliding path ensures you never have to awkwardly reach behind a heavy slab just to turn on the overhead lights. It keeps your daily routine seamless and your door face scratch-free.
Keeping it Sleek with Flush Finger Pulls
A truly modern look requires minimalist hardware that won’t smash into the drywall when fully opened. Routing a precise pocket for a sleek handle was the most nerve-wracking, but ultimately rewarding, part of my recent studio door build.
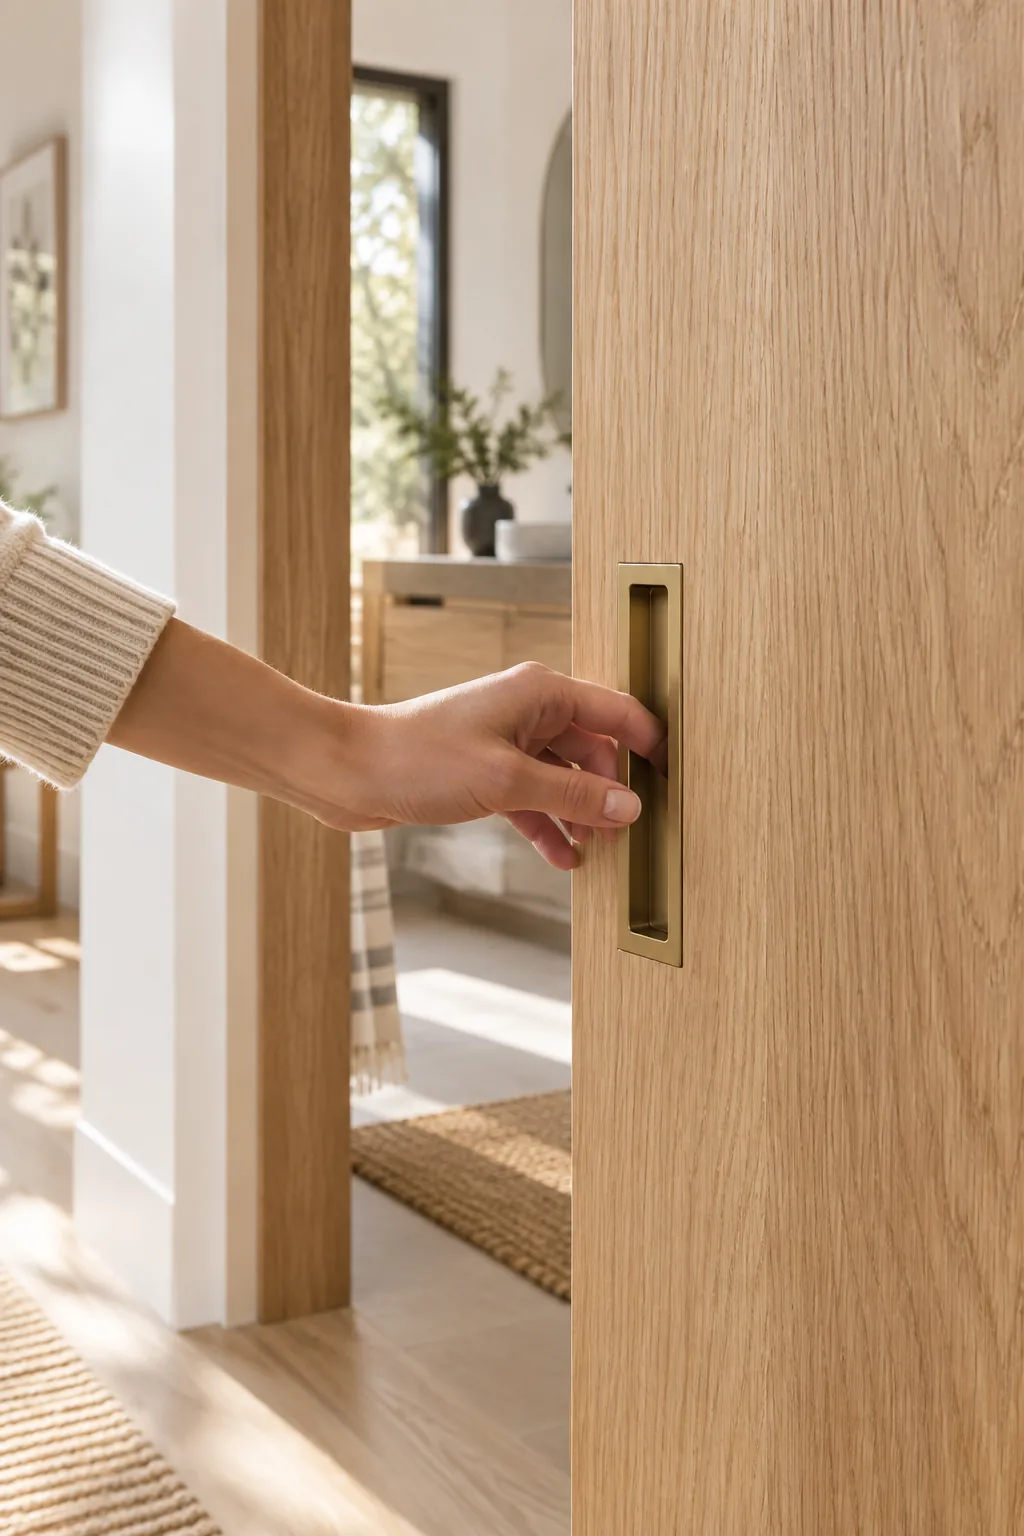
This flush finger pull must sit perfectly level with the wood face, allowing the entire panel to slide completely past the door frame. A sleek recessed handle on the door face eliminates bulky obstructions and maintains the clean architectural lines.
Selecting the Perfect Handle Depth
While flush hardware looks incredibly sleek, you still need enough internal grip depth to comfortably move a hundred-pound slab. Extremely shallow pulls might look great on a rendering, but they will constantly pinch your fingers during daily use.
Testing the grip depth before committing to a final router template ensures your beautiful architectural feature remains highly functional. You want an effortless grip that accommodates everyone in the house without compromising the minimalist aesthetic.
Modern Barn Door Styling Ideas
Find the perfect material and hardware combination for your space.
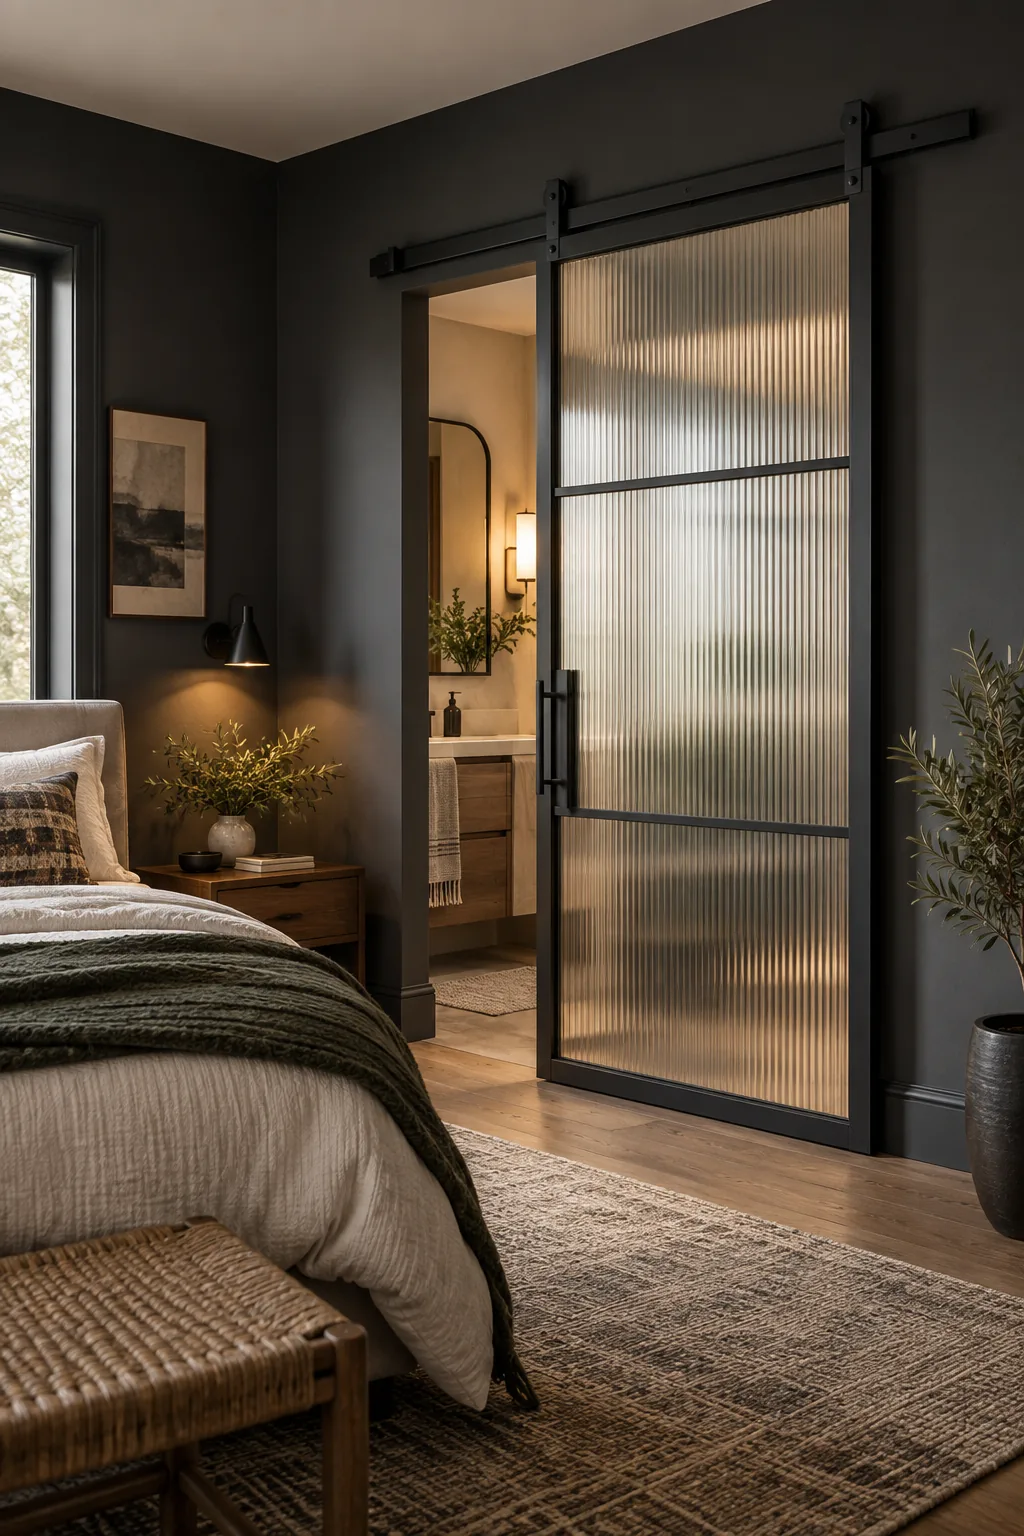
Moody reeded glass and metal: Reeded glass offers light transmission while matte black hardware anchors the moody charcoal bedroom walls.
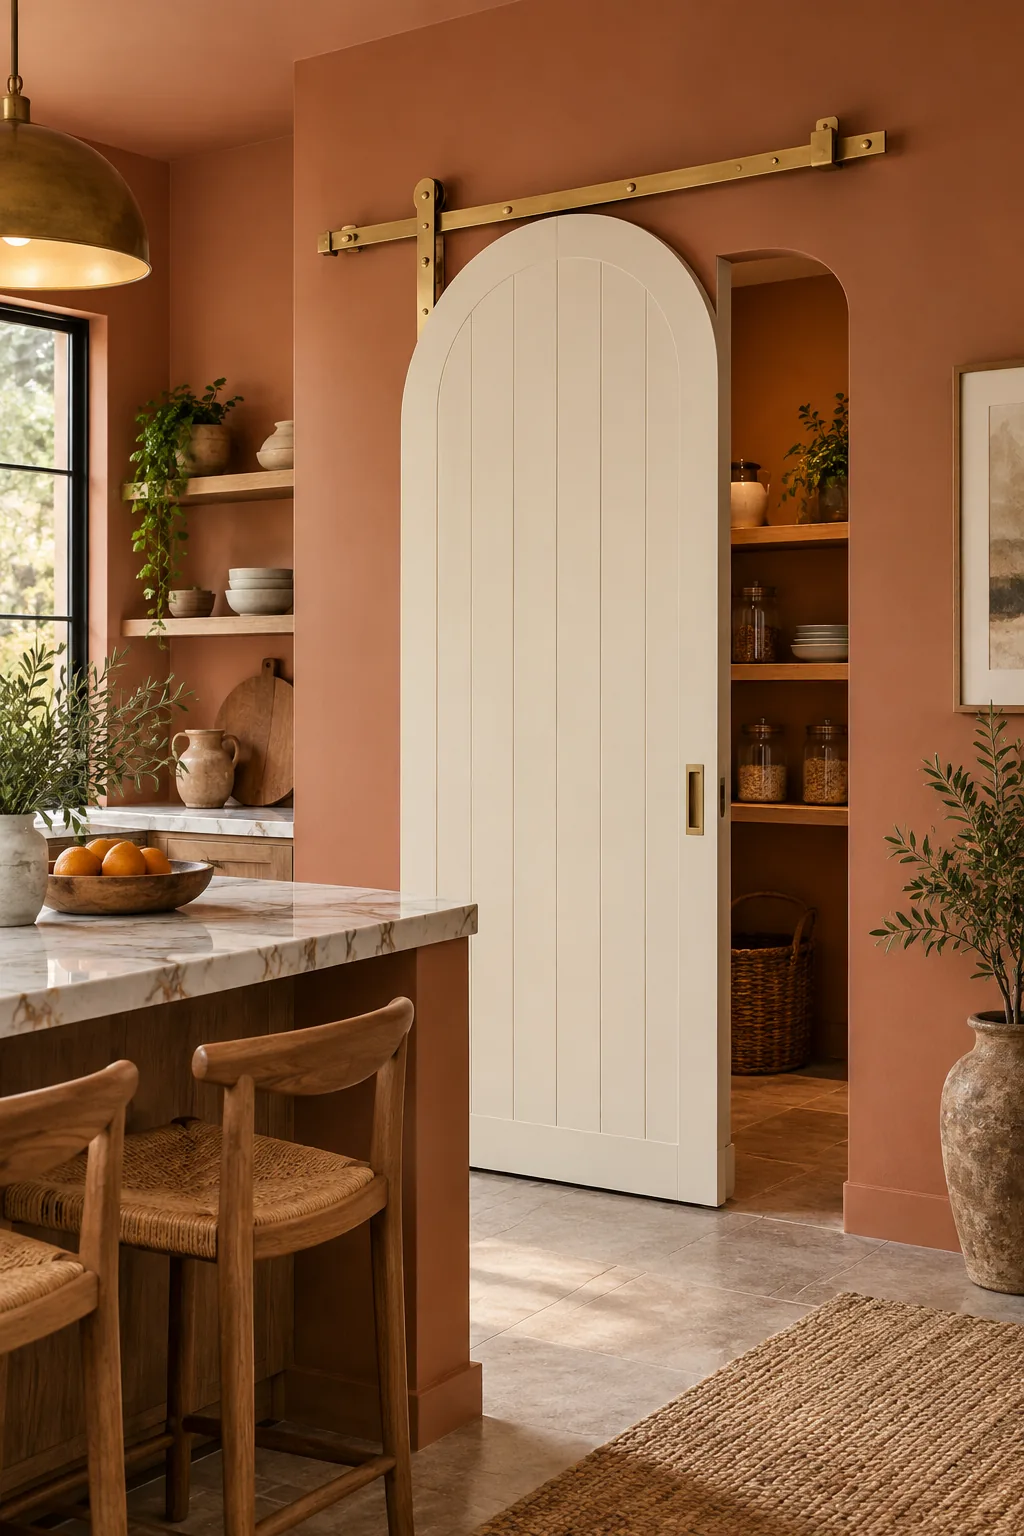
Warm arched painted cream: An arched door profile softens the room's hard lines, while unlacquered brass adds instant warmth to the terracotta kitchen.
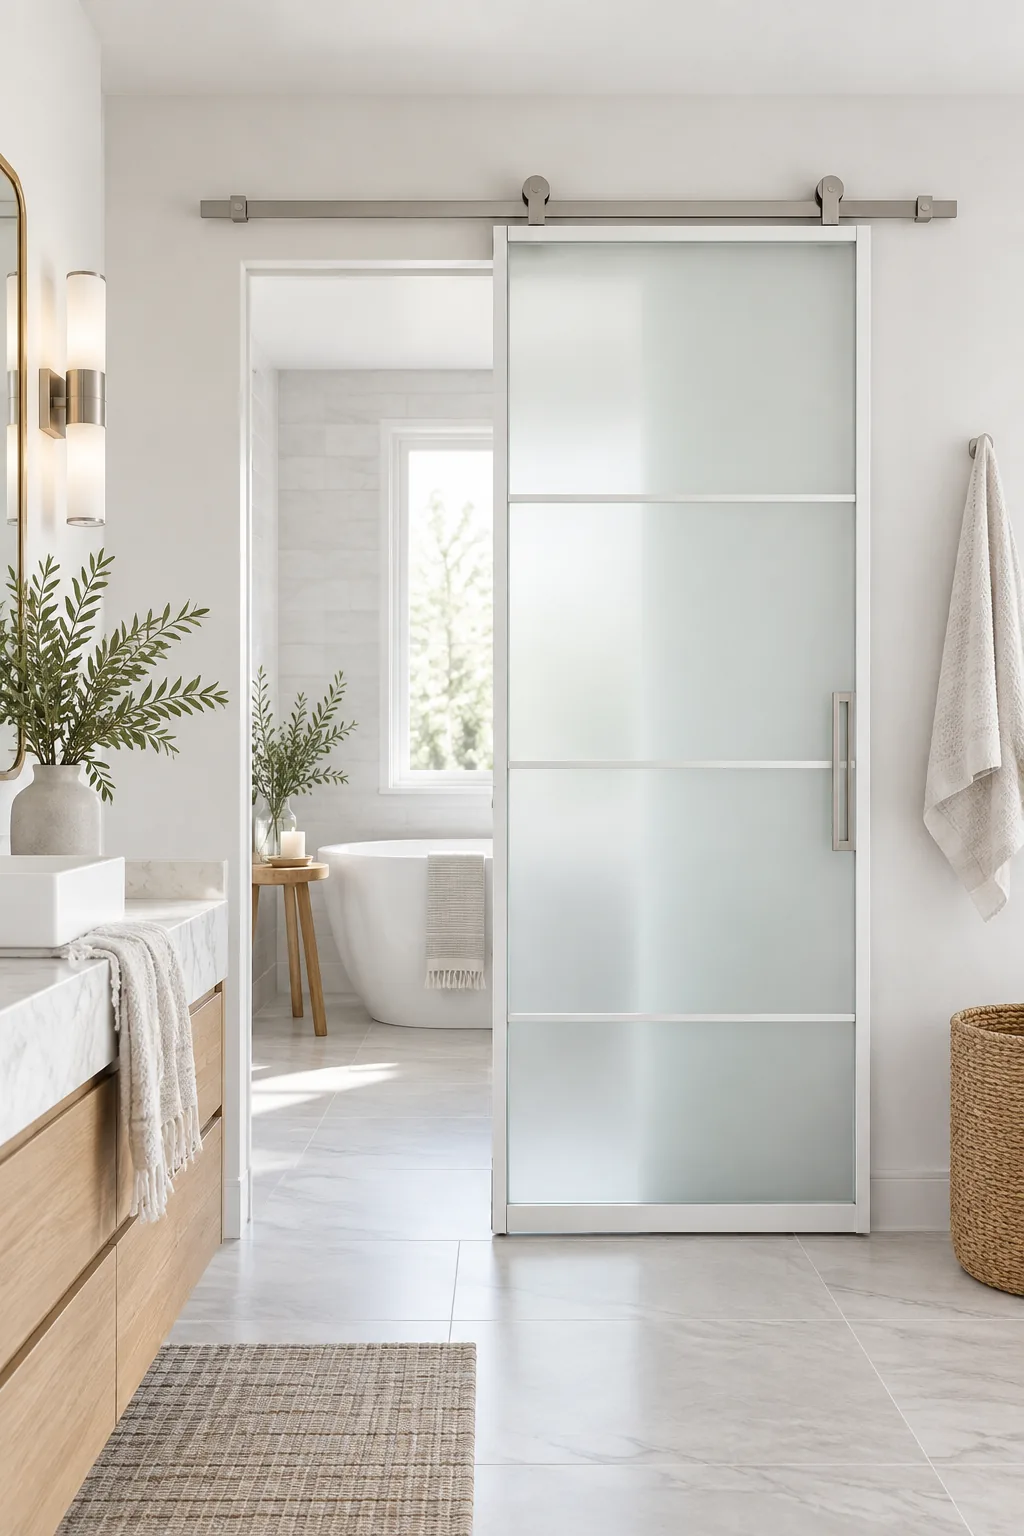
Minimalist frosted glass and white: Frosted glass provides essential bathroom privacy while the white-on-white framing blends seamlessly into the minimalist architecture.
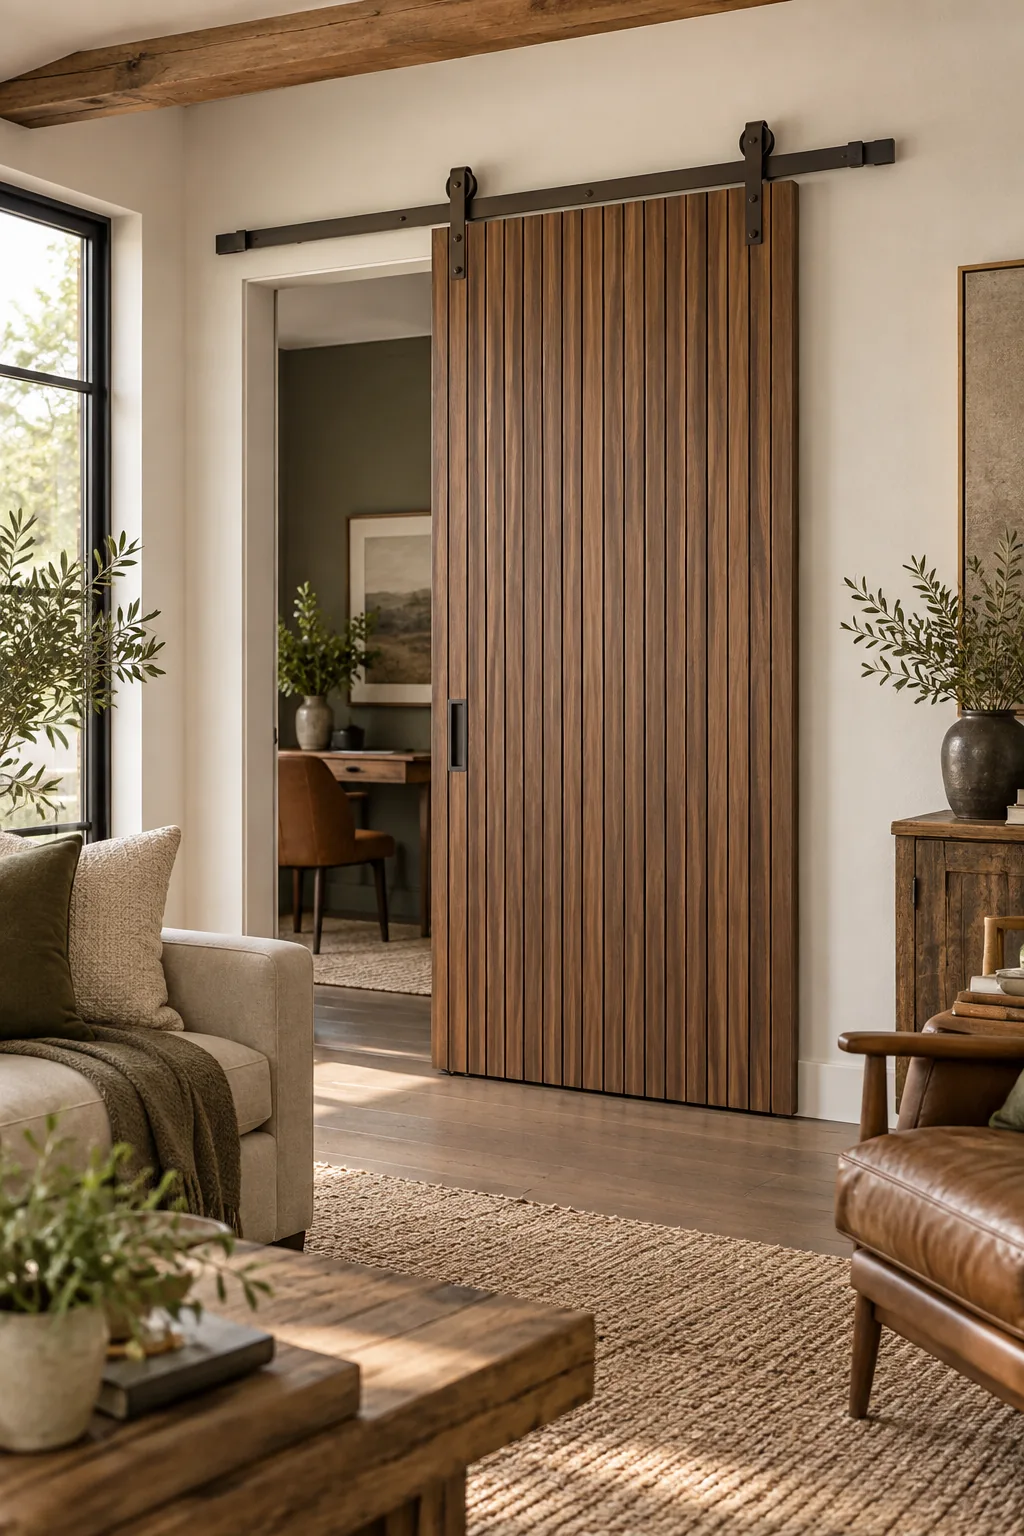
Rustic-modern vertical slat walnut: Vertical walnut slats add incredible texture and height to a rustic-modern living space, perfectly complemented by dark bronze hardware.
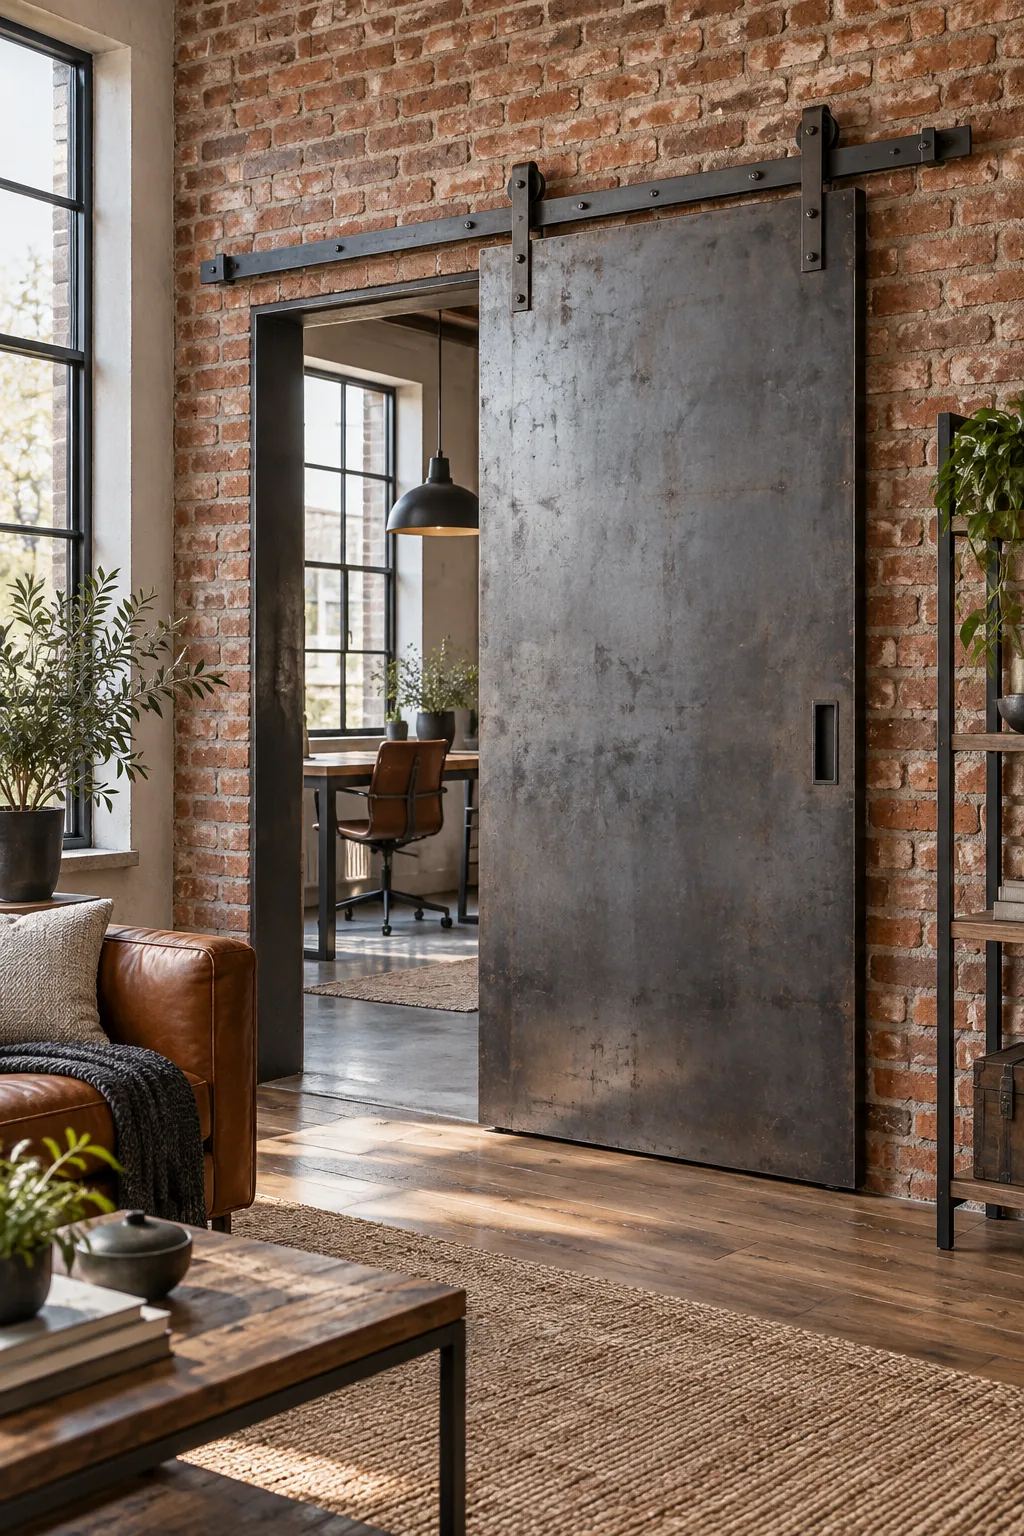
Industrial raw steel and brick: Raw steel and exposed heavy-duty rollers lean into an authentic loft aesthetic when paired with original brick walls.
Stabilizing the Base with a Routed Floor Guide
You should immediately ditch those bulky, wall-mounted plastic rollers that ruin the minimalist aesthetic of your entryway. Instead, you want to route a precise 1/4-inch groove along the entire bottom edge of the door for a hidden track.
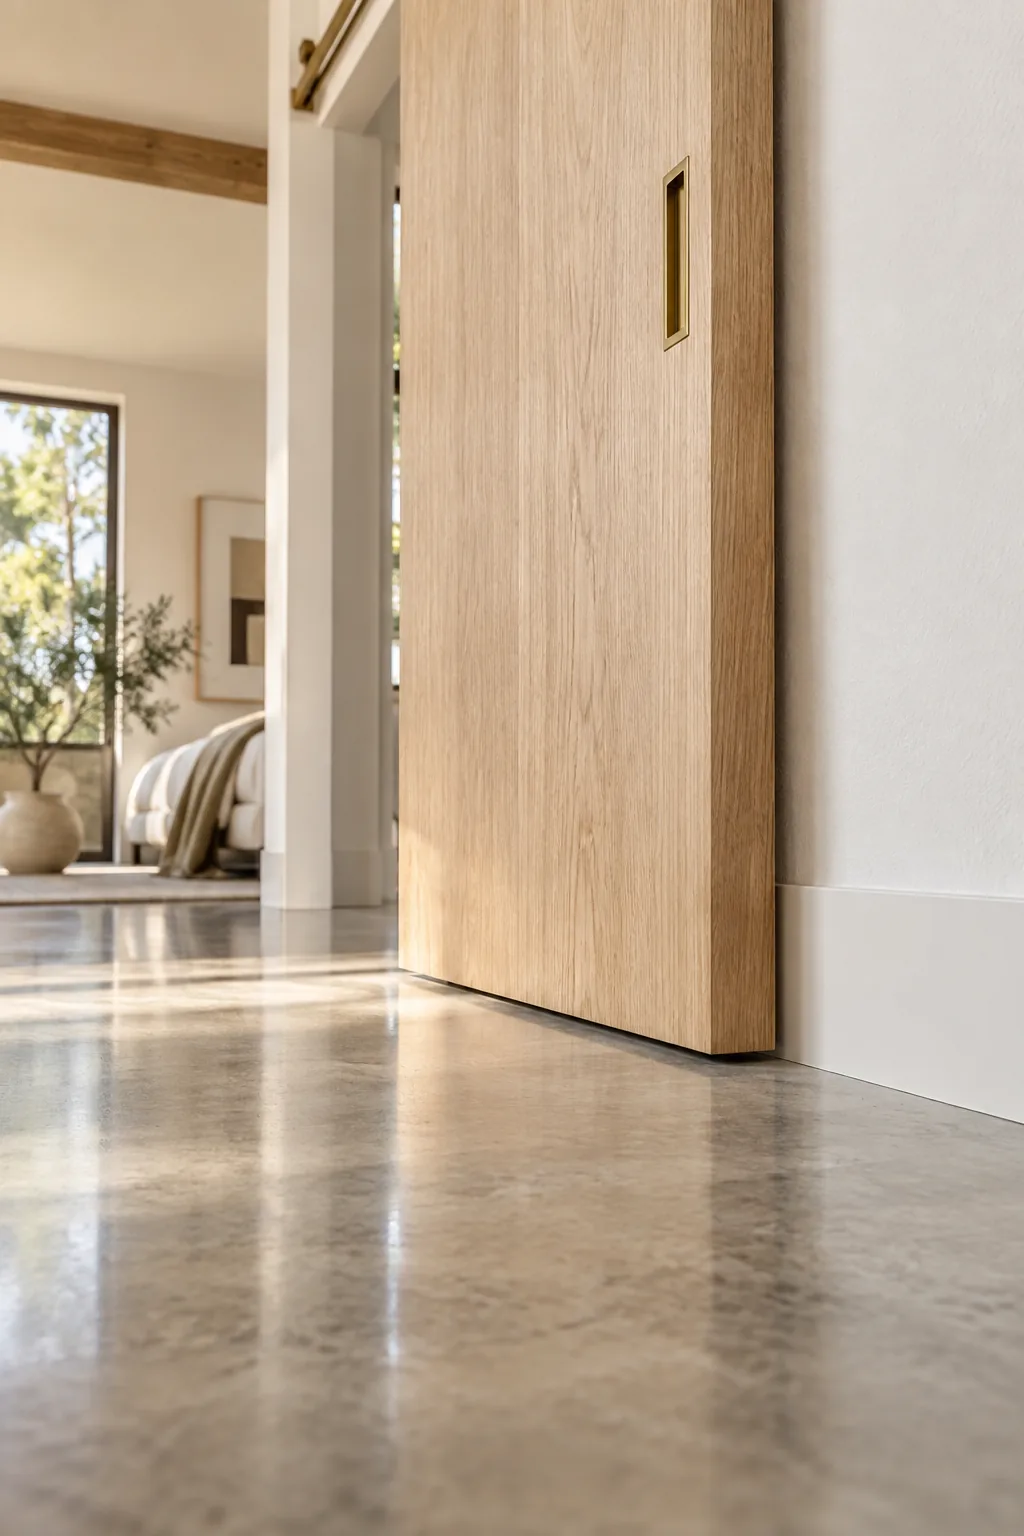
This routed floor guide allows the bottom edge of the door hovering over a hidden floor pin to glide silently. It keeps the heavy slab perfectly plumb without any visible hardware cluttering up your beautiful baseboards.