
16+ Gorgeous Wood Accent Wall Ideas for Your Home
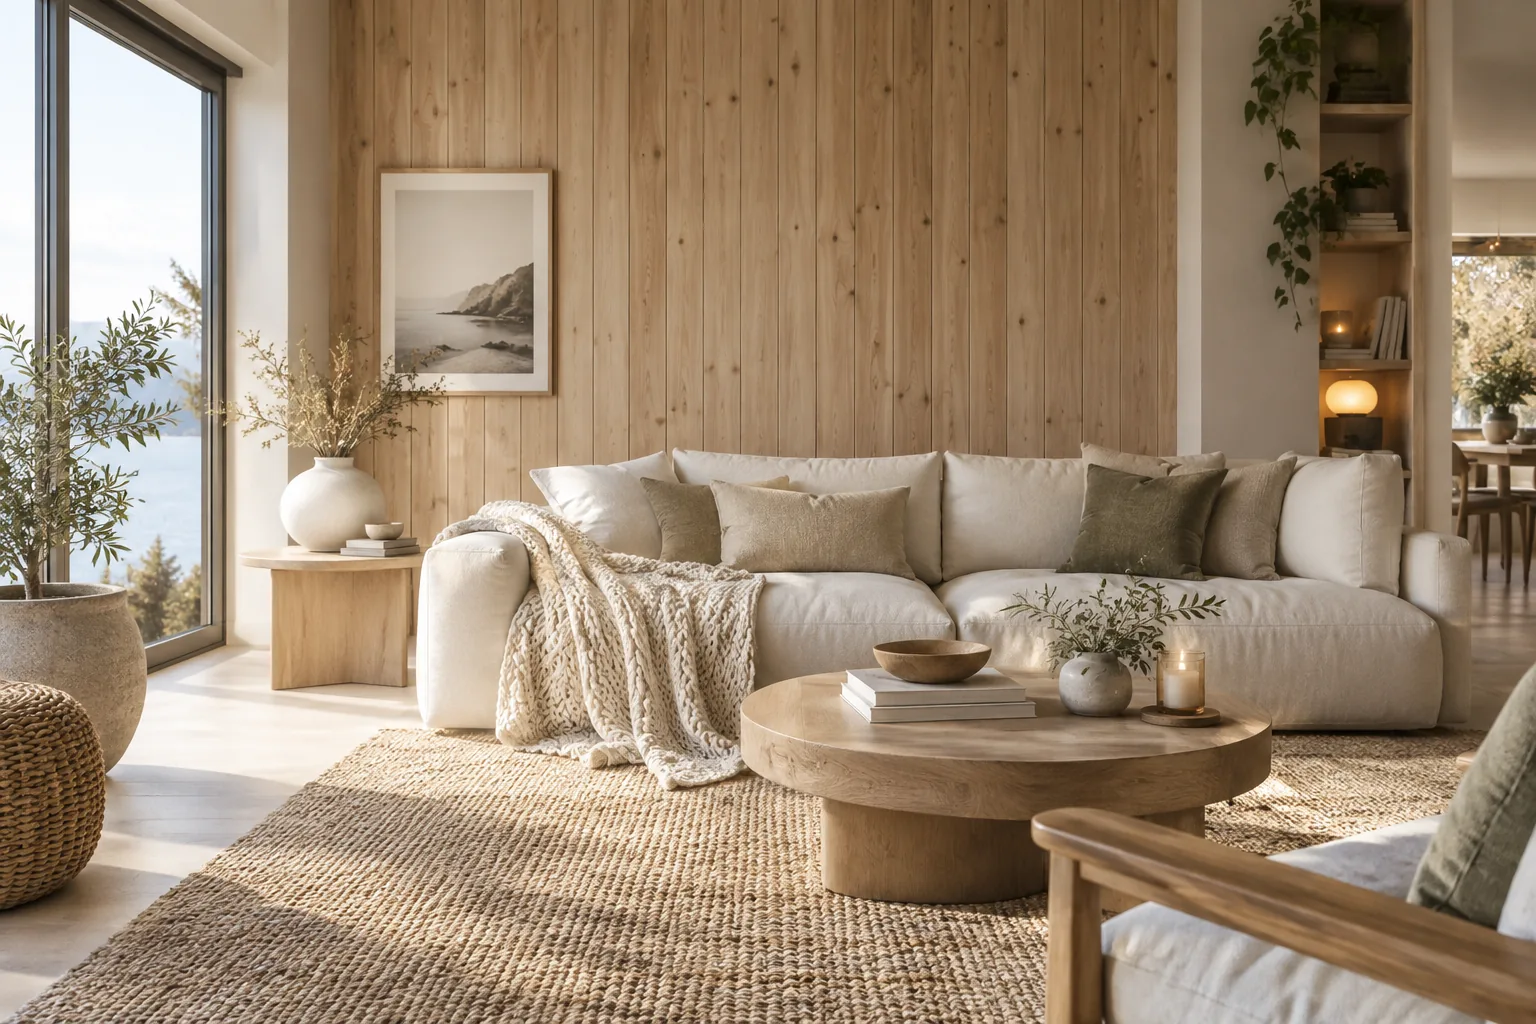
A blank wall is just a missed opportunity to build something incredible with your own two hands. Adding a wood accent wall transforms the entire feel of a room while giving you a totally doable weekend project.
1. Geometric Board and Batten
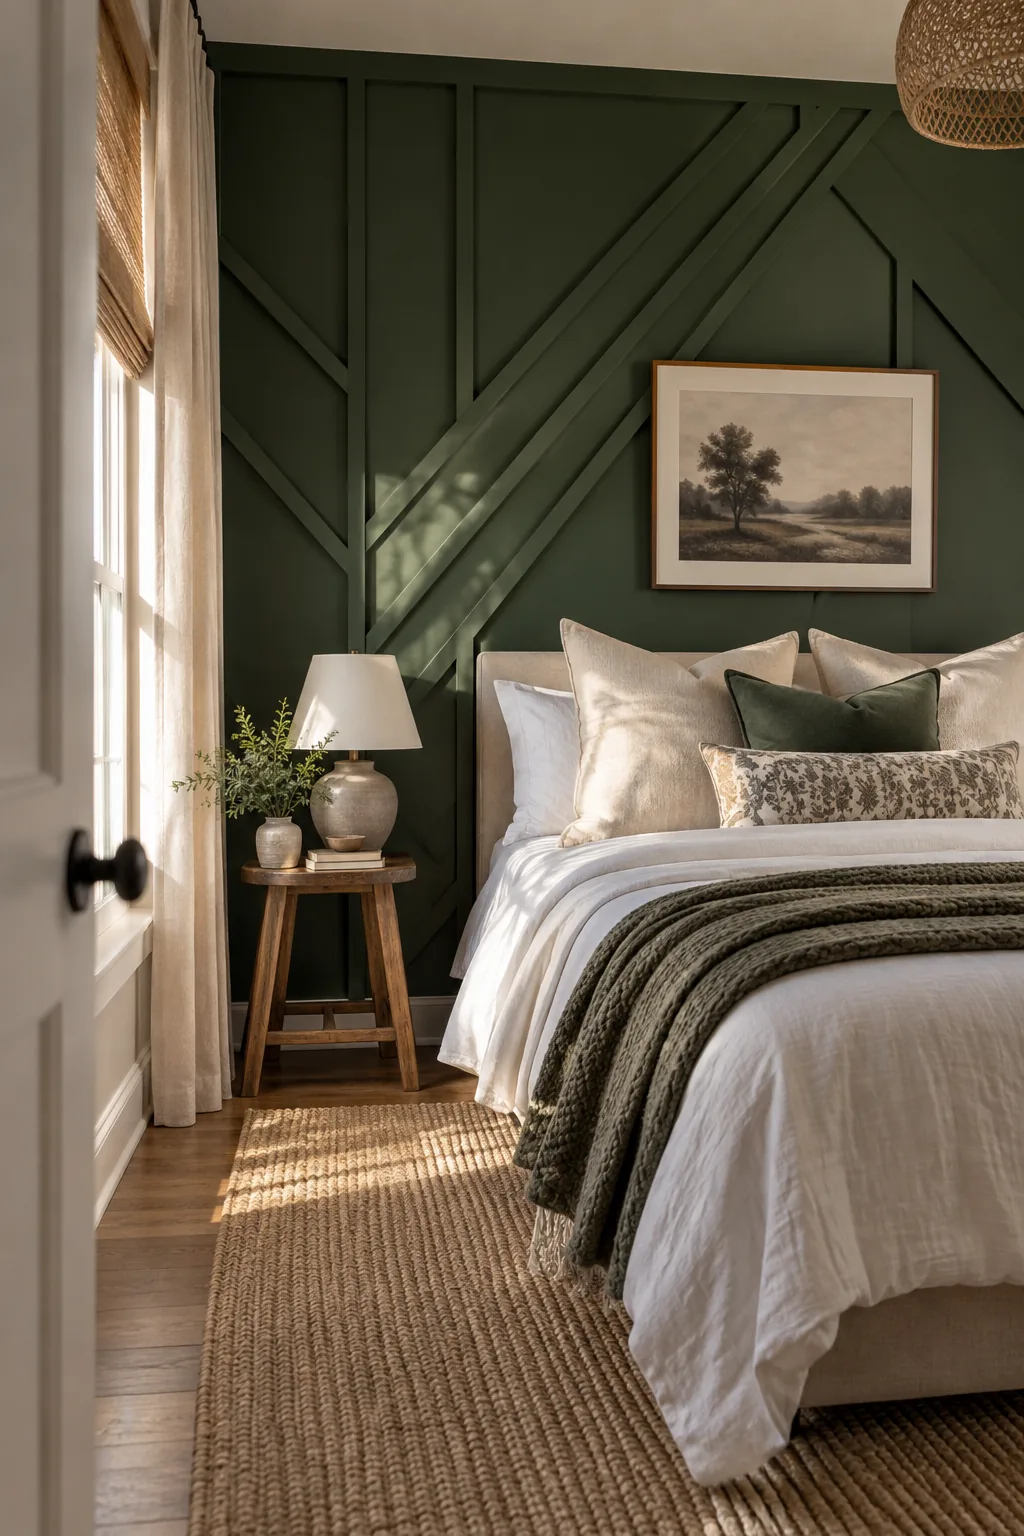
I built my first geometric wood wall in the guest bedroom, and it completely hooked me on trim work. You just map out a bold, asymmetrical pattern with painter's tape before making a single cut. It looks incredibly high-end but only costs the price of some prime pine boards and a gallon of deep green paint. To pull this off, you will need:
- A reliable brad nailer
- Wood filler for seamless joints
- A heavy-duty construction adhesive
2. Skinny Vertical Slats
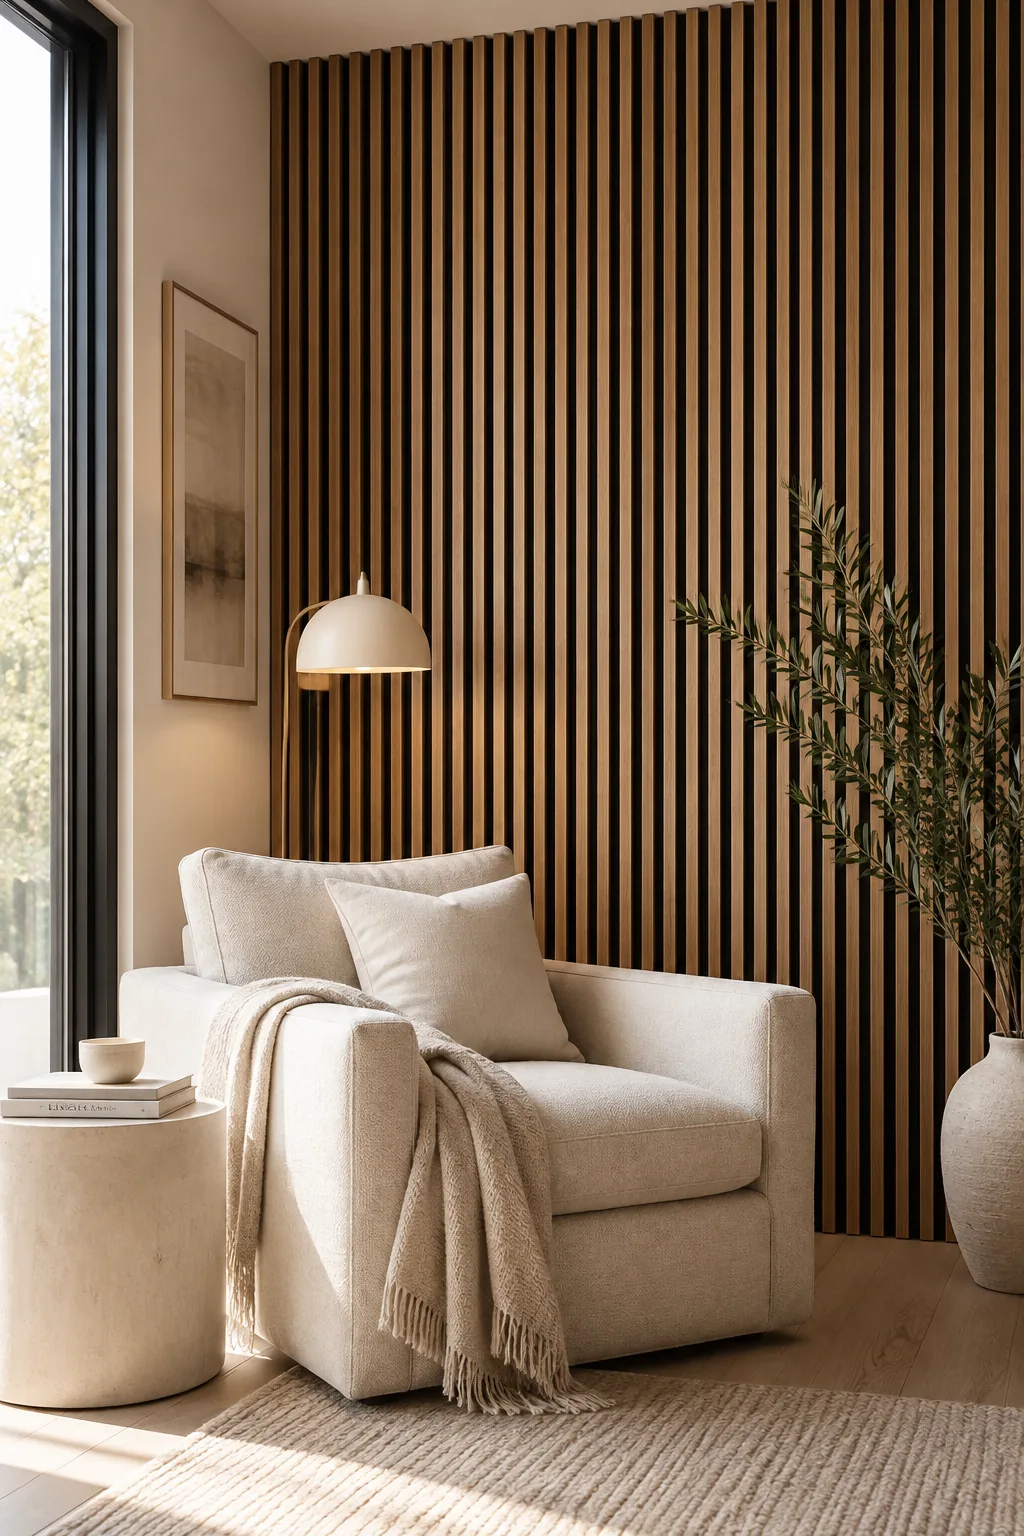
The high contrast of natural oak slats against a matte black background makes this modern style pop. Spacing the boards exactly a half-inch apart draws the eye straight up to the ceiling, making your room feel instantly taller.
3. Reclaimed Pallet Wood
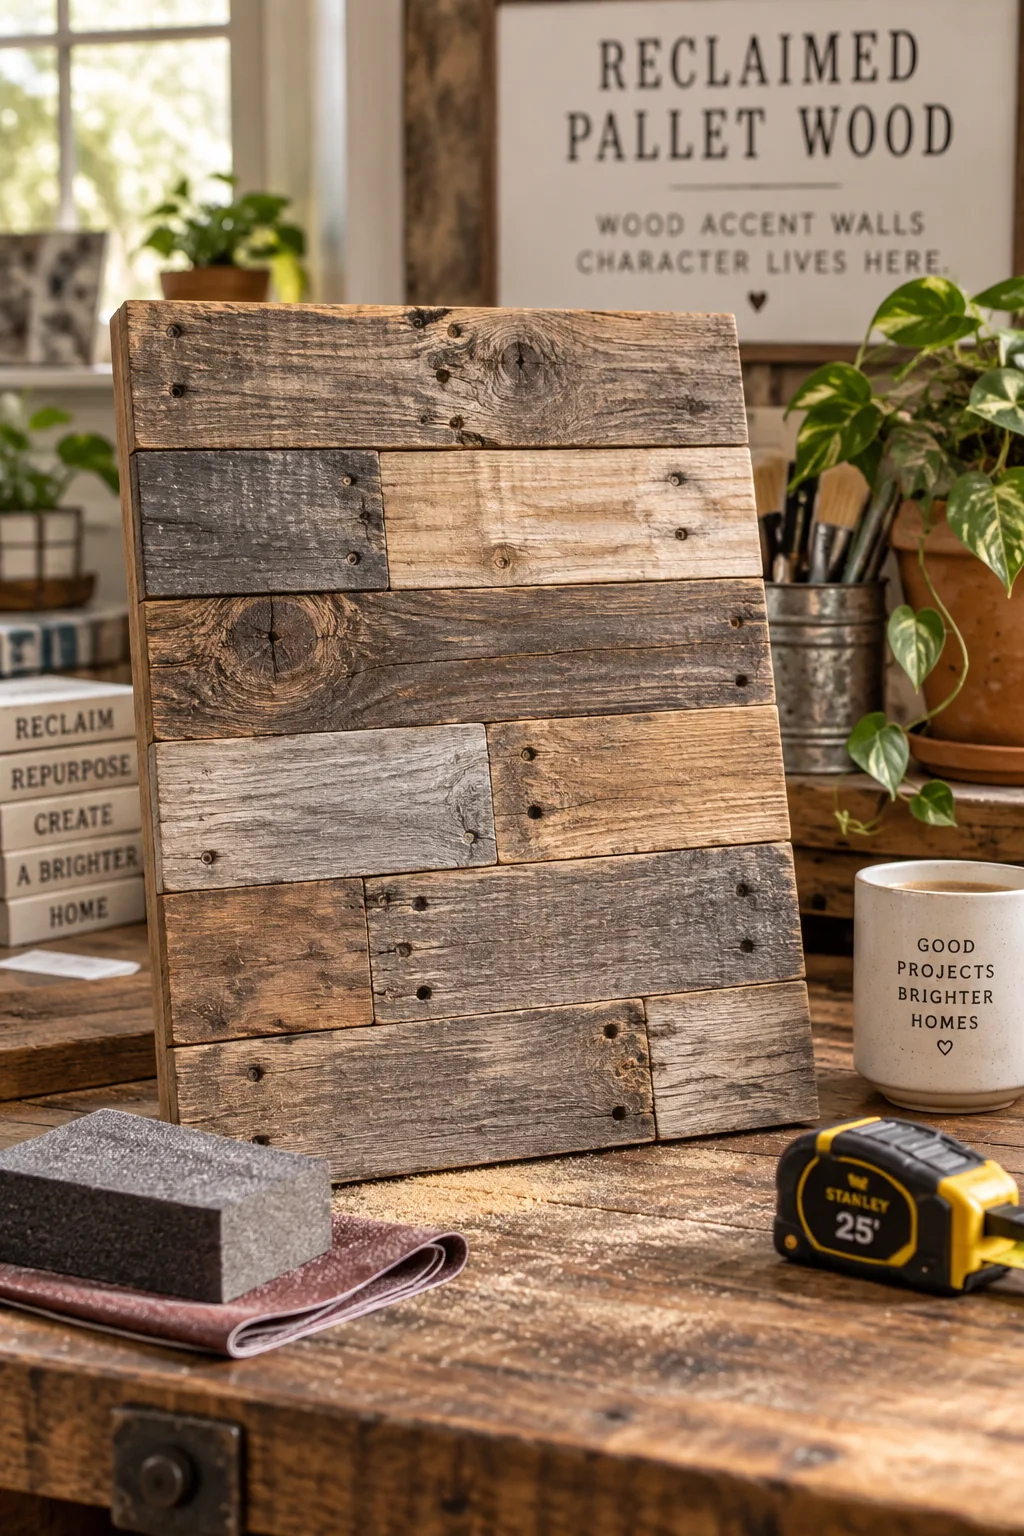
Sourcing exactly 40 square feet of reclaimed pallet wood gives you enough material for a standard bedroom focal wall.
You have to lightly sand the rough spots so nobody gets splinters, but leave the original nail holes intact for character. Staggering the seams is crucial. It keeps the eye moving across the natural color variations instead of getting stuck on a vertical line.
4. Herringbone Plywood Cuts
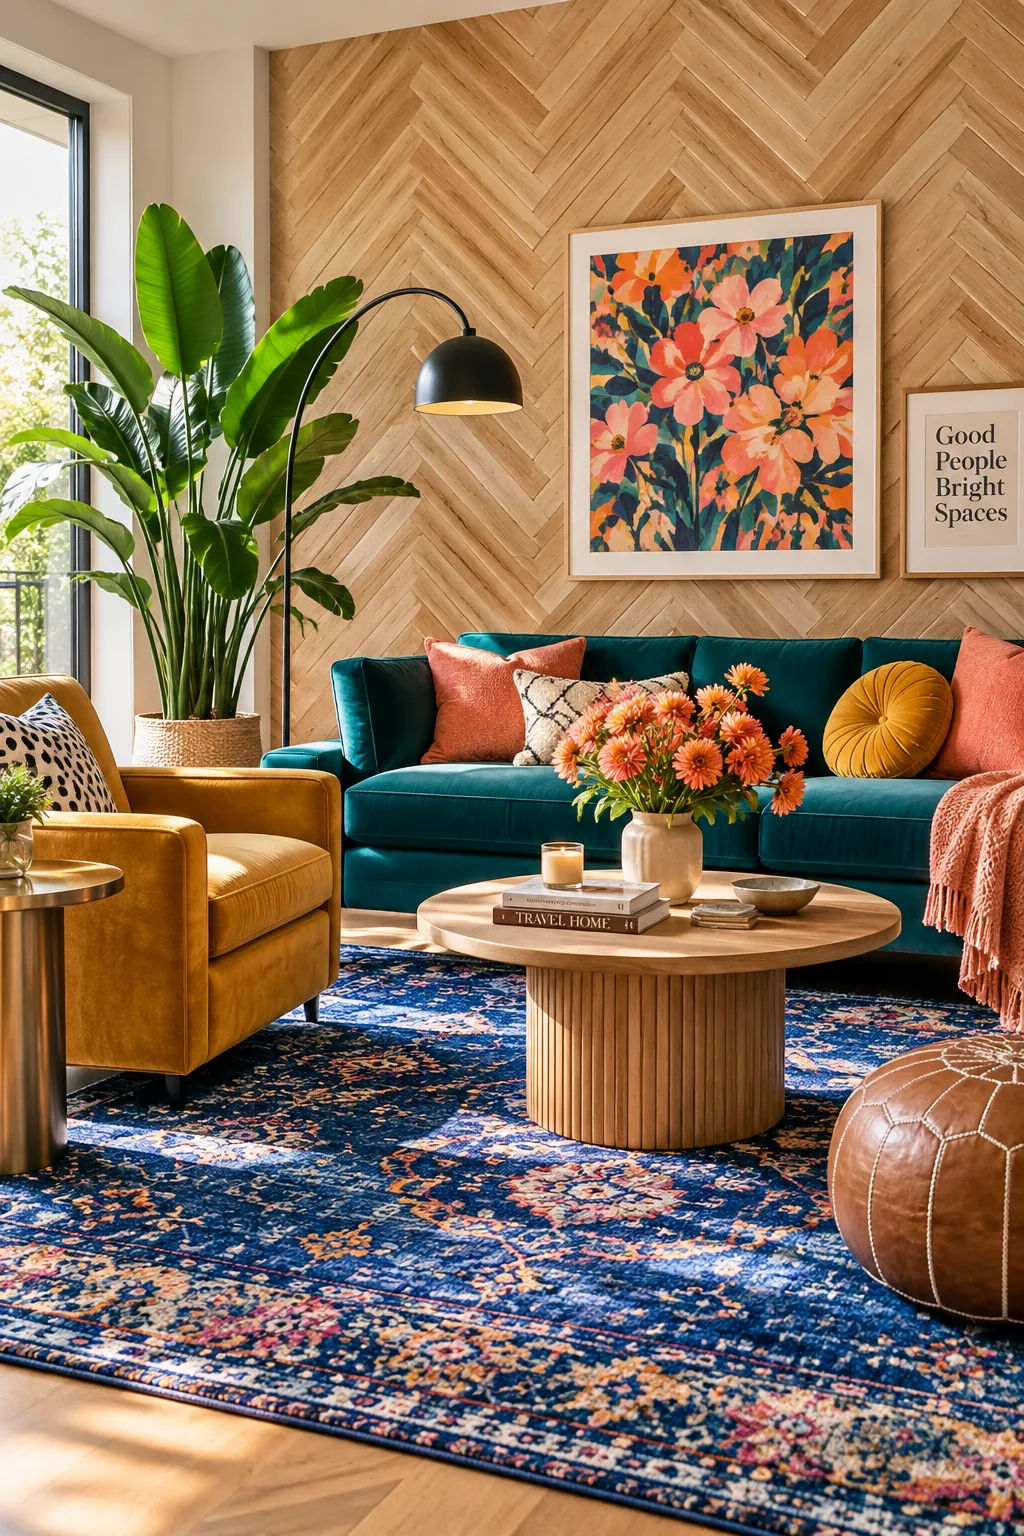
Cutting standard plywood into equal strips is the most cost-effective way to get a custom herringbone accent wall. You start your first angled piece dead center and work your way out to the edges to keep the pattern perfectly balanced. It takes a lot of precise miter cuts to get those tight seams. The resulting texture is absolutely worth the extra sawdust.
5. Horizontal Shiplap
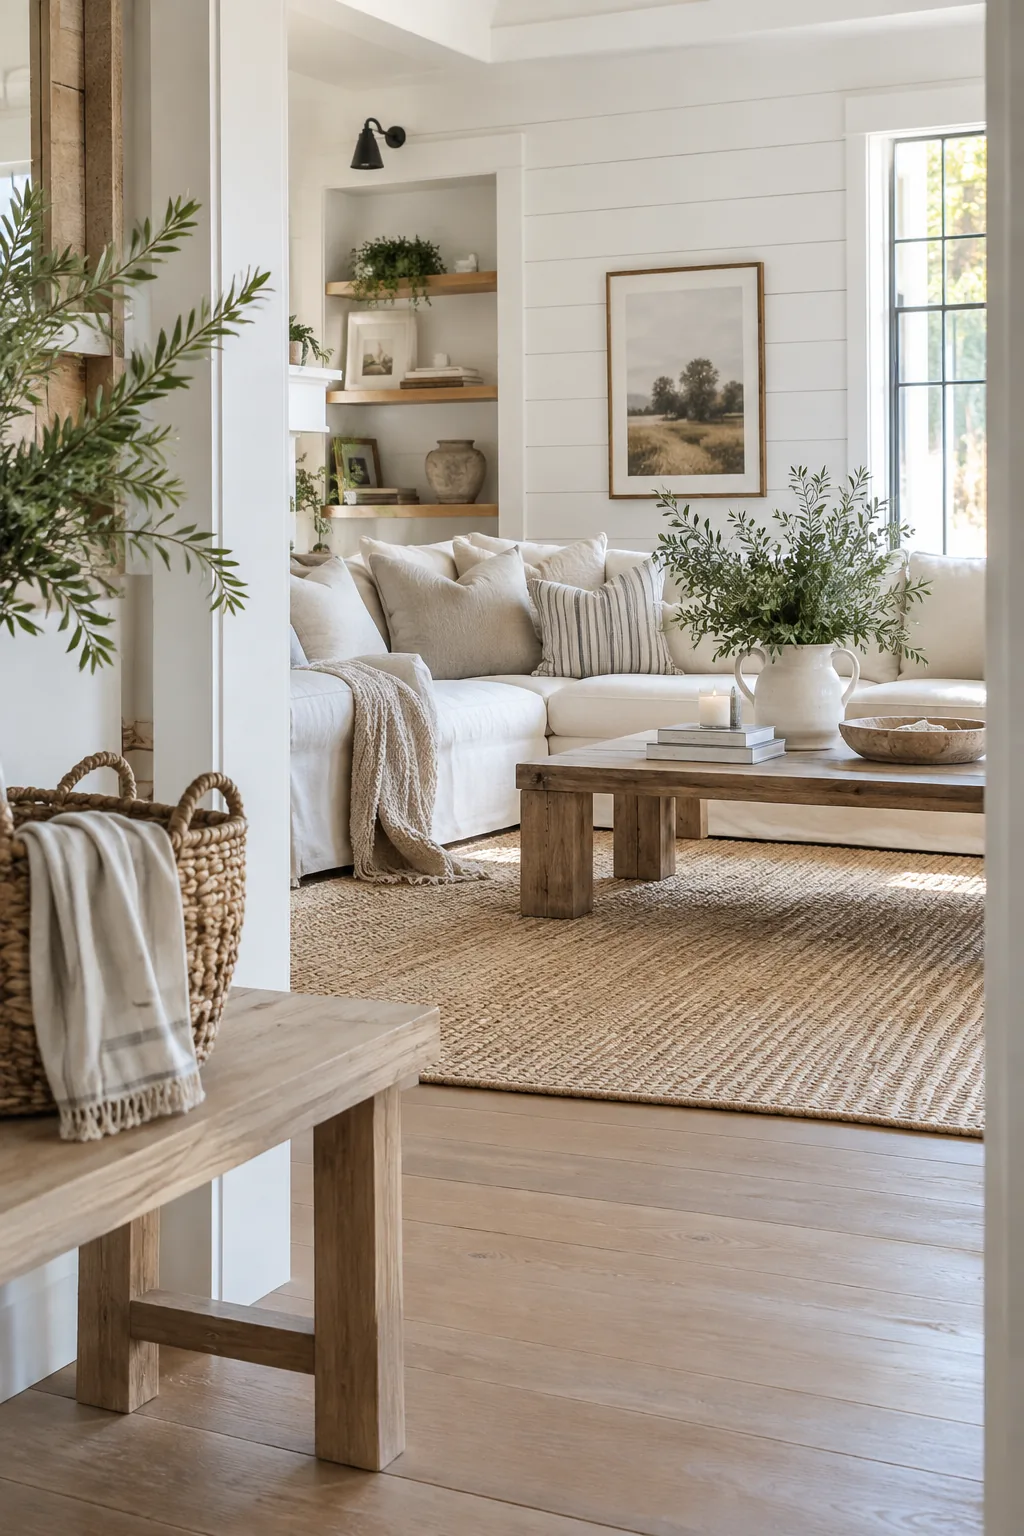
A cozy, modern farmhouse vibe comes together the second you nail up wide horizontal shiplap boards. Painting them a crisp, bright white reflects light around the room while still providing that subtle shadow line between each plank.
6. Dark Walnut Picture Frame Molding
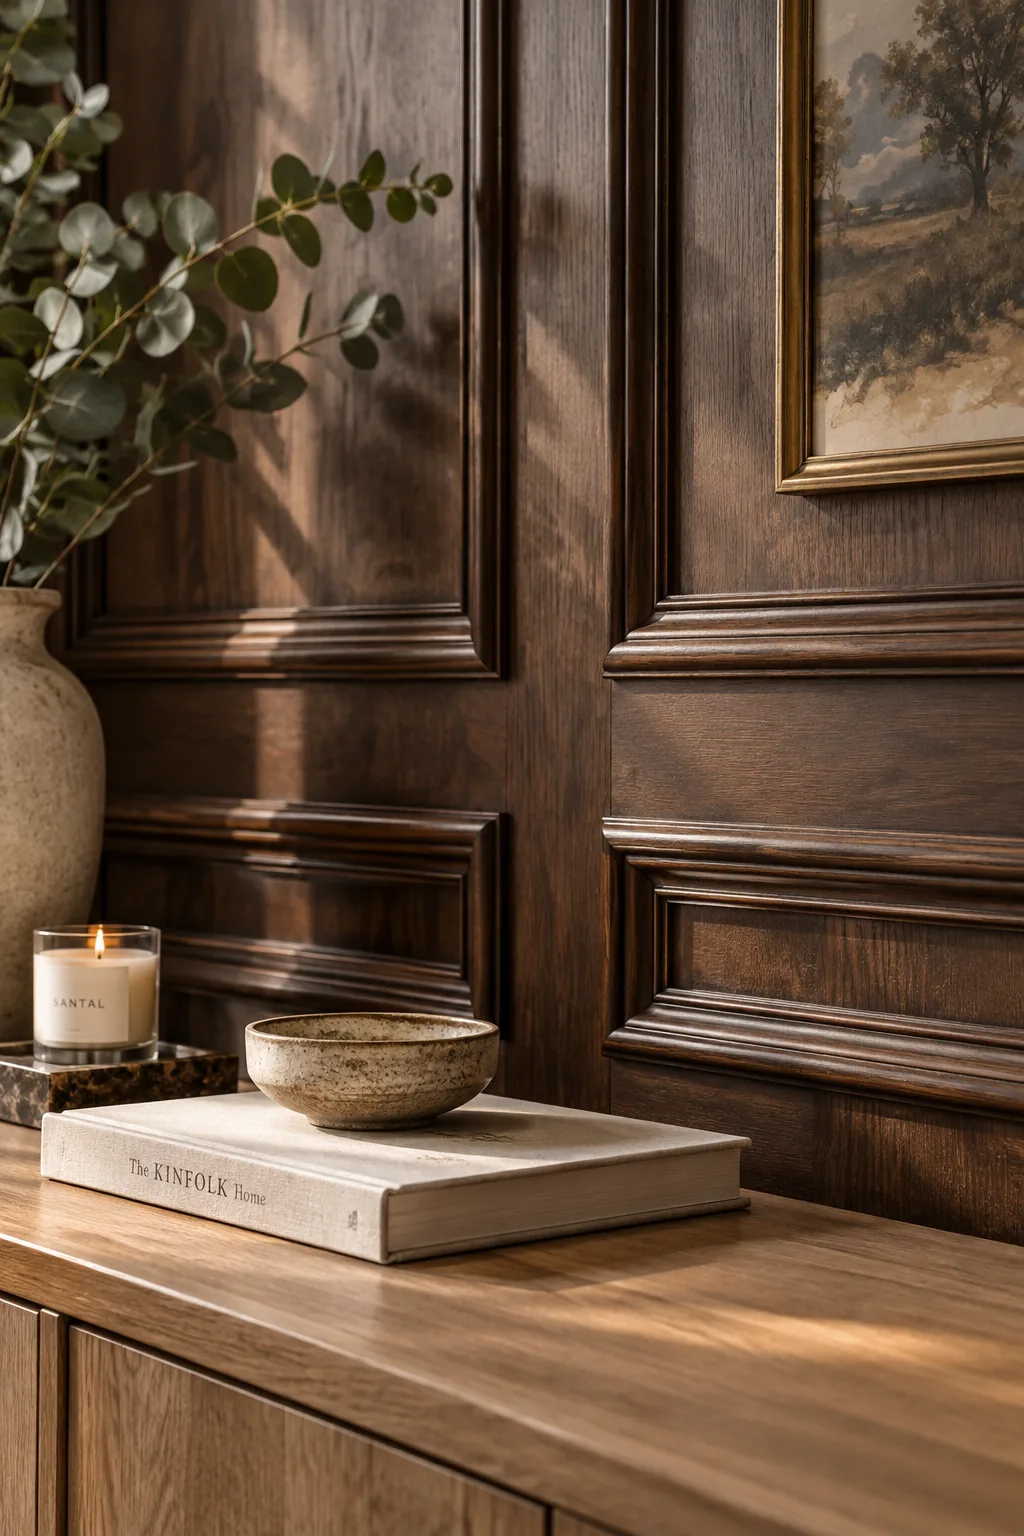
I always keep a stack of decorative trim in my garage just for building picture frame molding. Staining it a rich, dark walnut instead of painting it gives a traditional room a moody, historic library feel. You just use a laser level to keep your boxes perfectly aligned.
Why it works: The structured symmetry of the wood boxes grounds the space and frames your wall art perfectly.
7. Chunky Square Paneling
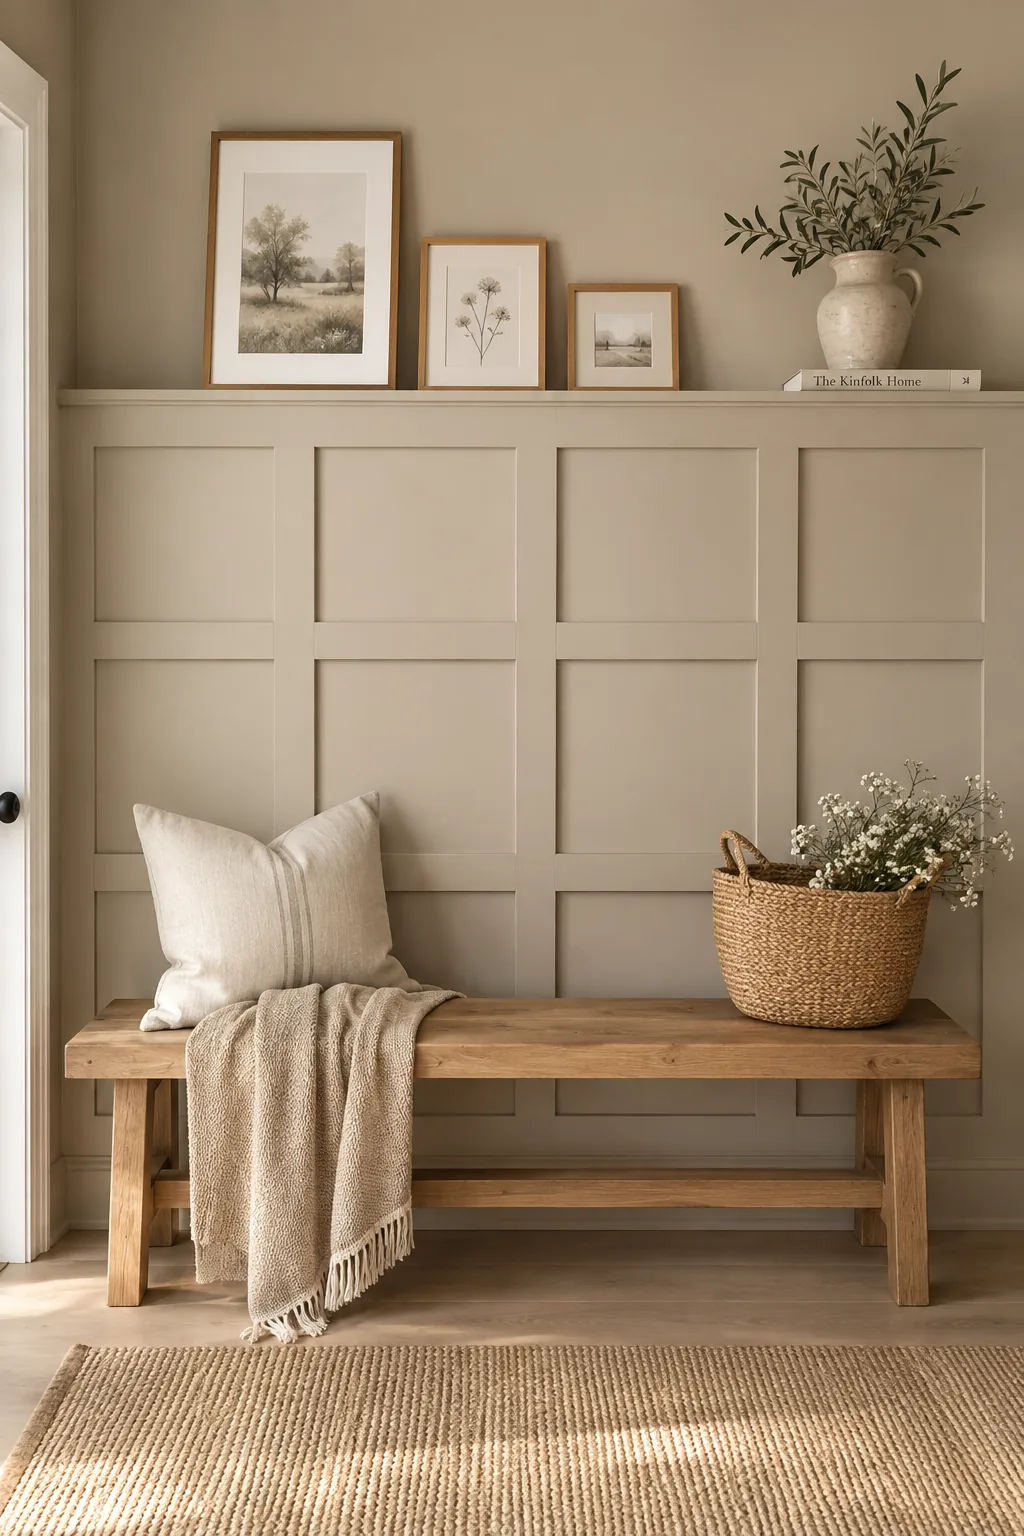
Always paint your wall and your wood paneling the exact same color before you attach the final boards. This grid-style wainscoting covers the lower two-thirds of the wall and adds massive architectural interest. Capping it with a thick top rail gives you a functional ledge for small frames.
8. Whitewashed Pine Planks
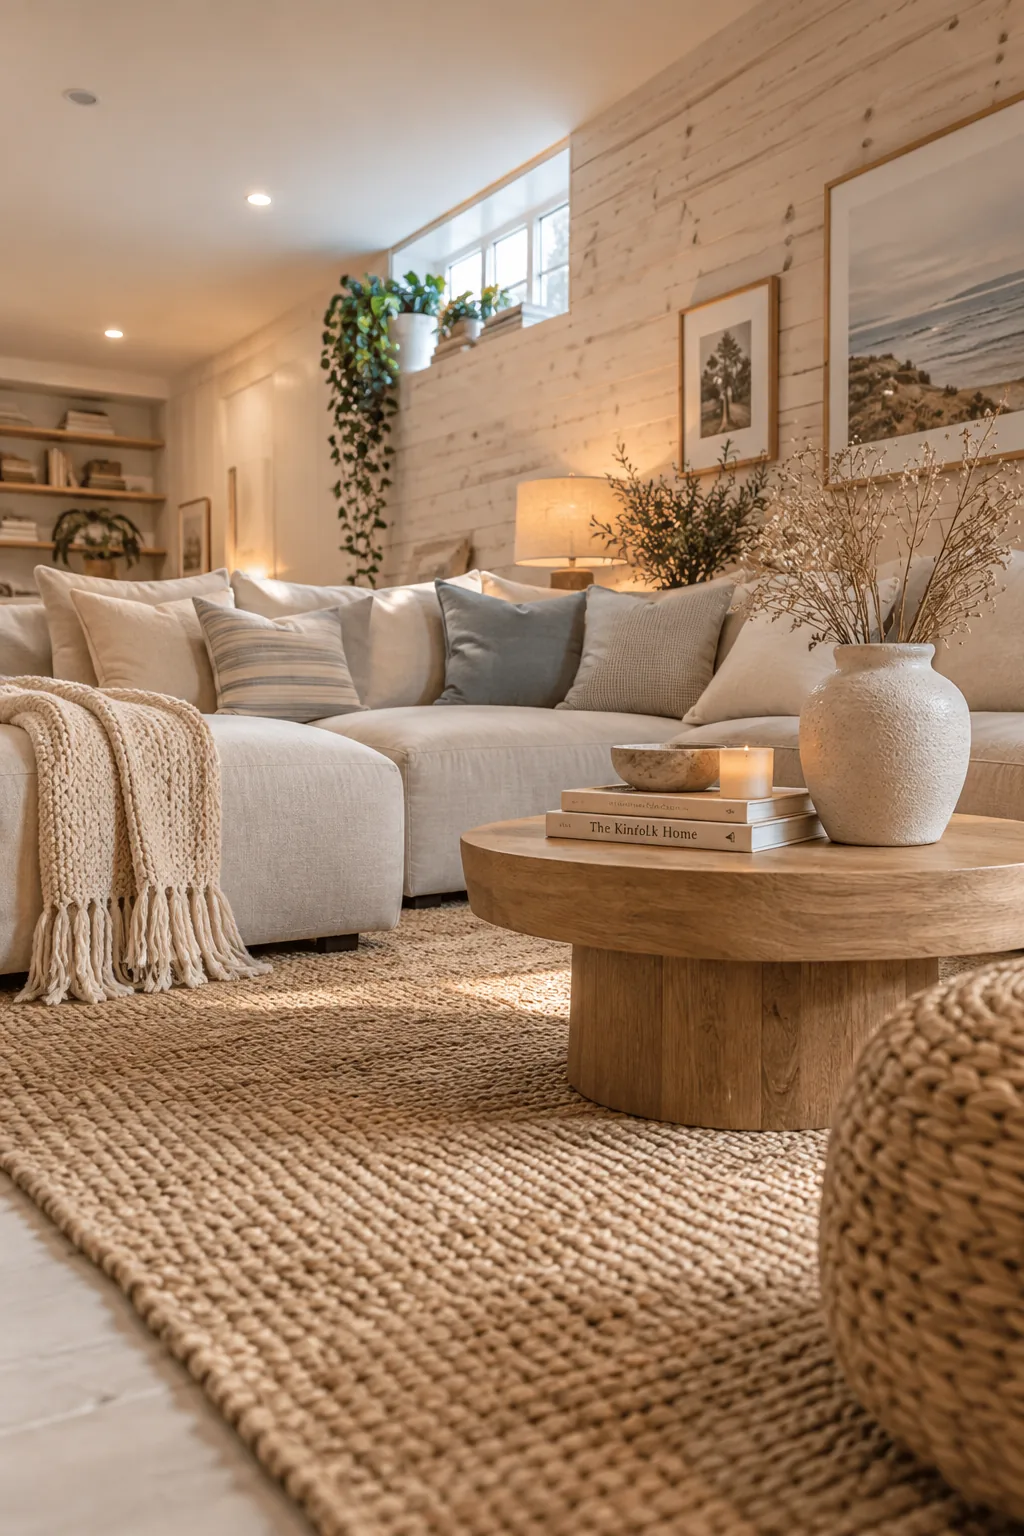
Diluting white paint with water before brushing it over pine planks lets the natural wood grain peek through. This airy, coastal treatment brightens up a dark basement without completely hiding the organic texture of the wood.
9. Diagonal Half-Wall
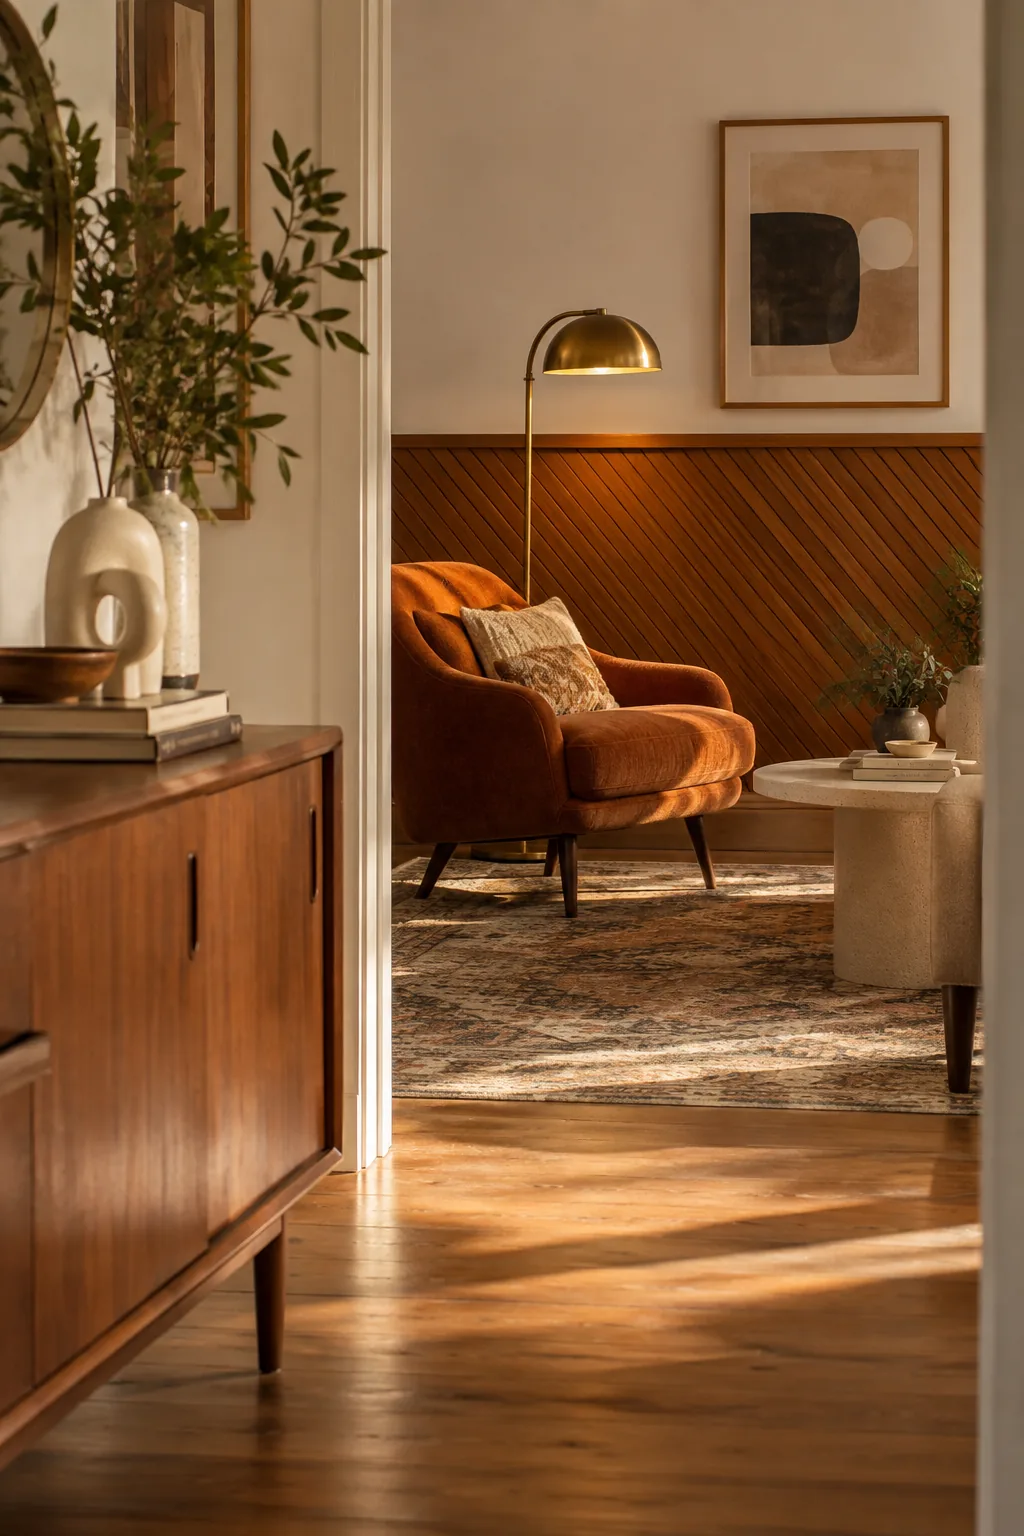
A dynamic, mid-century aesthetic takes over the room when you run thin wood strips at a sharp 45-degree angle. Stopping the wood treatment halfway up the wall keeps the space from feeling too heavy or enclosed. I top the raw edges with a simple piece of trim to give it a finished, built-in look. You can pull this off over a weekend. Just make sure you grab:
- A digital angle finder
- Pre-primed MDF strips
- A fine-tooth saw blade
10. Chevron Headboard Wall
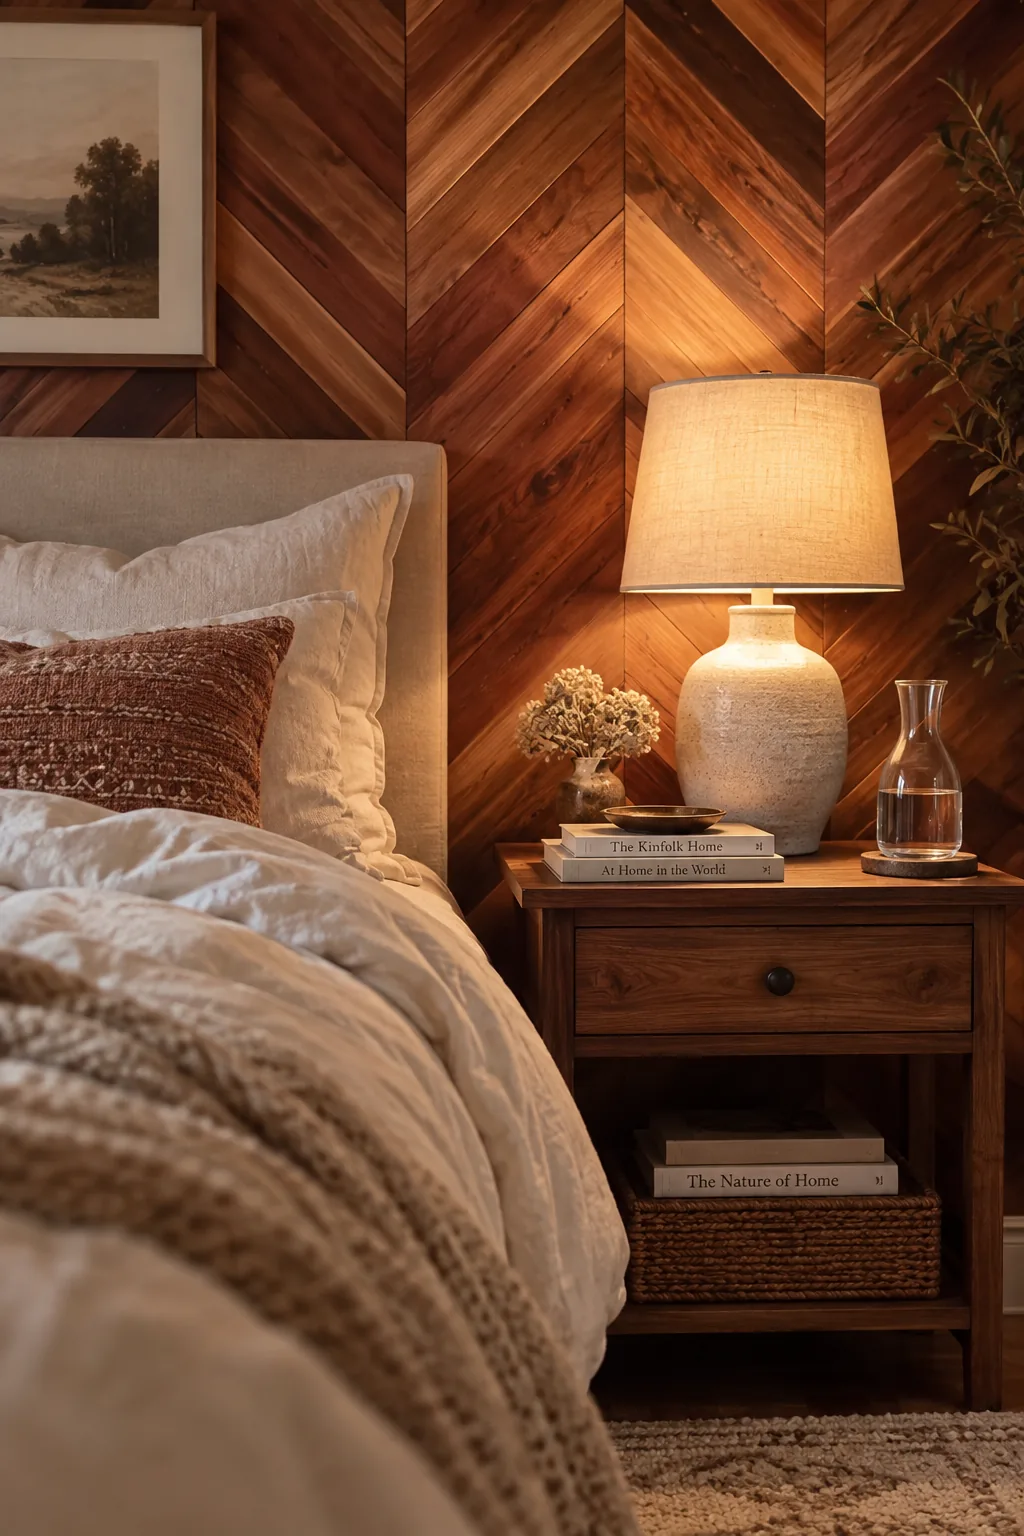
A standard queen bed requires a chevron wood wall spanning at least 65 inches wide to serve as a visual headboard. Using varying shades of stained cedar highlights the intricate V-shaped joints and anchors the room. Grab these supplies before you start making cuts:
Just remember to let the wood acclimate in your house before nailing anything to the studs.
- Cedar fence pickets
- Dark walnut stain
- A rafter square
11. Black Shou Sugi Ban
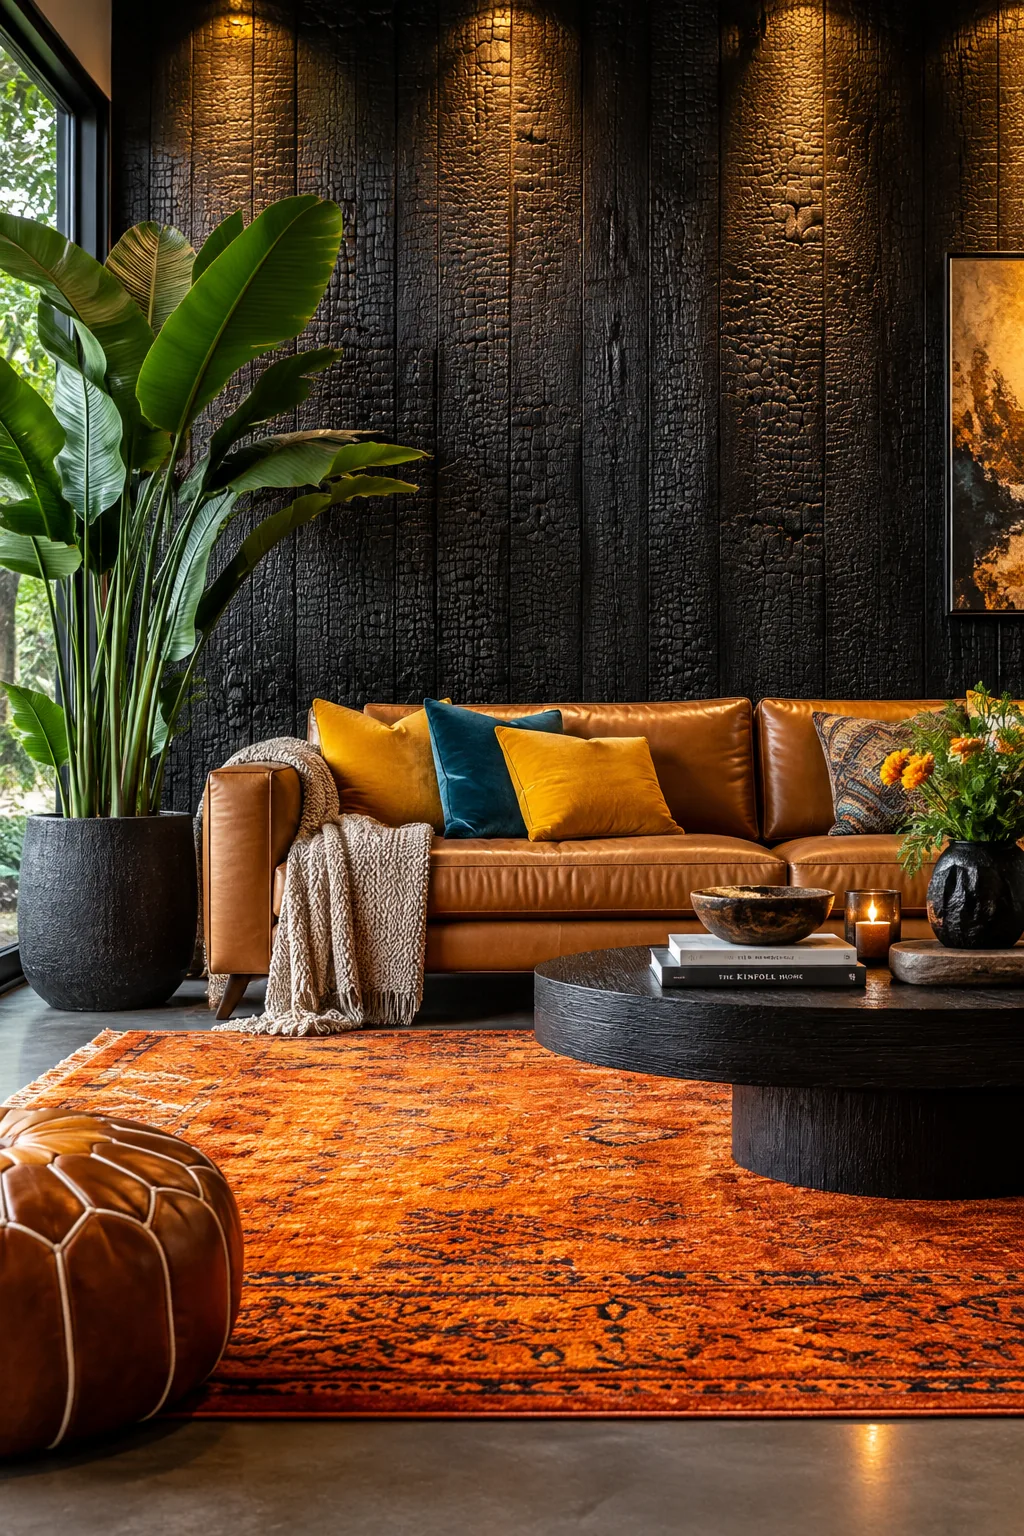
A deeply textured, dramatic backdrop emerges when you use the Japanese charred wood technique on your accent wall. The fire hardens the wood and leaves a rich, charcoal-black finish that looks incredible behind a sleek leather sofa.
12. Fluted Wood Panels
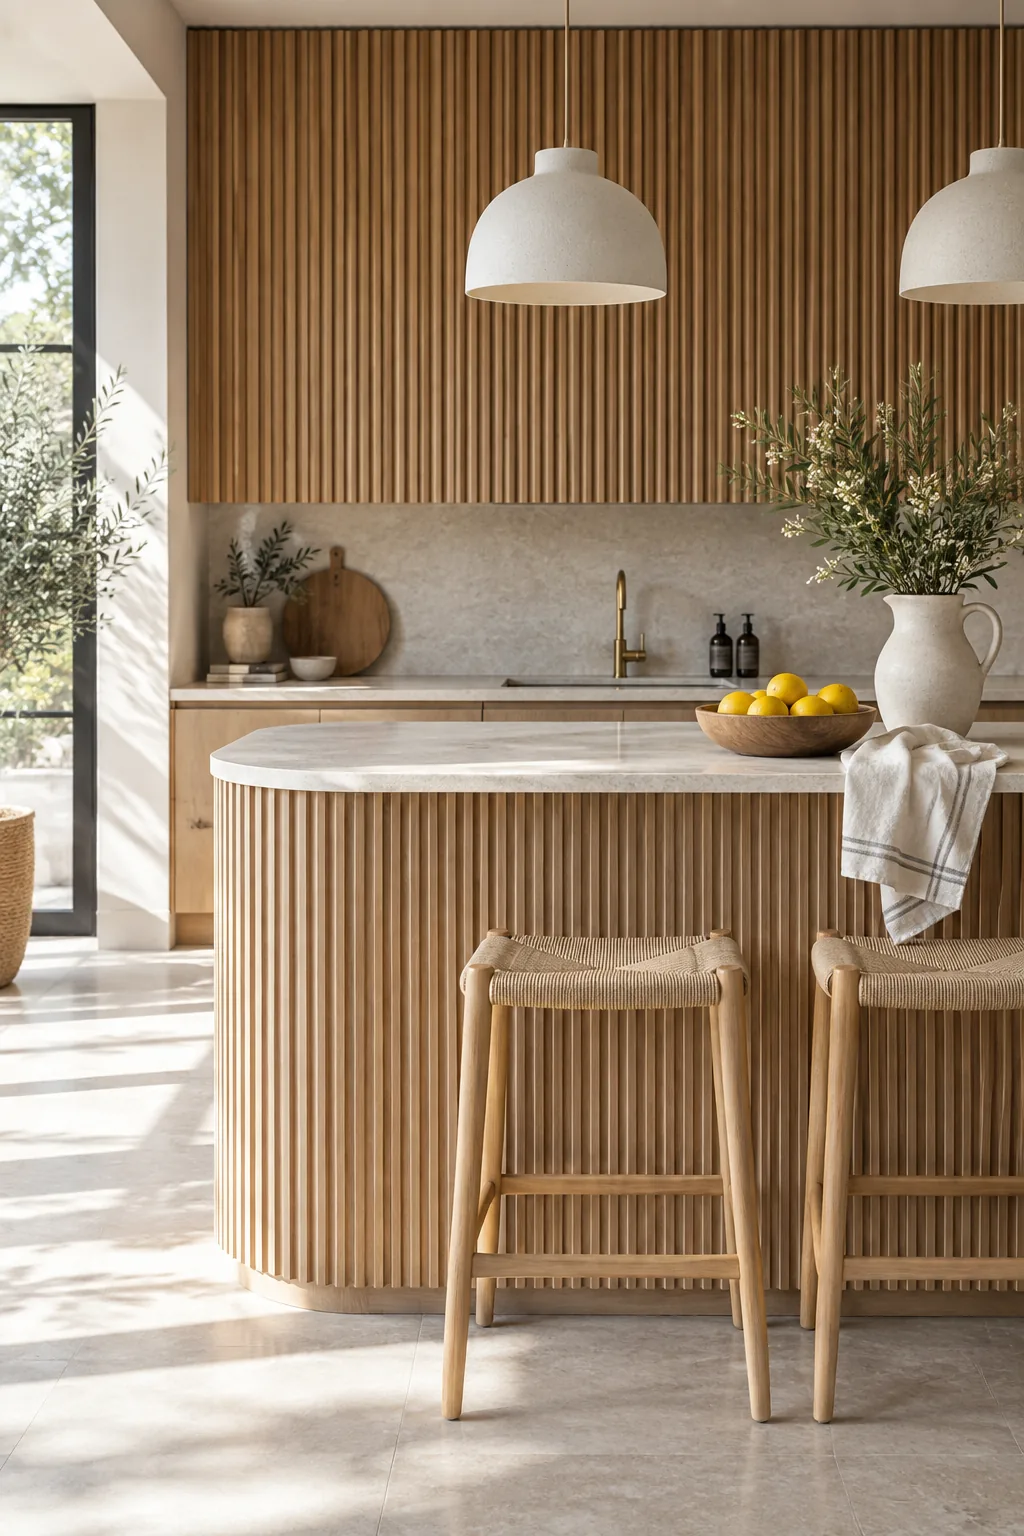
The repeating curves of fluted wood panels soften the harsh right angles of a typical room.
You can buy these panels pre-milled and just glue them straight to the drywall. They add incredible tactile texture and look especially gorgeous wrapping around a kitchen island.
13. Plywood Pegboard Wall
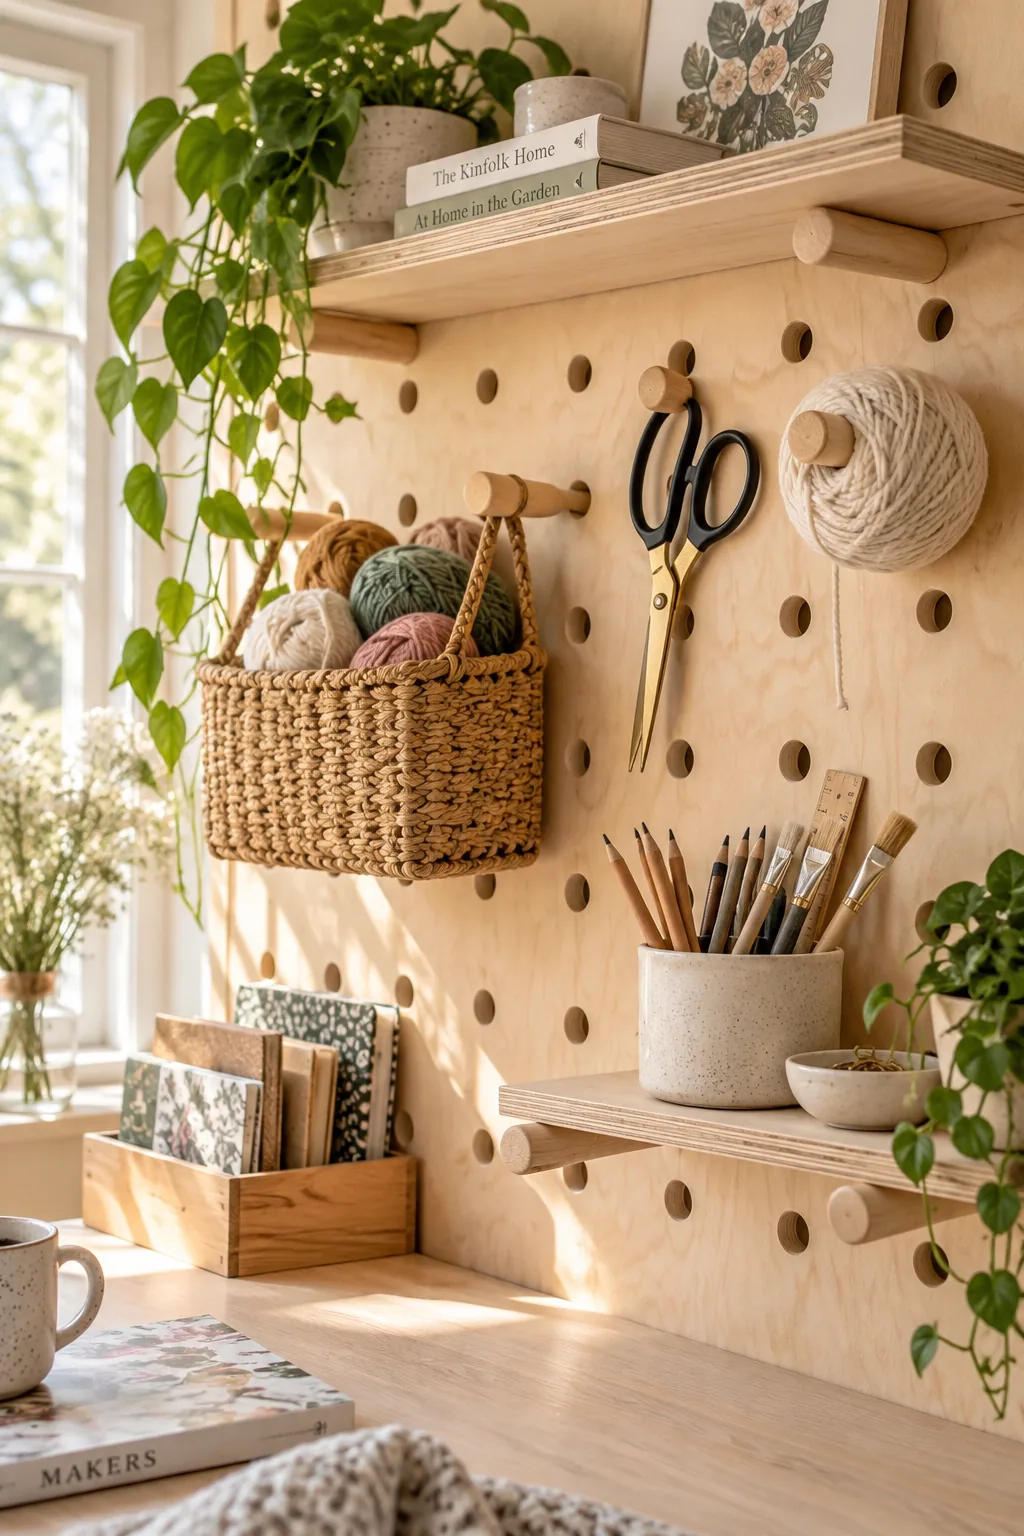
A highly functional, craft-room vibe happens instantly with an oversized plywood pegboard wall.
You just drill evenly spaced holes into thick birch plywood using a Forstner bit. Then you tap in wooden dowels to hold shelves, baskets, and tools.
It is the ultimate modular storage solution. You can rearrange the layout whenever your needs change.
14. Scalloped MDF Trim
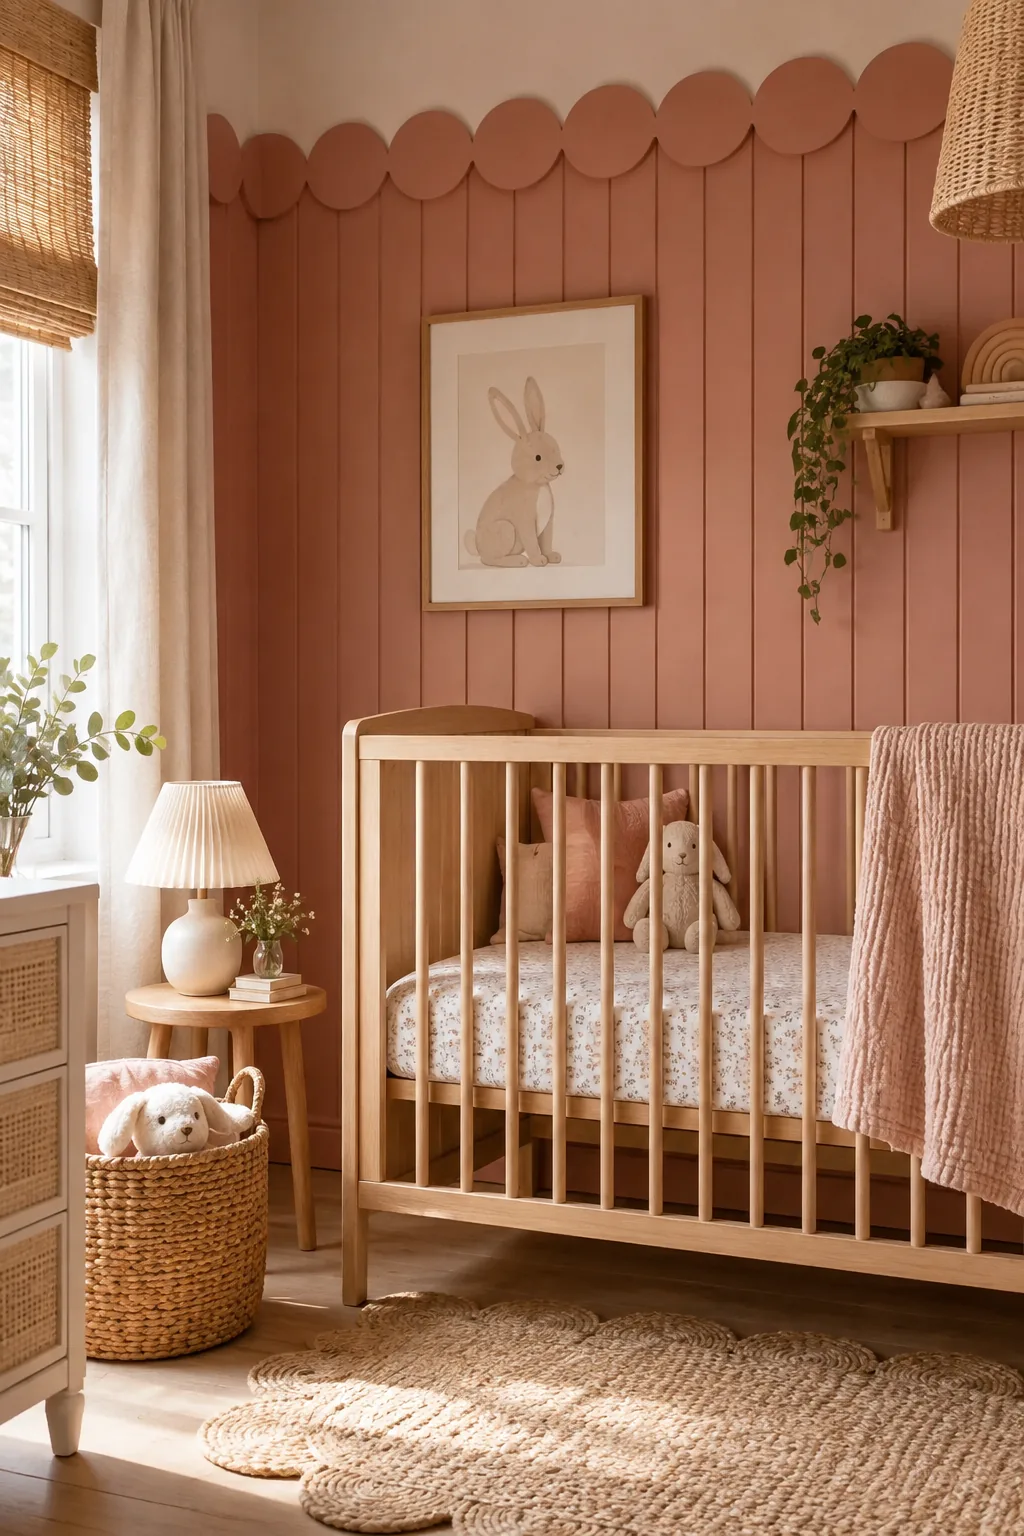
Cutting a 4×8 sheet of MDF into scalloped wood trim costs less than thirty bucks and totally changes a nursery. You can use a jigsaw and a simple cardboard template to trace the repeating half-circles. Layering this custom trim over vertical beadboard creates a sweet, playful wainscoting effect. I love painting the whole thing a soft terracotta pink. It adds so much charm without requiring advanced carpentry skills.
15. Rustic Barnwood Niche
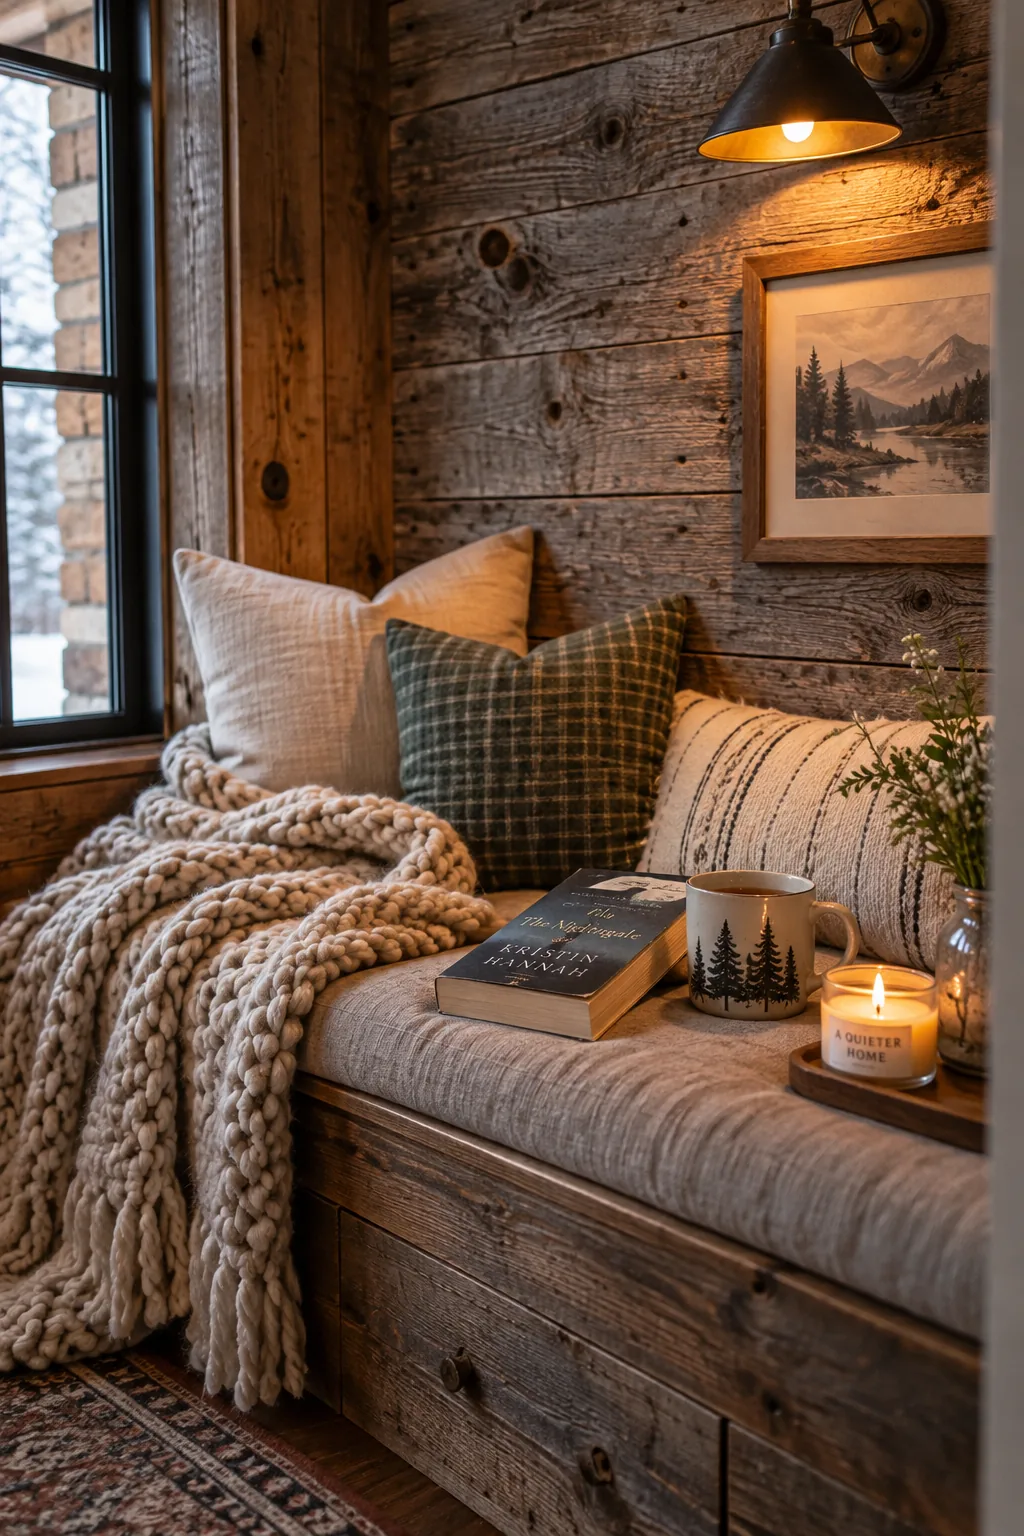
A cozy, cabin-like alcove is born when you line a recessed wall with weathered barnwood.
Tucking this textured wood into a small reading nook keeps the rustic element from overpowering your house. You just face-nail the boards directly into the studs. Make sure to have these items handy:
- Authentic barnwood planks
- Matte clear coat sealer
- Black trim nails
16. Asymmetrical Slats with LED

I recently installed these asymmetrical wood slats in my brother's gaming room, and the result is wildly futuristic.
We left random gaps between the vertical oak boards to nestle in aluminum channels for smart LED light strips. It creates a glowing, interactive wall that changes colors.
The wires are completely hidden behind a false plywood backing.
Why it works: The hidden lighting highlights the natural wood grain while adding a moody, customizable glow to the space.
17. End-Grain Wood Blocks
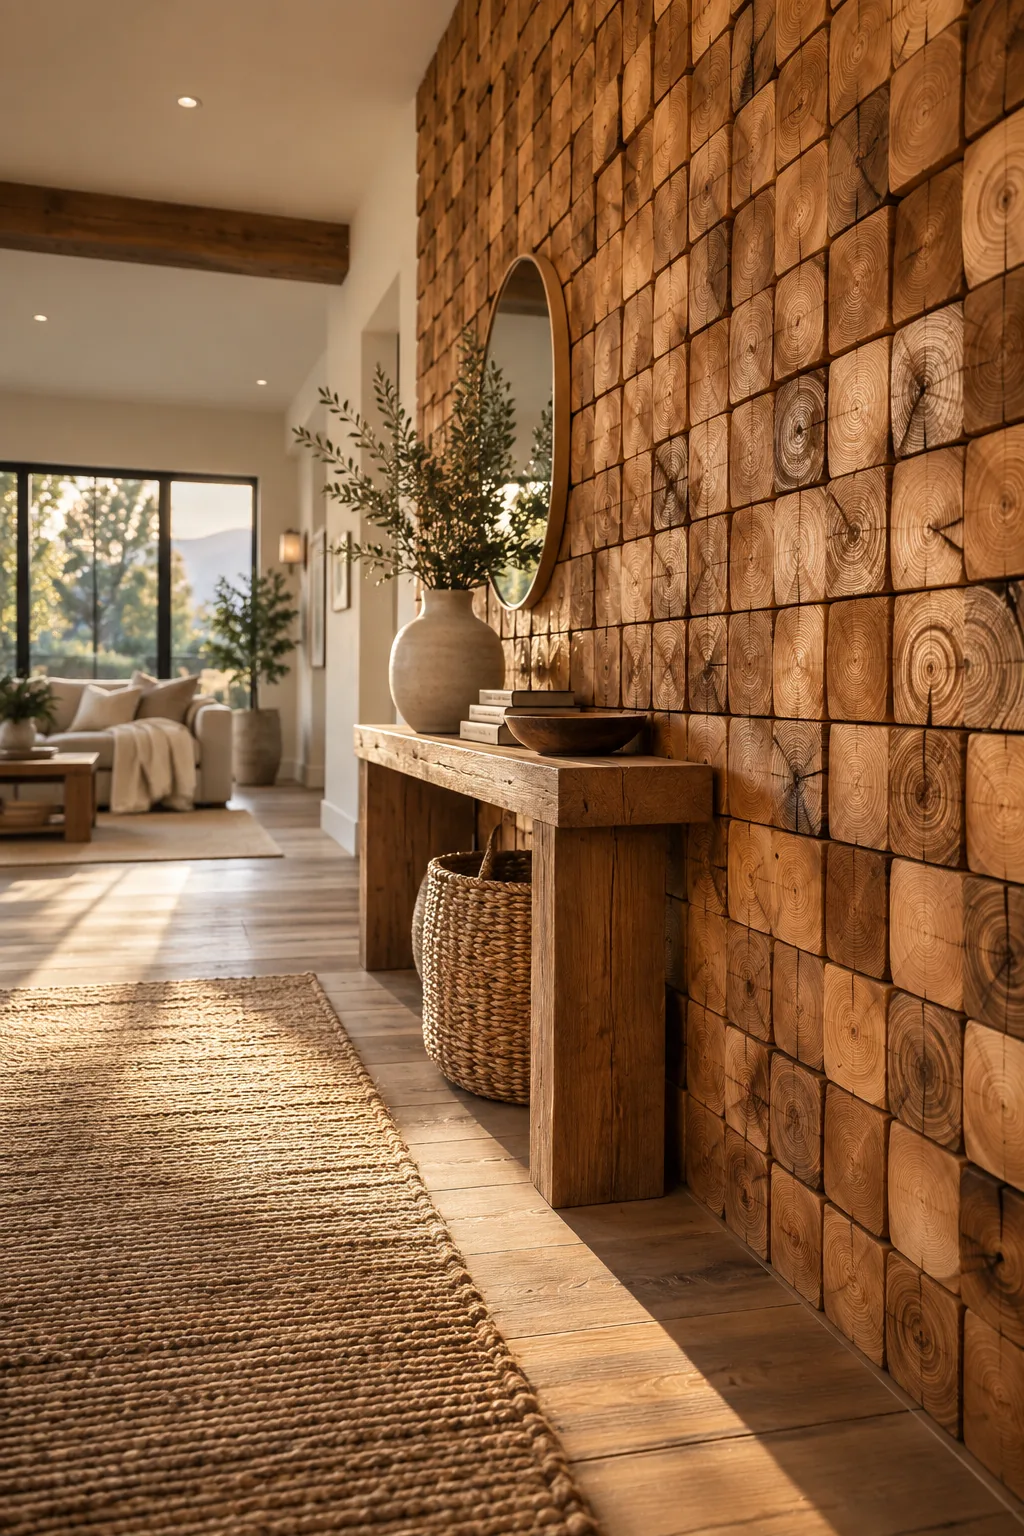
Stacking hundreds of 2-inch thick end-grain wood blocks creates a mesmerizing, mosaic-like texture on a feature wall. You seal the raw cuts with a rich oil to bring out the circular tree rings and protect the wood from cracking.