
Low Maintenance Side Yard Plan with Material Checklist
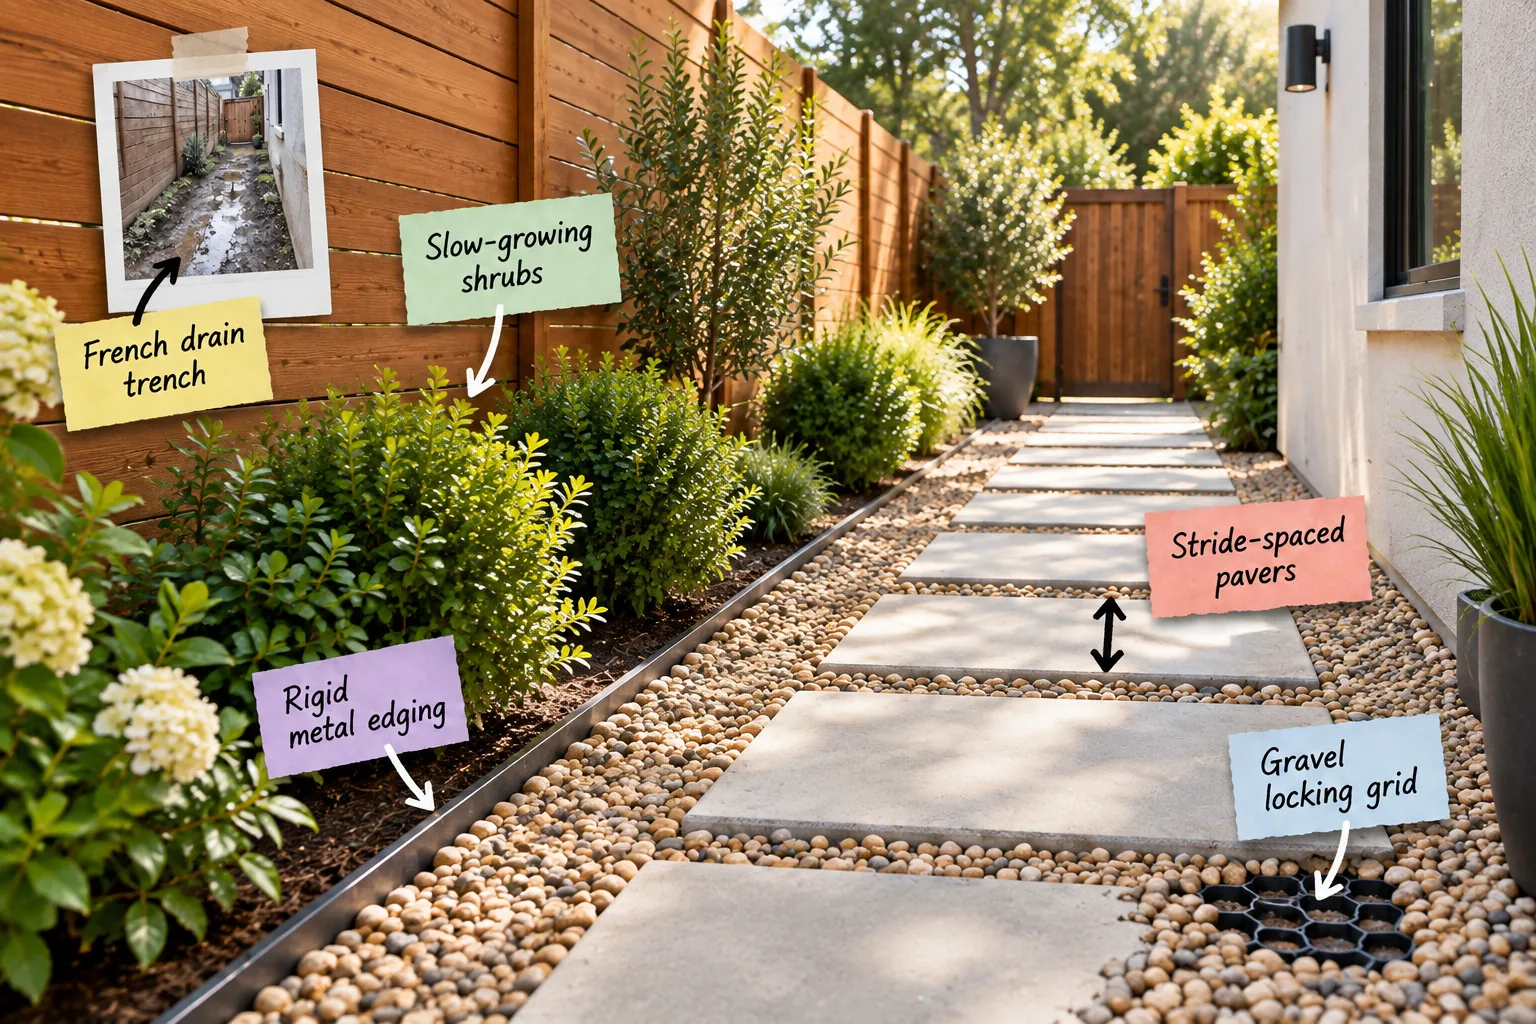
Transform your muddy outdoor walkway into a modern, low-maintenance side yard using this complete material quantity checklist. You will be able to calculate exactly how much gravel, grid, edging, and paving you need to build a crisp, completely mud-free path.
Eliminating Mud With a French Drain Trench
Start by addressing the root cause of the mud with a French drain trench that captures standing water and moves it away from your foundation. Plan for a standard slope of 1 inch for every 10 feet of perforated pipe to ensure gravity handles the heavy rain.
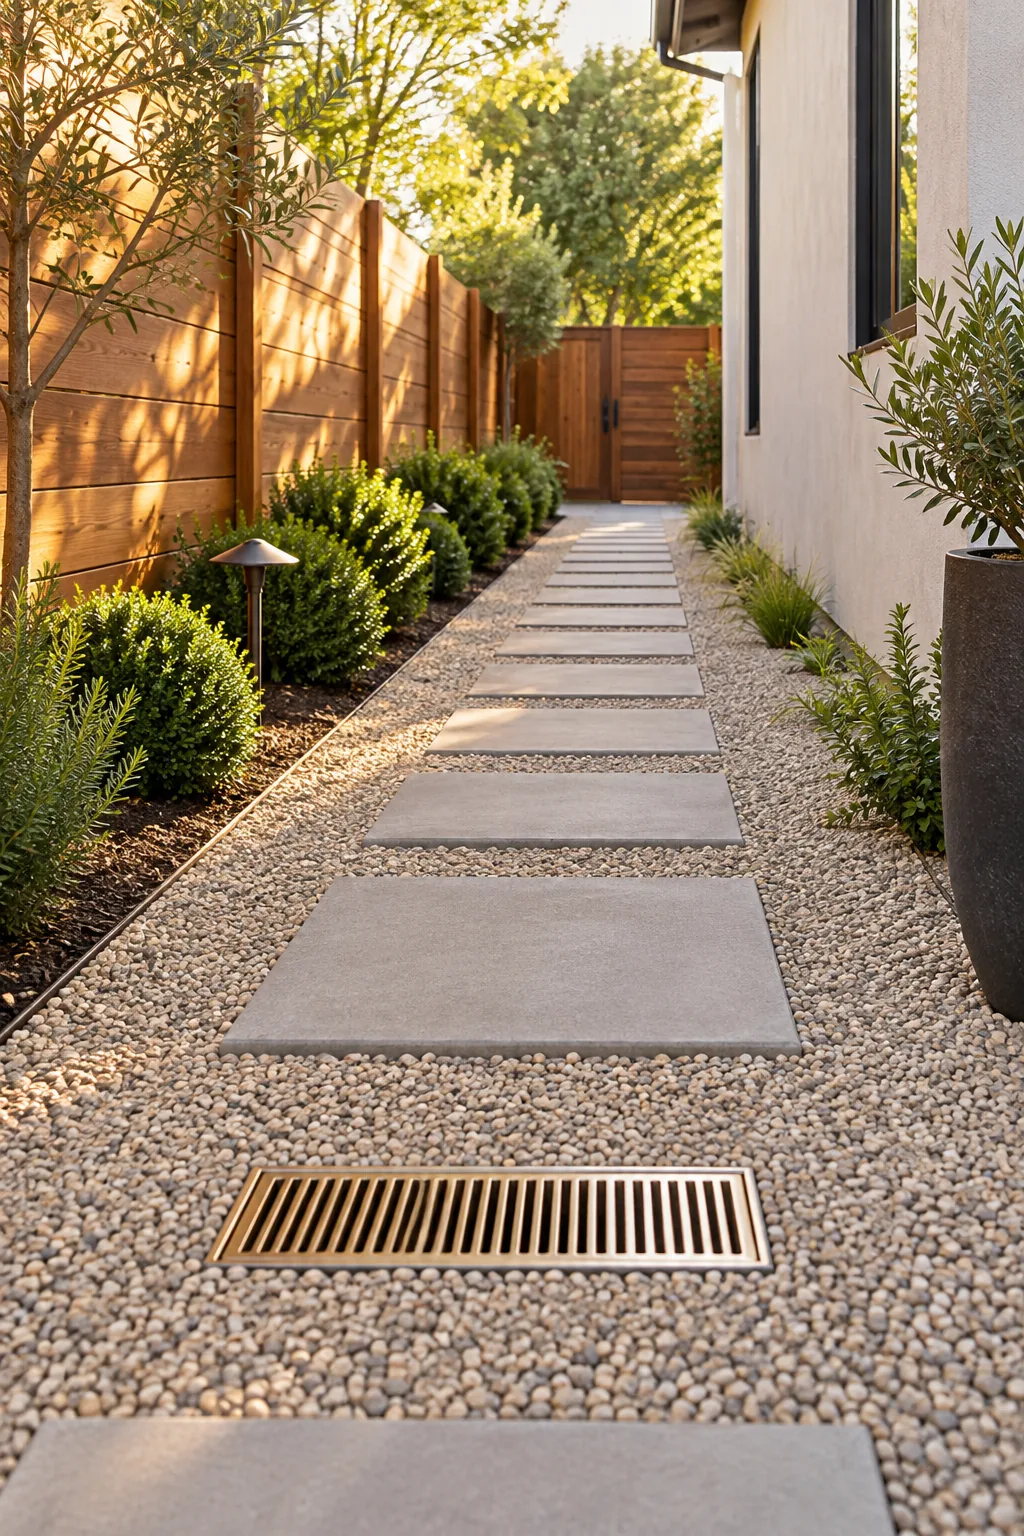
Once your drainage system is securely buried, you can begin building a solid, leveled base that prevents new puddles from forming on the surface. Shaping the earth properly is the invisible secret to a yard that stays pristine during heavy spring storms.
Sizing the Drainage Pipe Correctly
Choosing the right pipe diameter prevents your new trench from overflowing during sudden downpours. A standard 4-inch corrugated drain pipe easily handles the runoff from most residential side yards, moving water efficiently toward your designated outfall or street curb.
Excavating the Trench Pathway
Digging the trench requires precision to maintain that crucial downward angle. I always use a standard trenching shovel to carve a channel that is 8 inches wide and 12 inches deep, leaving plenty of room for the surrounding drainage gravel.
Laying the Permeable Drain Sleeve
Wrapping your perforated pipe in a permeable geotextile sleeve keeps fine silt from clogging the drainage holes over time. Slide this protective sock over the entire length of the pipe before burying it, securing the ends with heavy-duty zip ties.
Compacting the Soil Sub-Base
Before adding any top layers, you must thoroughly compact the exposed soil to prevent future settling. Run a heavy steel hand tamper over the entire dirt pathway until the ground feels completely solid and yields no more than a quarter inch underfoot.
The Secret to Stable Paths: Gravel Locking Grids
Walking on deep, loose stone feels like trudging through dry sand unless you install a gravel locking grid over the compacted base. This cellular plastic honeycomb traps the stones in small pockets, requiring a grid depth of just 1.5 to 2 inches to keep the surface perfectly flat.
With the stabilization layer planned out, the plastic honeycomb will virtually disappear once filled. It is time to figure out exactly how much bulk material to order for the space so you never run short mid-project.
Cutting Grids to Fit the Walkway
Trimming the plastic grid panels to fit your specific walkway dimensions is surprisingly easy. Use a sharp pair of heavy-duty bypass pruners or a small hand saw to slice through the honeycomb structure, leaving a half-inch gap along the borders for expansion.
Side Yard Material Quantity Checklist
Before buying supplies, measure the total square footage of your walkway and the linear footage of your borders. Use this straightforward checklist to order the correct amount of landscaping materials before you ever start digging.
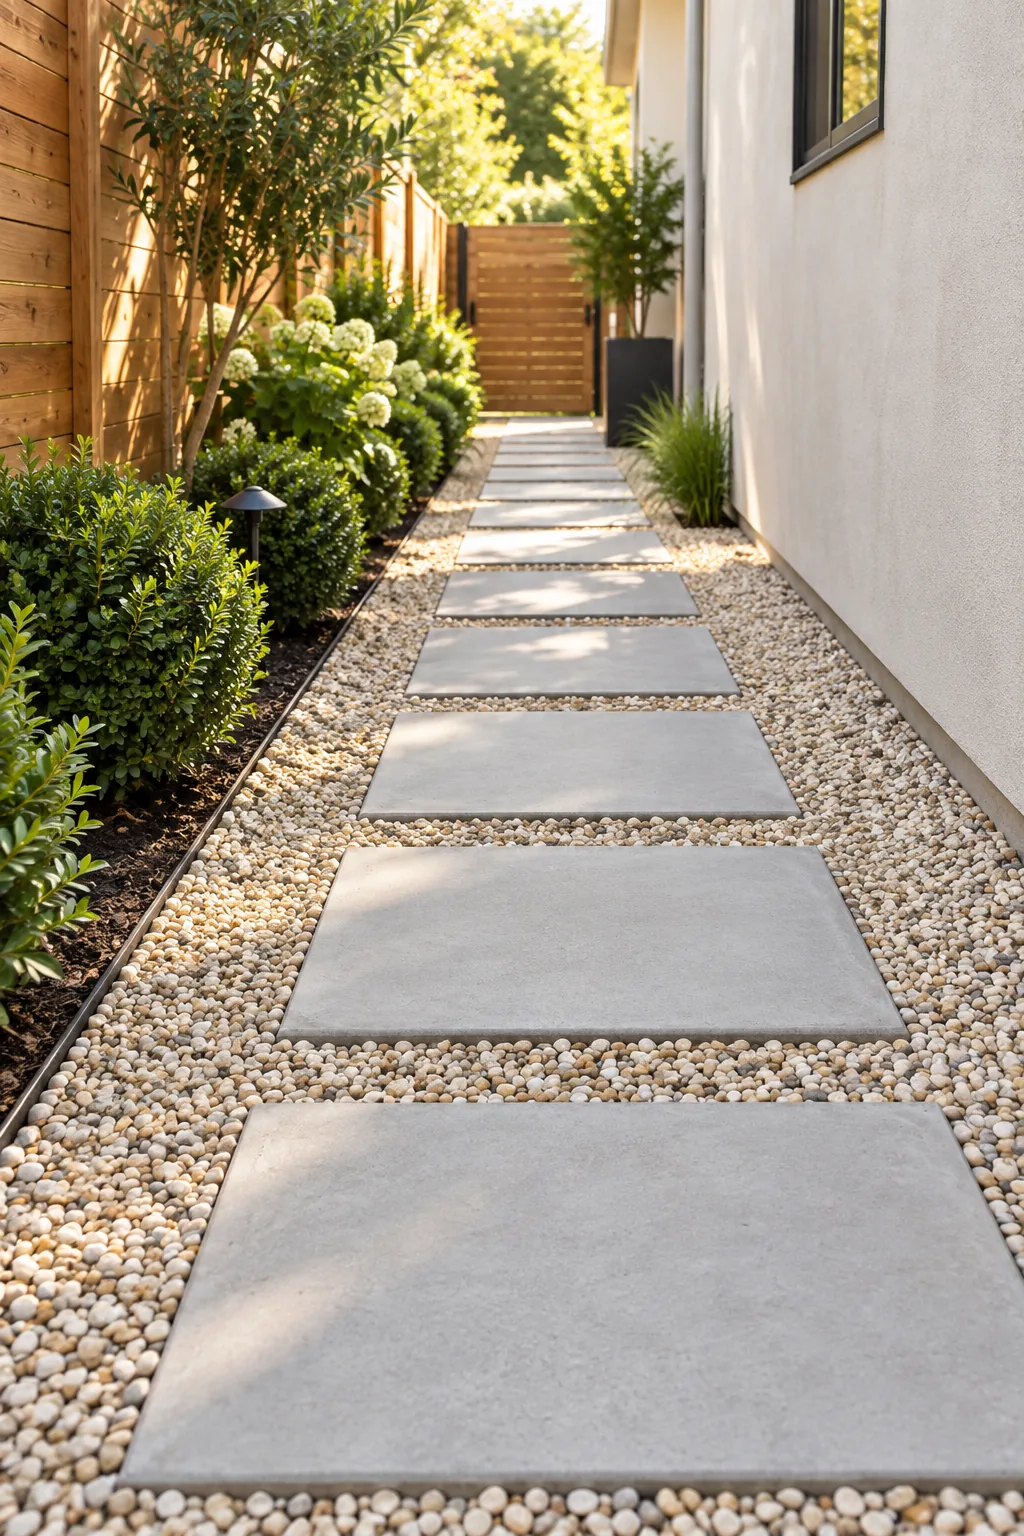
- Calculate total square footage to order the exact number of locking grid panels.
- Divide square footage by 162 to find the cubic yards of base rock needed for a 2-inch layer.
- Divide square footage by 162 again for the cubic yards of decorative gravel top dressing.
- Measure the entire perimeter to determine the linear feet of edging required.
Calculating Base Rock Volume
Getting the base layer right ensures your path never sinks or shifts. By multiplying your total square footage by your desired depth in feet, you can quickly convert the volume into cubic yards for accurate bulk delivery ordering.
Choosing the Right Path Gravel
The type of stone dictates how your path performs, so you must select a 3/8-inch crushed angular gravel that settles tightly together. Avoid smooth, round river rock because it never locks into the grid and will constantly roll underfoot.
Washing the Stone Before Installation
Even high-quality angular gravel arrives covered in a fine layer of quarry dust. Rinsing the stones thoroughly in a wheelbarrow before spreading them prevents that silty residue from washing down into your fresh drainage trench and clogging the fabric sleeve.
Planning the Walkway Layout
Mapping out the exact placement of your stepping stones beforehand saves you from lifting heavy concrete multiple times. Lay out a simple string line down the center of the path to ensure every slab stays perfectly aligned with the overall design.
Setting Stride-Spaced Pavers
Large concrete slabs give the design a modern, architectural look while providing a solid stepping surface. To make the walkway comfortable, set stride-spaced pavers exactly 24 inches on center to match a natural human walking gait.
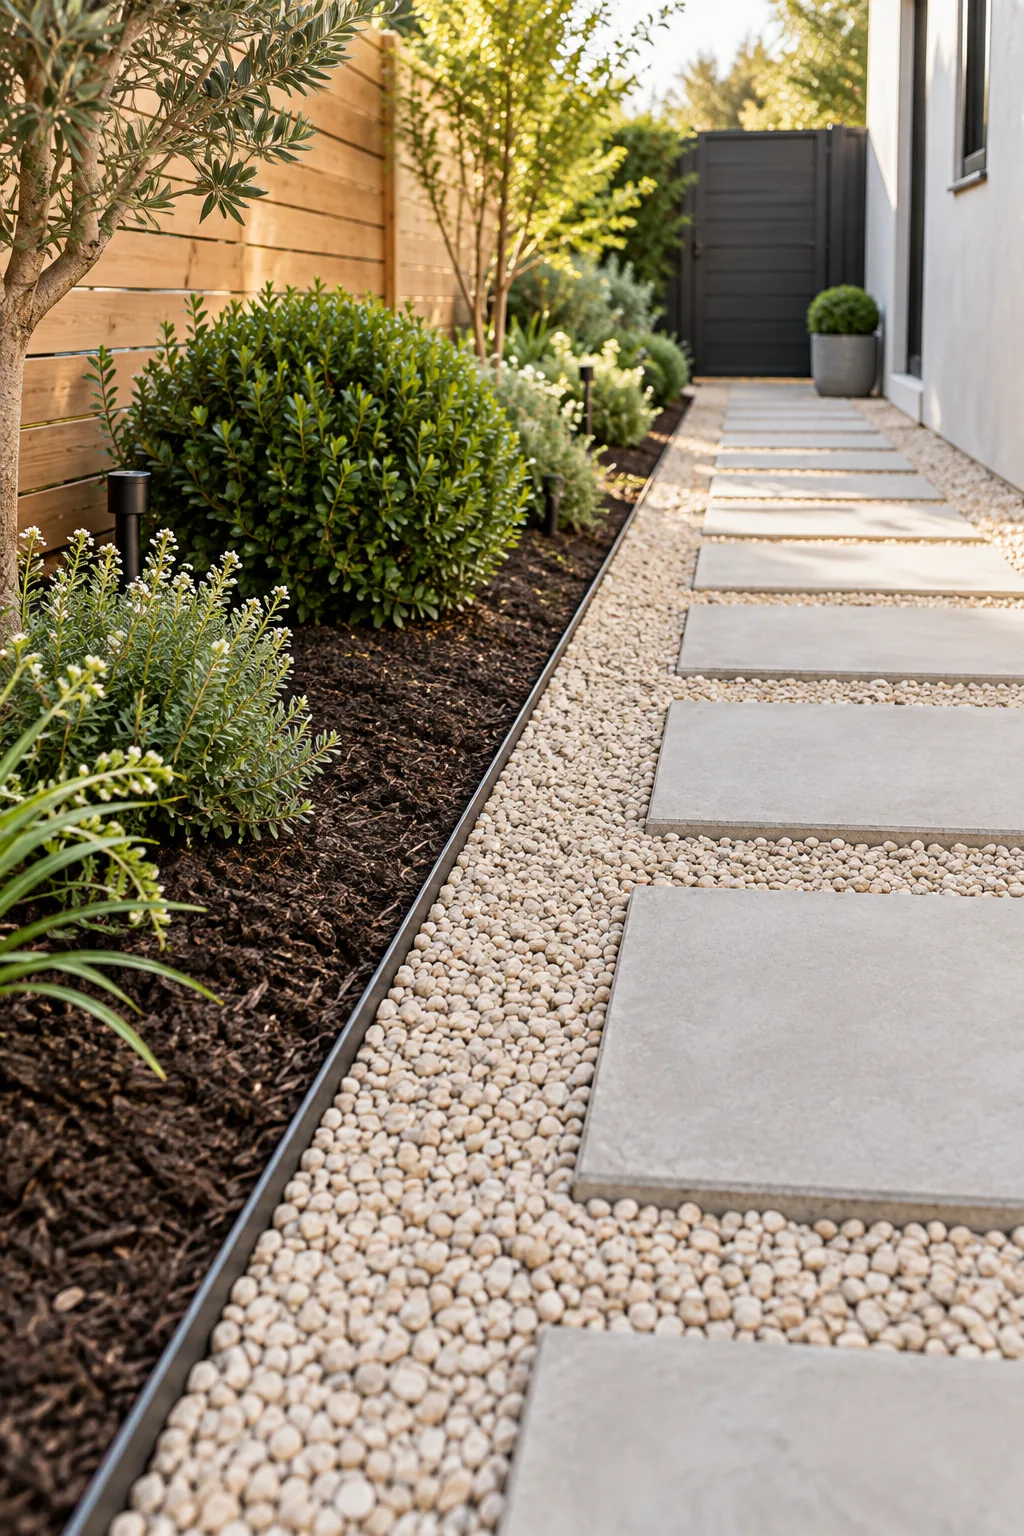
After verifying the layout feels natural and locking the heavy concrete slabs into their final positions, the walkway will finally start taking shape. Now you need to secure the perimeter to keep the surrounding soil at bay.
Leveling Slabs With Masonry Sand
Achieving a perfectly flush surface requires a small adjustment layer beneath each concrete slab. Spread a half-inch layer of coarse masonry sand exactly where the paver will sit, allowing you to easily tap the stone down until it sits level.
Tamping the Stones Firmly
Securing the pavers prevents them from wobbling when you walk across the finished yard. Use a heavy rubber mallet to firmly strike the center and corners of each slab, driving it deeply into the sand bed until it feels completely anchored.
Creating Crisp Lines With Rigid Metal Edging
A low-maintenance design relies on strong boundaries, which is why I always install 4-inch tall rigid metal edging between the stones and my planting beds. In my own Austin yard, this sharp steel barrier finally stopped heavy spring rains from washing dark mulch into my pristine walkway.
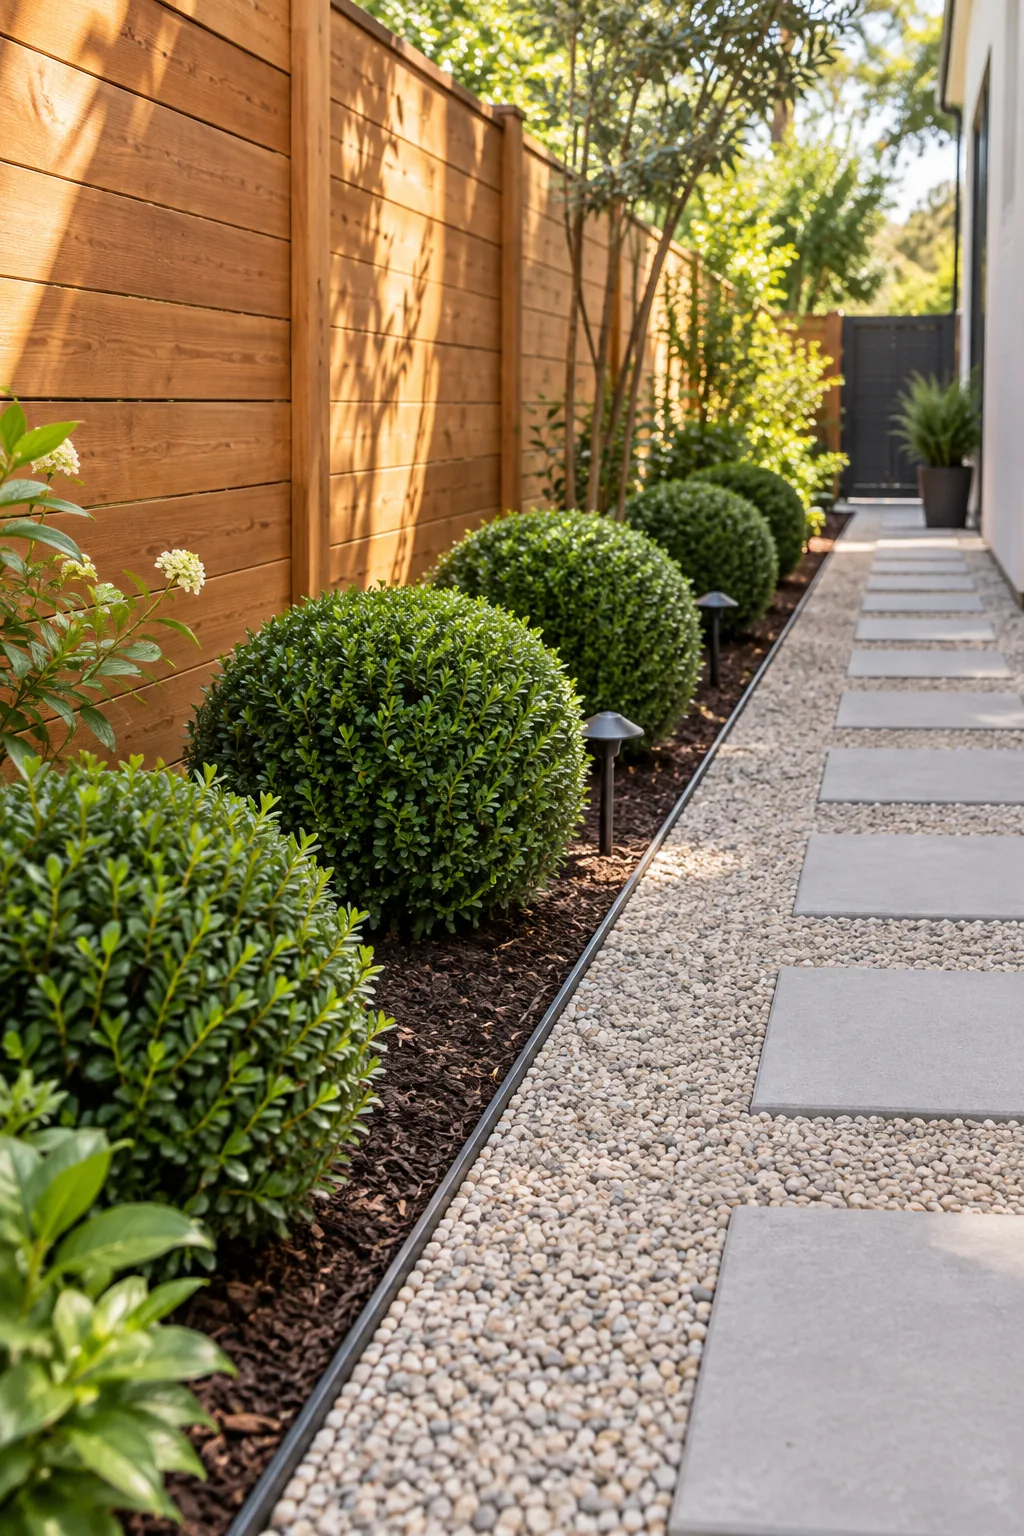
With the galvanized borders pounded firmly into the soil, the visual separation between the organic earth and geometric path becomes permanent. You can now focus on blocking unwanted growth from below.
Anchoring the Steel Border Stakes
Keeping that metal line perfectly straight requires proper anchoring along the entire length. Drive the included steel spikes through the edging brackets every 3 feet, ensuring the top edge sits exactly one inch above your planned gravel height.
Bending Edging for Custom Curves
If your side yard features existing trees or rounded garden beds, rigid steel can still adapt. Slowly bend the metal over your knee to form smooth, sweeping curves that cleanly separate the organic planting zones from the geometric walkway.
Adding a Commercial Weed Barrier
Preventing future maintenance means stopping weeds before they ever sprout by laying down a heavy-duty, non-woven geotextile fabric. Overlap all fabric seams by at least 6 inches beneath the grid and edging to ensure absolutely no bare soil is exposed to sunlight.
| Material Layer | Primary Purpose | Installation Overlap |
|---|---|---|
| Geotextile Fabric | Blocks weed growth | 6 inches minimum |
| Locking Grid | Stabilizes gravel | Snap connectors flush |
| Metal Edging | Separates soil | 2 inches at joints |
Securing Fabric Seams With Pins
Keeping the weed barrier flat is crucial before you dump heavy stones on top. Drive 6-inch steel landscape pins into the ground every two feet along the overlapped seams to prevent the fabric from shifting or wrinkling during the gravel installation.
Preparing the Border Soil
Before adding any plants, enrich the native soil along the fence line with organic compost. Turning a 2-inch layer of aged compost into the topsoil gives new roots the vital nutrients they need to establish quickly in the narrow side yard environment.
Spacing Plants for Mature Growth
Always position your new greenery based on its final mature width, not its current size in the nursery pot. Digging the holes exactly 18 inches away from the metal edging guarantees the future foliage will gracefully brush the border without ever obstructing the path.
4 Ways to Style a Side Yard Walkway
Adapt this durable gravel and paver system to match your home's exterior style.
Japanese Zen Garden Path: Swap concrete for irregular bluestone and use dark basalt gravel to create a calming, meditative corridor.
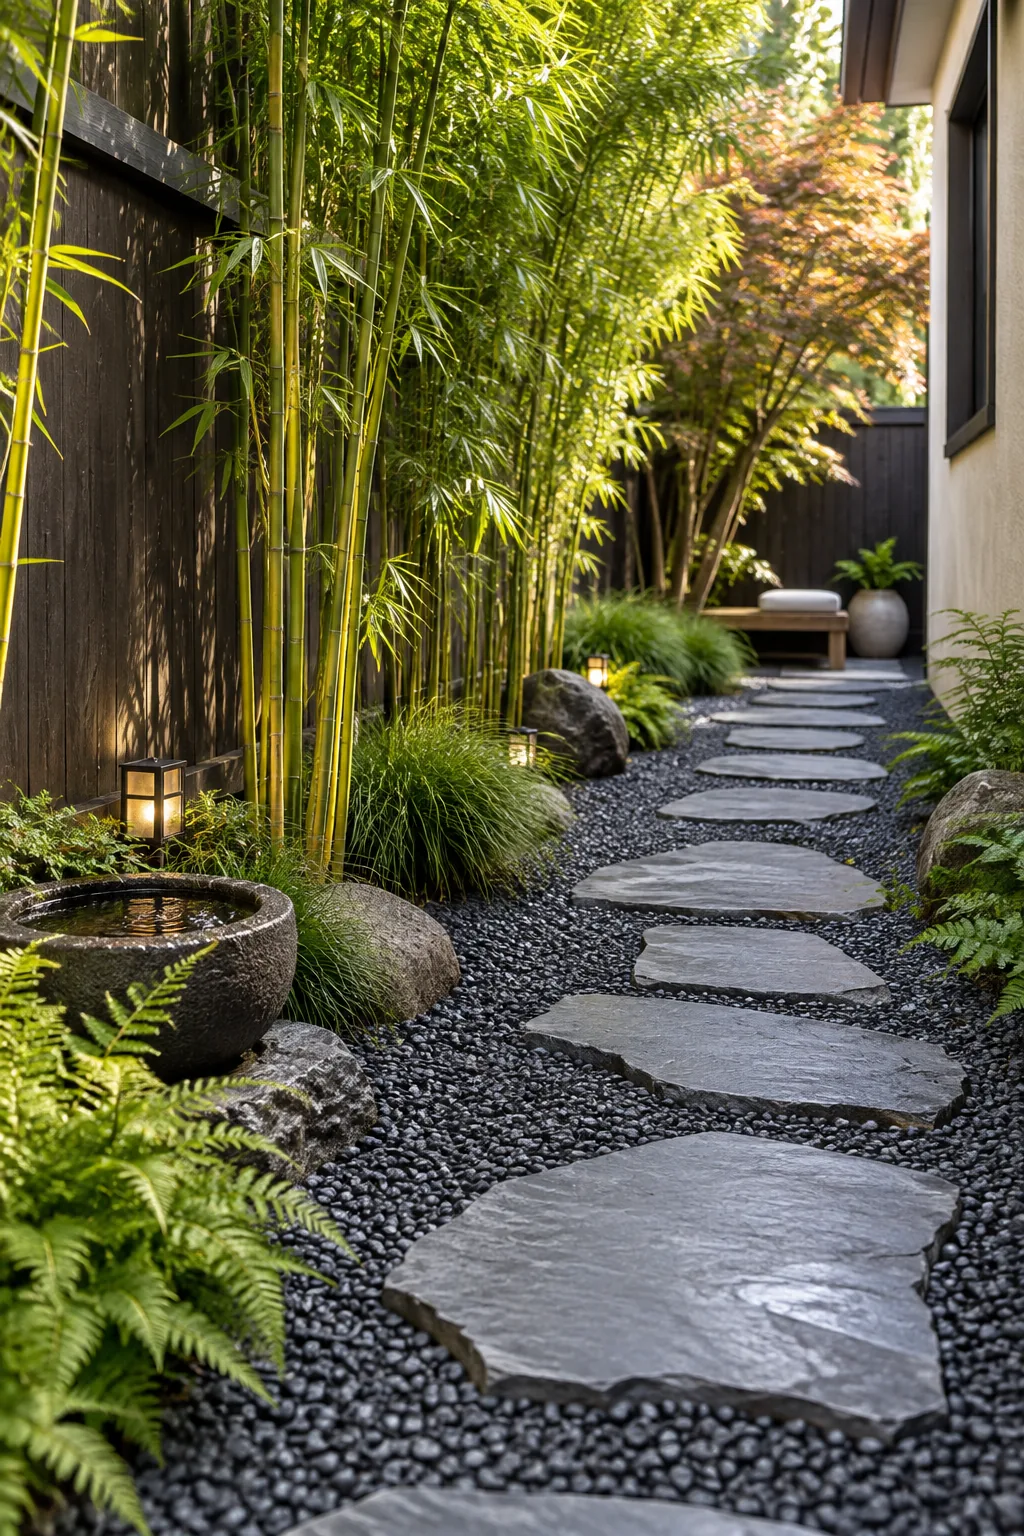
Warm Desert Modern Walkway: Use compacted decomposed granite instead of loose gravel to complement architectural desert plantings like agave.
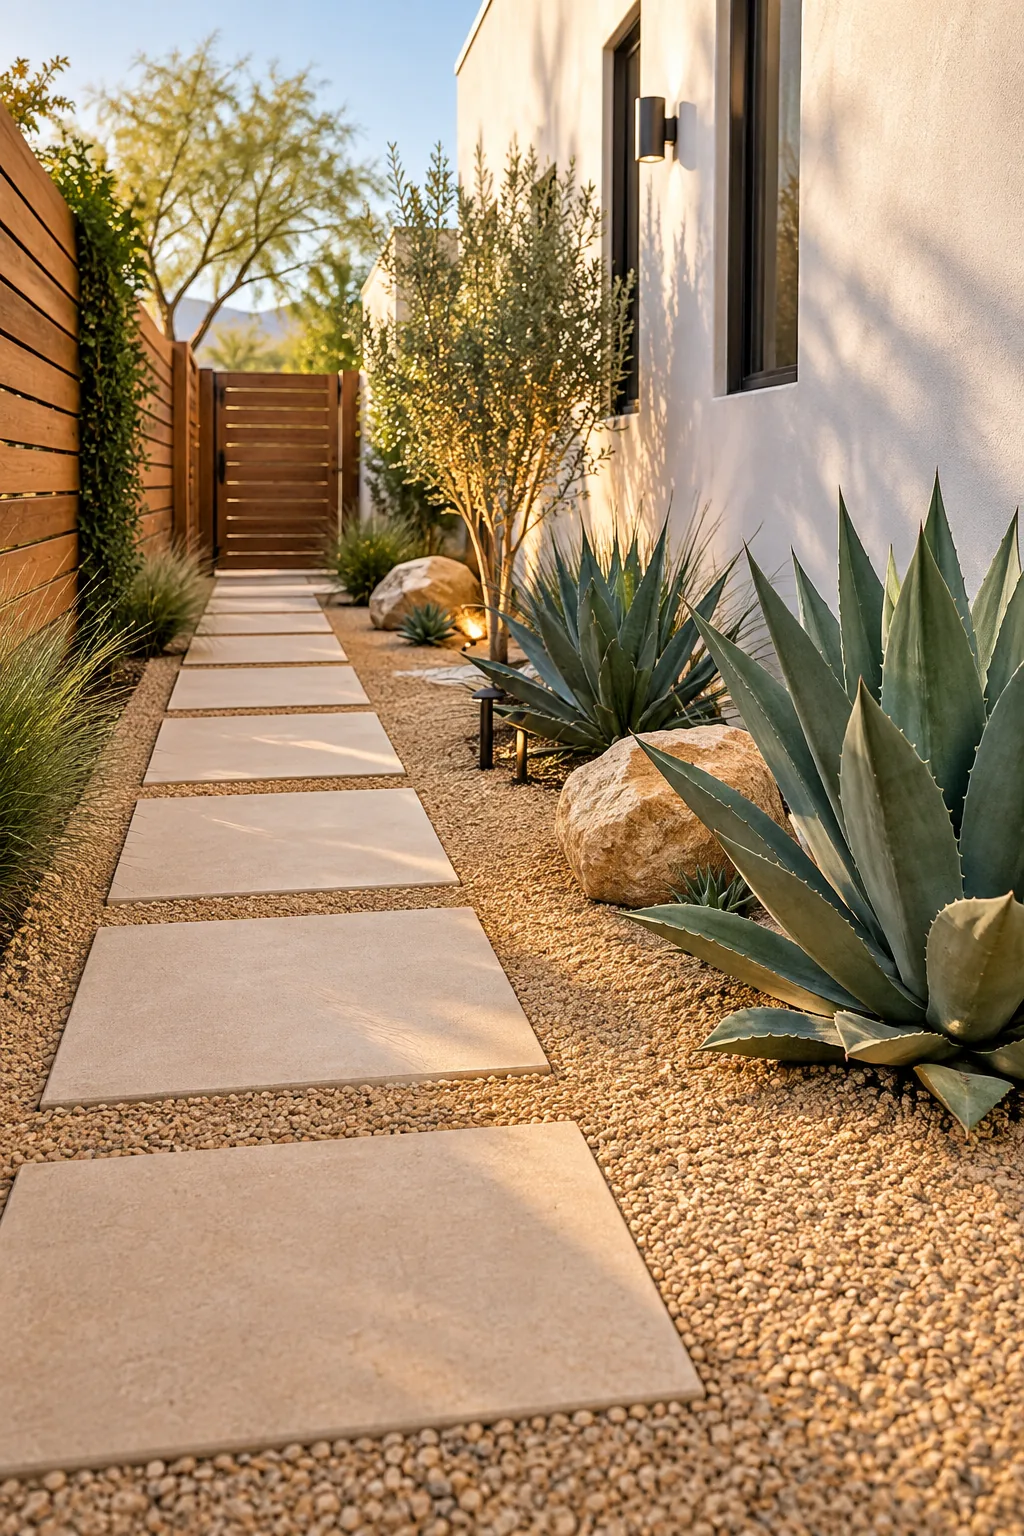
English Cottage Brick Path: Set reclaimed tumbled bricks into a crushed limestone base for a softer, historic look that pairs perfectly with lavender.
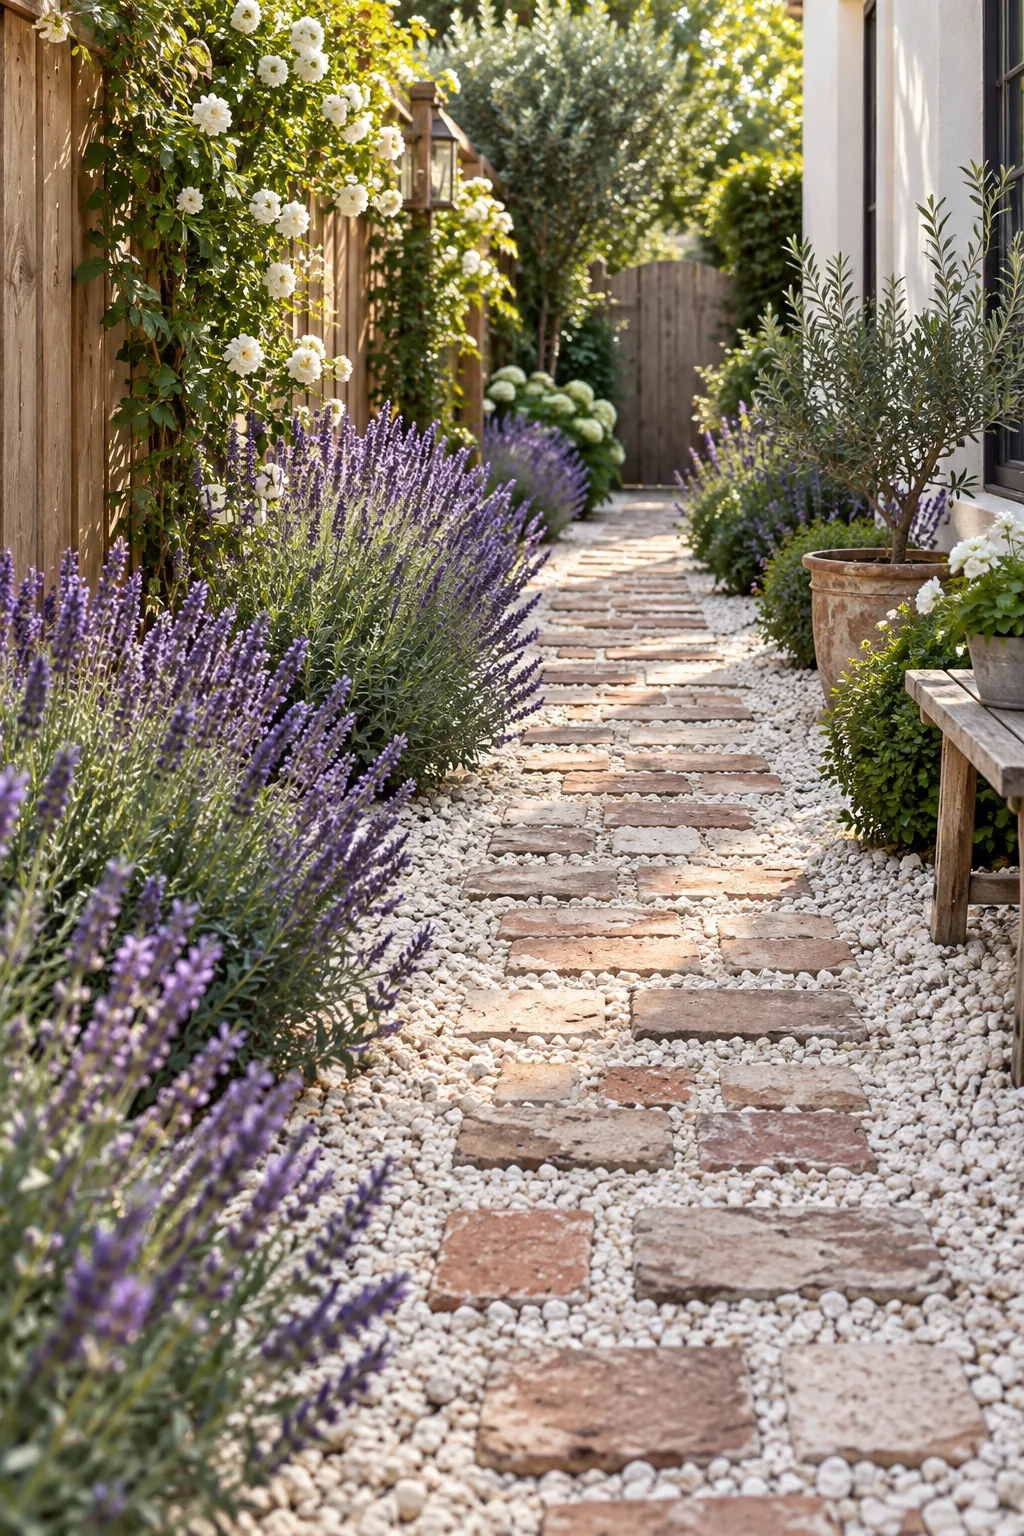
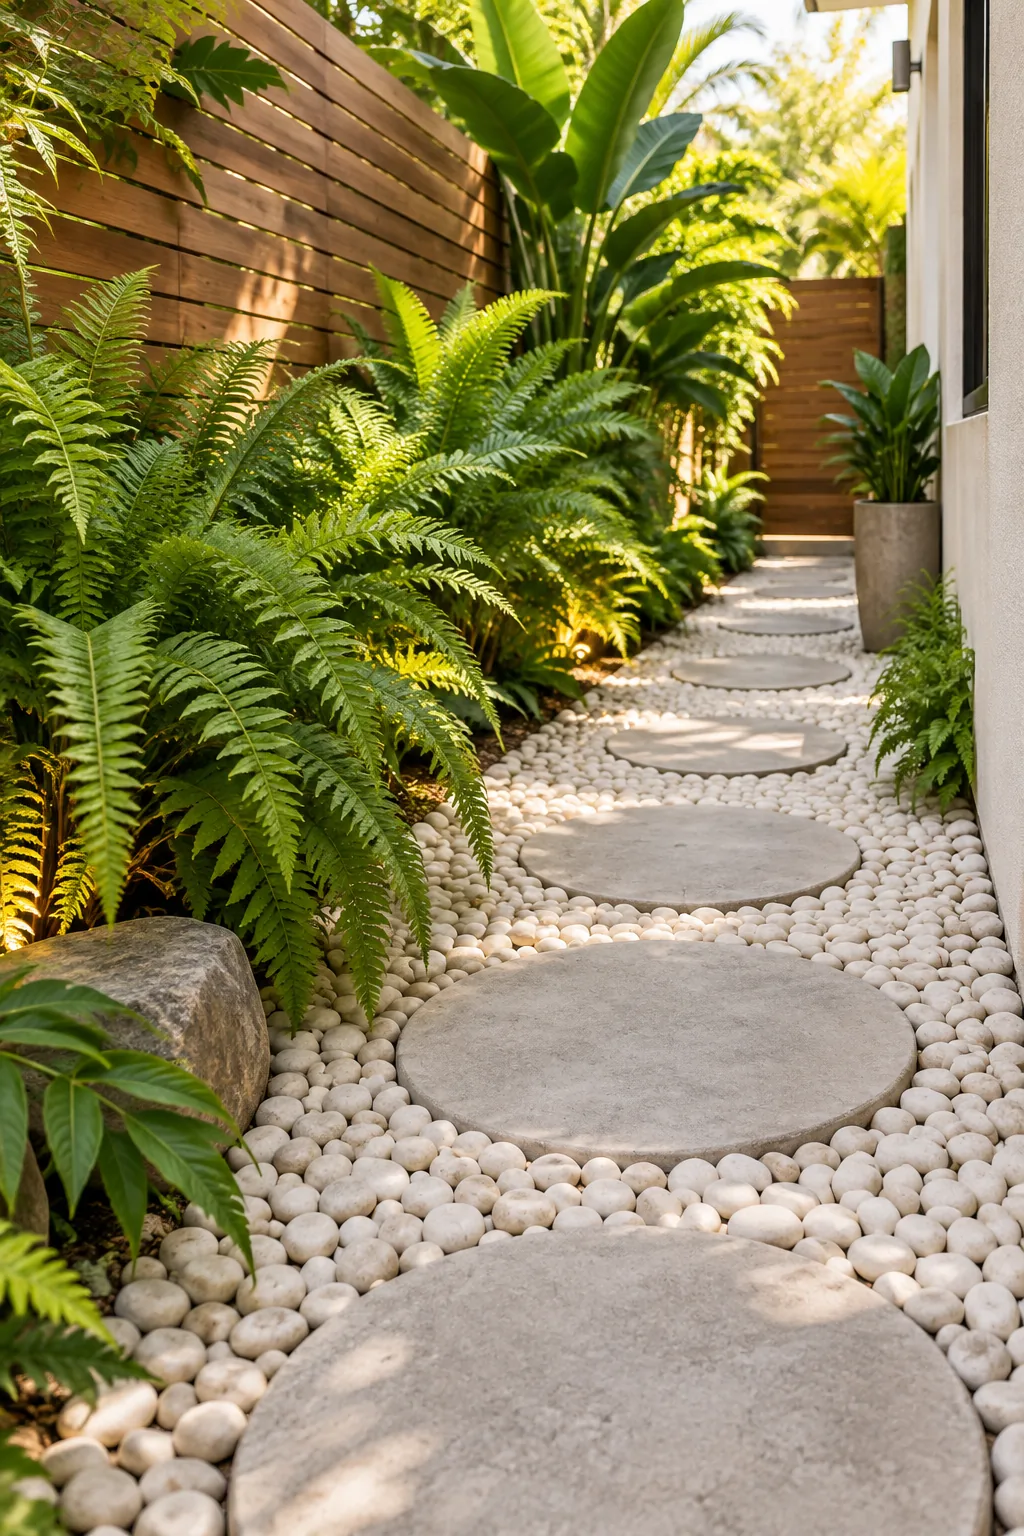
Lush Tropical Oasis Corridor: Brighten a shady, narrow side yard with reflective white river rocks, round steppers, and moisture-loving ferns.
Planting Slow-Growing Shrubs
Soften your wooden fence line with slow-growing shrubs that provide year-round color without eventually swallowing the walkway. I planted dwarf evergreens that max out at 24 to 30 inches wide, which completely eliminated the constant pruning chores I used to hate.
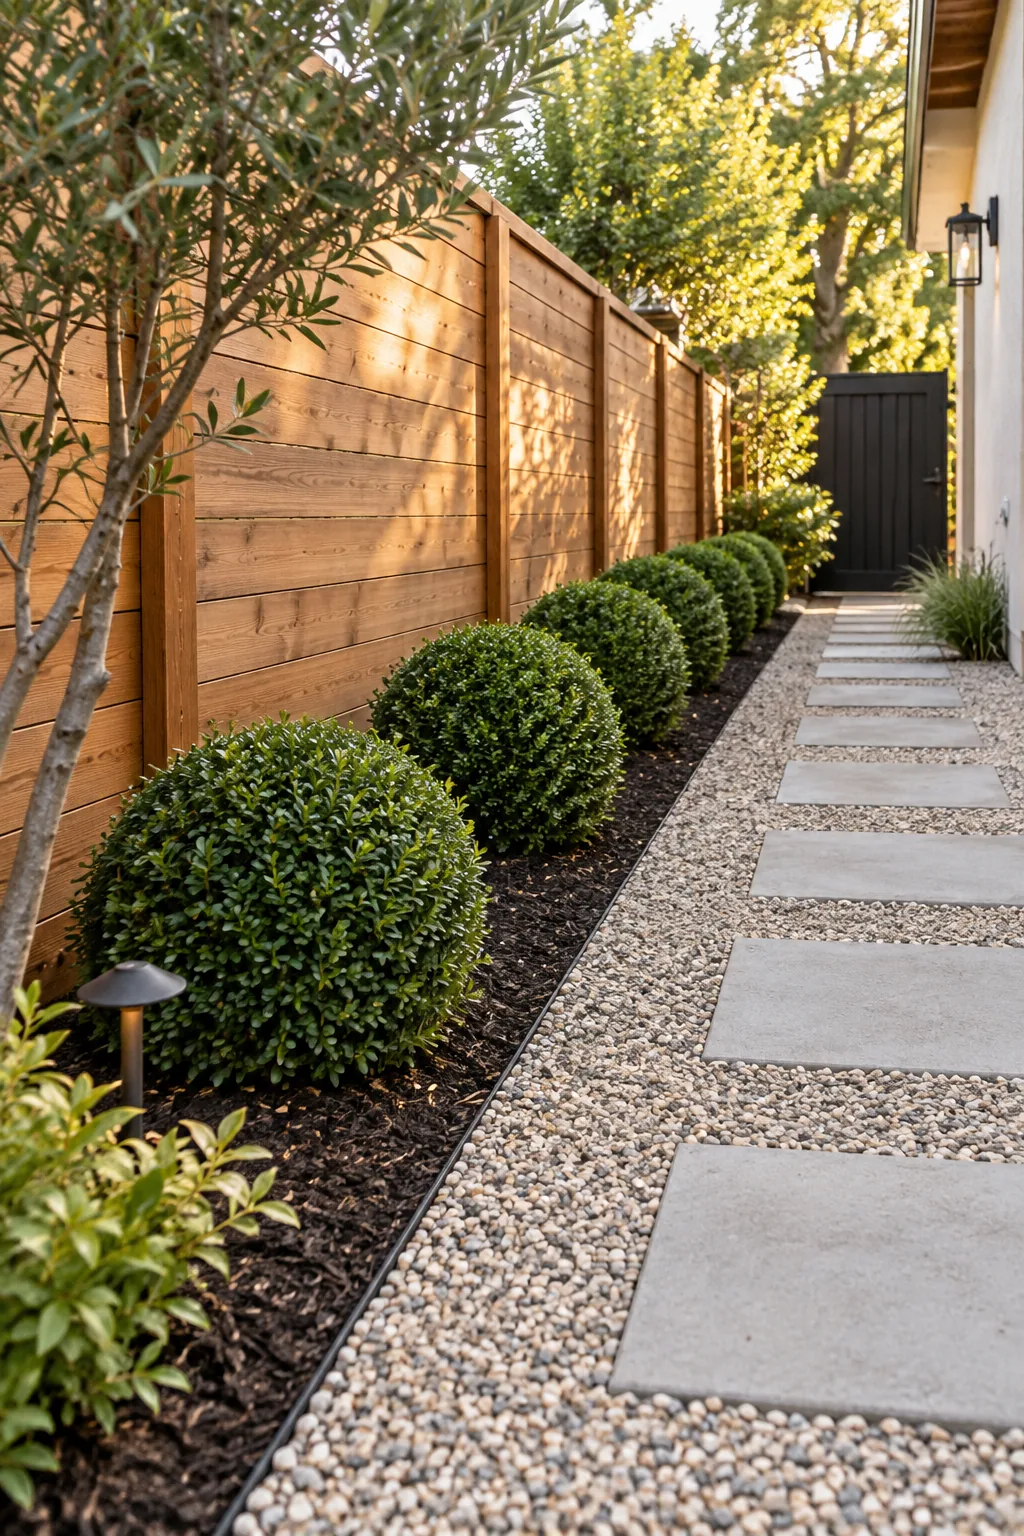
With the right compact varieties established, your side yard stays perfectly manicured and completely mud-free across every season. Finishing the soil surface with a 3-inch layer of dark hardwood mulch creates a stunning visual contrast against the pale gravel walkway.