
Pine Lingerie Chest Upcycle with a Faux Bone Inlay Finish
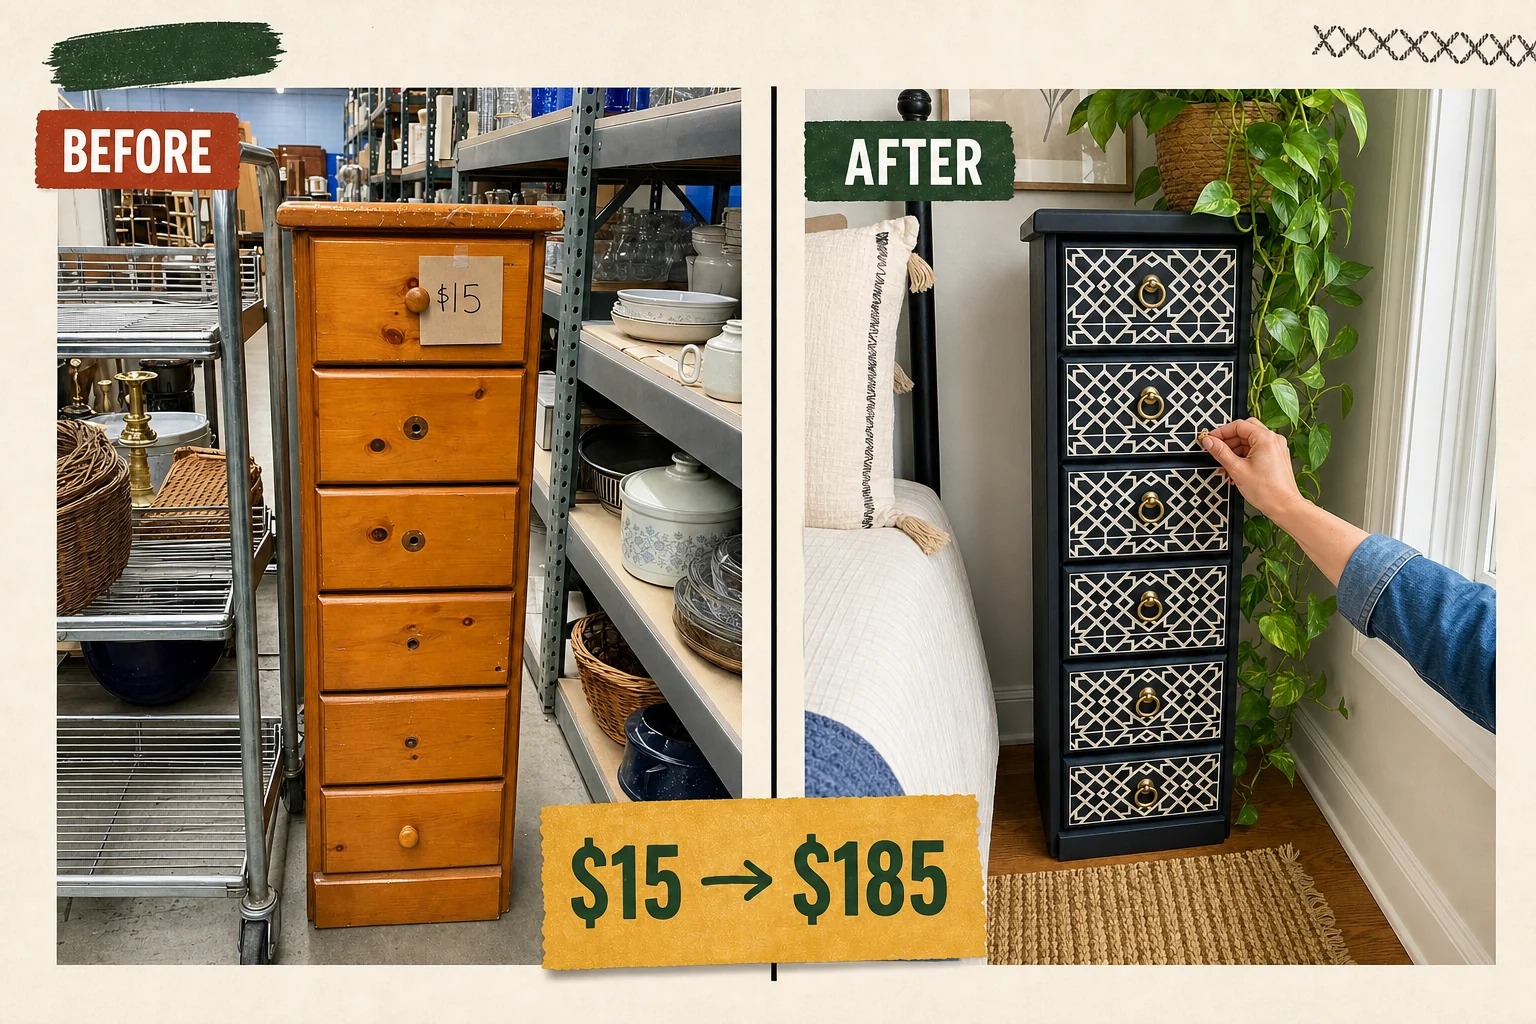
Tucked away in a community reuse center, this $15 pine lingerie chest had great bones but a dated orange finish. Watch how deep charcoal paint and a custom stencil transform it into a striking faux bone inlay statement piece.
Assessing the Thrifted Pine Chest
Sitting between salvaged kitchen cabinets and a cart of mismatched dining chairs in a practical community reuse center, this narrow six-drawer chest presented a solid vertical footprint. The mass-produced edge-glued pine panels were structurally sound, but the exterior suffered from a heavy, glossy orange varnish that reflected fluorescent light strongly.
- The high-shine yellowed finish required thorough scuff-sanding to break the seal so new paint could adhere.
- Three drawer knobs were missing and two were split, making the drawers difficult to open and necessitating complete hardware replacement.
- Deep gouges on the top panel’s clear coat required targeted sanding to level the surface before applying the base coat.
Understanding the Upcycle Value
The striking faux bone inlay technique elevates a basic mass-produced pine piece into a boutique-style accent, significantly increasing its market appeal. By replacing the missing wooden knobs with brass ring pulls and executing a high-contrast geometric pattern, the piece achieves a perceived estimated resale value far beyond its thrifted origins.
| Item | Cost |
|---|---|
| Purchase price | $15 |
| Medium-grit sanding block | $4 |
| Deep charcoal all-in-one furniture paint | $24 |
| Bone-white acrylic craft paint | $4 |
| Faux bone inlay furniture stencil | $18 |
| Specialty stencil brush | $6 |
| Brass ring pulls | $22 |
| Materials total | $78 |
| Total investment | $93 |
| Estimated resale value | $185 |
| Value gain | $92 |
Step 1: Remove Old Hardware and Assess
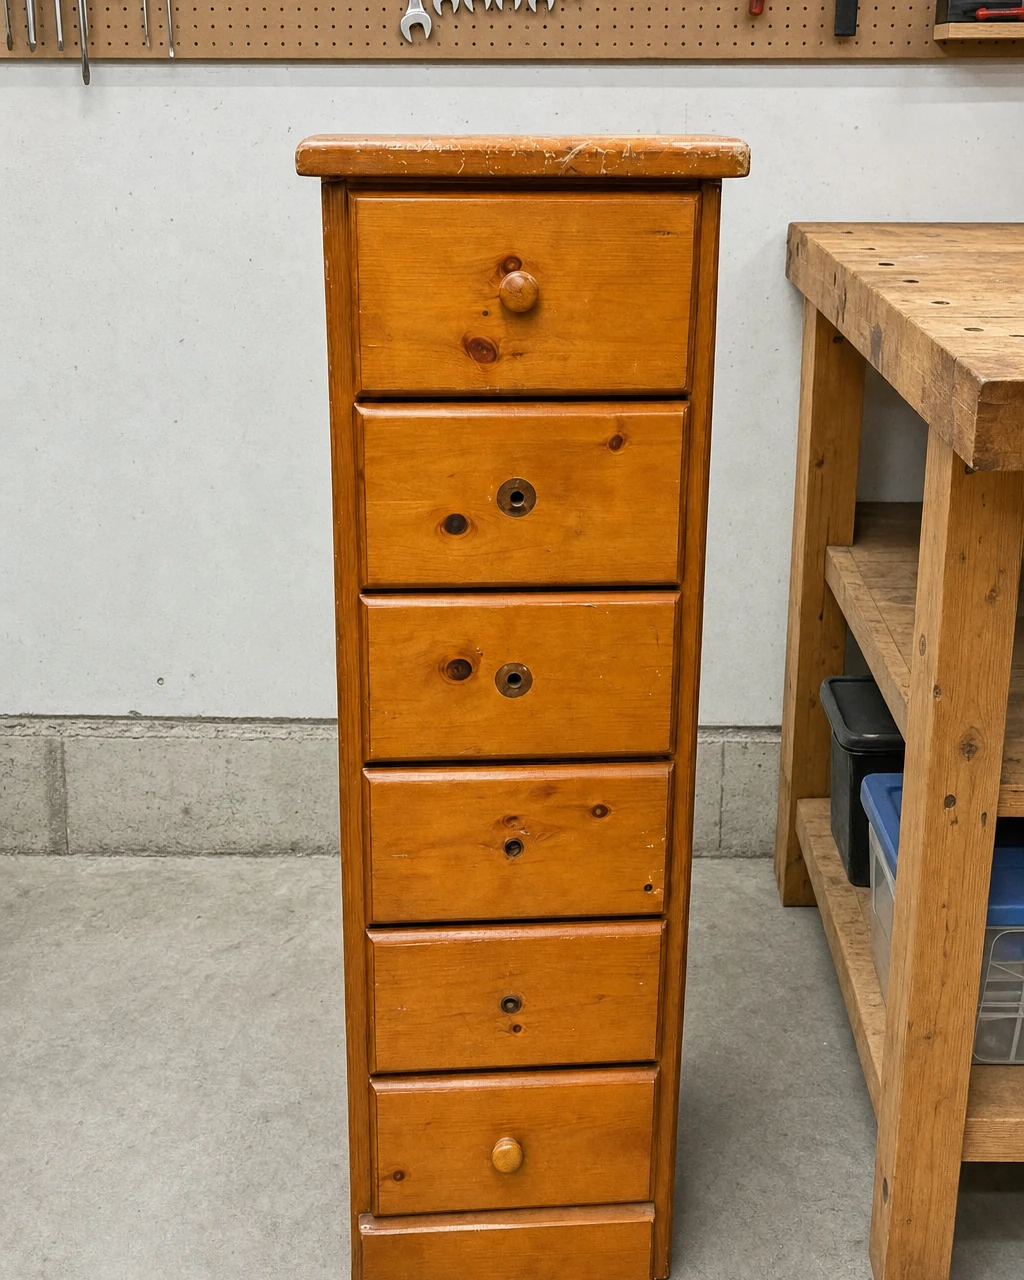
Inspect the piece for structural issues and remove the remaining damaged hardware to prepare for sanding. Taking off the last split wooden knobs ensures the drawer fronts are completely bare with single empty center holes, ready for a fresh start.
Clear the Canvas
Clearing the hardware early prevents snags during the sanding process and gives you a clean slate for the upcoming faux bone inlay design. Keep track of old screws to avoid stepping on them in the workshop environment.
Step 2: Scuff-Sand the Glossy Varnish
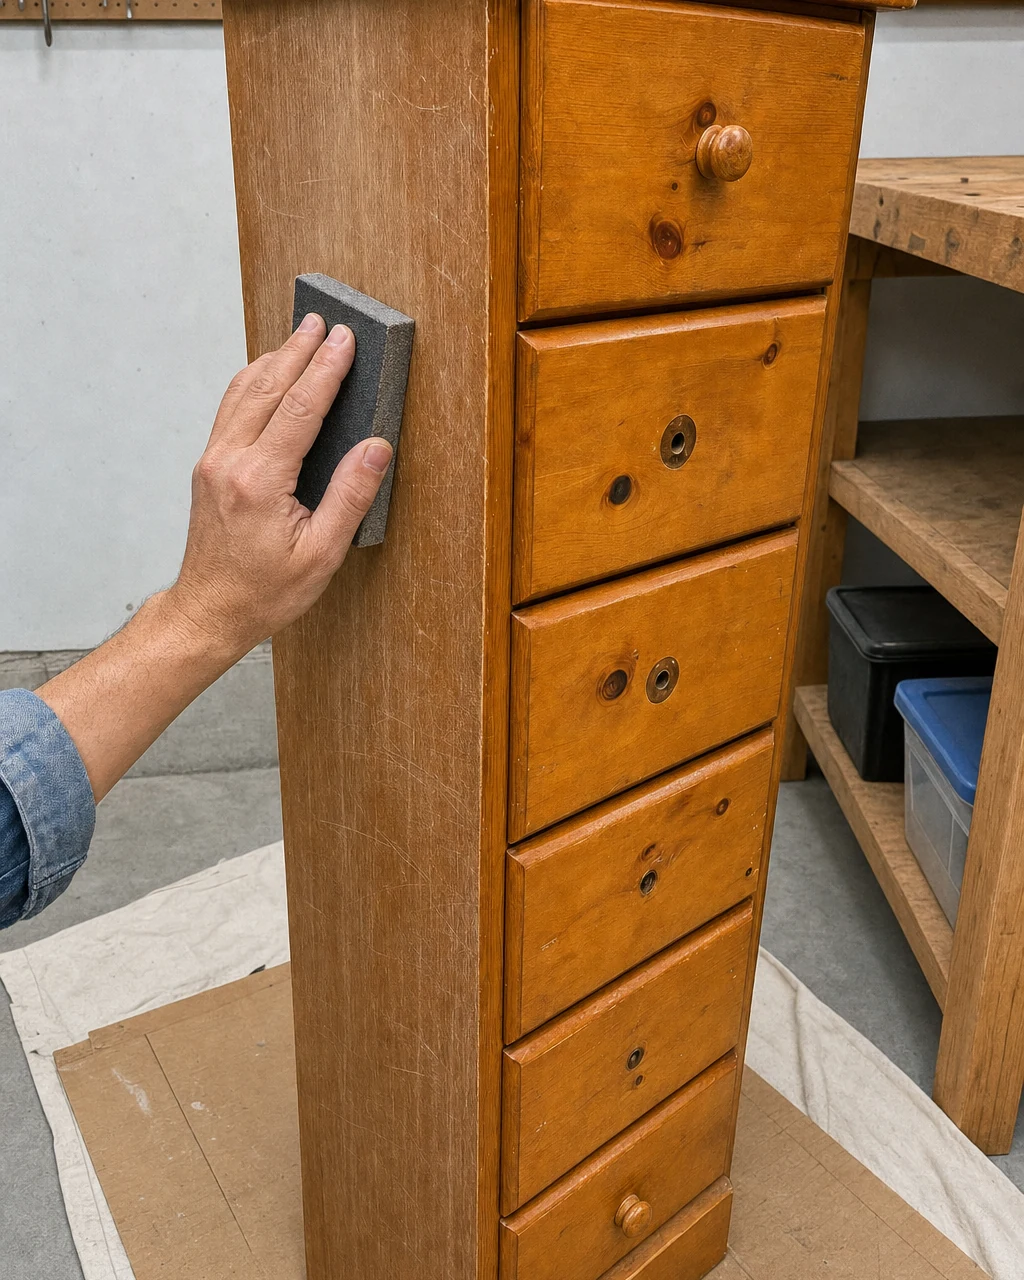
Rub the entire surface with a medium-grit sanding block to break the glossy clear coat. This crucial step creates a dull, cloudy, scratched appearance that provides a rough texture for new paint to grip securely.
Focus on leveling out the deep gouges on the top panel so the final painted finish appears smooth and professional. Wear a dust mask and work over a drop cloth to contain the fine varnish dust.
Step 3: Apply the Charcoal Base Color
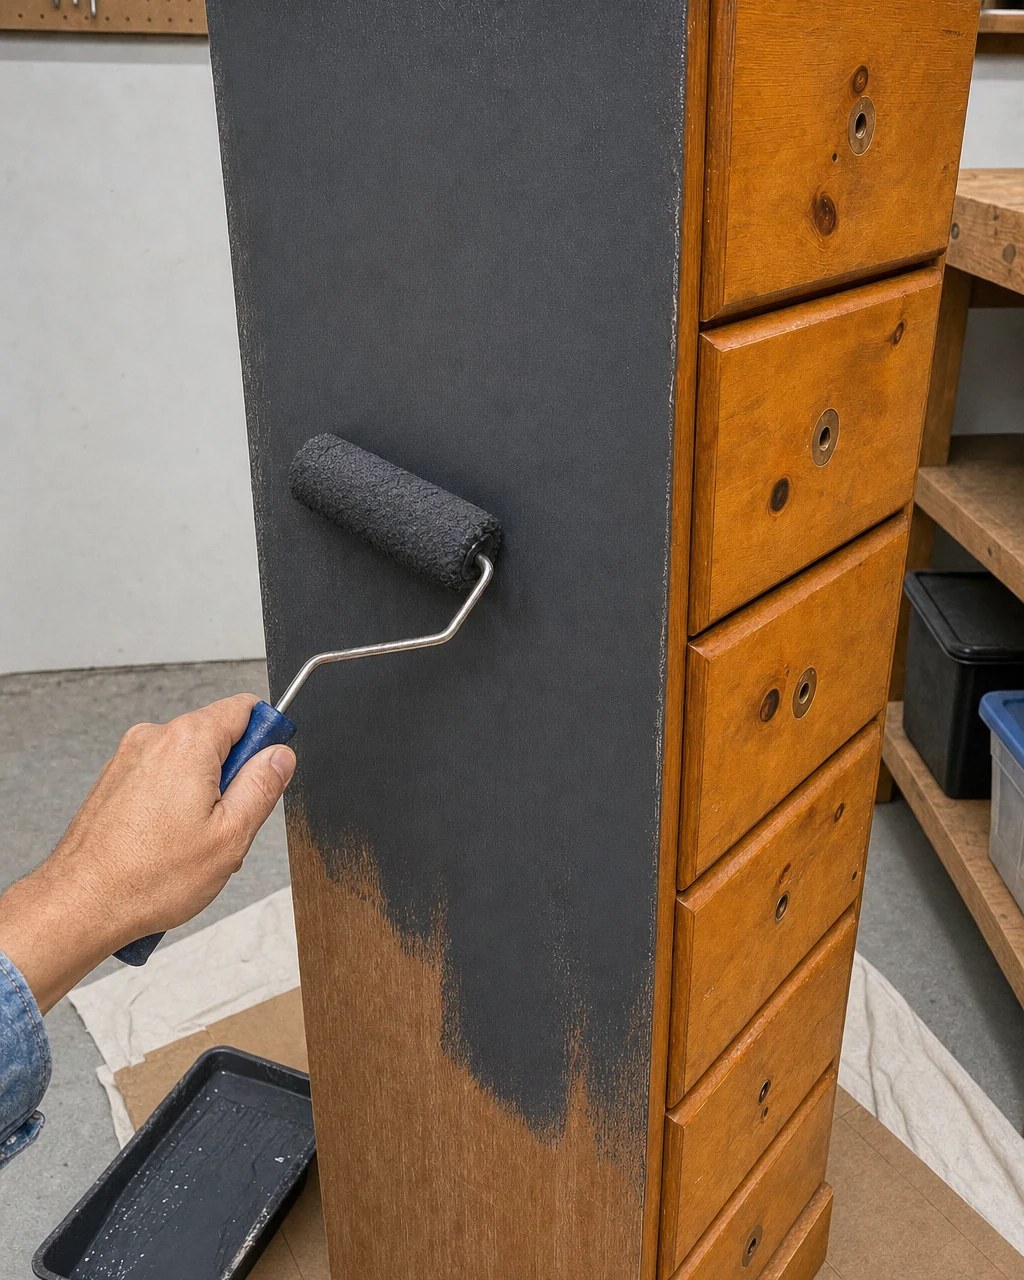
Apply a solid coat of deep charcoal all-in-one furniture paint over the entire chest body and drawer fronts using a foam roller. This modern formula eliminates the need for a separate primer layer while ensuring excellent coverage.
Materials checklist
- Choose a medium-grit block for effective deglossing without gouging the wood.
- Look for a self-leveling formula with built-in topcoat for durability.
- Select a matte finish acrylic that dries quickly for crisp stencil lines.
- Ensure the stencil dimensions fit comfortably within your drawer front measurements.
- A flat-tipped natural bristle brush works best for the dry-brush stippling technique.
- Verify the screw length matches the thickness of your pine drawer fronts.
Ensure the wet, opaque layer of dark charcoal paint completely covers the previously orange wood, providing a stark background for the inlay pattern. Ensure adequate ventilation when working with furniture paint indoors.
Step 4: Stencil the Faux Bone Inlay Pattern
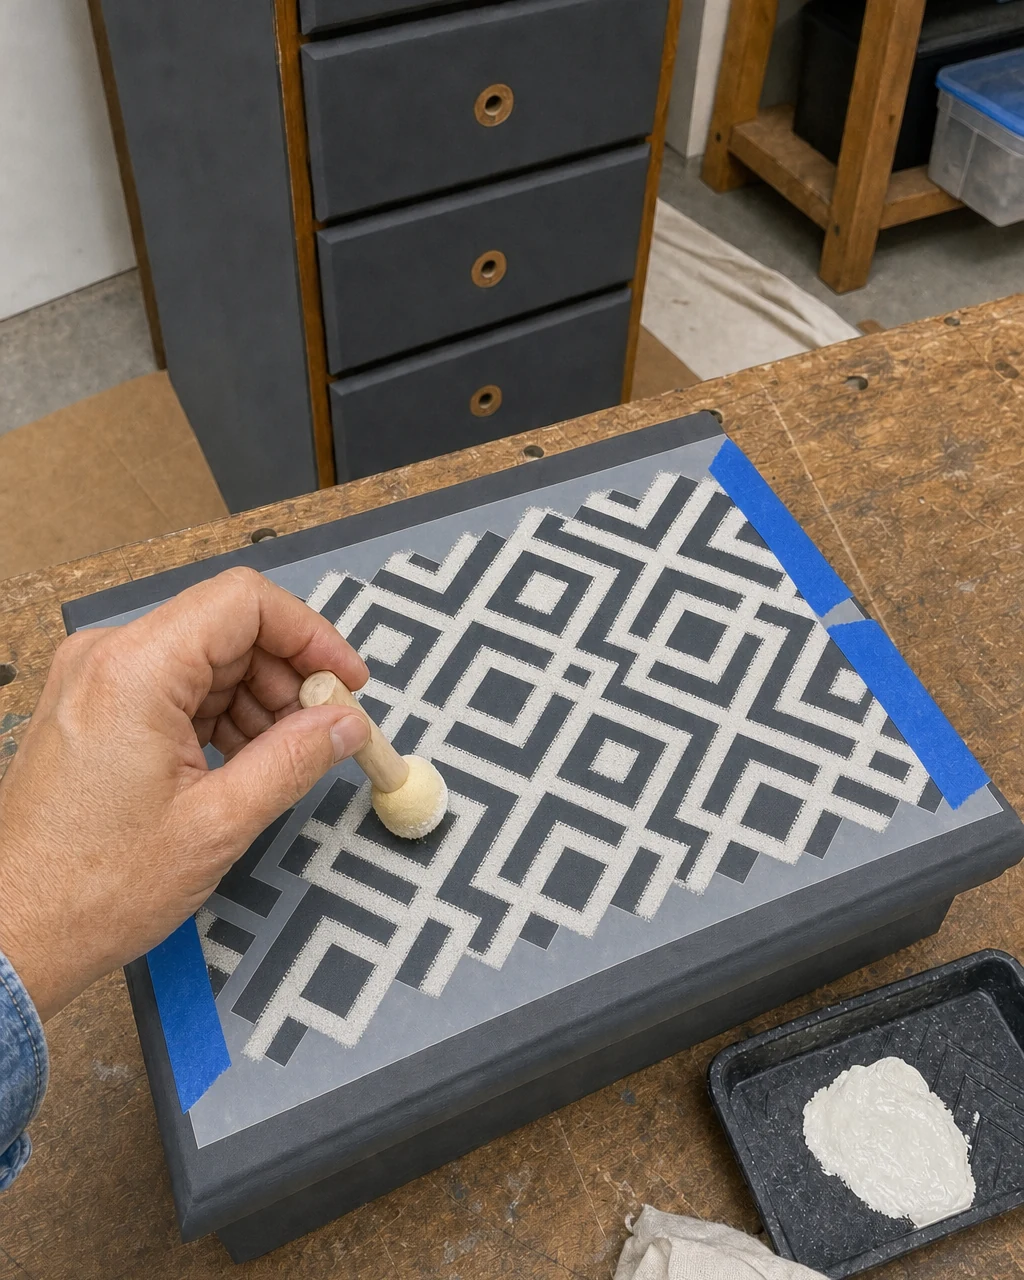
Tape the inlay stencil over each dry drawer front. Stipple bone-white paint through the cutouts using a dry-brush technique to reveal a crisp white geometric pattern.
Work carefully across each drawer, ensuring the stencil remains flat and secure to maintain the intricate bone-white design against the dark background. Keep a damp rag nearby to immediately wipe up paint smudges.
Step 5: Install Brass Ring Pulls
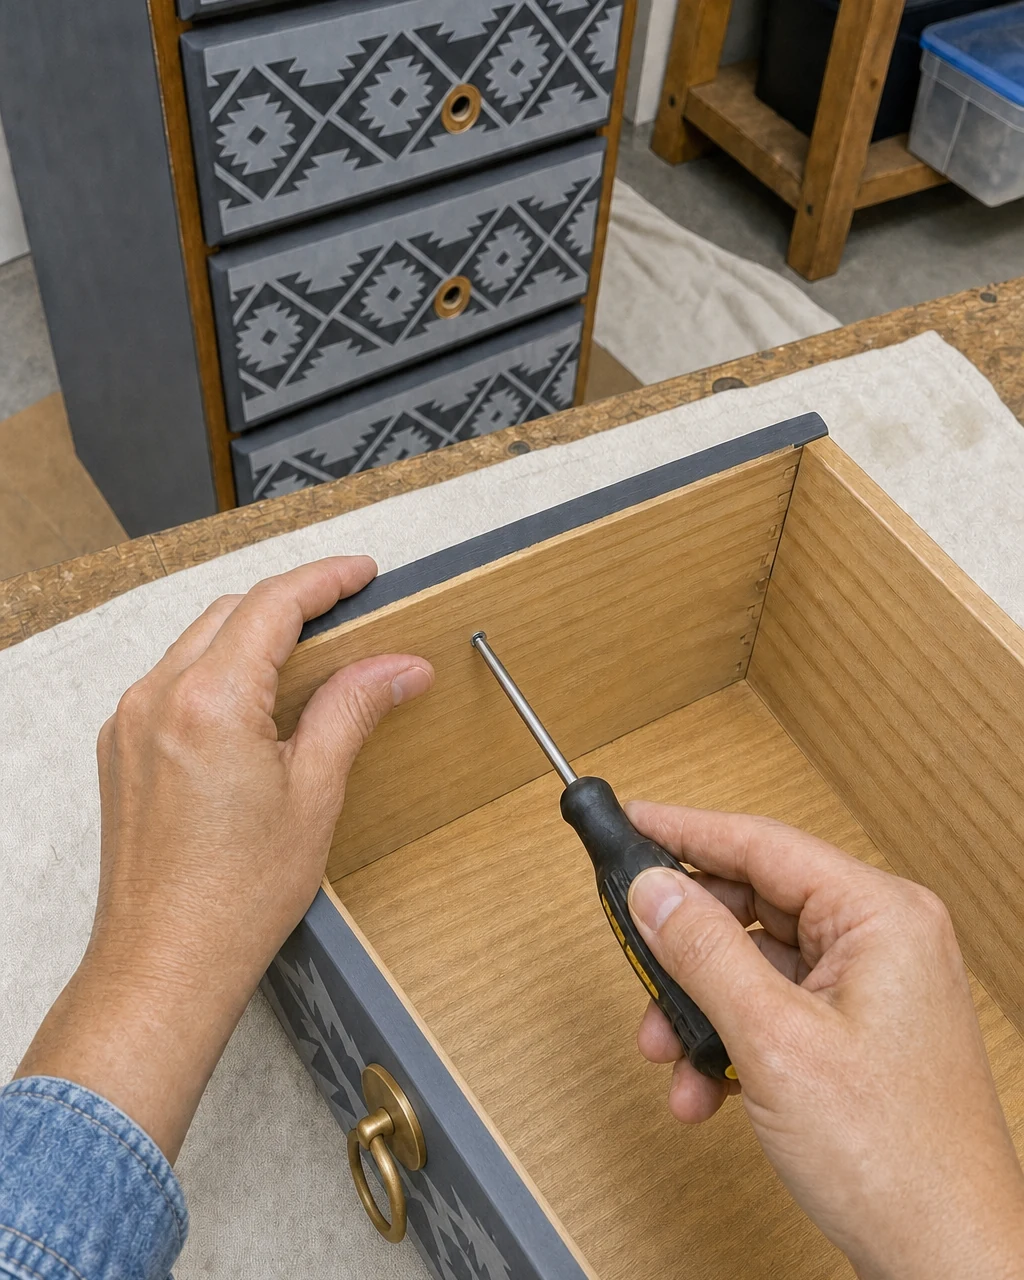
Mount the new brass ring pulls by passing the provided machine screws through the existing center holes from the inside of the drawers. This simple upgrade instantly elevates the piece.
Secure the Hardware
Standardizing the pull size avoids drilling new holes into the pine, allowing the shiny brass hardware to sit firmly against the stenciled drawer face. Do not overtighten the screws to avoid cracking the pine drawer front.
Step 6: Assemble and Inspect the Finish
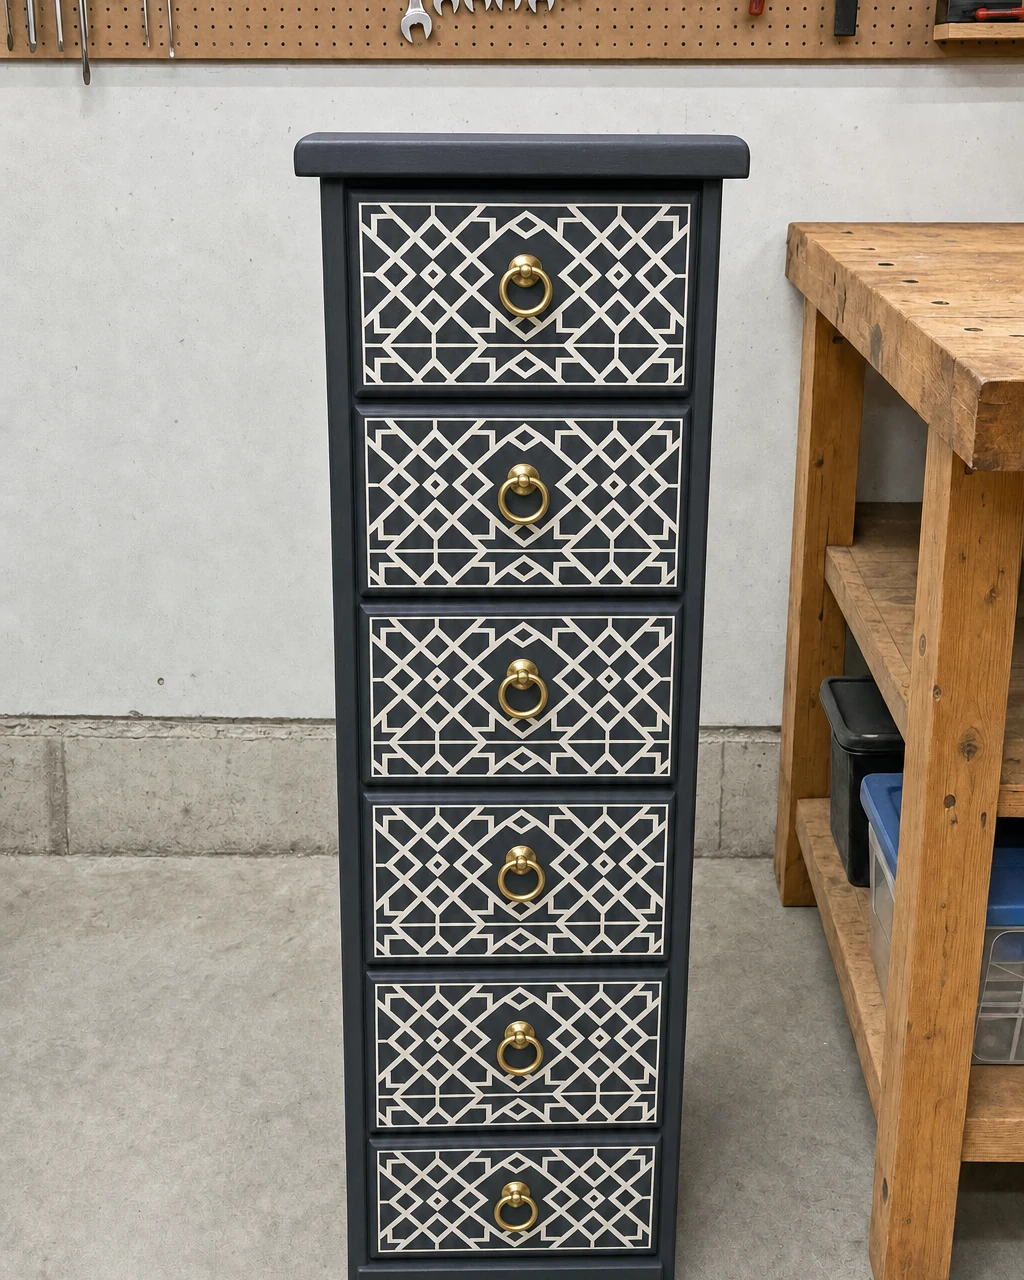
Place all drawers back into the chest frame and inspect the overall alignment of the stenciled pattern and new hardware. Ensure the drawers slide smoothly on their wooden side runners.
Evaluate the Transformation
Stand back to view the fully assembled chest. The dark background should make the intricate white pattern pop instantly, completing the faux bone inlay illusion. Lift the chest from the bottom plinth, not the top edge, when moving it.
Step 7: Style the Chest in Your Home
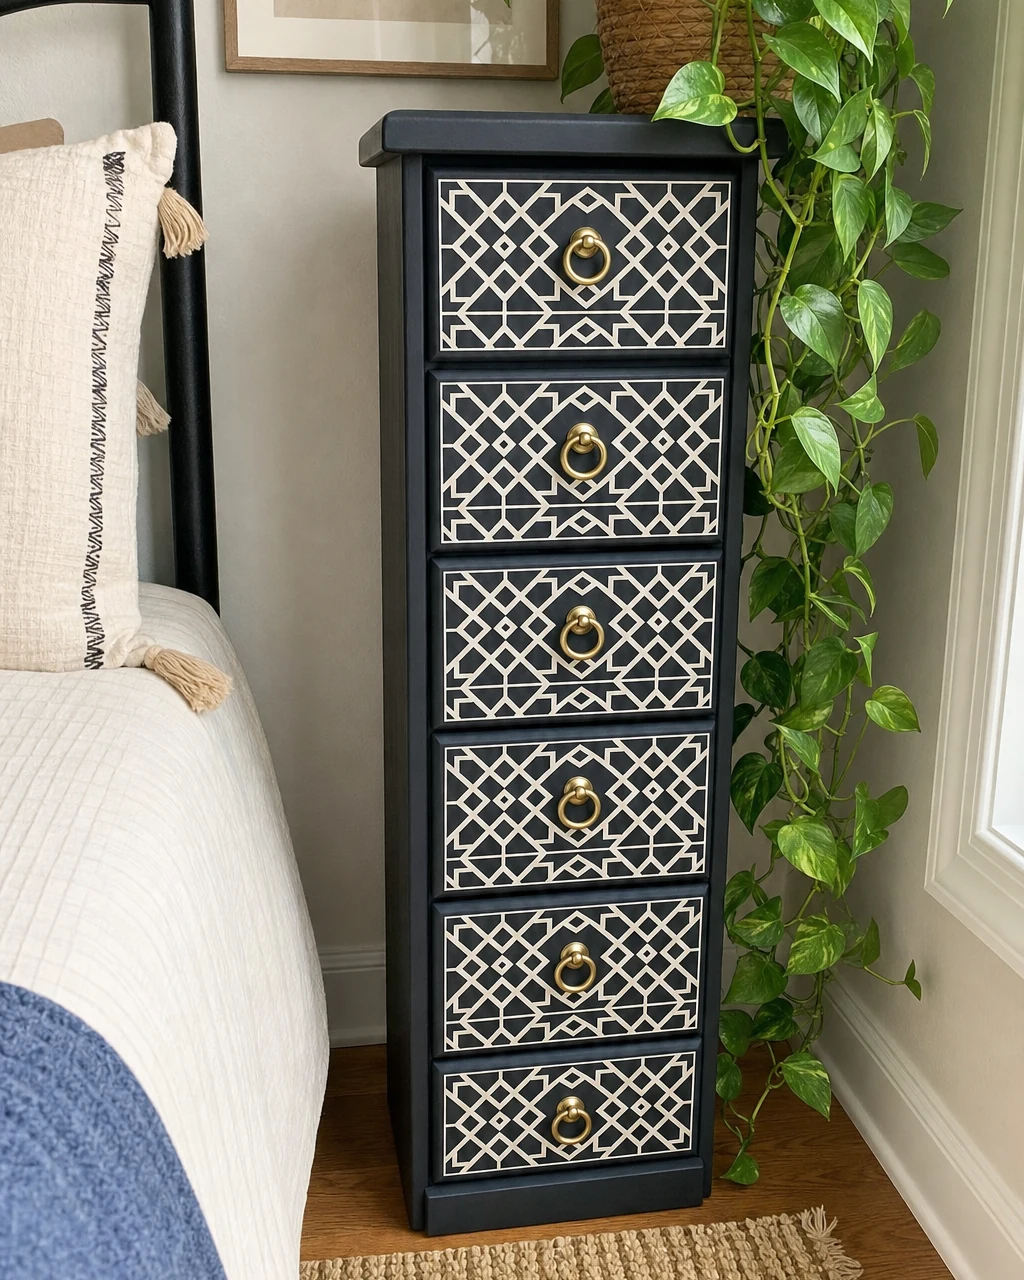
Move the finished chest into a bedroom setting, utilizing its narrow footprint to add vertical storage to a tight corner. The updated piece brings both function and style to the room.
Maximize Vertical Space
Pair the sophisticated, graphic statement piece with light walls, a textured woven rug, and a trailing pothos plant to highlight the crisp white stenciling. Anchor tall, narrow furniture to the wall to prevent tipping hazards.