
Brass Hurricane Lamp Upcycle with Two-Tone Frosted Glass
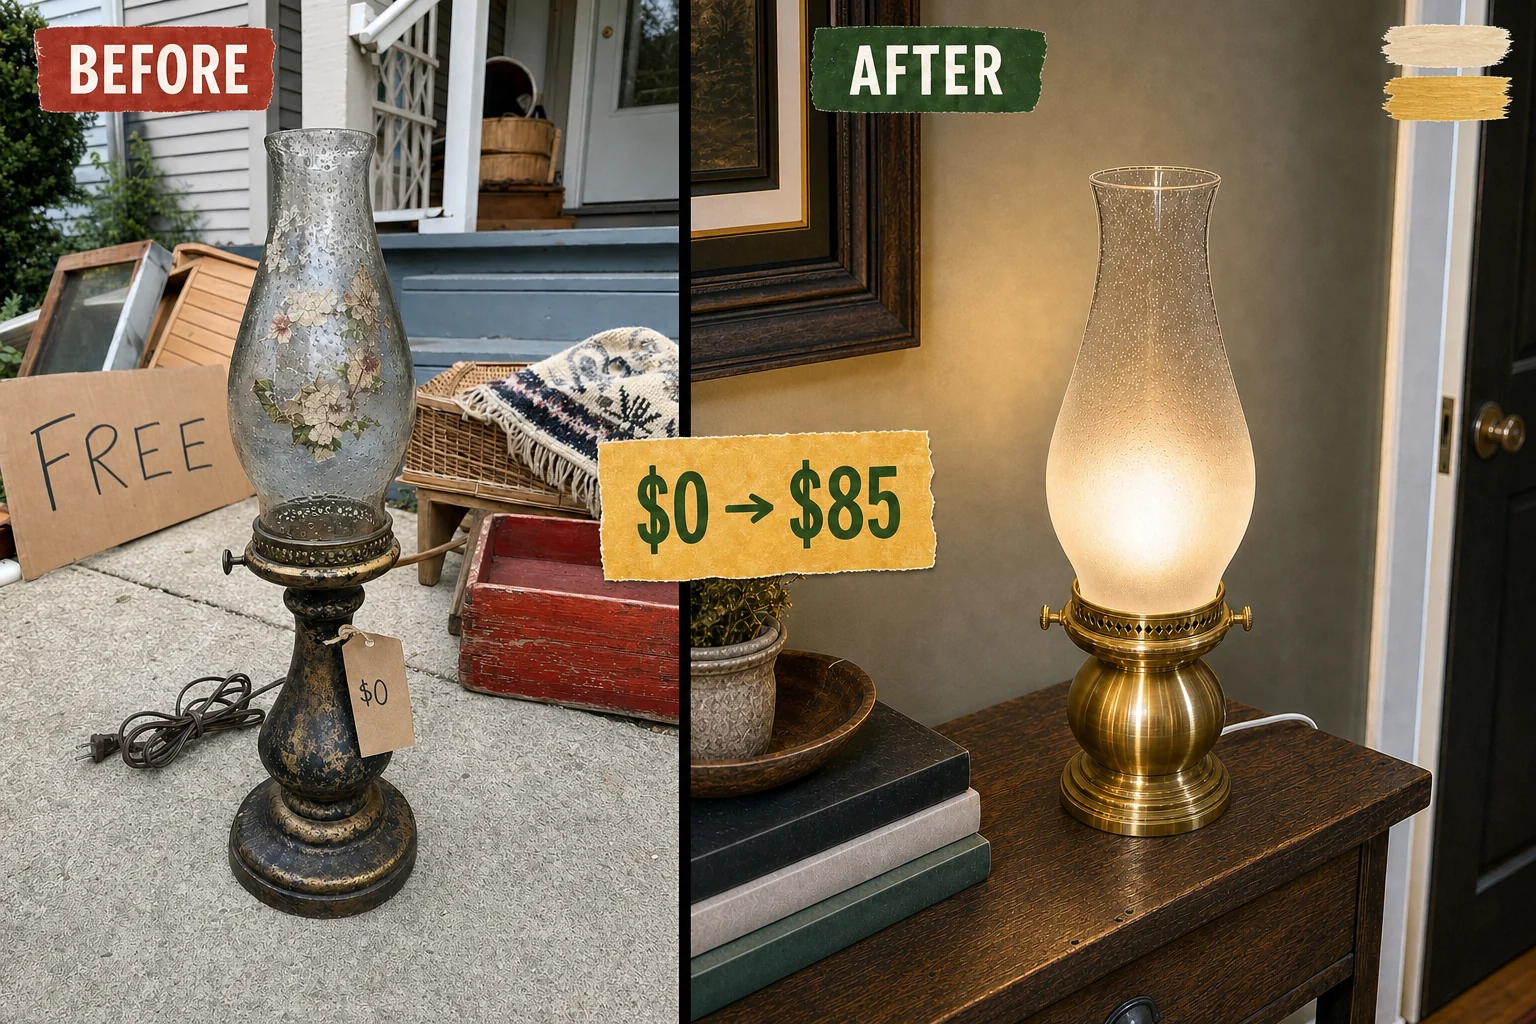
Spotted in a curbside free pile, this tarnished brass hurricane lamp was covered in peeling 1970s floral decals. Stripping the dated transfers and frosting the lower half of the bubble glass creates a modern, diffused glow over a polished base.
Step 1: Assess and Disassemble the Lamp
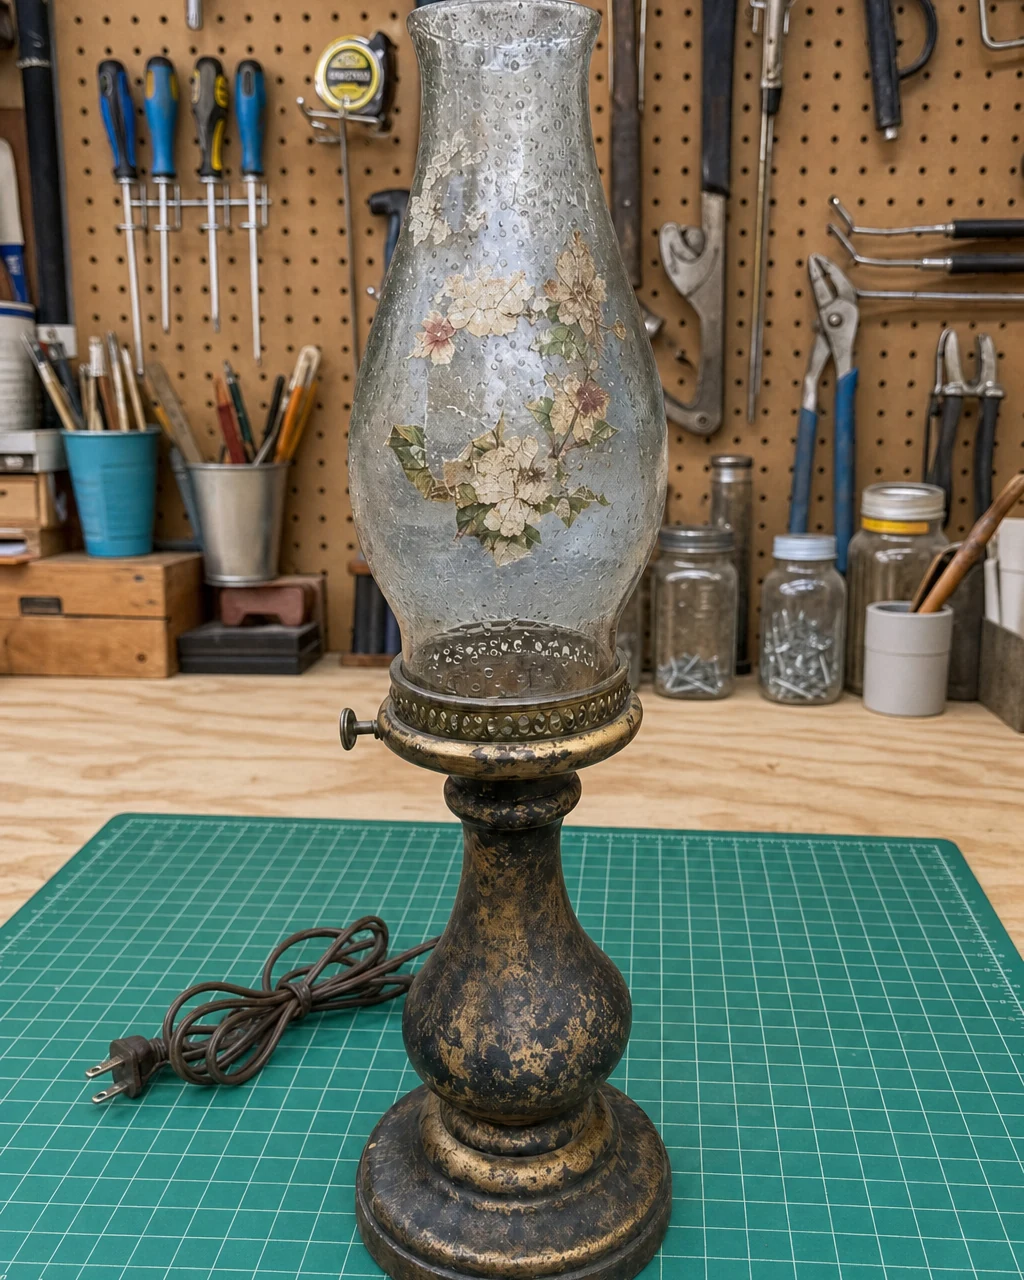
Found sitting on the pavement next to a box of old books, this heavy cast brass base was completely black with dull oxidation. The blackened tarnish hid the quality of the heavy brass casting and made the piece look neglected. The clear bubble-textured glass chimney featured cracked, peeling floral decals that dated the piece visually and created messy, uneven shadows when illuminated.
- Use a screwdriver to loosen the screws on the brass gallery ring and carefully lift the glass chimney out of the base. Ensure the lamp is unplugged before handling the gallery ring near the bulb socket.
- Separating the two main components allows for individual restoration. This prevents accidental damage to the delicate glass while aggressively polishing the heavy metal pedestal.
Step 2: Scrape the Decal
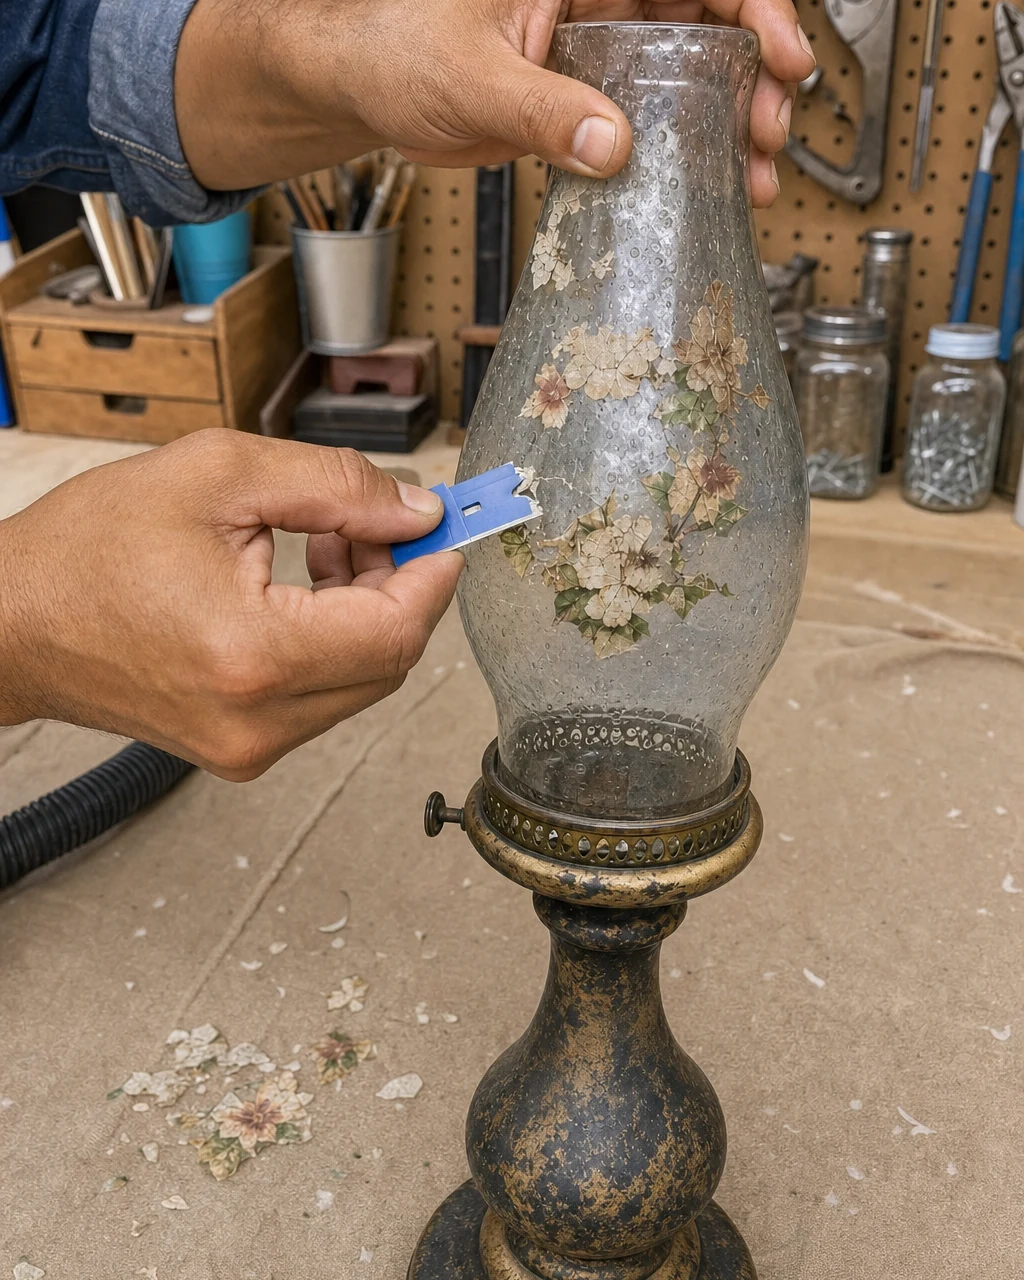
Use a plastic razor blade to gently scrape the old floral decal off the exterior of the glass chimney. Work slowly around the curved surface to remove all the old transfer and adhesive residue, revealing a completely clear, decal-free bubble glass chimney. Use plastic blades instead of metal to prevent permanently scratching the curved glass.
| Item | Cost |
|---|---|
| Curbside purchase | $0 |
| Plastic razor blades | $6 |
| Brass polish | $8 |
| Painter’s tape | $5 |
| Frosted glass spray | $9 |
| Total Investment | $28 |
| Estimated Resale Value | $85 |
| Value Gain | $57 |
| Please note that the estimated resale value is an editorial estimate, not a completed sale. | |
Step 3: Polish the Brass
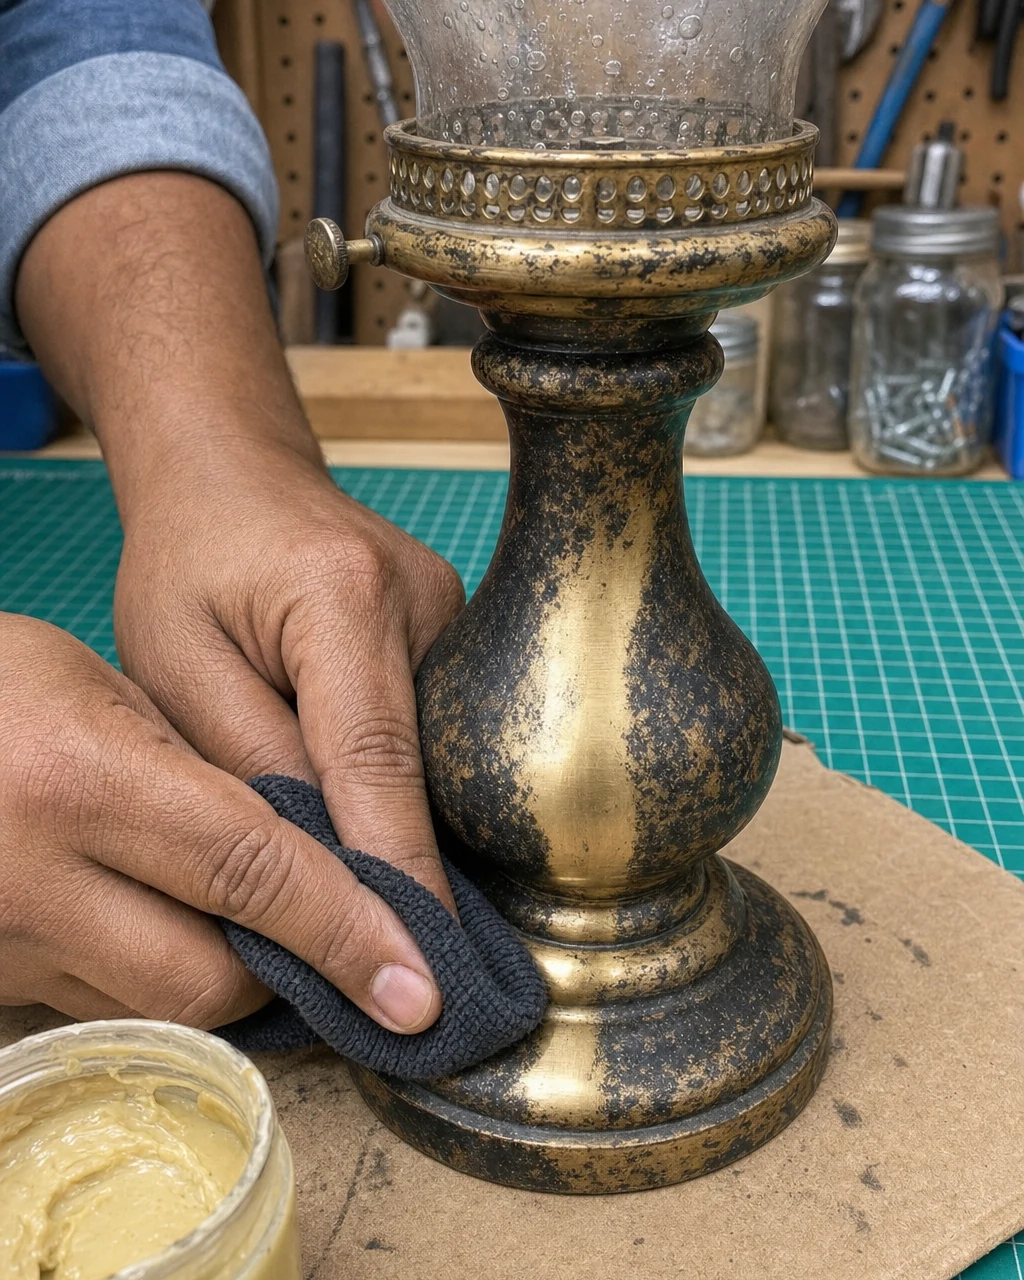
Apply liquid brass polish to a dark microfiber cloth and rub it vigorously into the tarnished metal base. Continue wiping away the black oxidation until the highly reflective, bright gold-toned brass shines through. The chemical polish requires less aggressive scrubbing than abrasive cleaners. Wear nitrile gloves to protect skin from the chemical polish and black tarnish residue.
Materials checklist
Step 4: Mask the Glass
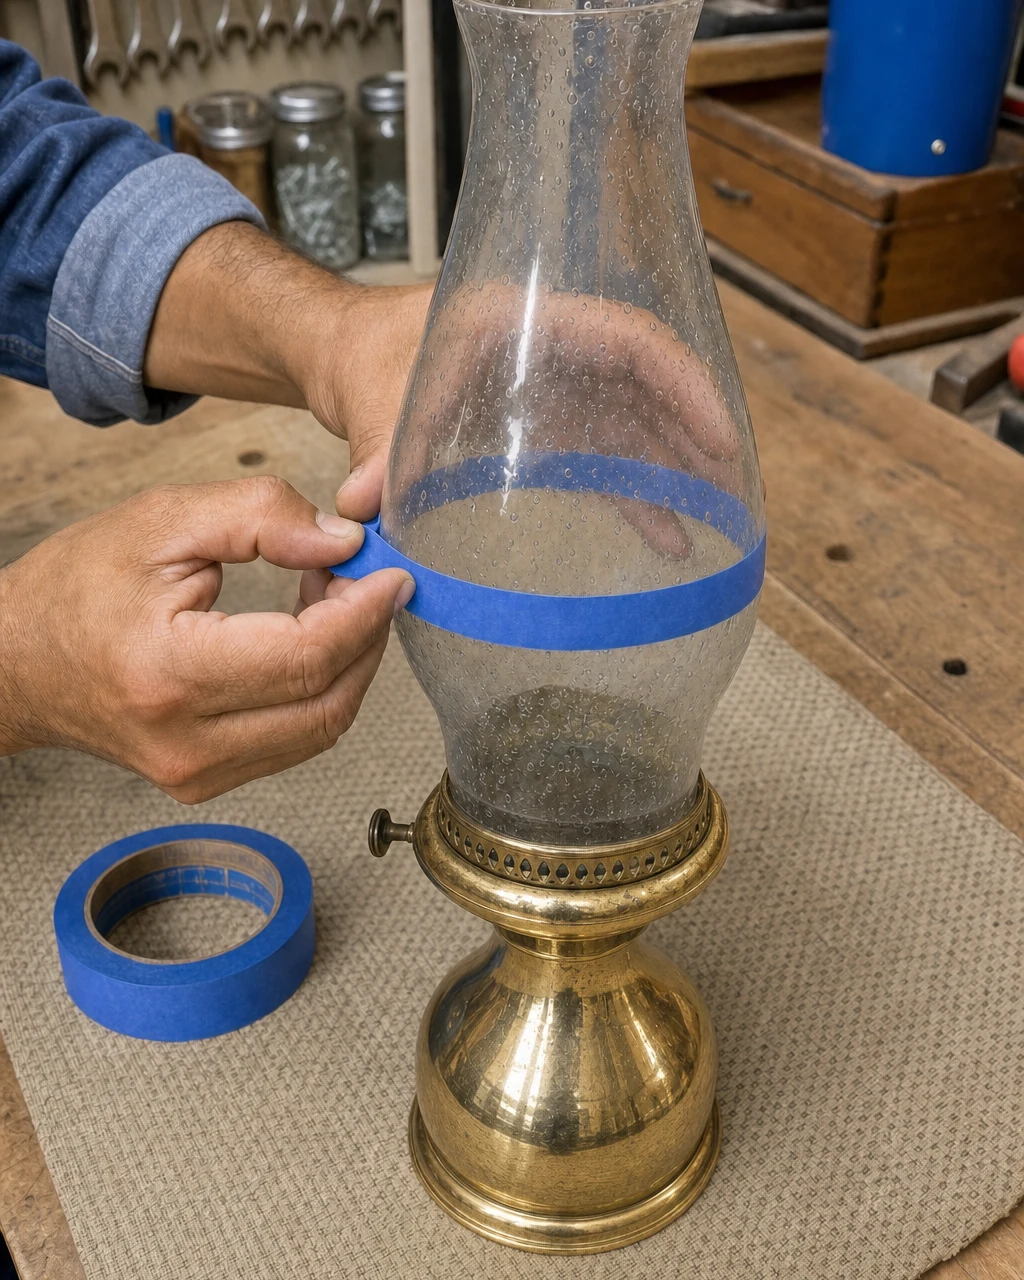
Use scissors to cut and wrap a continuous ring of blue painter’s tape exactly around the midpoint of the clear bubble-glass chimney. This crisp tape line will protect the top half of the glass from the frosting spray, creating a deliberate modern architectural detail. Always press the tape edges down firmly to prevent the spray finish from bleeding underneath.
Creating a Crisp Ombre Line
The signature detail of this transformation is the crisp two-tone ombre effect created by frosting only the lower half of the glass chimney. Measuring the exact midpoint ensures the visual proportions remain balanced once the classic flared brass pedestal base is fully reassembled and illuminated.
Step 5: Apply Frosted Finish
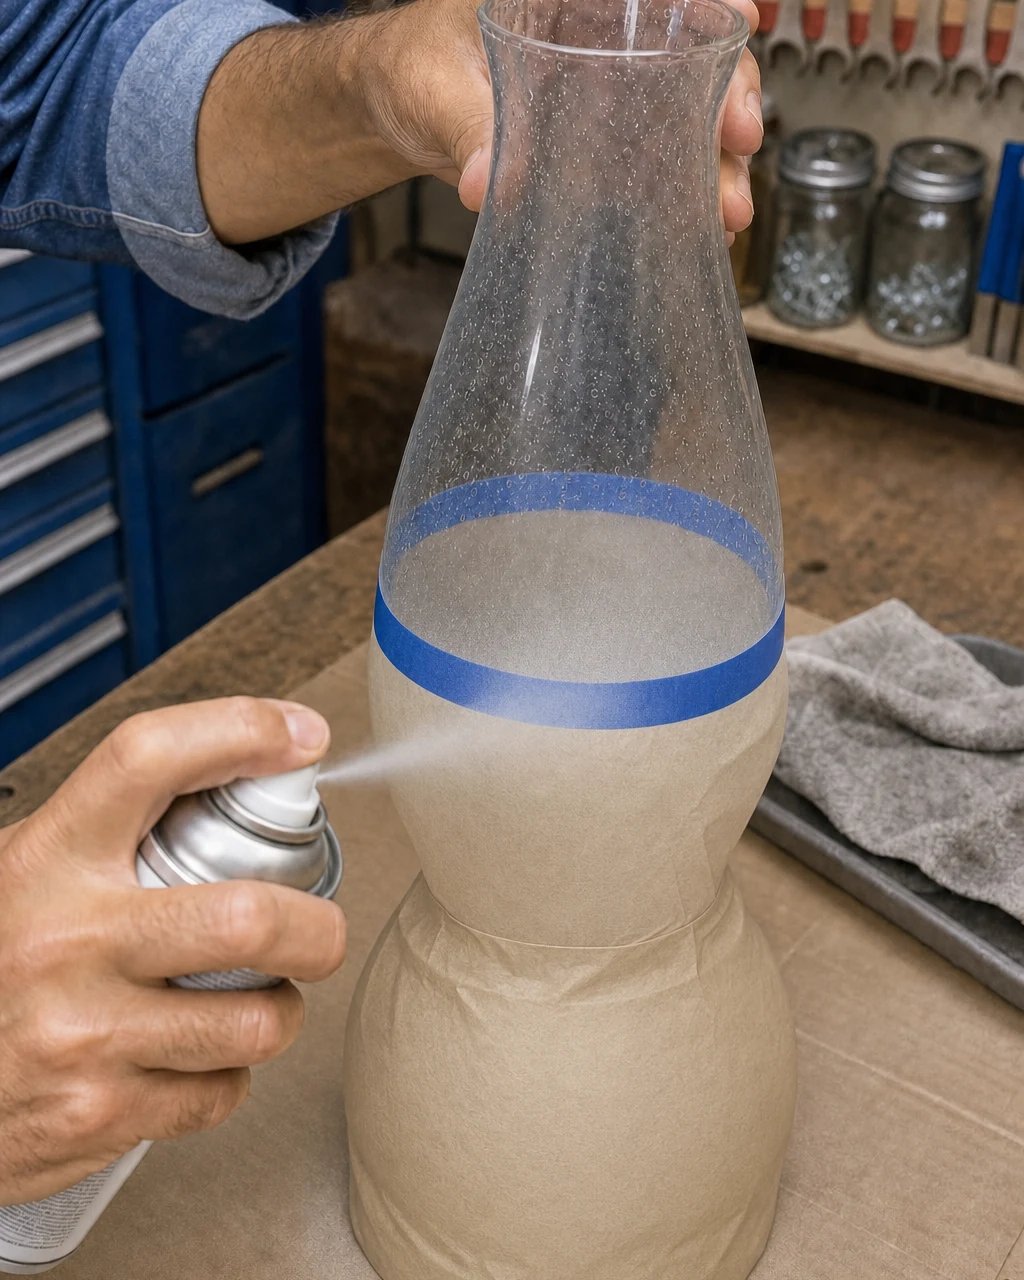
Lay down a drop cloth and spray a light, even coat of frosted glass finish over the exposed lower half of the taped chimney. Allow the finish to dry for 15 minutes to achieve an opaque, diffused white texture. Spray outdoors or in a well-ventilated area, wearing a mask to avoid inhaling aerosol fumes during the application process.
Achieving a Diffused Texture
Adding a diffused, frosted texture to the lower glass modernizes the silhouette without losing the immutable bubble texture inside the glass. The matte white finish contrasts beautifully with the clear top half, updating the hurricane lamp from a tarnished relic to a sleek minimalist accent piece.
Step 6: Reassemble the Lamp
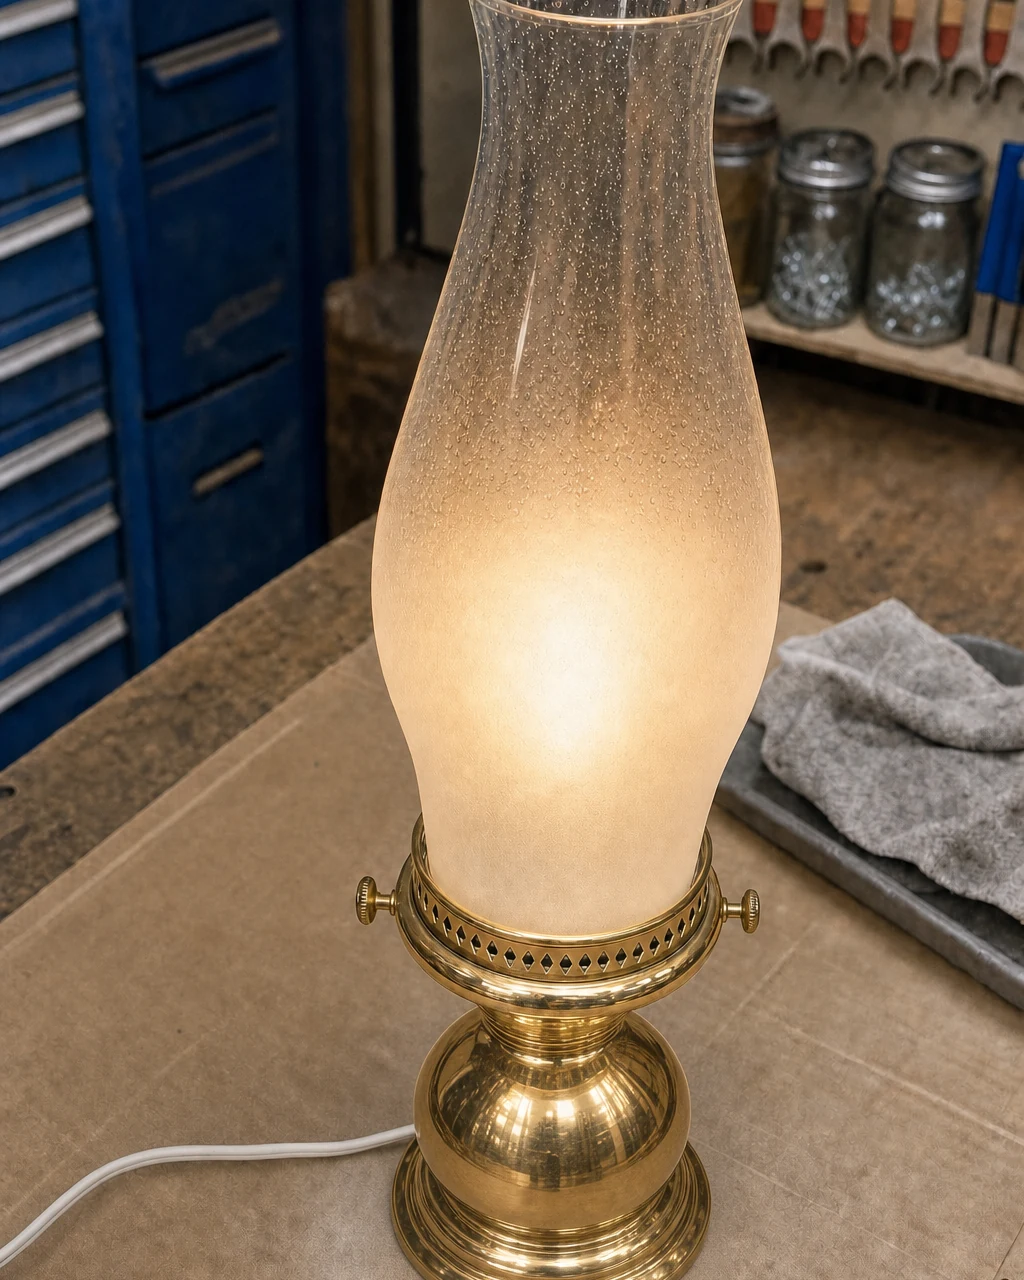
Seat the newly frosted glass chimney back into the polished brass gallery. Use a screwdriver to tighten the side screws evenly, securing the glass safely into the heavy metal base. The frosted lower half successfully hides the modern bulb hardware. Do not overtighten the gallery screws, as the pressure can crack the glass chimney.
Project Valuation and Resale Potential
The heavy solid brass construction holds inherent value, providing a high-quality foundation that justifies the intensive restoration effort. The modernized two-tone frosted glass elevates the piece from a dated thrift find to a contemporary ambient lighting fixture, driving its estimated resale value and transforming it into a sleek minimalist accent piece.
Step 7: Style the Lamp
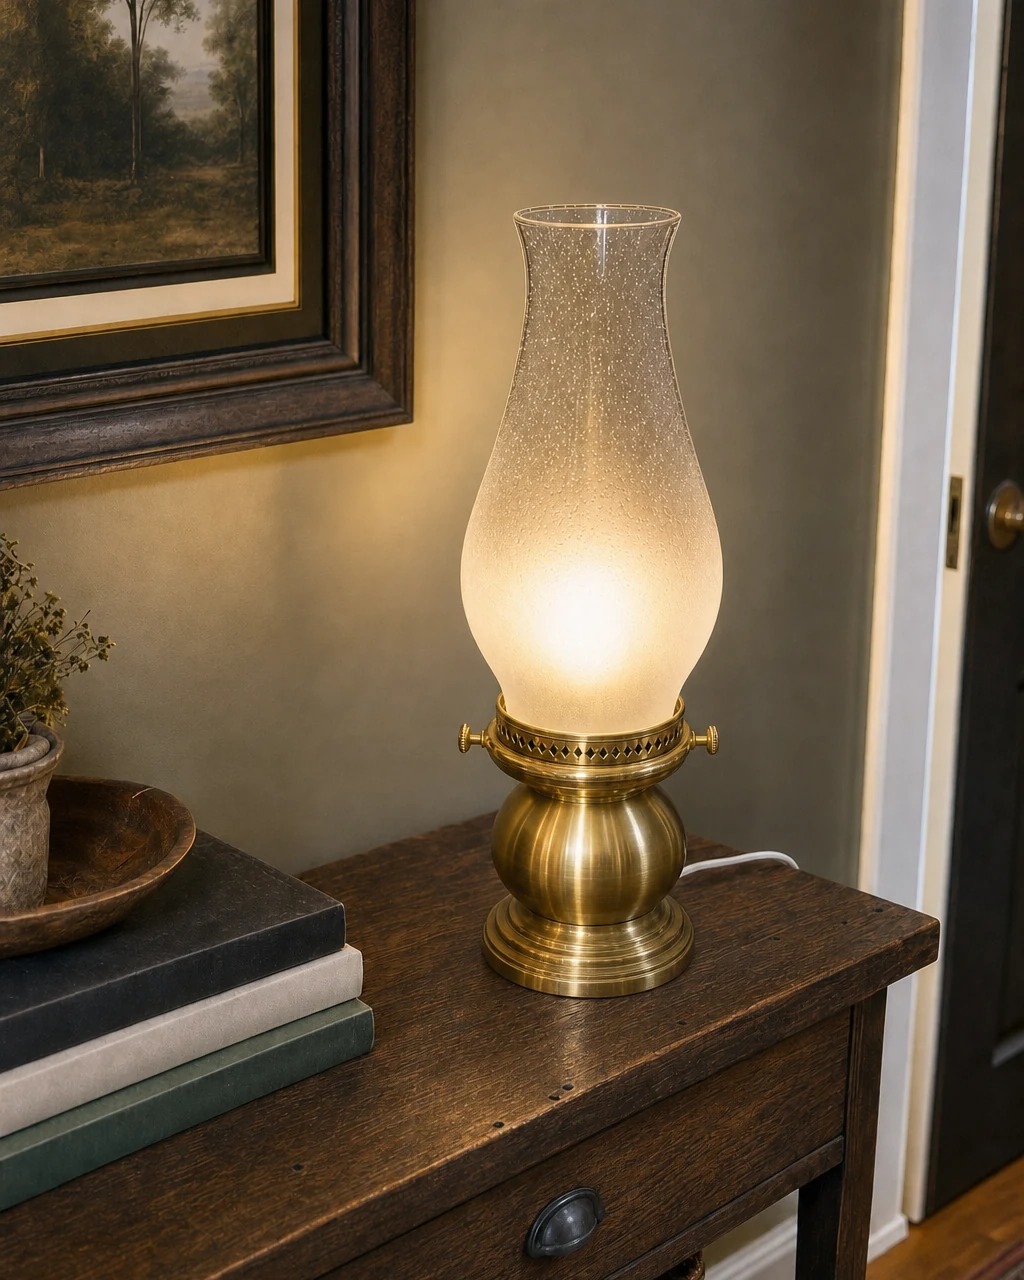
Move the fully assembled lamp to a dark wood entryway console, insert a warm LED bulb, and turn it on to showcase the diffused glow through the frosted glass. Diffused lighting instantly elevates the mood of a dark entryway. Ensure the power cord is routed safely behind the console to prevent tripping.
Showcasing the Modernized Glow
The striking contrast between the brilliant brass and the modern half-frosted bubble glass creates a sophisticated focal point. By stripping the dated floral decals and frosting the lower half, the lamp now provides a warm, diffused glow over a highly polished brass base.