
Galvanized Garden Caddy Thrift Flip with a Macrame Handle
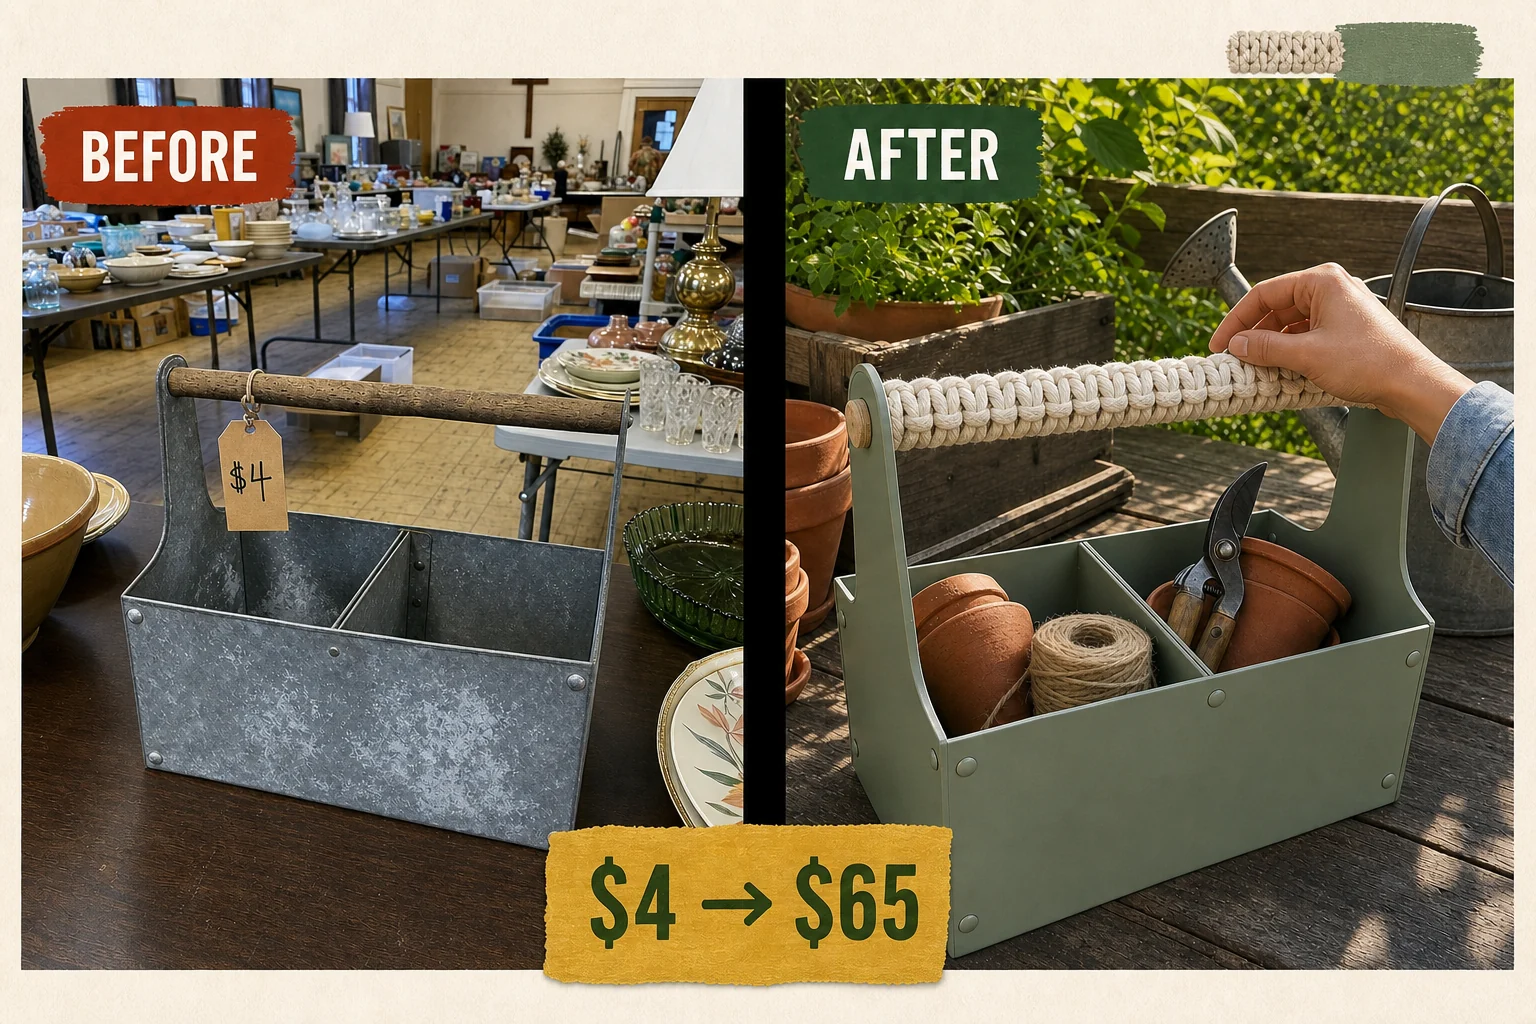
Tucked under a folding table at a church rummage sale, this $4 galvanized garden caddy was priced to move. We transformed the oxidized metal and splintering wood into a modern accessory using matte sage green enamel and a tactile macrame handle.
Evaluating the Rummage Sale Find
Surface oxidation appeared as white powdery patches across the 1980s galvanized steel body, which gives the piece a neglected appearance and prevents new paint from adhering properly. The desiccated pine handle was dry and splintering, making the rectangular bin uncomfortable to carry and structurally vulnerable to outdoor moisture.
Materials checklist
Step 1: Assess the Damage and Prepare the Workspace
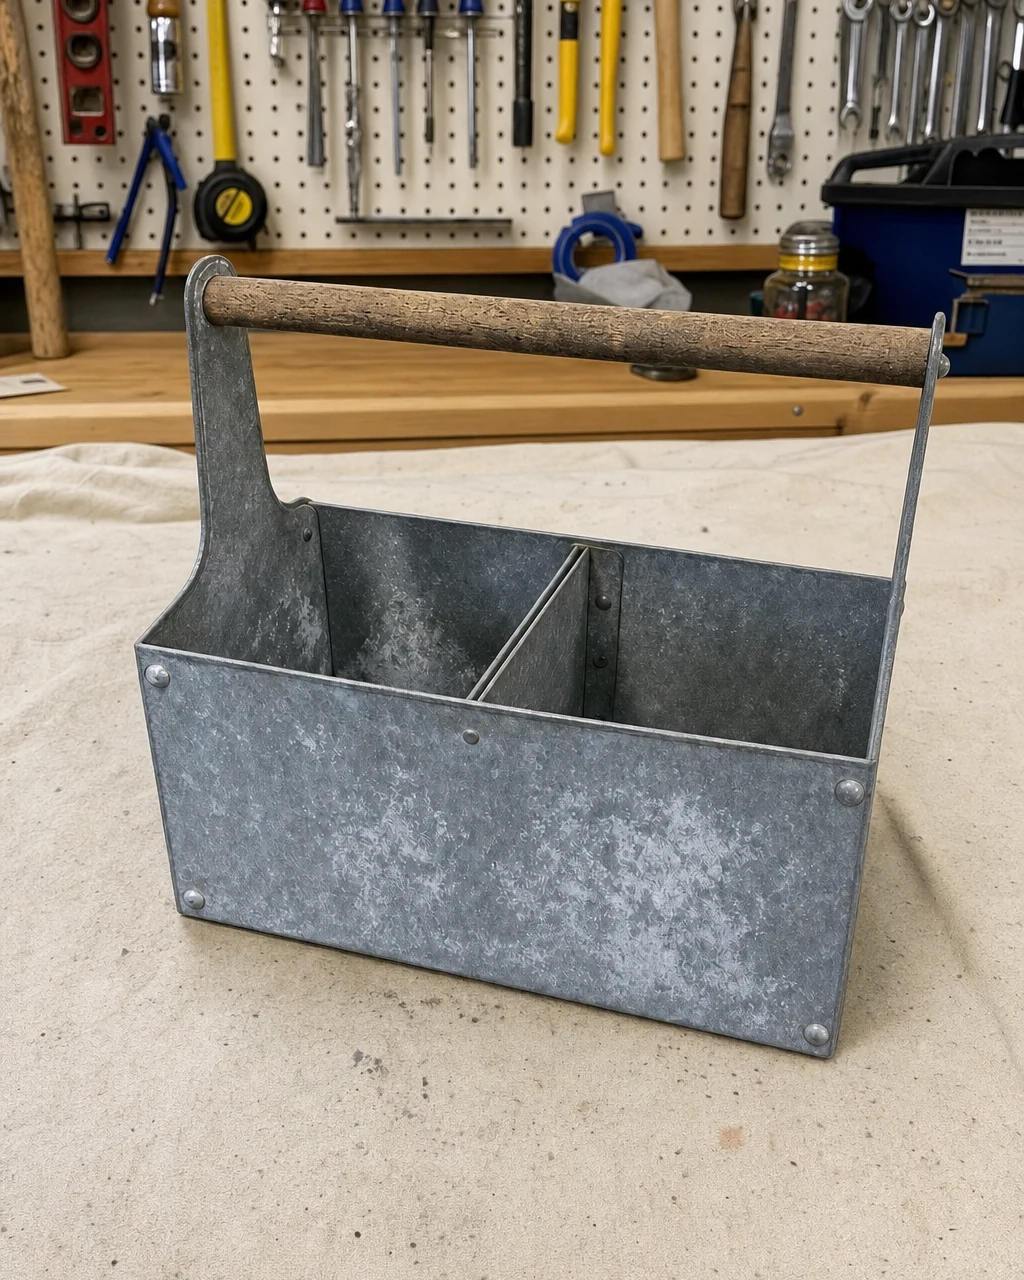
Place the found garden caddy on the workbench under bright workshop lights to fully evaluate the extent of the surface oxidation. Resting the oxidized metal caddy on a canvas drop cloth provides a clean area to inspect the 14-inch long folded and riveted sheet metal body.
Inspecting the Core Structure
Check the structural metal uprights and the central divider to ensure the core remains solid despite the surface wear. Inspect the condition of the friction-fit wooden dowel to determine how much sanding is required. Wear work gloves when handling unknown oxidized metals.
Step 2: Smooth the Splintering Wooden Dowel
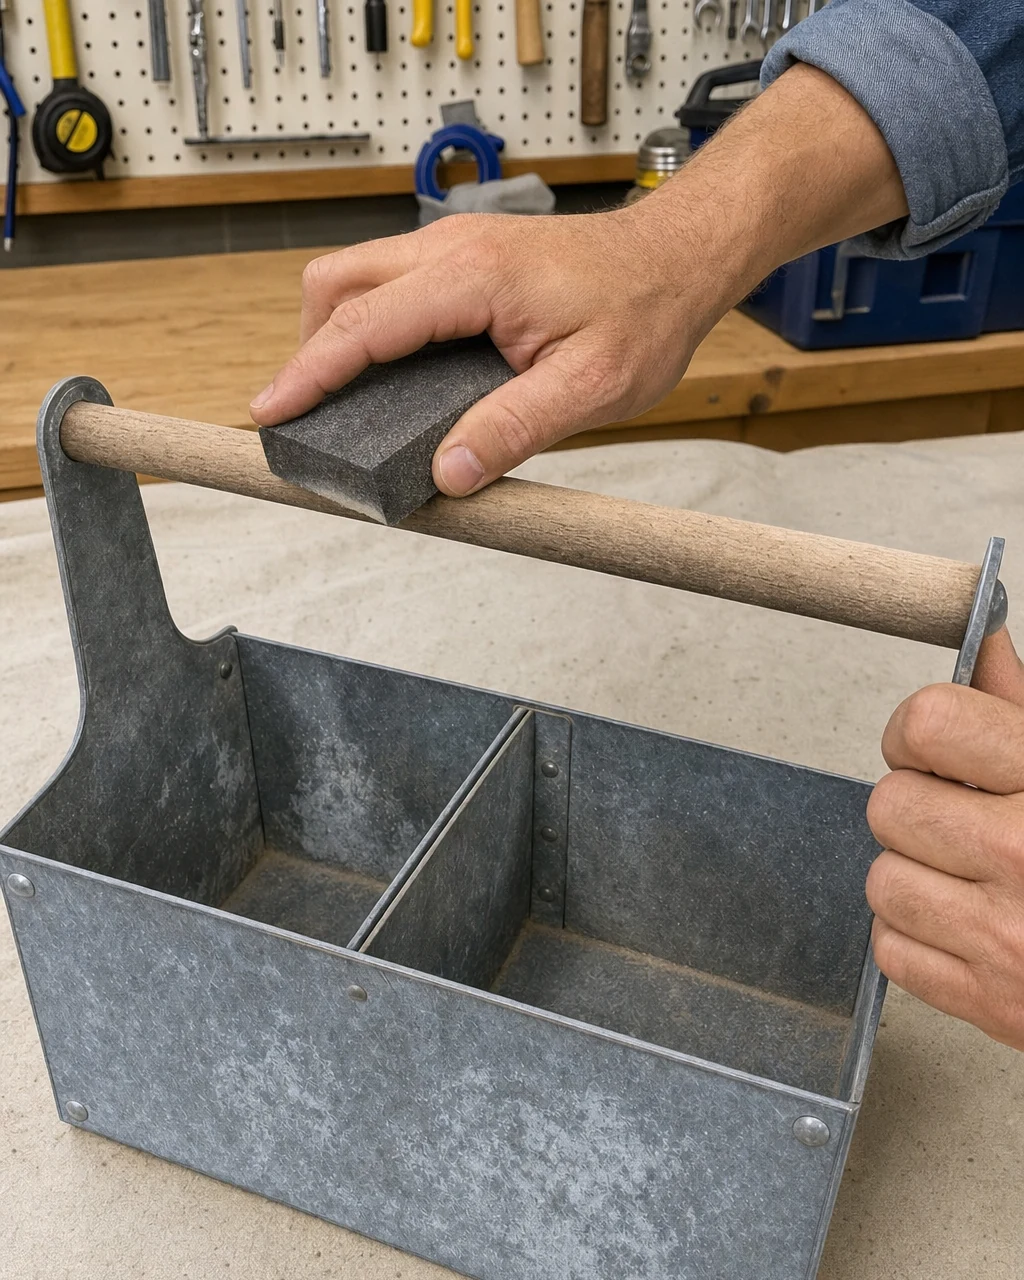
Rub a sanding sponge vigorously along the top and sides of the bare wooden dowel to remove all dry splinters. The flexible sponge easily wraps around the curved 10-inch high handle, stripping away the desiccated pine fibers to reveal healthy wood underneath.
Prepping for the Macrame
Create a completely smooth base for the upcoming macrame wrap, ensuring no sharp edges remain to snag the cotton cord. Wipe away all residual dust with a clean shop rag before moving on to the metal body. Wear a dust mask while sanding old wood.
Step 3: Etch the Galvanized Steel Surface
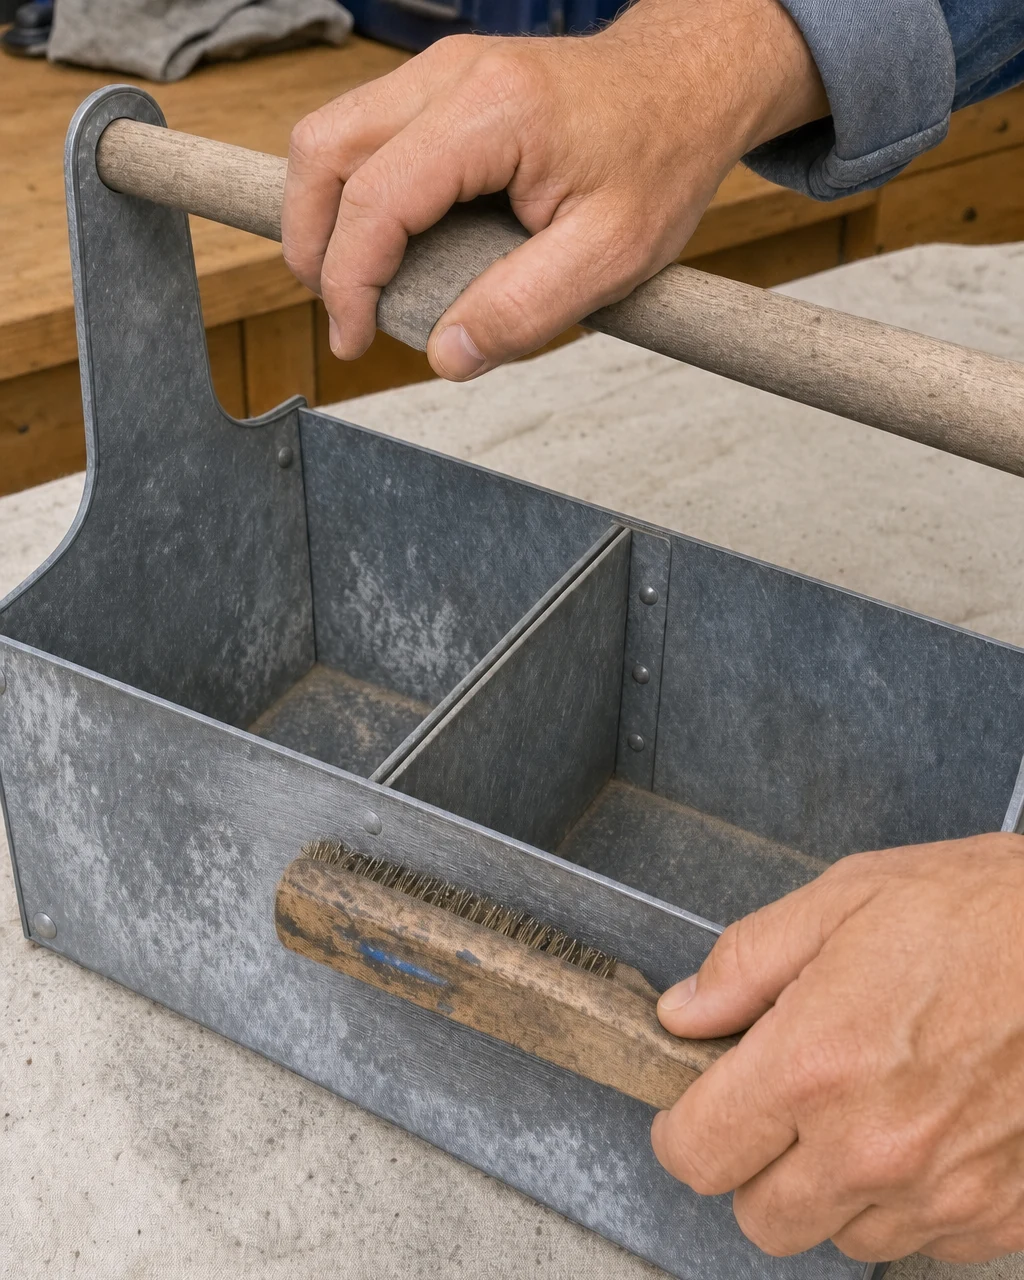
Scrub the galvanized steel side panels with white vinegar and a stiff wire brush to remove the white powdery oxidation patches. Standard distilled white vinegar is perfectly acidic for treating these 1980s utility pieces, breaking down the stubborn chalky residue effectively.
Neutralizing the Metal
This acidic treatment etches the zinc coating to ensure proper paint adhesion across the entire bin. Wipe the metal clean with a shop rag and allow the caddy to dry completely. Wear safety glasses to protect eyes from flying wire bristles.
Step 4: Apply Rust-Preventative Enamel Paint
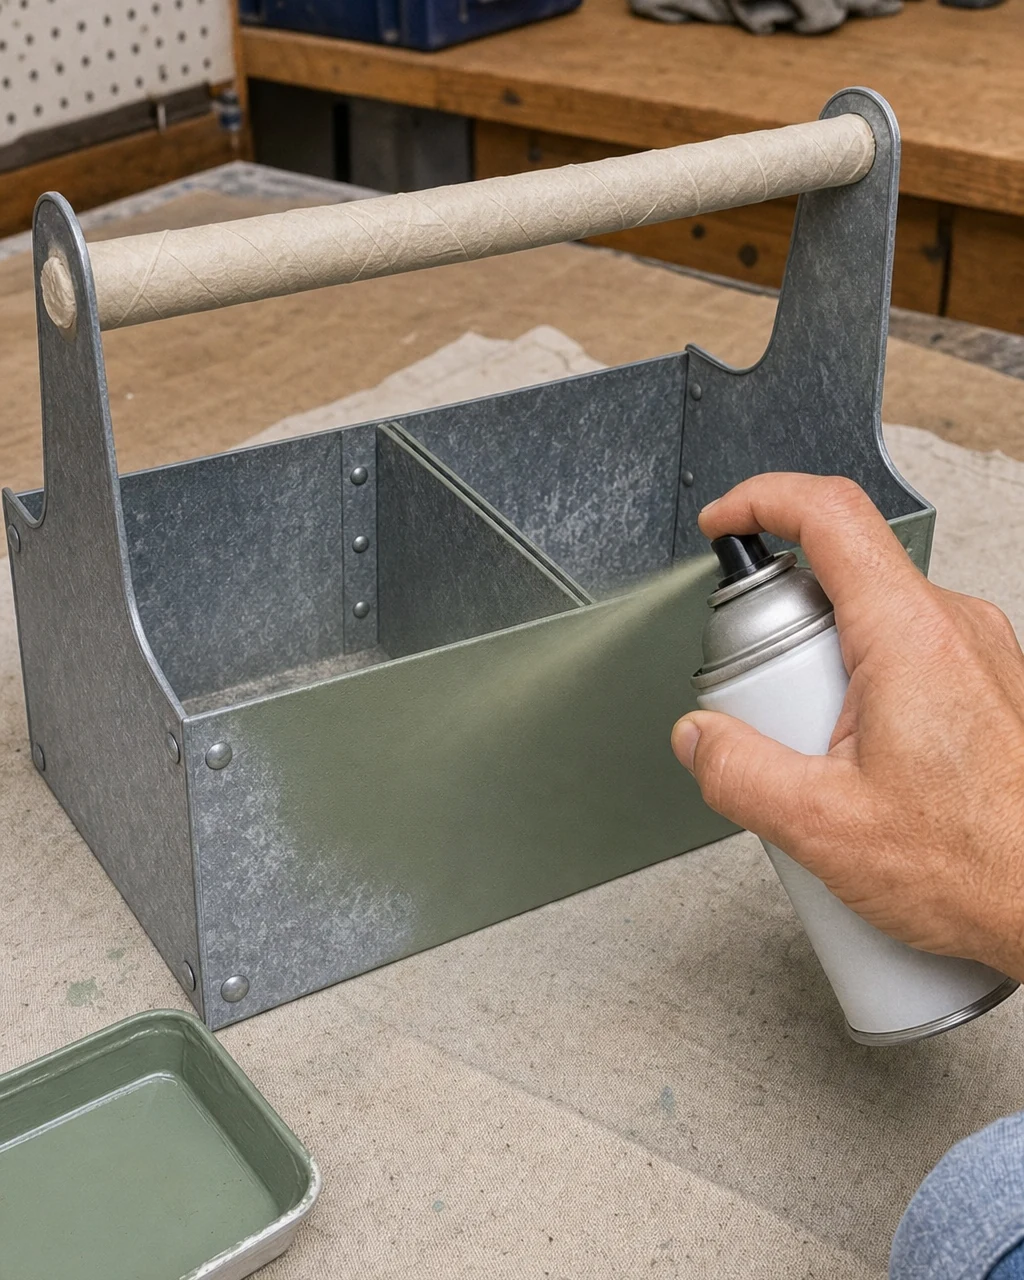
Protect the freshly sanded wooden handle by wrapping it entirely in painter’s tape, ensuring no metal is accidentally covered. Masking the friction-fit dowel guarantees the upcoming spray application will only coat the etched galvanized steel body and the riveted central divider.
Coating the Caddy
- Spray two light, even coats of matte sage green rust-preventative enamel onto the metal body over a drop cloth.
- Leave the piece to dry for at least two hours, allowing the exterior finish to seal out outdoor moisture.
- Always spray paint outdoors or in a well-ventilated area with a respirator.
Step 5: Wrap the Handle With a Macrame Square Knot
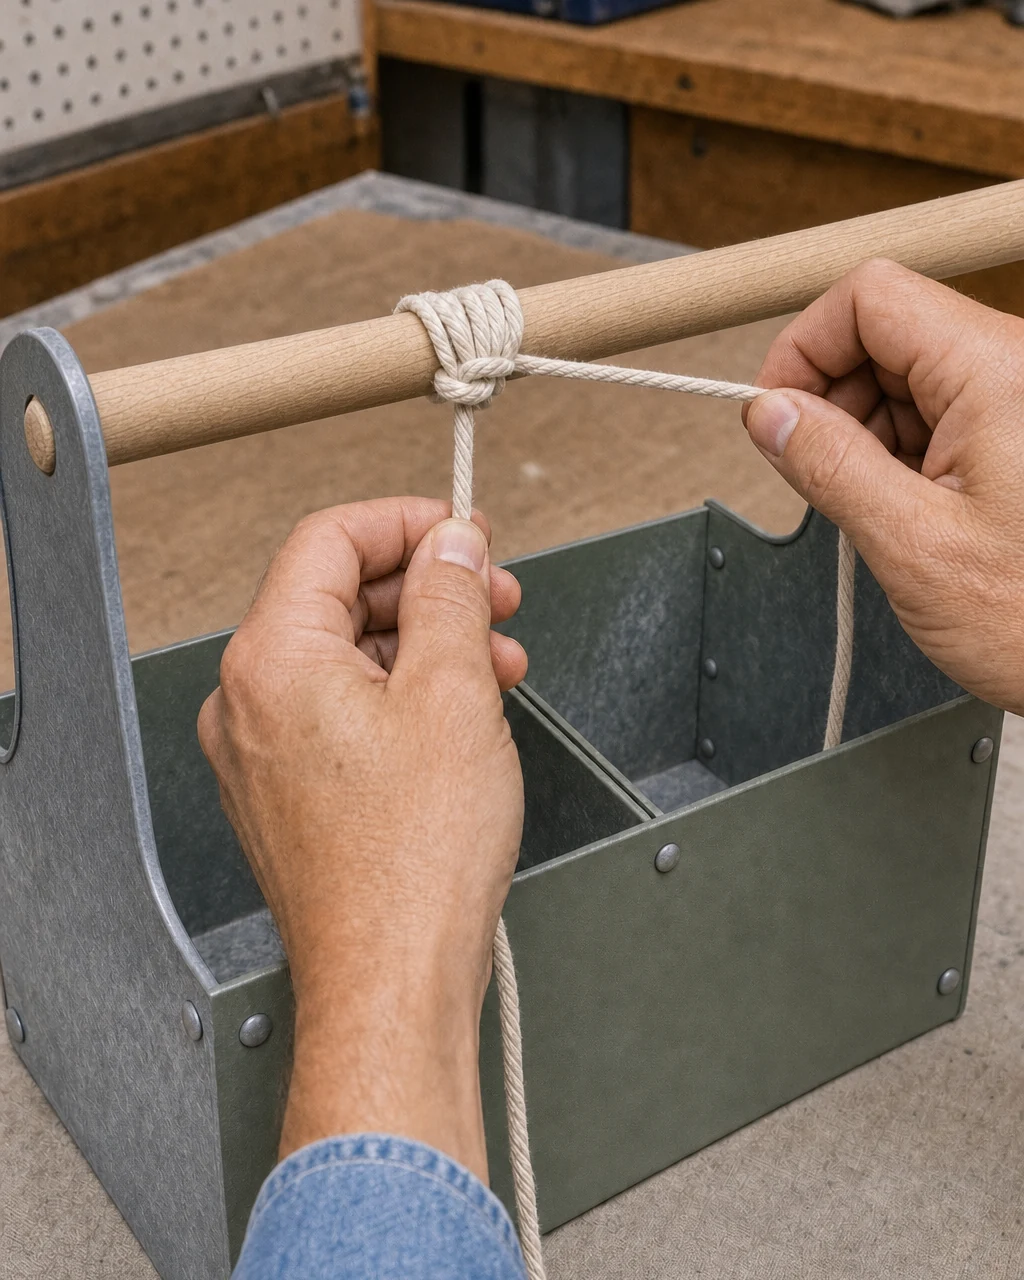
Remove the painter’s tape from the wooden dowel once the sage green enamel has fully cured. Tie the natural cotton craft cord in a continuous, tight square knot, wrapping the entire length of the wooden handle to create a thick, tactile grip.
Securing the Craft Cord
The continuous natural cotton macrame square knot contrasts beautifully against the smooth matte green metal, replacing the uncomfortable dry wood with a soft carrying surface. Keep scissors closed and out of the way when pulling knots tight.
Step 6: Inspect the Cured Finish and Knots
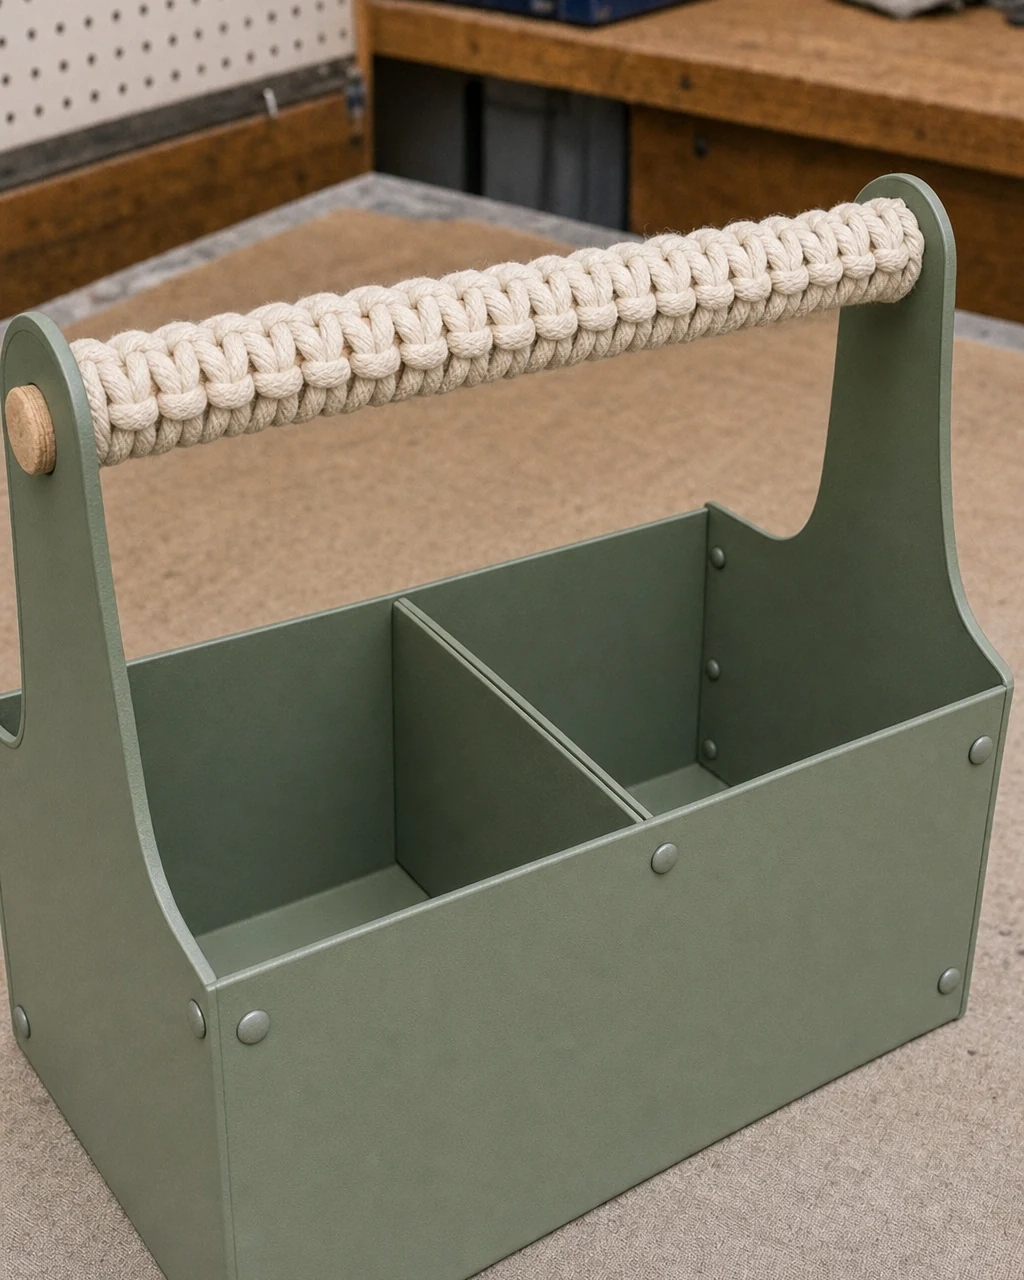
Clear the workbench canvas drop cloth and carefully inspect the finished caddy under the bright workshop lights. Verify that the matte green paint is fully cured without any tacky spots along the folded sheet metal edges or the central divider.
Final Quality Check
Ensure the continuous cotton macrame knots are tightly secured at both ends of the handle, providing a durable grip for heavy loads. This upgraded piece now rivals expensive boutique gardening accessories. Ensure paint is fully cured before handling heavily.
Step 7: Style the Caddy for Garden Use
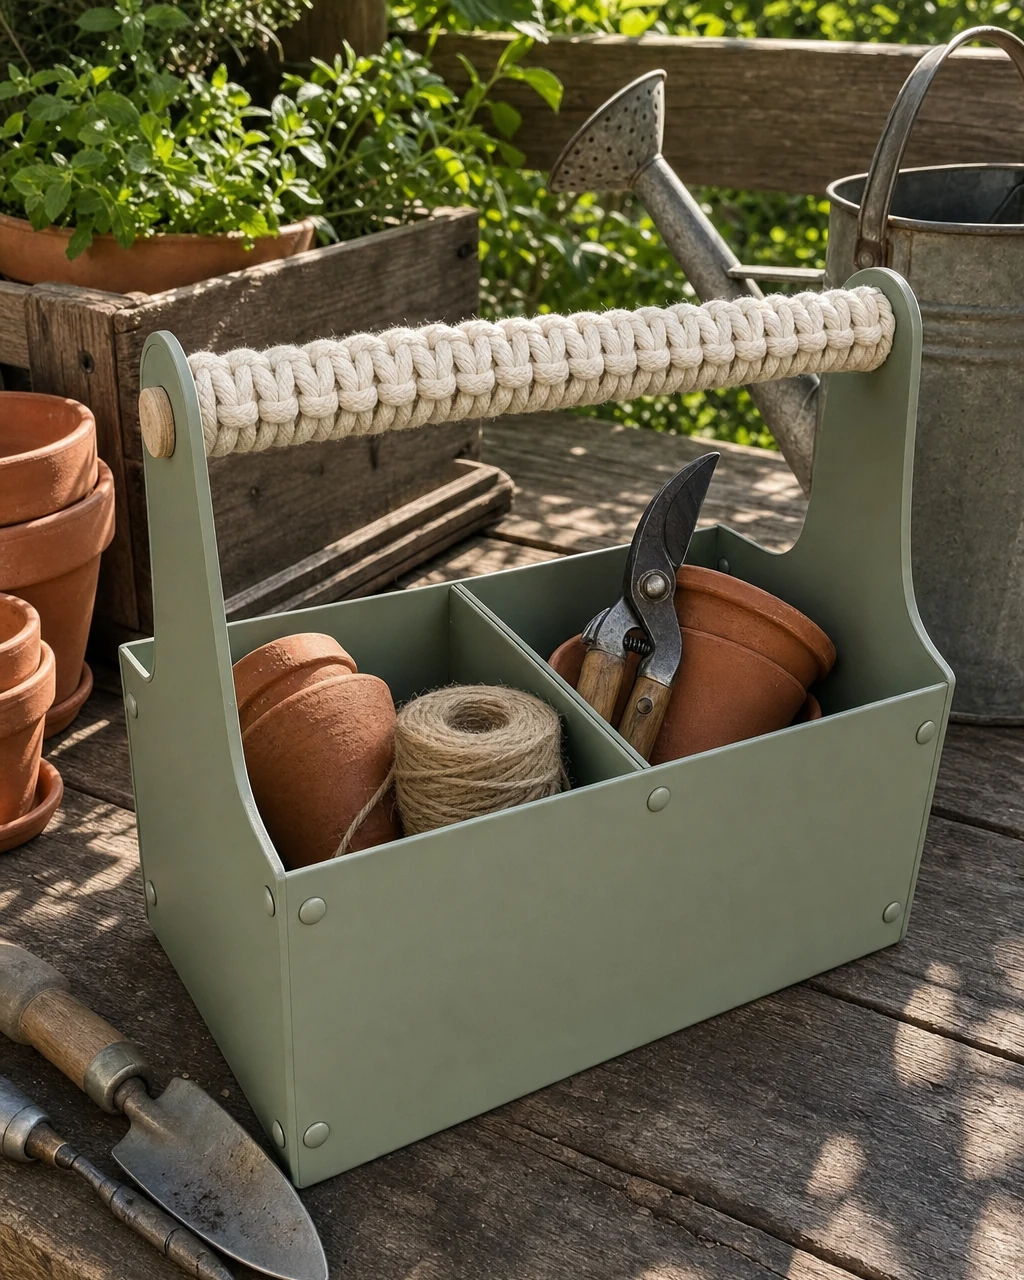
Load the upgraded caddy with essential gardening tools, hand trowels, and twine to test its new functional capacity. Place the finished piece on an outdoor wooden potting bench, where the matte green metal and natural cotton beautifully complement the surrounding terracotta pots.
Ready for Weekend Planting
Bathed in dappled sunlight, the custom carrier makes weekend planting sessions much more enjoyable while keeping supplies organized. Store the caddy under cover to prolong the life of the cotton macrame handle between outdoor gardening projects.
Why This Makeover Adds Value
Applying a durable rust-preventative enamel extends the lifespan of this basic utility piece while giving it a modern, clean aesthetic. The addition of a custom, tactile macrame handle elevates the caddy into a boutique-style gardening accessory, significantly increasing its overall market appeal.
| Item | Cost |
|---|---|
| Garden caddy purchase | $4 |
| Sanding sponge | $4 |
| White vinegar | $3 |
| Painter’s tape | $5 |
| Sage green paint | $8 |
| Cotton macrame cord | $12 |
| Total Investment | $36 |
| Estimated Resale Value | $65 |
| Value Gain | $29 |
Note that the impressive multiple achieved here relies on an editorial estimated resale value rather than a completed actual sale, reflecting the premium commanded by bespoke garden organization tools.