
Rusty Firewood Rack Transformation with Matte Black and Brass
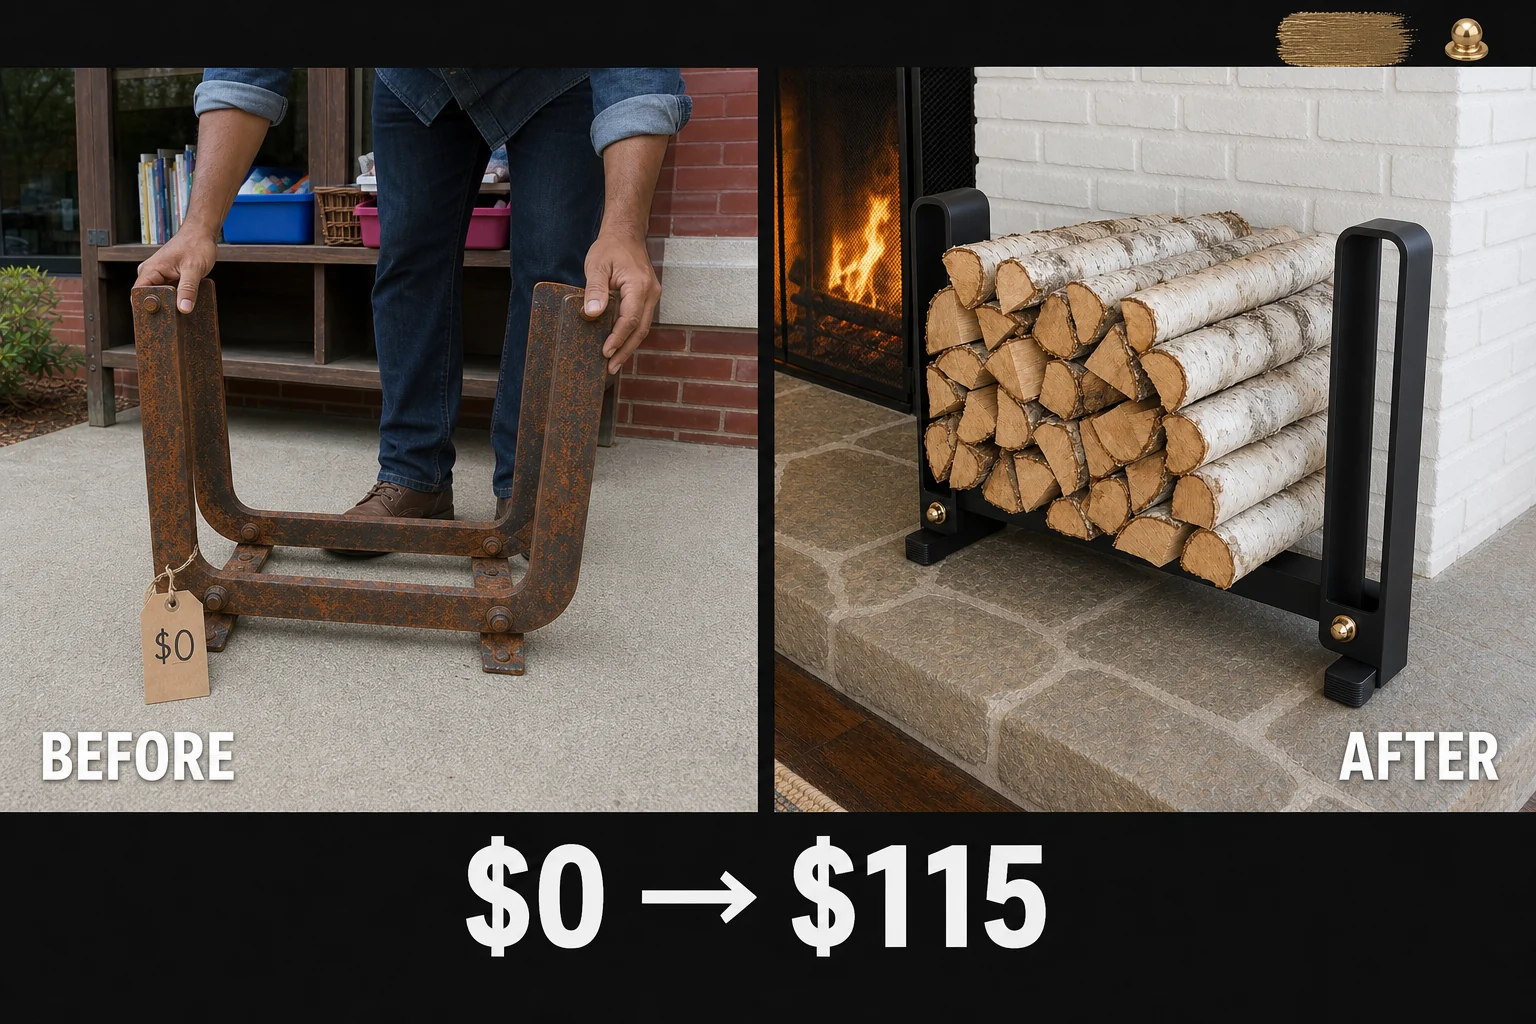
I spotted this rusty flat-bar steel firewood rack sitting outside a neighborhood swap cabinet for free. This transformation elevates the neglected 1990s frame using matte black rust-preventative enamel and oversized polished brass hardware.
Evaluating the Free Steel Frame
The heavy flat-bar steel profile and bolted U-shape design were completely intact, but the piece suffered from significant surface rust. Flaking orange and brown patches covered the flat-bar steel faces, weakening the original finish and making the entire 36-inch wide structure look entirely neglected.
- Rusted hex bolts were completely frozen at the cross-brace joints, making disassembly incredibly difficult and looking unsightly.
- The base of the legs featured bare, sharp steel ends due to missing protective rubber feet.
- These exposed leg bottoms would scratch indoor floors and leave the base vulnerable to long-term moisture damage.
Project Costs and Materials
Upgrading this free neighborhood swap shelf find required only a few specific supplies to completely neutralize the oxidation and replace the frozen 1990s hardware.
| Item | Cost |
|---|---|
| Purchase Price | $0 |
| Rust Enamel Spray | $14 |
| Brass Acorn Nuts | $18 |
| Rubber End Caps | $8 |
| Total Investment | $40 |
| Estimated Resale Value | $115 |
| Value Gain | $75 |
The heavy-duty steel construction is expensive to buy new, making this an incredibly cost-effective restoration project.
Materials checklist
Step 1: Inspect the Rusted Frame
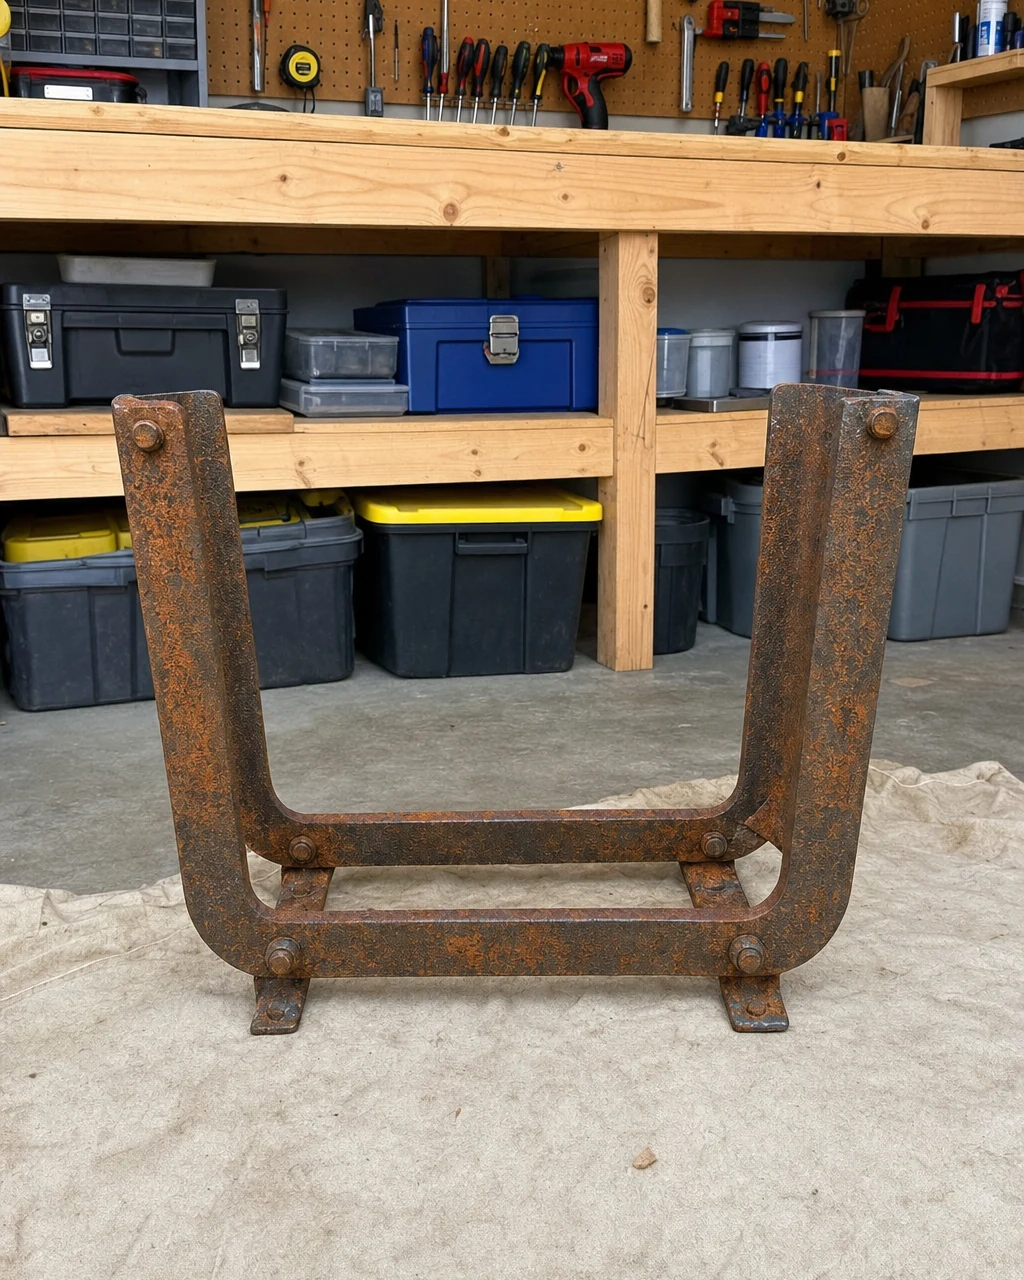
Evaluate the rusted flat-bar steel and frozen hardware to determine the exact scope of wire-brushing needed. Place the entire rusty firewood rack on a large canvas drop cloth to catch the debris before beginning any abrasive work.
Safety and Preparation
Always wear heavy work gloves when handling rusted steel with sharp, exposed edges. The extent of the surface rust and missing hardware must be clearly identified during this initial workshop assessment. Evaluating the rough oxidized surface ensures you know exactly how much manual labor is required.
Step 2: Scrub Away Loose Rust
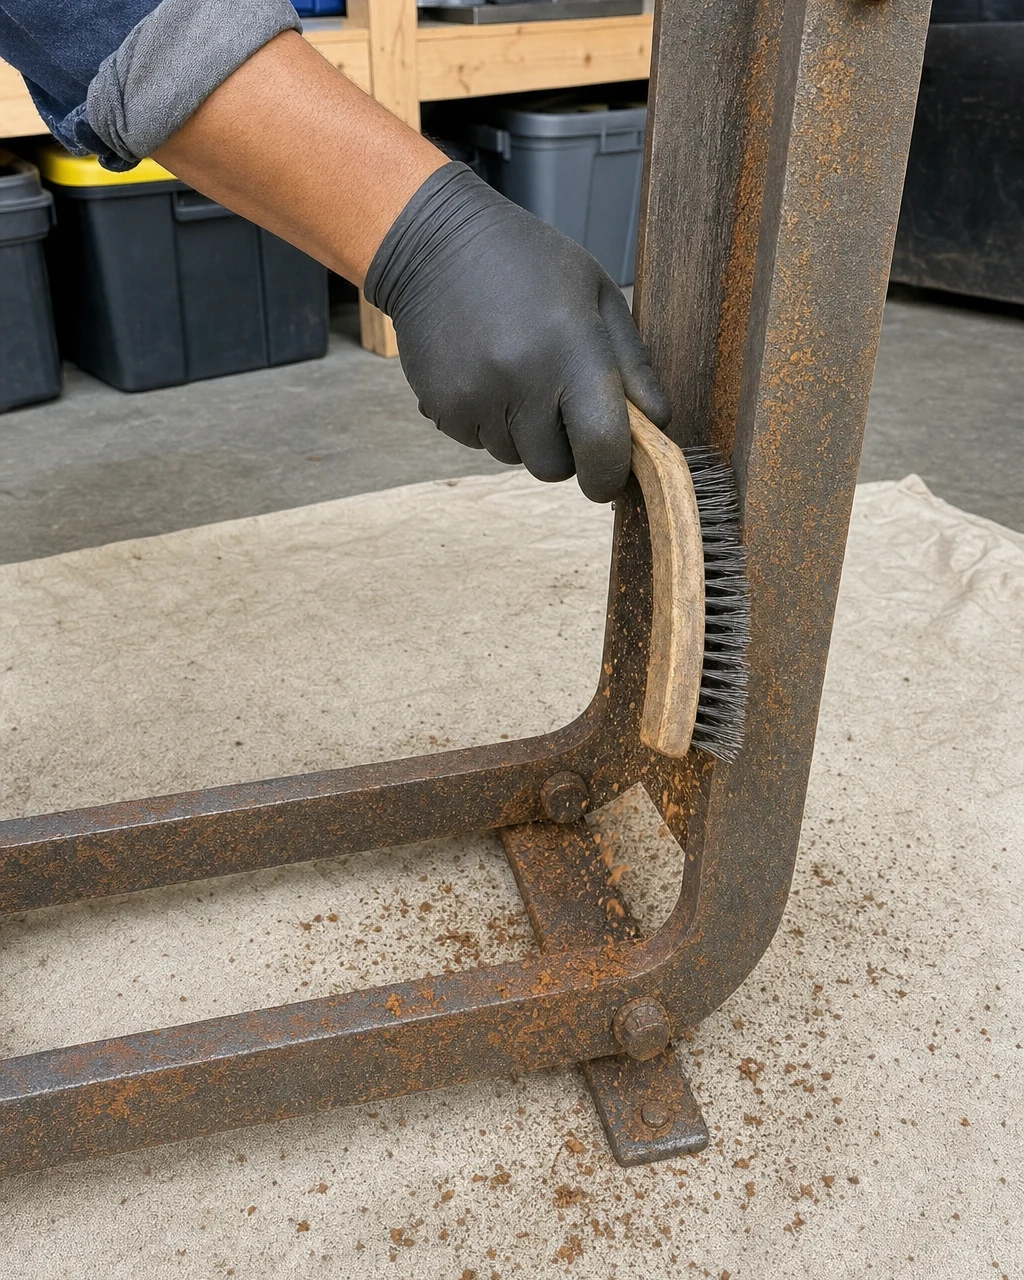
Scrub the flaking rust off the flat-bar steel using a stiff wire brush. Continue brushing vigorously until the loose oxidation is entirely removed and the steel surface feels smooth to the touch.
Achieving a Smooth Surface
Scrubbing a stiff wire brush vigorously along the rusted upright sends small orange flakes onto the drop cloth. Wear safety glasses and a dust mask to prevent inhaling airborne rust particles. The visible result is a smoothed out steel frame.
Step 3: Spray Matte Black Enamel
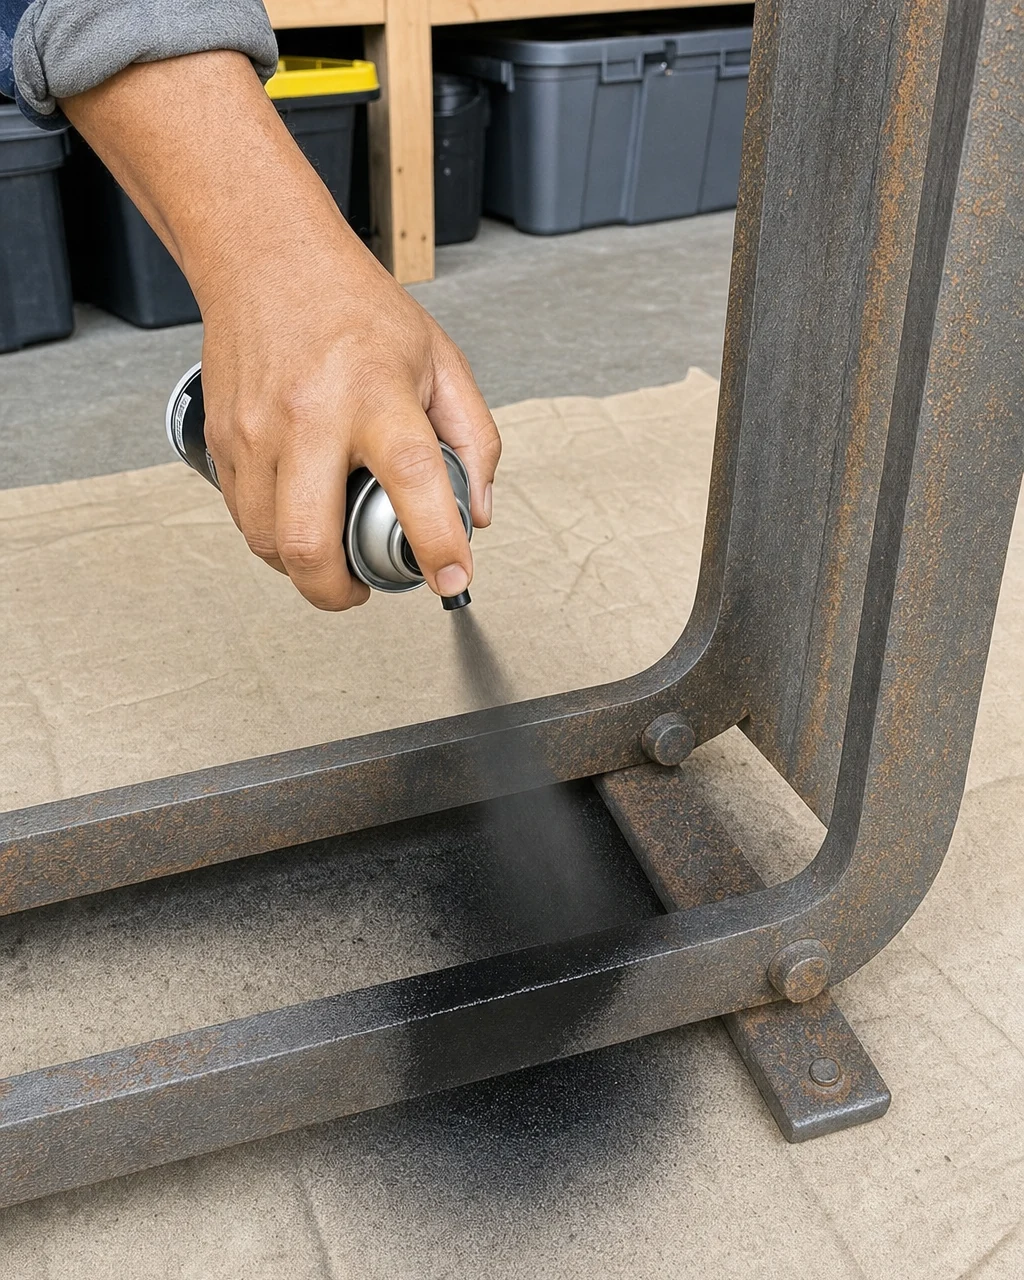
Coat the prepped steel with a high-quality matte black rust-preventative enamel, ensuring even coverage across the U-shaped cradle and lower cross-brace. The steel is brushed smooth but bare and discolored, requiring a durable finish.
Curing the Fresh Paint
Allow the fresh enamel to cure completely for 24 hours before handling the frame or attaching new hardware. Wear a respirator and work in a well-ventilated area when applying spray enamel. The steel will soon be evenly coated, neutralizing remaining oxidation while providing lasting protection.
Step 4: Add Polished Brass Bolts
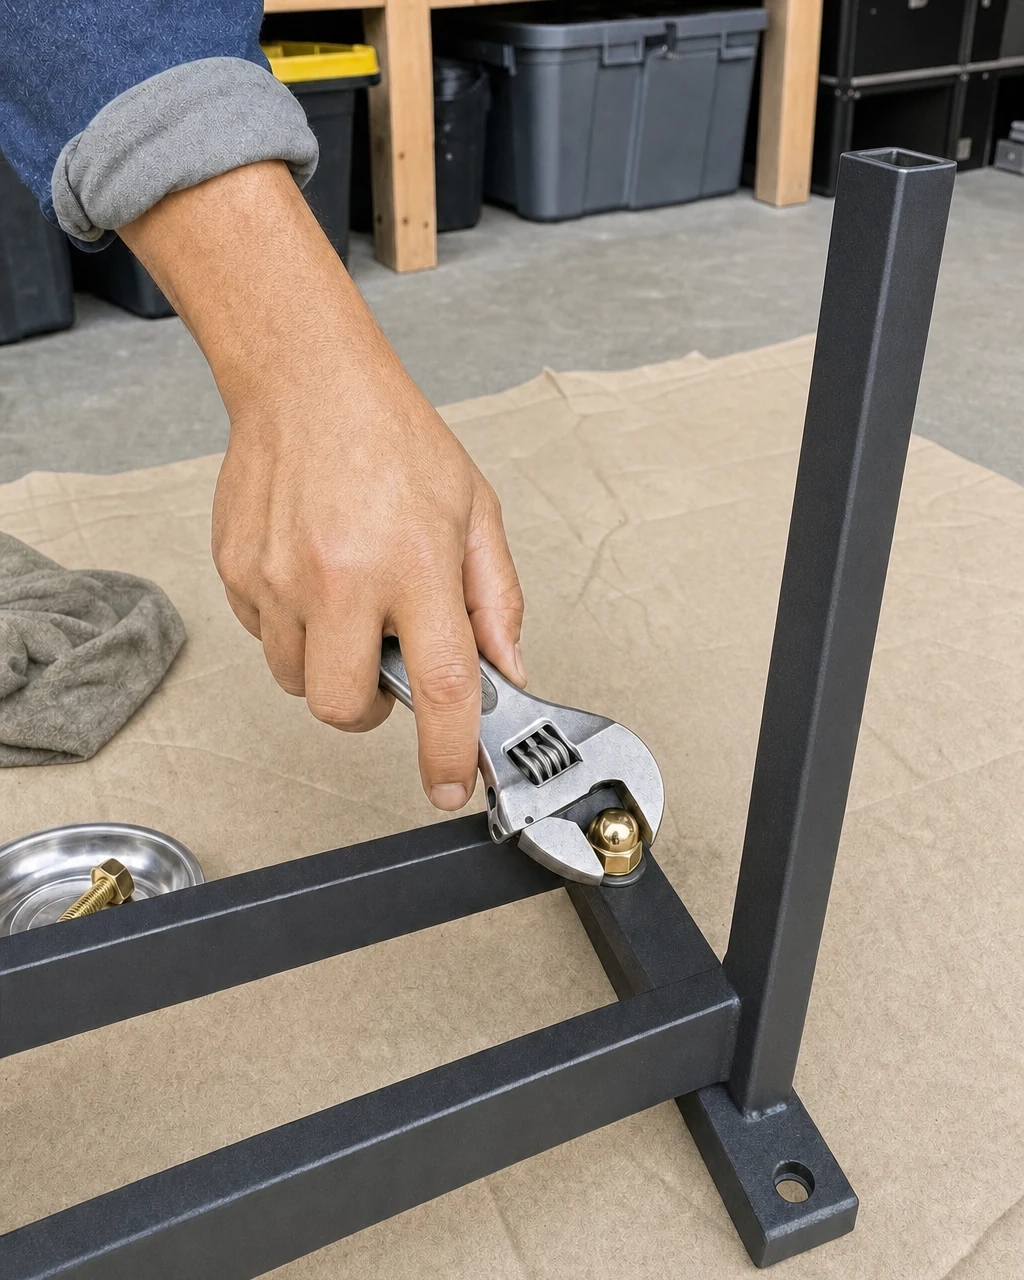
Install oversized polished brass carriage bolts through the existing mounting holes at the main cross-brace joints. Secure the bolts by tightening matching polished brass acorn nuts with a crescent wrench, creating a striking contrast against the black steel.
Securing the Structural Joints
Use a crescent wrench to tighten a polished brass acorn nut onto a new carriage bolt at the main cross-brace joint. Ensure the wrench is properly seated to avoid slipping and scratching the new paint. Bright brass hardware now secures the matte black steel joints.
Step 5: Install Protective Rubber Feet
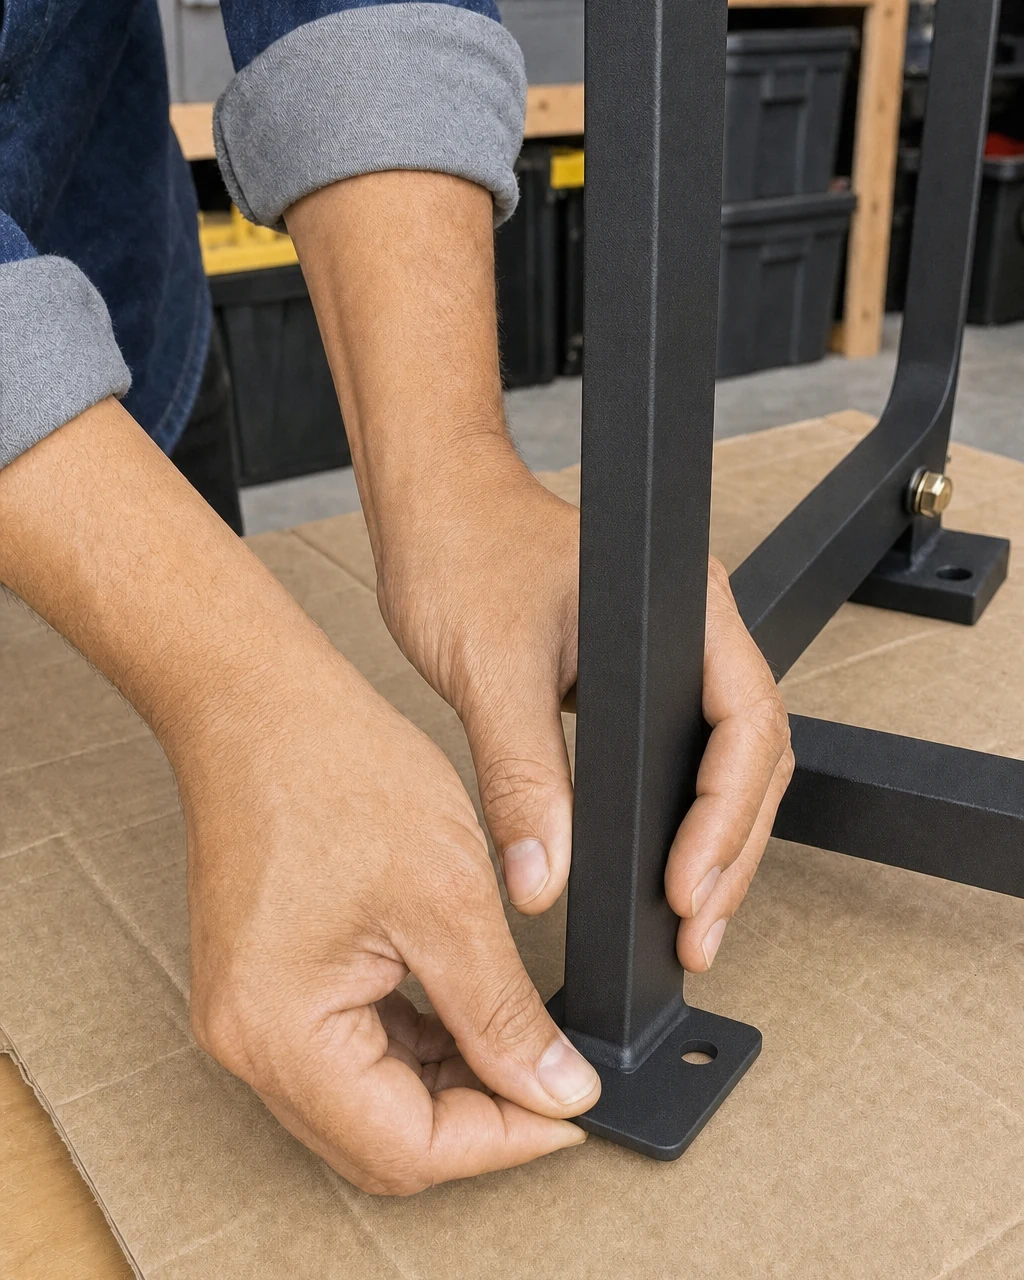
Press new black ribbed rubber end caps firmly onto the exposed bottom edges of the flat-bar steel legs. Ensure the caps are fully seated so the sharp steel ends are safely enclosed, protecting your indoor floors from deep scratches.
Enclosing the Sharp Edges
Push a black ribbed rubber end cap firmly onto the exposed bottom edge of the flat-bar steel leg. Ensure the rack is stable before applying downward pressure to attach the feet safely. The sharp steel leg ends are safely enclosed in rubber.
Step 6: Inspect the Finished Rack
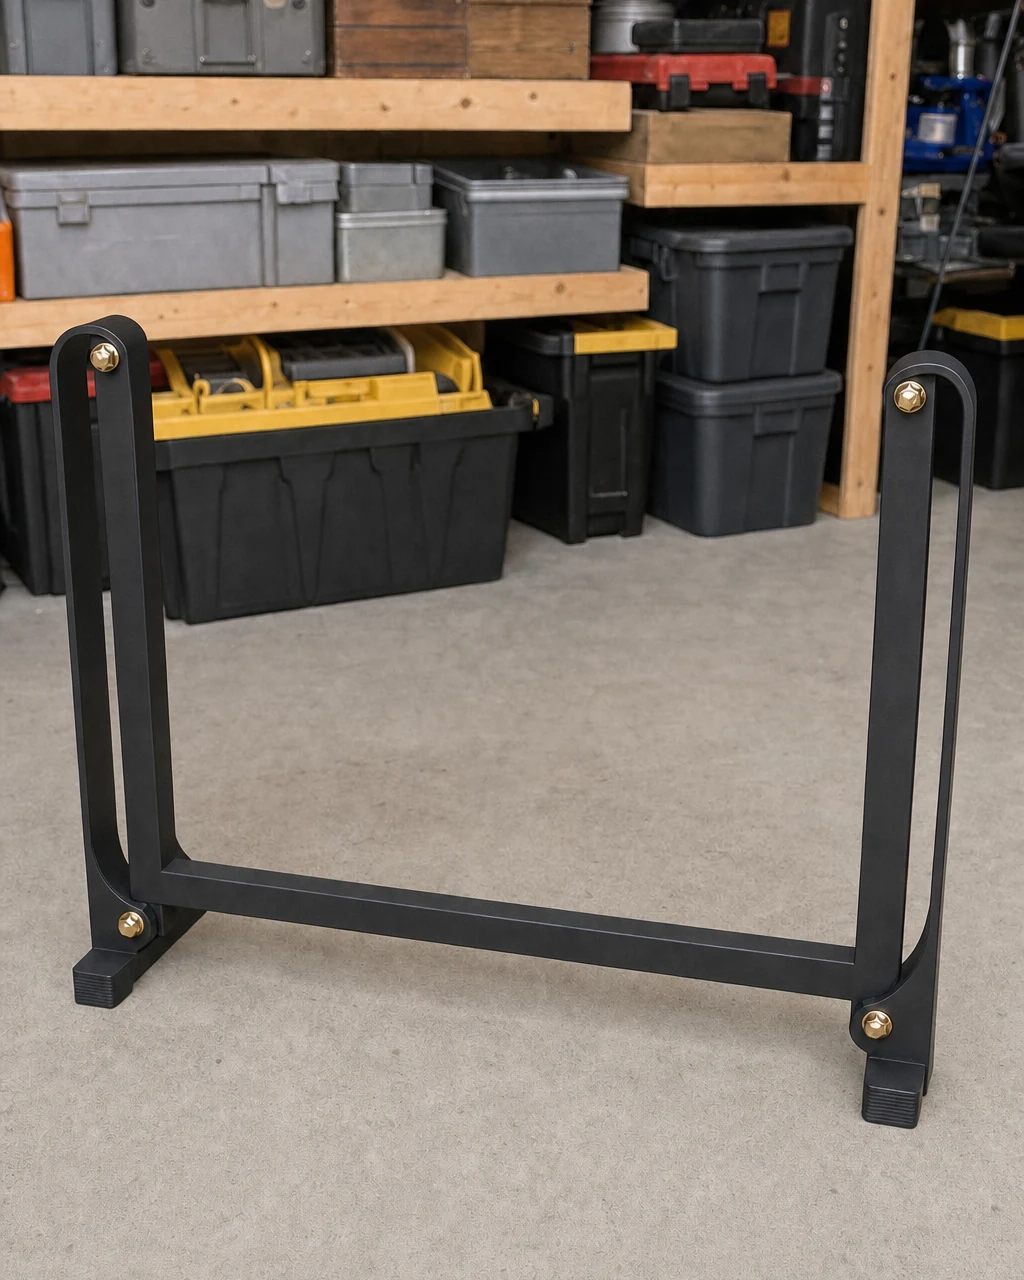
Inspect the completed rack in the workshop to ensure the matte black paint is perfectly even and all brass hardware is tightly secured. Verify all structural bolts are fully tightened before loading the rack with heavy wood to guarantee absolute safety.
Highlighting the Brass Accents
Wipe a microfiber cloth across the newly painted top rail to remove any lingering workshop dust and highlight the polished brass acorn nuts. The finished matte black and brass rack sits flawlessly on the workbench, turning a utilitarian frame into a striking centerpiece.
Step 7: Style by the Fireplace
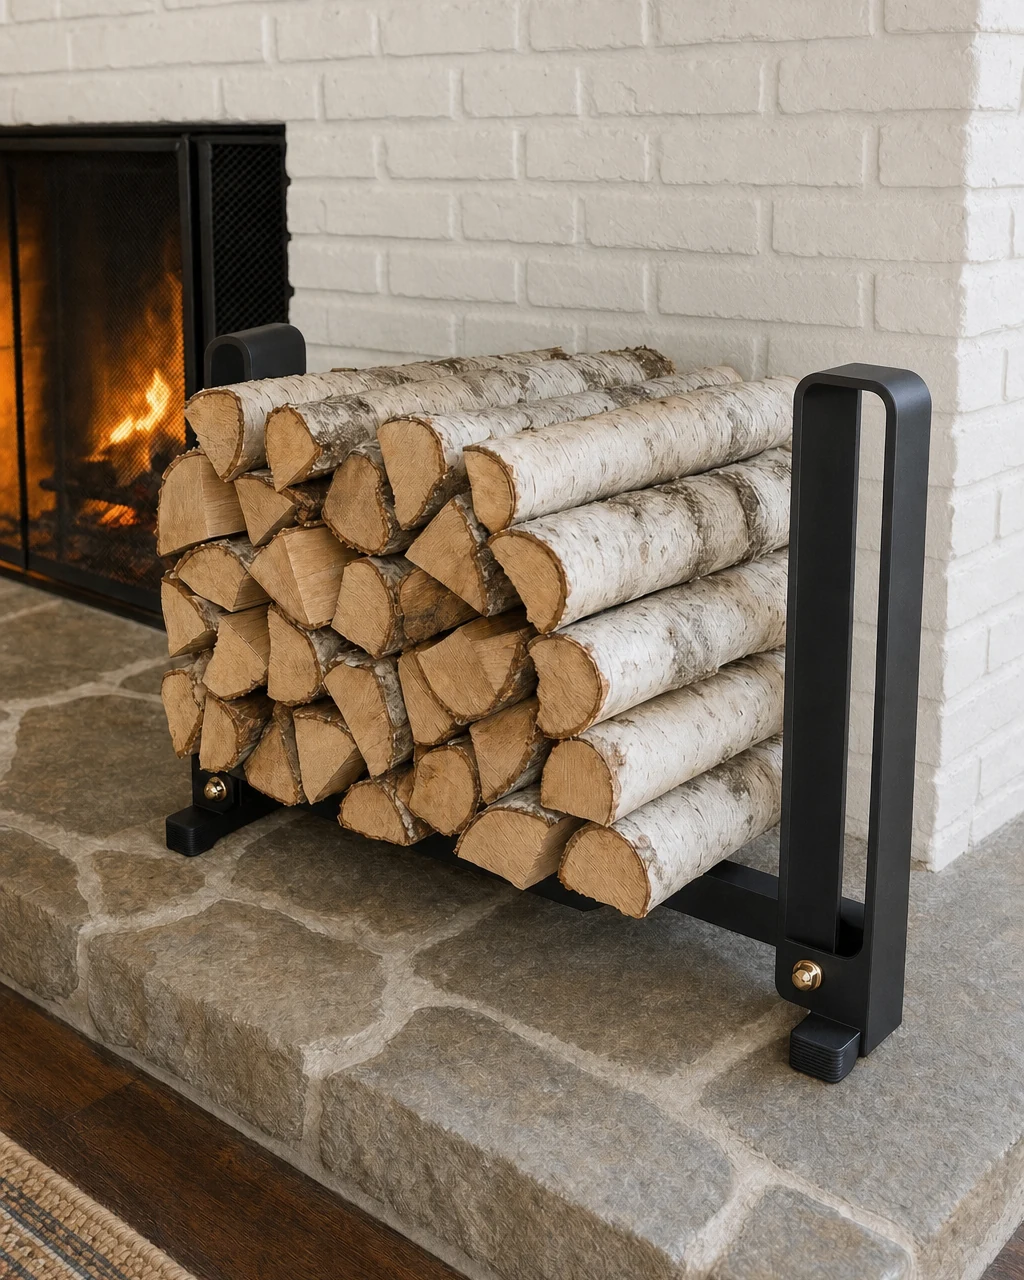
Move the finished matte black and brass rack inside and place it on a raised stone hearth next to a living room fireplace. Fill the U-shaped cradle with split birch logs, turning a once-neglected steel frame into a highly functional daily use fixture.
Loading the Split Logs
Place the final split birch log into the matte black and brass firewood rack on the stone hearth. Lift heavy logs carefully and ensure the rack is placed on a level, fire-safe hearth. The rack is fully loaded and functioning in a living space.
Valuation and Final Assessment
Heavy-duty flat-bar steel construction is incredibly expensive to buy new, making this free swap-shelf find highly desirable. Adding oversized polished brass hardware elevates the basic frame to a premium hearth accessory, easily justifying the $115 estimated resale value. This valuation is an editorial estimate based on the upgraded materials, rather than a completed sale.
The Transformation Impact
Quality materials raise the estimated value to over one hundred dollars. The signature detail of polished brass acorn nuts at every structural joint transforms the piece from a neglected, rusty steel frame to a sleek fixture. This firewood rack hardware update successfully rescues a 1990s flat-bar steel log rack.