
Wooden Candlestick Upcycle: A Matte Black Gel Stain Makeover
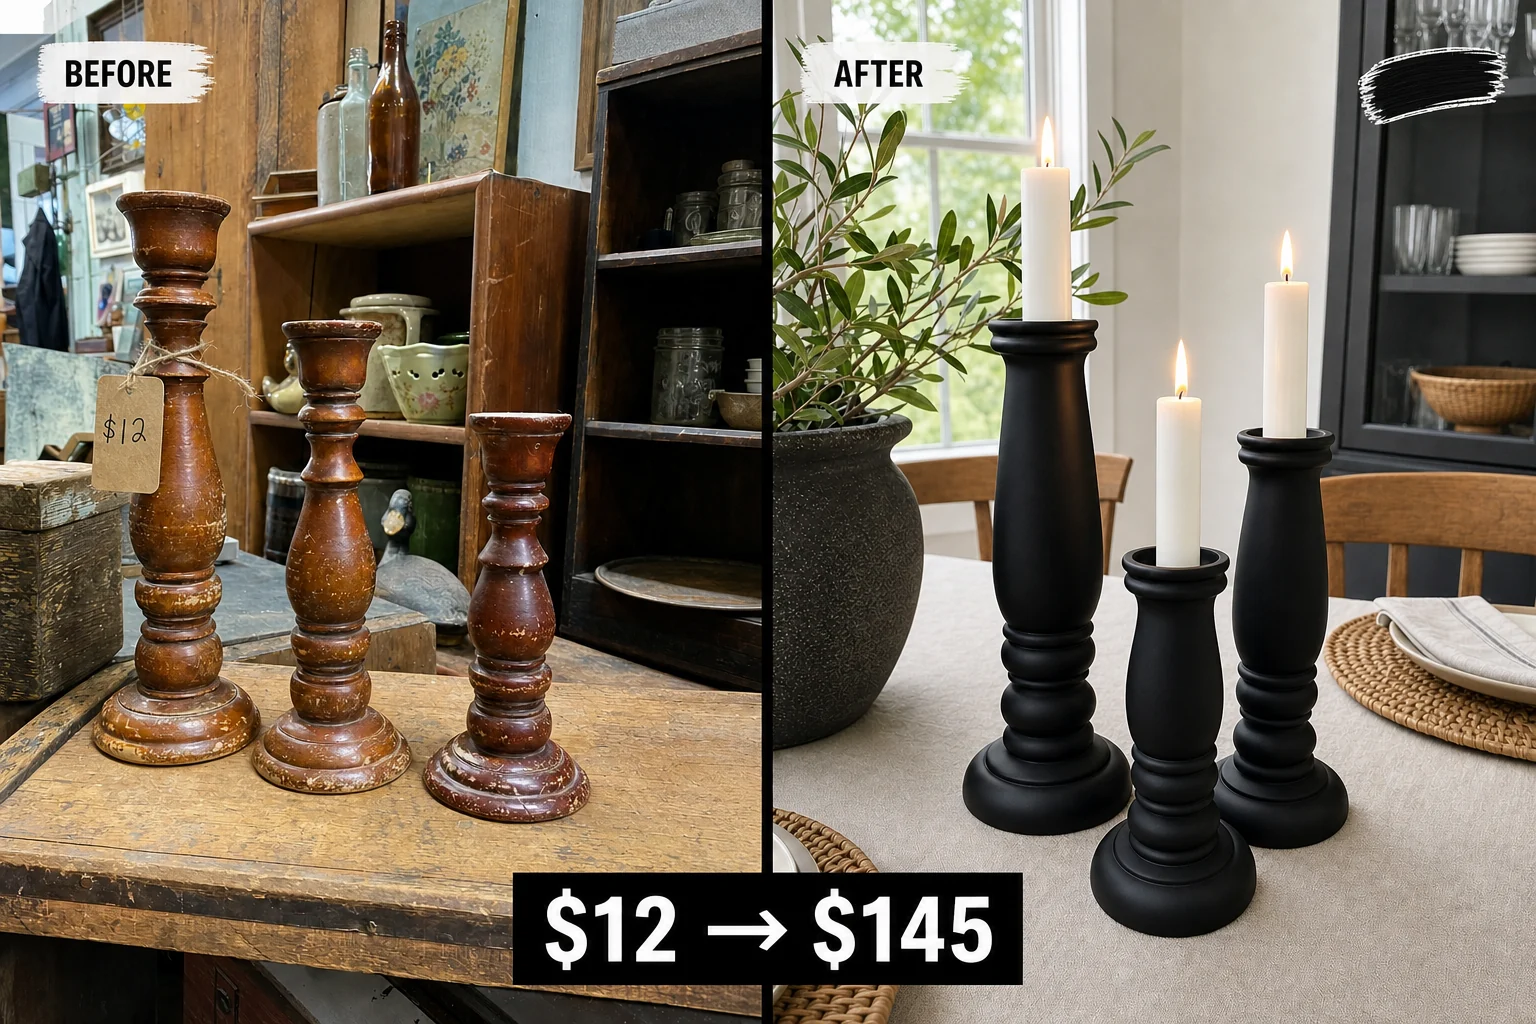
Tucked behind vintage books at an antique market, these mismatched pine candlesticks had clashing stains and flaking clear coats. Unifying them with an opaque, ultra-matte black gel stain creates a modern, sculptural gallery look for any dining table.
Evaluating the Mismatched Thrift Finds
Found in a slightly cluttered antique market booth, these solid turned pine candlesticks featured classic baluster-style pillars with flared bases and cup tops. Despite their appealing varying heights, the trio looked like random leftovers due to significant wear and clashing factory finishes.
- One candlestick featured a reddish tint while the other two were dark brown, preventing the pieces from reading as a deliberate, cohesive set.
- Flaking, brittle clear coat around the flared bases created an uneven texture that would prevent a new finish from laying flat.
- Hardened white wax residue packed into the deep turnings threatened to repel any new stain or topcoat if not completely dissolved.
Project Costs and Valuation
The ultra-matte black finish elevates these from dated thrift finds to sculptural decor, matching the aesthetic of high-end modern home boutiques. By unifying the specific turned baluster profiles with a light-absorbing surface, the set gains a premium appearance. The resale value remains an editorial estimate rather than a completed sale.
| Item | Cost |
|---|---|
| Antique market purchase | $12 |
| Mineral spirits | $8 |
| Sanding sponge | $5 |
| Black gel stain | $18 |
| Cotton rags | $6 |
| Matte polyurethane | $14 |
| Total investment | $63 |
| Estimated resale value | $145 |
| Value gain | $82 |
Materials checklist
Step 1: Evaluate the Thrifted Set
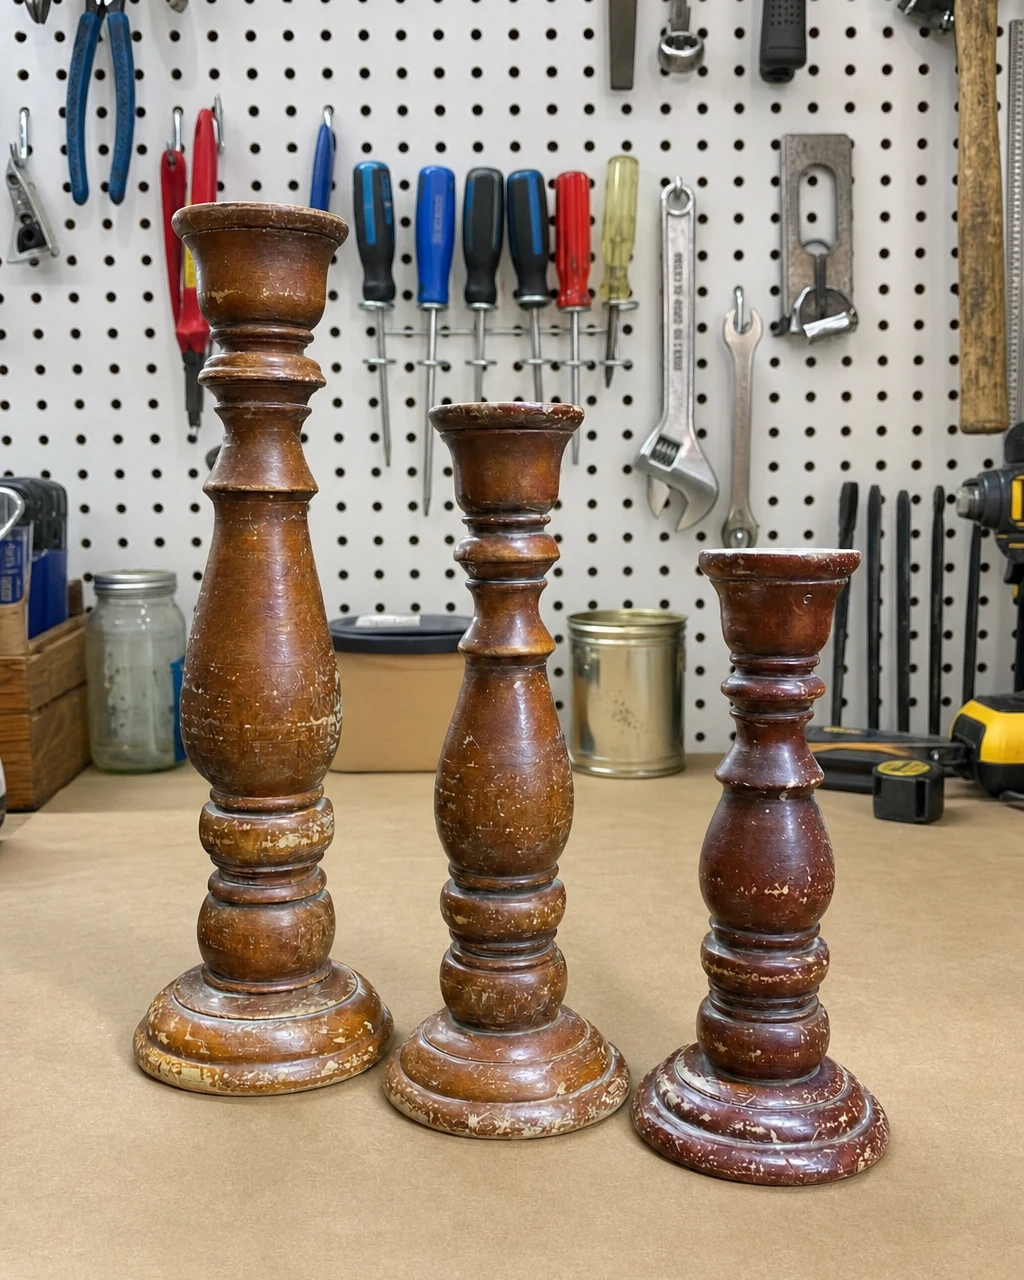
Arrange the three mismatched candlesticks side-by-side on a kraft-paper-covered workbench to begin the project. Grouping the pieces together immediately highlights their clashing colors and damaged finishes, making it easier to identify the exact extent of the wax buildup.
Initial Workshop Assessment
This initial assessment helps you locate all areas of flaking lacquer before beginning the crucial prep work. Ensure the workbench is completely stable and adequately covered to protect against upcoming solvent use during the cleaning phase.
Step 2: Remove Stubborn Wax Buildup
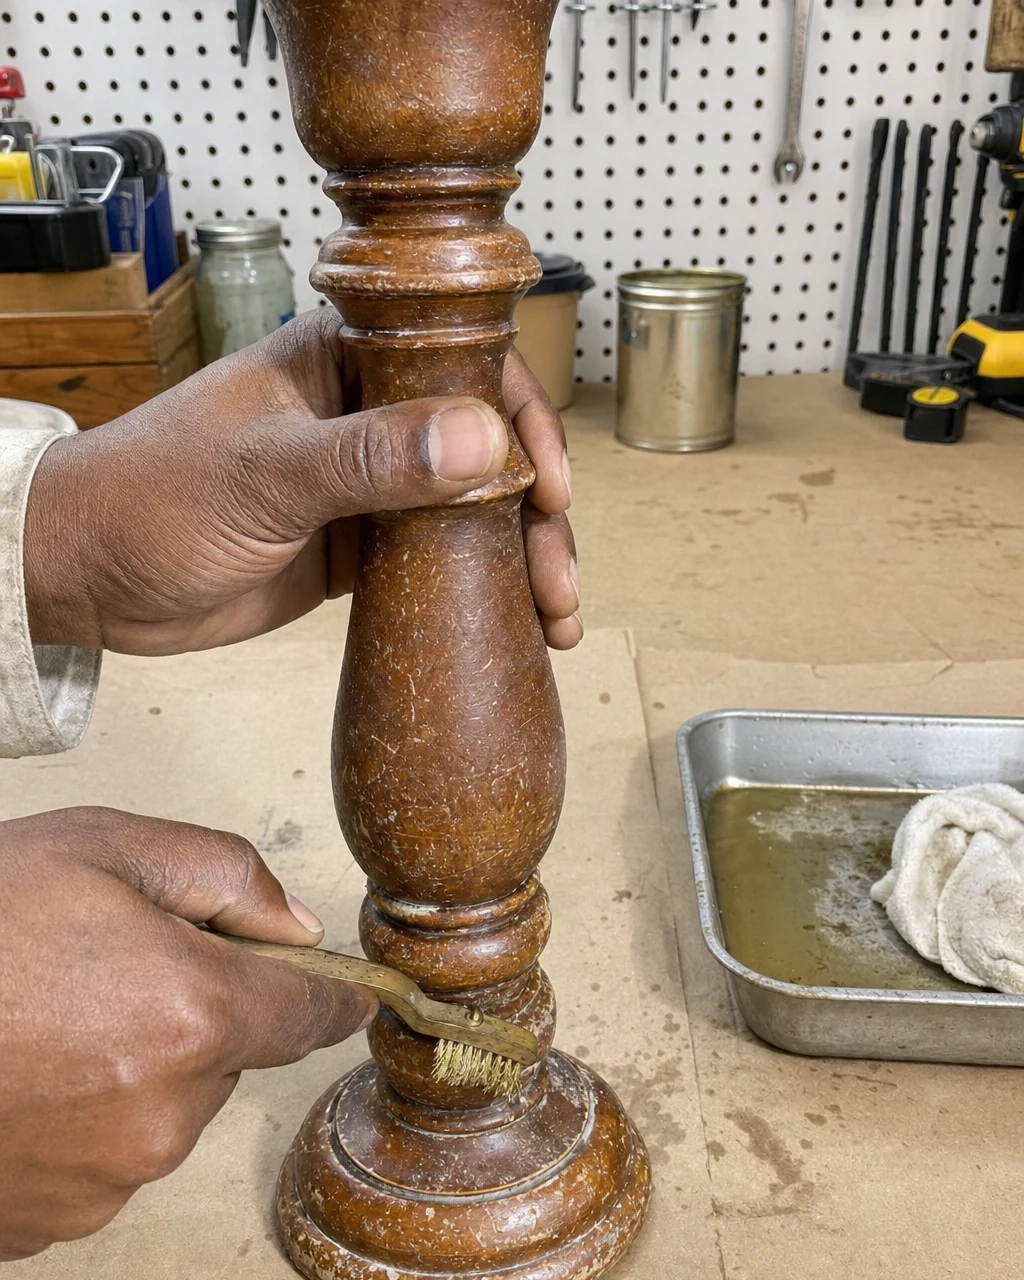
Scrub the deep grooves of the turnings with a small brass wire brush and mineral spirits to break down the grime. This completely dissolves and removes old candle wax and finger oils, leaving the wood clean and ensuring the new finish will adhere properly. Always wear nitrile gloves and work in a well-ventilated area when handling mineral spirits.
Step 3: Scuff-Sand for Better Adhesion
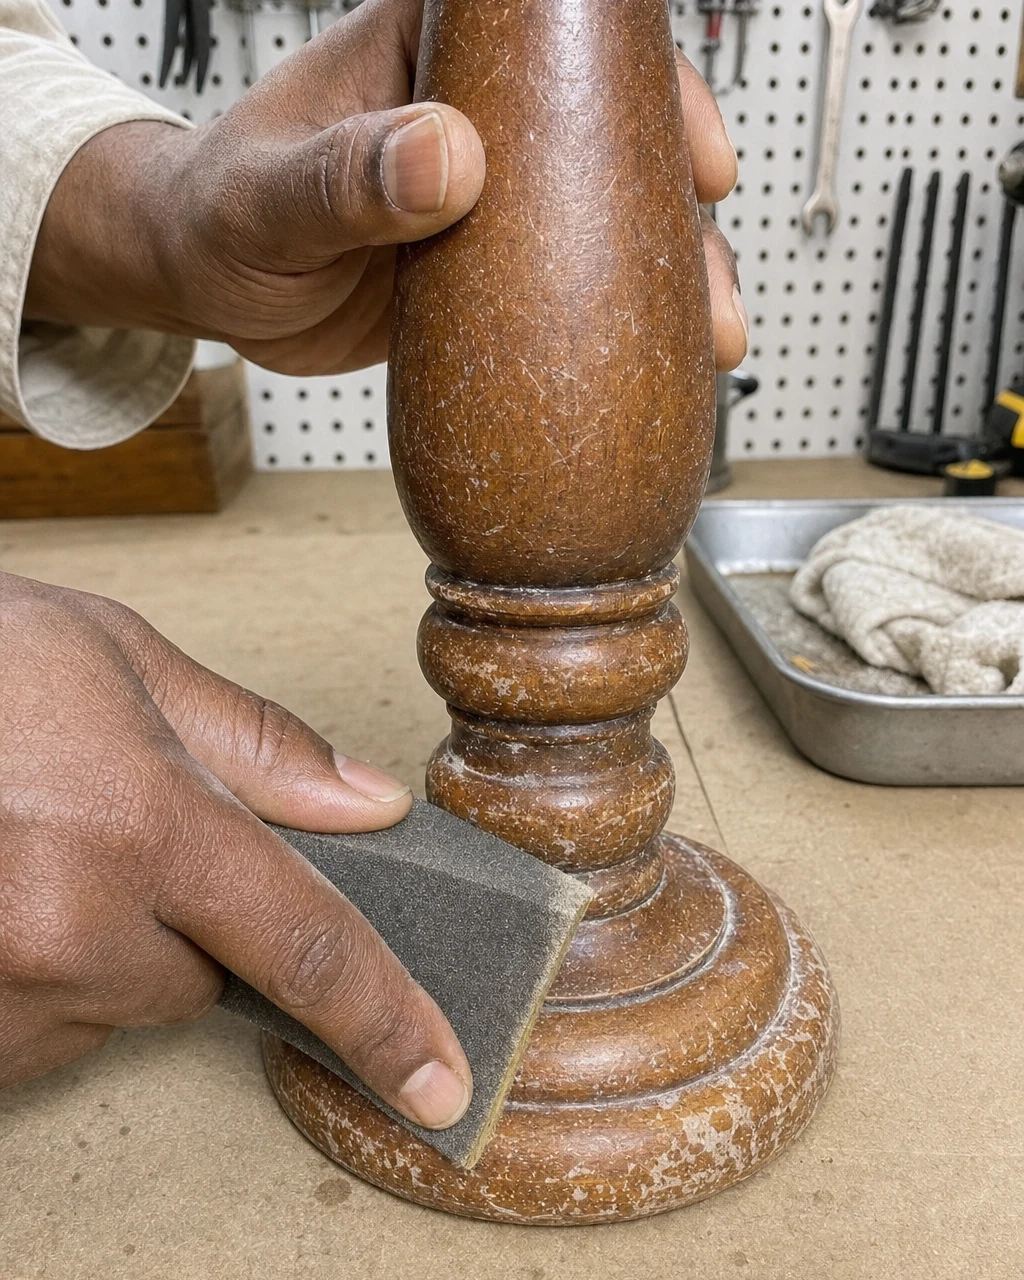
Scuff-sand the entire surface using a flexible medium-grit sanding sponge to dull the glossy finish and feather out the chipped edges around the flared bases. This crucial step levels the old flaking clear coat and gives the thick gel stain a strong mechanical bond to grip.
Creating a Mechanical Bond
Taking the time to smooth the chipped lacquer ensures the final opaque layers will lay perfectly flat across the varying heights. Always wear a dust mask to avoid inhaling old lacquer dust while working the abrasive sponge into the intricate baluster profiles.
Step 4: Wipe On Black Gel Stain
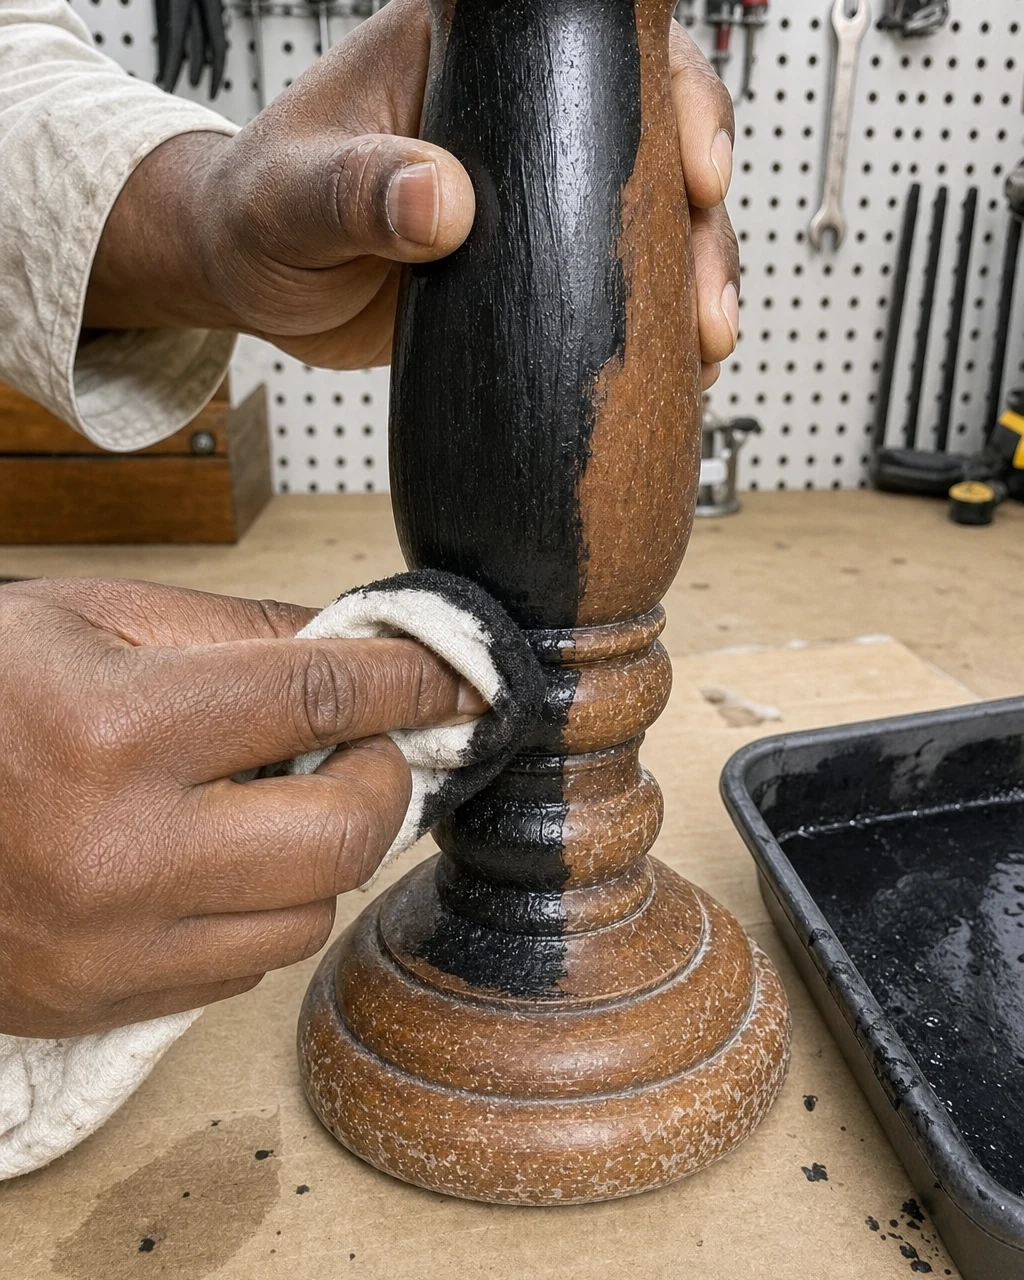
Wipe a heavy coat of black gel stain over the sanded wood using a folded cotton rag, working the stain deeply into the intricate turnings. Ensure opaque coverage over the old mismatched finishes, leaving a wet, solid black layer, and allow the pieces to dry undisturbed for 24 hours. Dispose of stain-soaked rags safely in a water-filled metal container to prevent spontaneous combustion.
Step 5: Seal With Matte Polyurethane
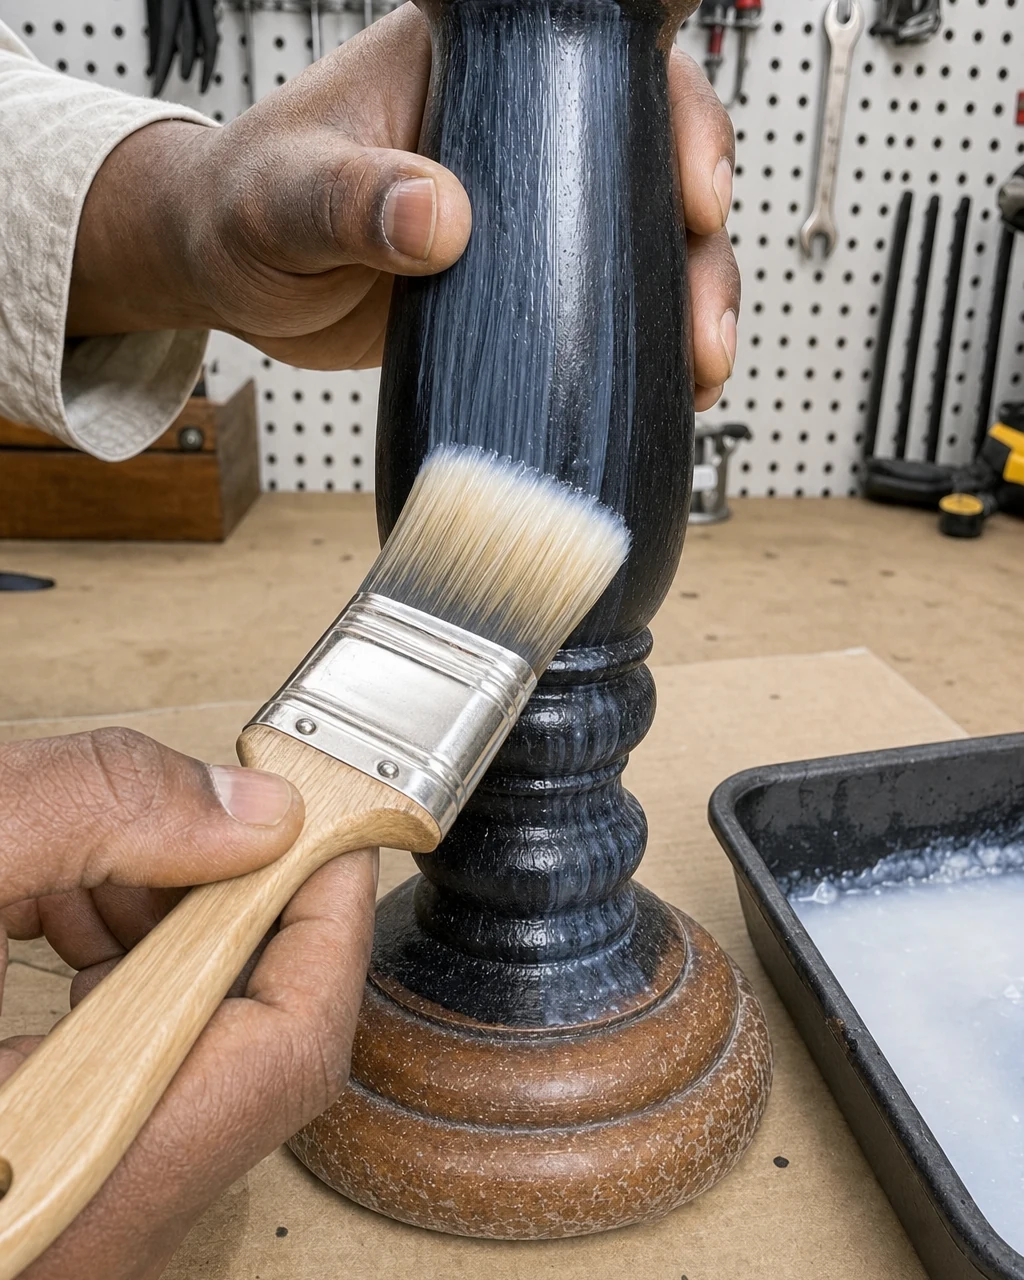
Brush a milky matte polyurethane topcoat over the dried black gel-stained wood using a synthetic bristle brush to protect the surface. This clear coat eliminates any remaining uneven sheen from the gel stain, drying down to a flat, modern finish that modernizes the traditional silhouette.
Achieving a Flawless Finish
Applying the sealer carefully prevents drips from pooling in the deep grooves of the turned pine. For the best results, always apply the topcoat in a dust-free environment to keep the matte finish perfectly smooth as it cures.
Step 6: Inspect the Finished Set
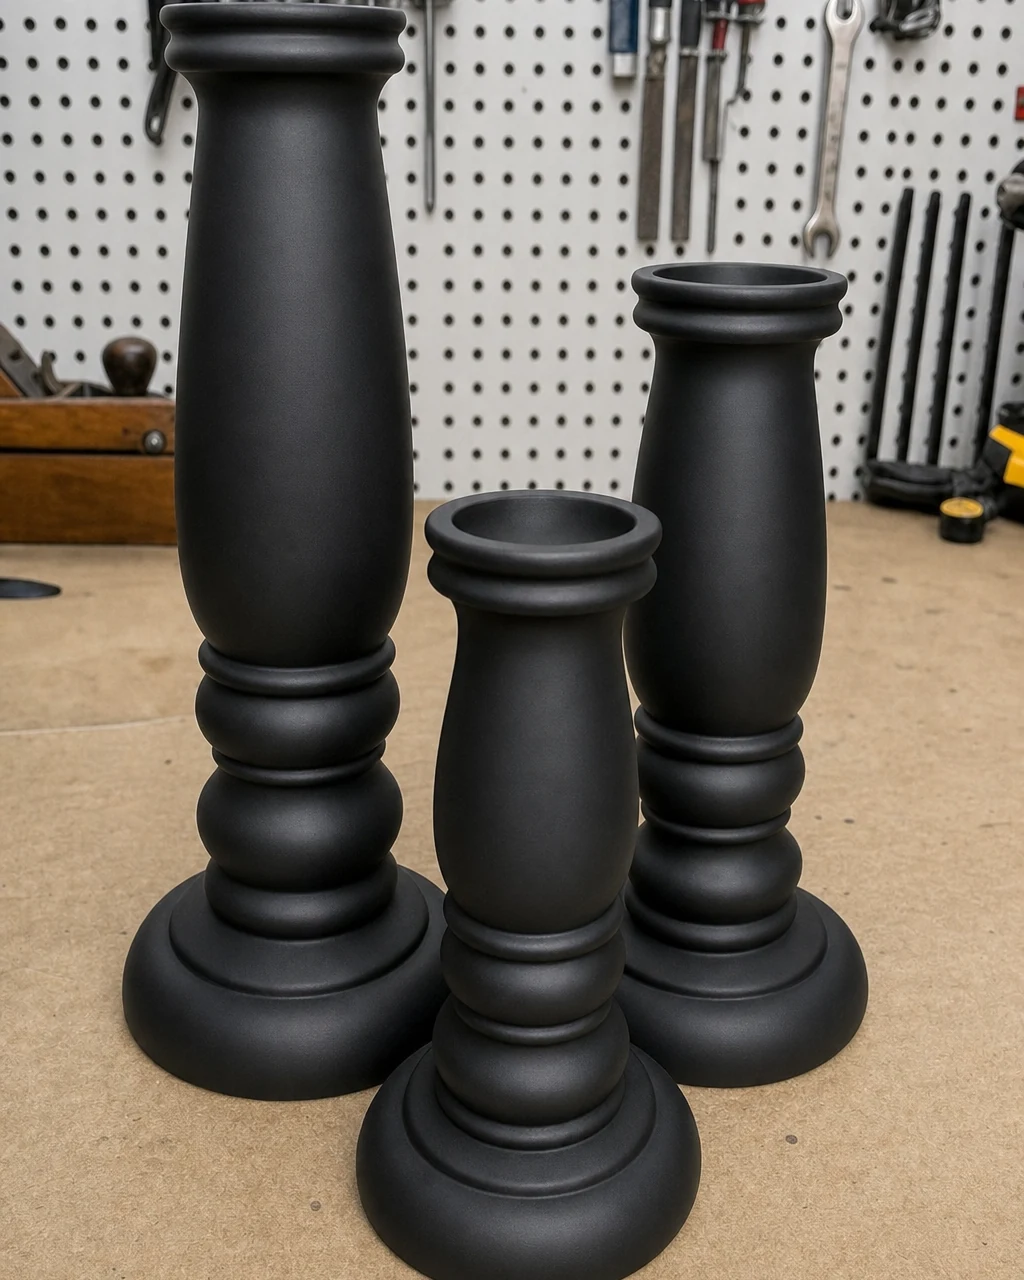
Stand the three finished matte black candlesticks together on the clean workbench to inspect the cohesive set. Verify that the matte topcoat has dried evenly and that the light-absorbing surface successfully unifies the three different turned profiles into a deliberate collection.
Final Curing Check
The flawless, ultra-matte black finish makes the varying heights look like a high-end sculptural collection rather than random thrift finds. Ensure the topcoat is fully cured before handling to avoid leaving permanent fingerprints on the pristine surface.
Step 7: Style Your Modern Centerpiece
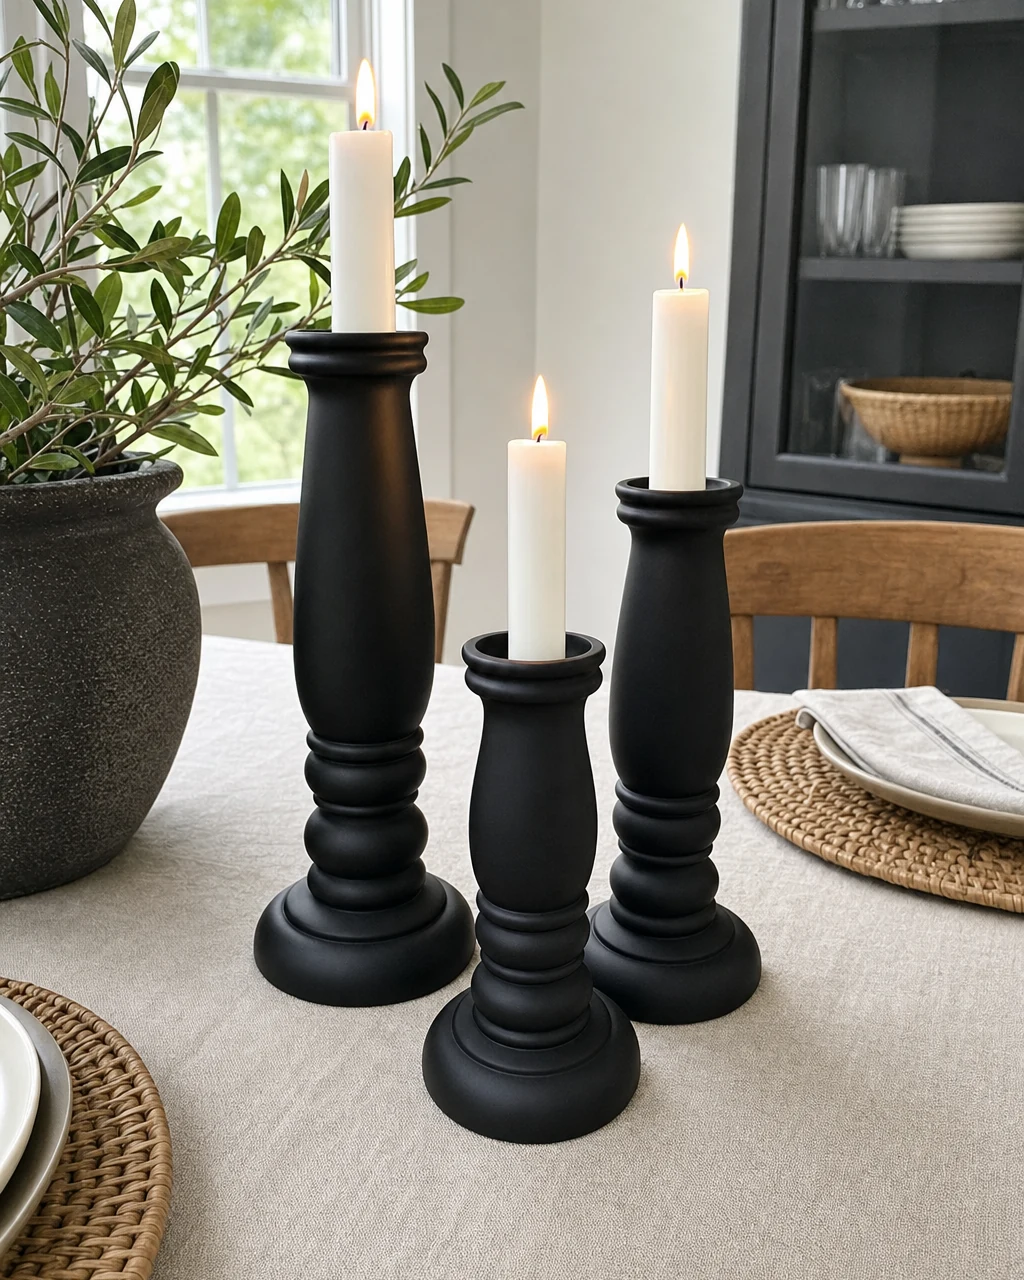
Place the candlesticks on a linen-draped dining table with fresh white taper candles to showcase their new sculptural presence. The varying heights and unified opaque color transform the random thrift finds into a high-contrast, modern centerpiece that functions beautifully in any room setting.
A High-Contrast Display
This simple gel stain makeover proves that mismatched traditional shapes can easily adapt to a contemporary aesthetic with the right surface treatment. When enjoying your newly styled dining table centerpiece, remember to never leave lit candles unattended.