
Pine Bench Makeover: Stripping Wood for a Two-Tone Look
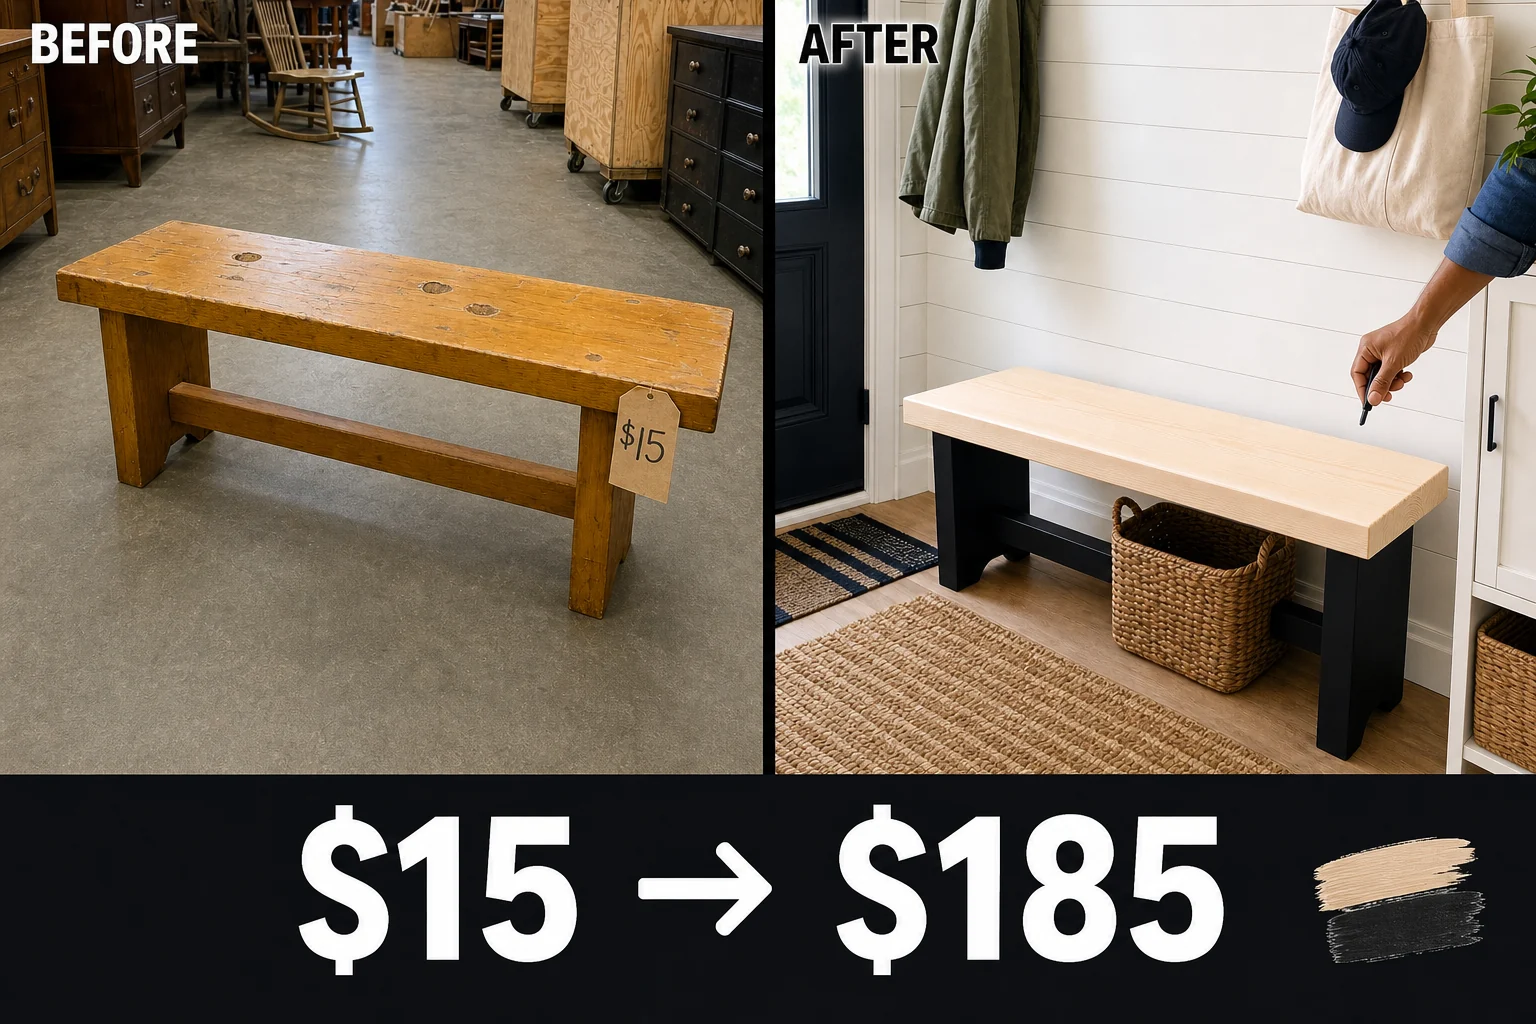
Found in a drafty community reuse center, this solid pine bench was structurally perfect but hidden beneath an aged, orange-tinted gloss. Stripping the dated yellow polyurethane creates a modern two-tone Scandi-farmhouse entryway bench.
Evaluating the 1970s Pine Bench
Tucked under a rack of discarded hollow-core doors at a community reuse center, this solid pine bench was structurally perfect. The 48-inch long, 14-inch deep, and 18-inch high piece featured a simple rectangular slab seat resting on a basic trestle base with a center stretcher.
- Aged polyurethane clear coat: A glossy orange tint obscured the natural wood grain across the entire piece, dating the bench to the 1970s and preventing any new finish from adhering.
- Compressed wood fibers: Three distinct, deep divots on the top seating surface caught dirt, ruined the smooth tactile finish, and highlighted the piece’s wear.
Project Valuation and Resale Potential
Solid wood construction commands a premium on the resale market, making structurally sound thrift finds highly desirable. The modern two-tone finish elevates this from a dated 1970s relic to a sleek piece that rivals current boutique entryway furniture.
| Item | Cost |
|---|---|
| Purchase Price | $15 |
| Canvas Drop Cloth | $12 |
| Citrus Gel Stripper | $16 |
| Plastic Scraper | $4 |
| Matte Black Enamel | $18 |
| Clear Furniture Wax | $14 |
| Total Investment | $79 |
| Estimated Resale Value | $185 |
| Value Gain | $106 |
Understanding the Value Gain
The flawless pale pine seat and opaque matte black base drive the impressive value multiple. Note that the estimated resale value remains an editorial estimate rather than a guaranteed completed sale, reflecting current market trends for Scandi-farmhouse designs.
Step 1: Prepare the Workspace
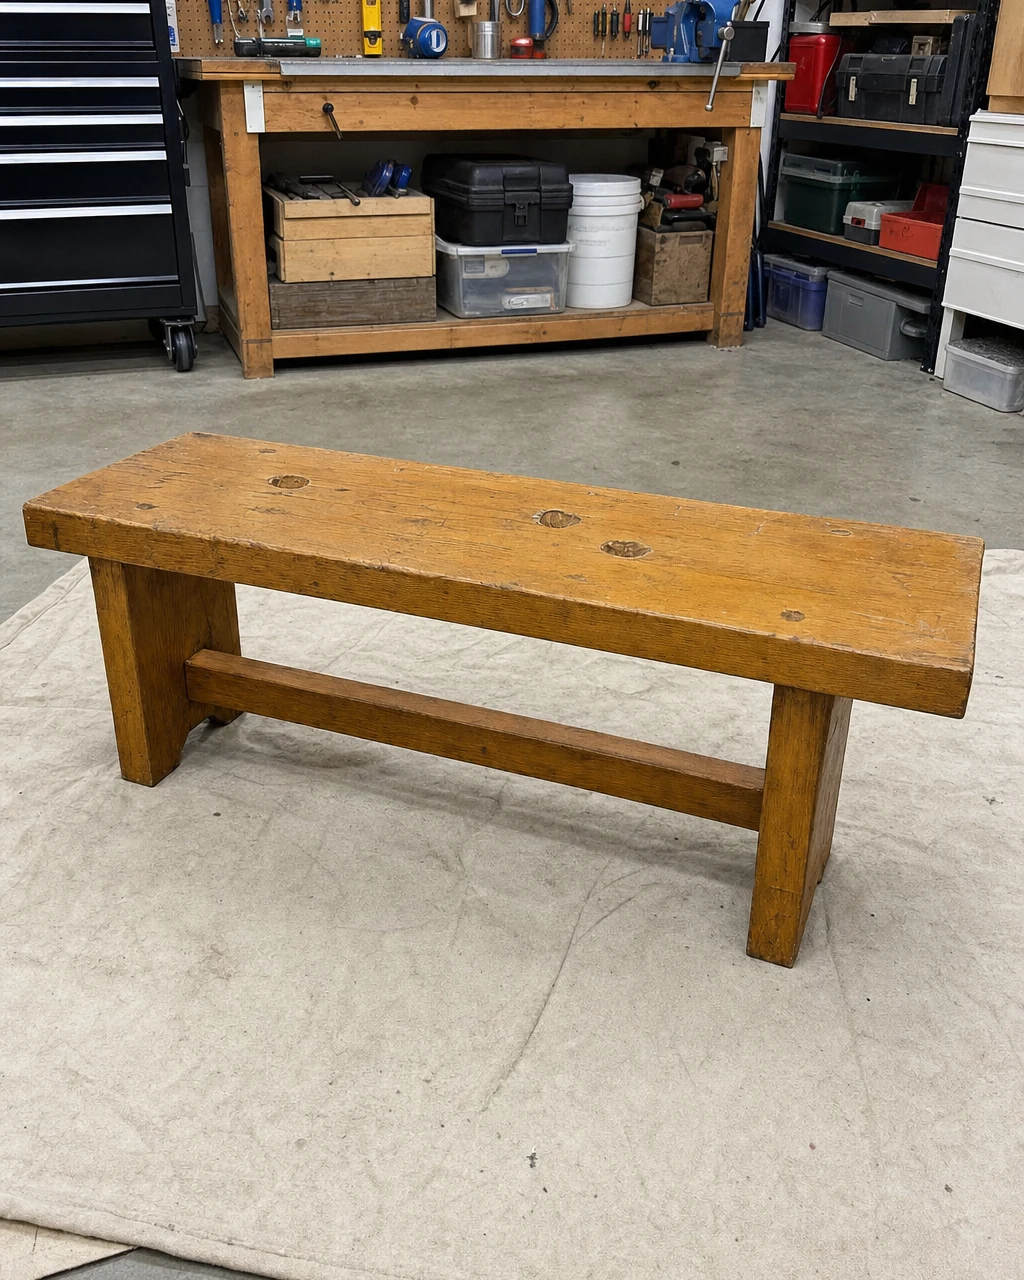
Set up the bench in a well-ventilated garage, placing it entirely over a heavy canvas drop cloth to catch the messy chemical stripper and old finish. This isolates the piece on a protective surface, ready for chemical application. Ensure the workspace has active cross-ventilation before opening chemical strippers.
Materials checklist
Step 2: Apply Gel Stripper
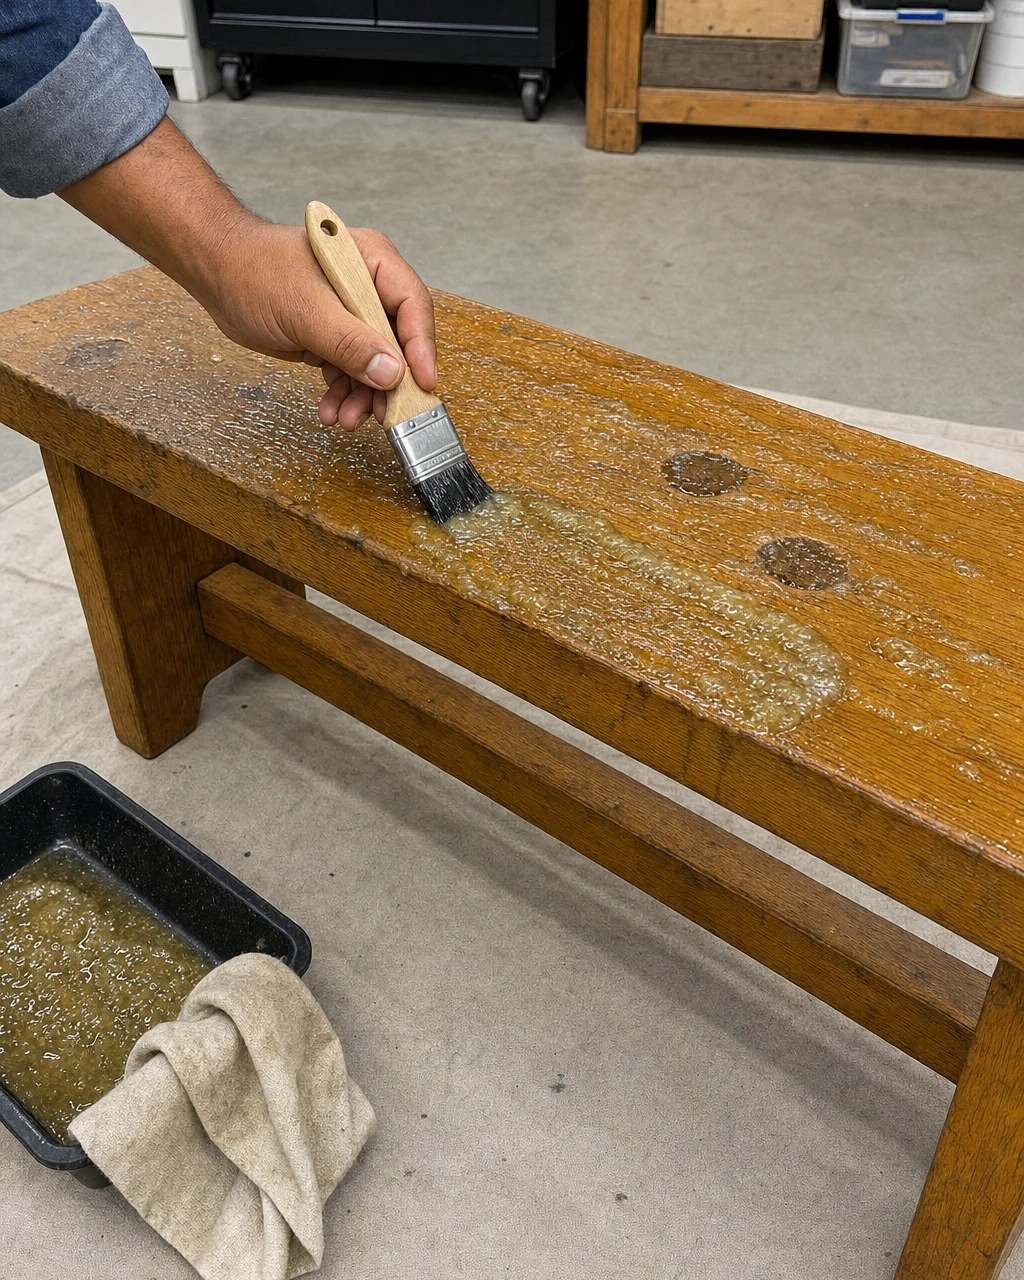
Brush a thick, even layer of citrus gel stripper over the entire glossy seat surface. The original clear coat features a heavy yellowing that prevents any new finish or paint from adhering, making chemical removal absolutely necessary before any sanding begins.
Monitoring the Chemical Reaction
Let the gel sit for 30 minutes to break down the tough polyurethane until the clear coat is visibly bubbling and lifting from the wood. Always wear chemical-resistant gloves and safety glasses when handling stripper to protect against accidental splashes.
Step 3: Scrape the Clear Coat
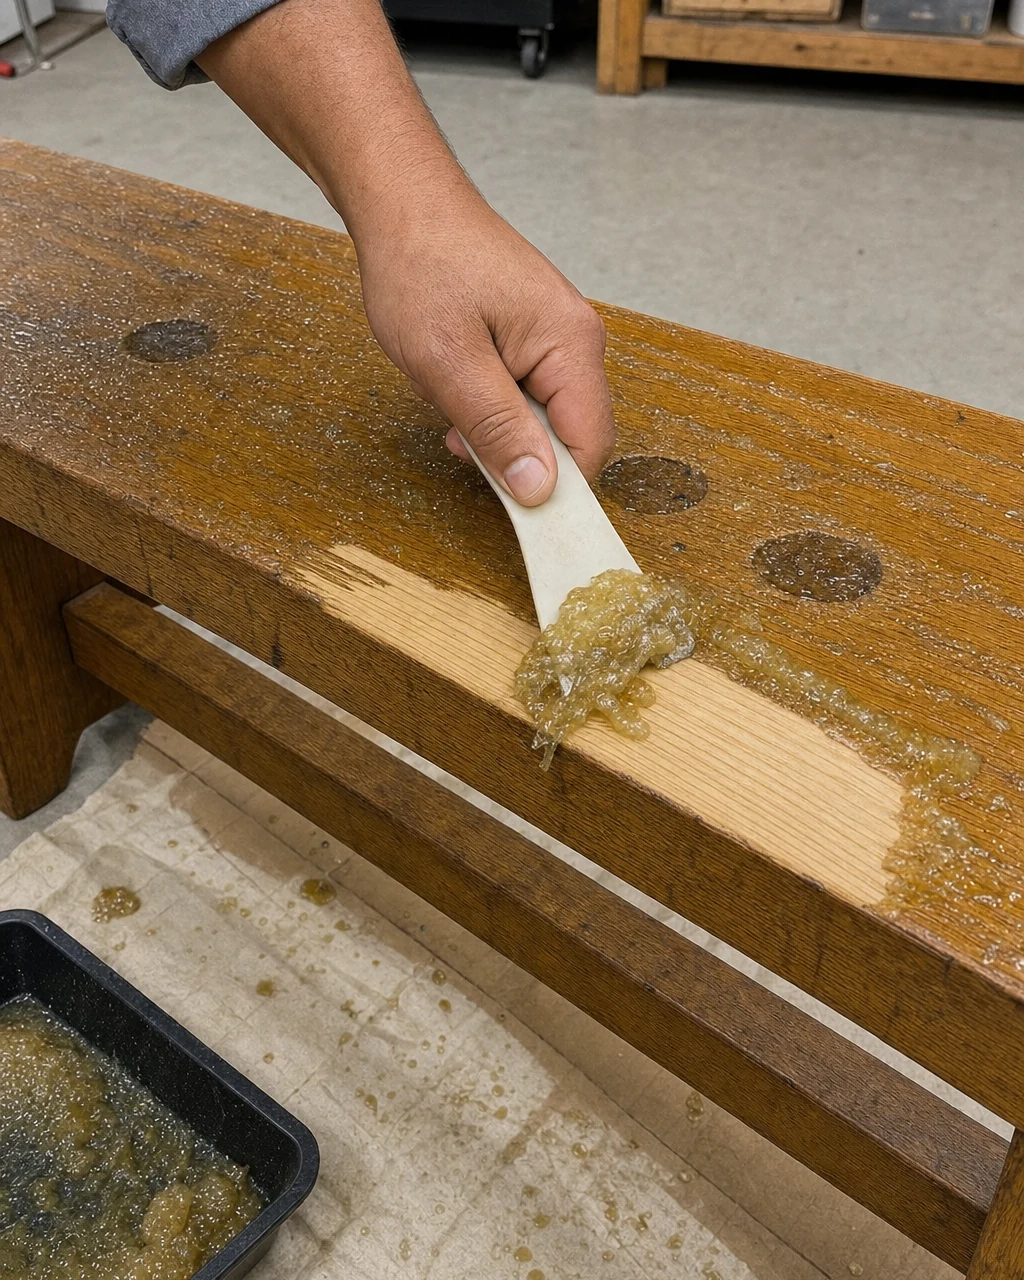
Use a plastic scraper to gently push the softened polyurethane sludge off the wood. Working strictly in the direction of the grain helps reveal the raw, pale pine wood beneath without scratching the surface or damaging the exposed end-grain of the seat slab.
Safe Sludge Disposal
Once the raw wood is exposed on the seat, gather the leftover chemical residue. Dispose of stripping sludge in a sealed metal container to maintain a safe workshop environment and prevent any flammable hazards.
Step 4: Steam Out Dents
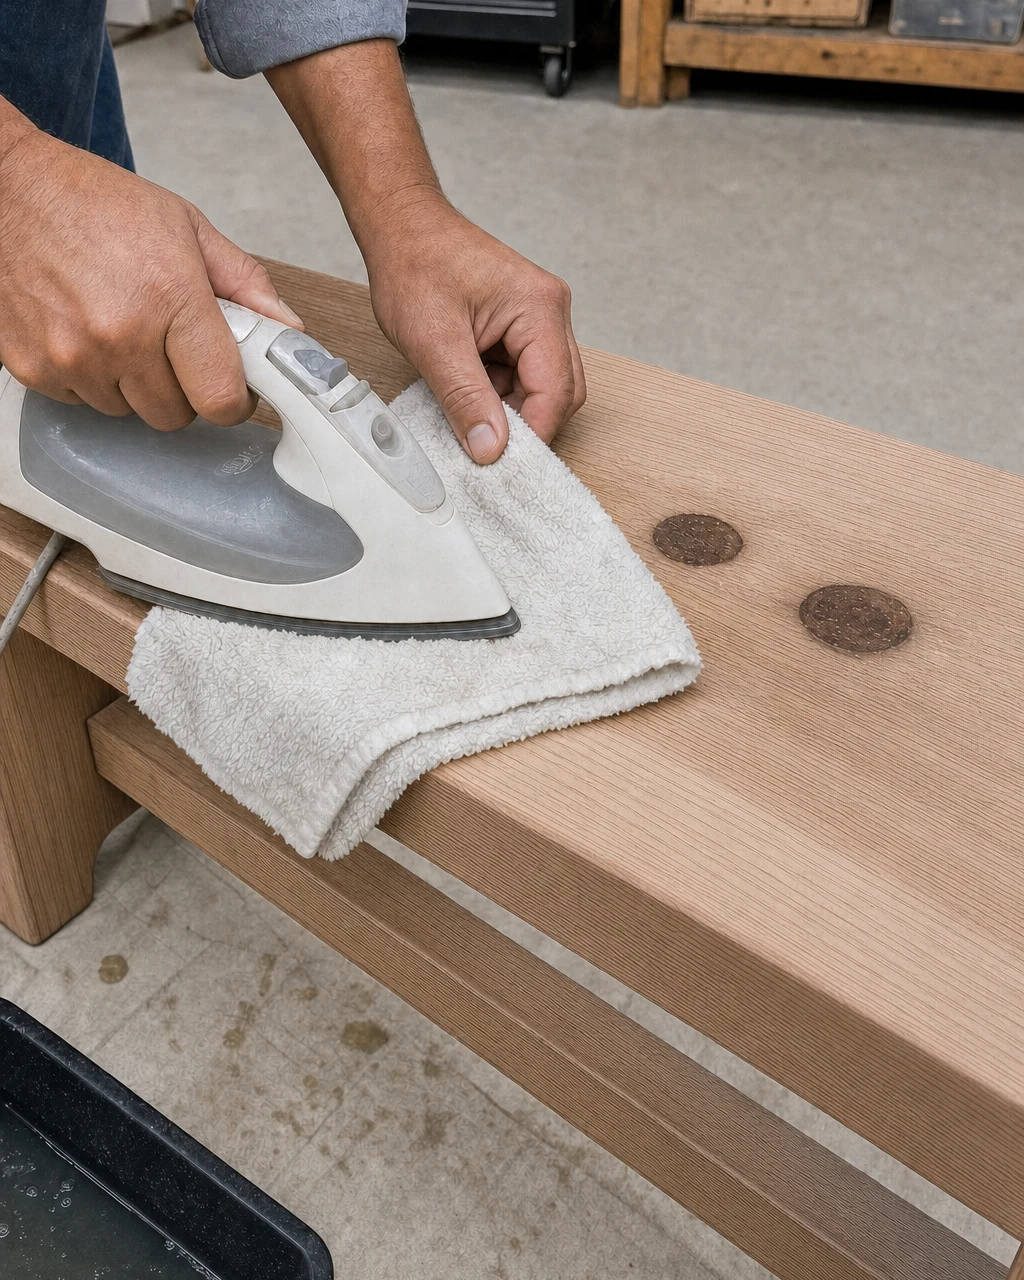
Place a damp cotton towel over the deep divots on the raw seat. These three distinct, deep impact dents catch dirt and ruin the smooth tactile finish, highlighting the piece’s wear and requiring targeted moisture treatment.
Swelling the Wood Fibers
Press a hot household iron over the spot for 15 seconds, forcing steam into the wood to swell the compressed fibers until the surface is completely flush and smooth. Keep the iron moving slightly to avoid scorching the raw wood.
Step 5: Paint the Base
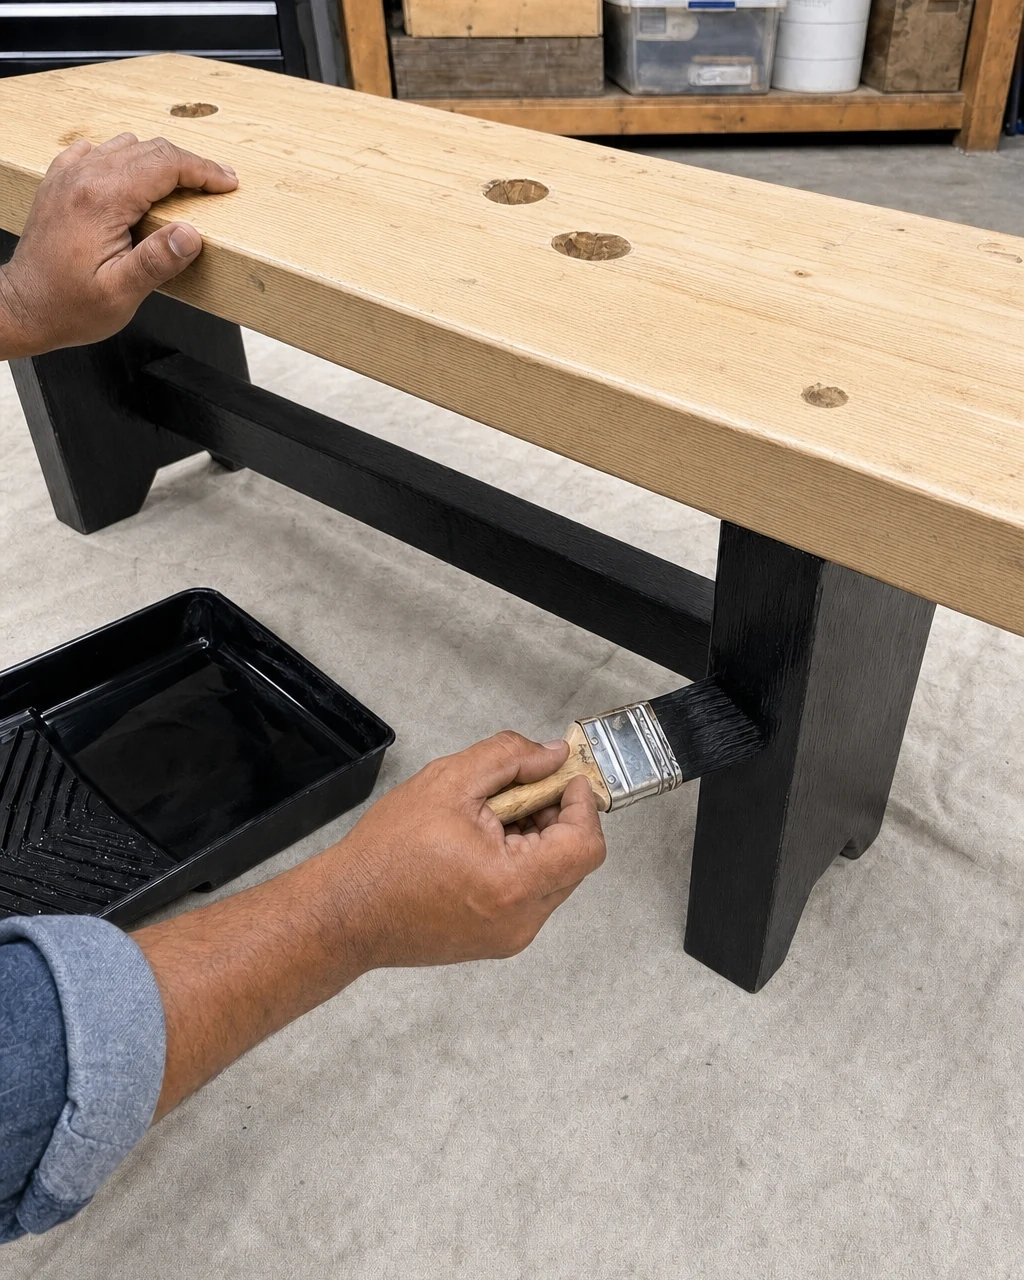
Apply two coats of matte black enamel to the scuffed trestle legs and center stretcher. The chunky proportions of the trestle legs benefit from this sharp, modern contrast against the pale raw wood of the seat, leaving the base a solid, opaque matte black.
Curing the Base Coat
Allow the first coat of enamel to dry completely before applying the second. This high-adhesion enamel bonds directly to the scuffed lower frame, ensuring the painted base withstands daily wear as a functional drop zone.
Step 6: Seal the Seat
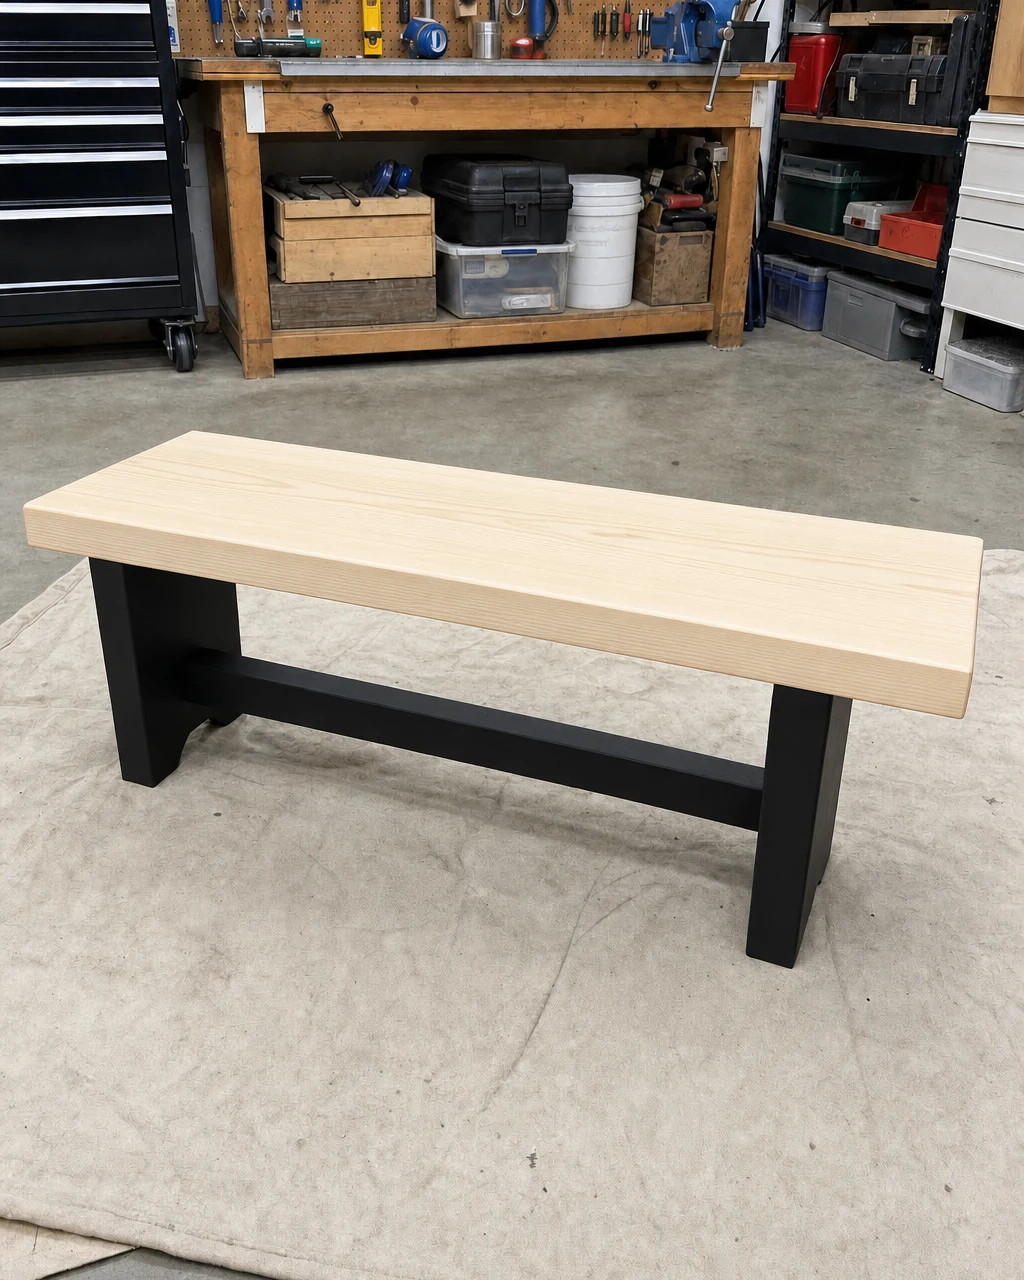
Rub clear furniture wax into the raw pine seat using a lint-free cotton cloth. This seals the wood against moisture while maintaining a natural, matte Scandinavian look, giving the seat a subtle, protected sheen that completes the two-tone bench.
Final Workshop Safety
Work the wax in a well-ventilated area and dispose of oily rags safely. The flawless pale pine seat now has all historical dents steamed out, transitioning the piece from a glossy 1970s relic to a sleek modern design.
Step 7: Style the Entryway
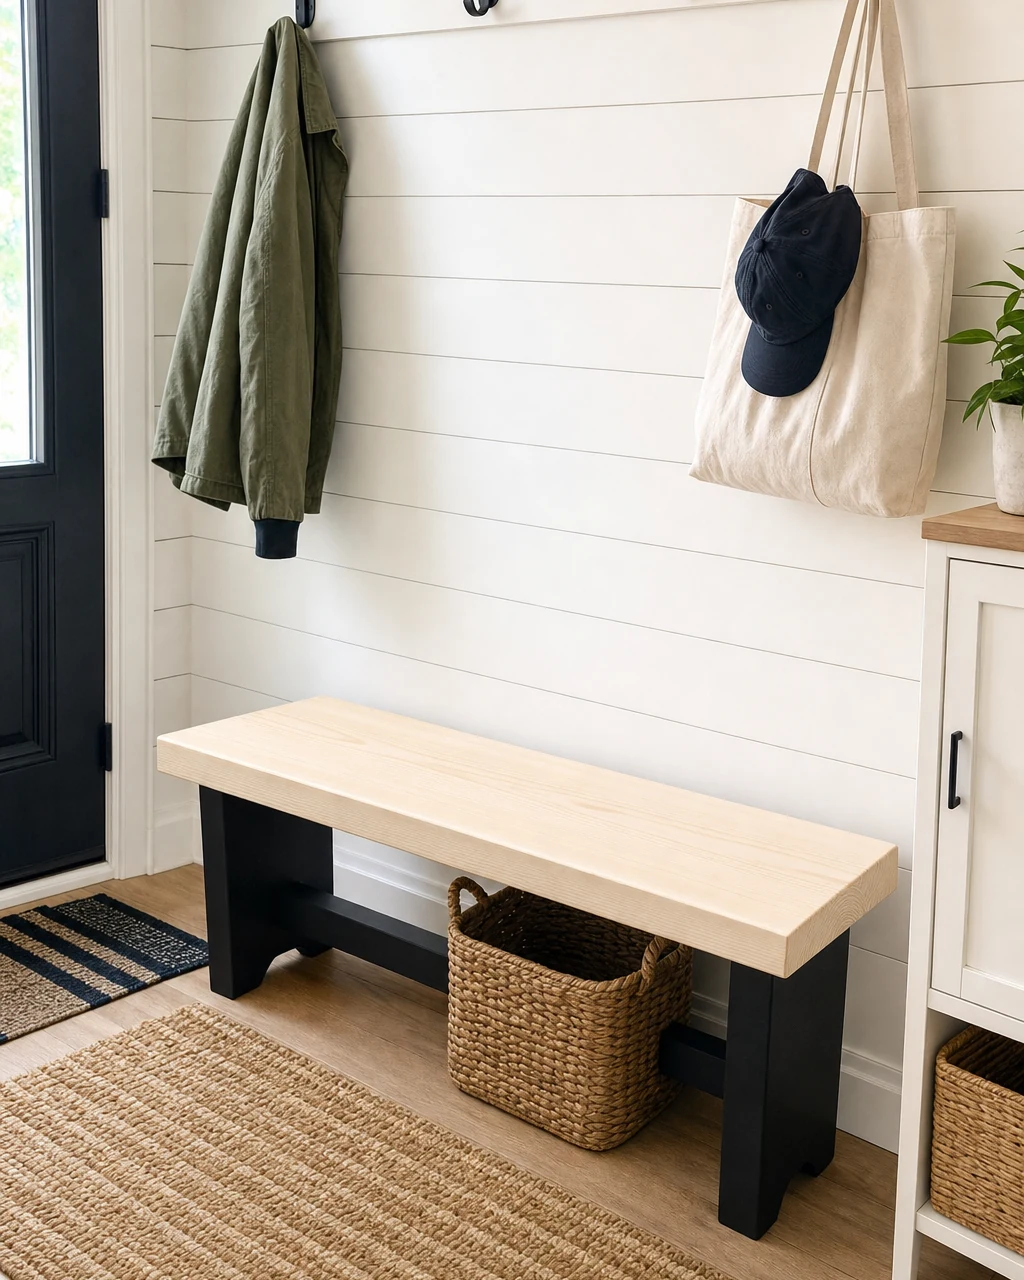
Move the fully cured two-tone bench into the home, styling it as a functional drop zone in a bright entryway. The high-contrast split between a pale raw wood seat and a matte black base completely modernizes the dated farmhouse silhouette.
Positioning the Entryway Seat
Place the bench against a white shiplap wall beneath a row of black coat hooks. Always lift the solid wood bench from the base, not the seat edges, to protect the newly finished surfaces during transport.