
Vanity Tray Thrift Flip: Reverse Gilded Gold Leaf Mirror
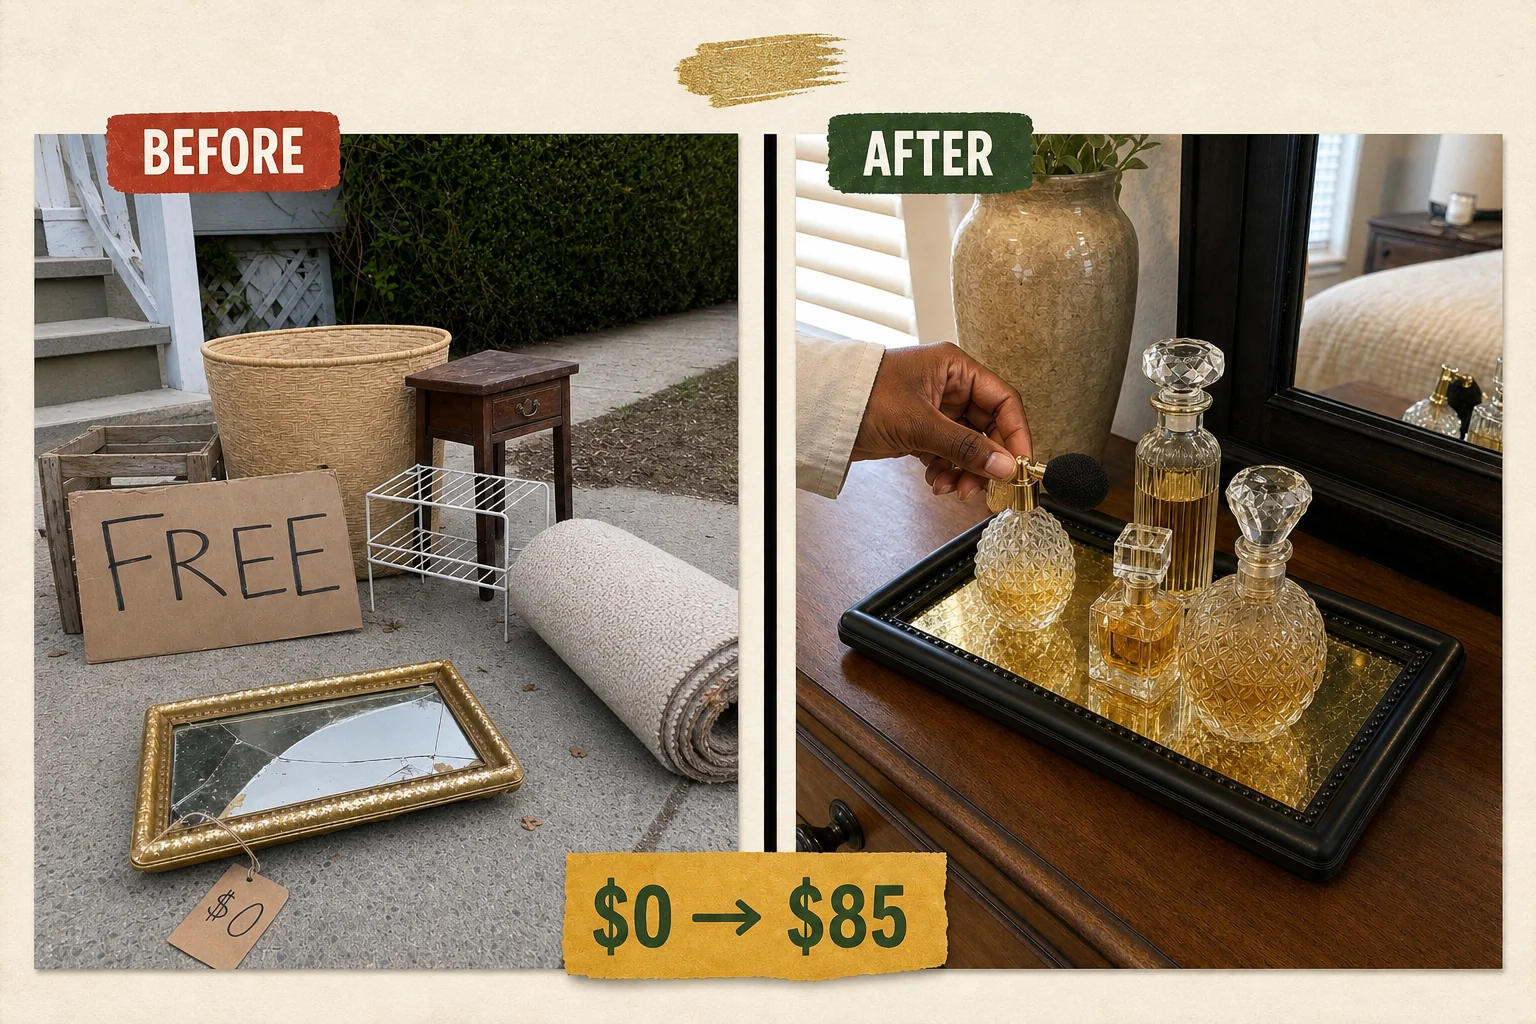
I spotted this discarded vanity tray in a curbside free pile and knew it had potential. By replacing the broken mirror with reverse-gilded glass and painting the plastic frame matte black, it became a stunning decorative accent.
Assessing the Damaged Vanity Tray
Finding a low rectangular profile piece with a raised, molded rim in a curbside free pile offers an excellent foundation for upcycling. This particular castoff suffered from a diagonal fracture across the reflective glass surface, rendering it unsafe to use and visually ruined.
- The cracked mirror insert requires complete removal and replacement to restore safe functionality.
- The flaking yellow coating reveals gray plastic underneath, leaving the piece looking heavily worn and outdated.
Materials and Project Costs
Transforming this cheap plastic frame into a boutique-quality decorative accent requires just a few specialized supplies. The verre églomisé technique relies on composition metal leaf, which provides a rich, antiqued finish at a fraction of the cost of genuine karat gold.
Materials checklist
| Item | Cost |
|---|---|
| Curbside Vanity Tray | $0 |
| Replacement Glass Panel | $8 |
| Fine Sandpaper | $4 |
| Matte Black Spray Paint | $6 |
| Water-Based Gilding Size | $9 |
| Composition Gold Leaf | $12 |
| Black Acrylic Sealer | $7 |
| Total Investment | $46 |
| Estimated Resale Value | $85 |
| Value Gain | $39 |
Step 1: Inspect and Disassemble the Tray
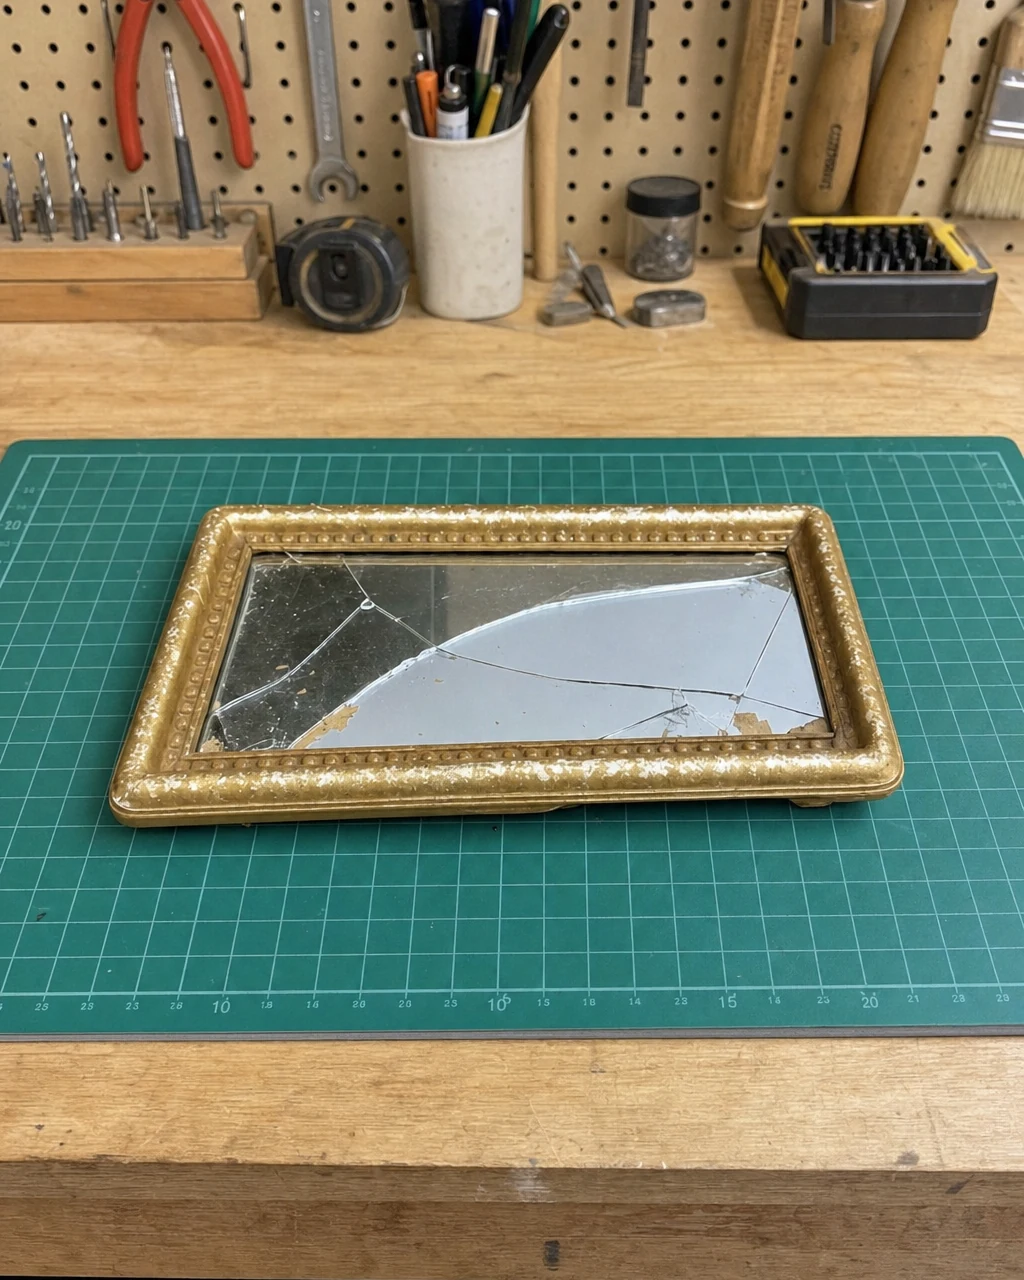
Evaluate the cracked mirror and flaking faux-gold finish on the workbench to determine the exact replacement glass dimensions needed. The single-piece injection-molded plastic frame features immutable molded decorative rim patterns that provide an excellent border for the new design.
Extracting the Broken Insert
Carefully bend back the rear metal retaining tabs with needle-nose pliers to extract and discard the broken glass insert. Always wear heavy duty gloves and safety glasses when handling the fractured mirror. Once the frame is empty, brush away any lingering debris from the interior channels.
Step 2: Paint the Plastic Frame Matte Black
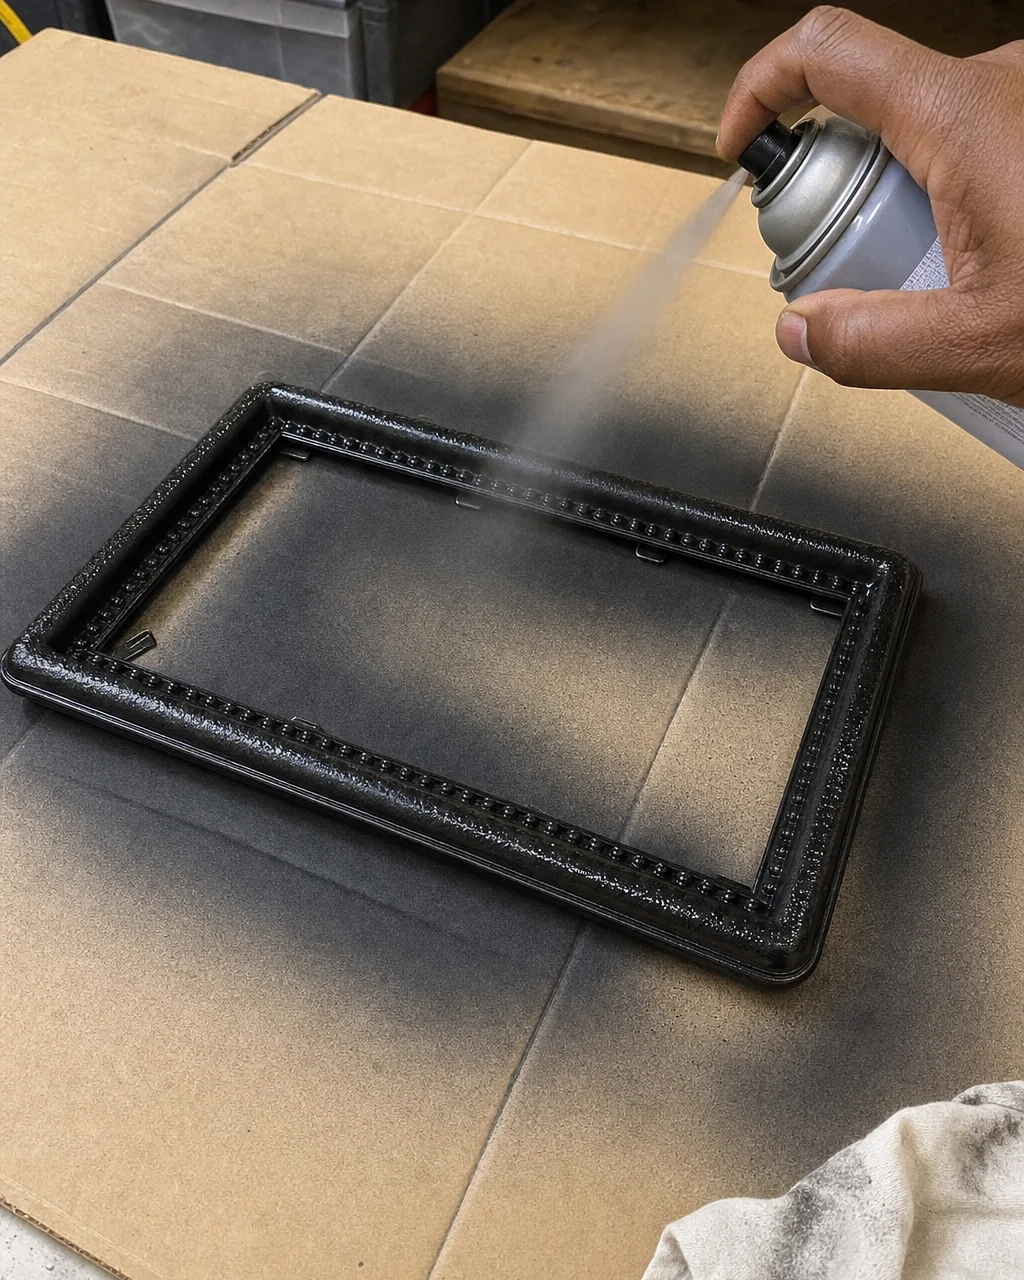
Scuff the tarnished faux-gold plastic frame with fine sandpaper to ensure proper adhesion, choosing a fine grit to avoid leaving deep, visible scratches. Wipe away all dust with a microfiber cloth to prepare the surface.
Apply two even coats of matte black spray paint over the frame, allowing the finish to dry completely between coats. Always spray paint in a well-ventilated area and wear a respirator mask to protect against airborne particles and fumes.
Step 3: Apply Gilding Size to the Glass
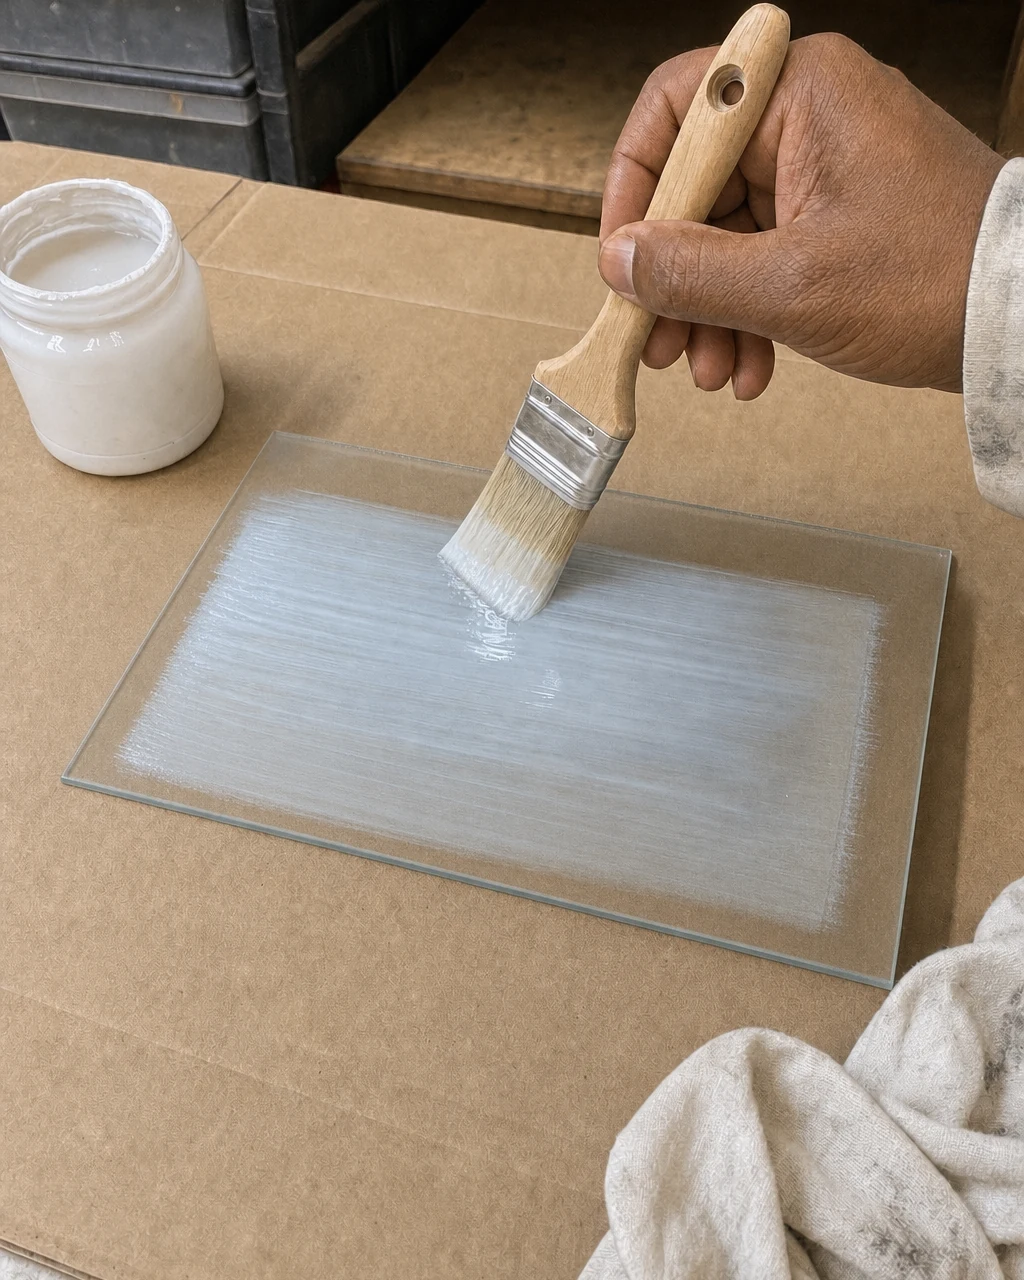
Clean the replacement plain glass panel thoroughly with glass cleaner to remove any fingerprints or dust. Handle the raw edges of the replacement glass panel carefully to avoid cuts while maneuvering the transparent base on your workbench.
Applying the Adhesive Layer
Brush a thin, even layer of water-based gilding size over one entire side of the glass. Wait fifteen minutes for the milky adhesive to become tacky, which is the crucial bonding state required to hold the delicate metal sheets securely in place.
Step 4: Lay the Composition Gold Leaf
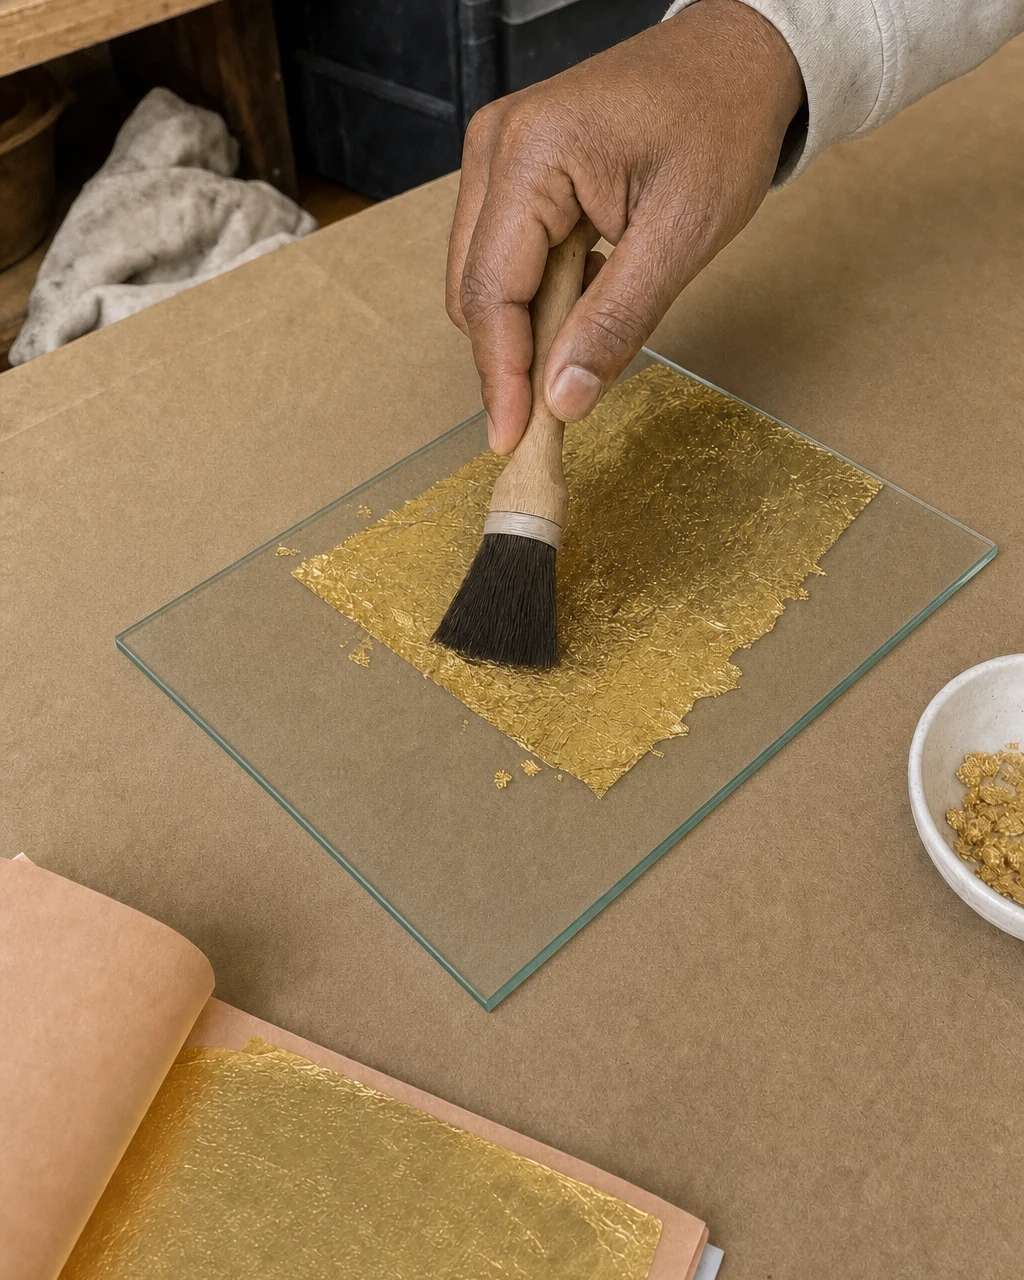
Carefully lift sheets of composition gold leaf and press them gently onto the tacky size using a soft squirrel-hair brush. Overlap the edges of the metal leaf slightly to ensure the entire glass surface is completely covered without any gaps.
Work in a draft-free room to prevent the ultra-thin gold leaf from blowing away and causing a breathing hazard. The overlapping technique guarantees a continuous, highly reflective surface once the piece is flipped over.
Step 5: Seal the Gilded Mirror Backing
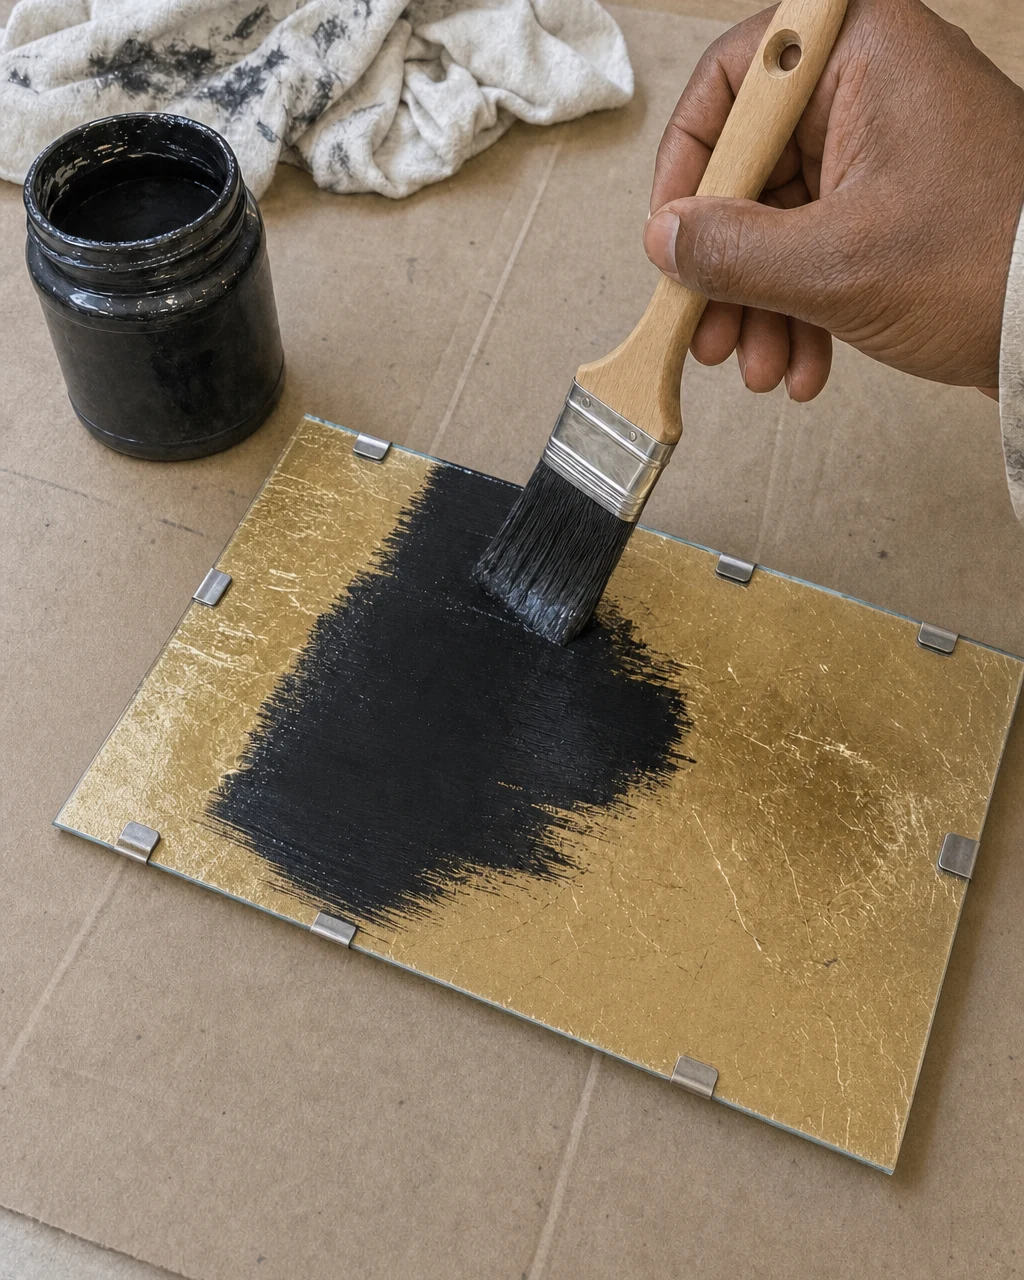
Burnish the loose leaf flakes away with a soft brush to create a smooth, continuous metallic surface. This gentle sweeping motion removes any unadhered composition leaf, leaving only the securely bonded material attached to the glass panel.
Protecting the Metal Finish
Paint directly over the gold leaf with black acrylic sealer to protect the metal from oxidizing and to create a solid, opaque backing. Ensure the room is well-ventilated when applying the black acrylic sealer over the gilded surface.
Step 6: Reassemble the Upcycled Vanity Tray
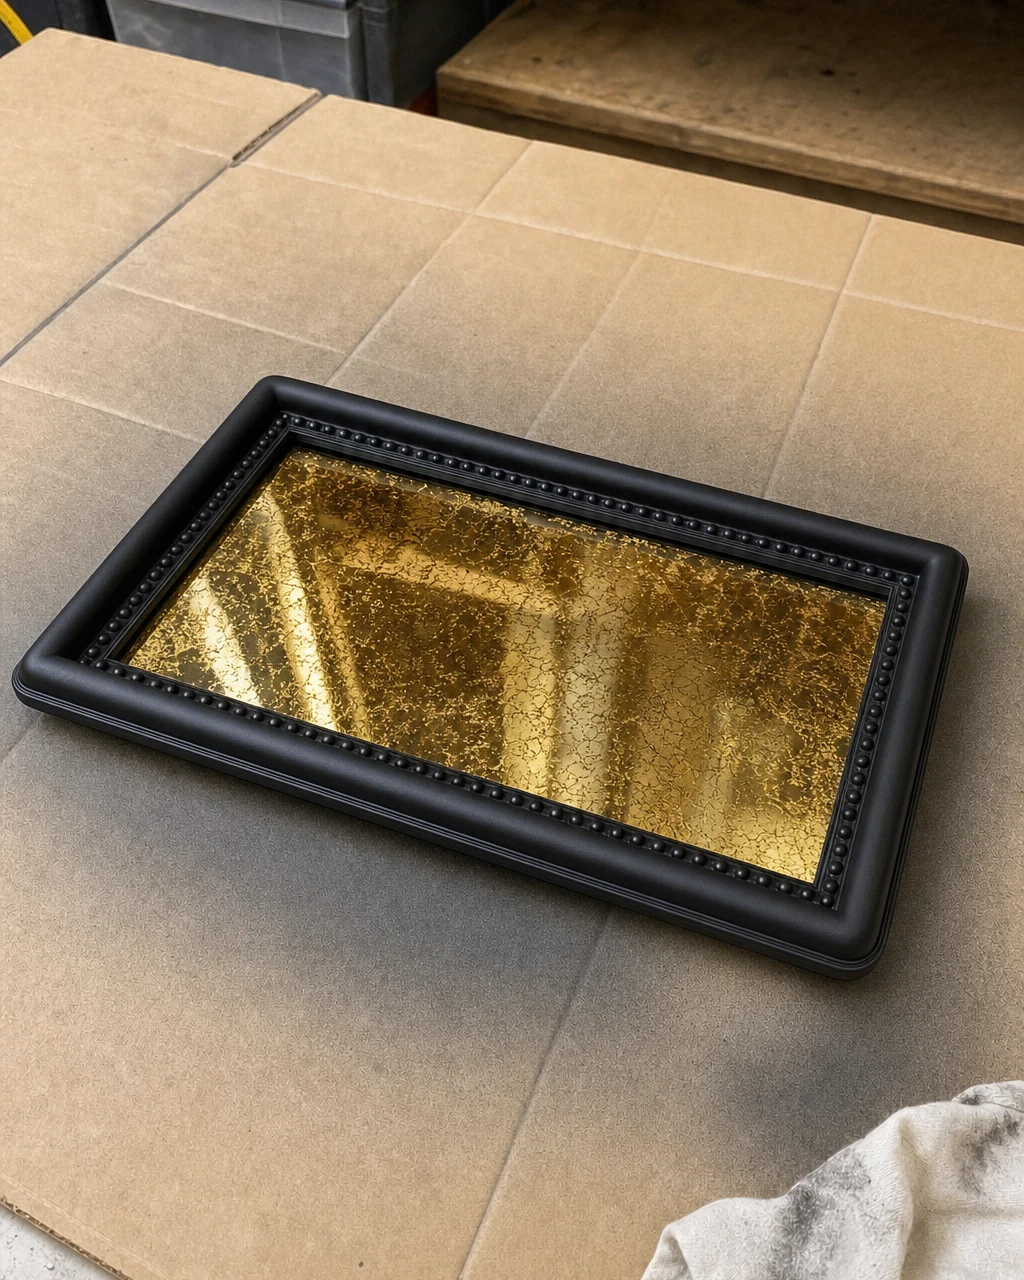
Place the dry, reverse-gilded glass panel into the dry matte black frame with the sealed side facing the back. The opaque black backing should rest directly against the rear of the plastic molding.
Securing the New Glass
Secure the retaining tabs on the back using pliers, pressing them gently to avoid cracking the new glass insert. Flip the completed tray over to reveal the highly reflective gold-leaf design contrasting beautifully against the crisp matte black frame.
Step 7: Style the Reverse-Gilded Vanity Tray
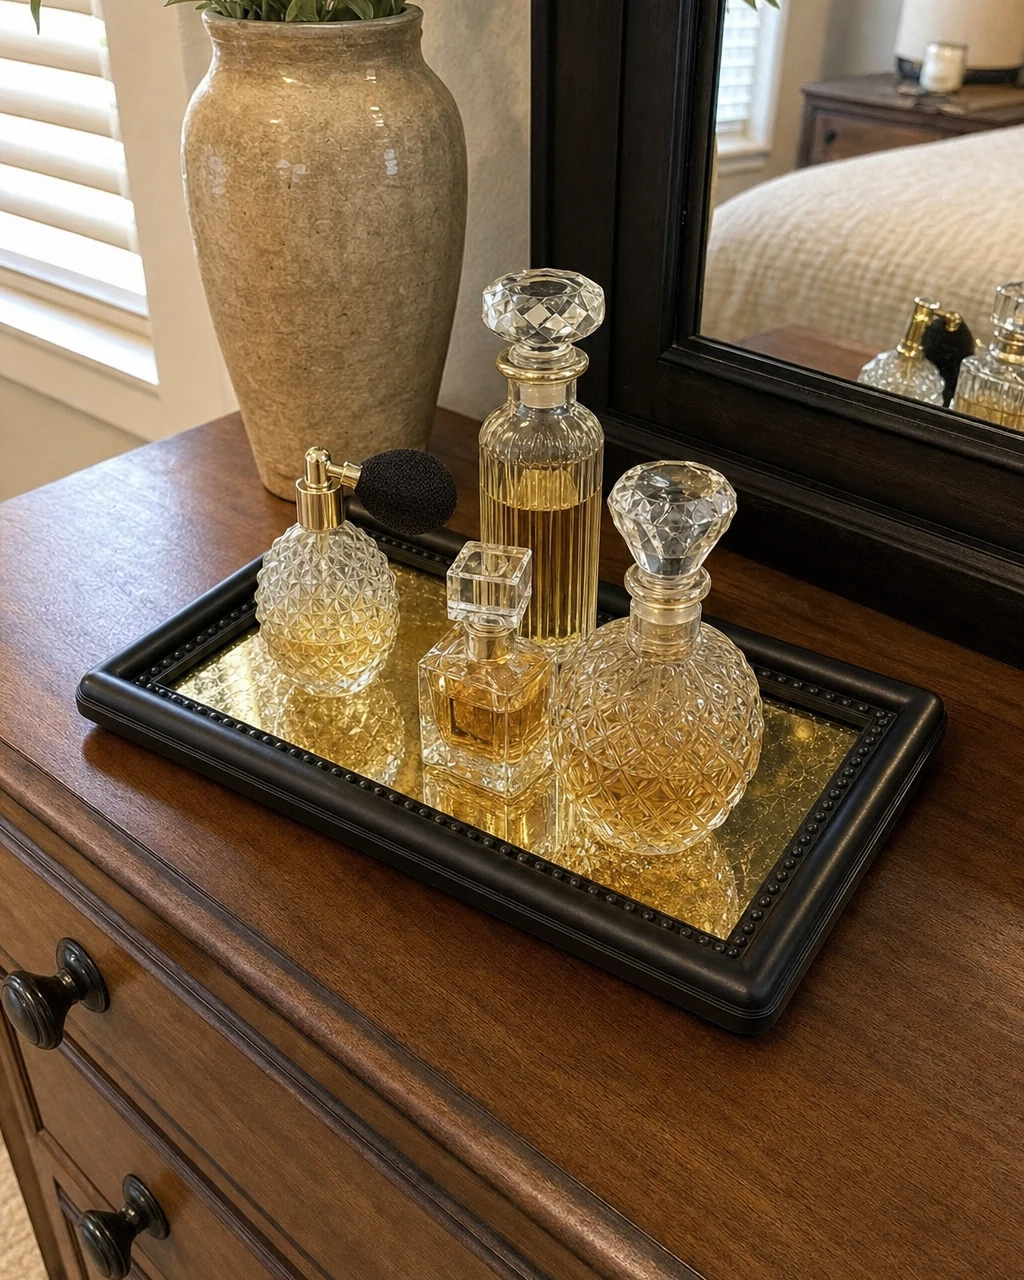
Place the finished tray on a bedroom dresser to function as an elegant, boutique-quality display piece. Ensure the tray is placed on a stable, flat surface to prevent any accidental tipping or sliding during daily use.
Displaying Your Upcycled Tray
Arrange crystal perfume bottles and jewelry on the highly reflective, antiqued gold surface to catch the light. The durable, wipeable glass exterior protects the delicate reverse-gilded layer underneath, making this stunning decorative accent both beautiful and highly practical.
Valuation and Resale Potential
The verre églomisé technique elevates a cheap plastic tray into a boutique-quality decorative accent. This authentic gold-leaf texture commands a premium in the vintage decor market, far exceeding the appearance of standard metallic spray paints.
Estimated Market Value
This transformation yields an estimated resale value of $85 compared to the $46 material investment. Please note that this figure remains an editorial estimate rather than a guaranteed or completed sale, reflecting the strong buyer demand for unique gilded accessories.