
Wooden Dollhouse Transformation into a Modern Charcoal Townhouse
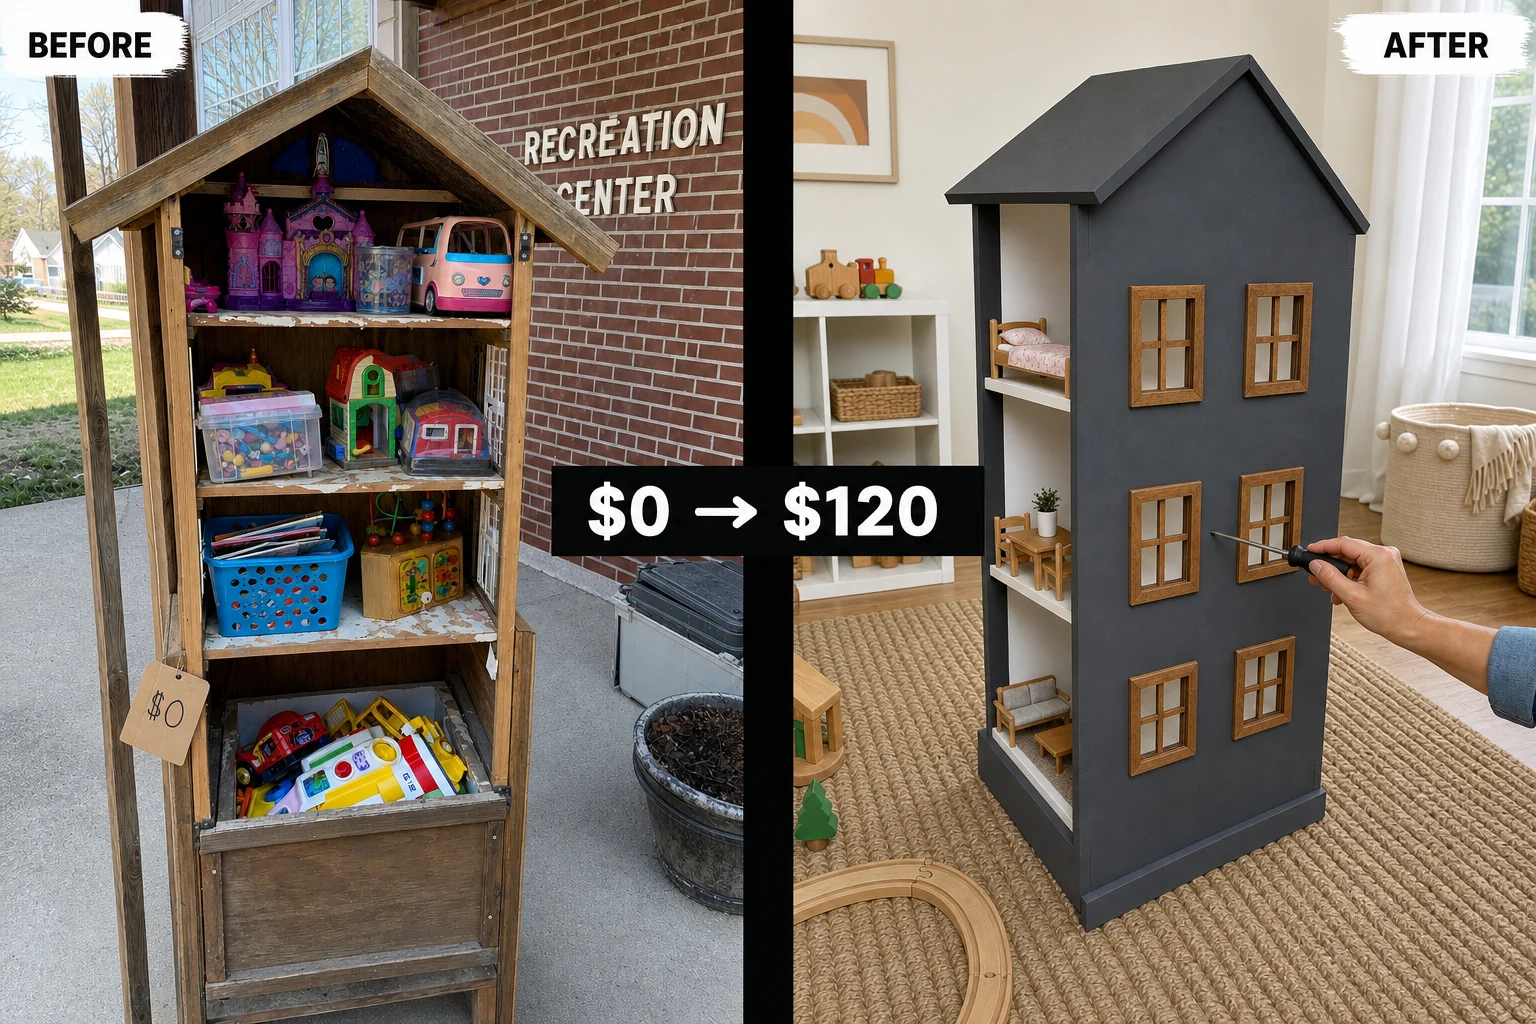
This heavy 1990s MDF dollhouse was found abandoned on a neighborhood swap shelf for free. Watch this transformation turn a peeling floral toy into a modern miniature townhouse using deep charcoal exterior paint and custom balsa wood windows.
Assessing the 1990s Dollhouse Damage
Discovering a structurally sound wooden toy in a covered wooden community exchange cabinet beside a local brick recreation center offers a great restoration opportunity. This classic pitched-roof three-story house featured an open back and six symmetrical front window cutouts, but it required significant cosmetic work before playtime.
- Peeling floral contact paper with lifting corners and bubbled surfaces on the interior floors prevented smooth paint adhesion.
- Snapped, jagged plastic window frames with sharp edges in the facade cutouts made the toy unsafe.
- Dark friction marks and minor edge wear on the exterior MDF required light sanding and high-adhesion paint.
Step 1: Inspect the Dollhouse for Damage
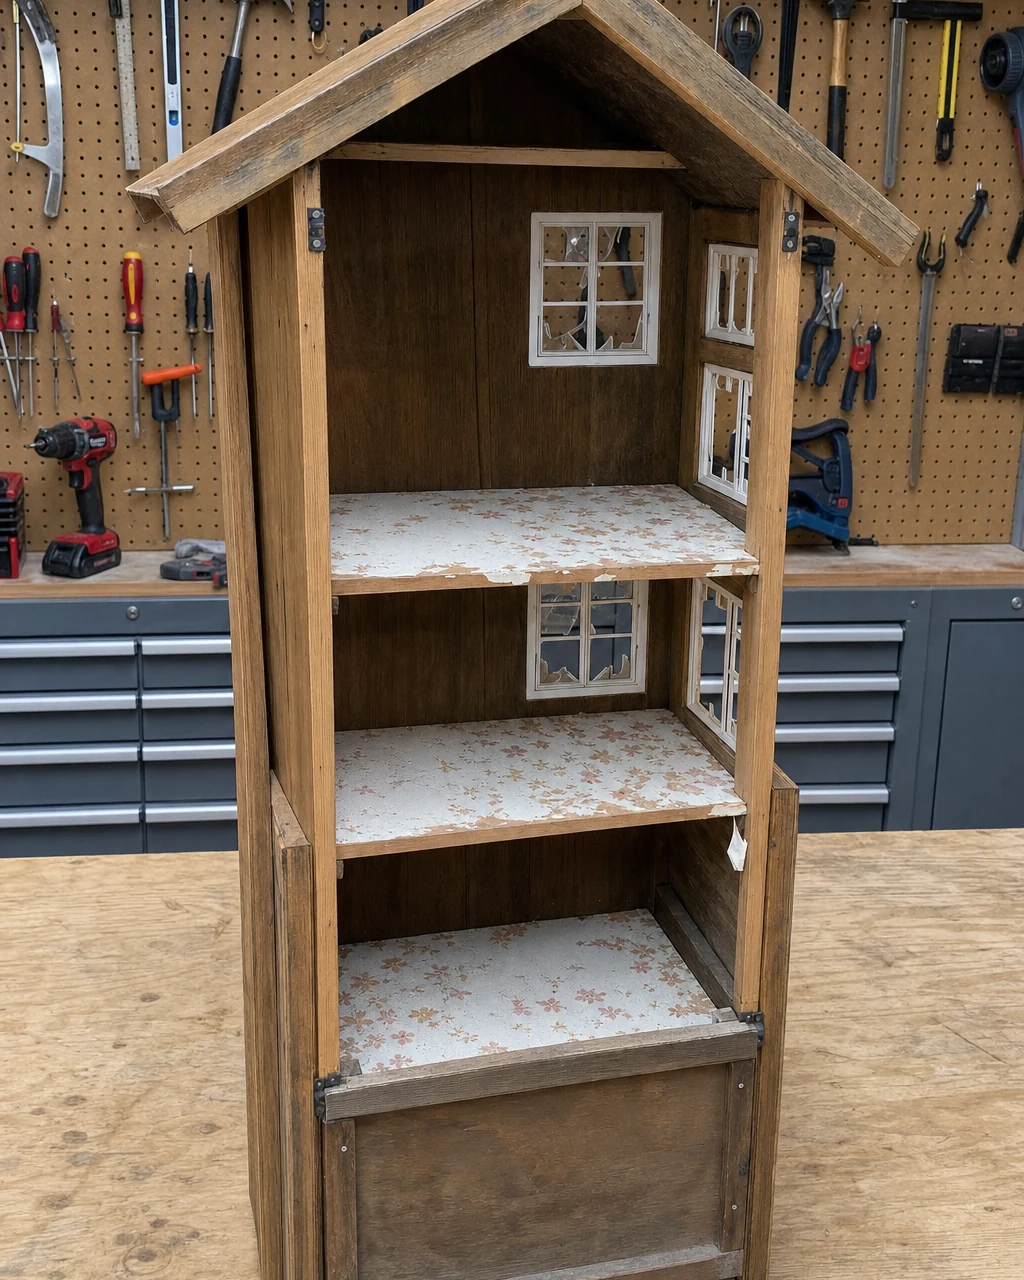
Put on your work gloves and evaluate the structural integrity of the MDF on the workshop table. Identifying the sharp broken plastic windows for removal and testing the old contact paper’s adhesion determines the necessary prep work. Always watch for sharp edges on the broken plastic window inserts.
| Item | Cost |
|---|---|
| Purchase Price | $0 |
| Charcoal Chalk Paint | $14 |
| White Chalk Paint | $14 |
| Balsa Wood Strips | $6 |
| Walnut Wood Stain | $8 |
| Clear Matte Wax | $12 |
| Wood Glue | $4 |
| Total Investment | $58 |
| Estimated Resale Value | $120 |
| Value Gain | $62 |
Step 2: Strip the Old Contact Paper
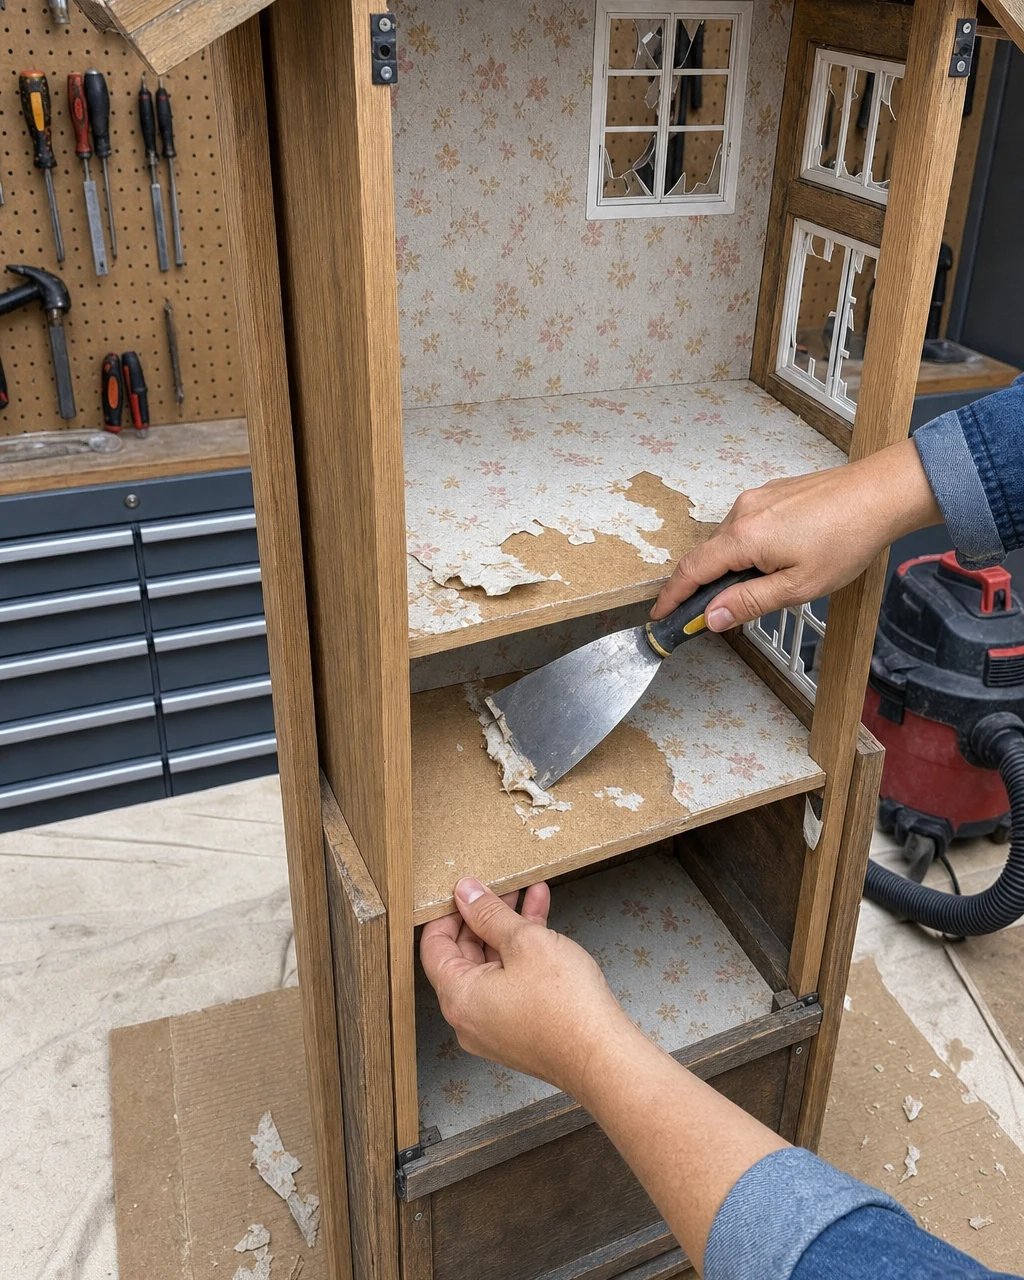
Use a heat gun on a low setting to soften the old adhesive beneath the peeling 1990s floral contact paper. Carefully scrape away the softened paper with a putty knife to reveal the bare, smooth MDF on the interior floors and walls. Keep the heat gun moving to avoid scorching the MDF.
Step 3: Paint the Exterior Charcoal
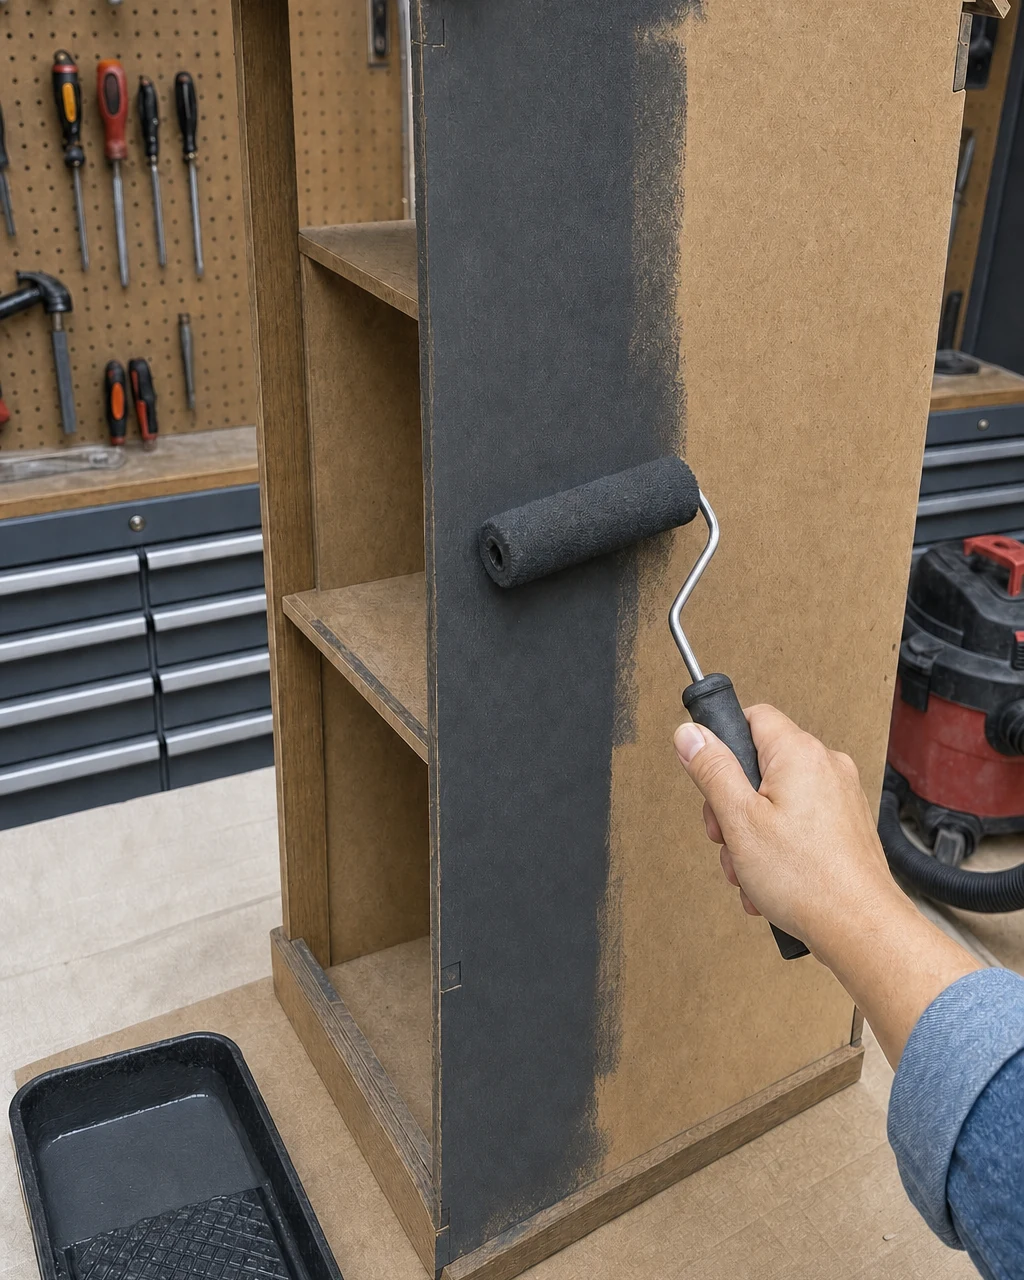
Pour the charcoal chalk paint into a paint tray and use a high-density foam roller to apply the first coat to the exterior walls. Chalk paint adheres beautifully to lightly scuffed MDF surfaces, completely hiding the dark friction marks. Ensure adequate ventilation when painting indoors to keep your workspace safe.
Achieving Opaque Coverage
Allow two hours of drying time before evaluating the finish. Roll on a second coat of the deep charcoal paint to ensure full, opaque coverage over the exterior. This matte charcoal finish immediately modernizes the silhouette, transforming the dated floral aesthetic into a sleek townhouse exterior ready for custom trim.
Step 4: Paint the Interior Rooms White
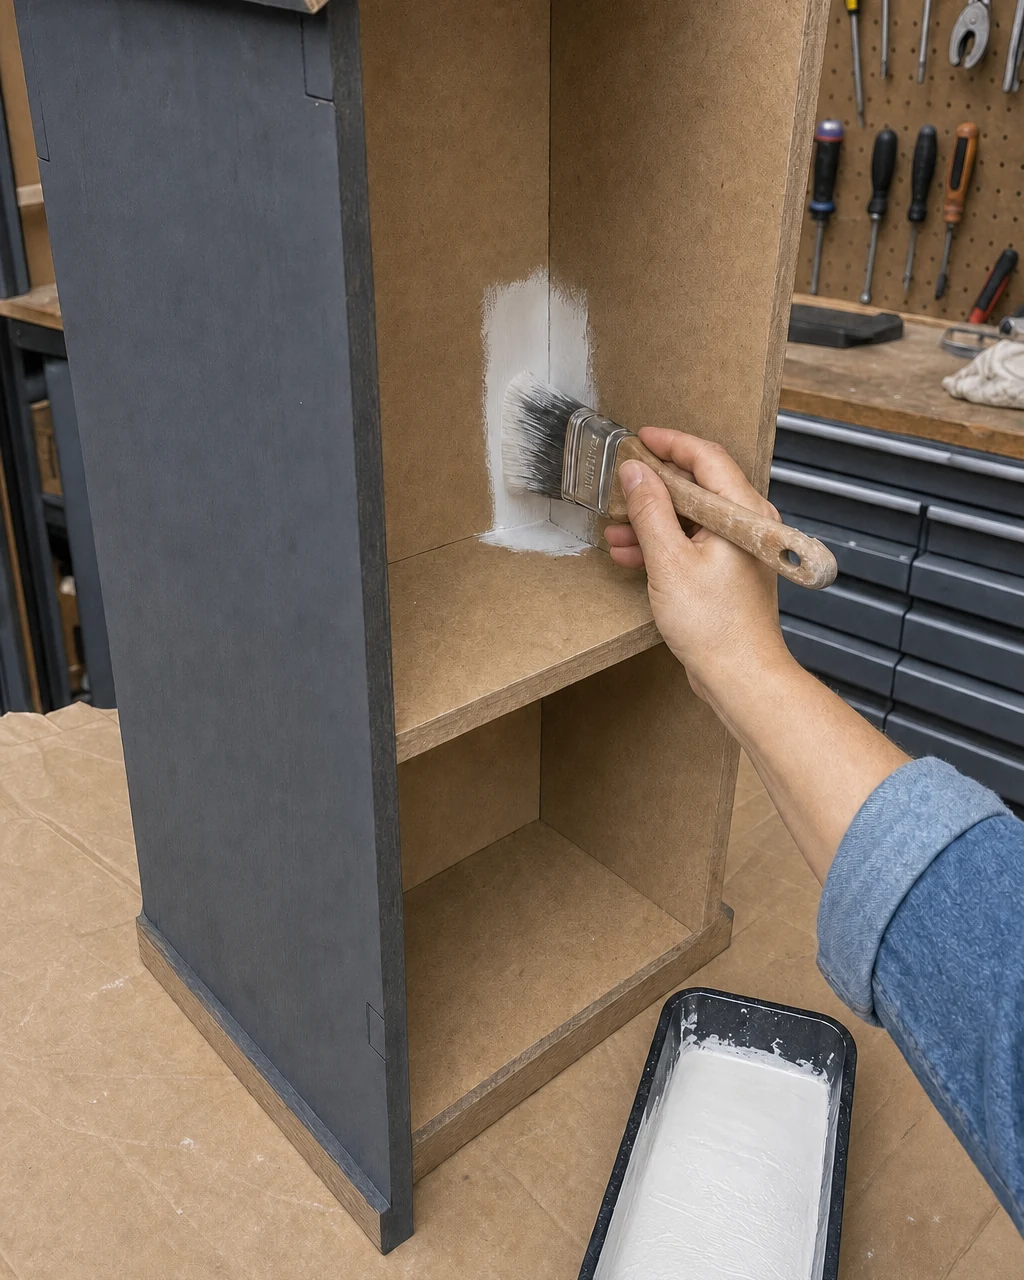
Brush warm white chalk paint into the interior rooms using a synthetic bristle brush. Cut in carefully at the corners to create a bright, clean contrast against the dark exterior, making the miniature rooms look spacious. Protect the freshly painted exterior edges with painter’s tape to maintain crisp, professional lines.
Materials checklist
Step 5: Install Custom Wood Windows
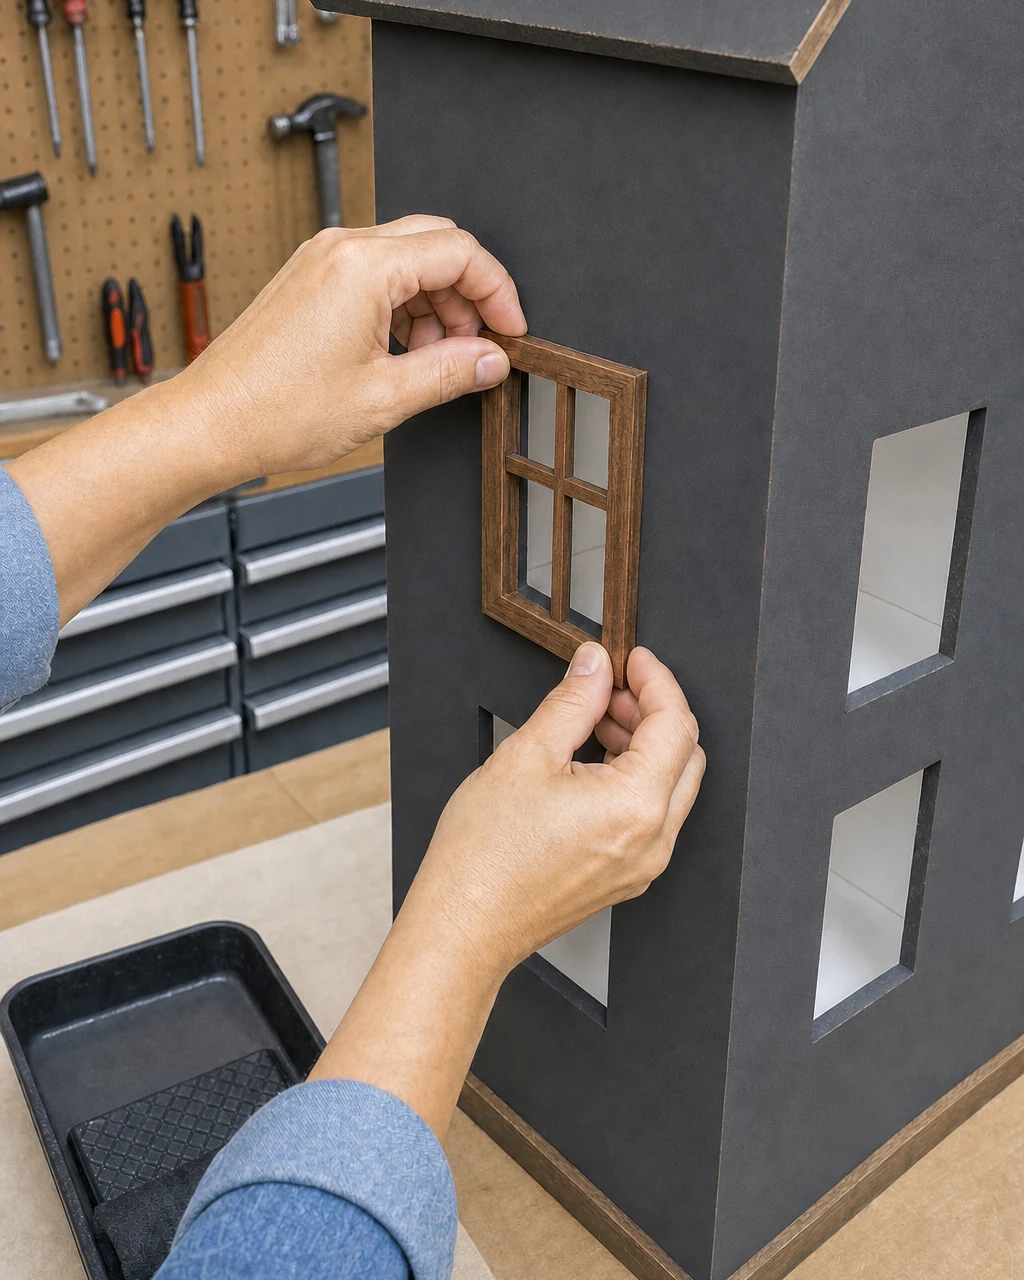
Use a craft knife and cutting mat to cut the balsa wood strips to size, replacing the discarded plastic inserts. Cut balsa wood slowly with multiple light passes to prevent snapping the delicate strips. Once cut, stain the new frames with the rich walnut wood stain and allow them to dry.
Securing the New Trim
Apply a thin bead of wood glue to secure the new frames into the exterior window cutouts. Press each stained balsa wood frame firmly into place, wiping away any excess adhesive immediately. The warm wood trim neatly borders the window openings, providing a striking architectural upgrade against the moody charcoal walls.
Step 6: Seal the Painted Finish
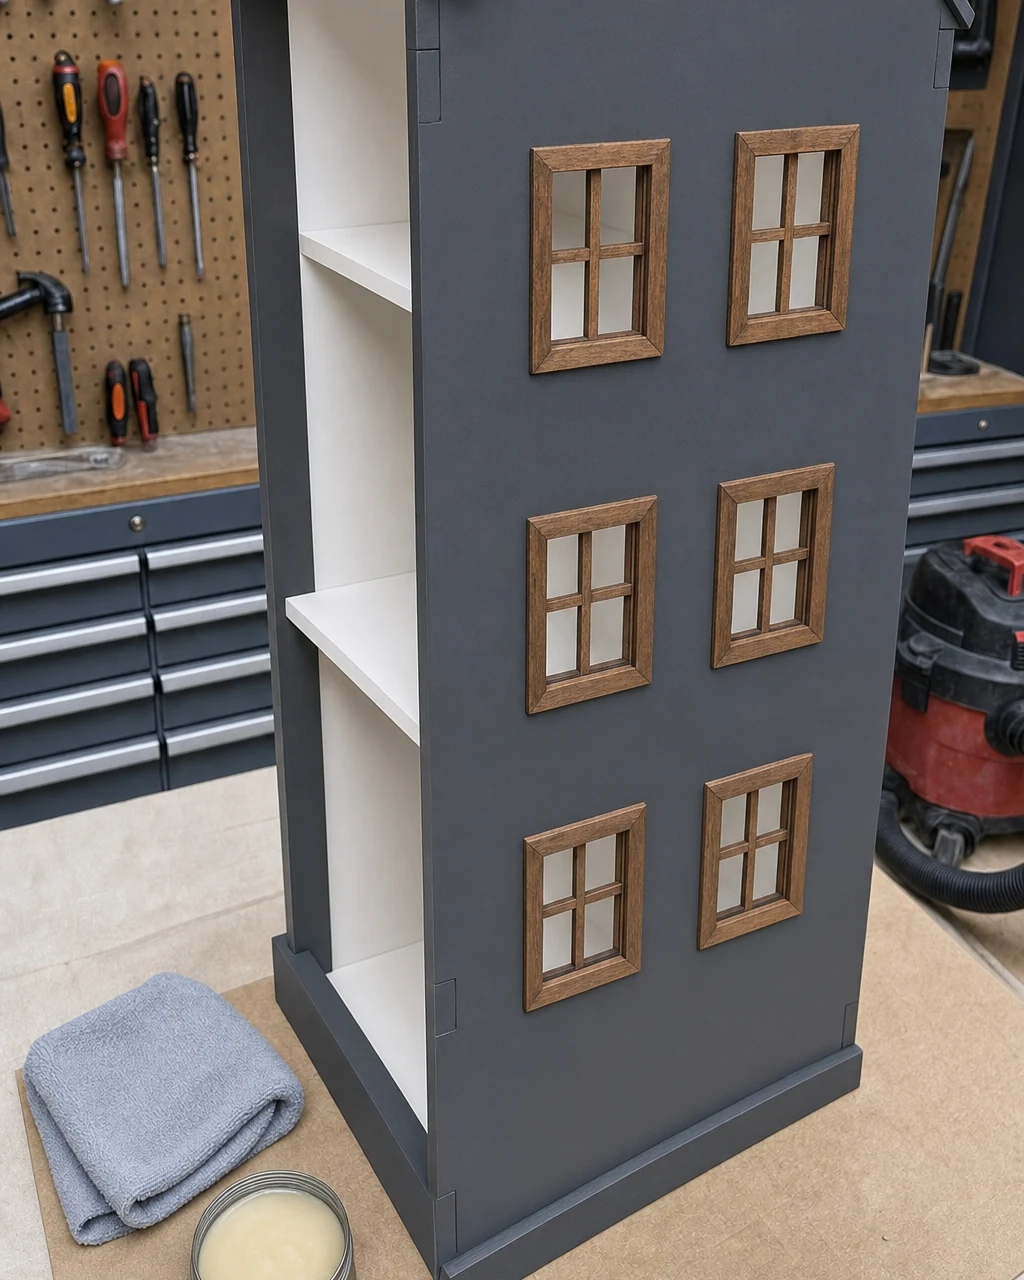
Apply a final coat of clear matte wax over all painted surfaces using a lint-free cloth. Buff the wax into the charcoal exterior to provide durable protection for playtime without adding unwanted shine to the modern townhouse. Always remember to dispose of wax-soaked rags properly according to the manufacturer’s safety instructions.
Reviewing the Modernized Exterior
Step back to review the completed modern townhouse on the workbench. The fully assembled, sealed, and modernized dollhouse now boasts a highly durable finish. The clear matte wax protects the chalk paint from scuffs and scratches, ensuring the piece can withstand daily use while maintaining its sophisticated, boutique-style appearance.
Step 7: Style the Modernized Dollhouse
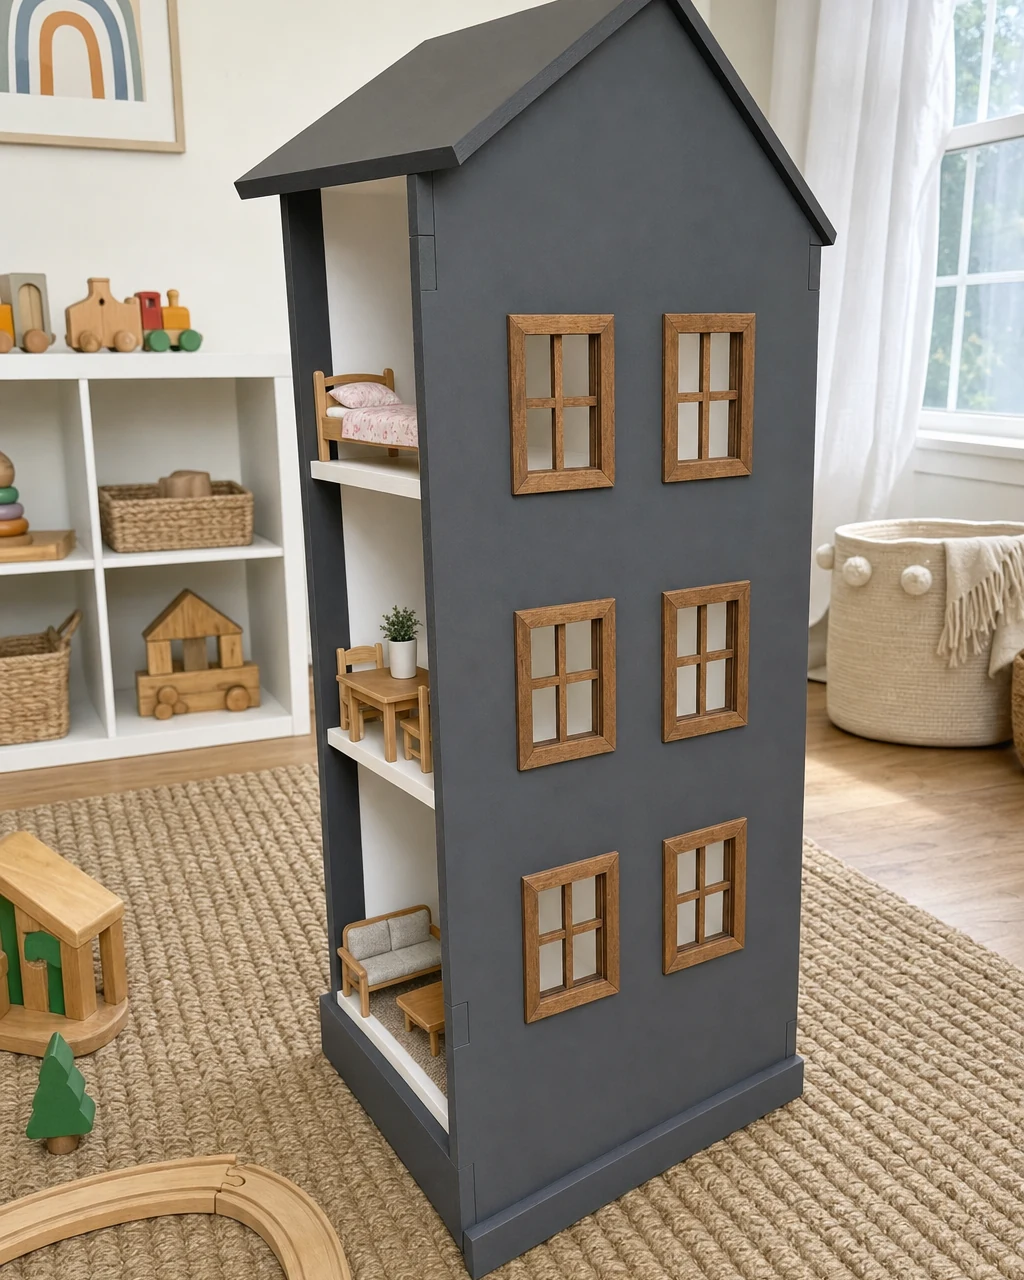
Use a clean brush to dust out the interior before moving the finished dollhouse into a bright child’s playroom. Ensure the dollhouse is placed on a stable, level surface for safe play. Arrange miniature wooden furniture inside to showcase its new life as a stylish, functional toy that doubles as modern decor.
Bringing the Miniature Rooms to Life
Populating the bright white interior rooms with minimalist wooden miniature furniture highlights the spacious new look. The stark contrast between the moody charcoal exterior and the crisp, clean interior creates a striking visual impact. This once-dated 90s toy now looks completely at home resting on a woven rug in a contemporary playroom setting.
Dollhouse Valuation and Resale Potential
This free swap-shelf find was transformed with just $58 in materials into a boutique-style wooden toy. The custom-cut stained balsa wood window frames and matte charcoal exterior elevate the piece far beyond its original mass-market origins, proving that thoughtful cosmetic updates add value.
Understanding the Editorial Estimate
The estimated resale value is $120, as the modernized design commands a premium over mass-market plastic alternatives. Note that this is an estimated valuation rather than a completed sale. The impressive $62 value gain demonstrates how deep cleaning, fresh chalk paint, and custom wood accents can completely revitalize discarded wooden toys.