
Wall Plaque Mosaic DIY Makeover: Retro Resin to Modern Art
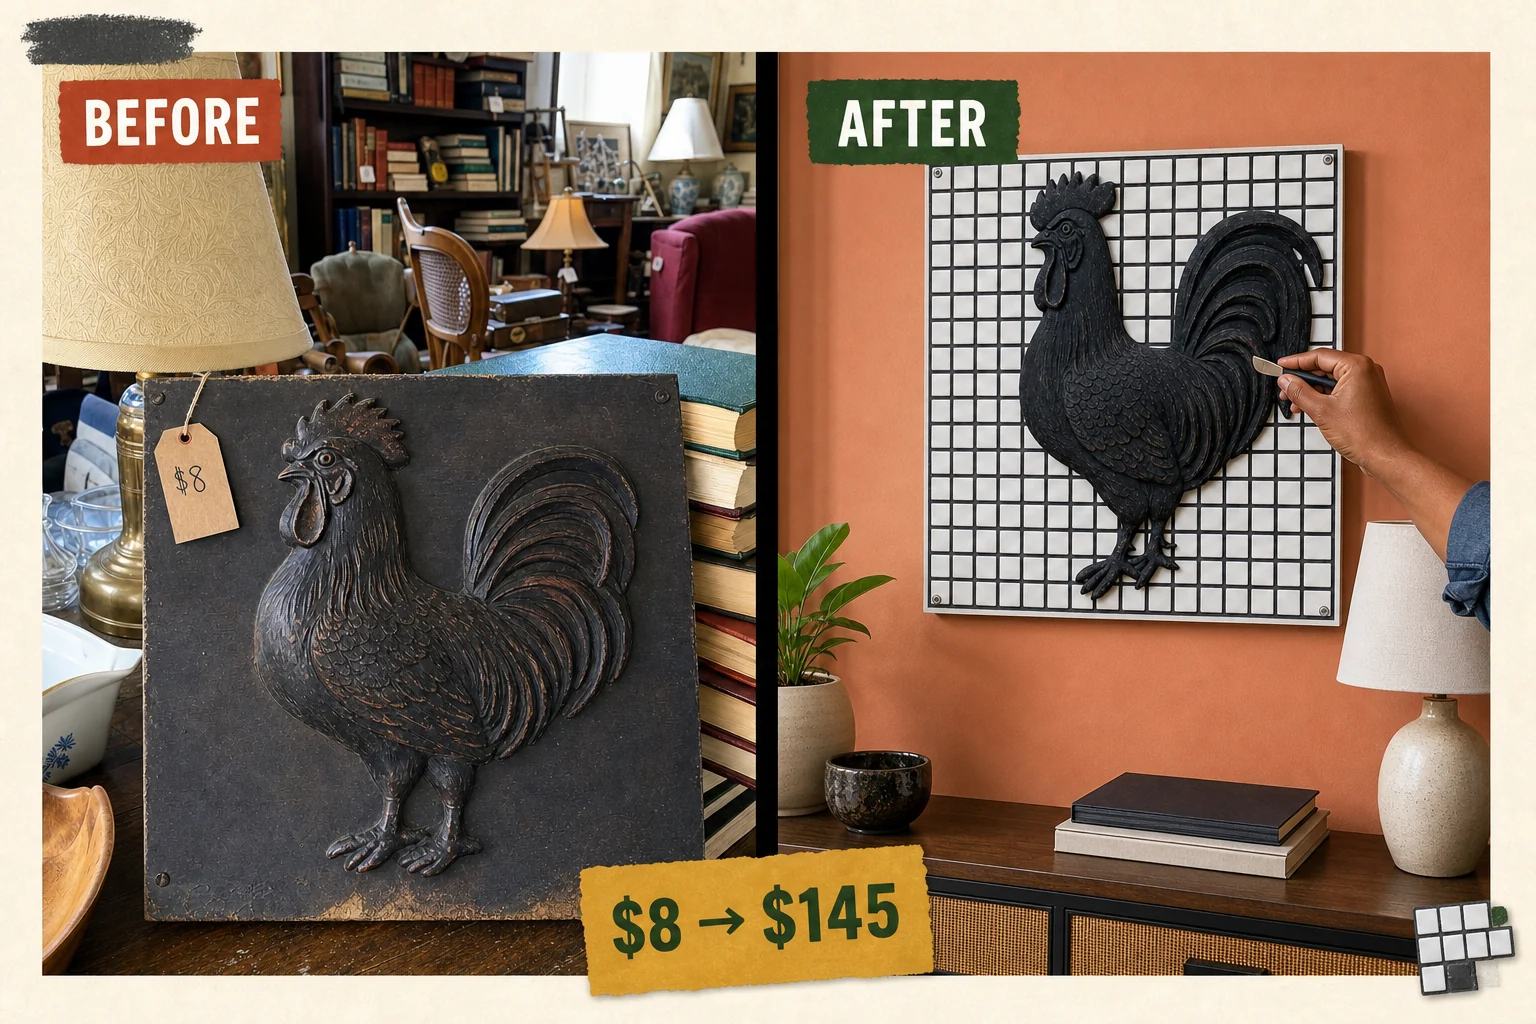
Tucked behind old hardcovers at an estate sale, this 1970s rooster plaque was ready for a modern reinvention. We transformed the water-damaged board into a striking wall plaque mosaic DIY using matte charcoal paint and crisp white ceramic tiles.
Assessing the Estate Sale Find
The 18-by-18-inch square plaque featured a highly textured molded resin rooster glued to a flat particle board backing. While the raised 3D profile remained completely intact, the bottom edge of the board suffered from water damage, leaving it swollen and discolored. The dark brown, chipped faux-wood glaze required a complete bonding primer update.
- Seal the swollen particle board to block stains and create a stable surface.
- Paint the outdated resin rooster to modernize its silhouette.
- Replace the inadequate mounting hardware to support the heavy finished mosaic piece.
A single, loose metal sawtooth hanger tacked into the back proved entirely inadequate for the planned upgrade. This old hardware must be removed and replaced with heavy-duty D-rings to safely support the added weight of ceramic tiles and grout on the flat background.
Materials checklist
Project Cost and Valuation
The transition from a mass-produced 1970s resin cast to a heavy, custom-tiled mosaic art piece significantly elevates its decorative appeal and market value. The stark contrast between the smooth white square tiles and the highly textured matte charcoal resin relief creates a striking focal point.
| Item | Cost |
|---|---|
| Purchase Price | $8 |
| Shellac Primer | $15 |
| Matte Charcoal Paint | $8 |
| Tile Mastic | $12 |
| White Ceramic Tiles | $20 |
| Charcoal Sanded Grout | $14 |
| D-Ring Hangers | $4 |
| Total Materials | $73 |
| Total Investment | $81 |
| Estimated Resale Value | $145 |
| Value Gain | $64 |
Note that this $145 figure represents an estimated resale value based on the material upgrade and striking textural contrast, rather than a completed sale. The total investment remains low by utilizing secondhand materials and standard tiling supplies.
Step 1: Remove Flimsy Hardware
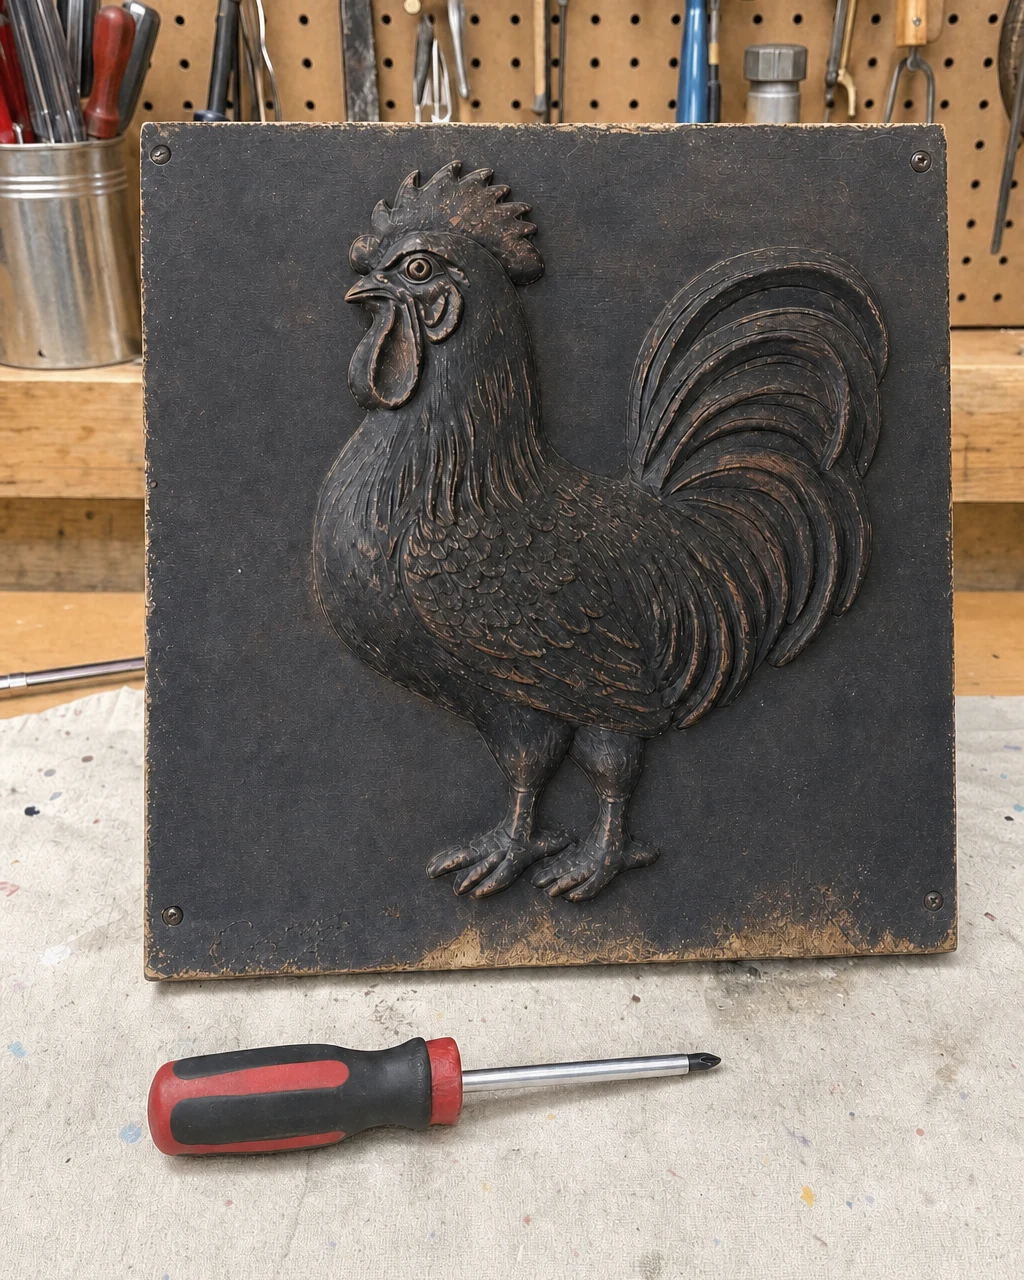
Resting the plaque face-down on the workbench reveals the loose sawtooth hanger attached to the water-damaged particle board backing. Unscrew this original hardware using a manual Phillips screwdriver to prepare the flat back of the plaque for heavier D-ring hardware. Ensure the plaque is resting on a soft surface so the front relief is not crushed while pressing down with the tool.
Step 2: Seal Water Damage
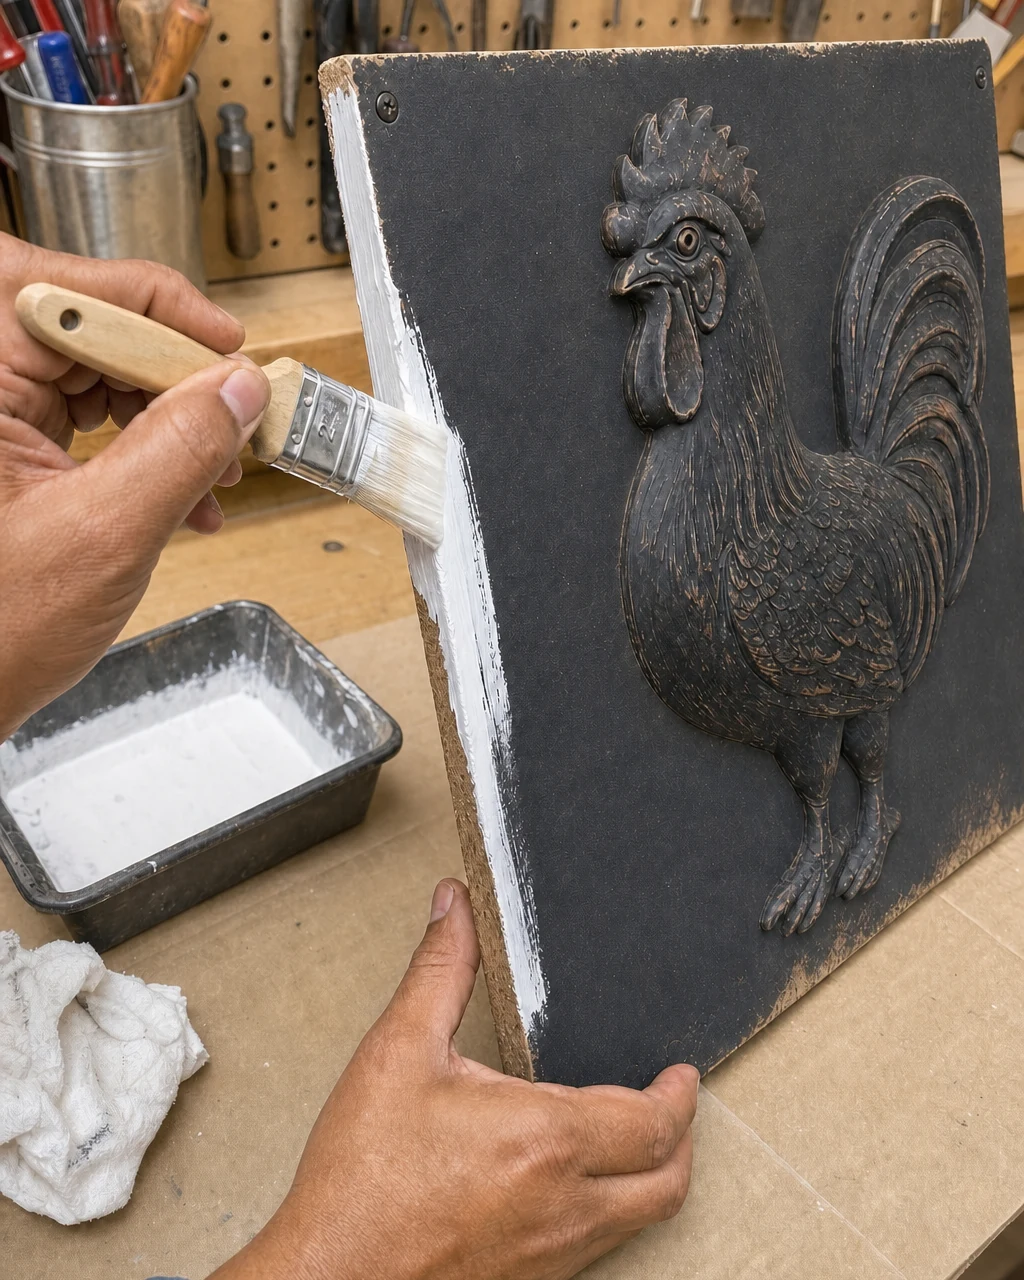
Flip the plaque face-up to address the swollen particle board edges. Coat the damaged areas with thick white shellac primer using a paintbrush. This blocks old water stains and creates a solid bonding surface for the tile adhesive. Work in a well-ventilated area as shellac primer emits strong fumes, and let the opaque white coating dry for one full hour.
Step 3: Paint the Relief
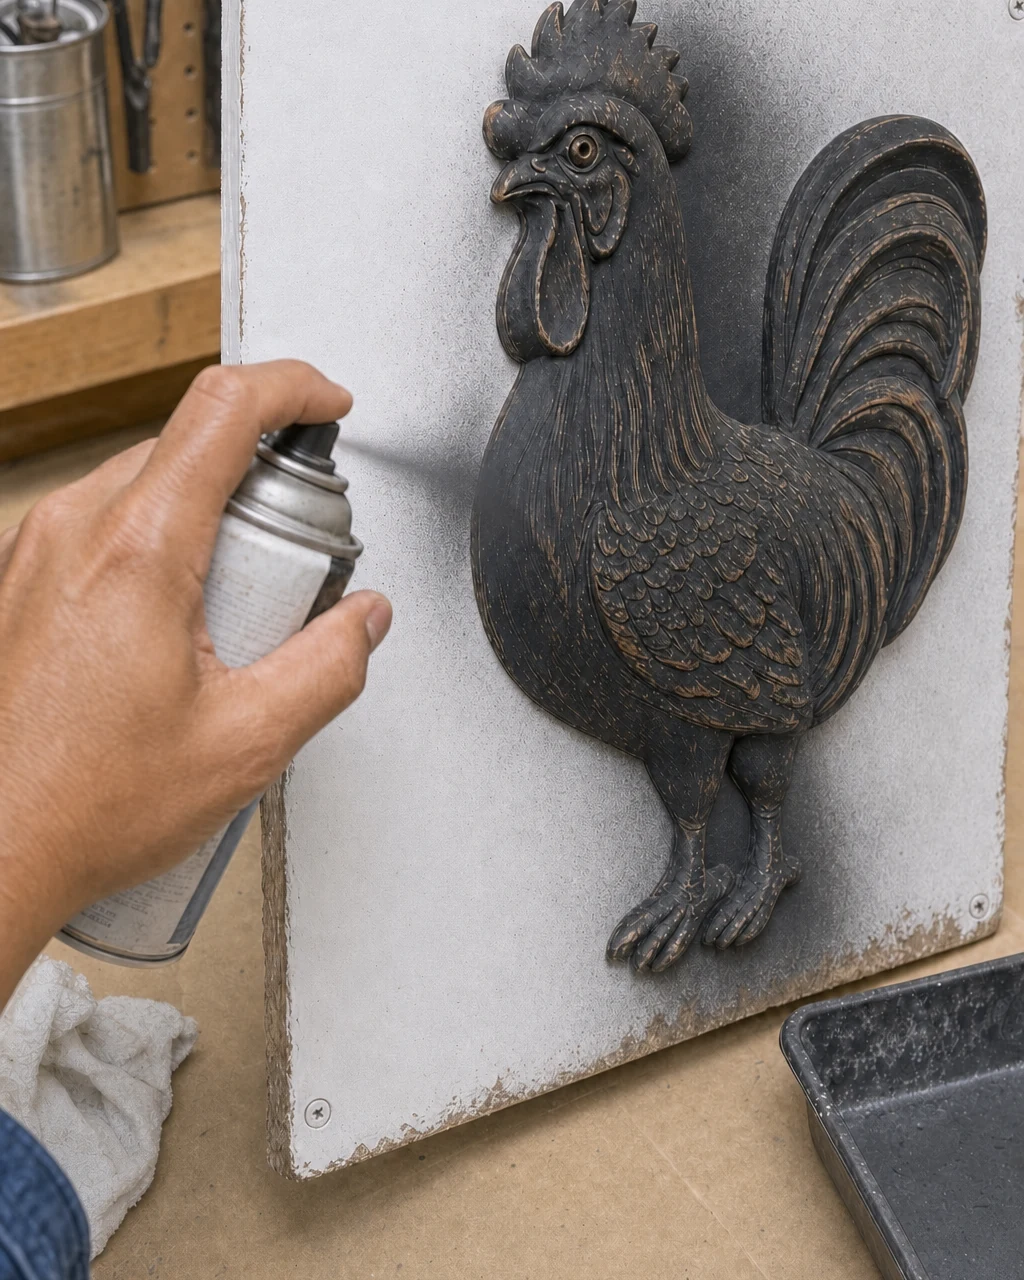
With the board primed white, focus on the central dark brown rooster. Spray the molded resin relief directly with matte charcoal paint to modernize its silhouette. Wear a respirator mask and spray outdoors or in a ventilated garage to ensure safety during application. The central rooster will quickly develop a solid, even matte charcoal color.
Allow the fresh matte charcoal paint to cure fully overnight before beginning the tiling process. This waiting period ensures the finish remains flawless and prevents any smudging or transferring of the dark pigment when handling the heavy plaque during the upcoming mosaic installation.
Step 4: Set the Mosaic
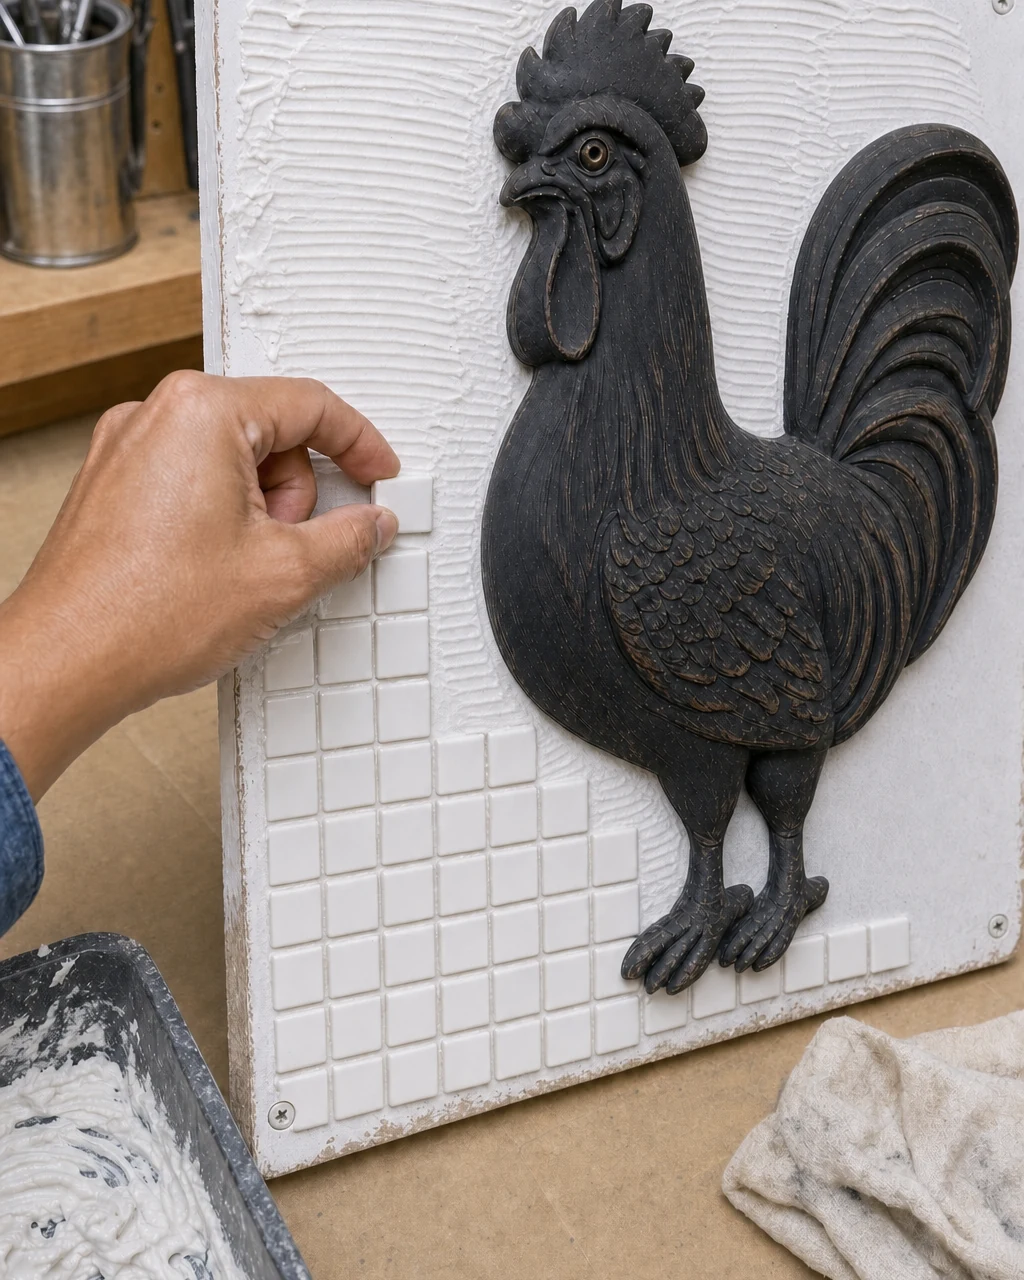
Apply white mastic to the primed board using a notched trowel. Press the small square white ceramic tiles firmly into the adhesive, carefully framing the painted dark rooster. Wear safety glasses if any tiles need to be nipped or cut to fit around the relief. Let the adhesive set for 24 hours until the flat board is covered in a secure tile grid.
Step 5: Apply Charcoal Grout
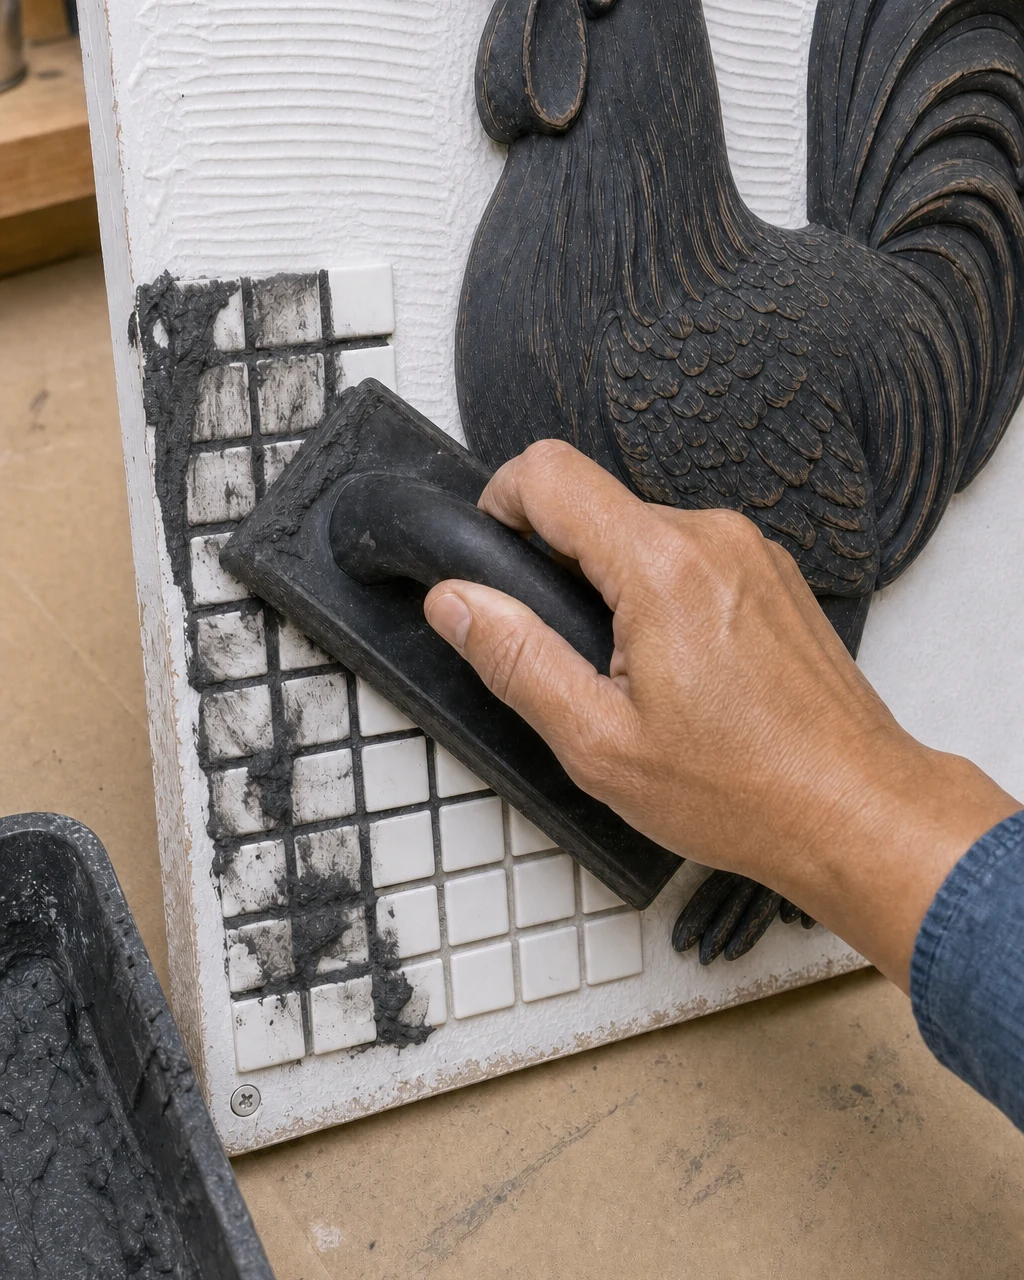
Once the white tiles are firmly set with empty gaps between them, push dark sanded grout into the joints using a rubber grout float. This step locks the mosaic together and adds stark graphic contrast. Wear nitrile gloves to protect your skin from the alkaline grout mixture, then wait 20 minutes for the dark material to firm up.
Step 6: Clean Grout Haze
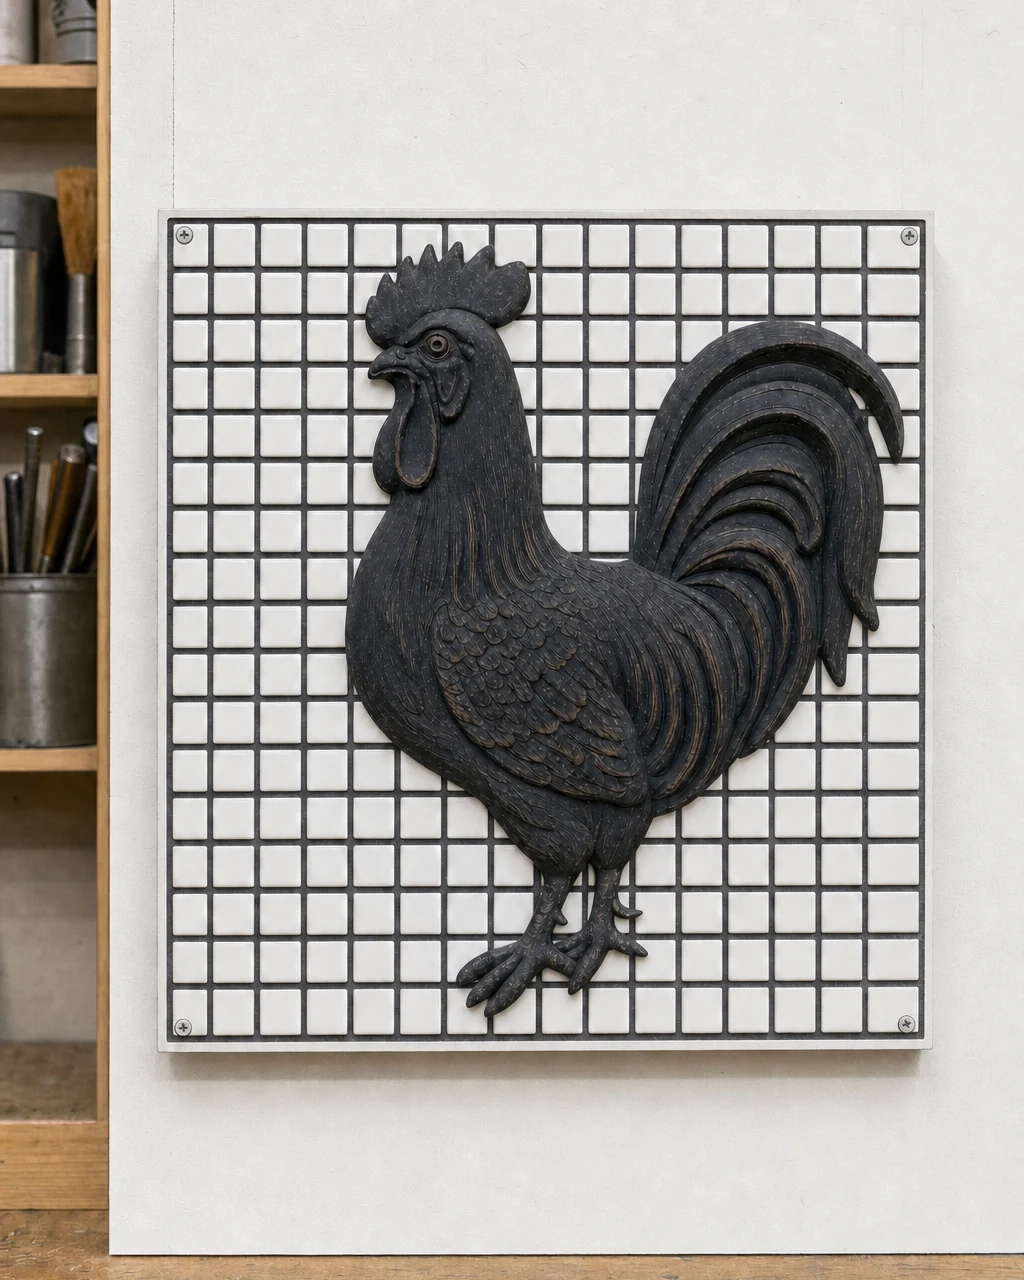
The white tiles will initially be covered in a dull, dark grout haze. Wipe the tiles gently with a damp yellow sponge to remove this residue and reveal the crisp white finish. Wring the sponge out thoroughly to avoid dripping excess water into the fresh grout lines, which can weaken the final bond.
Continue wiping until the white tiles are completely clean and bright against the dark grout lines. Thoroughly removing the haze prevents a permanent cloudy tile finish, ensuring the geometric background remains pristine and highly contrasting against the matte charcoal resin rooster.
Step 7: Hang the Plaque
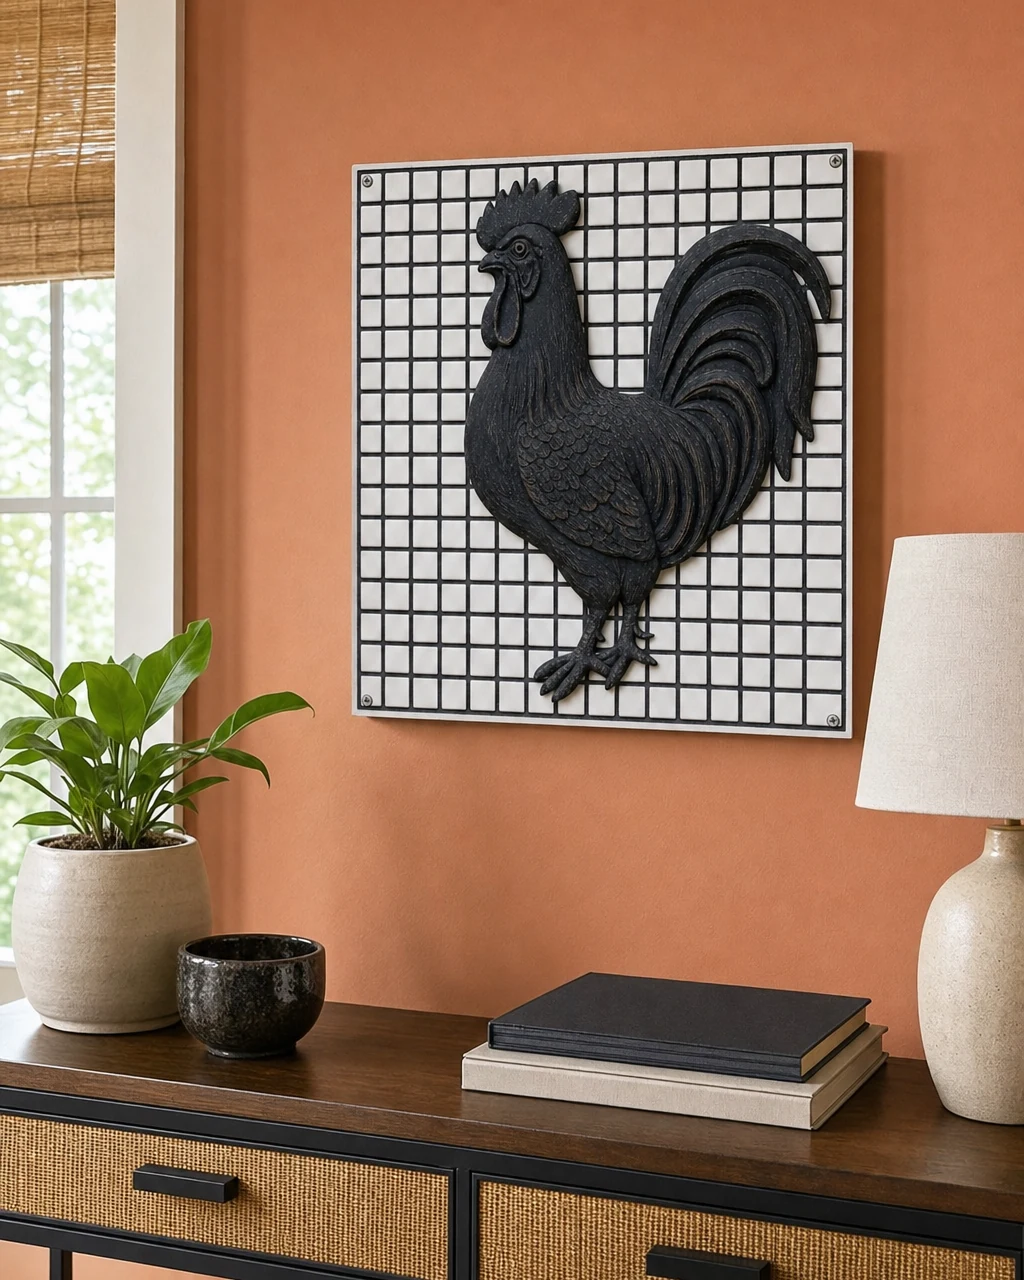
Install heavy-duty D-rings on the back of the fully cured mosaic plaque using a Phillips screwdriver. Ensure the wall hook is rated for the combined weight of the particle board, resin, ceramic tiles, and grout. Finally, hang the modernized black-and-white art piece securely on a gallery wall to showcase the bold textural contrast.