
Wooden Valet Tray Upcycle with Matte Black and Botanical Fabric
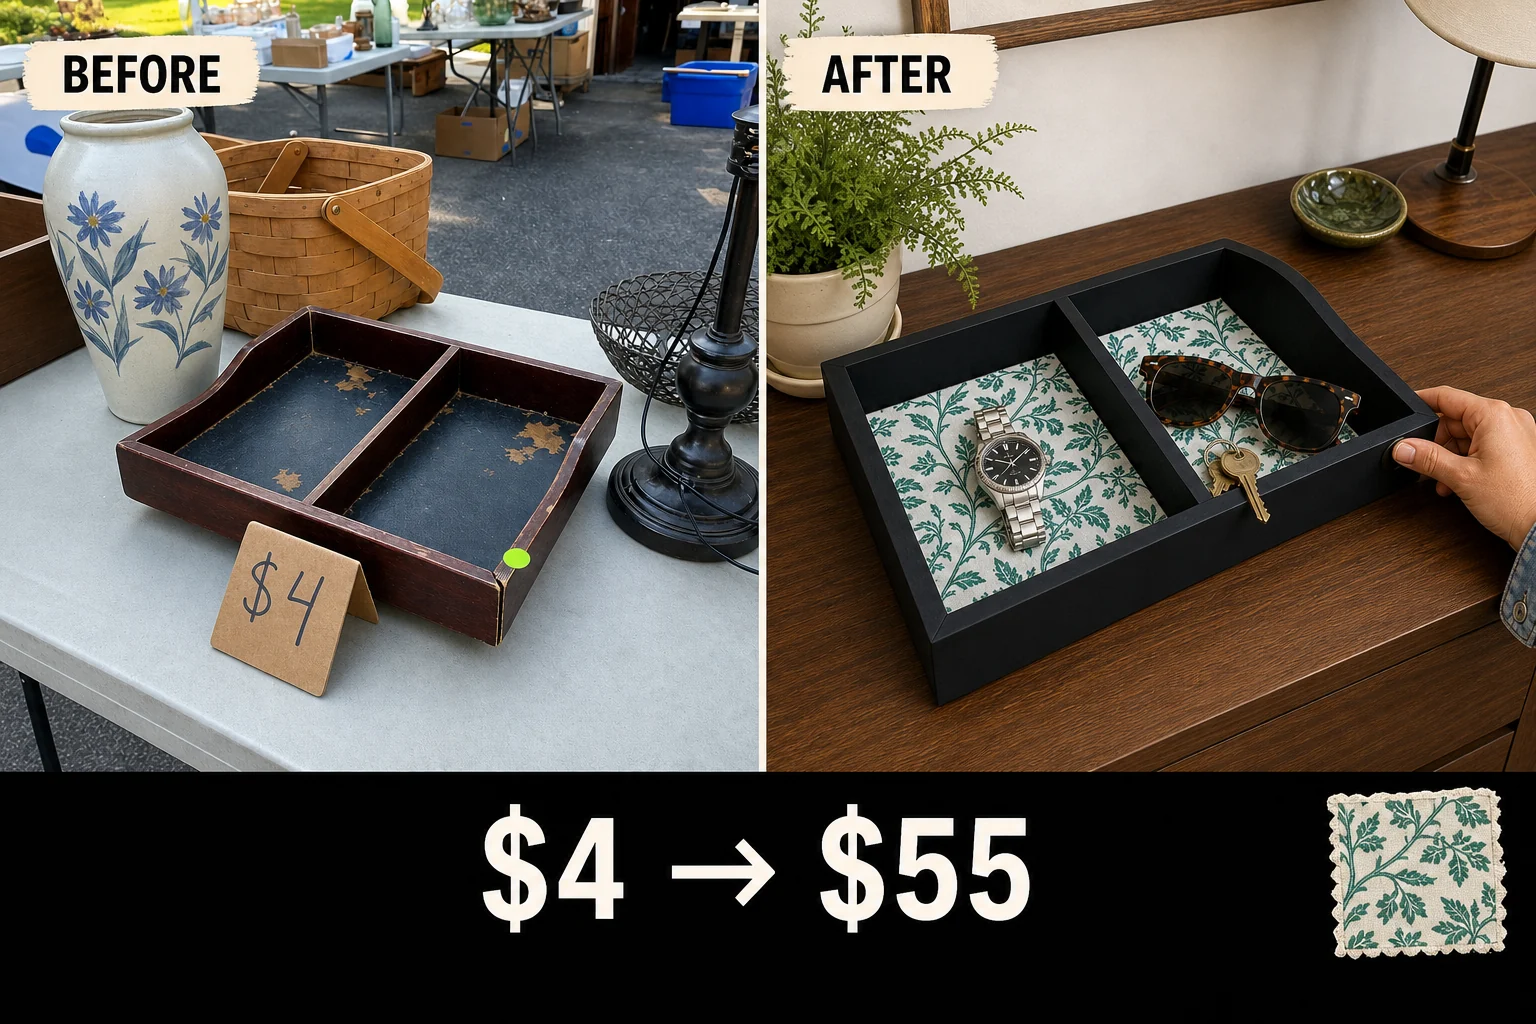
Spotted at a garage sale for four dollars, this solid wood tray had good bones but a badly flaking interior. We upcycled the dated cherry finish with sleek matte black paint and a vibrant emerald botanical fabric insert.
Evaluating the Garage Sale Find
Discovered at a residential driveway sale among folding tables and cardboard price signs, this low rectangular wooden tray featured a divided two-compartment layout. The piece required significant attention before it could function as a clean organizer.
- Peeling faux-leather insert leaving flaking black synthetic bits in the main compartment, making it unusable.
- Visible gap at the bottom right mitered corner creating structural weakness when the tray is lifted.
- White scuff marks and scratches across the top wooden edges that made the piece look neglected.
Understanding the Valuation and Costs
This piece features solid wood construction, giving it a premium weight that modern plastic alternatives lack. The custom boutique-style fabric interior elevates the tray to premium gift-market standards. While the estimated resale value is based on comparable organizers, this represents a potential valuation rather than a guaranteed actual sale.
| Item | Cost |
|---|---|
| Purchase price | $4 |
| Wood glue | $4 |
| Sanding sponge | $3 |
| Matte black paint | $8 |
| Botanical fabric | $5 |
| Double-sided fabric tape | $6 |
| Total investment | $30 |
| Estimated resale value | $55 |
| Value gain | $25 |
Investment Breakdown
The transformation required a minimal financial commitment, focusing primarily on basic adhesives, abrasives, and surface coatings. By replacing the flaking black faux-leather with a vibrant emerald botanical cotton fabric insert, the overall aesthetic shifted dramatically to a sleek, modern piece.
Step 1: Assess the Damage
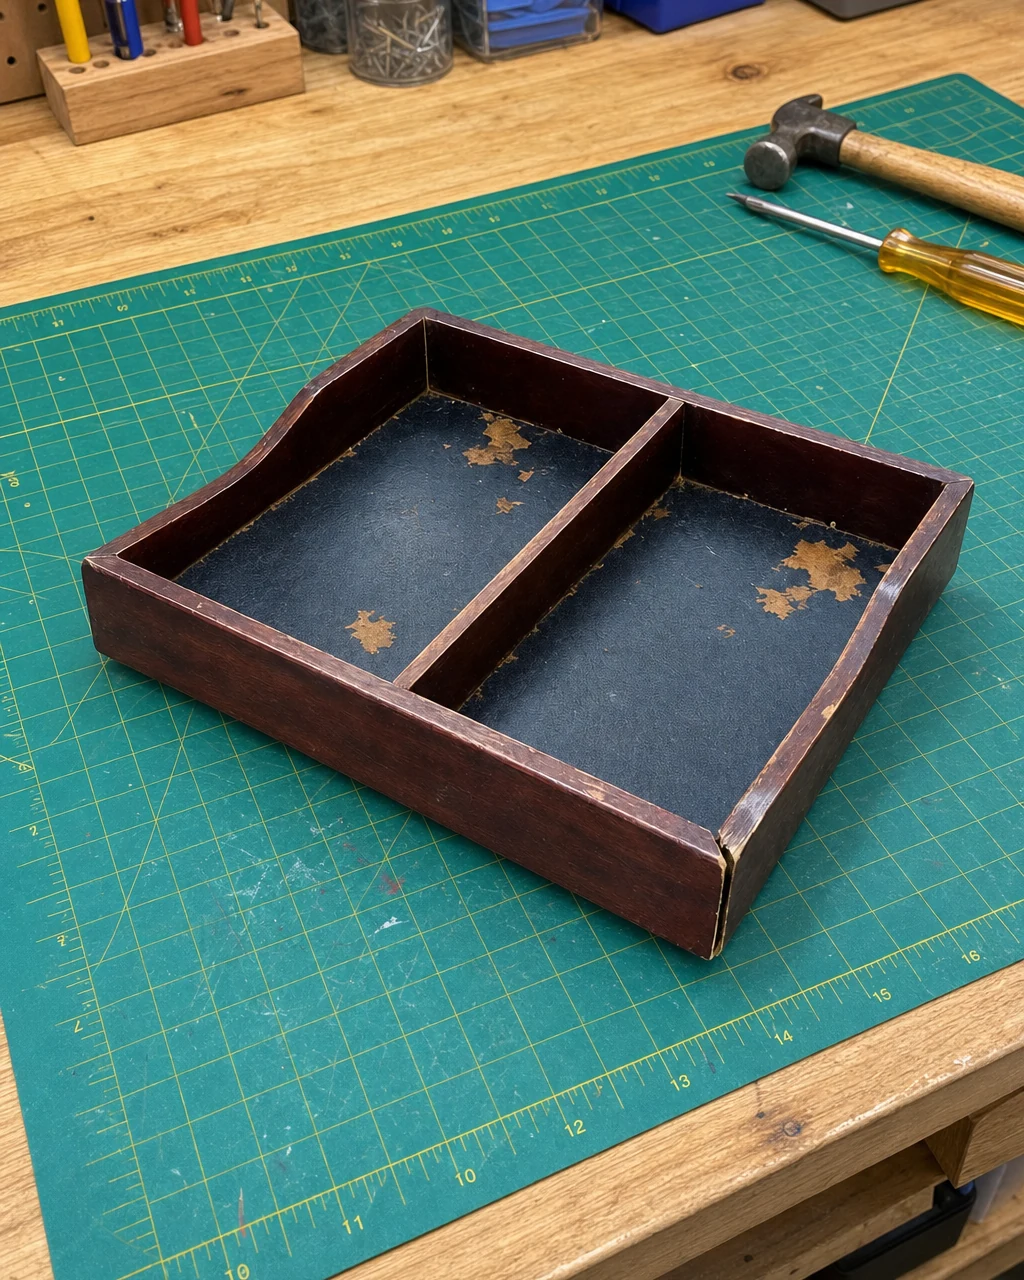
Resting on a protective green cutting mat, evaluate the peeling faux-leather insert and the loose mitered corner. Determining the necessary structural repairs before beginning any surface work saves time and ensures a durable final product.
Materials checklist
Safety and Preparation
Ensure the work surface is clean and well-lit to spot all structural defects. Inspecting the complete original valet tray thoroughly allows you to identify hidden issues, like the separated mitered corner, which must be addressed first.
Step 2: Glue the Loose Corner
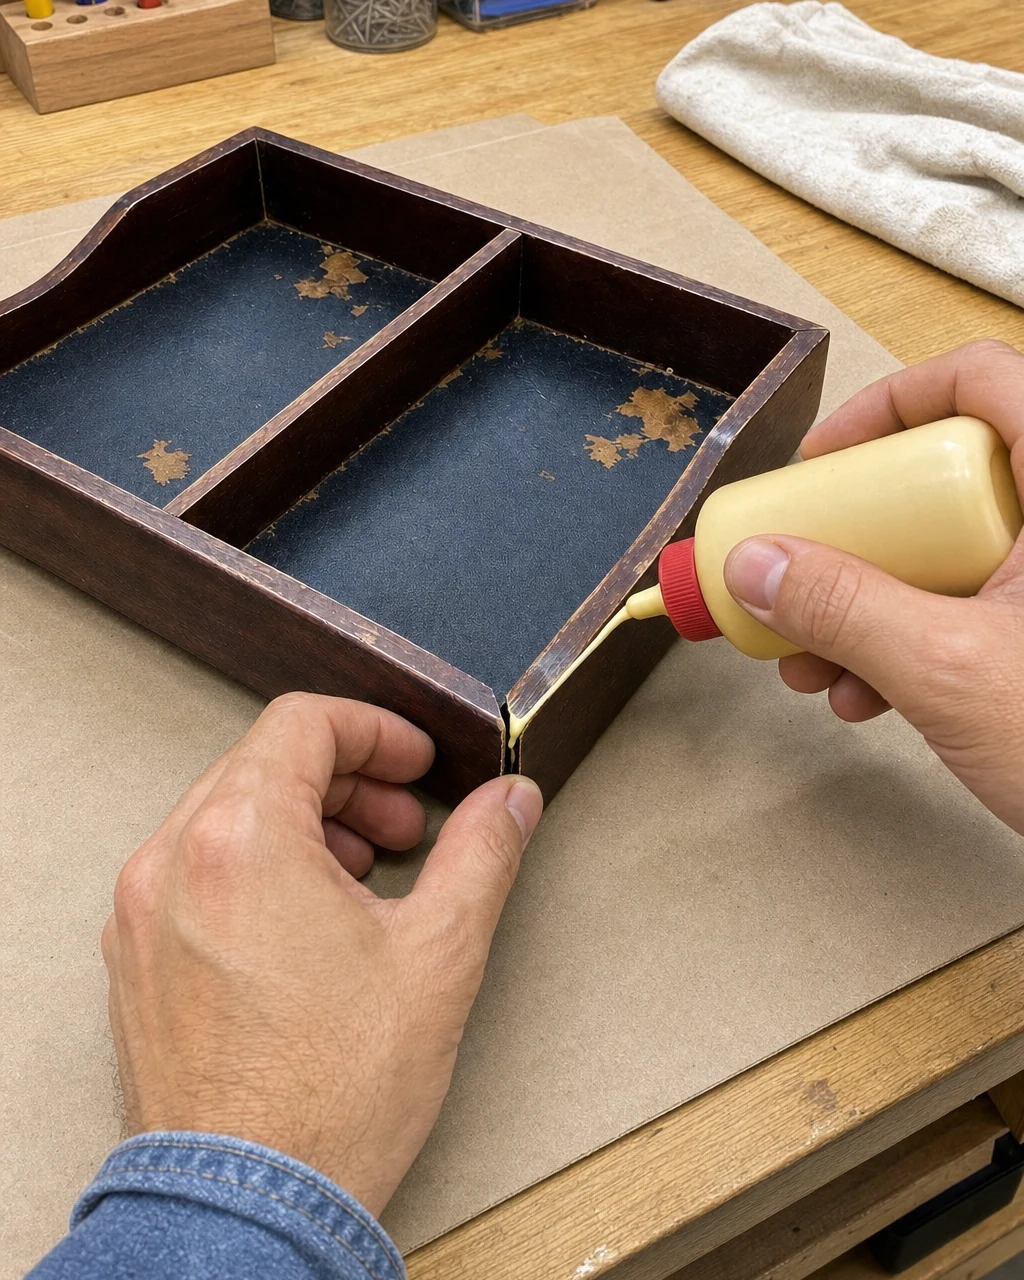
Squeeze a thin bead of yellow wood glue directly into the separated right corner joint of the wooden frame. Press the mitered pieces tightly together to close the gap. Standard carpenter’s adhesive requires clamping pressure to form a strong bond.
Securing the Joint
Apply a bar clamp to hold the frame square and secure while the adhesive cures. Wipe away excess glue immediately to prevent it from sealing the wood grain, which could interfere with the upcoming paint application.
Step 3: Sand the Clear Coat
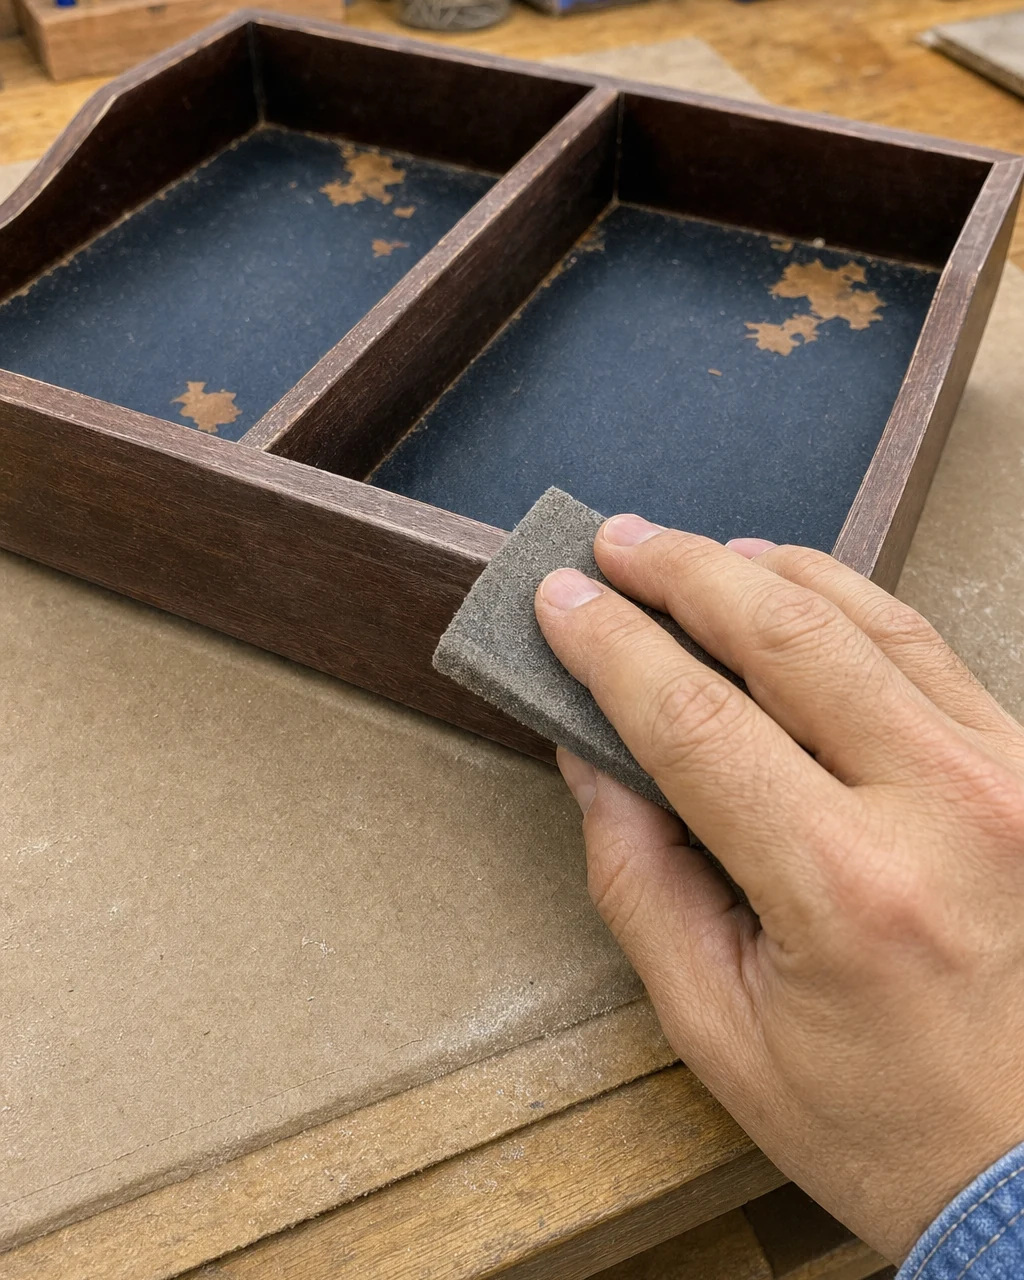
Rub a medium-grit sanding sponge firmly along the top wooden edges and side profiles to dull the original glossy clear coat. The goal is to create a textured, cloudy surface that the new paint can easily grip.
Removing Residual Dust
Wear a dust mask to avoid inhaling fine clear-coat particles during this abrasive process. Once the wood has a dull and scratched appearance, use a dust brush to remove all fine particles from the frame, ensuring a perfectly clean surface.
Step 4: Paint the Frame
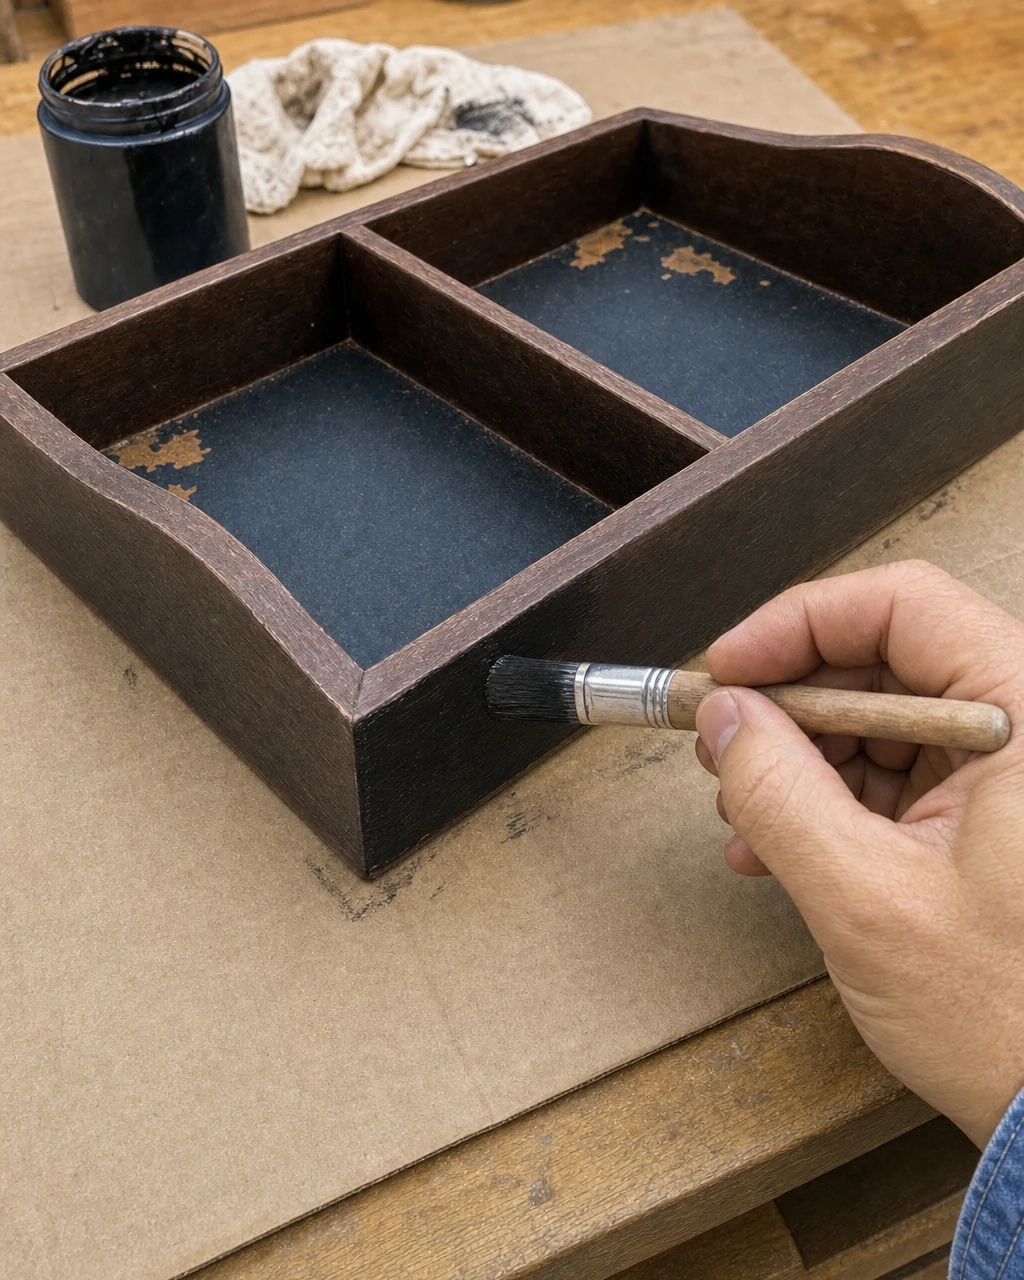
Brush smooth matte black acrylic enamel onto the sanded wooden side panels using a small synthetic brush. Apply the paint in long, even strokes to avoid visible brush marks. Work in a well-ventilated area to dissipate paint fumes.
Applying the Second Coat
Allow the first coat to dry for one hour before applying a second even layer. This ensures a fully opaque, durable hard shell over the old cherry finish. Selecting a high-quality acrylic enamel guarantees that the modernized frame will remain scratch-resistant.
Step 5: Wrap the Fabric Insert
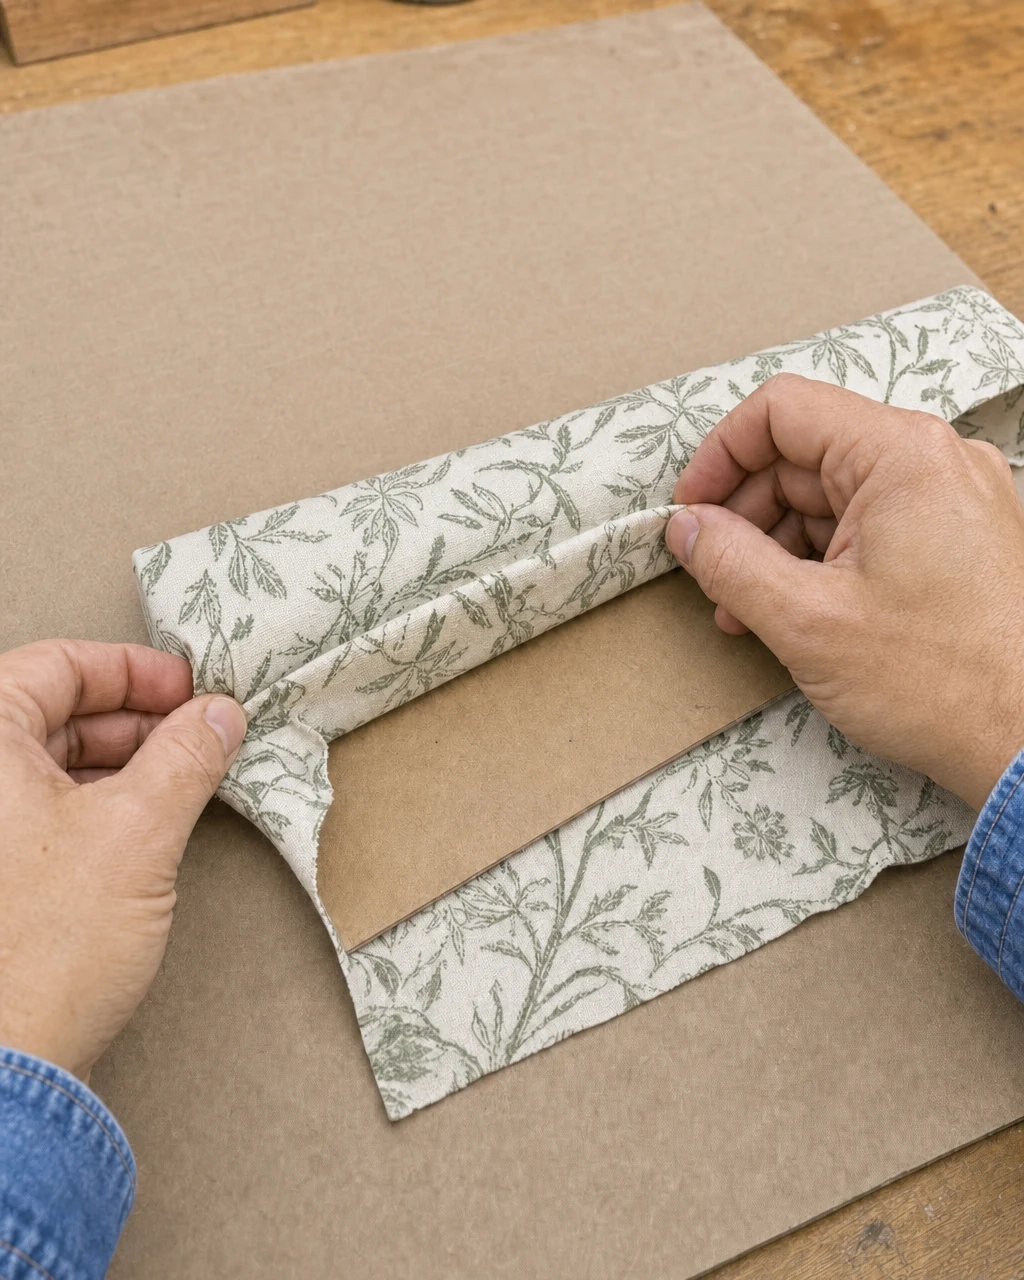
Cut the emerald botanical print cotton to size using sharp fabric scissors. Stretch the fabric tightly over the original cardboard base to prevent any wrinkles or sagging. Keep scissors sharp to prevent the cotton fabric from fraying at the edges.
Securing the Edges
Fold the crisp edges over the back of the rectangular insert and secure them firmly using double-sided fabric tape. This method avoids liquid glue bleed-through on thin cotton. Opt for a tightly woven cotton print that will not stretch out of shape.
Step 6: Review the Finished Tray
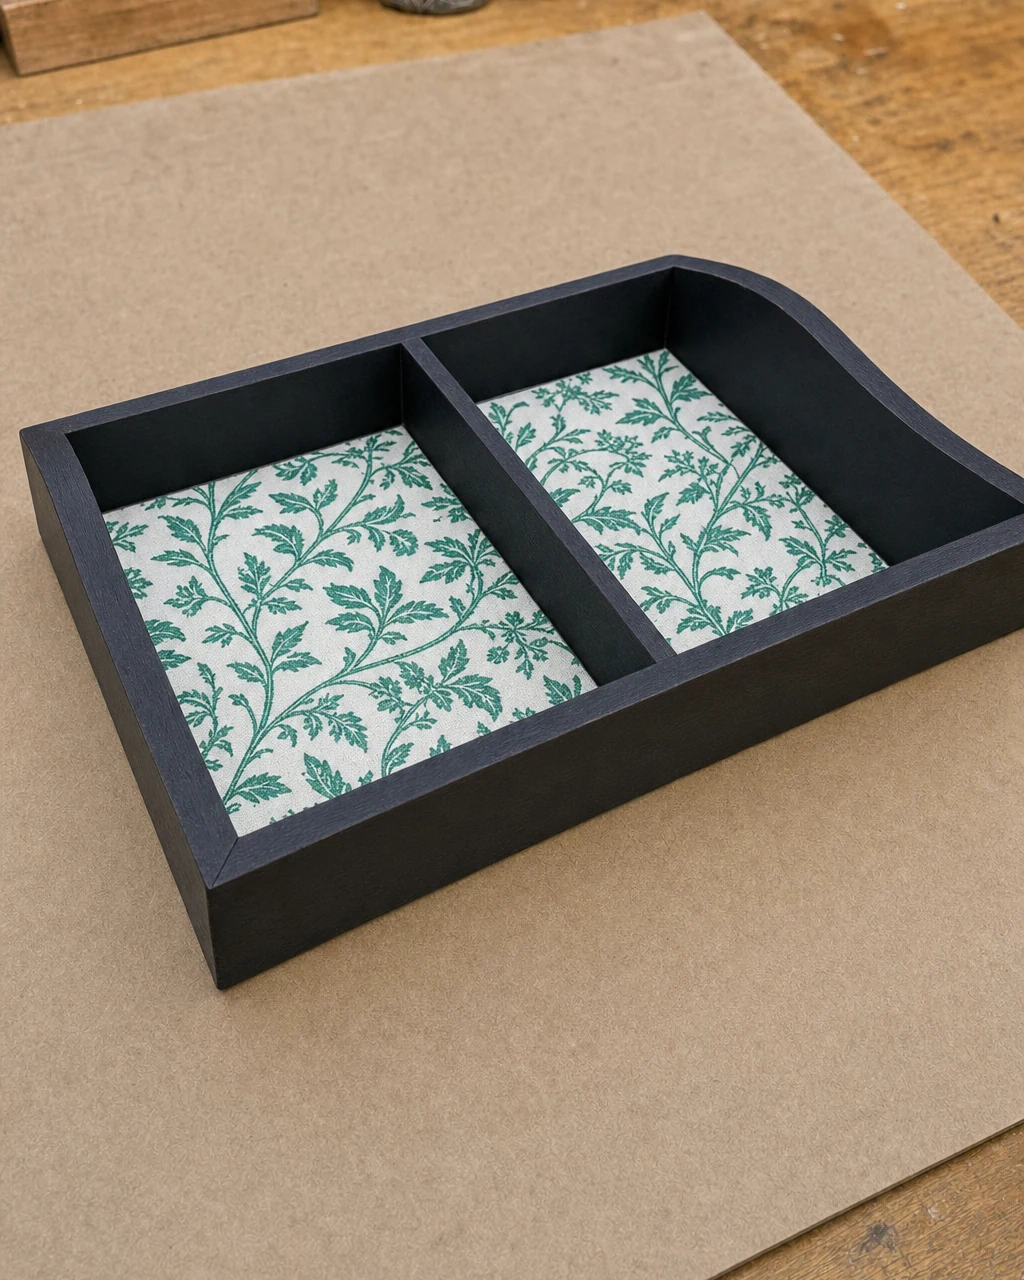
Press the newly wrapped botanical fabric insert firmly into the painted wooden frame. Ensure the paint is fully cured before pressing the tight-fitting insert into place. The tight friction fit should hold the base securely without requiring additional adhesives.
Checking the Friction Fit
Inspect the completed transformation on the workbench, checking the stark contrast between the crisp matte black frame and the vibrant green fabric interior. The fully assembled black tray sits squarely on the clean workshop mat, completely changing the character of the piece.
Step 7: Style the Valet Tray
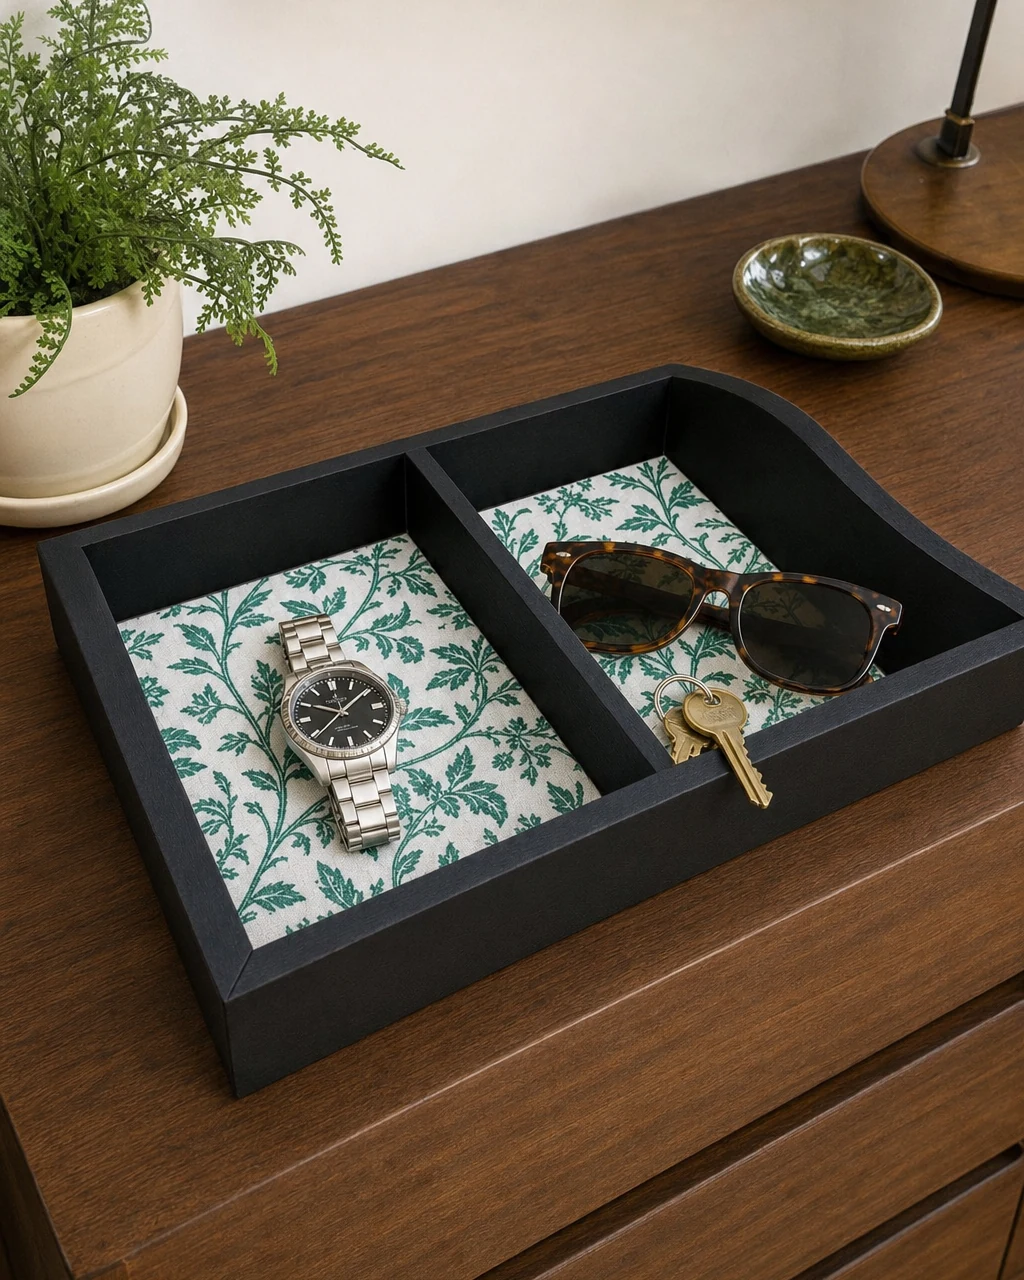
Place the modernized tray on a bedroom dresser or entryway console to organize daily essentials. The divided compartments perfectly hold items like a metal watch, tortoiseshell sunglasses, and brass keys. Keep the fabric insert away from liquids or sharp objects.
Organizing Daily Essentials
The custom boutique-style fabric interior turns a basic organizer into a personalized piece of functional bedroom decor. Resting on a mid-century walnut dresser, this sleek matte black wooden tray proves that thoughtful material choices can successfully elevate a dated thrift store find.