
Wooden Trinket Box Makeover with a Diagonal Indigo Dip-Dye
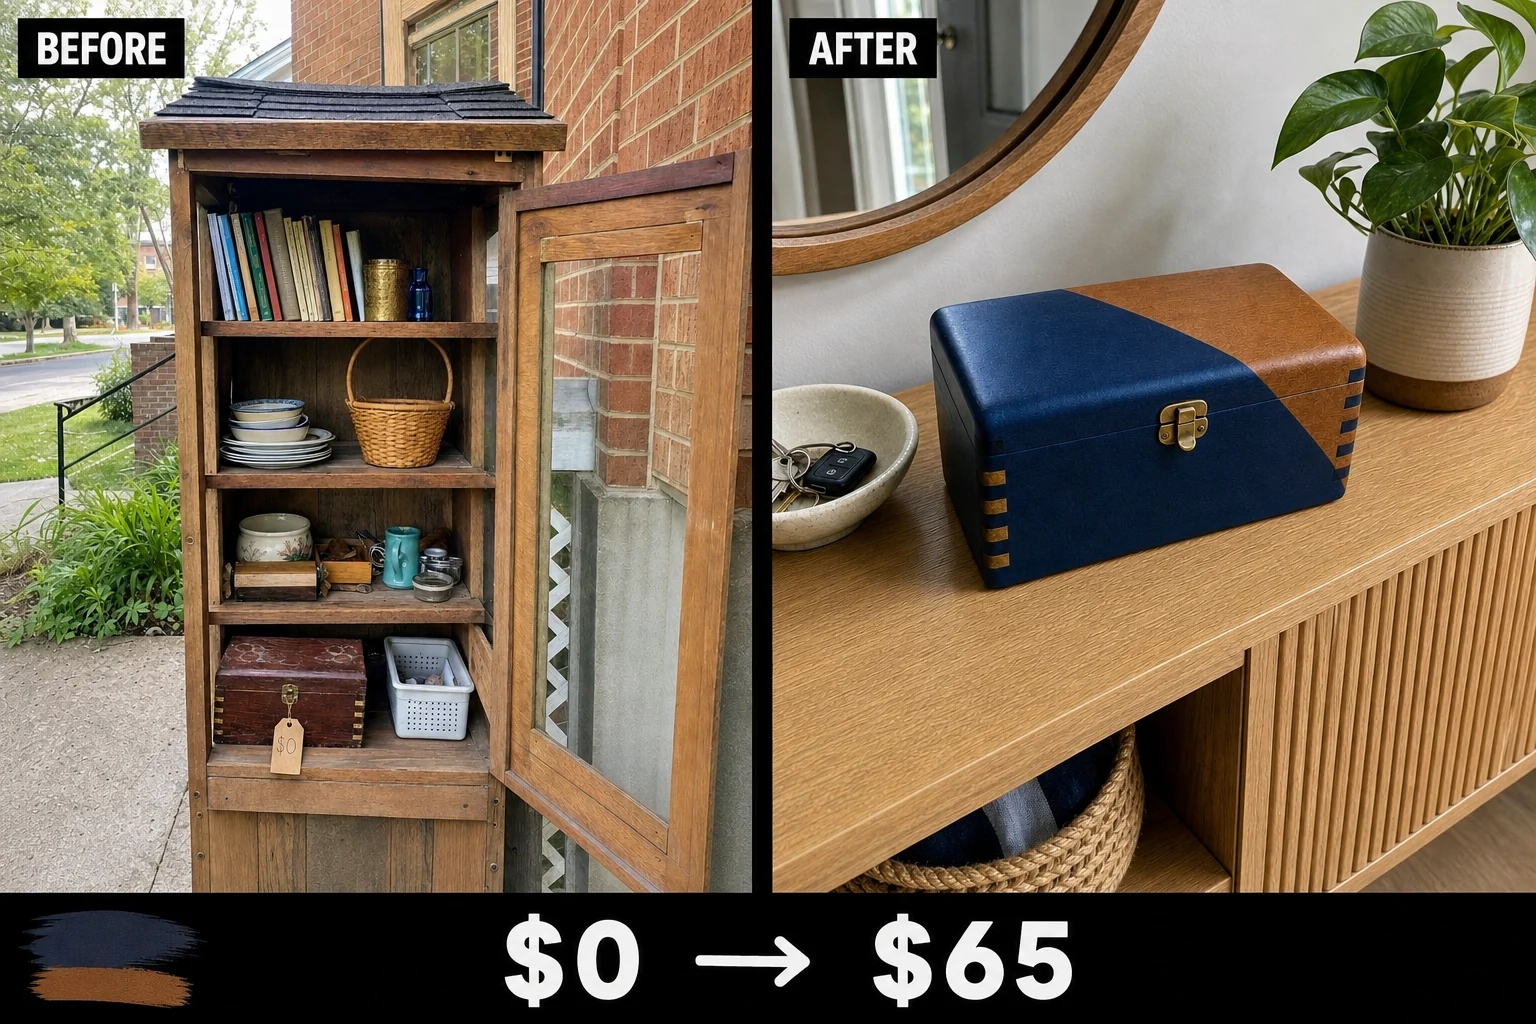
A heavy mahogany trinket box marked ‘free’ sat on the bottom shelf of a local neighborhood swap shelf. Stripping the damaged finish and applying a vibrant diagonal indigo dip-dye completely transformed it into a striking, two-toned modern accent piece.
Step 1: Assess the Free Swap Cabinet Find
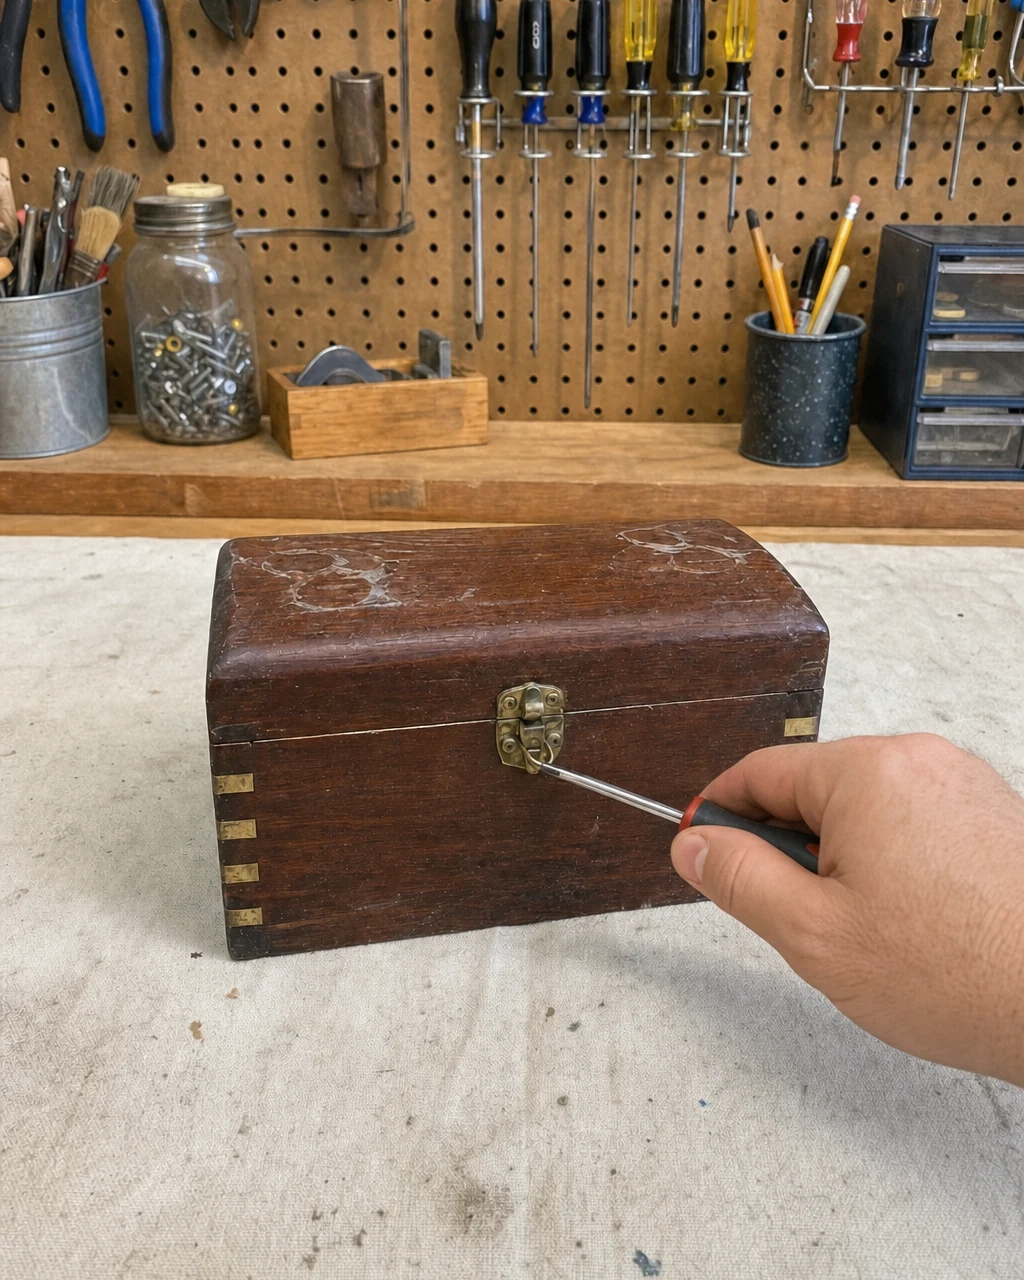
Finding quality materials at a neighborhood swap shelf often requires looking past superficial damage. This solid mahogany box featured beautiful finger-jointed corners and a slightly domed lid, but the dark finish was uneven and heavily scuffed. Overlapping white circular water rings across the top lid indicated severe moisture damage trapped deep in the clear coat, requiring a complete sanding down to bare wood.
Evaluating the Surface Damage
Before planning the new design, it was crucial to understand what could be salvaged. The heavy brass front latch and hinges were tarnished but fully functional. However, the prominent white water rings meant the old finish had to be completely removed to ensure the new dye would absorb evenly into the raw mahogany.
Step 2: Remove the Vintage Hardware
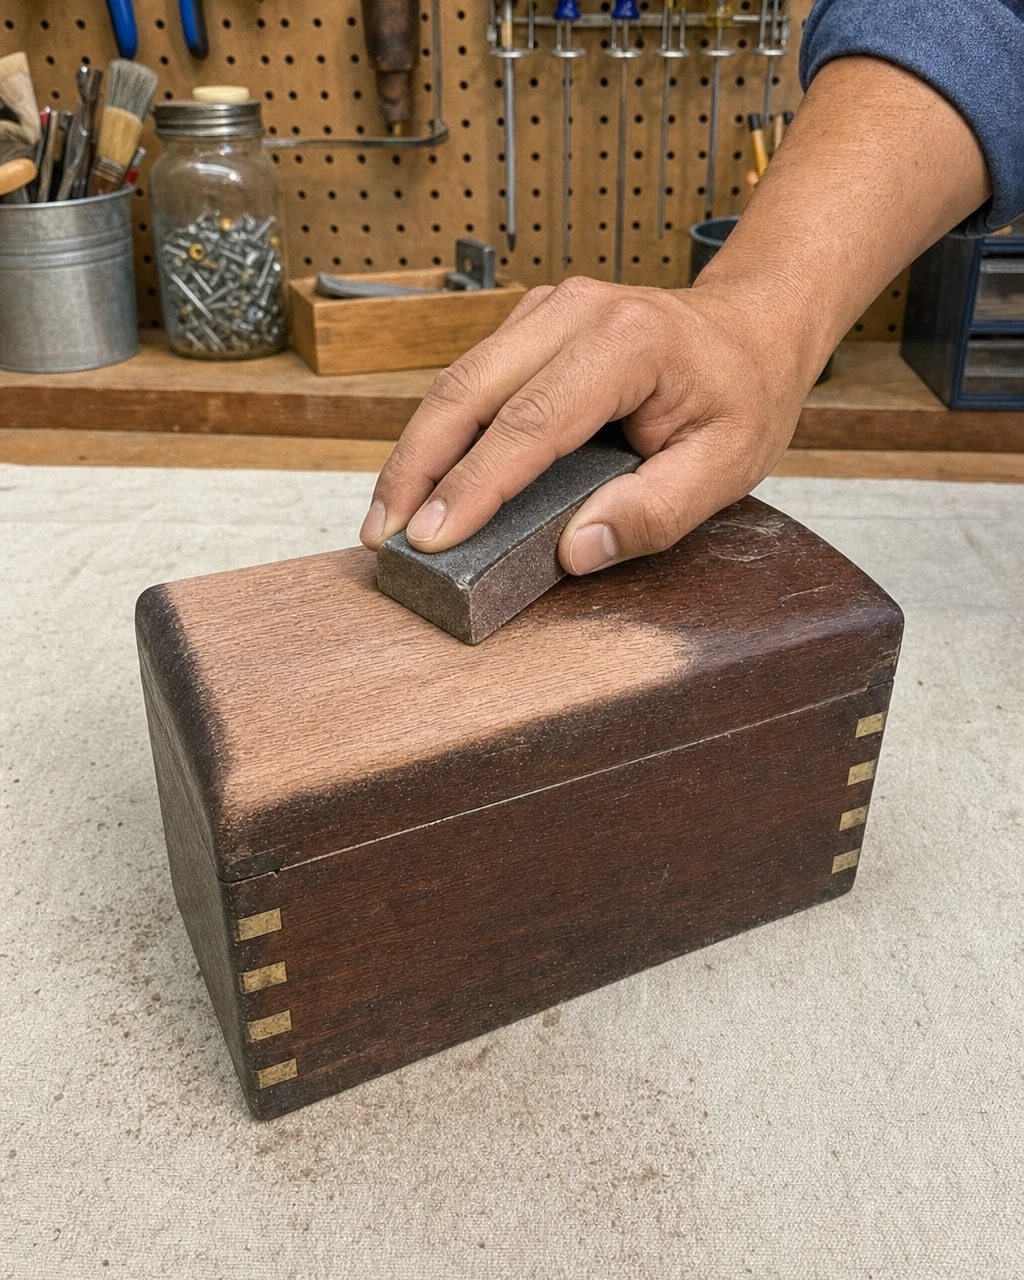
Before addressing the damaged finish, use a small screwdriver to carefully unscrew and remove the heavy brass latch and hinges. Stripping the box of all metal hardware ensures an completely unobstructed surface. This vital preparation step readies the dark mahogany wood for an even sanding process without risking accidental scratches to the delicate vintage brass components.
| Item | Cost |
|---|---|
| Trinket box purchase | $0 |
| Sandpaper block | $5 |
| Painter’s tape | $6 |
| Indigo wood dye | $12 |
| Clear finishing wax | $14 |
| Materials Total | $37 |
| Total Investment | $37 |
| Estimated Resale Value | $65 |
| Value Gain | $28 |
Keep small vintage screws in a magnetic dish to prevent loss during the project. Hand-tightening these tiny fasteners later will be much easier if you retain the original hardware, as modern replacements rarely match the exact thread pitch, length, or the beautiful aged patina of mid-century brass fittings.
Step 3: Sand Away the Water Rings
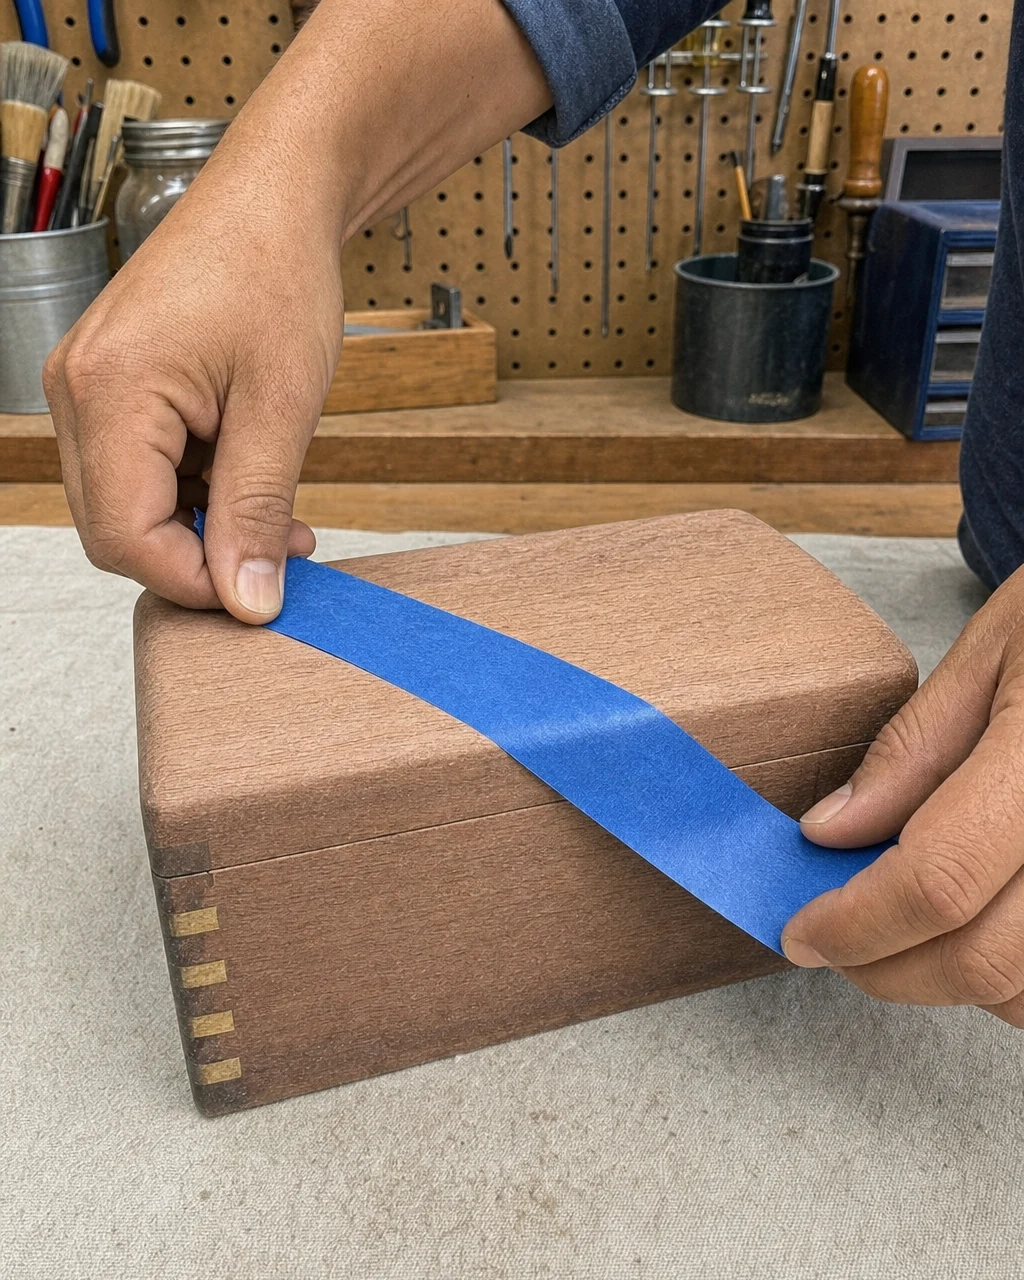
Working over a dust-collection mat, use a medium-grit sandpaper block to scrub away the dark finish and those prominent water rings. Continue sanding the entire box until the lighter, raw mahogany is completely exposed. This thorough abrasion creates a clean slate for the new color while carefully preserving the unique finger-jointed corners.
Always wear a dust mask when sanding old wood finishes to protect your lungs from airborne particles. Once the overlapping white circular stains are fully erased, wipe the bare wood down with a tack cloth. Removing all lingering debris ensures the surface is perfectly smooth and ready to accept the vibrant new color.
Step 4: Tape a Sharp Diagonal Line
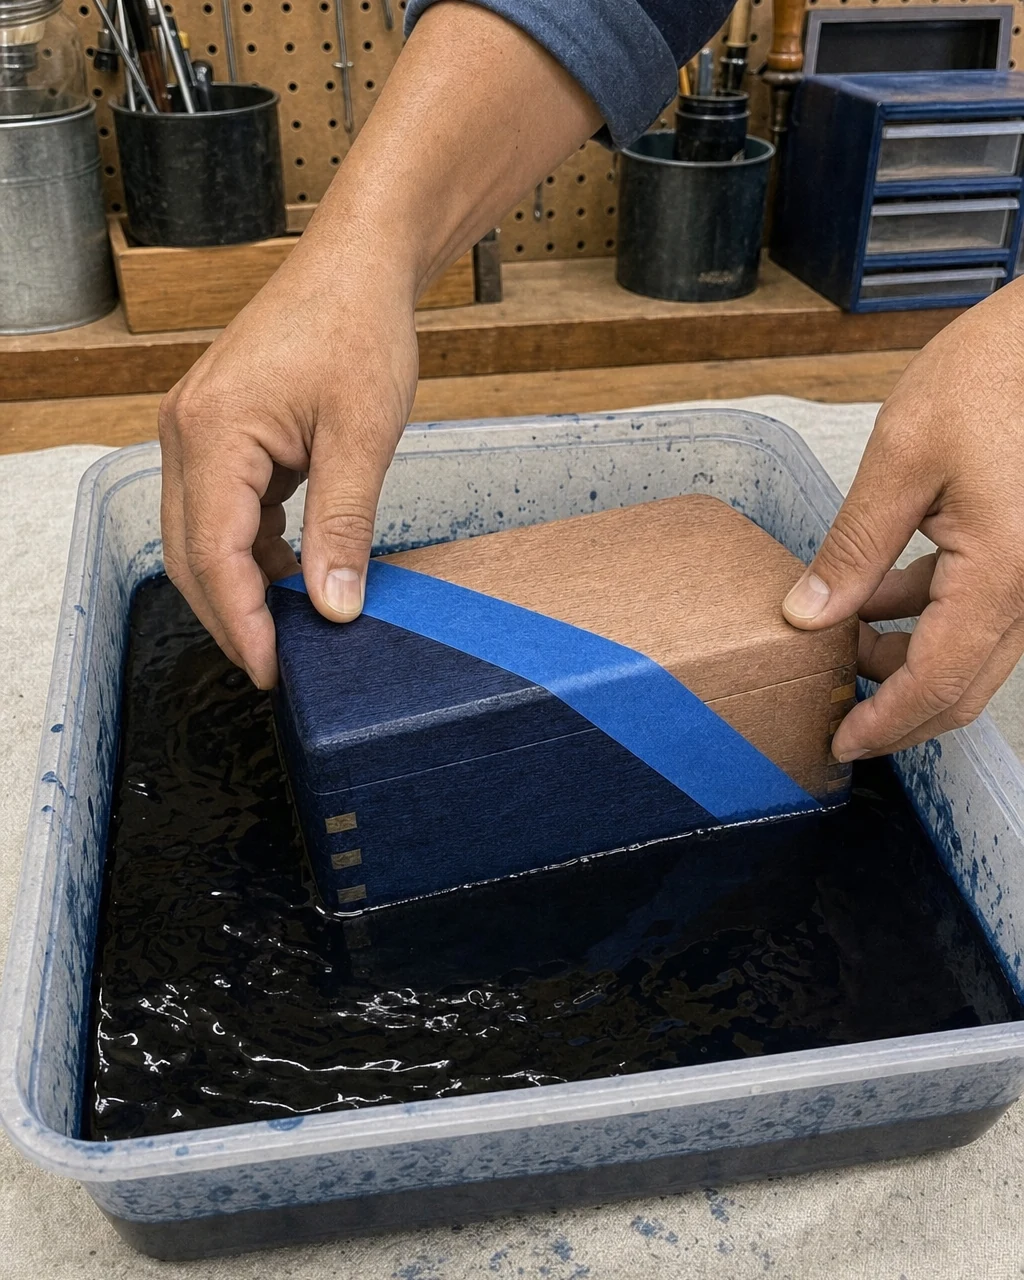
To create the crisp diagonal dip line, wrap blue painter’s tape tightly around the closed bare wood box. Use scissors to cut clean edges, ensuring the tape divides the box on a sharp diagonal. This physical barrier blocks the dye from the upper section to maintain the natural wood tone.
Materials checklist
Press the tape edges down firmly to prevent the liquid dye from bleeding underneath the masked boundary. Taking the time to secure this barrier guarantees that the striking diagonal line separating the rich natural mahogany from the vivid indigo remains perfectly crisp after the dipping process.
Step 5: Dip Into Vibrant Indigo Dye
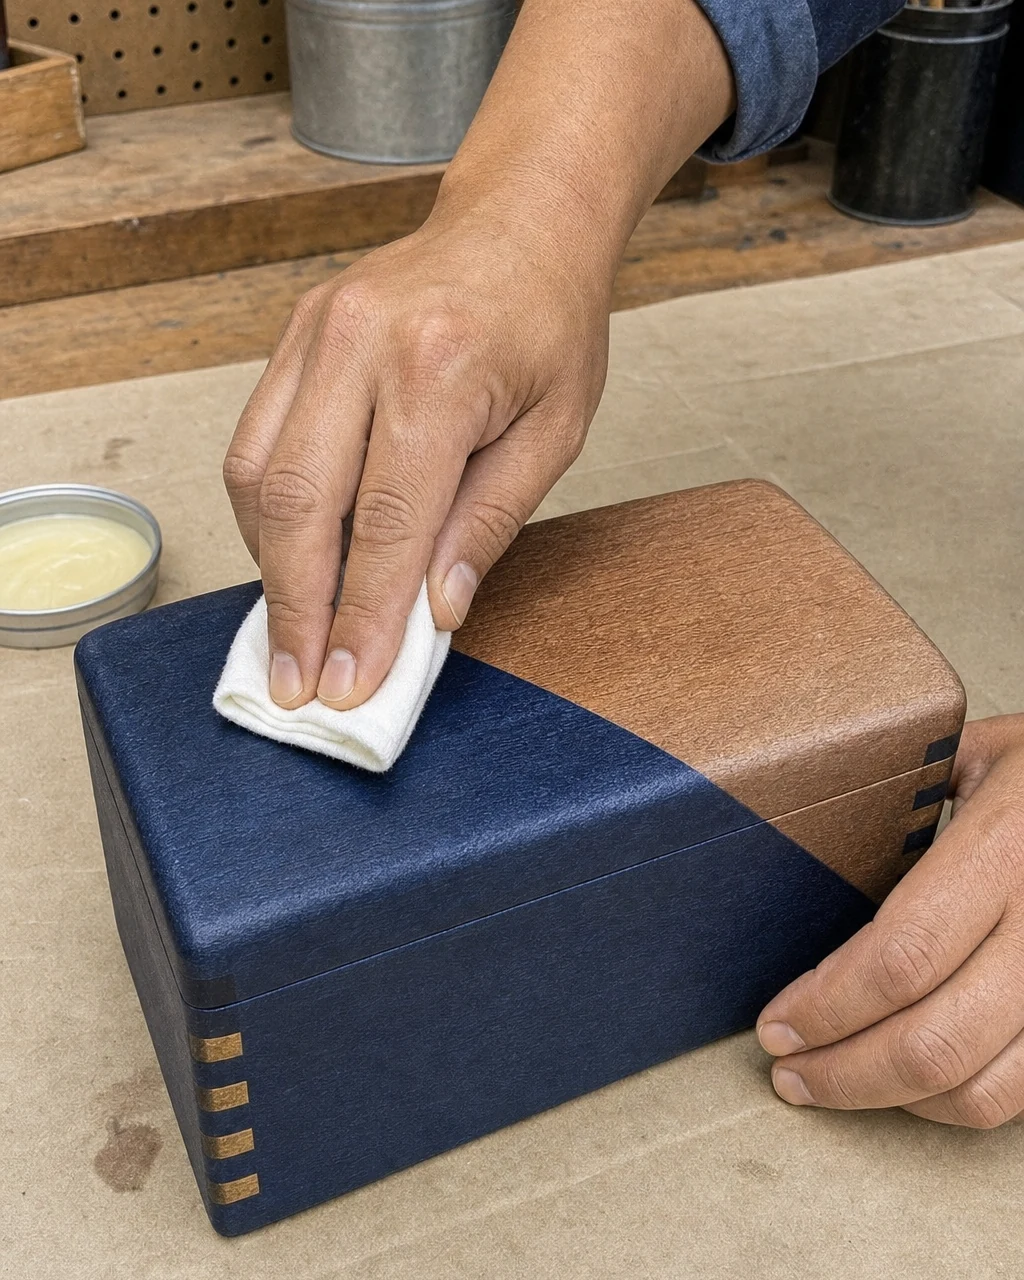
Set up a plastic tub filled with dark indigo wood dye over a canvas drop cloth to protect your workshop surfaces. Submerge the unmasked lower section of the box directly into the dye bath. Hold the piece steady to allow the porous raw mahogany to absorb the rich, penetrating color evenly across all exposed panels.
Wear rubber gloves and work in a well-ventilated area when handling liquid dyes. After achieving the desired depth of color, carefully lift the box out of the bath and let the vibrant indigo dry completely. Patience during this drying phase is essential before attempting to remove the protective painter’s tape to reveal the contrast.
Step 6: Seal With Clear Finishing Wax
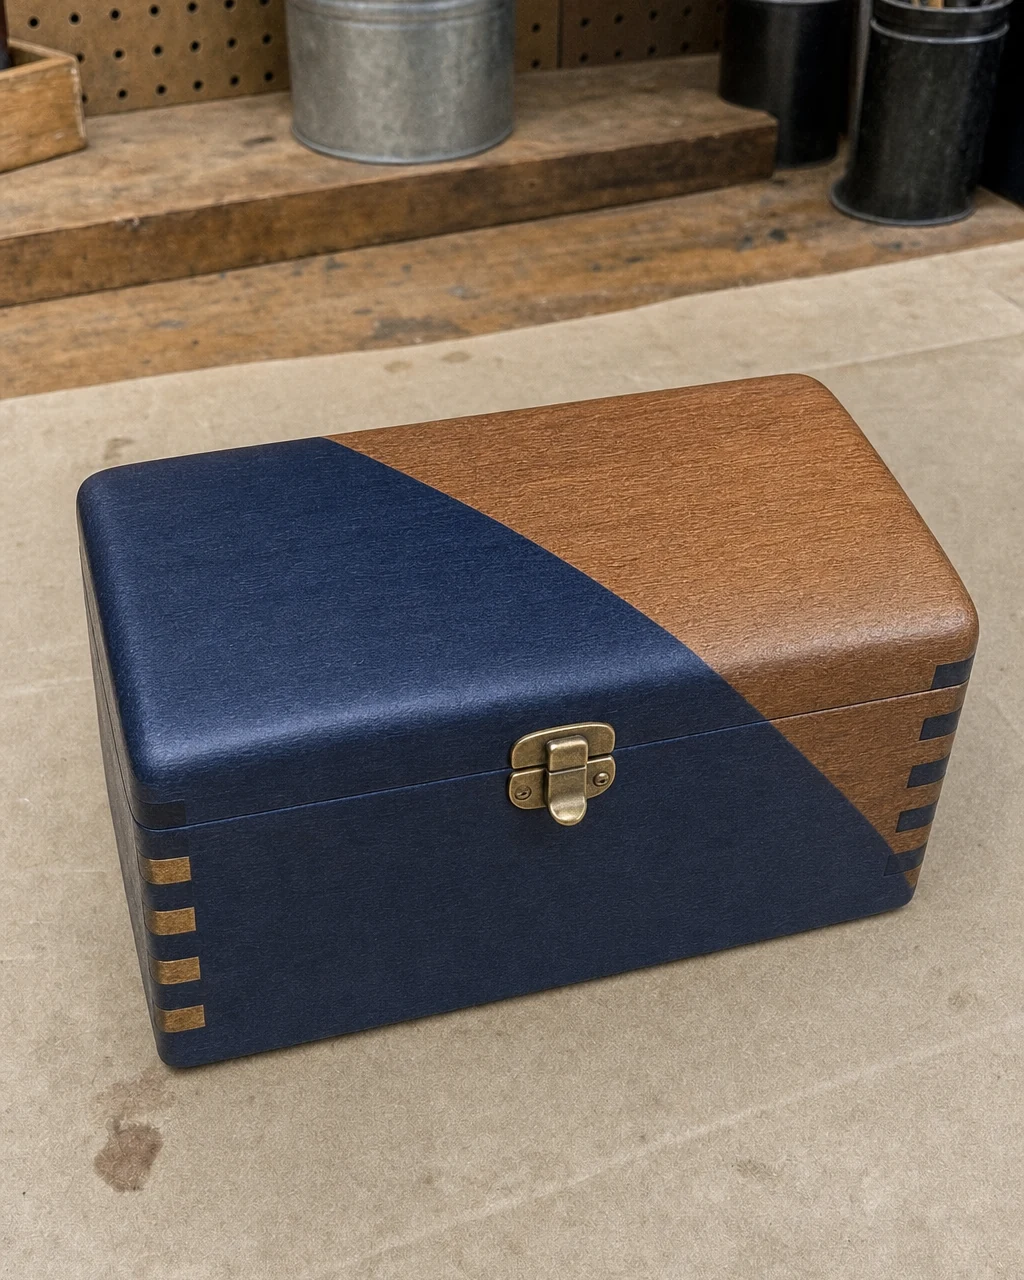
Once the dye is fully dry and the tape is removed, use a lint-free cotton cloth to rub clear finishing wax over the entire box. Buff the wax into both the raw mahogany and the dyed section to seal the surface, leaving a subtle, protected sheen that highlights the grain.
- Scoop a small amount of clear finishing wax onto your cotton cloth.
- Rub the wax into the raw mahogany upper section first to avoid transferring any loose dye.
- Buff the dyed lower half using a clean section of the cloth until the surface feels smooth.
Always dispose of wax-soaked rags properly to avoid spontaneous combustion. Lay the used cotton cloths flat outdoors to dry completely before throwing them away, ensuring your workspace remains safe while the newly sealed two-toned wood surface cures overnight.
Step 7: Style on an Entryway Console
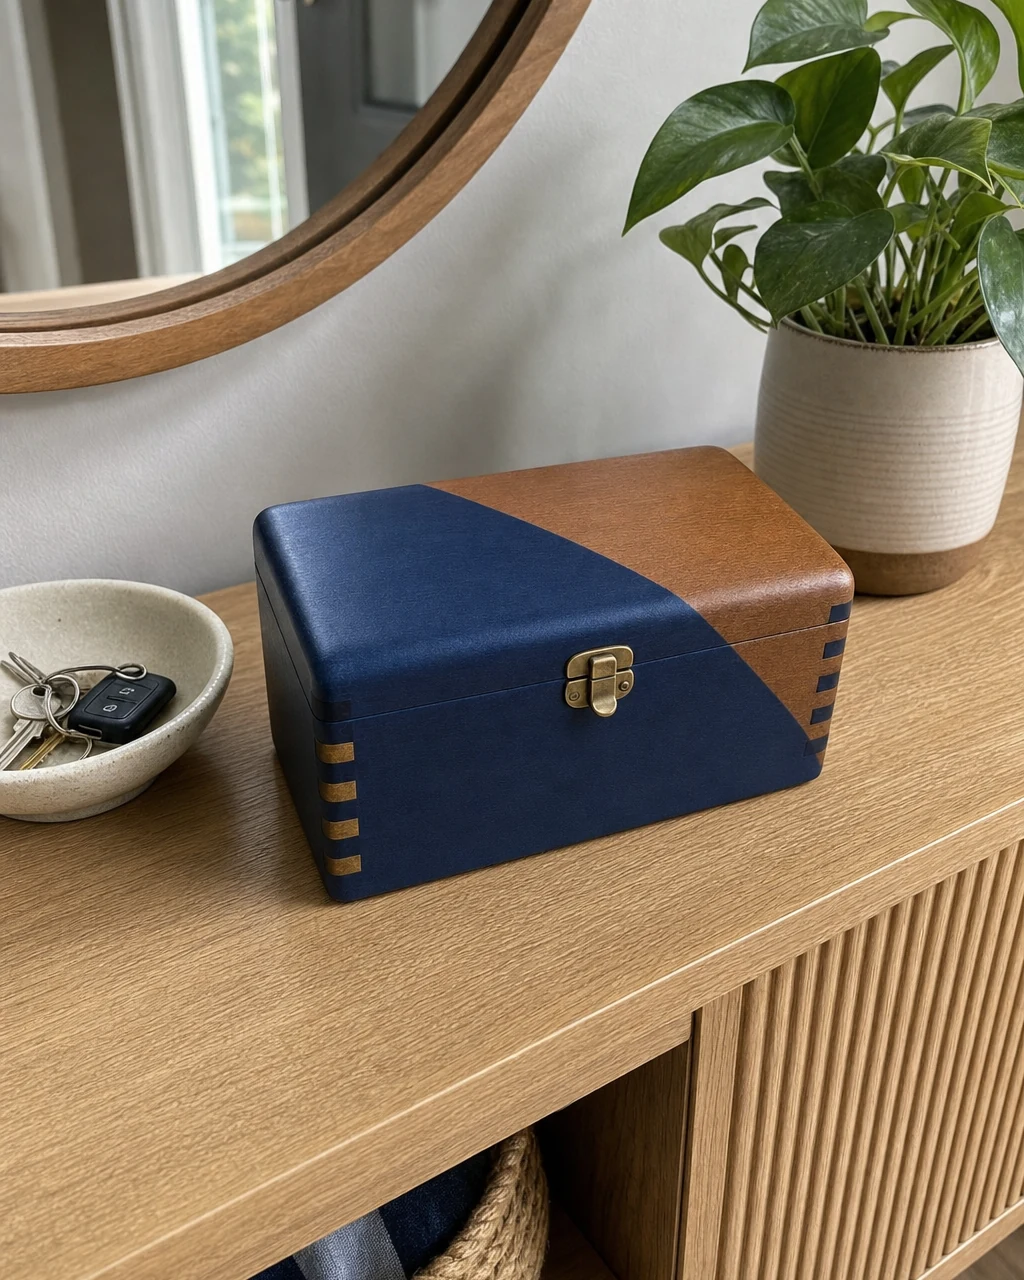
With the wax fully cured, align the heavy brass latch and hinges back over their initial pilot holes and hand-tighten the screws gently to avoid stripping the old wood. Place the finished indigo and mahogany trinket box on a modern entryway console to hold keys and daily items. The crisp diagonal line beautifully separates the rich natural wood from the vivid dye.
Valuation and Resale Potential
While this box was a free neighborhood swap shelf find, its solid mahogany construction provides an excellent foundation for high-end upcycling. The striking modern dip-dye treatment elevates the piece to boutique decor pricing. This transformation gives the completed project an estimated resale value of $65, though this represents a professional editorial estimate rather than a guaranteed or completed sale.