
Oak Mug Tree Before and After: A Textured Limewash Finish
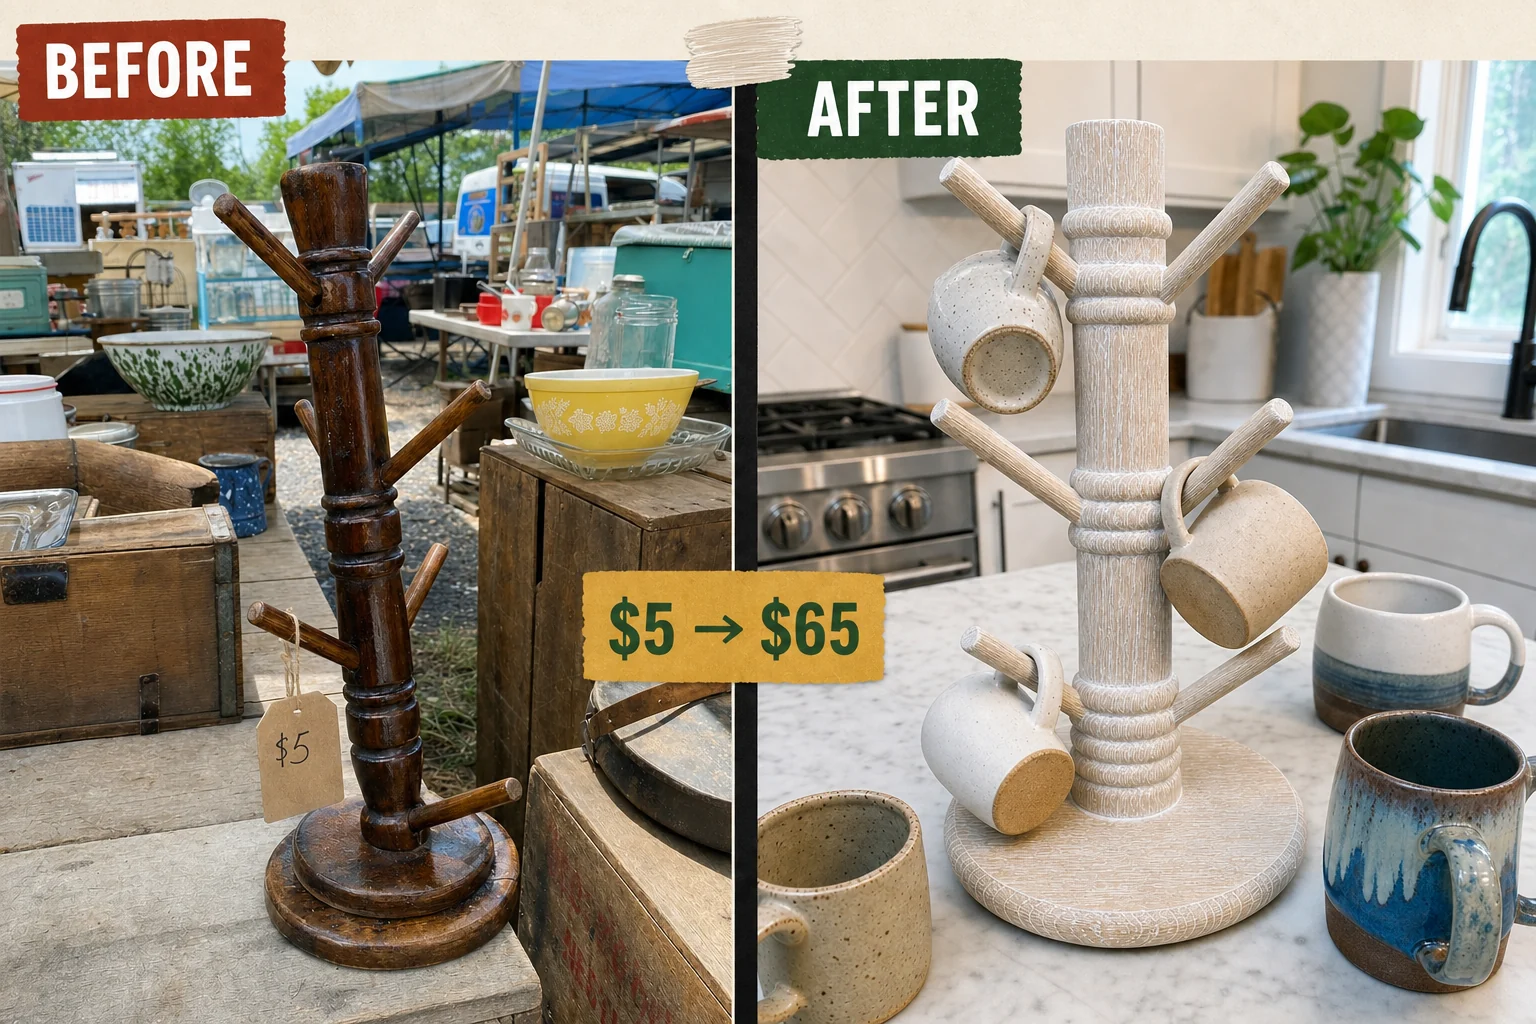
Spotted sitting on a flea market folding table, this solid oak mug tree was structurally sound but covered in sticky varnish. We stripped the dated finish and applied a traditional limewash to highlight the deep natural wood grain for a textured sculptural piece.
Evaluating the Flea Market Find
Spotted sitting on a plastic folding table between stacks of vintage plates, this solid oak piece was structurally sound but covered in a sticky, degraded finish. The circular base rocks independently of the central post, making it unsafe for holding heavy ceramic mugs without tipping. The dark finish traps dust, preventing new finish adhesion and making the piece unhygienic for kitchen use.
Materials checklist
Understanding the Resale Value
Solid oak kitchen accessories with artisanal limewash finishes command premium prices in boutique home goods stores compared to mass-produced alternatives. This high-contrast white limewash highlights the deep natural grain of the bare oak, transforming a dark, glossy brown tower into a pale, matte sculptural piece. The estimated resale value reflects the market demand for unique, highly textured wooden storage solutions.
| Item | Cost |
|---|---|
| Flea market purchase | $5 |
| Wood glue | $4 |
| Sanding sponges | $6 |
| Brass wire brush | $5 |
| Limewash paste | $14 |
| Matte spray sealer | $9 |
| Materials total | $38 |
| Total investment | $43 |
| Estimated resale value | $65 |
| Value gain | $22 |
Step 1: Assess the Condition
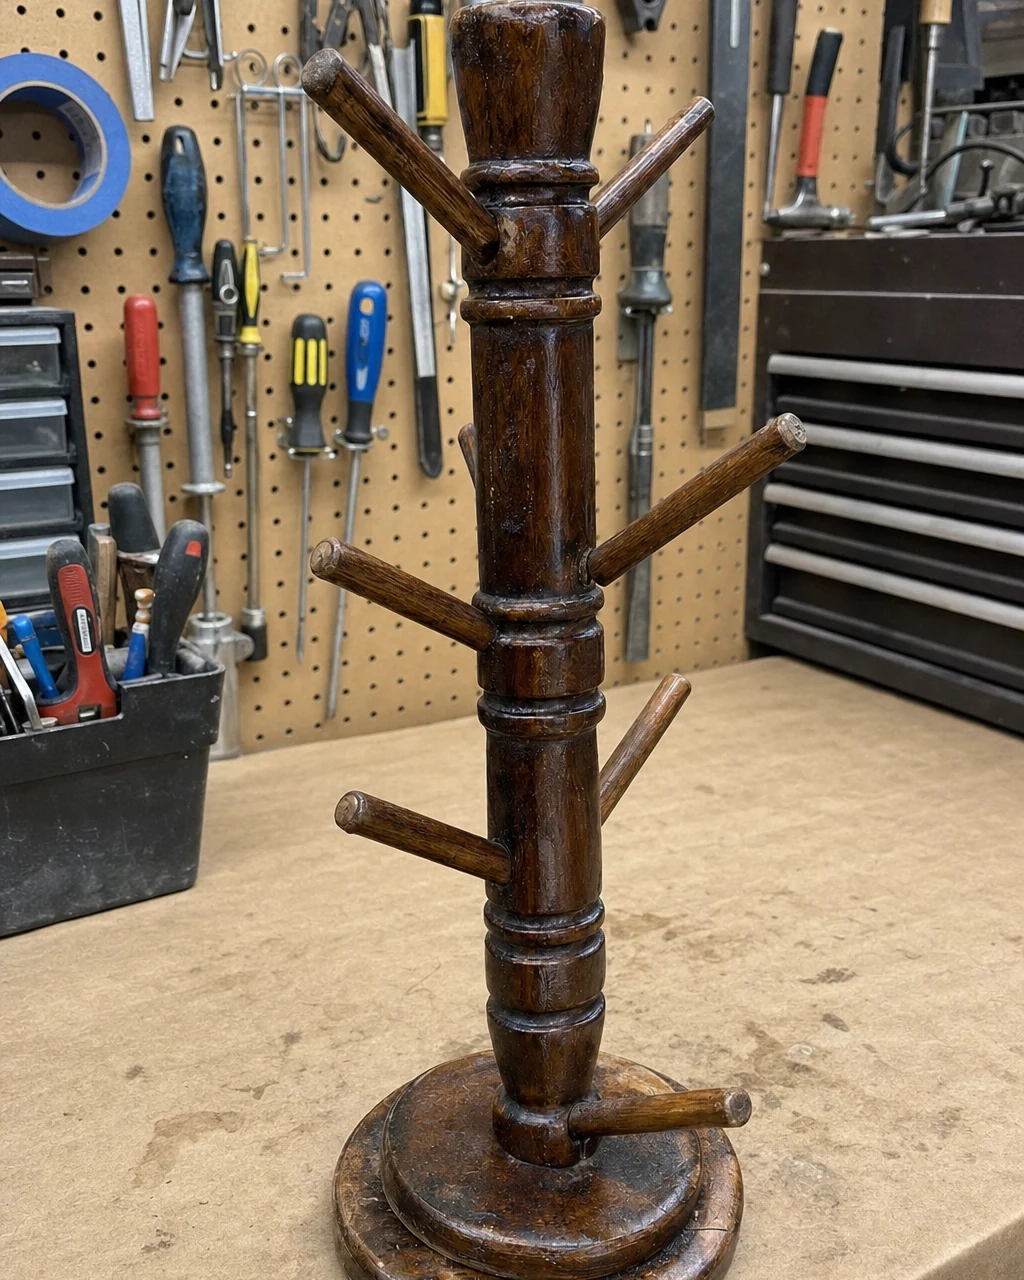
Resting the assembled mug tree on a paper-covered workbench allows you to properly evaluate the sticky varnish and loose base. The recessed base screw is identified as the source of the wobble, compromising the solid oak components. Ensure adequate lighting to spot hidden structural cracks before beginning the restoration. This initial visual inspection dictates the entire repair and refinishing approach.
- Inspect the central turned vertical post and the six angled cylindrical pegs for structural damage.
- Check the flat circular base to determine why it rocks independently of the main post.
- Examine the degraded vintage varnish to confirm it requires complete stripping before refinishing.
Step 2: Secure the Base
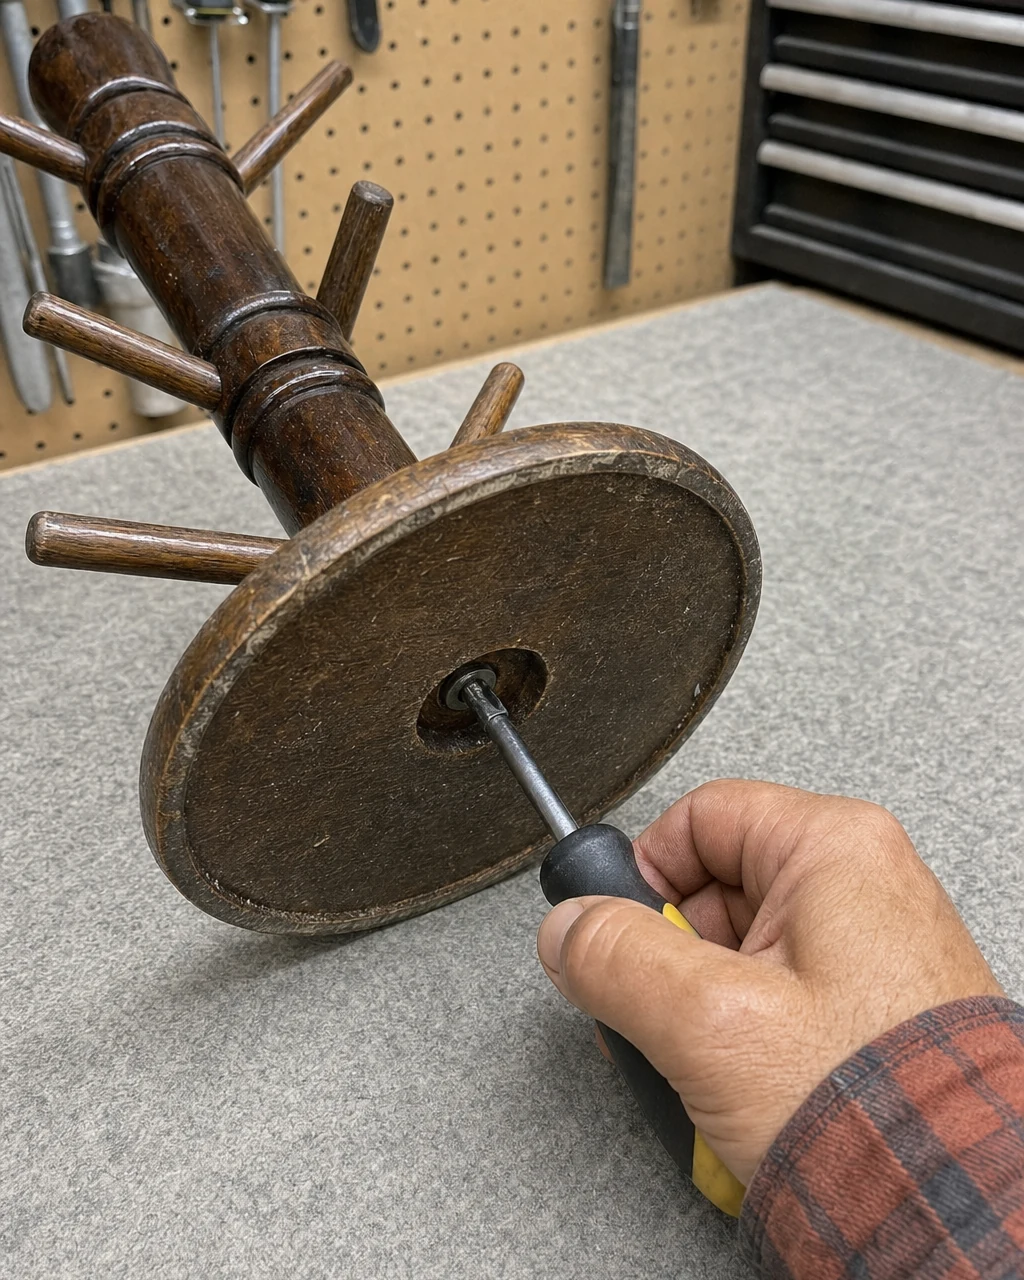
Inject wood glue into the loose joint and drive a Phillips screwdriver into the recessed bottom hole to firmly tighten the central mounting screw. This locks the flat circular base to the central turned vertical post. The base is rigidly attached with no wobble. Avoid overtightening the steel mounting screw to prevent splitting the aged oak during the repair process.
Step 3: Strip the Varnish
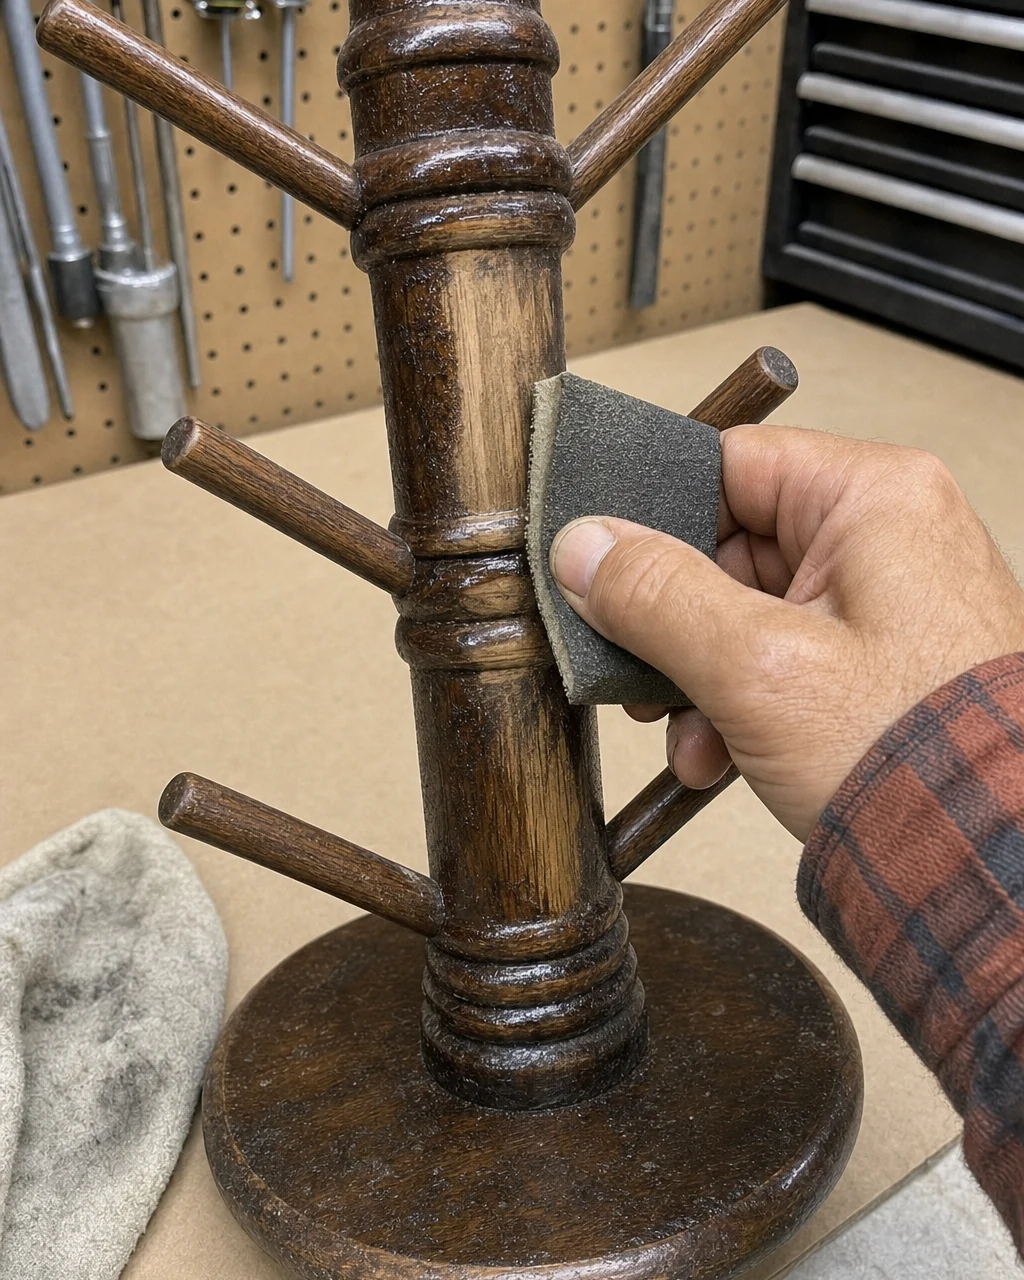
Sand away the degraded finish using flexible sponges to reach bare wood without flattening the turned details. Rubbing a flexible medium-grit sanding sponge around the central turned post strips away the dark varnish, exposing pale, raw oak across the entire piece. Always wear a dust mask when removing old varnishes to protect your lungs from airborne particles in the workshop.
Step 4: Open the Grain
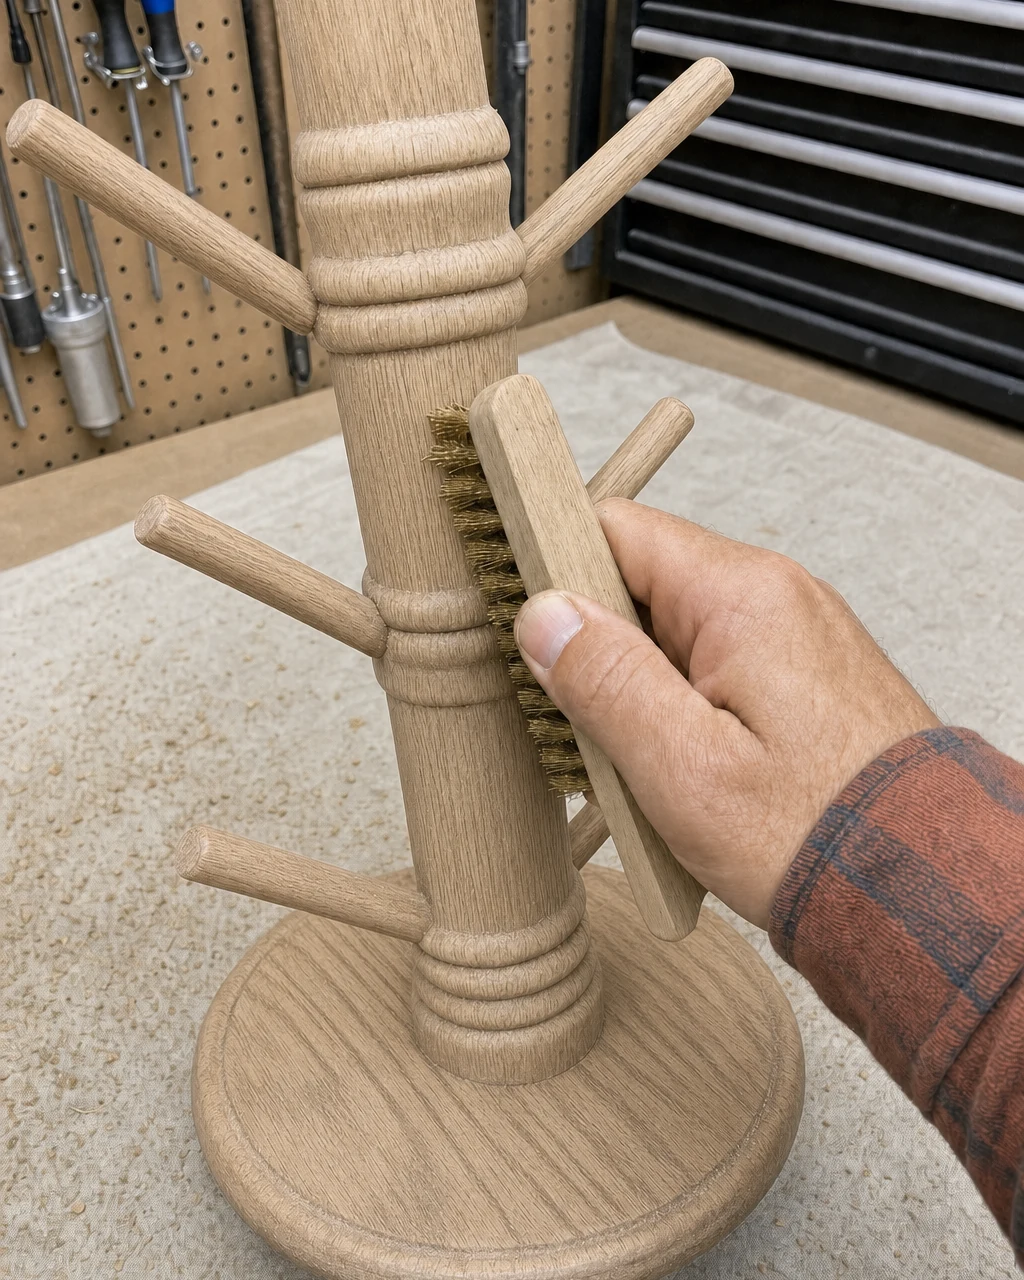
Scrub the bare wood along the grain with a stiff brass wire brush to create deep grooves for the limewash. Pulling the brush firmly along the bare oak post deepens the natural grain lines, leaving pronounced, open channels. Wear safety glasses to protect against flying brass bristles while opening the oak grain for the new traditional finish.
Step 5: Apply the Limewash
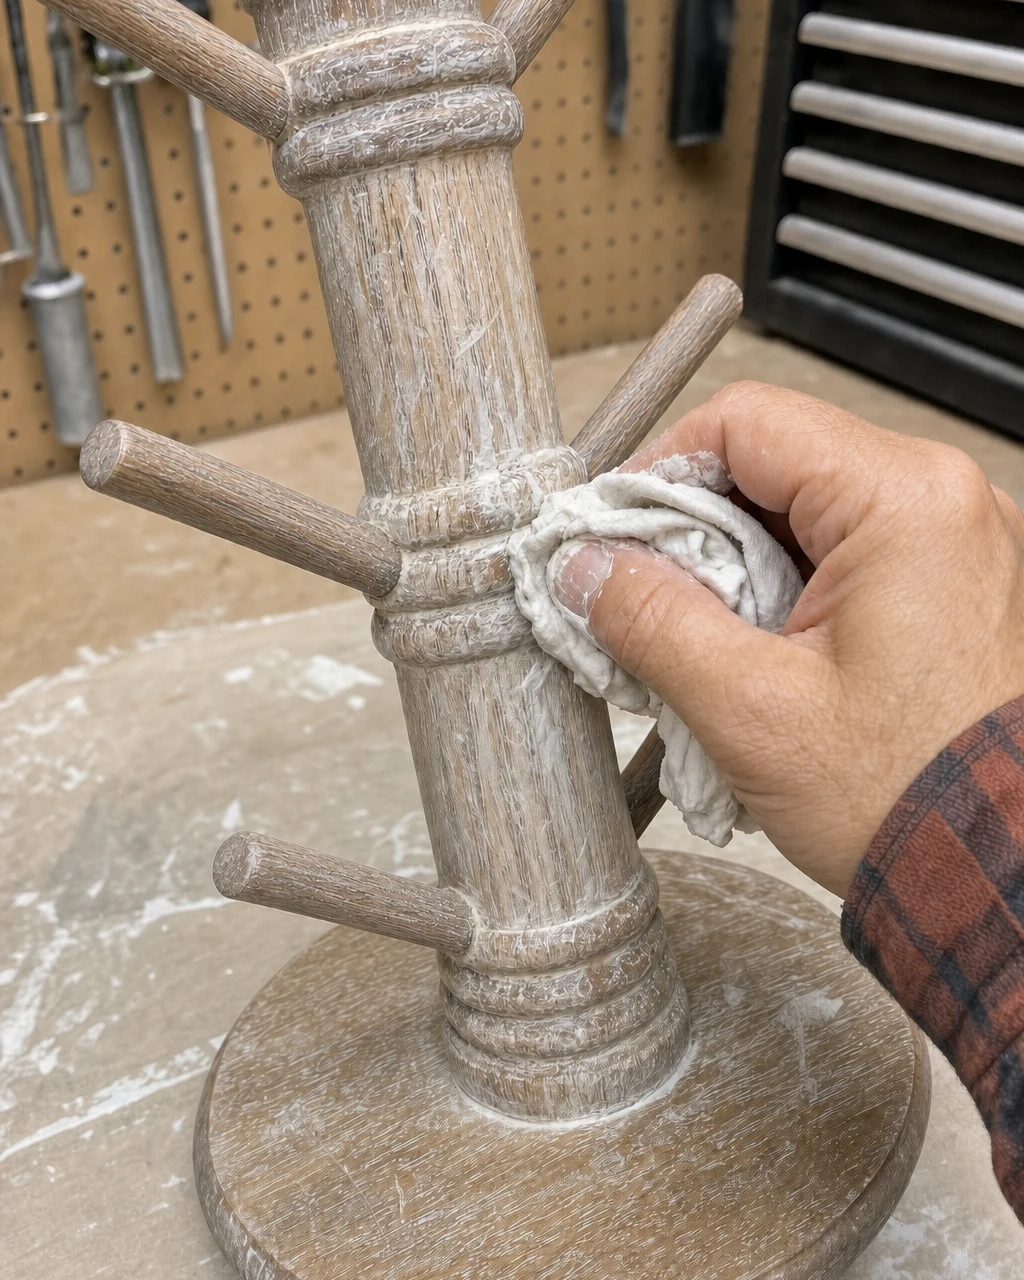
Massage a thick white limewash paste directly into the deeply textured wood grain using a lint-free cotton rag. Wipe away the excess so chalky white pigment highlights the grain against the pale wood tone. Wear nitrile gloves to prevent skin irritation from the limewash while embedding the pigment deeply into the horizontal turned rings of the raw oak.
Step 6: Seal the Finish
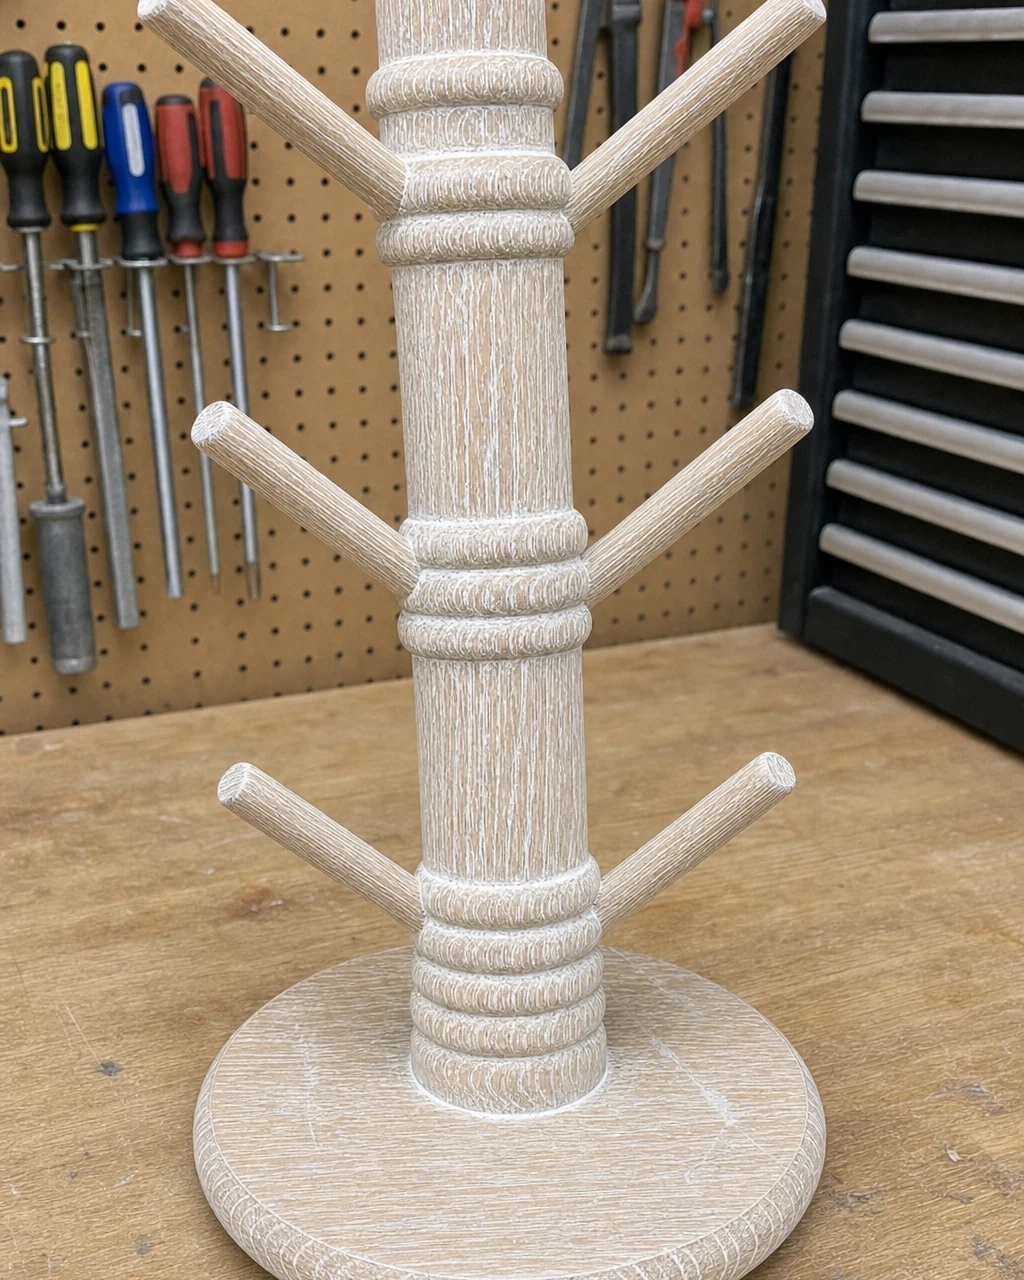
Apply two light coats of matte spray sealer to protect the piece for kitchen use, allowing 30 minutes of drying time between coats. The fully dried and matte-sealed limewashed mug tree now features a durable, non-reflective protective coating. Spray sealers require a well-ventilated workspace or outdoor application to ensure proper curing and safety while sealing the chalky white pigment.
Step 7: Style on the Counter
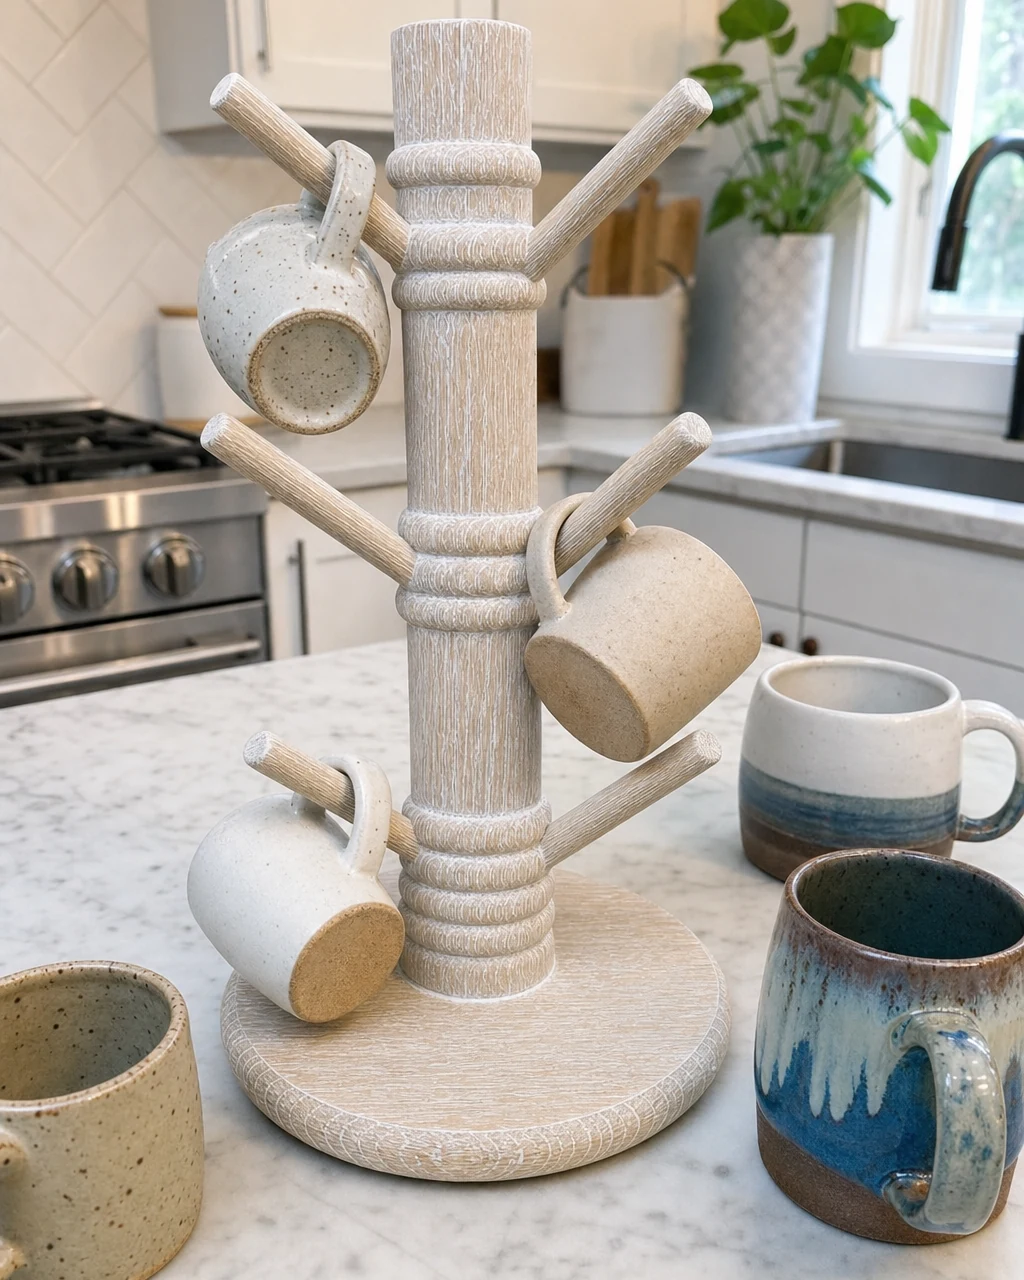
Position the finished limewashed mug tree on a bright kitchen counter loaded with handmade ceramic espresso cups. The upgraded piece functions beautifully as countertop storage, organizing your collection safely while highlighting the natural oak grain. Ensure the base is completely dry before placing it on porous stone countertops to avoid moisture transfer from the newly sealed finish.