
Metal Ice Bucket Before and After with a Fluted Wood Finish
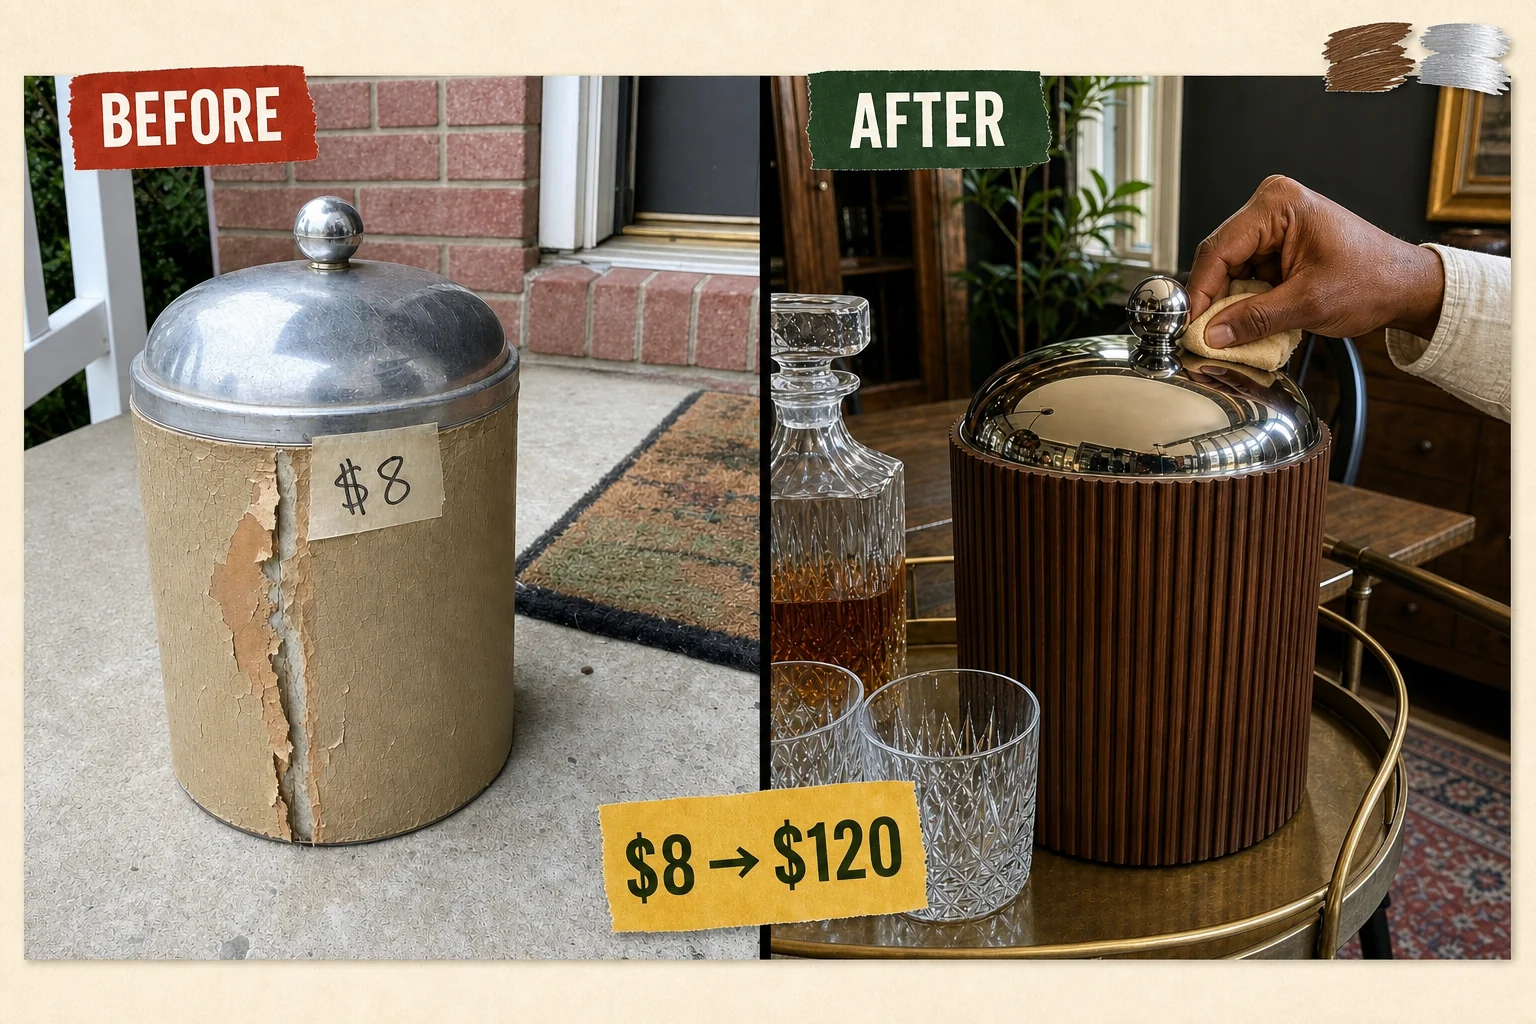
Found waiting on a concrete porch, this heavy 1950s metal ice bucket had great bones but a ruined exterior. We stripped the damaged faux-leather wrap and replaced it with a rich, dark walnut fluted wood tambour to contrast with the restored chrome lid.
Assessing the Damaged Ice Bucket
Acquired through a local listing pickup, this eight-inch by ten-inch spun aluminum piece sat on a suburban concrete front porch next to a faded welcome mat. The perfect vertical cylinder featured a double-walled insulated body and a fitted chrome lid with a round knob, but the exterior was completely ruined. We identified three primary restoration priorities.
- Peeling faux-leather wrap: The beige vinyl is cracked, brittle, and actively lifting away at the vertical seam, making the piece look dilapidated and trapping moisture underneath the loose edges.
- Dried adhesive residue: Hardened, crusty yellow glue is visible on the metal where the wrap has already pulled away, preventing any new covering from sitting flush against the cylinder.
- Scratched and dull chrome lid: The domed lid has a cloudy surface covered in fine hairline scratches, dulling the overall midcentury aesthetic and making the hardware look neglected.
Valuation and Project Costs
The combination of authentic midcentury chrome hardware with a trending architectural fluted wood finish elevates this from a thrift find to a boutique-quality bar accessory. While the initial purchase was only $8, the $52 investment in quality tambour and finishing supplies yields a significant aesthetic upgrade. The resulting estimated resale value of $120 is an editorial estimate rather than a completed sale.
| Item | Cost |
|---|---|
| Purchase price | $8 |
| Citrus adhesive remover | $9 |
| Liquid metal polish | $7 |
| Flexible wood tambour | $18 |
| Dark walnut gel stain | $12 |
| Heavy-duty construction adhesive | $6 |
| Materials total | $52 |
| Total investment | $60 |
| Estimated resale value | $120 |
| Value gain | $60 |
Step 1: Strip the Faux Leather
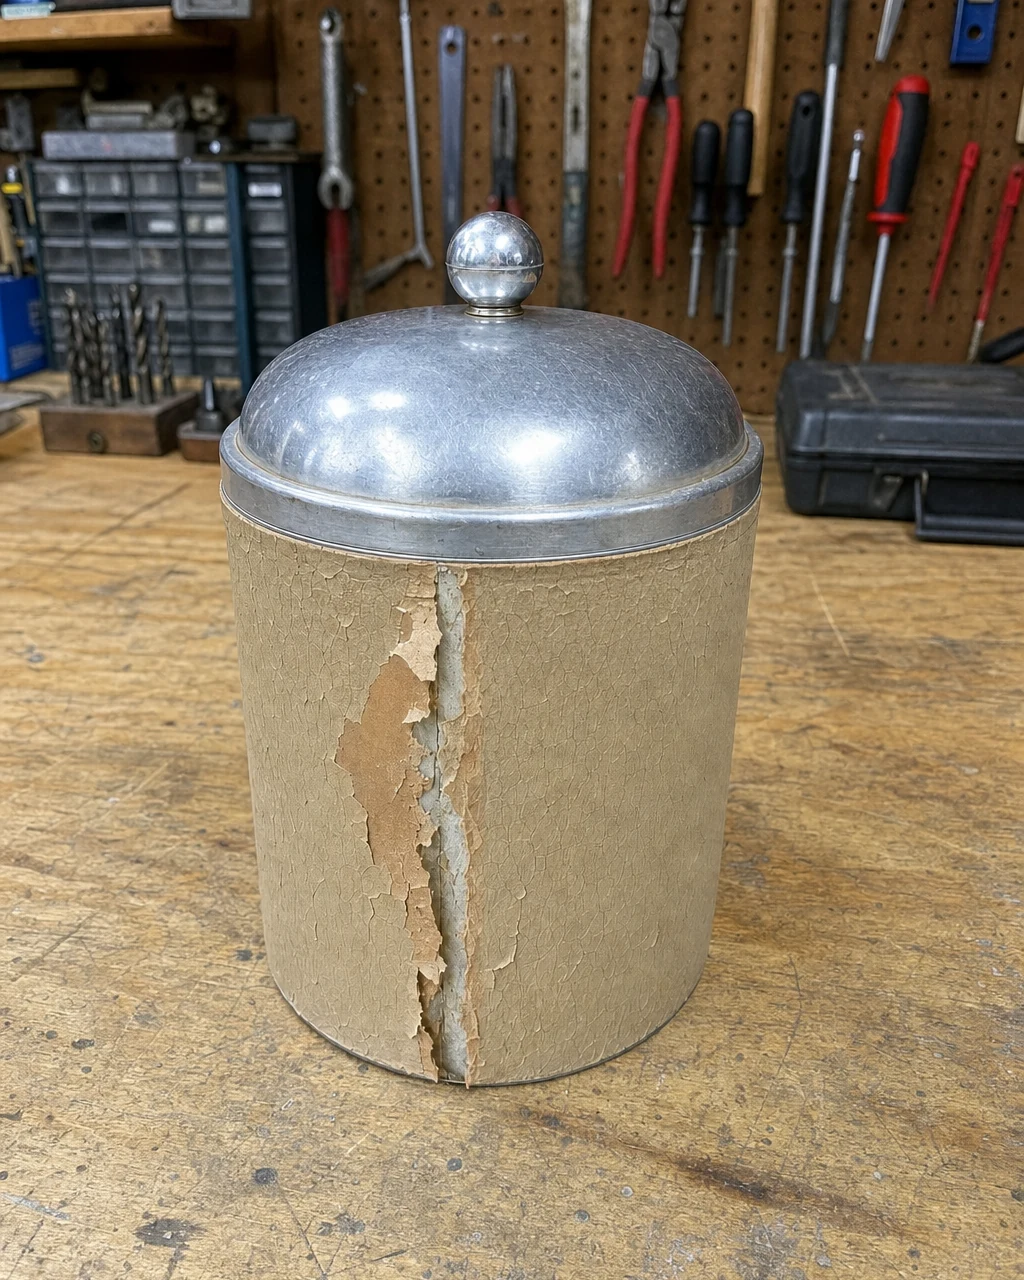
Assess the piece on the workbench, then peel away the damaged faux-leather wrap by hand to expose the bare, glue-covered metal cylinder beneath. Brittle vinyl covers usually hide perfectly sound aluminum bodies, so remove as much of the loose material as possible. The metal cylinder is exposed, covered in patches of old yellow adhesive. Wear work gloves if the underlying metal edges are sharp.
Materials checklist
Step 2: Dissolve the Old Adhesive
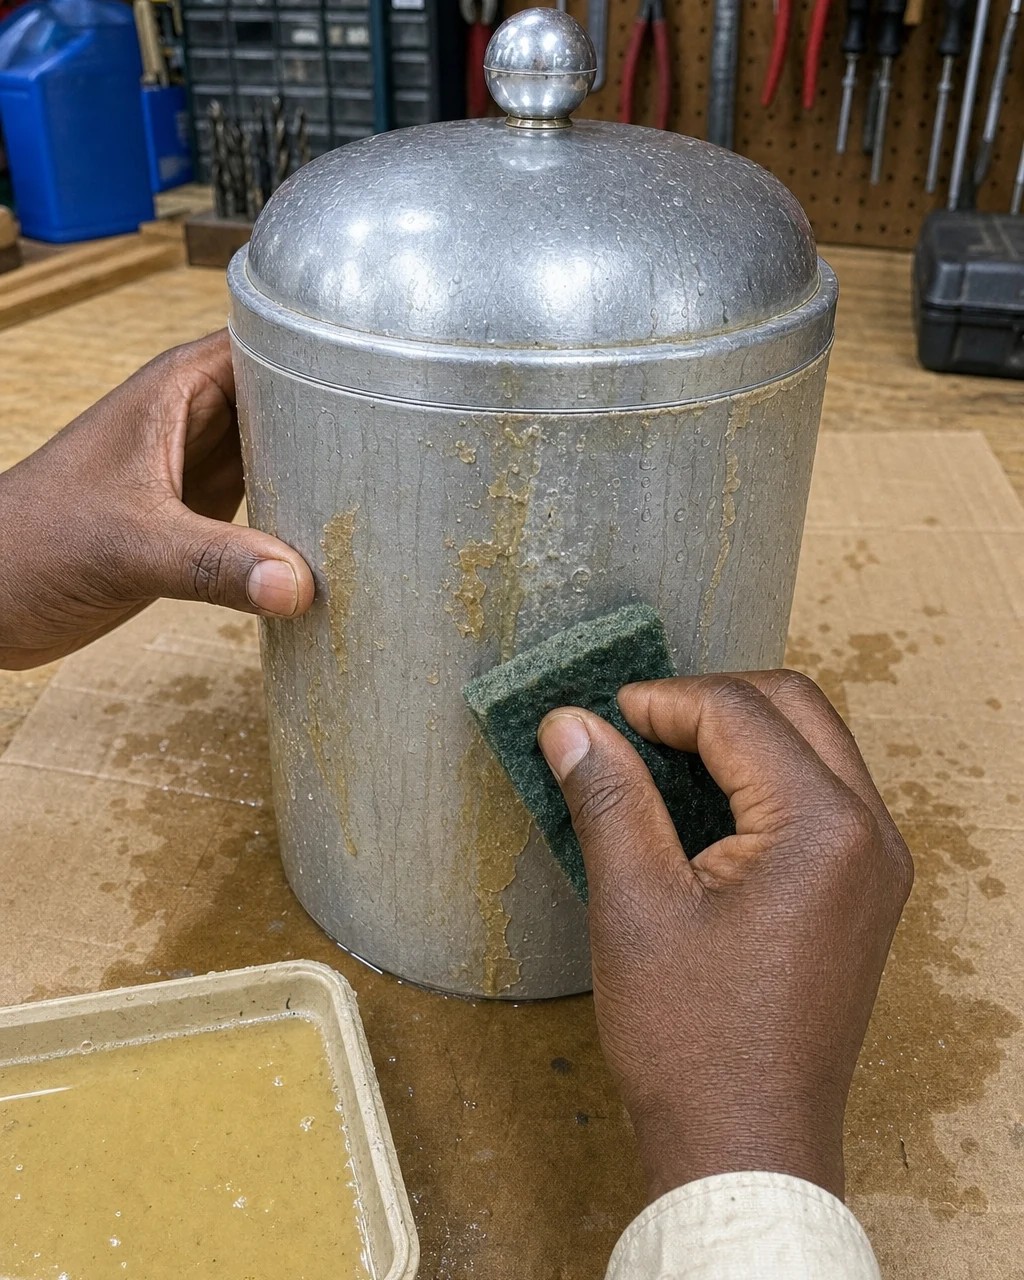
Apply citrus adhesive remover over a protective mat and scrub the cylinder with a scouring pad until the surface is completely smooth and clean. Citrus solvents break down hardened glue without scratching the metal, leaving a clean bare metal cylinder with no sticky residue. Work in a well-ventilated area when using chemical adhesive removers.
Step 3: Polish the Chrome Lid
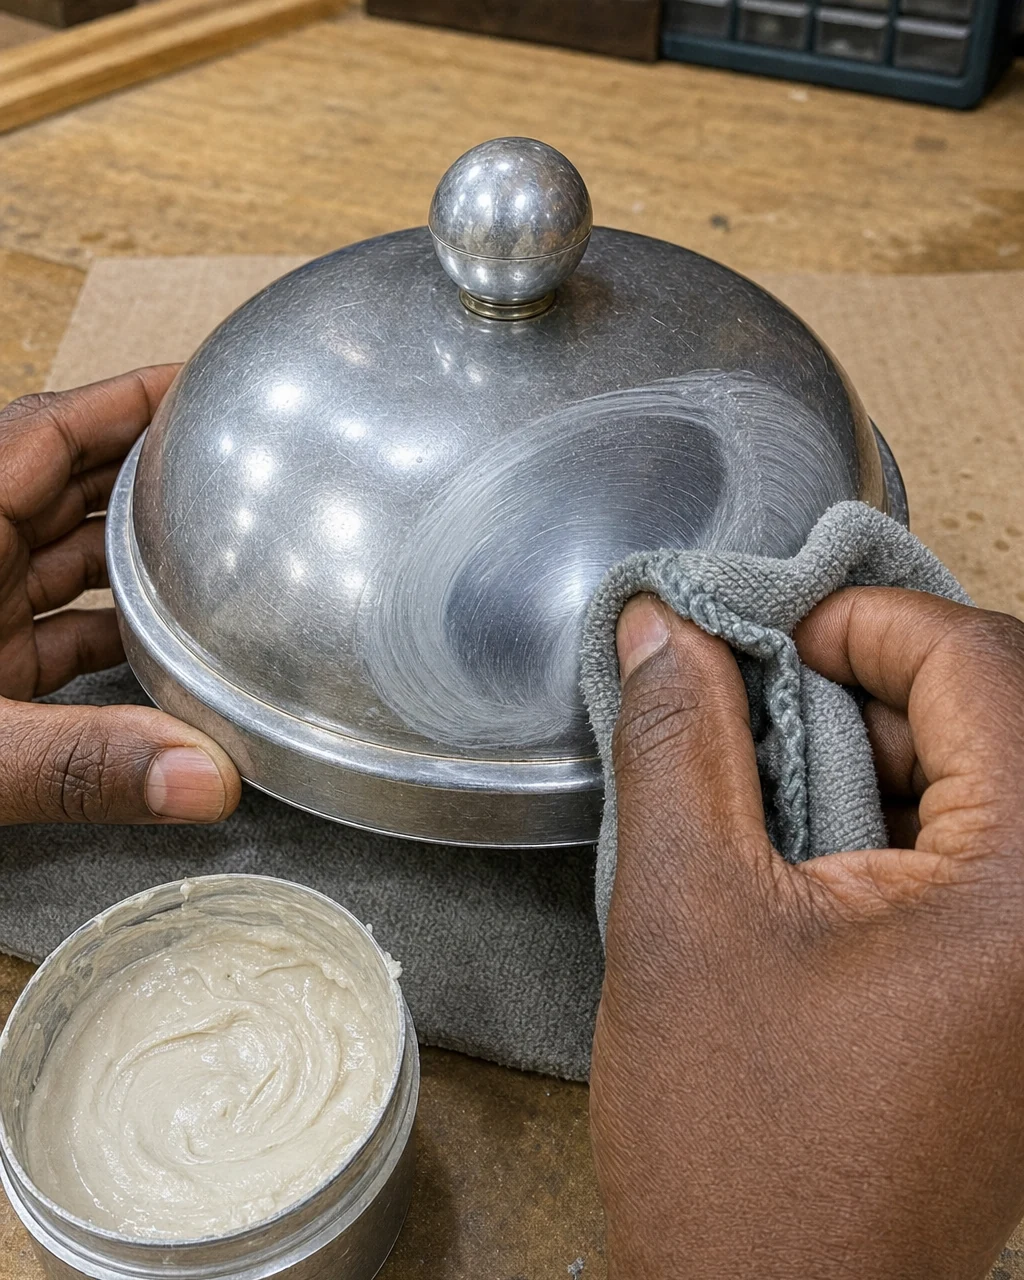
Apply liquid metal polish to the detached chrome lid and buff the surface firmly with a microfiber cloth to restore its original reflective shine. Mild abrasives restore the original shine to clouded chrome, fading the fine hairline scratches that previously dulled the midcentury aesthetic. The result is a highly reflective, mirror-like chrome dome lid. Wash hands thoroughly after handling metal polishing compounds.
Step 4: Stain the Tambour Wrap
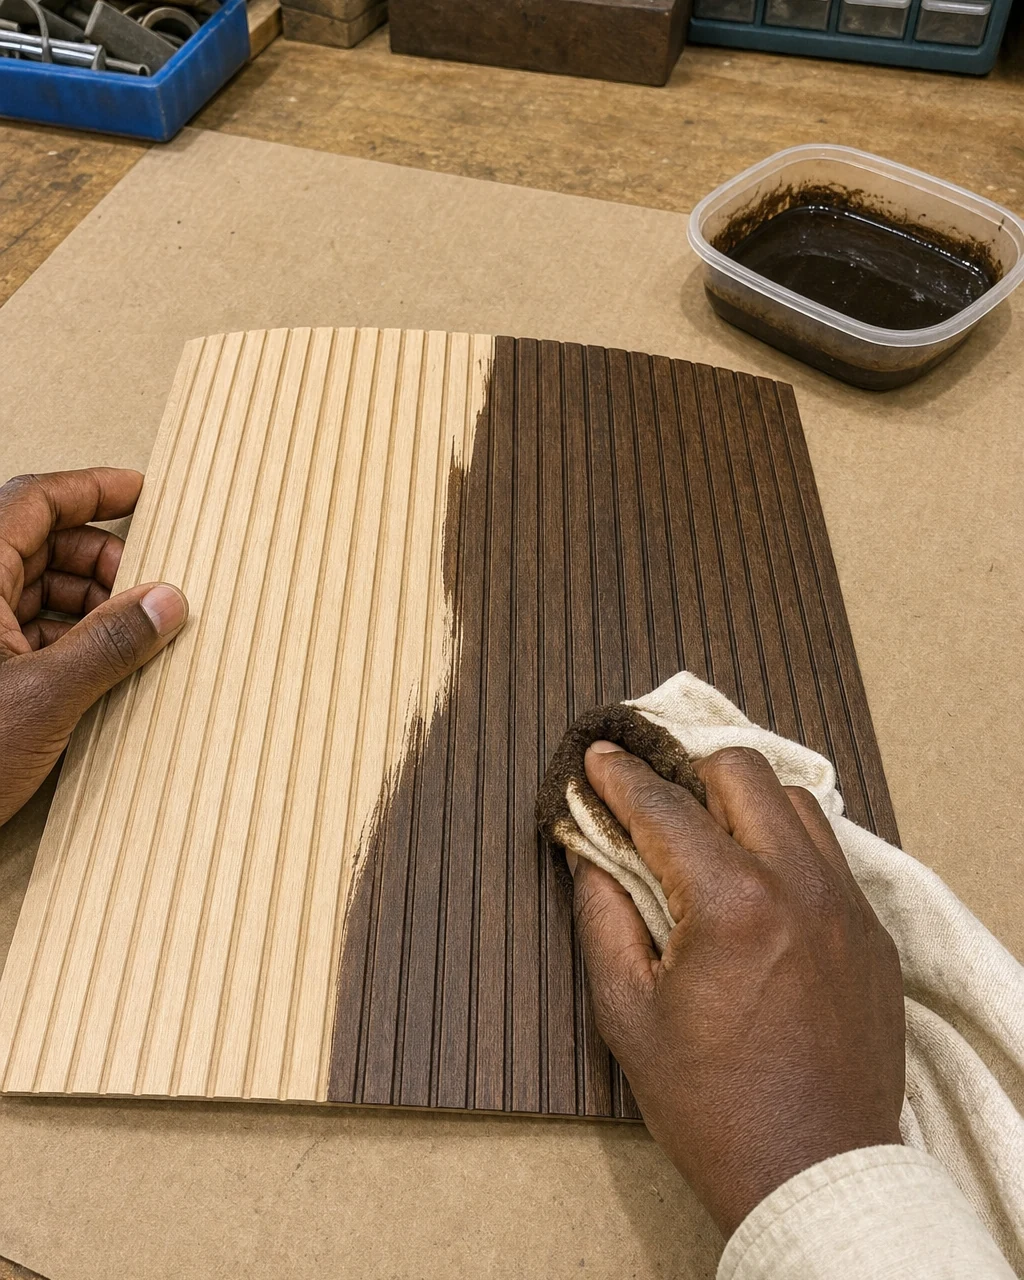
Wipe dark walnut gel stain evenly across the flat, pre-cut sheet of flexible wood tambour with a clean rag, wiping away the excess, and allow it to dry overnight before handling. Staining the wood flat prevents messy drips on the metal later, coloring the raw wood tambour to a rich dark finish. Wear nitrile gloves to protect skin from oil-based gel stains.
Step 5: Attach the Wood Wrap
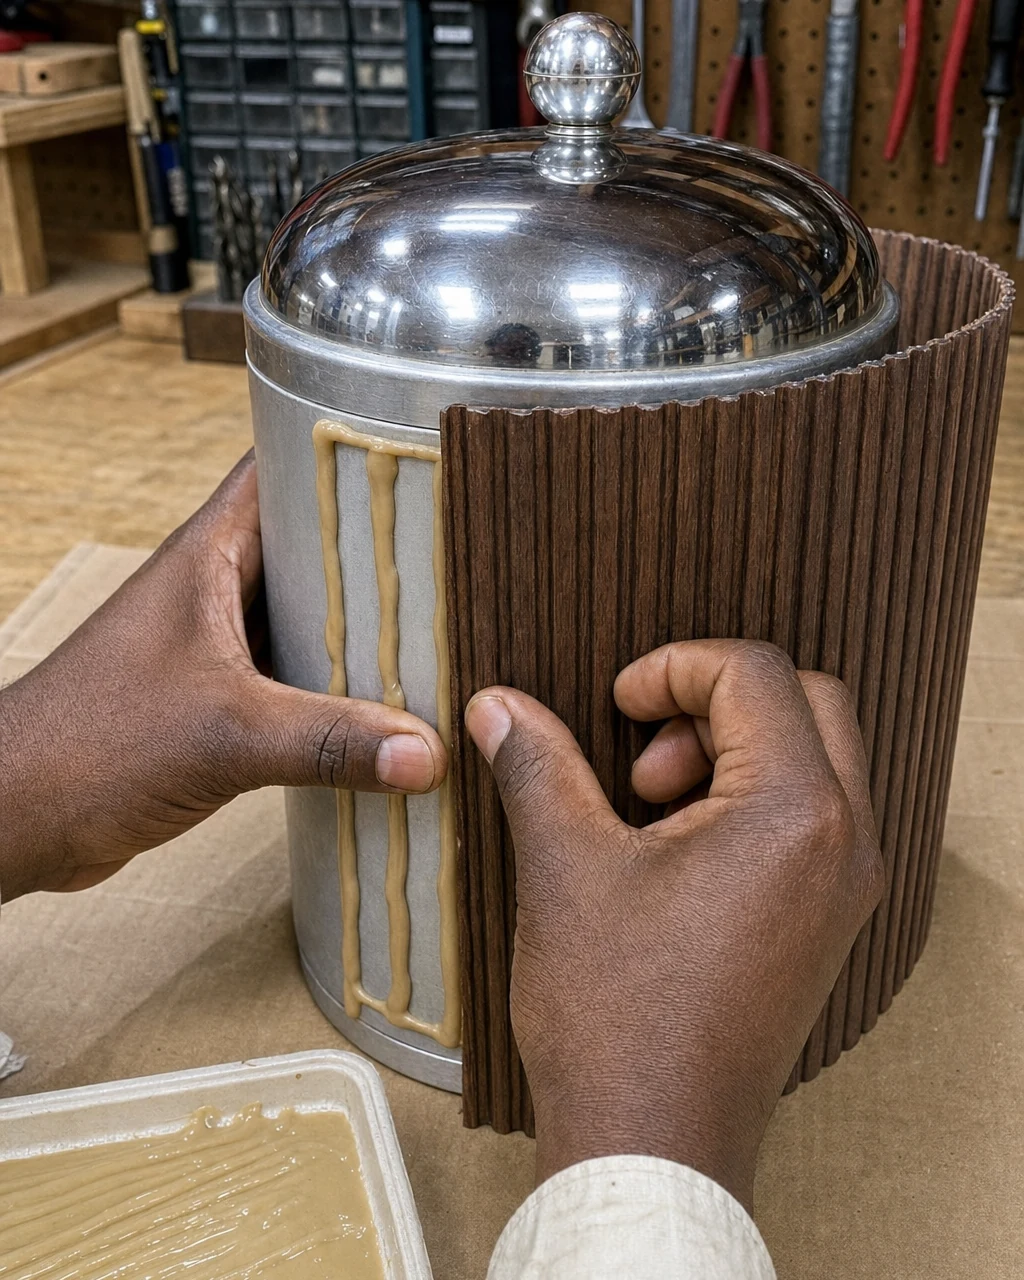
Apply construction adhesive to the clean metal cylinder using a caulk gun, press the dry stained tambour sheet tightly around the body, and secure it with painter’s tape while it cures for 24 hours. Construction adhesive provides the instant grab needed for curves. Use a drop cloth to catch any adhesive squeeze-out during application.
Step 6: Review the Finished Bucket
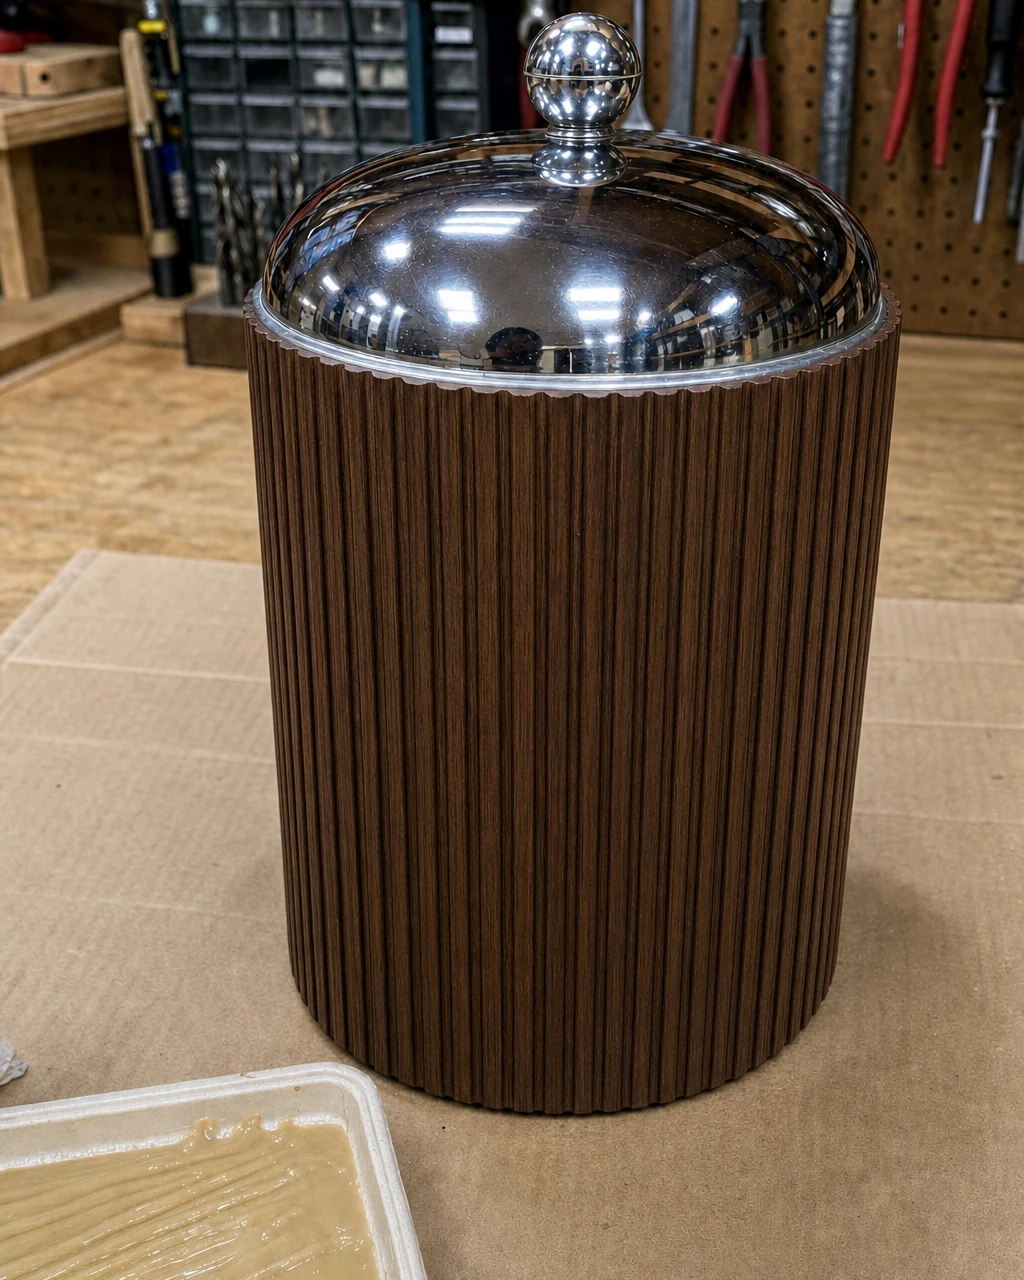
Place the polished chrome lid back onto the newly wrapped cylinder to review the completed transformation on the workbench. The stark contrast between the dark ribbed wood and the highly polished chrome dome completely modernizes the classic midcentury cylindrical silhouette. A complete, modernized ice bucket now sits on the workbench. Ensure all adhesive is fully cured before handling the body.
Step 7: Style the Bar Cart
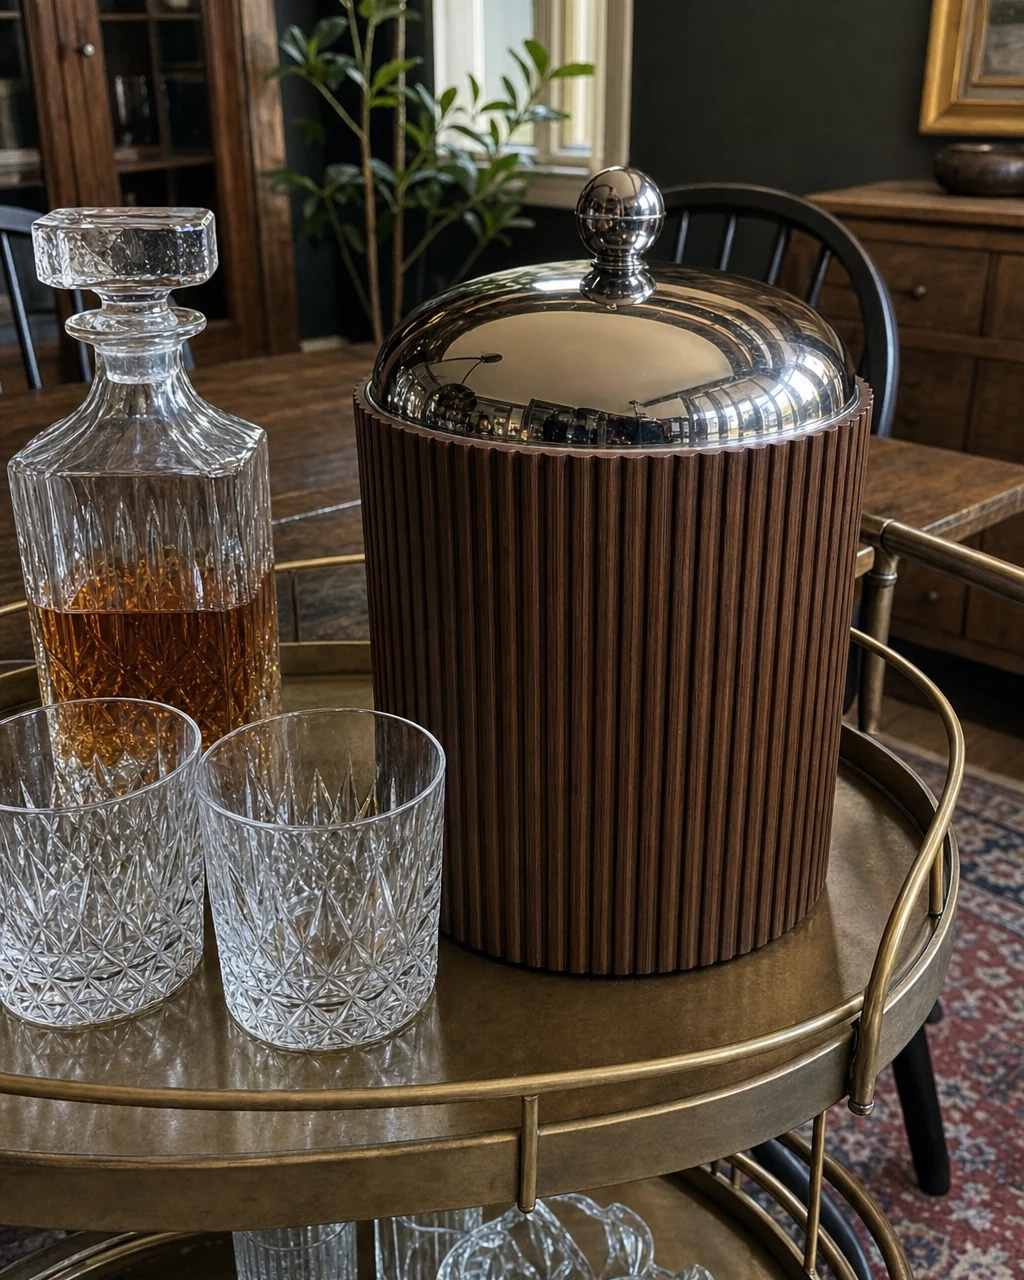
Move the finished ice bucket to a styled brass bar cart in a moody dining room, ready to hold ice and anchor the beverage station next to crystal rocks glasses and a decanter. Rich walnut textures elevate standard barware into luxury accessories, making the piece look like a high-end designer item. Wash the insulated interior thoroughly before filling with ice.