
Mantel Clock Before and After: Matte Paint and Tile Inlay
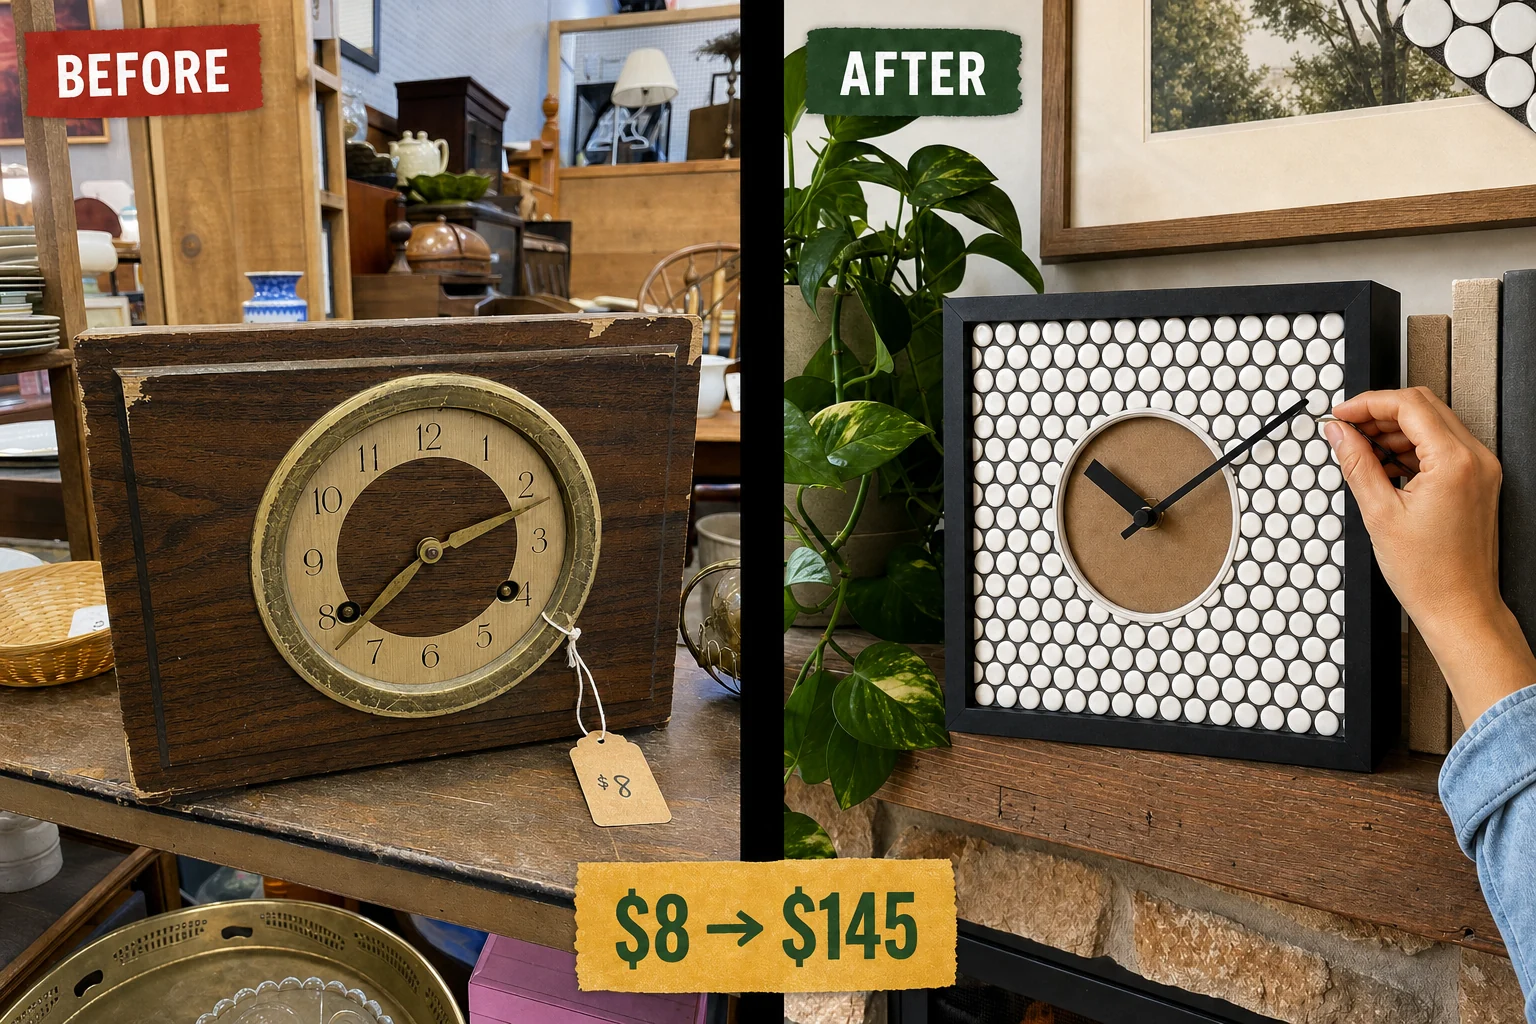
Tucked behind tarnished trays at an antique market, this peeling 1970s mantel clock offered the perfect recessed panel. Stripping the faux-wood laminate, painting the casing matte charcoal, and adding a white penny tile inlay created a modern architectural finish.
Evaluating the 1970s Mantel Clock
The boxy 1970s mantel clock sat in a slightly cluttered indoor antique-market booth with a plain tied price tag hanging from its tacky plastic trim. A scratched faux-brass ring glued around the dial dated the piece visually and blocked access to the flat front panel.
- Peeling faux-wood laminate lifting away from the fiberboard at the top corners creates an unstable surface that cannot be painted or tiled over directly.
- Heavy battery corrosion inside the rear mechanism housing means the dead quartz movement no longer keeps time and requires a complete internal replacement.
Project Costs and Value Estimate
Upcycling a vintage find requires balancing the initial purchase price against the cost of new materials. Investing in quality components like a reliable quartz movement and real ceramic tile ensures the finished piece functions perfectly. The detailed breakdown below outlines the total investment and the resulting editorial value estimate.
| Item | Cost |
|---|---|
| Antique market clock purchase | $8 |
| Long-shaft movement | $12 |
| Penny tile sheet | $8 |
| Tile adhesive | $6 |
| Pre-mixed grout | $9 |
| Matte charcoal paint | $7 |
| Materials total | $42 |
| Total investment | $50 |
| Estimated resale value | $145 |
| Value gain | $95 |
Step 1: Remove Old Hardware
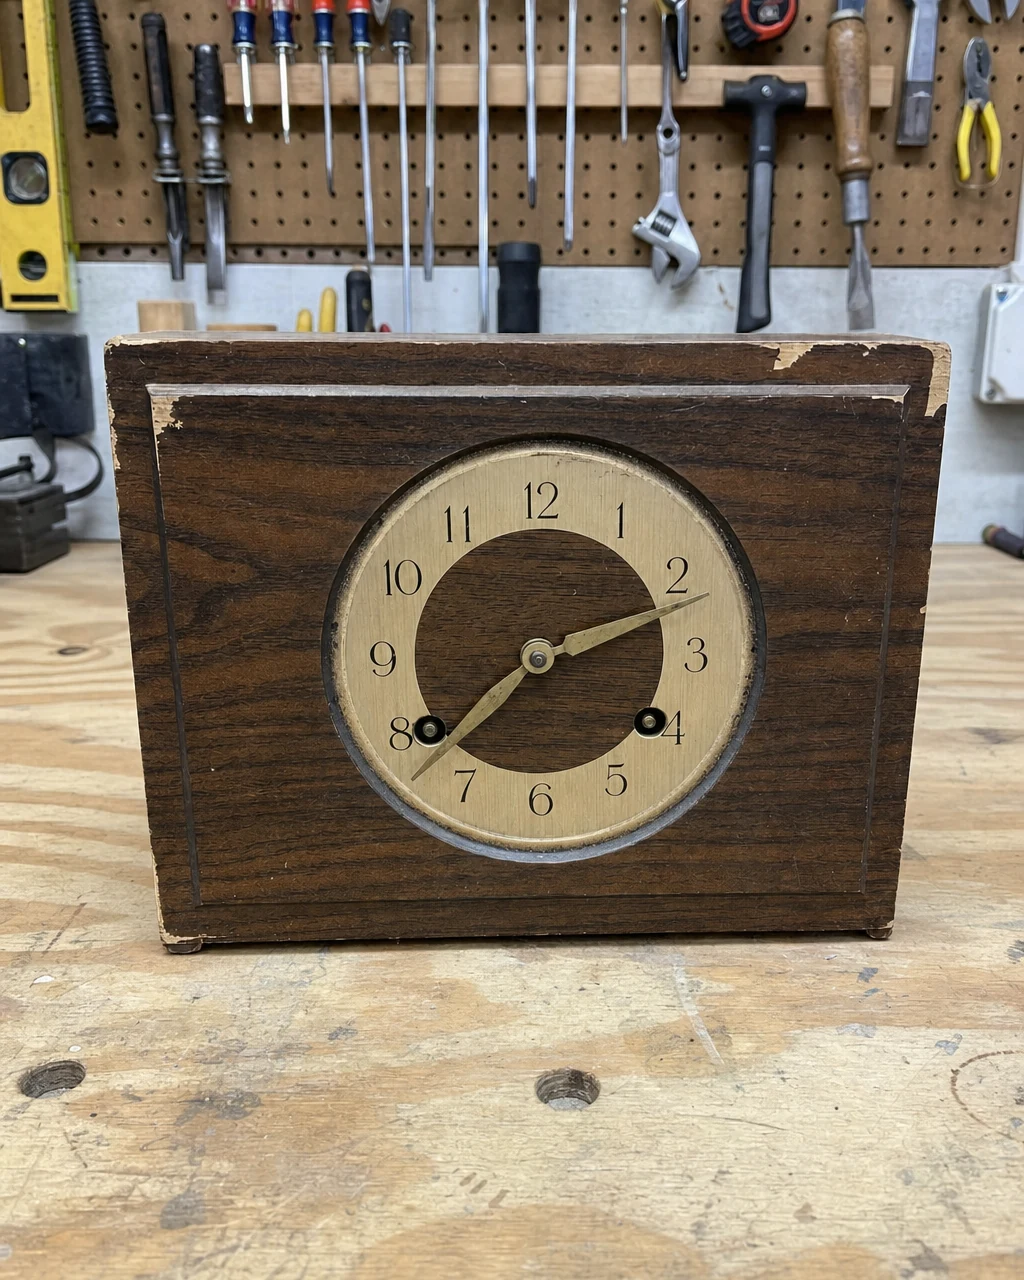
The clock sits on the workbench with its original peeling laminate, dead movement, and scratched plastic trim intact. Unscrew the dead quartz movement from the back compartment and carefully pull off the metal hands. Use a pry bar and screwdriver to pull the plastic brass-colored trim ring off the front panel.
Safety and Hardware Removal
The clock casing is now completely stripped of all hardware. Always wear safety glasses when prying glued plastic to protect against flying shards. Removing these bulky additions exposes the true structural dimensions, confirming the front face offers the perfect recessed depth for a custom mosaic inlay.
Step 2: Peel the Laminate
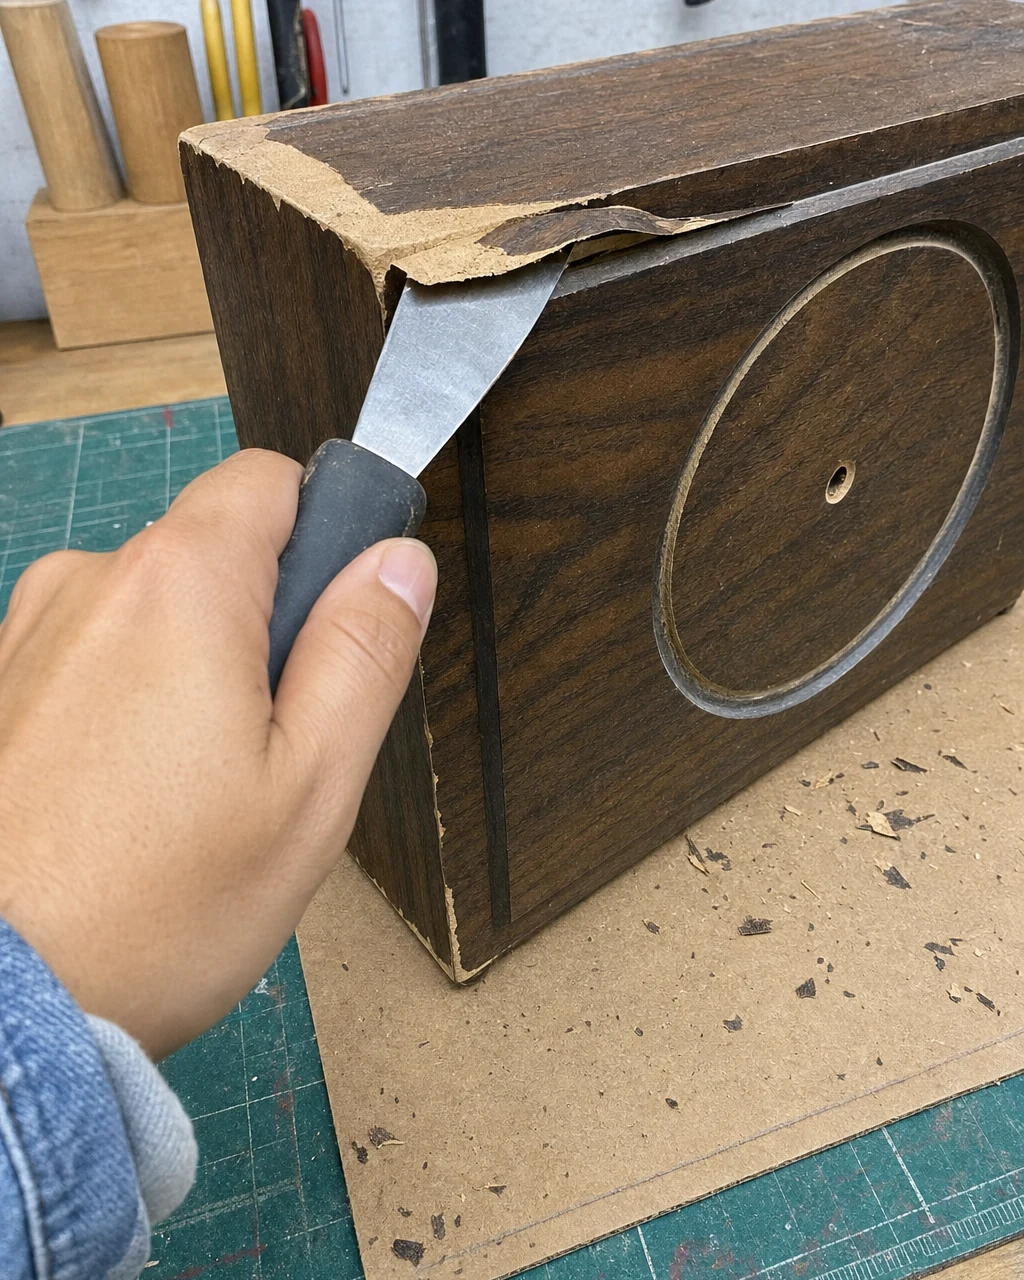
The clock casing is free of hardware but still covered in peeling faux-wood vinyl. Slide a metal putty knife under the lifting edges of the vinyl laminate and peel it completely off the fiberboard core. Lightly sand the exposed surface with a sanding block to remove old glue residue.
Prepping the Raw Fiberboard
Work in a ventilated area when sanding old adhesive residue to avoid inhaling fine dust particles. The factory vinyl peels easily once the original adhesive dries out. The clock is now a completely bare, raw fiberboard box ready for its modern matte finish.
Step 3: Paint the Casing
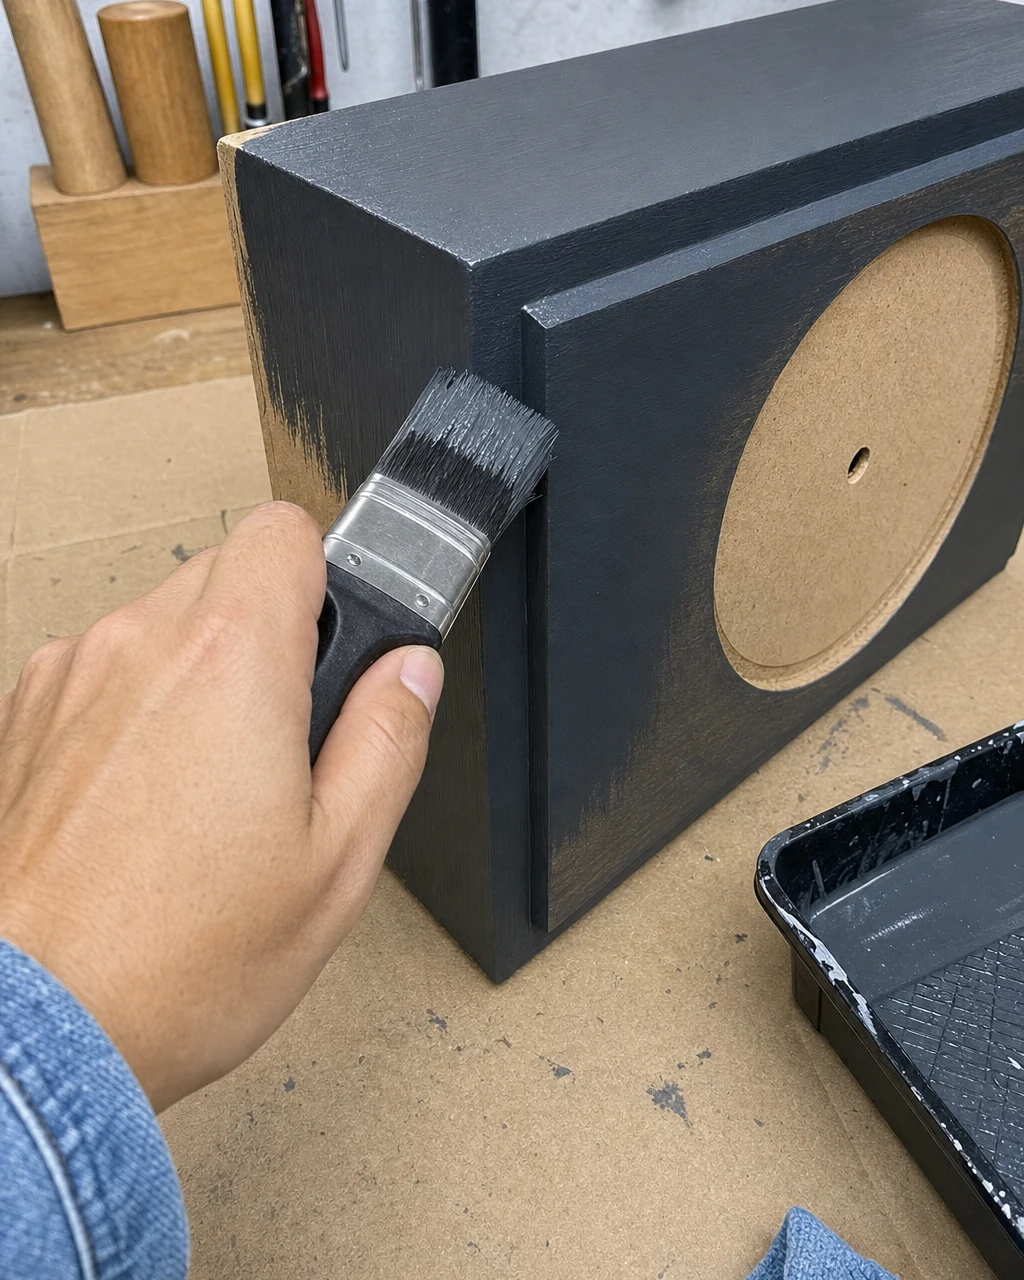
The clock is a bare fiberboard box with a recessed front panel. Apply two coats of matte charcoal paint to the top, sides, and back of the fiberboard casing using a paintbrush. Protect the workbench with a drop cloth to catch paint drips.
Achieving a Solid Finish
Leave the recessed front panel bare for the tile adhesive. Allow two hours of drying time between coats for a solid, even finish. Bare fiberboard absorbs the first coat like a sponge, making the second application essential. The outer casing is now a solid matte charcoal.
Step 4: Inlay the Tile
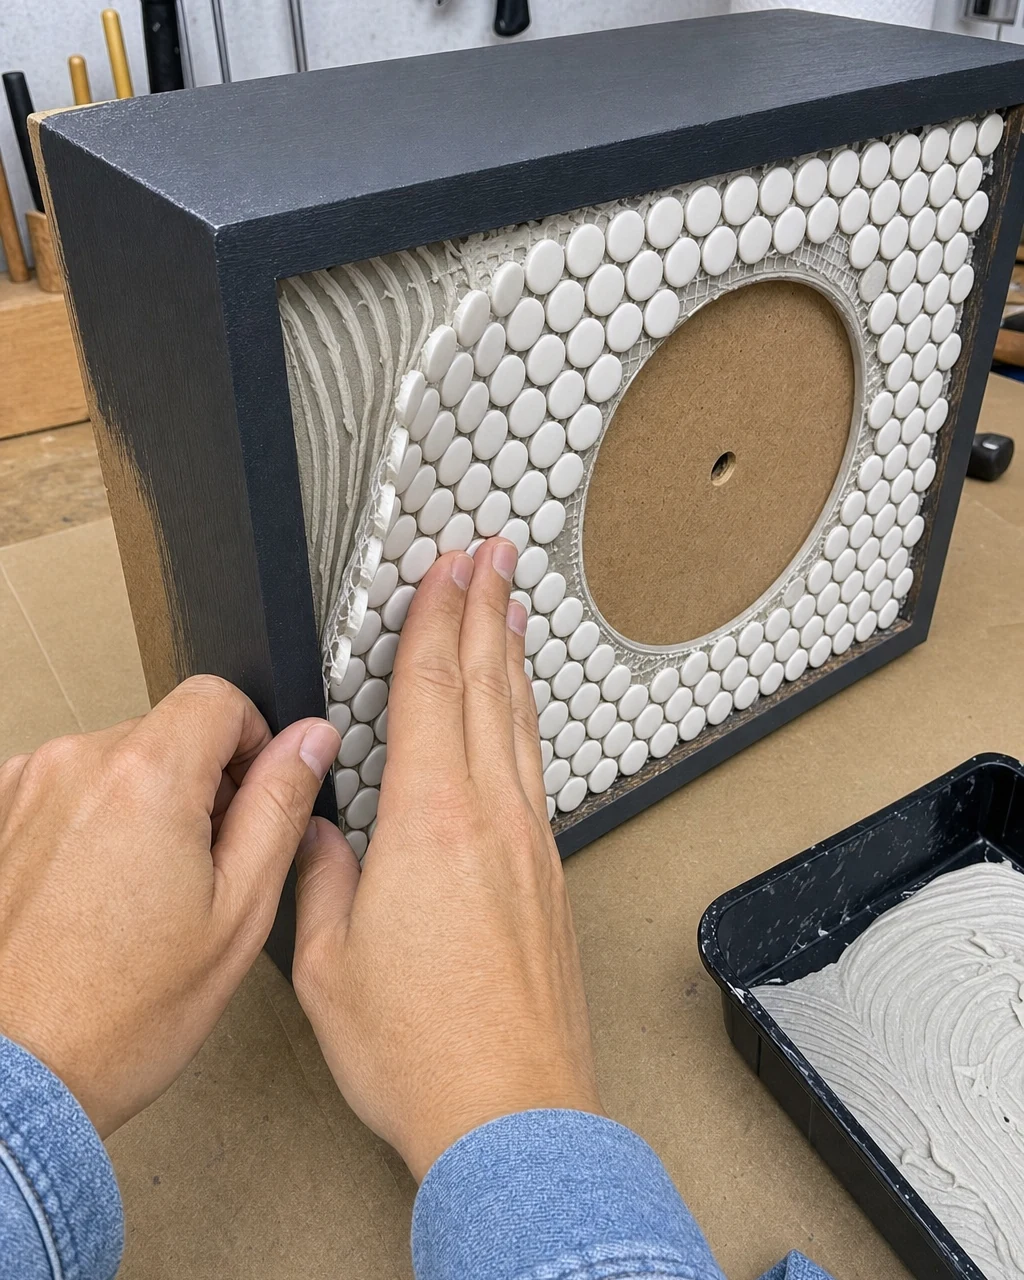
The clock has a painted outer casing and a bare, recessed front panel. Spread a thin layer of tile adhesive over the bare front panel using a notched trowel. Press the mesh-backed sheet of white penny tiles into the recess, ensuring the center hole remains completely open.
Materials checklist
Securing the Mosaic
Wash hands immediately if tile adhesive contacts the skin. The mesh backing keeps the spacing perfectly uniform during application. The front face is now covered in white penny tiles with empty gaps waiting for grout, creating a striking graphic contrast against the dark painted casing.
Step 5: Grout the Face
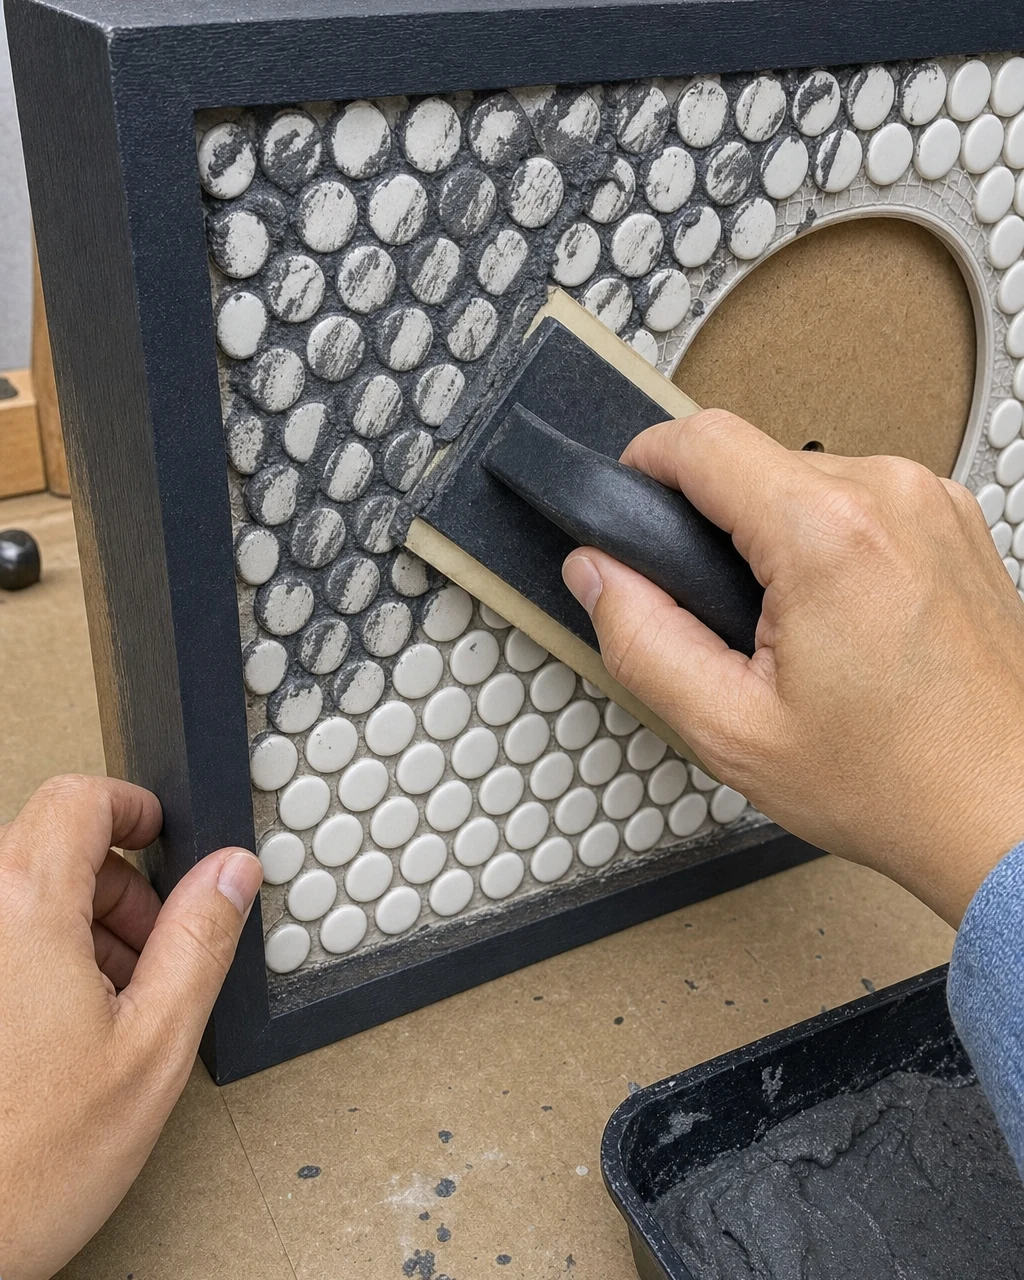
The tile adhesive has cured, leaving empty gaps between the white penny tiles. Push dark pre-mixed grout into the tile joints using a rubber float to highlight the circular penny shapes. Wear disposable gloves to prevent skin irritation from the grout.
Revealing the Contrast
Carefully wipe the excess off the tile surfaces with a damp sponge without disturbing the freshly painted edges. Pre-mixed formulas save time and guarantee consistent color matching. The tile joints are now filled with dark grout, turning the recessed panel into a highly textured clock face.
Step 6: Install New Movement
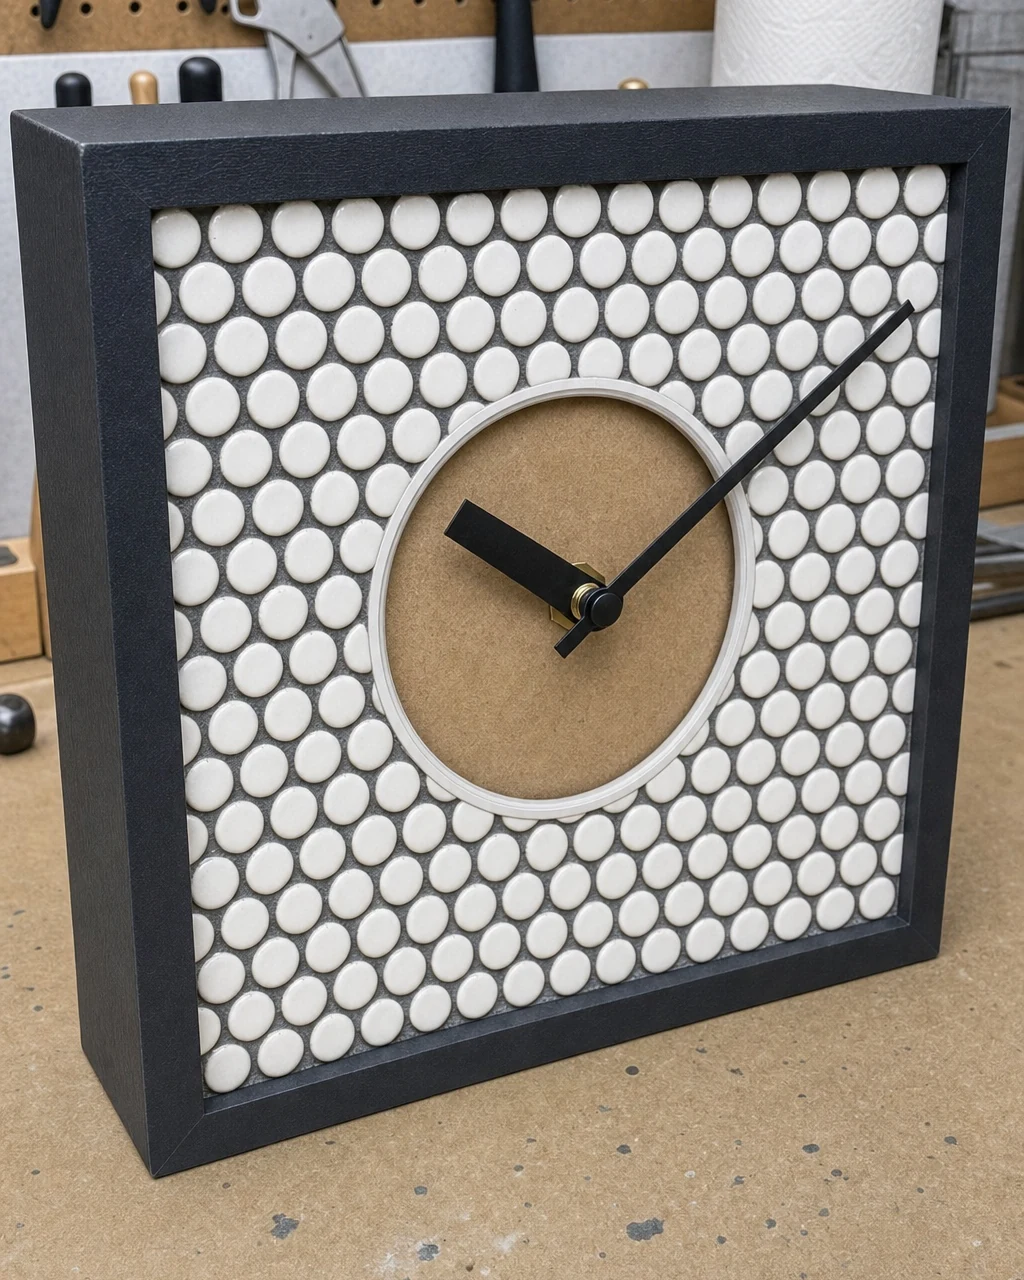
The clock features a fully grouted tile face and an empty center hole. Insert the new long-shaft quartz movement from the back compartment through the center hole. Secure it on the front with the provided brass hex nut using a small wrench, and press the new hands firmly onto the shaft.
Final Hardware Assembly
Do not overtighten the hex nut, which can crack the surrounding grout. Long-shaft mechanisms easily accommodate the extra depth of the mosaic. The clock is now fully assembled with working hands resting over the tile face, completely transforming its original boxy silhouette.
Step 7: Style the Clock
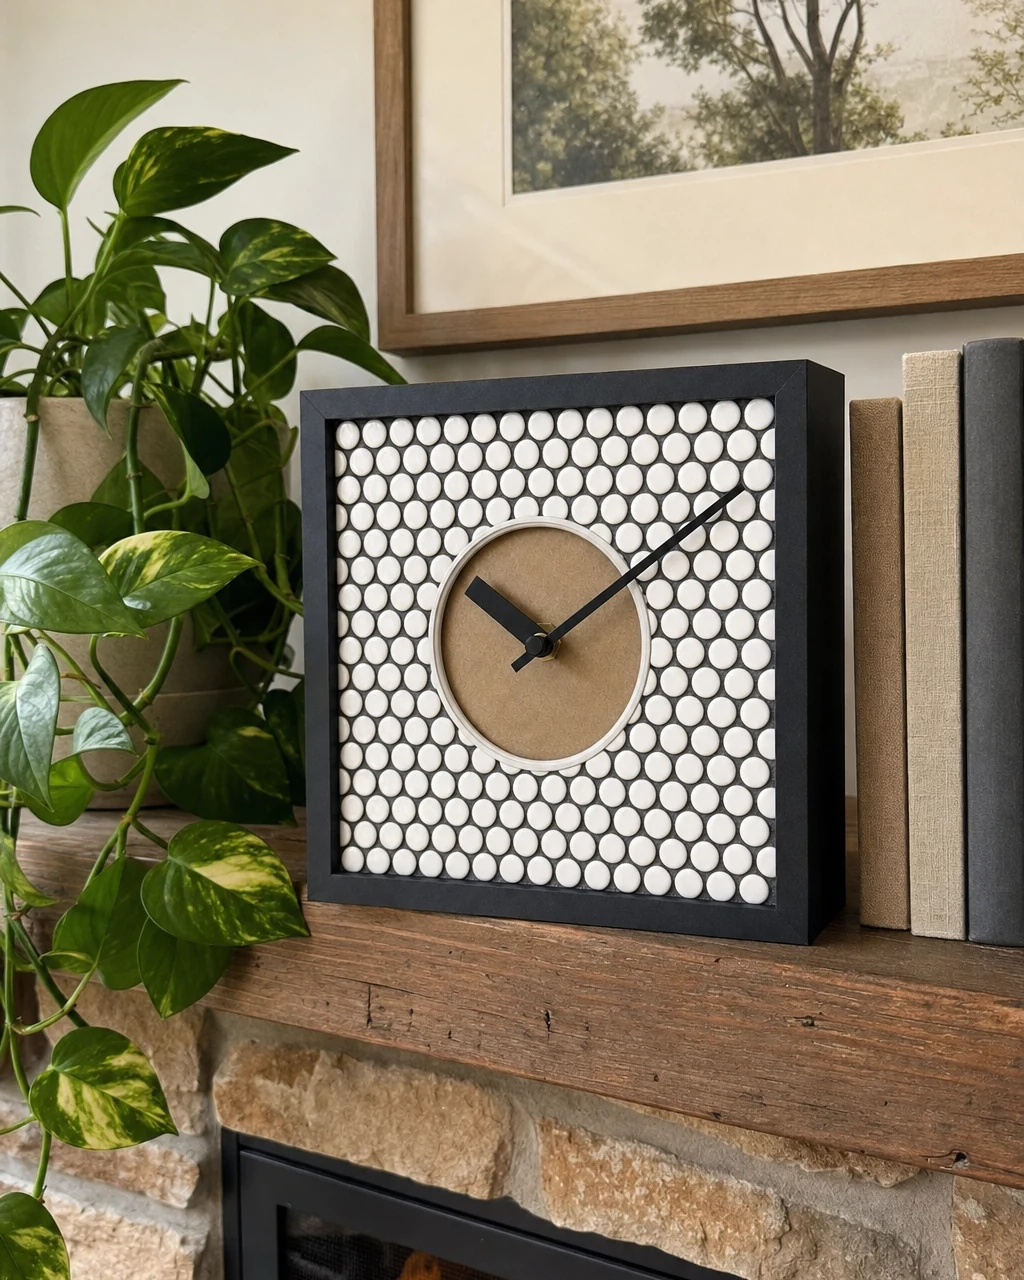
The finished clock sits on the workbench, fully functional and modernized. Move the completed clock to a living room and set it on a wooden fireplace mantel beside a trailing pothos plant. Ensure the mantel surface is deep enough to support the clock securely without risking a fall.
Displaying the Finished Piece
The natural surroundings highlight the clock’s new architectural texture, turning it into a modern, tactile focal point. Architectural textures elevate a basic shape into a statement piece. The clock now serves as a sleek, textured addition to a styled living space.
Why the Tile Inlay Increases Estimated Value
Replacing the cheap laminate with a genuine tactile material like ceramic mosaic tile elevates the piece from mass-produced decor to a custom architectural object. This structural upgrade significantly increases its market appeal, justifying the new estimated resale value.