
Kitchen Ceiling Layout Rules: Downlight Spacing & Planks
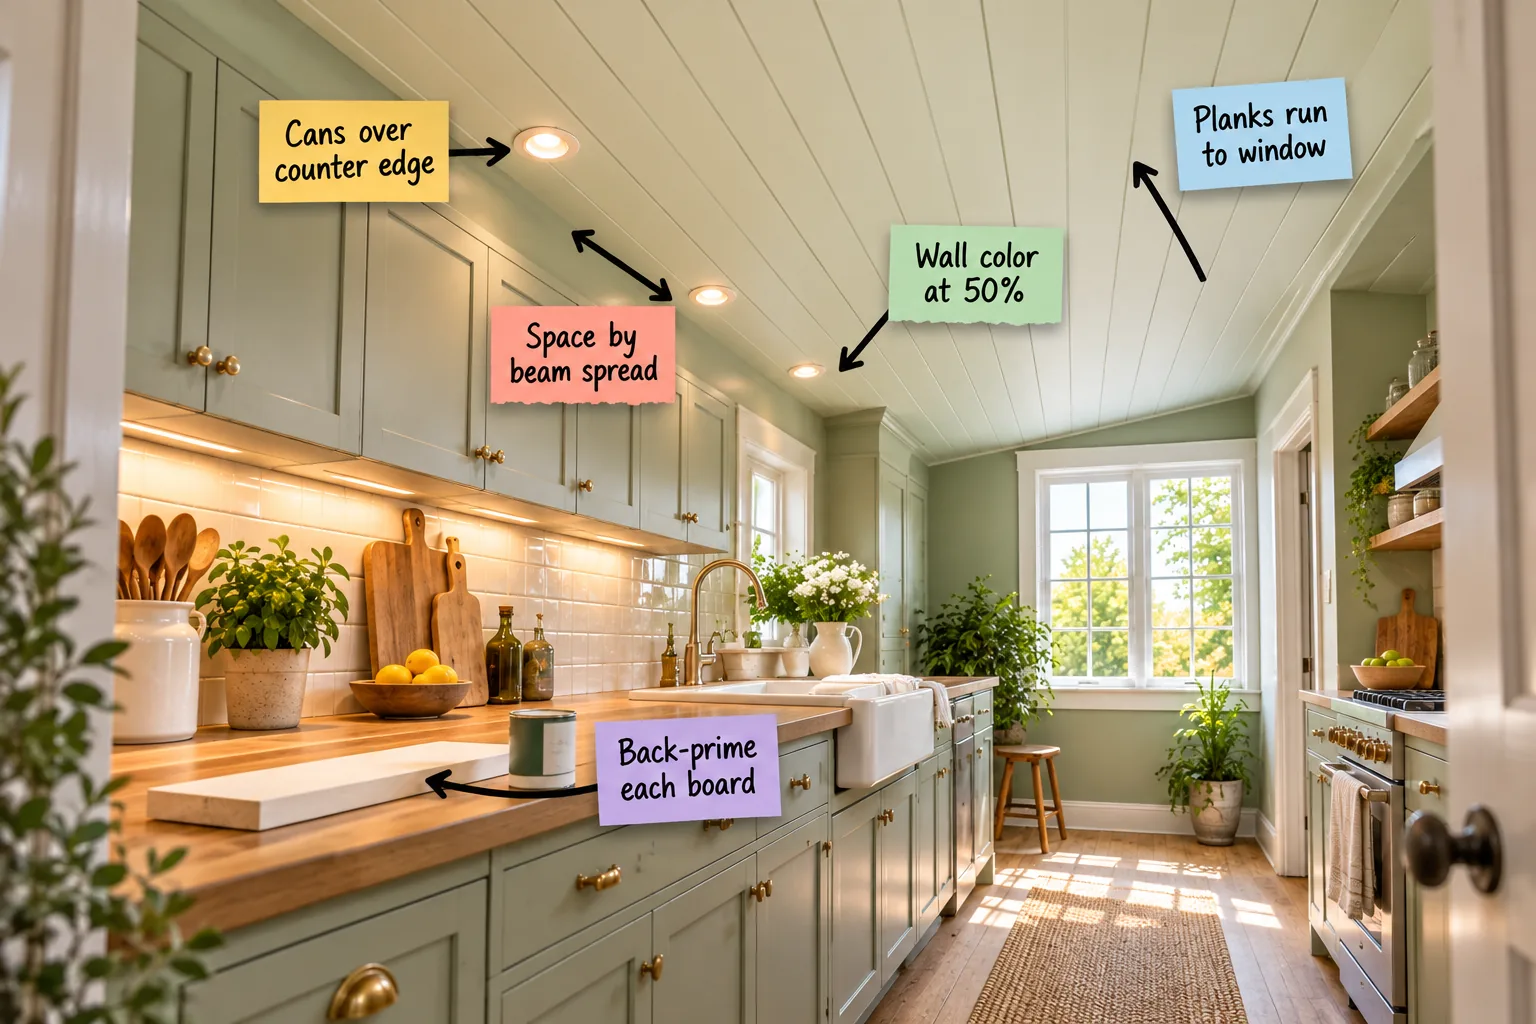
Planning a flawless, professionally finished kitchen ceiling requires exact decorator measurements for downlight spacing, counter edge offsets, plank direction, and precise paint tint ratios. Grab your printable Kitchen Ceiling Layout Sheet to confidently map out your entire lighting and millwork strategy without second-guessing the complex math.
Directing the Eye with Planks
In my own Denver home renovations, I always run five-inch tongue-and-groove boards lengthwise toward the primary natural light source, usually a large window. This critical orientation prevents incoming sunlight from casting harsh, highly noticeable shadows across every single long seam.
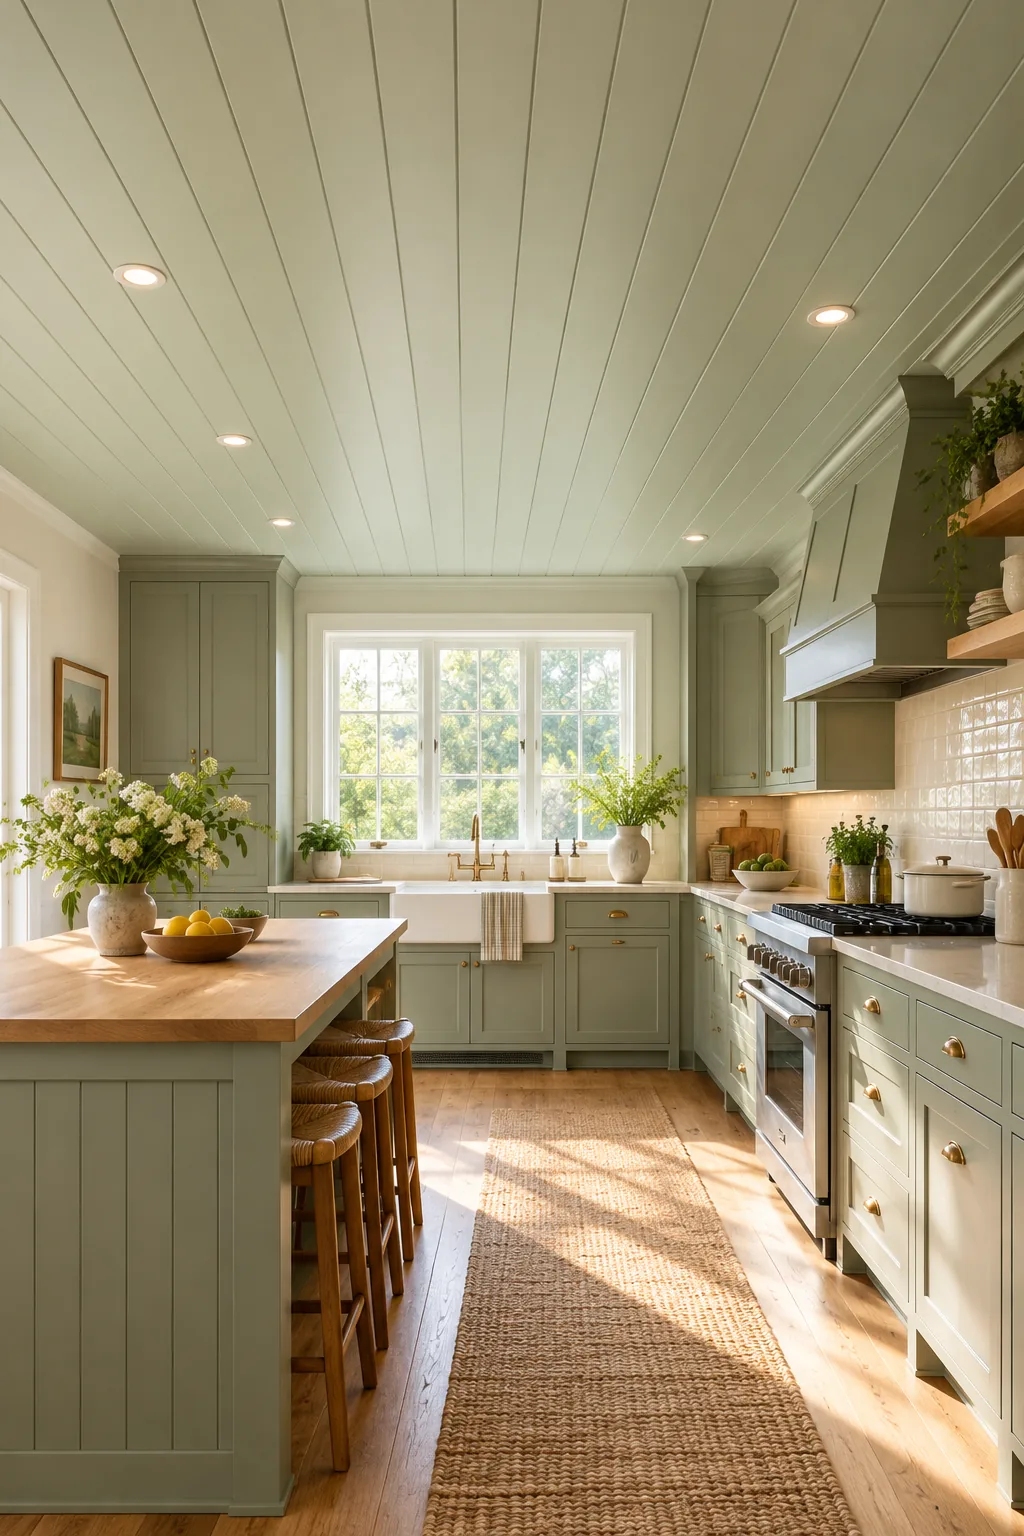
Running the boards parallel to the light makes the ceiling feel continuous and visually stretches the room’s proportions. To achieve this seamless, elongated look, consider these essential plank orientation rules before you start measuring and cutting your expensive lumber:
- Identify your brightest primary window and map your initial starter board perfectly parallel to that wall to ensure the planks run to window light seamlessly across the entire room.
- Measure the total room width and divide it by the visible plank exposure to avoid ending up with a tiny, awkward sliver of wood at the final perimeter wall.
- Check your ceiling joist direction meticulously, as running boards parallel to joists requires installing perpendicular furring strips every sixteen inches to provide proper structural support.
- Stagger your butt joints randomly across the massive ceiling field so no two adjacent rows have seams aligning, which immediately breaks the beautiful illusion of continuous length.
- Leave a deliberate quarter-inch expansion gap at all perimeter walls so the solid wood can safely swell during humid summer cooking months without buckling or cracking.
- Prime the end grains of every freshly cut board before installing them to permanently block moisture absorption at the most vulnerable points of the tongue-and-groove system.
Aligning Lights with the Work Surface
Position your main row of recessed cans directly over the front edge of the countertop to guarantee brilliant, uninterrupted task lighting. For standard twenty-four-inch base cabinets, this means placing the center of the light exactly 24 to 26 inches out from the wall.
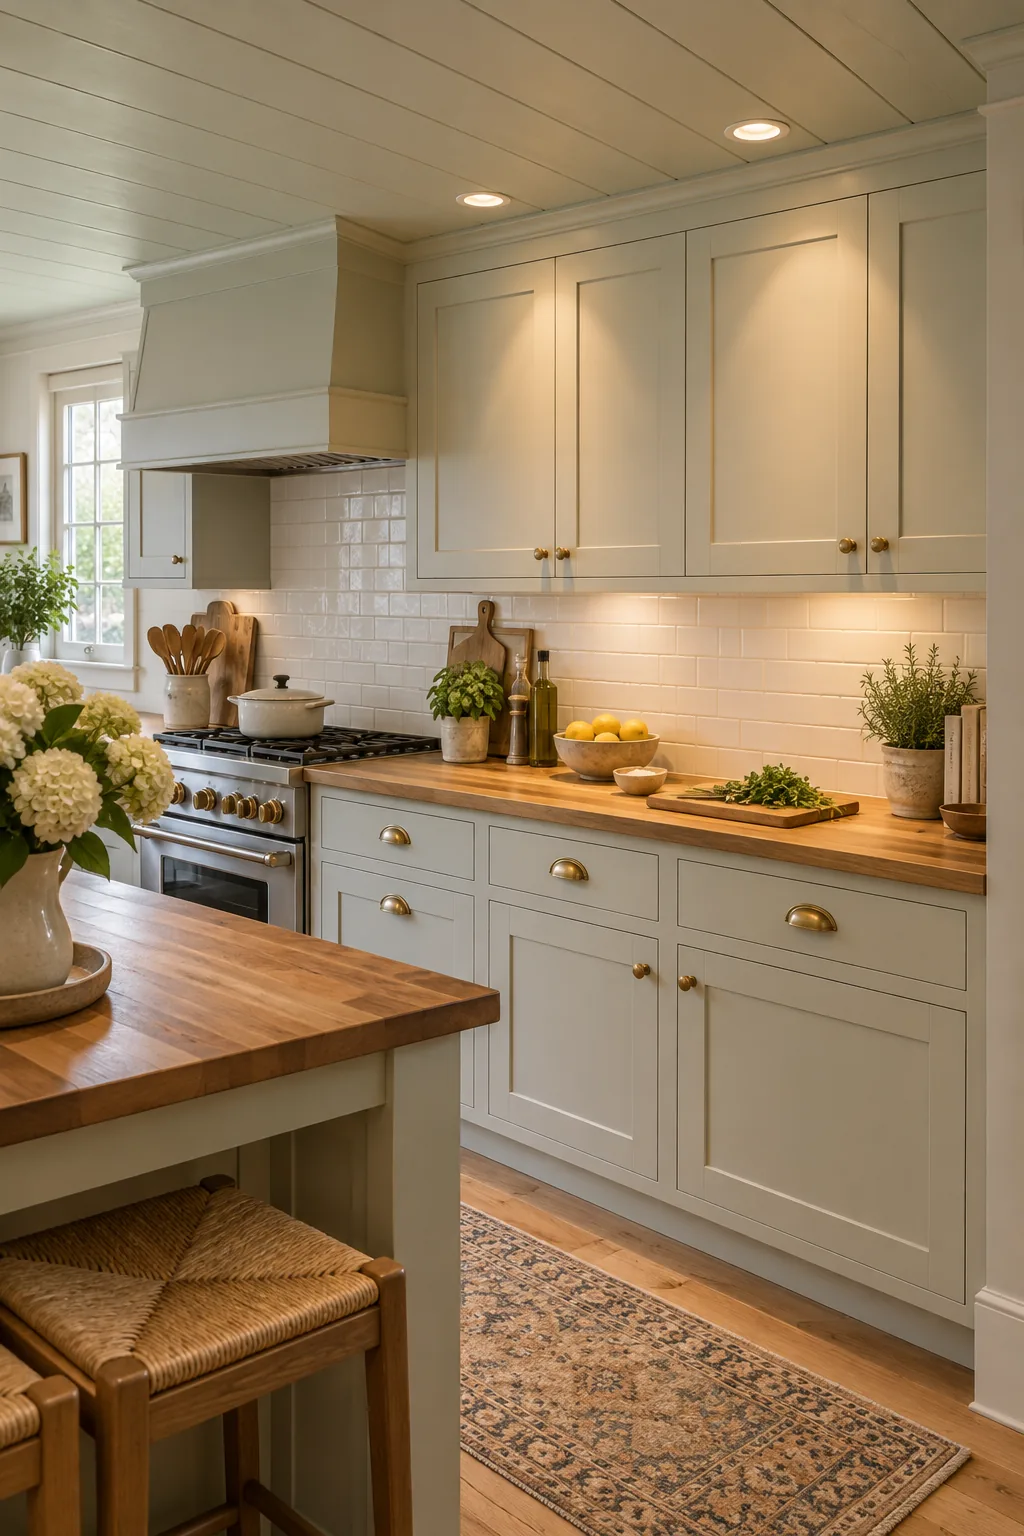
Getting this specific cans over counter edge offset right is absolutely crucial, as poor fixture placement can quickly turn a beautifully bright kitchen into a highly frustrating and shadowy daily workspace.
Calculating Downlight Spacing
Space your recessed lights based on their specific beam spread angle and your exact ceiling height, rather than simply guessing a symmetrical grid. Aim to overlap the light pools by roughly 30 percent at counter height to ensure completely even coverage.
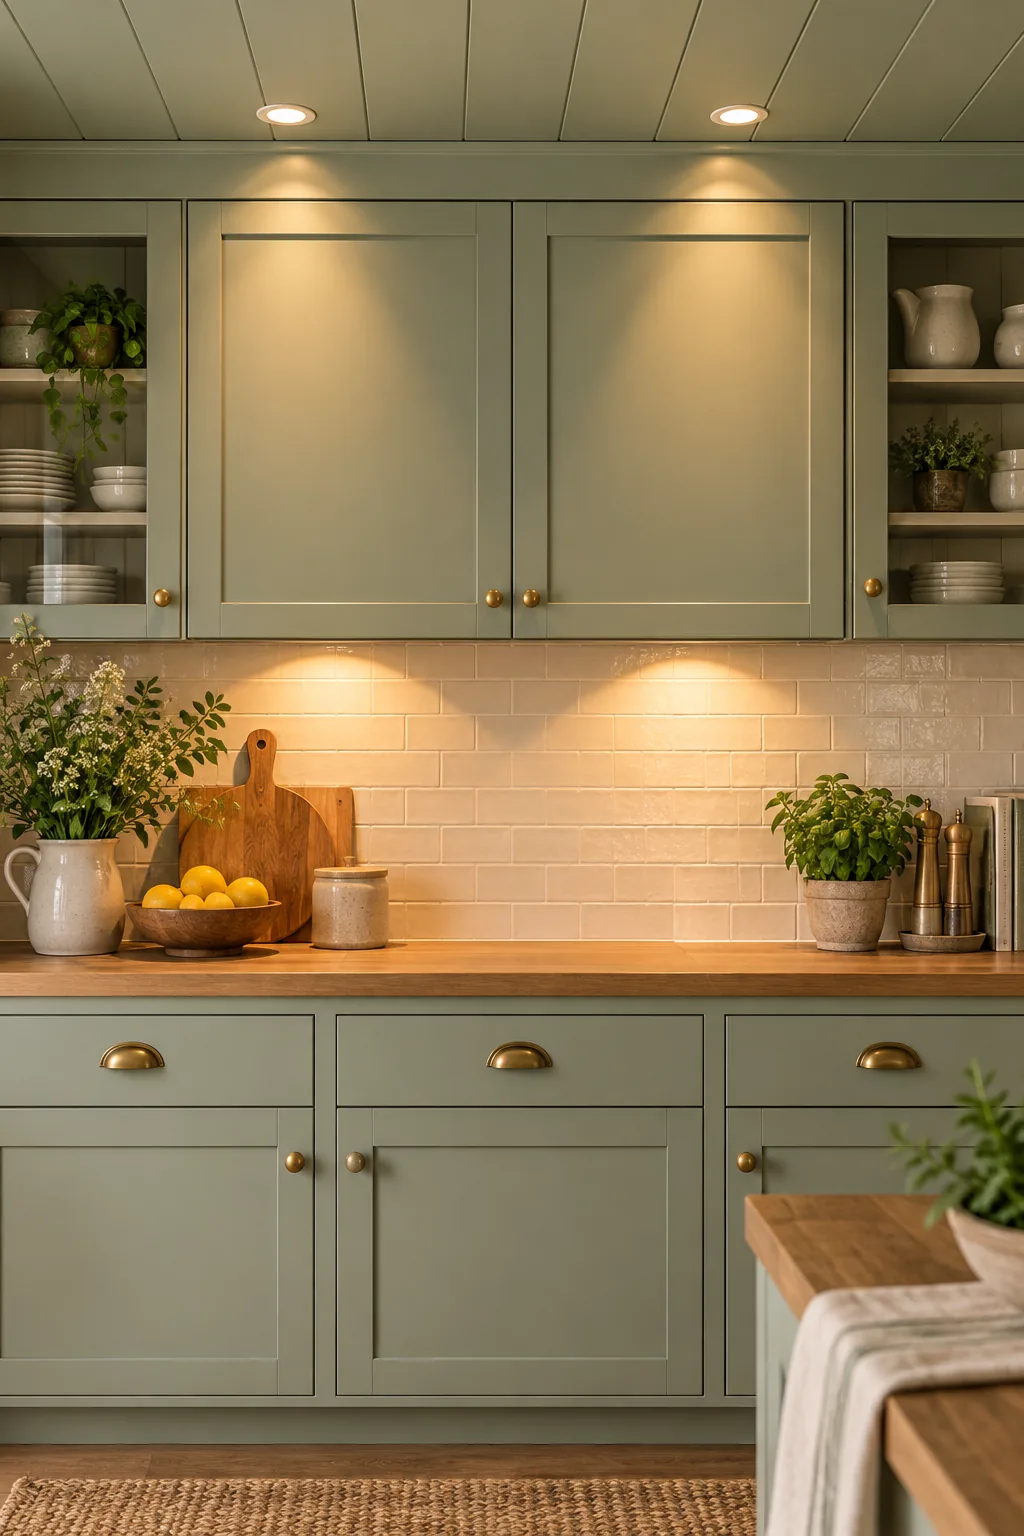
When you meticulously space by beam spread, you eliminate dangerous dark spots across the entire active prep zone. Use this standard spacing matrix for an eight-foot ceiling to determine the ideal distance between your specific fixture centers for flawless illumination:
| Beam Angle | Light Pool Diameter | Overlap Target | Center-to-Center Spacing |
|---|---|---|---|
| 30 Degrees (Narrow Spot) | 4.3 Feet Spread | 1.3 Feet Overlap | 3.0 Feet Apart |
| 40 Degrees (Standard) | 5.8 Feet Spread | 1.7 Feet Overlap | 4.1 Feet Apart |
| 50 Degrees (Wide Flood) | 7.3 Feet Spread | 2.2 Feet Overlap | 5.1 Feet Apart |
| 60 Degrees (Ultra Wide) | 9.2 Feet Spread | 2.8 Feet Overlap | 6.4 Feet Apart |
| 90 Degrees (Wall Wash) | 16.0 Feet Spread | 4.8 Feet Overlap | 11.2 Feet Apart |
| 120 Degrees (Ambient) | 22.0 Feet Spread | 6.6 Feet Overlap | 15.4 Feet Apart |
Managing Moisture and Movement
Kitchens experience drastic daily humidity swings from boiling pasta water and intense cooking heat. You must back-prime each board completely on the hidden face and all delicate edges before installation to seal the porous natural material against aggressive airborne moisture.
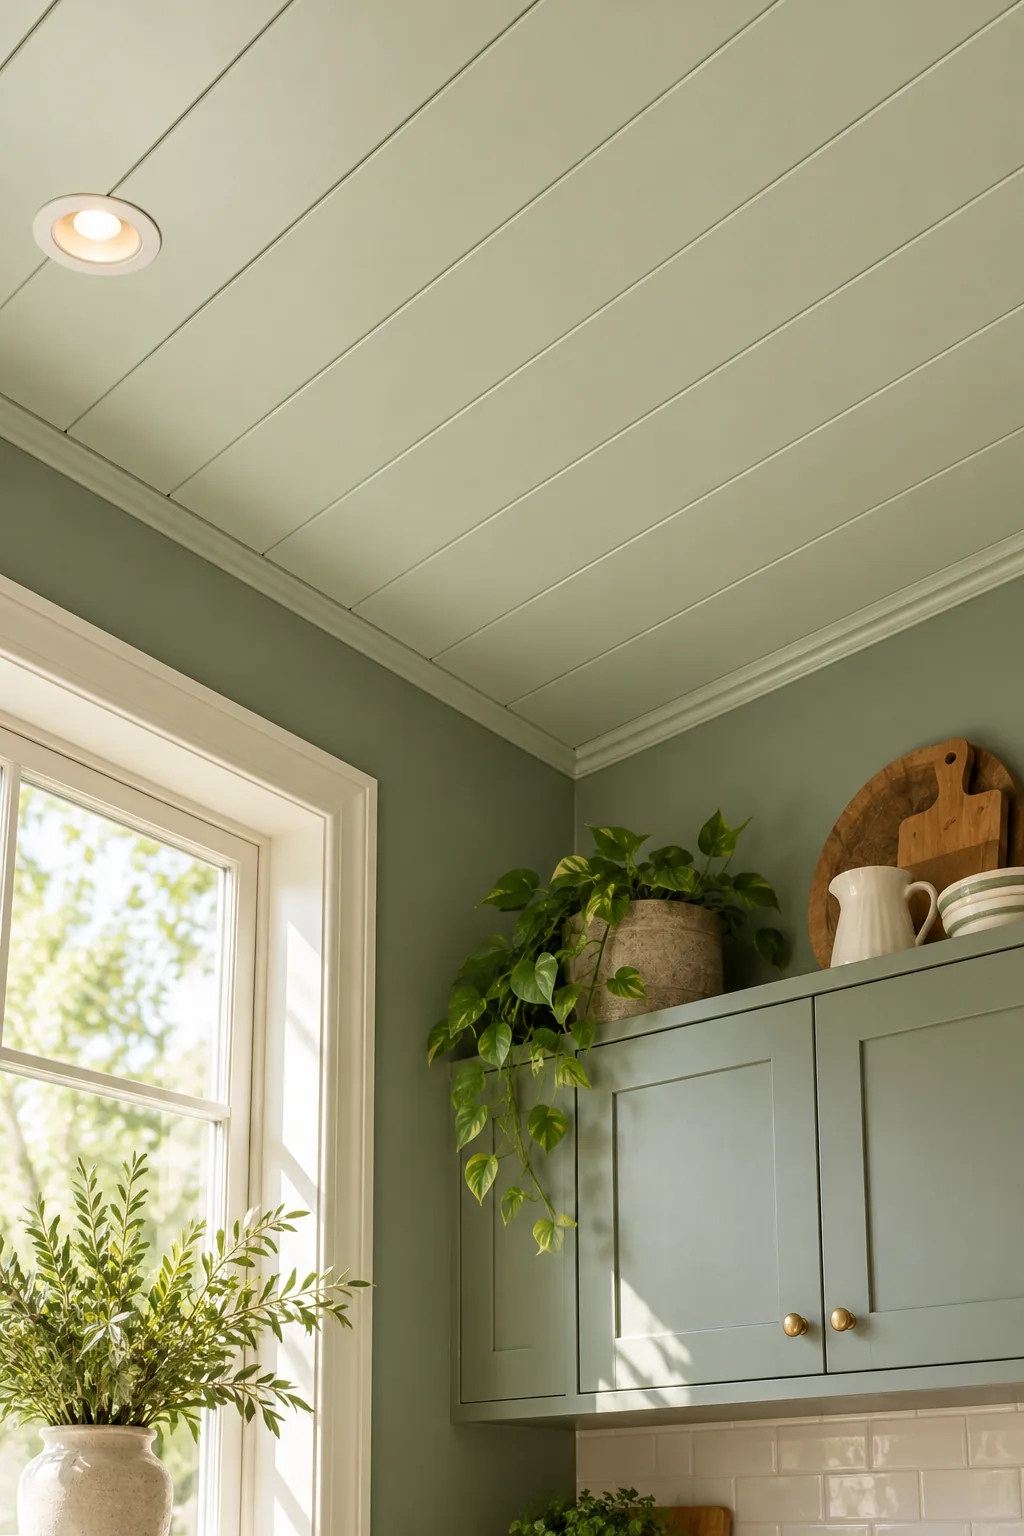
This invisible protective barrier prevents severe long-term warping and stops raw, unpainted wood lines from flashing when the planks inevitably shrink during the dry winter months. Treating the back is just as critical as finishing the highly visible face.
Choosing the Ceiling Sheen
While standard drywall ceilings usually take a flat paint to hide imperfections, I always specify a satin or eggshell finish for painted wood planks. The slight sheen highlights the classic millwork texture beautifully and creates a highly washable surface.
- Sand the primed face lightly with 220-grit paper to knock down any raised grain before applying your very first coat of color.
- Wipe the entire ceiling down meticulously with a slightly damp microfiber tack cloth to remove all fine sanding dust from the deep grooves.
- Brush the paint deeply into the tongue-and-groove joints first, working in small manageable sections, before rolling the flat faces to prevent heavy drips.
- Apply two thin, perfectly even coats of your chosen satin finish, allowing a full four hours of dry time between applications for maximum durability.
- Inspect the surface with a harsh raking work light between coats to catch and sand out any unwanted brush strokes or tiny debris.
- Maintain a consistent wet edge while rolling the ceiling field to absolutely guarantee a flawless, uniform sheen without any visible lap marks.
Before applying your chosen topcoat, the raw material needs one final layer of uncompromising defense to ensure the finish remains pristine for decades.
Mixing the Perfect Ceiling Tint
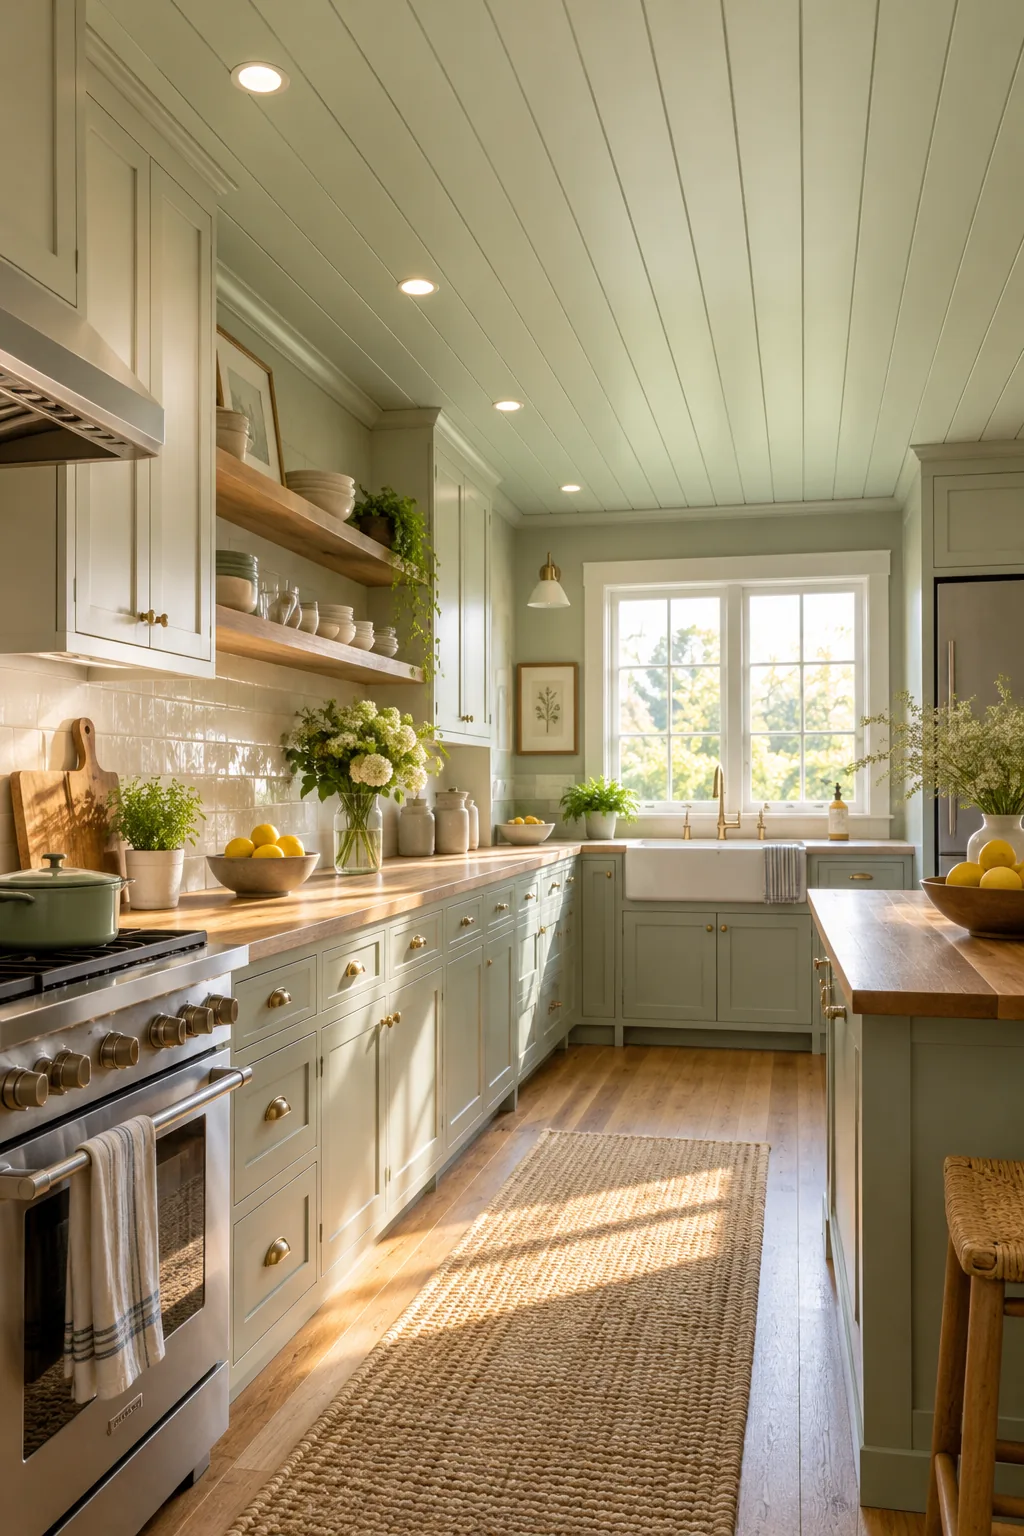
Avoid a stark, disconnected white ceiling in a colorful kitchen, as it can easily feel unfinished and cold. Ask the paint counter to mix your ceiling paint so the wall color at 50% strength creates a highly cohesive, enveloping atmosphere.
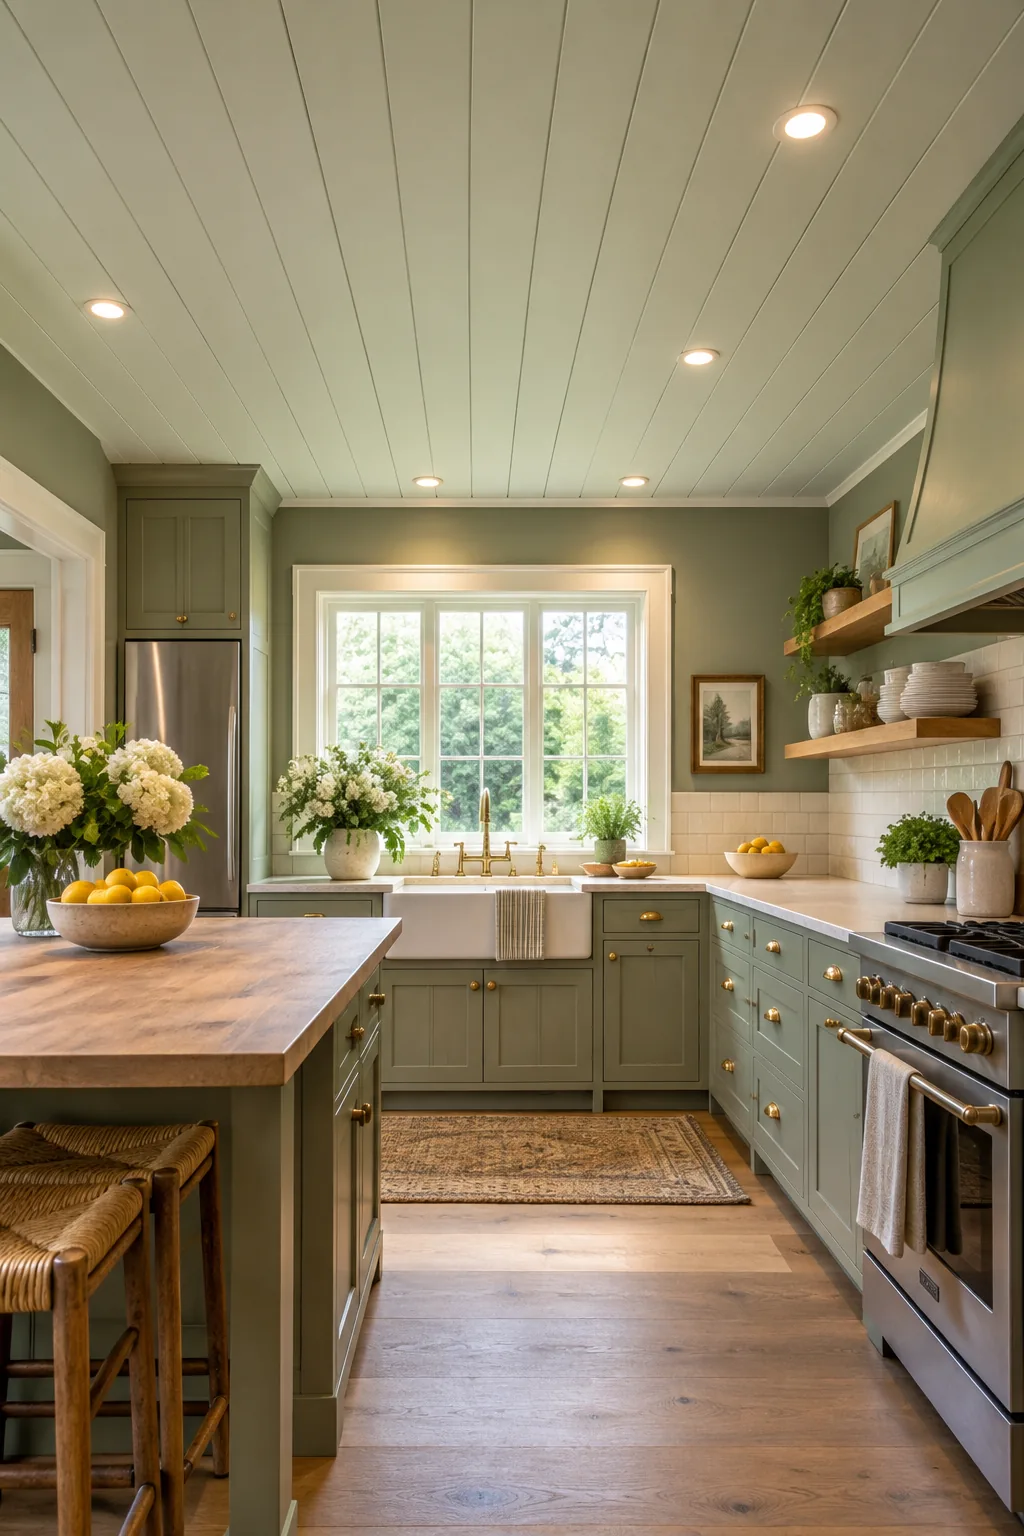
This custom half-strength tint feels entirely intentional and beautifully smooths the visual transition between your vertical and horizontal planes without artificially darkening the room. It draws the eye upward gently, making the ceiling feel like a completely natural extension of the walls.
Trimming the Perimeter
Finish the raw edges where the ceiling planks meet the wall or upper cabinets to permanently hide your mandatory expansion gaps. In my recent kitchen remodels, a crisp square stock provides a much cleaner, more modern transition than heavy traditional crown.
5 Ways to Style a Planked Kitchen Ceiling
Explore how different paint colors and plank finishes can completely change the mood of your kitchen.
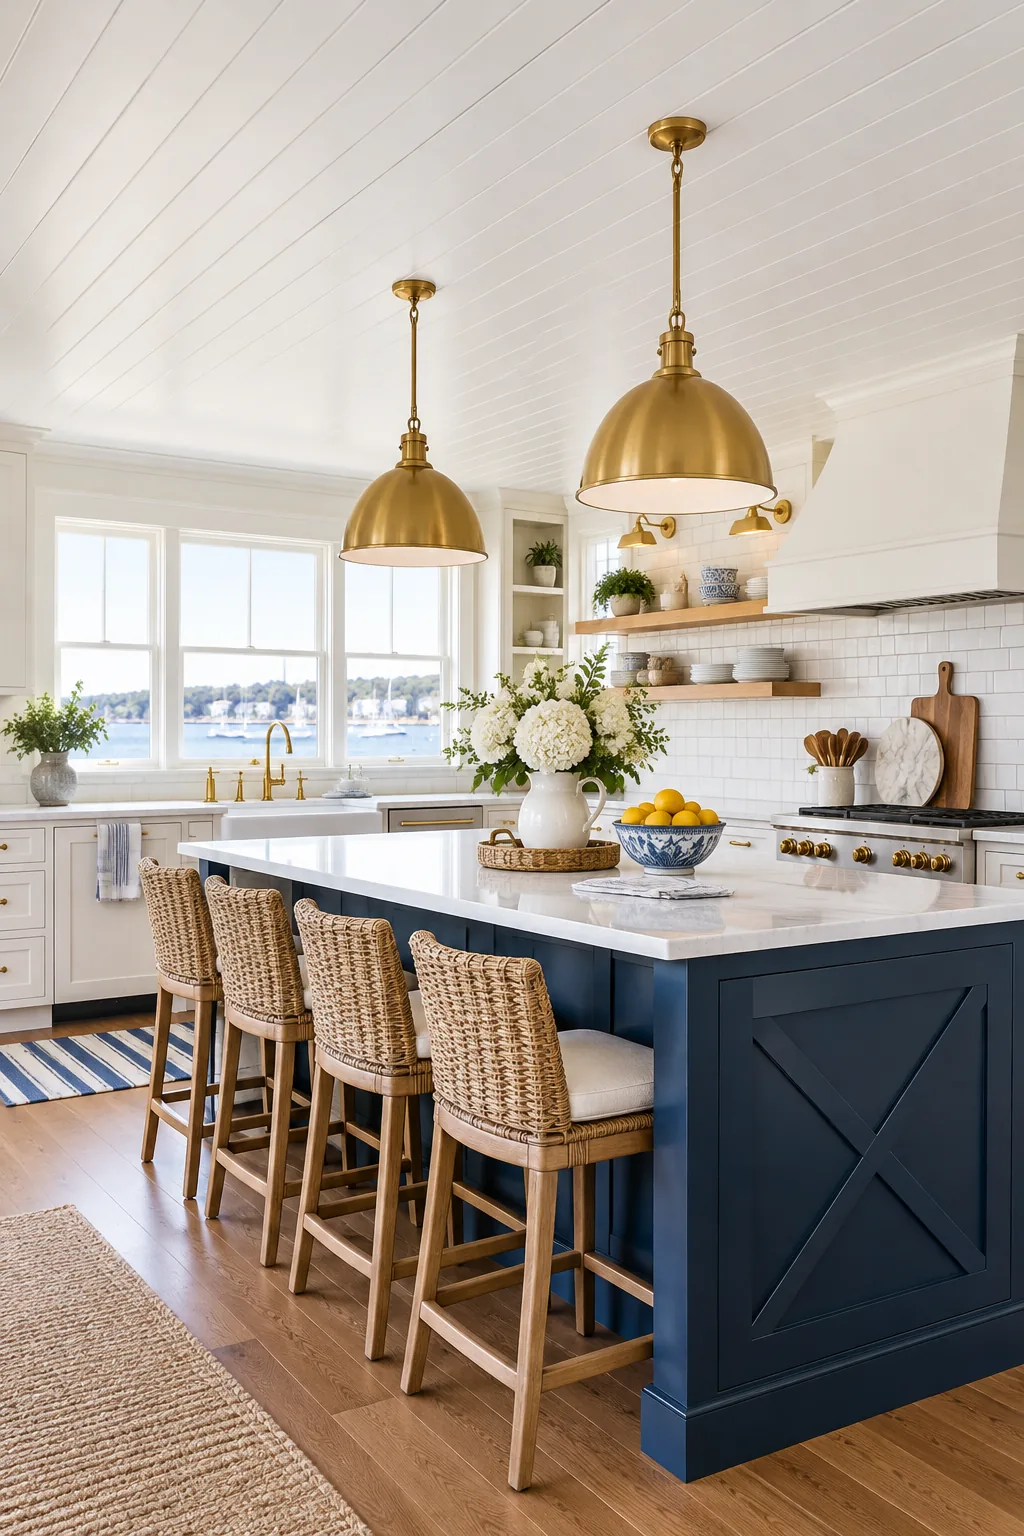
Crisp Coastal: Bright white planks and a navy island create a classic coastal feel; copy the brass pendant lights to add warmth to the cool tones.
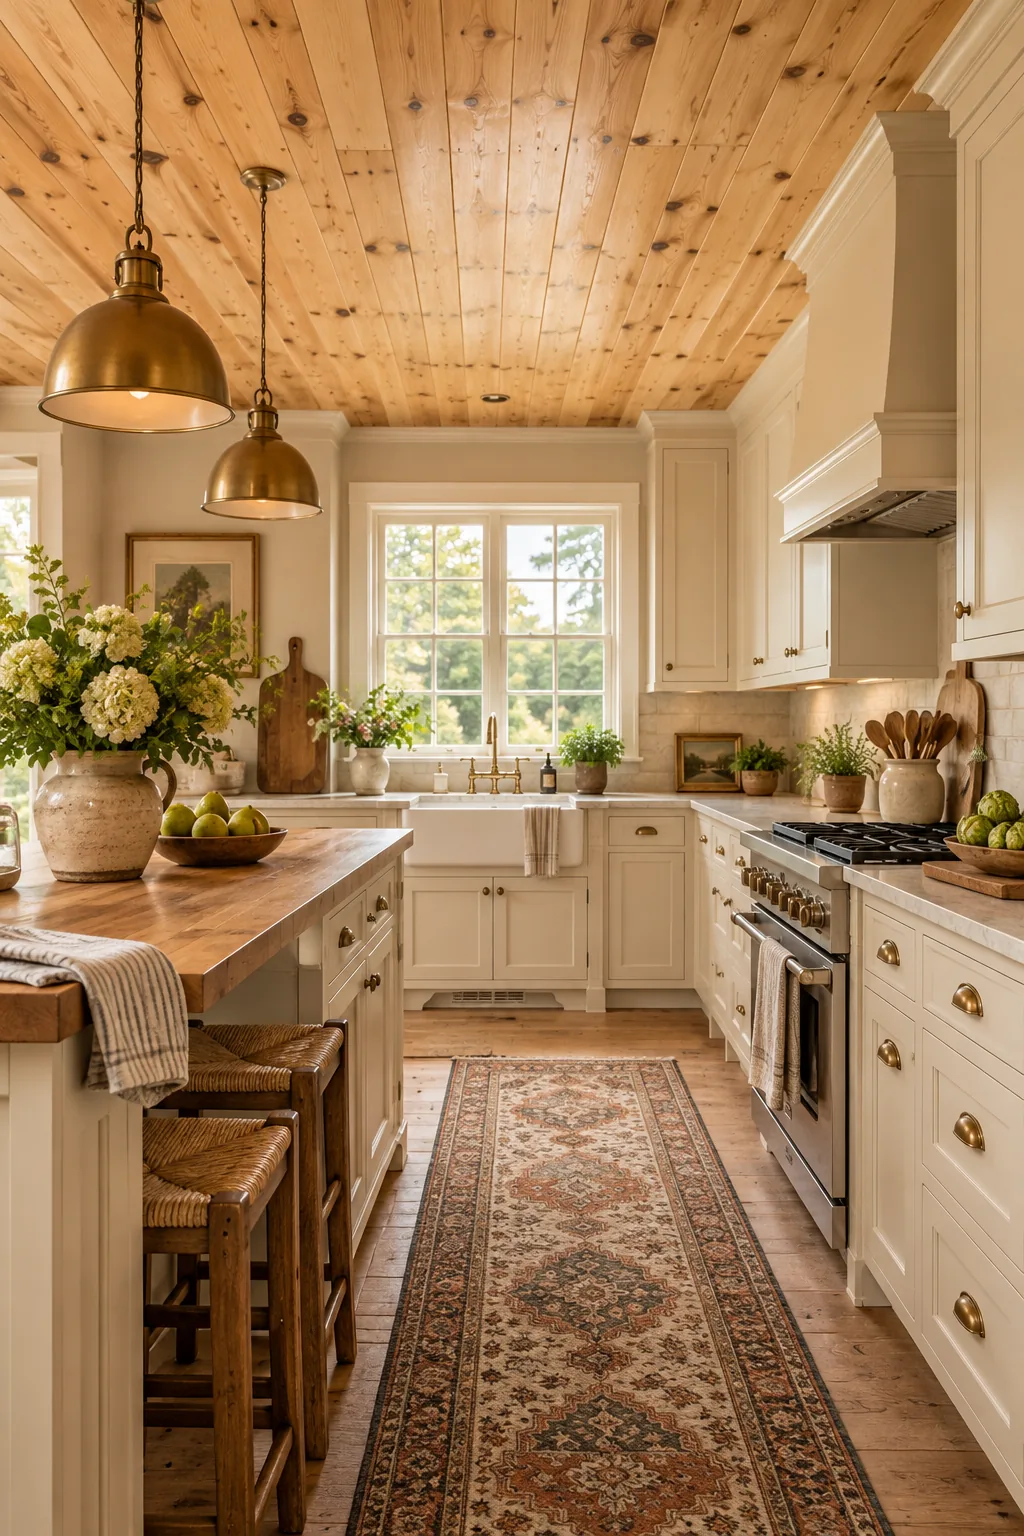
Warm Cottage: A clear-coat pine ceiling brings immense warmth to a cottage space; pair it with soft cream cabinets to keep the room feeling light and airy.
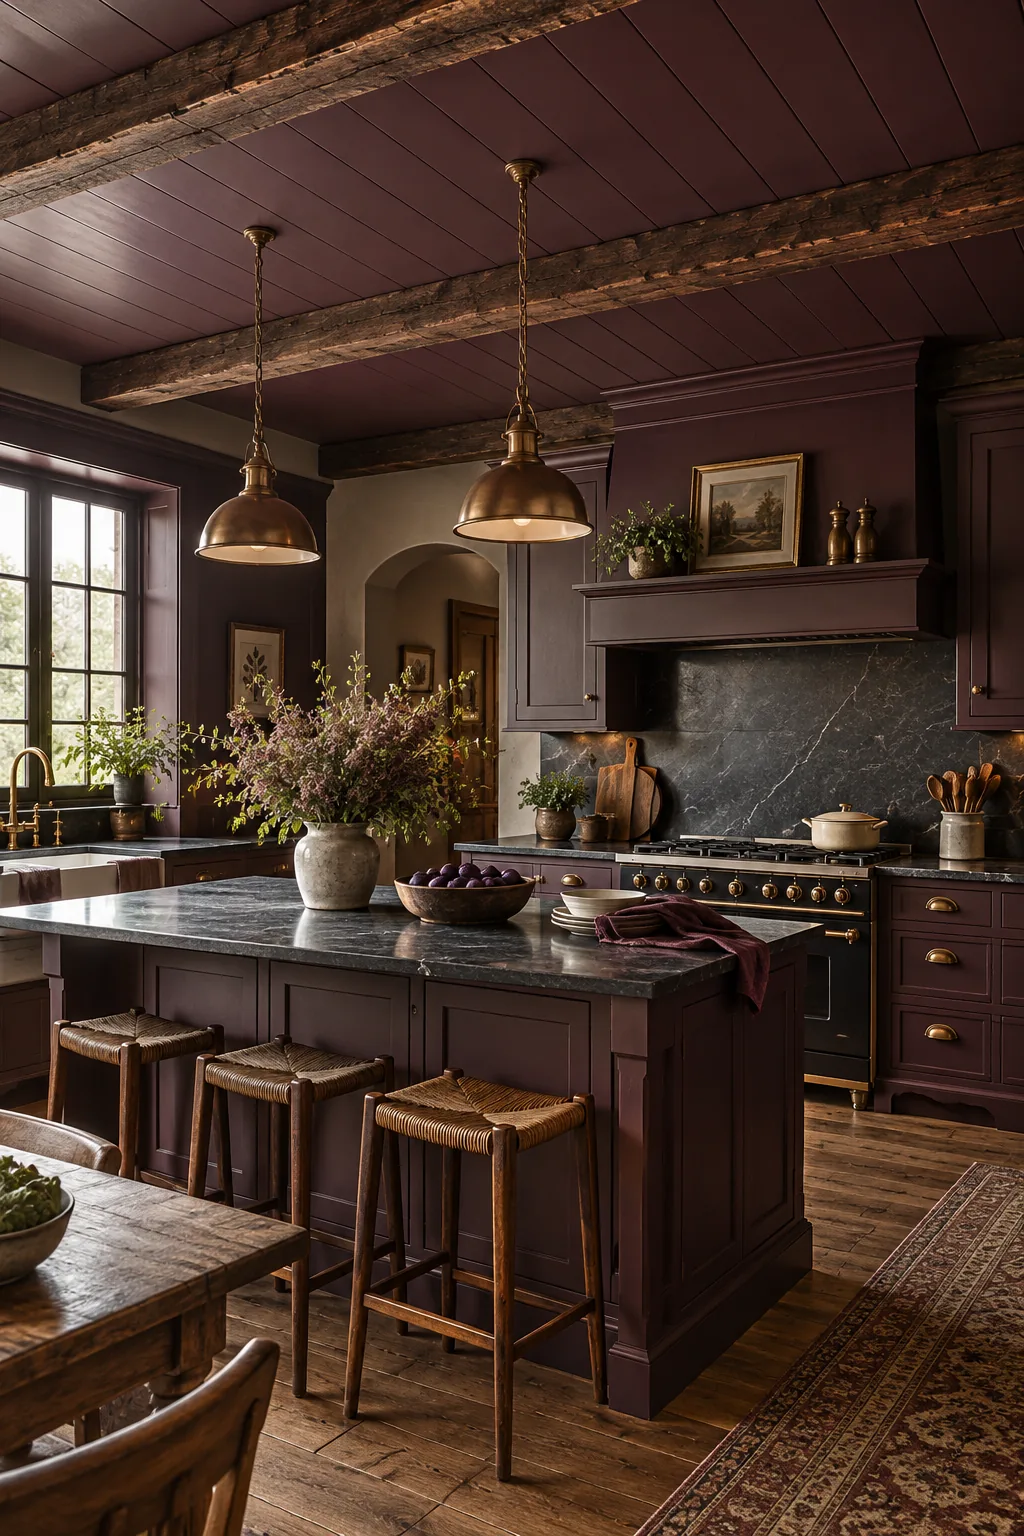
Moody Historic: A rich plum ceiling adds dramatic heritage character; frame the painted planks with exposed dark wood beams to ground the bold color choice.
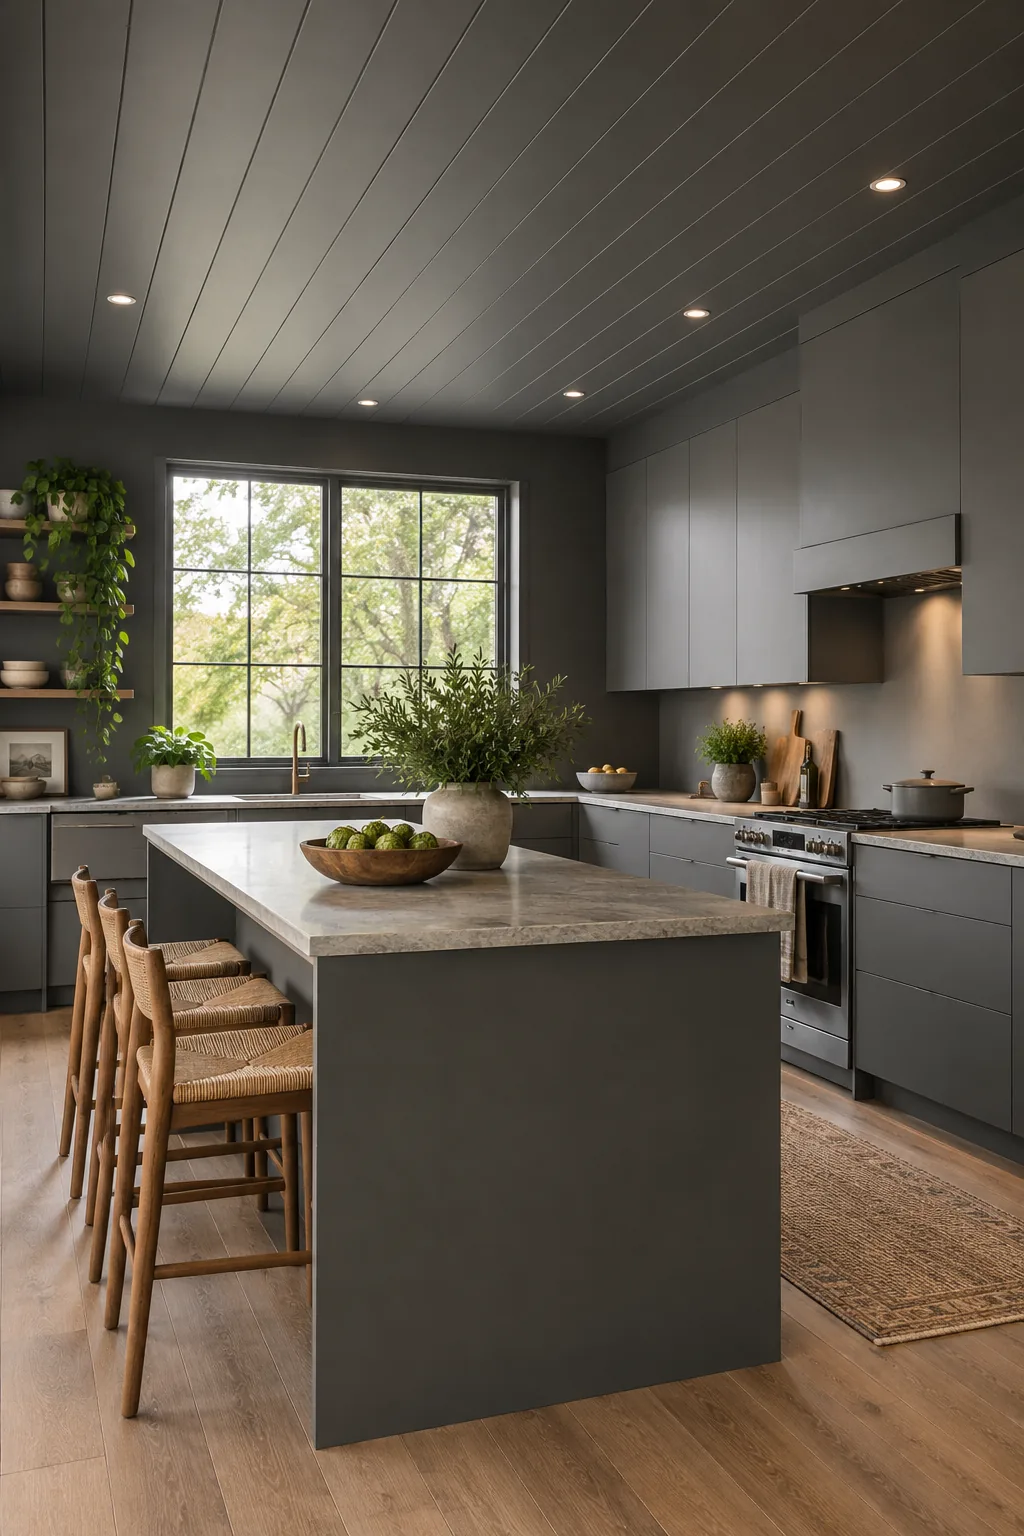
Modern Monochromatic: Painting the ceiling planks and walls the exact same slate gray blurs the room's boundaries; use sleek flat-panel cabinets to maintain the minimalist vibe.
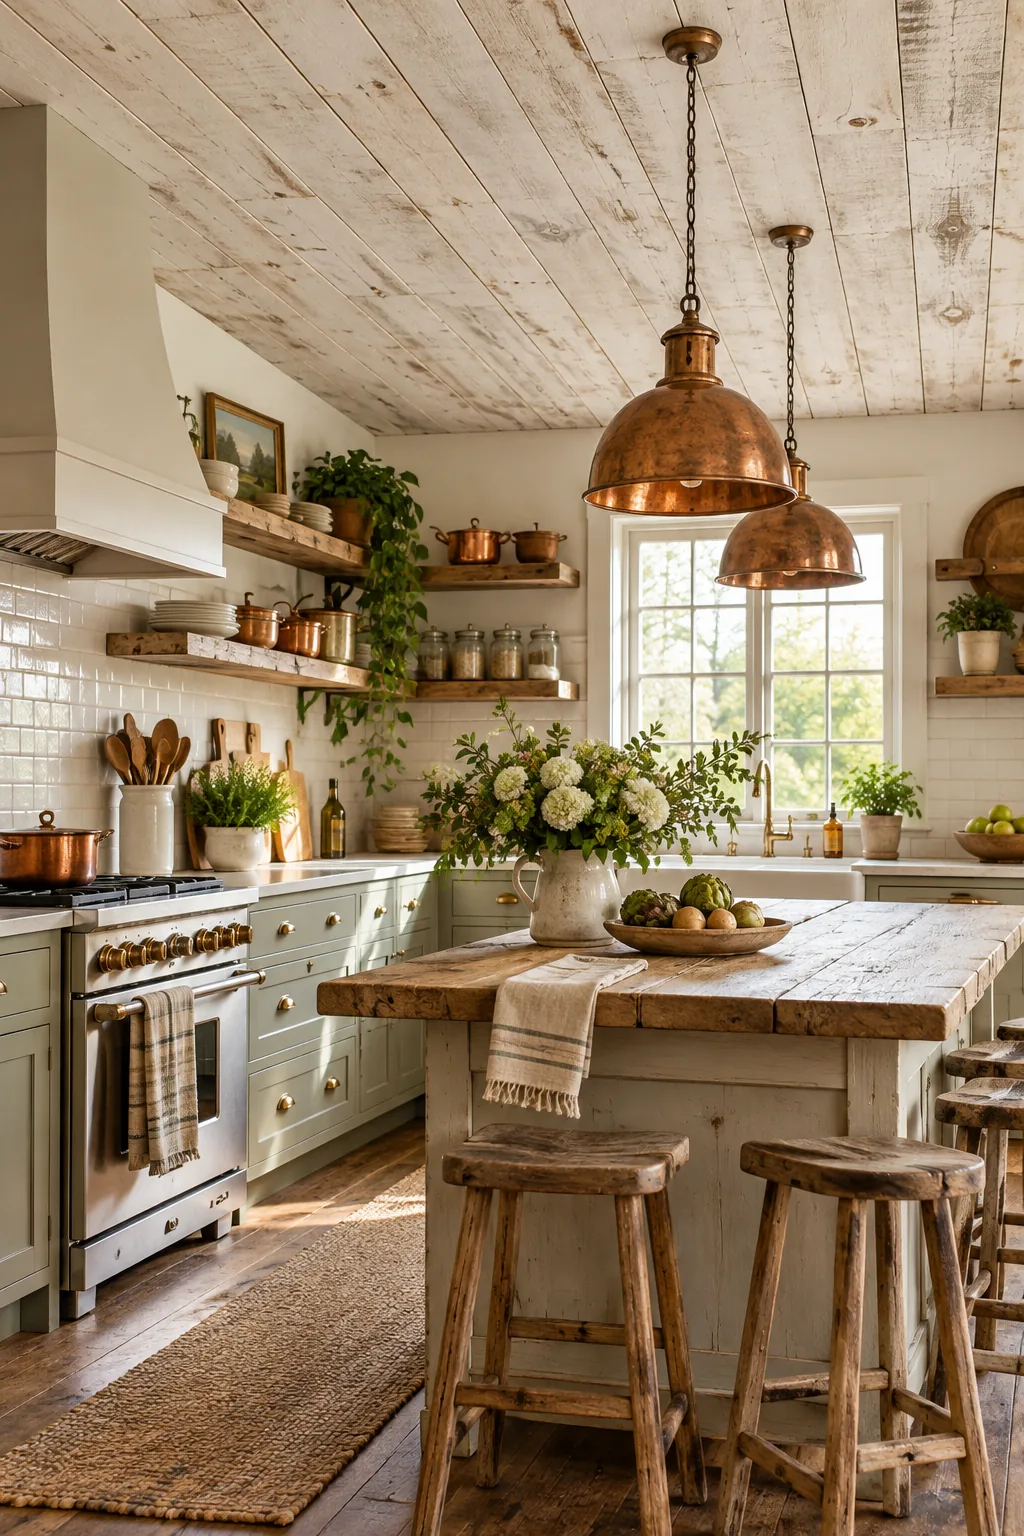
Rustic Farmhouse: Whitewashed rough-sawn planks offer incredible texture for a farmhouse look; display copper cookware to bounce warm light against the matte wood ceiling.
Your Kitchen Ceiling Layout Sheet
Download the complete one-page reference guide to take the stressful guesswork out of your upcoming renovation. It includes the exact counter offset measurements and the simple formula for calculating custom paint tint ratios at the local hardware store.
Keep your Kitchen Ceiling Layout Sheet handy on your phone or print it for your general contractor. Having the downlight spacing chart readily available ensures your beautiful new prep zone is built exactly to these proven, highly functional specifications.