
Metal Folding Chair Upcycle with Vibrant Mustard Corduroy
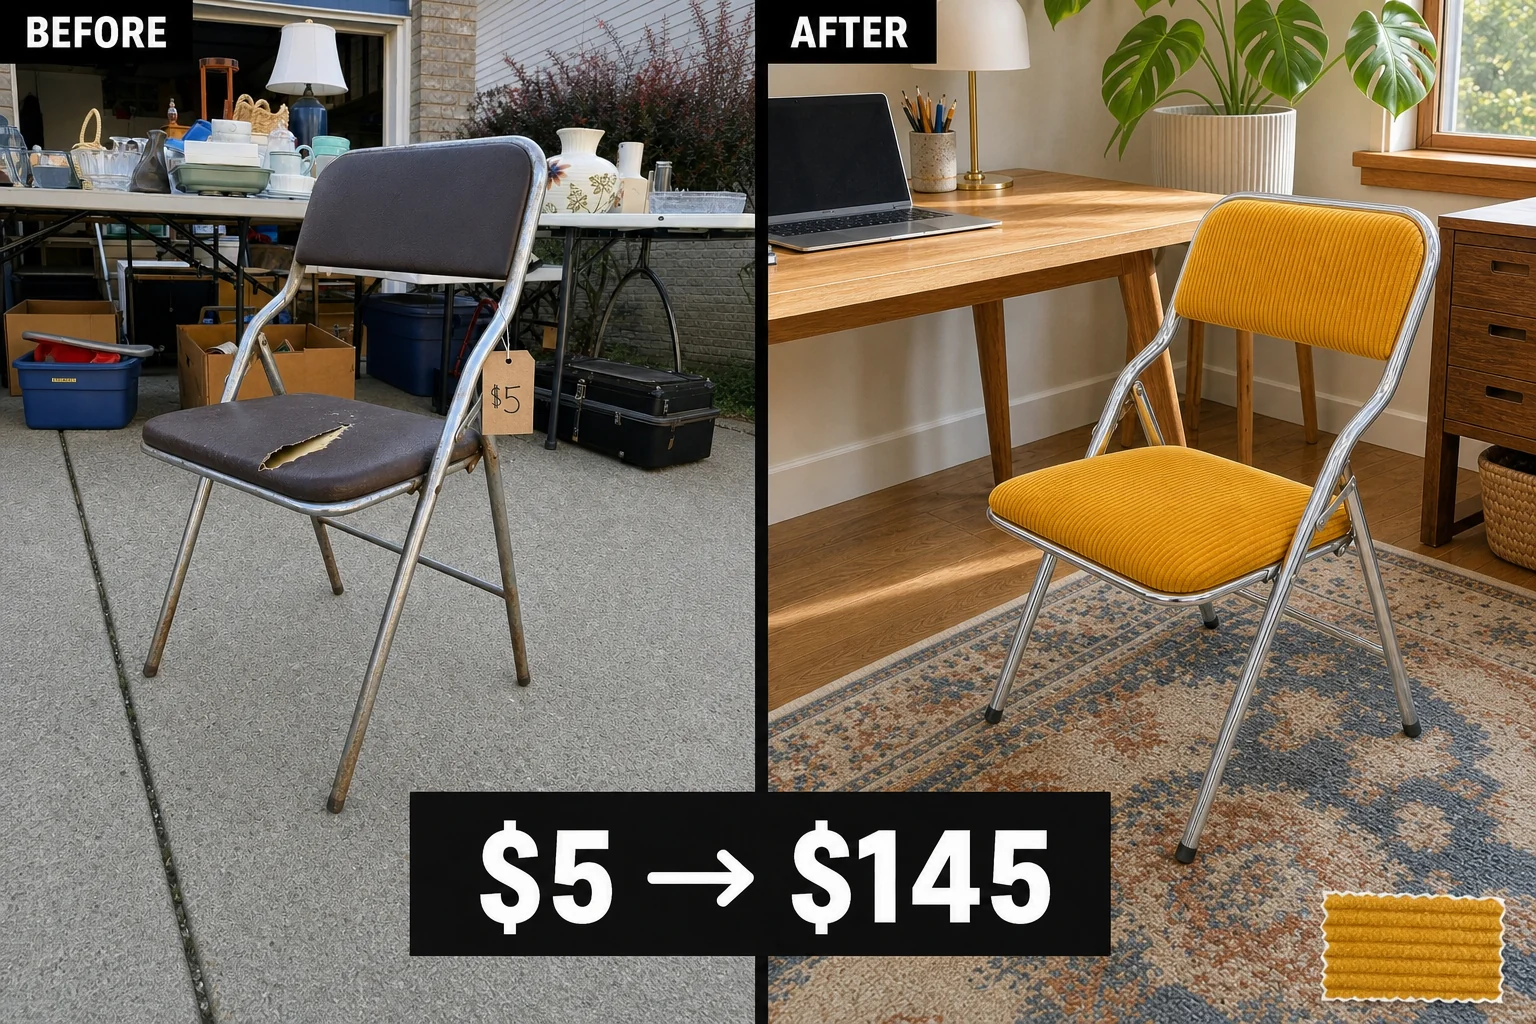
Spotted at a driveway garage sale, this vintage folding chair was priced to move due to a heavily torn seat. We replaced the damaged brown vinyl with vibrant mustard yellow corduroy and restored the rusted chrome frame to a mirror shine.
Evaluating the Vintage Damage
This A-frame piece featured a classic tubular metal silhouette with a rectangular padded backrest and square padded seat. A jagged four-inch tear exposed crumbling yellow foam on the main seat pad, requiring complete removal of the old cover, while pitted brown oxidation spots plagued the tubular steel lower legs.
Materials checklist
Project Costs and Valuation
Vintage tubular chrome chairs are highly sought after in the secondhand market, making this restoration a worthwhile investment. Adding custom textured upholstery elevates this piece from a basic folding chair to a premium accent seat, justifying the estimated resale value.
| Item | Cost |
|---|---|
| Purchase Price | $5 |
| Chrome Polish | $8 |
| Aluminum Foil | $2 |
| Upholstery Foam | $12 |
| Spray Adhesive | $10 |
| Corduroy Fabric | $15 |
| Heavy-Duty Staples | $4 |
| Materials Total | $51 |
| Total Investment | $56 |
| Estimated Resale Value | $145 |
| Value Gain | $89 |
This $145 valuation represents an editorial estimate rather than a guaranteed completed sale, reflecting the strong demand for restored mid-century metal seating. The flattened padding was completely compressed to the wood under light pressure, so fresh high-density foam significantly improves both comfort and market appeal.
Step 1: Assess the Damage
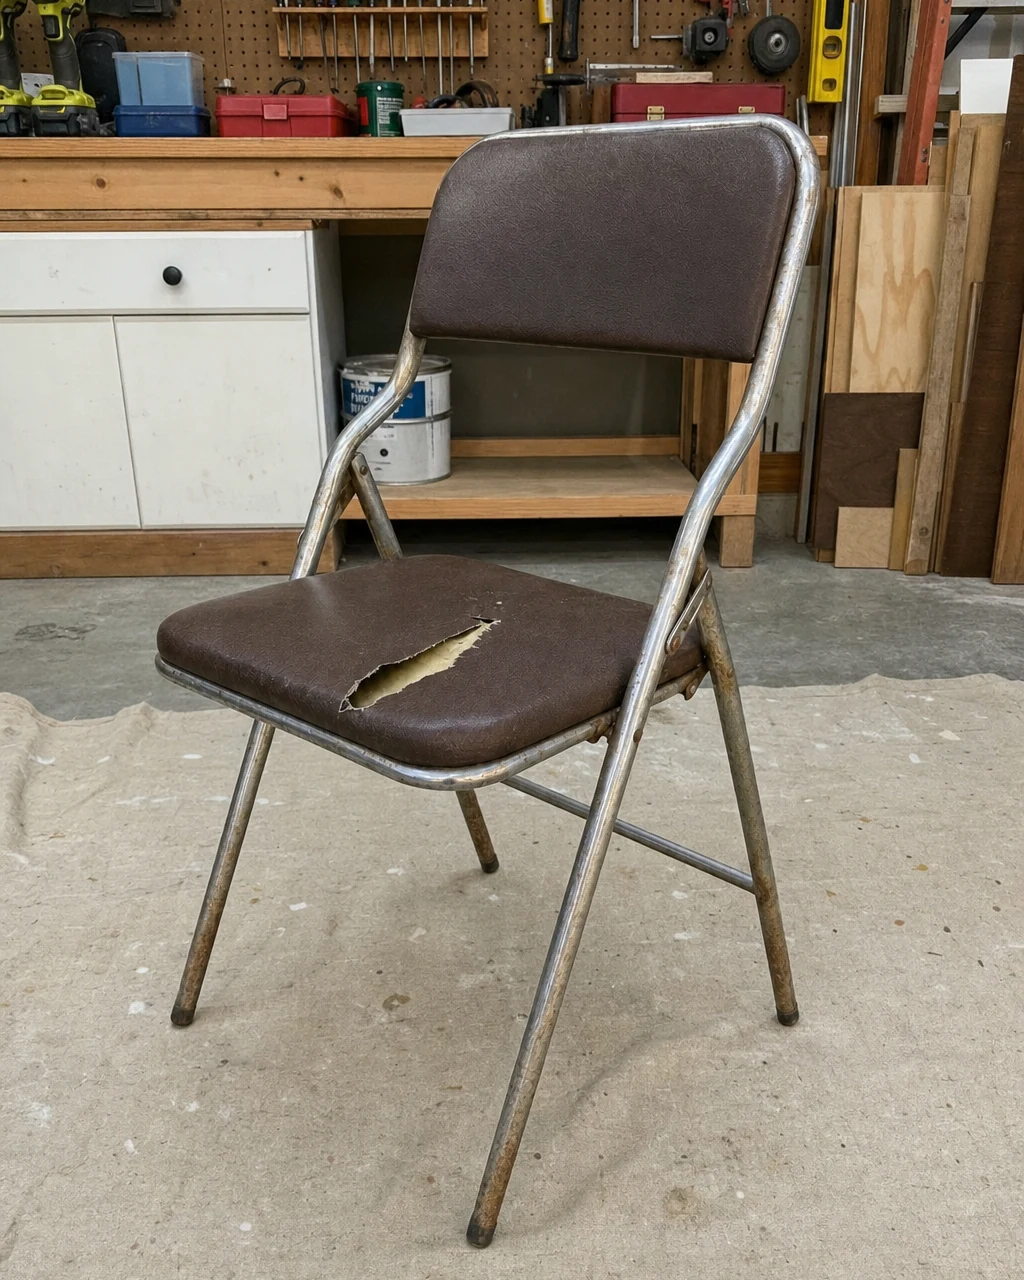
Inspect the torn vinyl seat and rusted chrome frame under a bright work light to determine the exact scope of upholstery and metal polishing work required. The complete folding chair must be evaluated to identify hidden structural issues before beginning the cosmetic transformation. Documenting the pitted brown oxidation spots helps track your restoration progress.
Safety and Preparation
Ensure the folding mechanism is locked open to prevent pinched fingers during your initial inspection. Setting up a canvas drop cloth in the workshop protects the floor from falling debris as you evaluate the crumbling yellow foam. Taking time to assess the original mounting brackets ensures a smooth reassembly.
Step 2: Detach the Seat
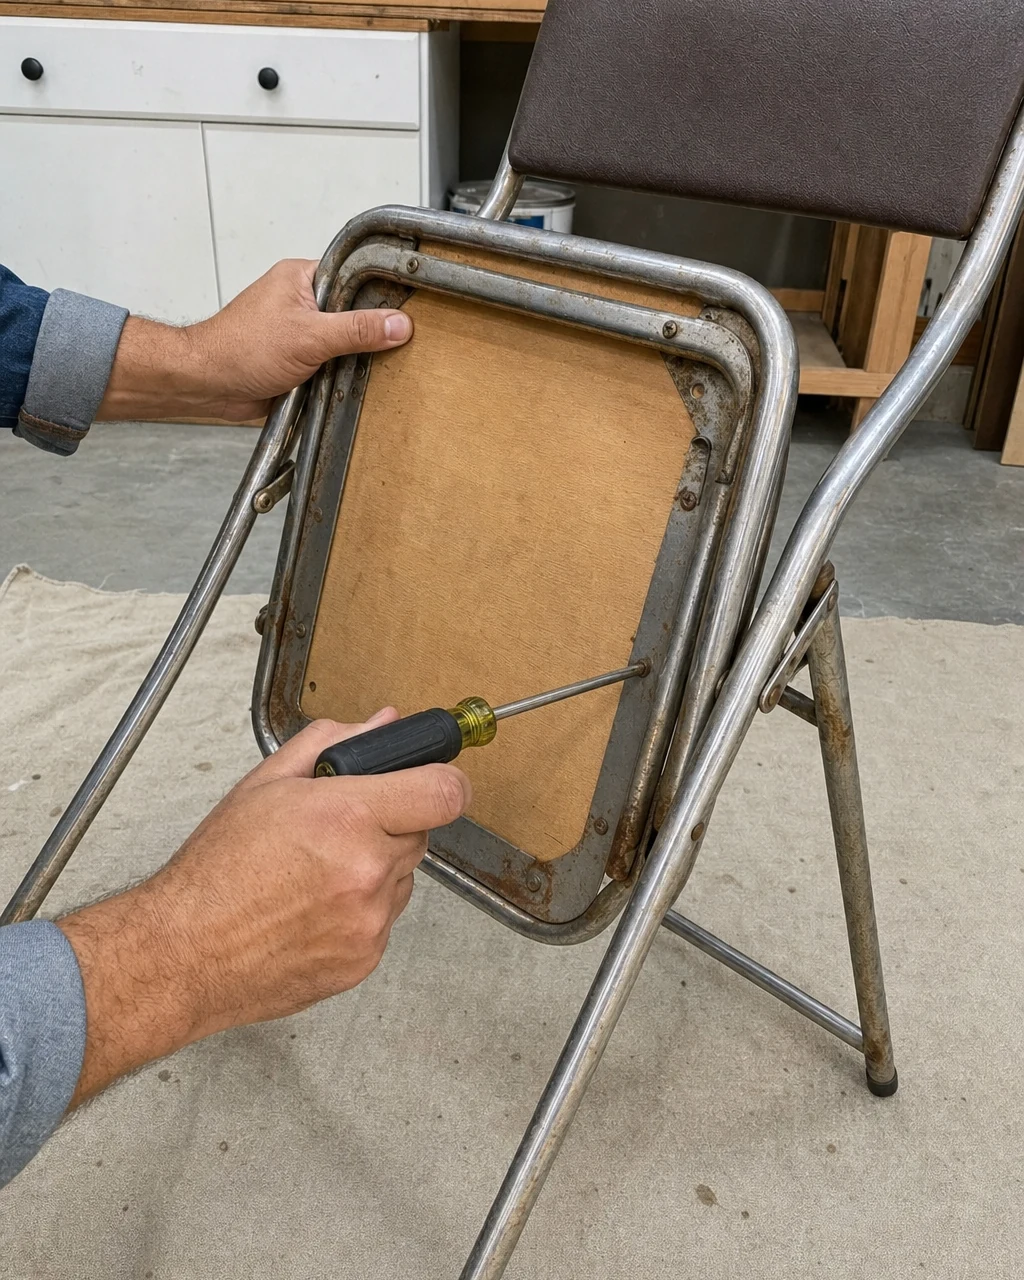
Unscrew the padded seat and backrest panels from the metal frame using a Phillips screwdriver to allow for independent upholstery and frame restoration. Separating the panels from the underside of the chair seat provides clear access to the bare metal, making it easier to address the surface rust.
Hardware Organization
Keep track of the original screws in a secure container for reassembly later in the project. The original mounting brackets on the hinged steel tube frame are specifically threaded for these fasteners, so retaining the factory hardware guarantees a tight, secure fit when you remount the newly upholstered panels.
Step 3: Polish the Chrome
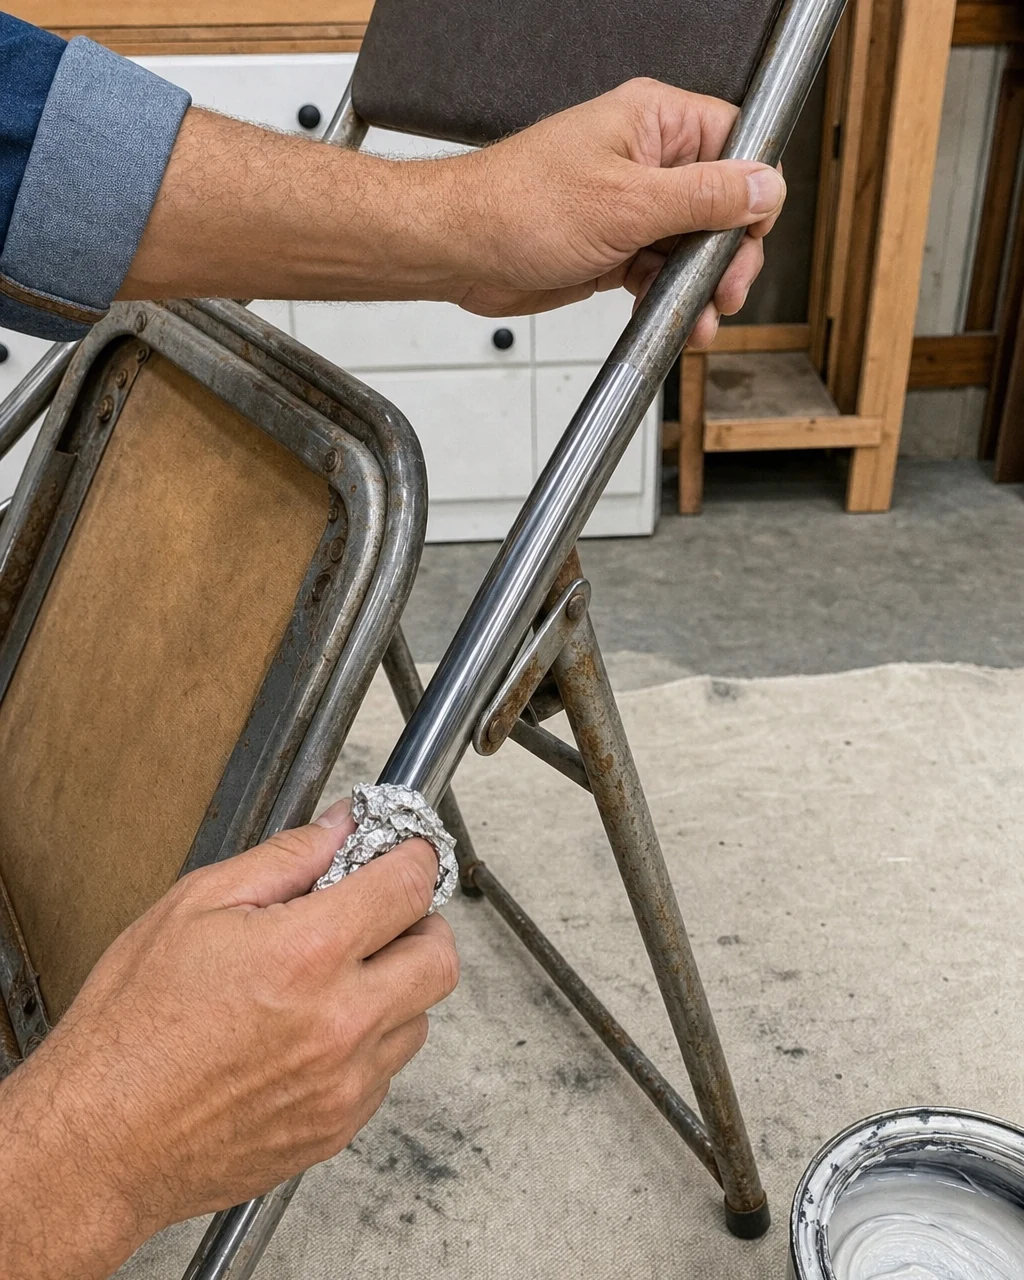
Scrub the rusted tubular steel legs with crumpled aluminum foil and chrome polish to remove the pitted brown oxidation. The aluminum foil acts as a gentle abrasive that breaks down the rust without scratching the delicate plating, working alongside the chemical polish to restore the bright, rust-free mirror finish.
Restoring the Shine
Wear nitrile gloves to protect your skin from the chemical metal polish during this intensive scrubbing process. Focusing on one tubular steel lower leg at a time ensures you completely eradicate decades of oxidation before moving on to the next section of the A-frame silhouette.
Step 4: Attach New Foam
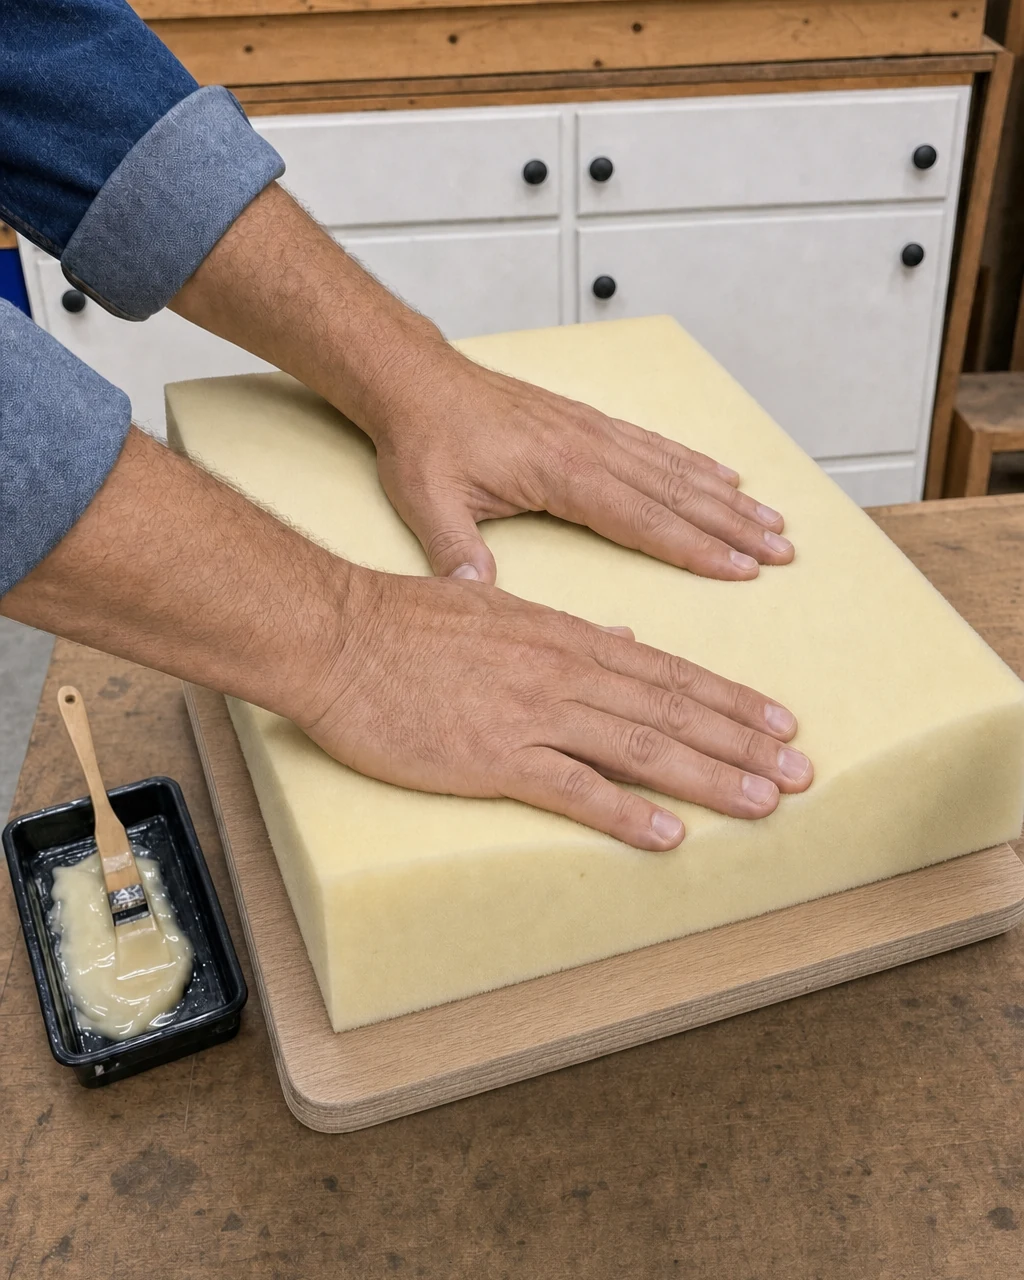
Strip the old dark brown vinyl and crumbling foam from the bare plywood seat base before applying any new materials. Spray adhesive onto the wood and press the new high-density upholstery foam firmly into place, ensuring the fresh padding aligns perfectly with the edges of the detached plywood seat base.
Securing the Padding
Apply spray adhesive in a well-ventilated area to avoid inhaling fumes while bonding the foam to the wood. Replacing the flattened seat cushions with fresh high-density foam provides essential structural support, guaranteeing the chair will remain comfortable and retain its crisp square shape through years of regular use.
Step 5: Staple the Corduroy
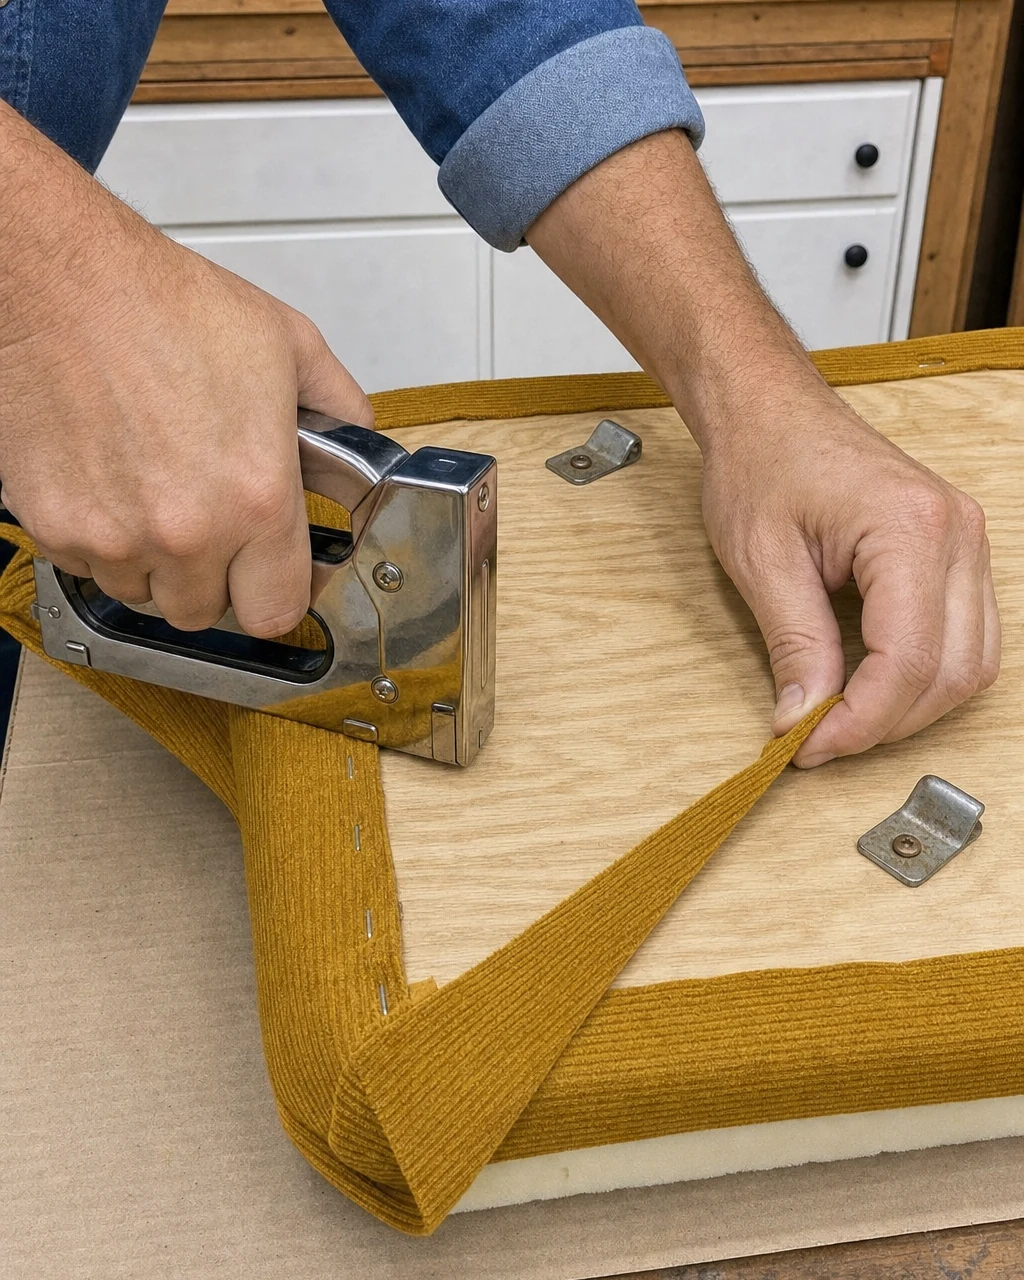
Stretch the mustard yellow corduroy fabric tightly over the new foam edges to create a smooth, tailored appearance. Drive heavy-duty staples through the fabric into the underside of the plywood base to secure it, working your way around the perimeter while maintaining even tension on the vibrant new upholstery.
Fastening the Fabric
Keep fingers clear of the staple gun discharge area while applying pressure to the underside of the detached seat base. Using the correct staple length ensures the fasteners penetrate the plywood deeply enough to hold the thick wide-wale corduroy without poking through the top surface of the seat.
Step 6: Reassemble the Chair
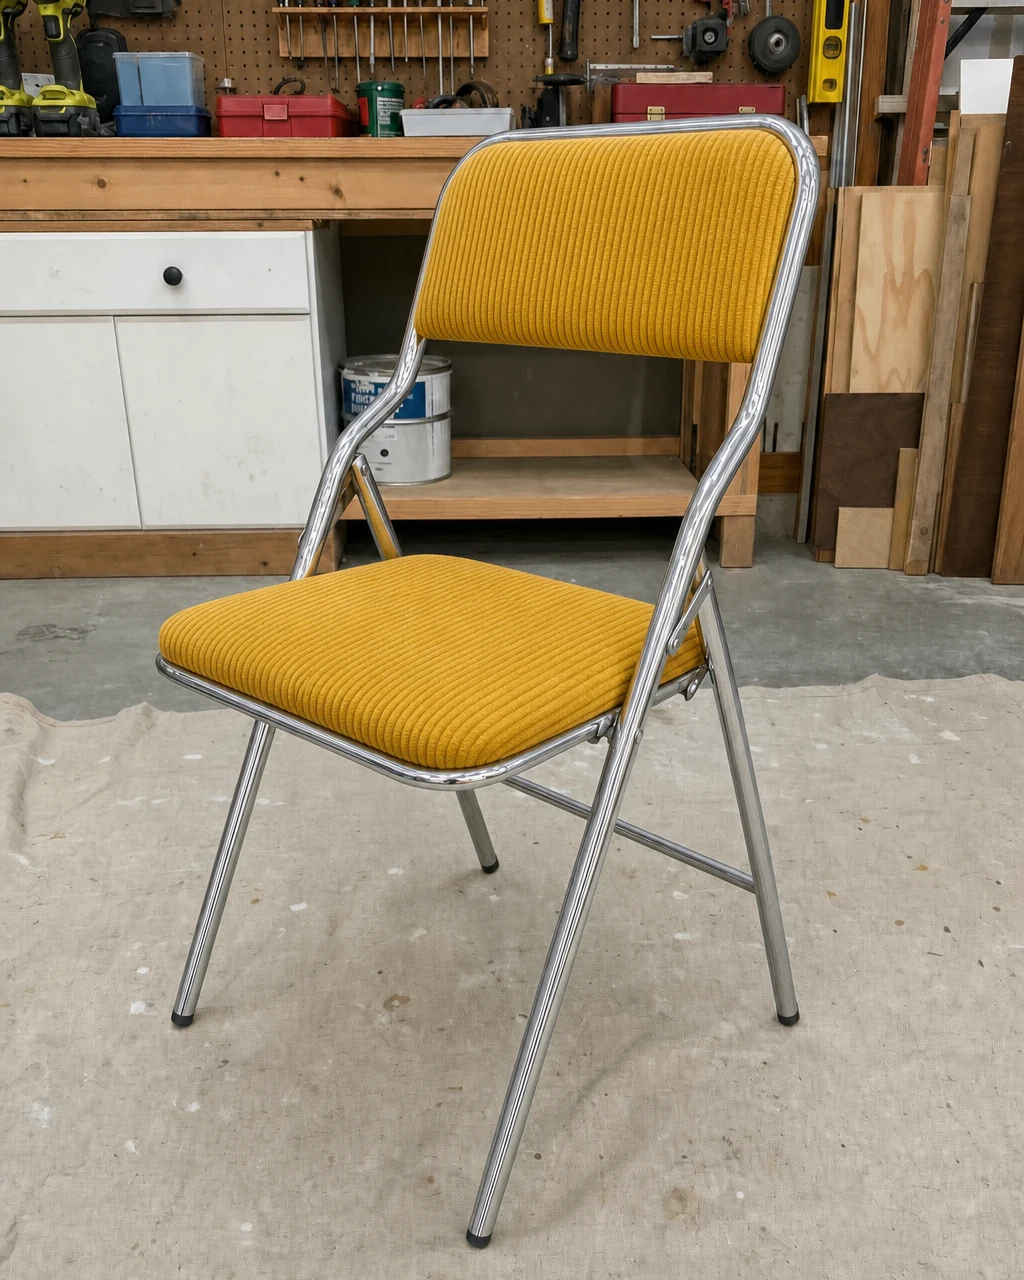
Mount the finished corduroy seat and backrest panels back onto the polished chrome frame to complete the physical restoration. Secure the panels using the original Phillips-head screws saved from disassembly, carefully aligning the hardware with the existing holes in the newly upholstered seat base to avoid stripping the vintage threads.
Final Workshop Checks
Ensure all mounting screws are fully tightened so the seat bears weight safely when put into service. The fully restored folding chair now stands complete in the workshop, showcasing a striking visual contrast between the plush mustard yellow corduroy and the gleaming, mirror-finish tubular steel frame.
Step 7: Style the Chair
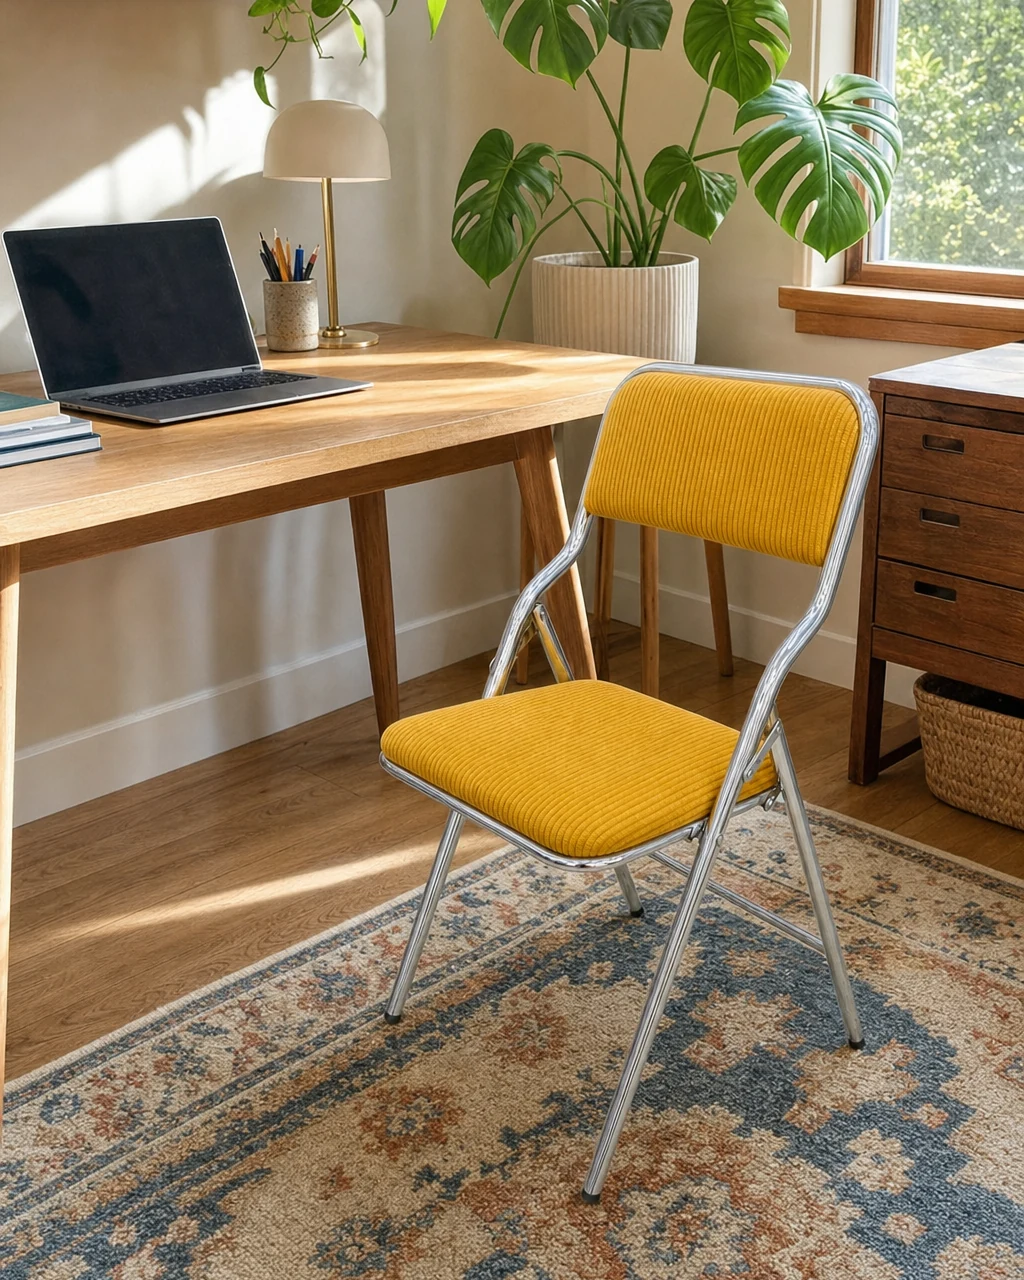
Move the restored folding chair into a sunlit home office environment to highlight its vibrant new upholstery and polished frame. Position the bright accent piece beside a minimalist wooden desk to showcase how the chunky wide-wale corduroy adds warmth and texture to a contemporary room setting.
Functional Decor
Always lift the chair by the metal frame rather than the newly upholstered cushions to protect the fabric from unnecessary stress. This bold, functional accent piece doubles as practical guest seating, proving that a discarded garage sale find can become a premium addition to your curated interior design.