
Corner Cabinet Before and After with a Modern Tile Inlay
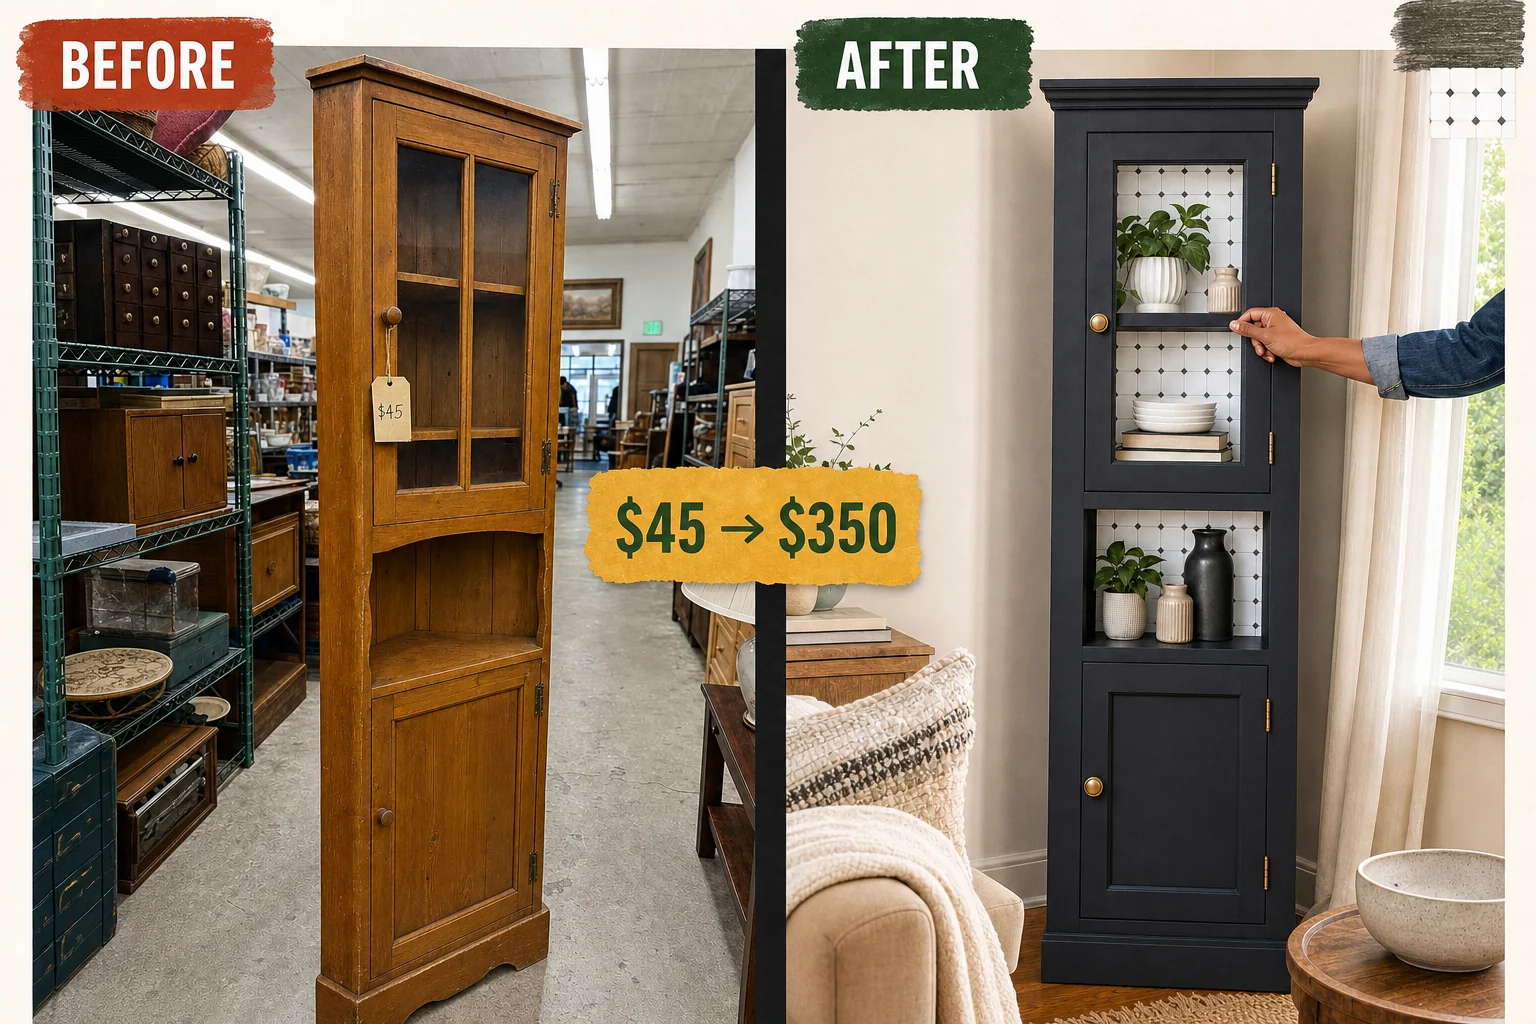
Tucked in a dark thrift store corner, this heavy 1970s pine cabinet was structurally perfect but visually dated. We transformed the honey-oak wedge into a sleek display case by painting the exterior matte charcoal and installing a geometric tile inlay.
Assessing the Dated Honey-Oak Finish
Finding this piece in a crowded charity thrift-store furniture aisle with metal shelving and mixed donated objects revealed a diamond in the rough. The heavy honey-oak stain and thick, scratched glossy clear coat made the piece look visually heavy for a modern room.
- The unfinished, shadowed plywood back panels behind the original glass door panes obscured any decorative items placed on the fixed middle shelf.
- Greasy, oversized wooden knobs on the front doors detracted from the cabinet’s potential elegance and felt clunky to use.
Valuation and Resale Potential
The combination of a moody, modern exterior color and a custom ceramic tile inlay elevates this from a basic thrift store find to a bespoke display piece. This striking contrast commands a premium in the vintage upcycled market, justifying the estimated resale value, though this differs from an actual completed sale.
| Item | Cost |
|---|---|
| Thrifted corner cabinet | $45 |
| 120-grit sandpaper | $5 |
| Matte charcoal cabinet enamel | $25 |
| Ceramic mosaic tile | $40 |
| Tile mastic | $15 |
| Pre-mixed white grout | $15 |
| Brushed brass knobs | $12 |
| Total investment | $157 |
| Estimated resale value | $350 |
| Value gain | $193 |
Gather the necessary supplies before starting this transformation. Look for flexible abrasive sheets for tight corners, a durable self-leveling enamel, and mesh-backed sheets to keep small geometric tiles perfectly aligned during installation.
Materials checklist
Step 1: Assess and dismantle
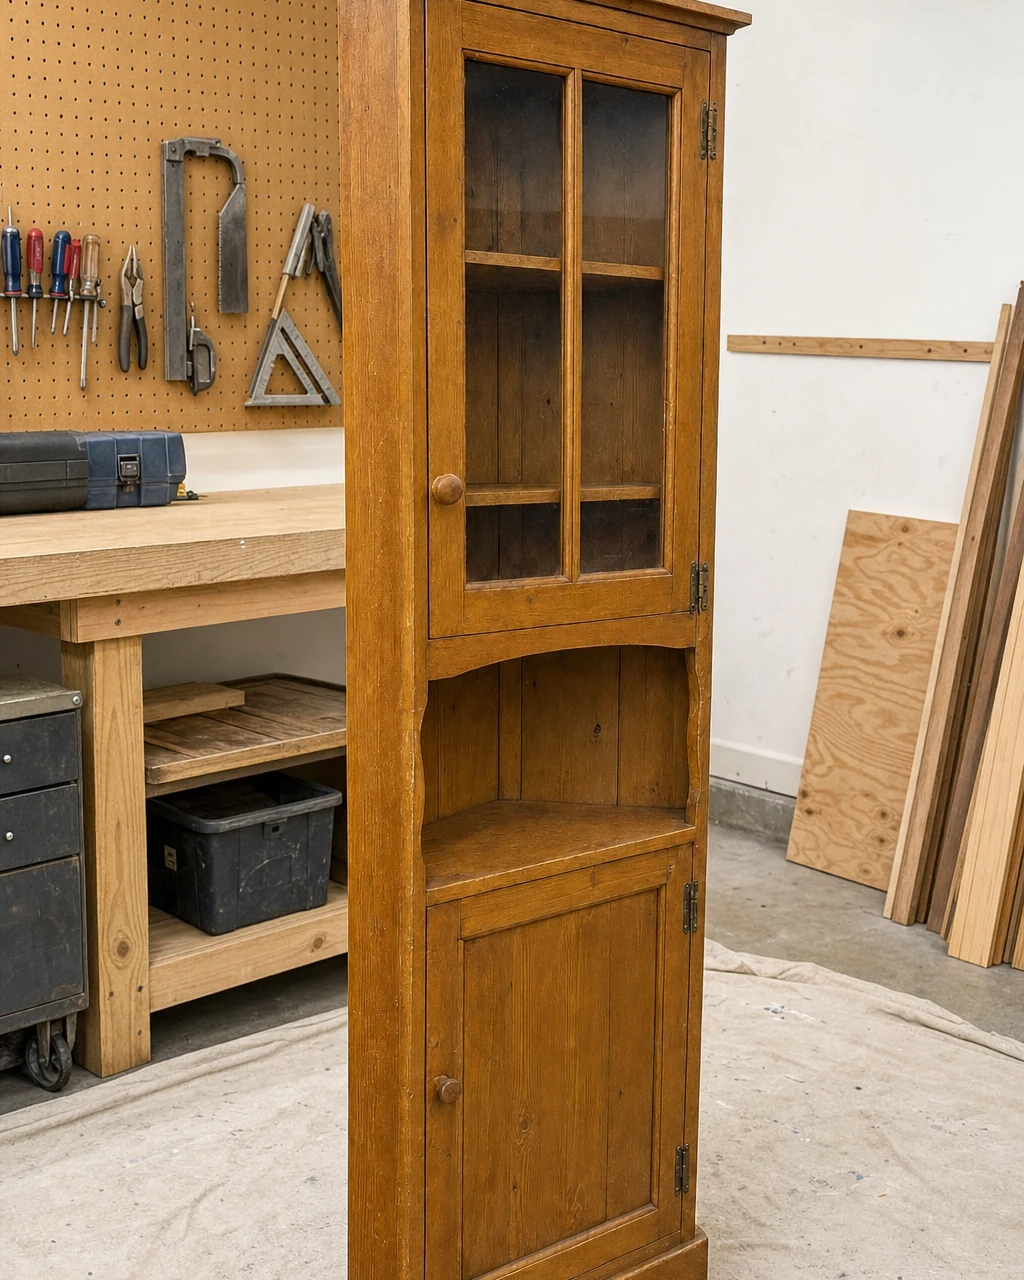
The fully assembled honey-oak corner cabinet sits in the workshop, ready for its initial inspection. Move the tall triangular wedge to a stable work area and inspect the solid pine face frame to ensure the structure is sound before beginning the extensive cosmetic transformation.
Hardware Removal
Use a manual Phillips screwdriver to unscrew the metal hinges from the bulky pine frame. Support the glass doors firmly with one hand while removing the final hinge screws to prevent dropping them. The cabinet frame is now stripped of its doors and hardware, leaving the upper door hinge area prepared for sanding.
Step 2: Scuff-sand the finish
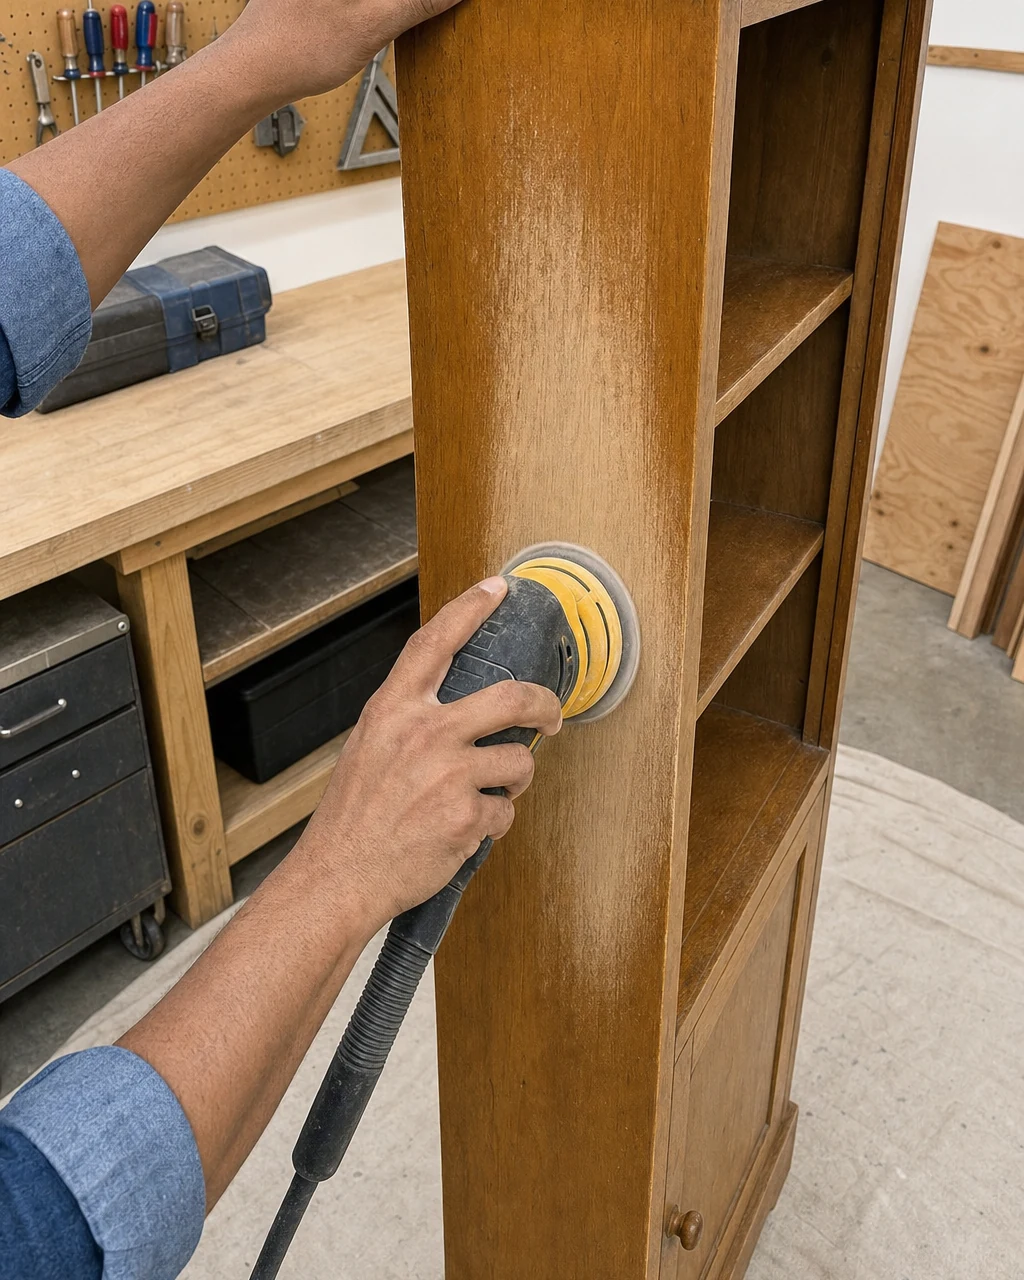
The cabinet frame is bare but covered in a glossy honey-oak clear coat that requires heavy abrasion. Guide a random orbital sander equipped with 120-grit sandpaper along the flat side panels to break the glossy seal. Always wear a dust mask and safety glasses when sanding old clear coats.
Create a dull, grippy surface across the entire exterior pine frame, ensuring every inch is scuffed. Wipe away all residual dust with a tack cloth so the exterior wood has a matte, scratched appearance that is perfectly clean and ready for the dark enamel paint.
Step 3: Paint the frame
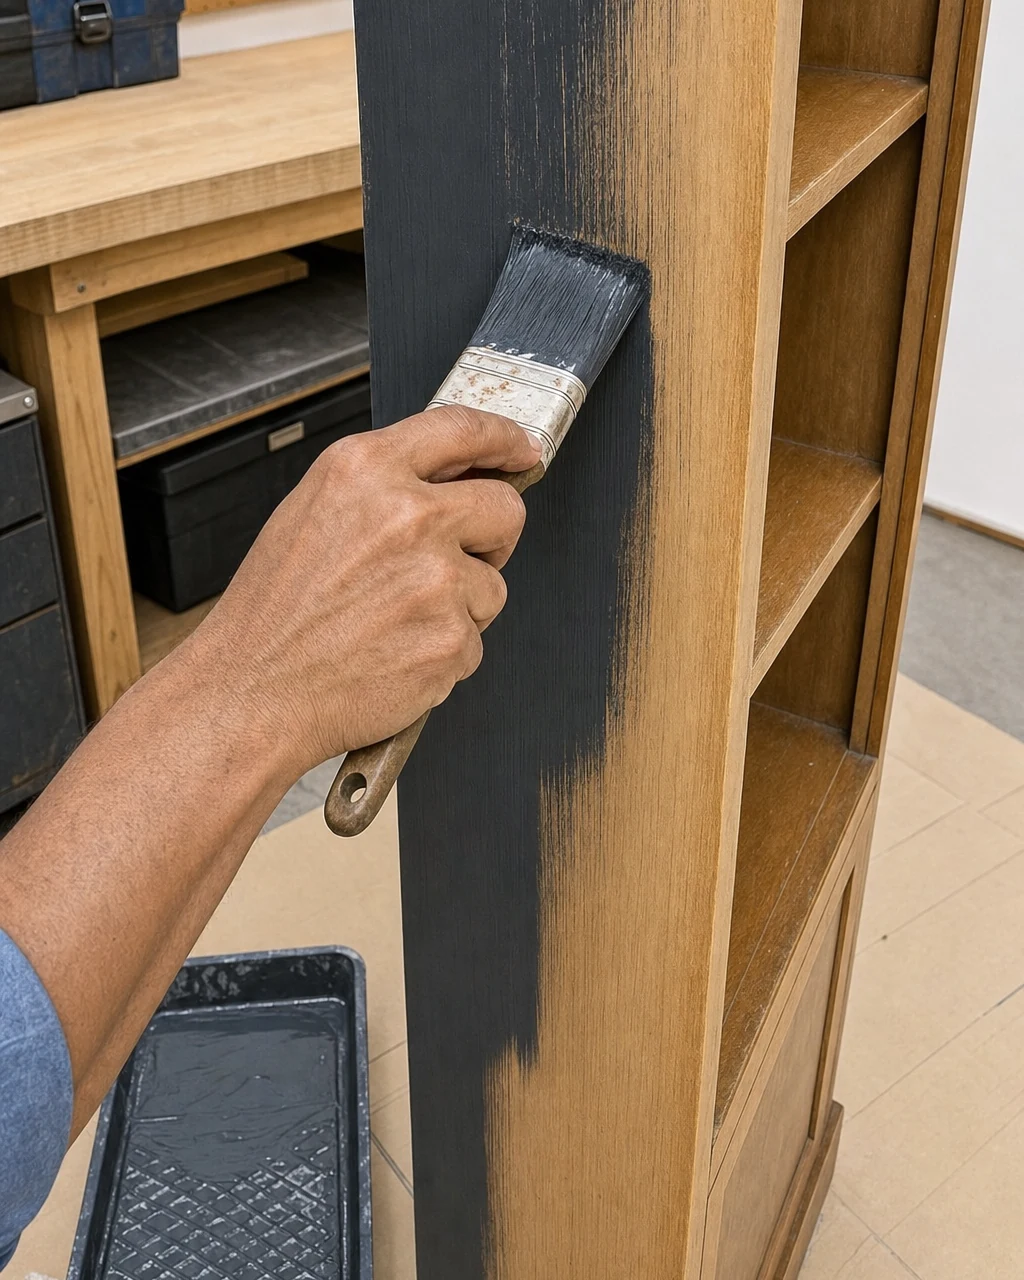
With the exterior frame sanded, clean, and dust-free, it is time to apply the new color. Brush an even coat of matte charcoal cabinet enamel onto the exterior pine frame using a synthetic paintbrush. Ensure the workshop is well-ventilated when applying enamel paints to the front vertical stile.
Building Opaque Coverage
Allow four hours of drying time between coats to ensure proper curing. Apply a second even coat of the charcoal enamel to achieve a solid, opaque finish. The exterior frame will transform into a solid matte charcoal color, hiding minor surface imperfections much better than high-gloss paints.
Step 4: Install mosaic tile
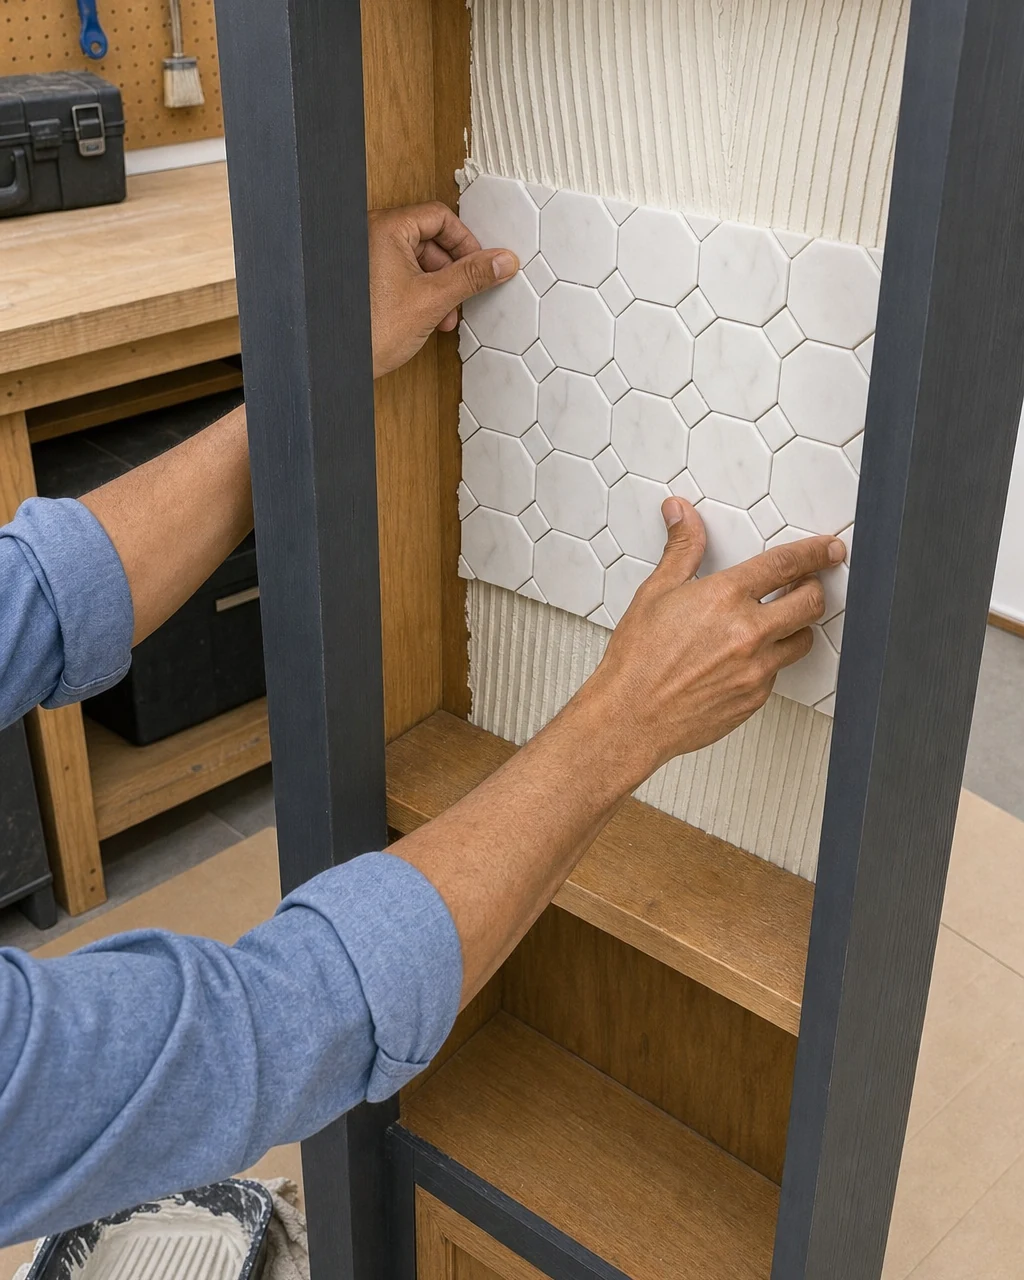
The exterior is painted charcoal, leaving the interior plywood back panels bare and ready for the geometric ceramic tile inlay. Trowel mastic onto the interior back panels using a notched trowel. Wear disposable gloves to keep adhesive off your skin while working with the sticky bonding material.
Press the mesh-backed white geometric ceramic mosaic sheets firmly into the ribbed adhesive. The interior back panels are now covered in raw, ungrouted white mosaic tiles. Leave the entire tiled section to set overnight so the mastic cures completely before moving on to the grouting phase.
Step 5: Grout the inlay
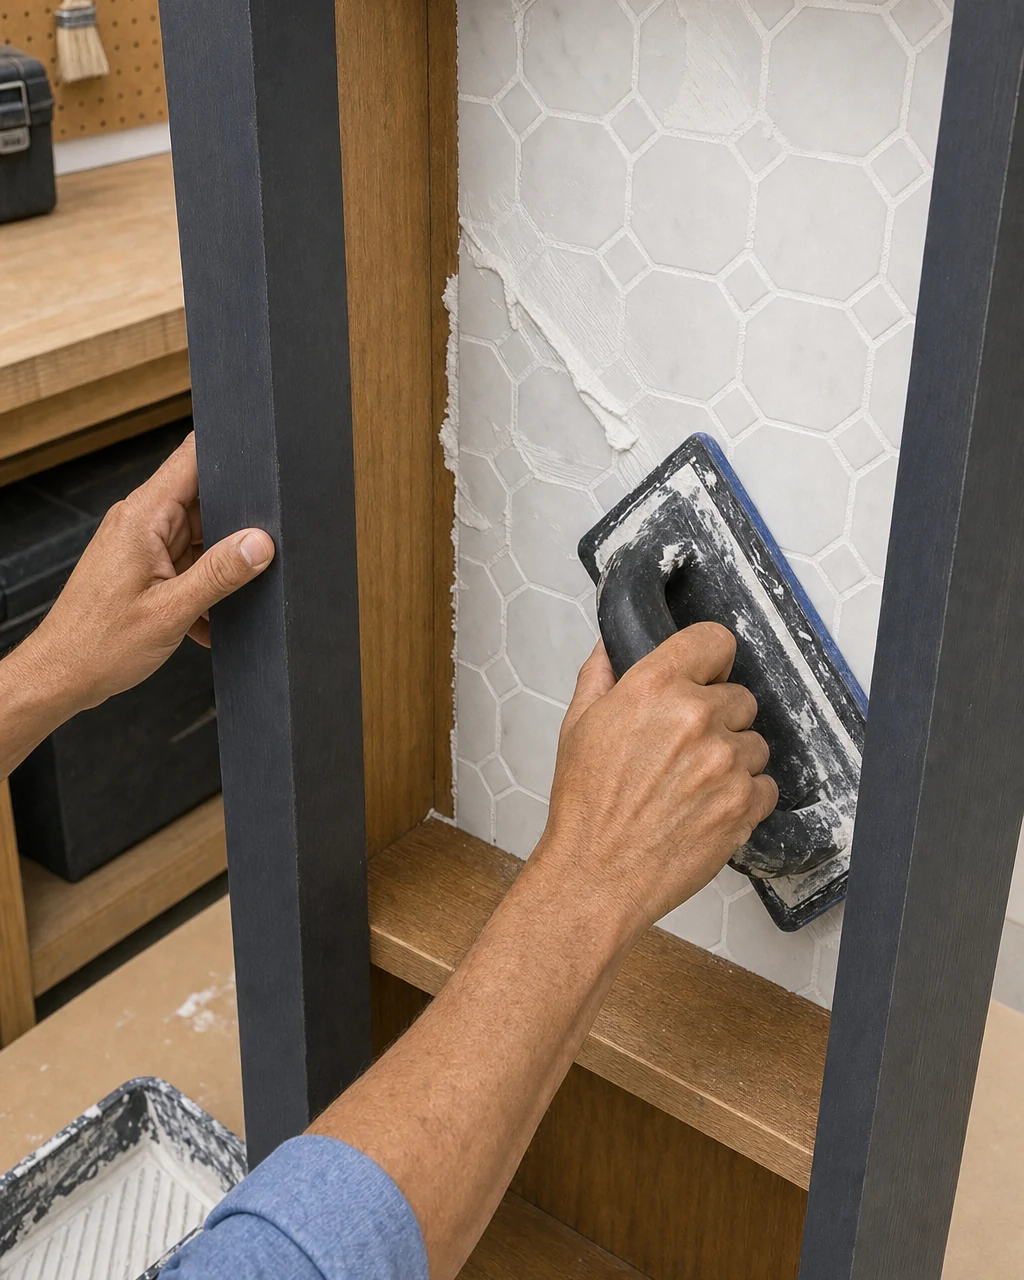
Once the mosaic tiles are firmly set into the dried mastic on the back panels, the inlay is ready for finishing. Spread pre-mixed white grout across the set mosaic tiles, pulling a rubber float diagonally to push grout into narrow joints.
Cleaning the Tile Surface
Wipe the excess away with a damp grout sponge, working carefully across the geometric shapes. Wipe the grout haze away gently to avoid pulling wet grout out of the joints. The tile inlay is now seamless, with solid white lines locking the ceramic pieces together into a bright backdrop.
Step 6: Install new hardware
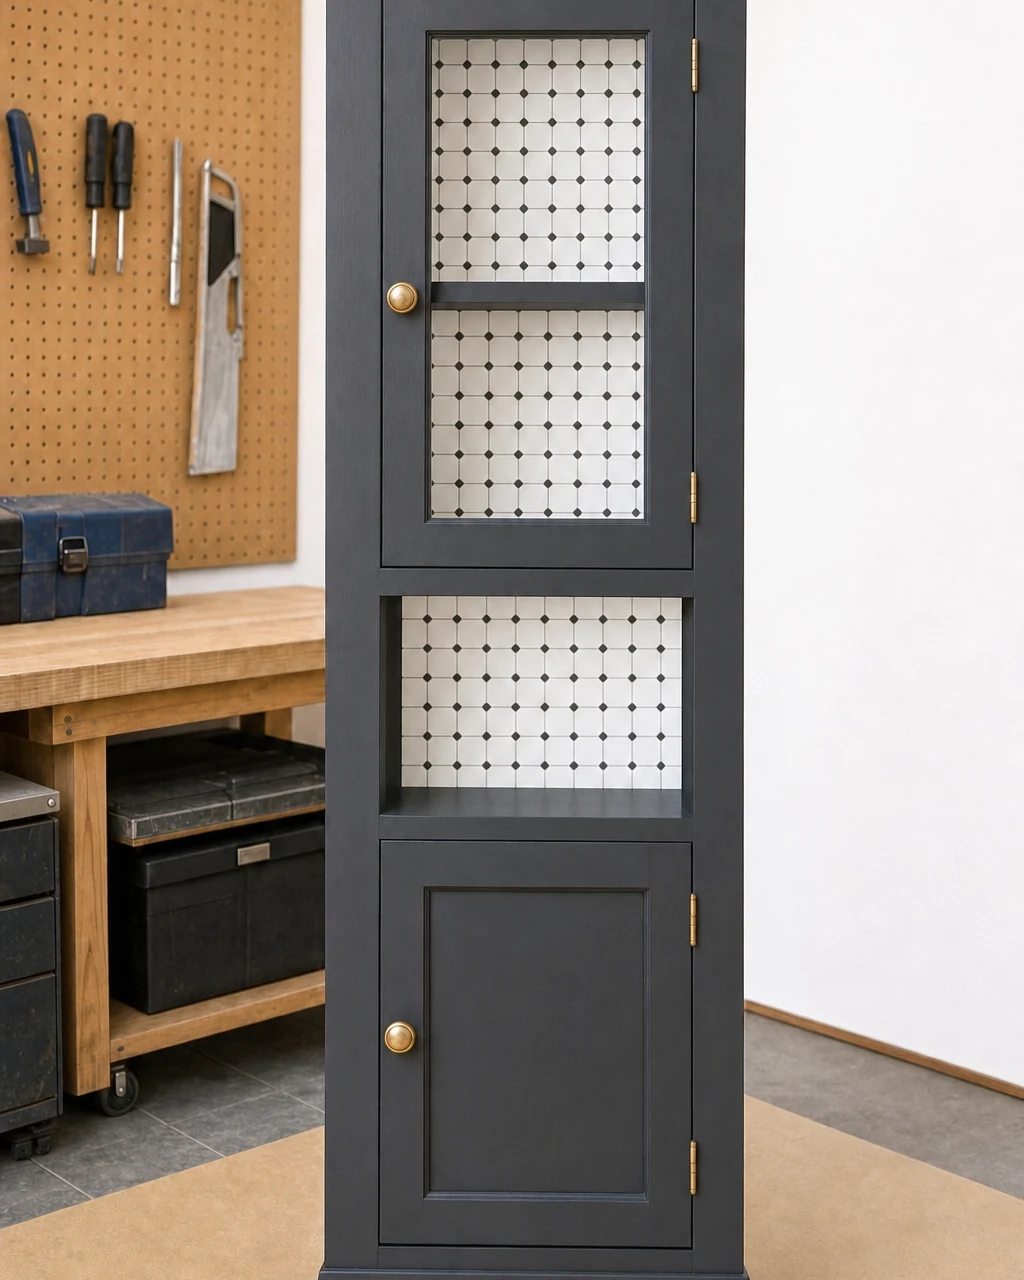
The cabinet frame is painted and the interior tile is fully grouted and dry, bringing the project to the final assembly stage. Reattach the original glass doors to the newly painted charcoal frame using the saved metal hinges and a manual Phillips screwdriver.
Adding the Brass Knobs
Install sleek brushed brass knobs to replace the old wooden pulls, completing the piece on the workbench. Do not overtighten the hardware screws, which can crack the painted wood. The cabinet stands complete with dark paint, bright interior tile, and solid brass hardware ready for display.
Step 7: Style the display
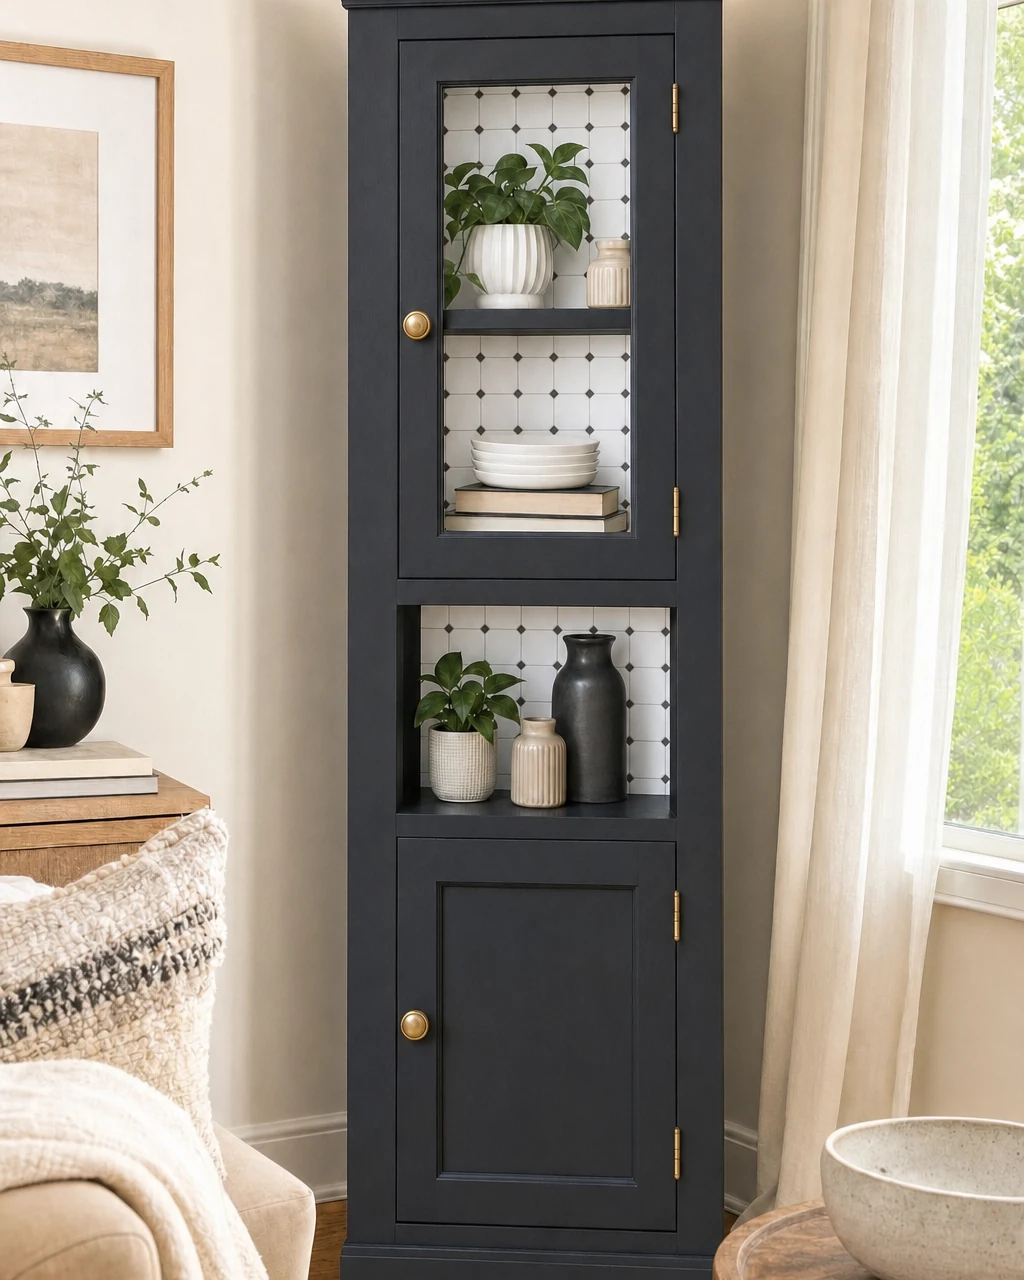
The finished cabinet is complete and ready for use in a modern living room. Move the finished cabinet into a living space, lifting heavy furniture from the base with a helper when bringing it into the house to protect the newly painted frame.
Curating the Shelves
Utilize the bright white tiled interior to highlight books and a curated collection of white ceramics. Place a stack of bowls onto the middle shelf, allowing the geometric backdrop to beautifully frame the decor against the dark charcoal exterior, turning a dark corner into a feature.