
Wooden Candle Holder Transformation into Heavy Faux Iron
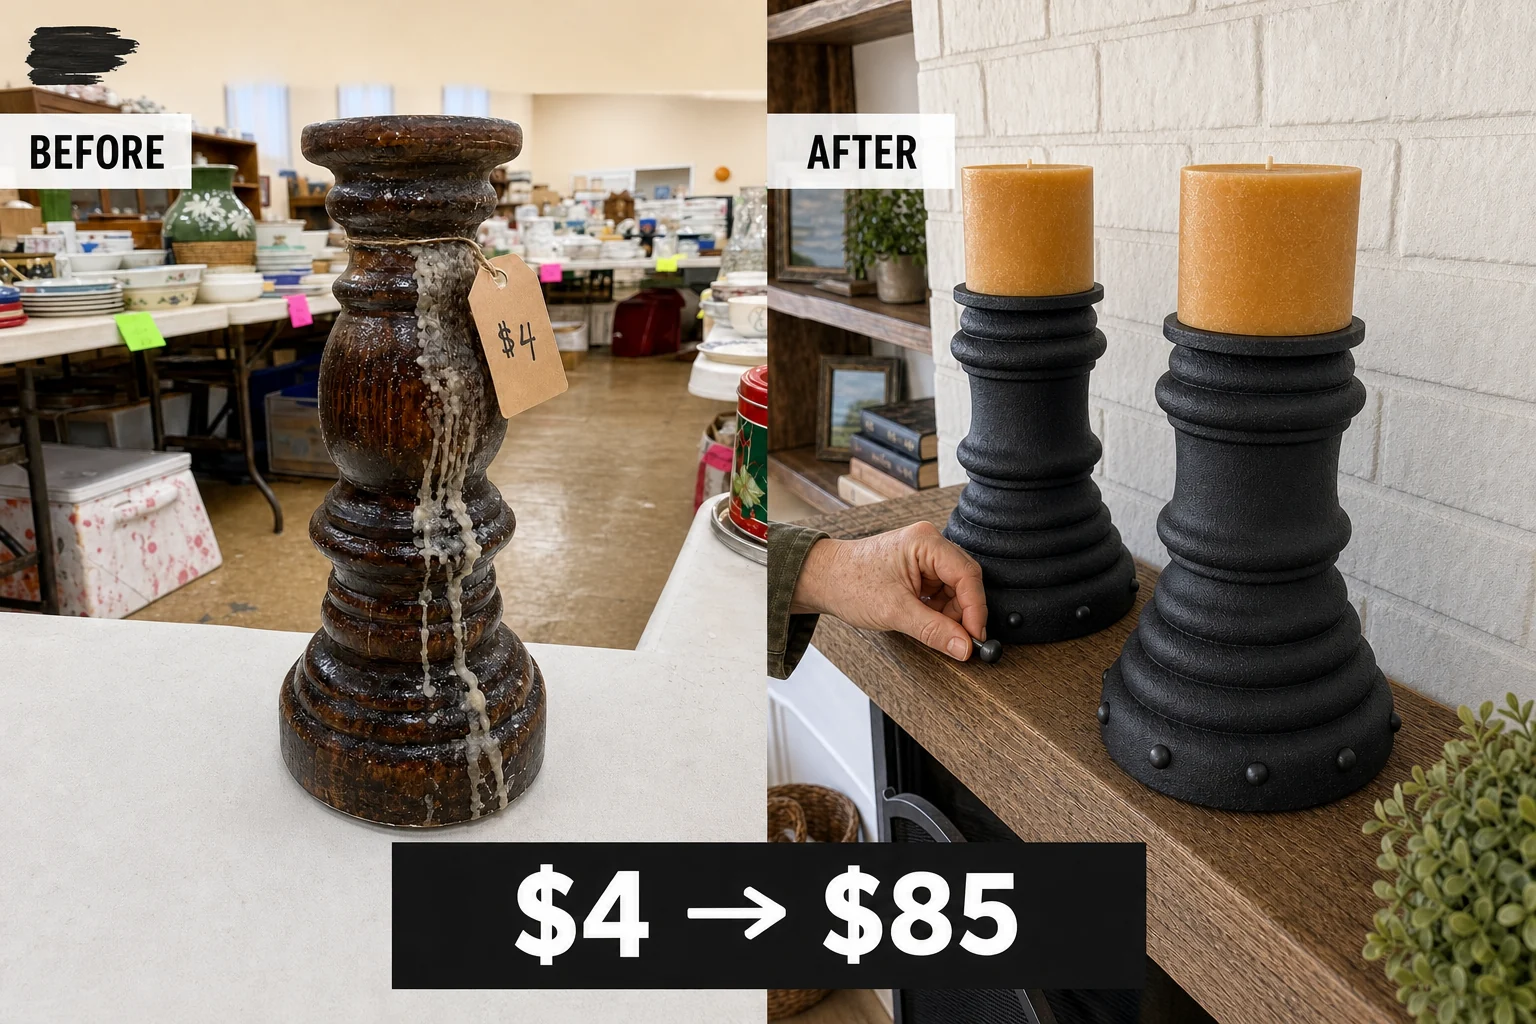
Found at a church rummage sale for just two dollars each, these sticky, wax-covered wooden pillars needed serious help. This transformation converts the chunky turned wood into heavy architectural ironwork using raw plumbing flanges, iron studs, and textured paint.
Evaluating the Thrifted Wood
Tucked behind a stack of mismatched floral plates in a fluorescent-lit church hall, these chunky wooden pillars were priced at just two dollars each. The solid pine pieces featured a traditional turned profile with a wide bell base and thick central bulb, but their deep turned grooves were obscured by thick cascades of hardened white wax down one side of each holder.
- Heavy wax buildup: Thick, hardened white drips cascading down the top curves prevent sanding, painting, or hardware installation on the original wood surface.
- Degraded finish: A sticky, dark brown varnish grabs dust, leaves an unpleasant residue on your hands, and completely rejects any new paint adhesion.
Resale Value and Appraisal
The addition of authentic cast-iron hardware and a convincing faux-metal finish elevates these basic wooden holders into heavy, architectural decor pieces. Because they now mimic solid cast iron, these pillars command boutique prices, yielding a strong estimated resale value compared to the minimal initial investment.
| Item | Cost |
|---|---|
| Purchase Price (Pair) | $4 |
| Liquid Deglosser | $9 |
| Iron Clavos | $6 |
| Textured Black Paint | $8 |
| Iron Flanges | $14 |
| Construction Adhesive | $5 |
| Total Investment | $46 |
| Estimated Resale Value | $85 |
| Value Gain | $39 |
This impressive value gain relies on an editorial estimate rather than a completed sale, reflecting the premium boutique pricing that heavy, faux-metal architectural decor typically commands in the current market when styled properly.
Step 1: Inspect the Sticky Finish
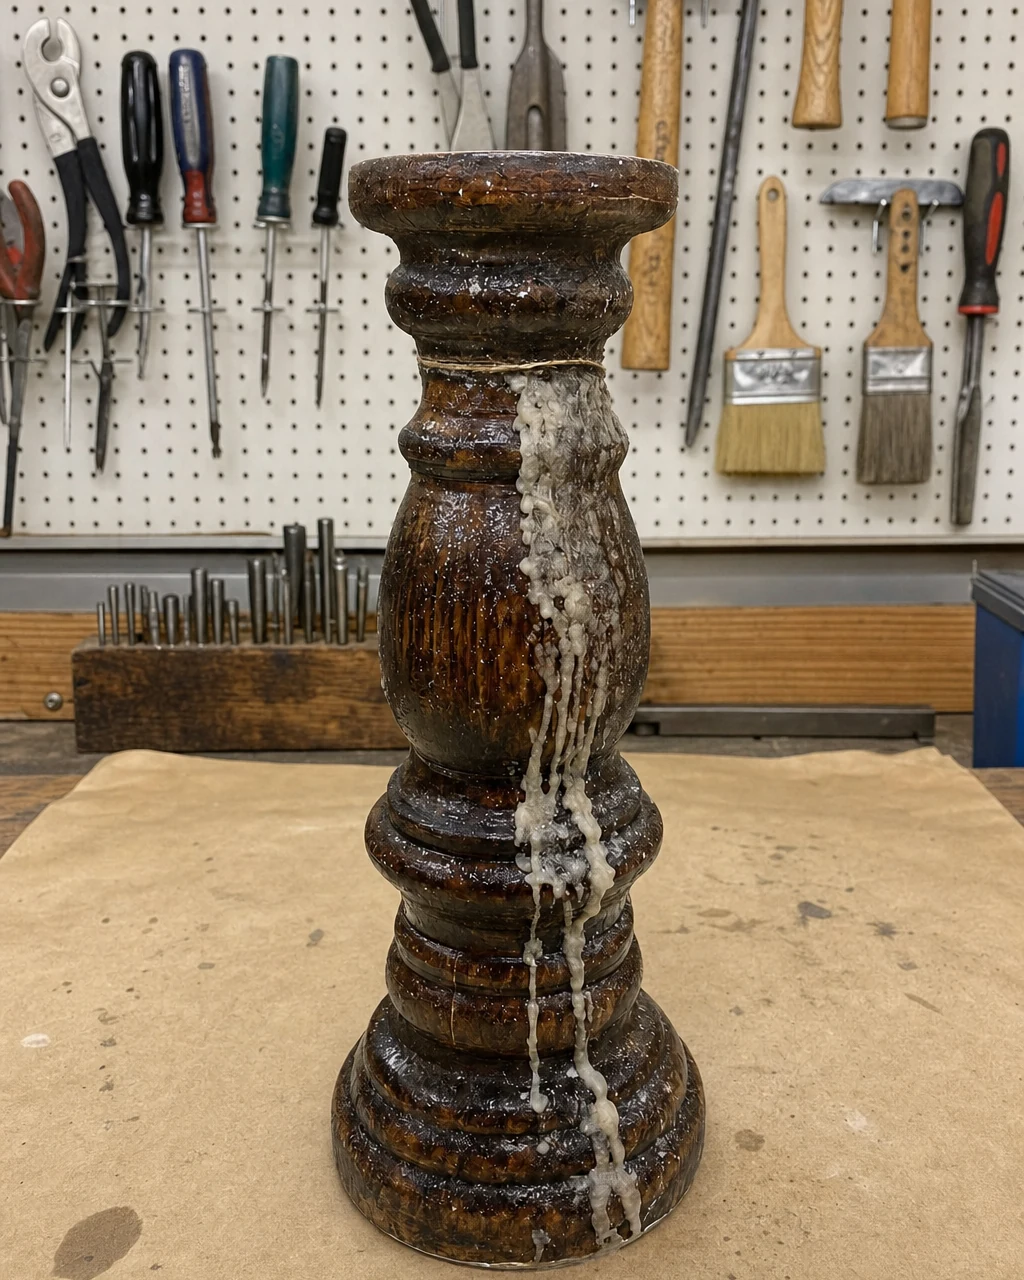
Inspect the candle holders on a craft-paper-covered workbench to locate the thickest wax deposits before starting the messy removal process. Test the tackiness of the failing varnish by pressing a gloved finger against the sticky dark finish near the white wax cascades. Always wear nitrile gloves when handling degraded varnish to avoid skin irritation while identifying the exact locations of buildup.
Step 2: Easily Remove Old Wax
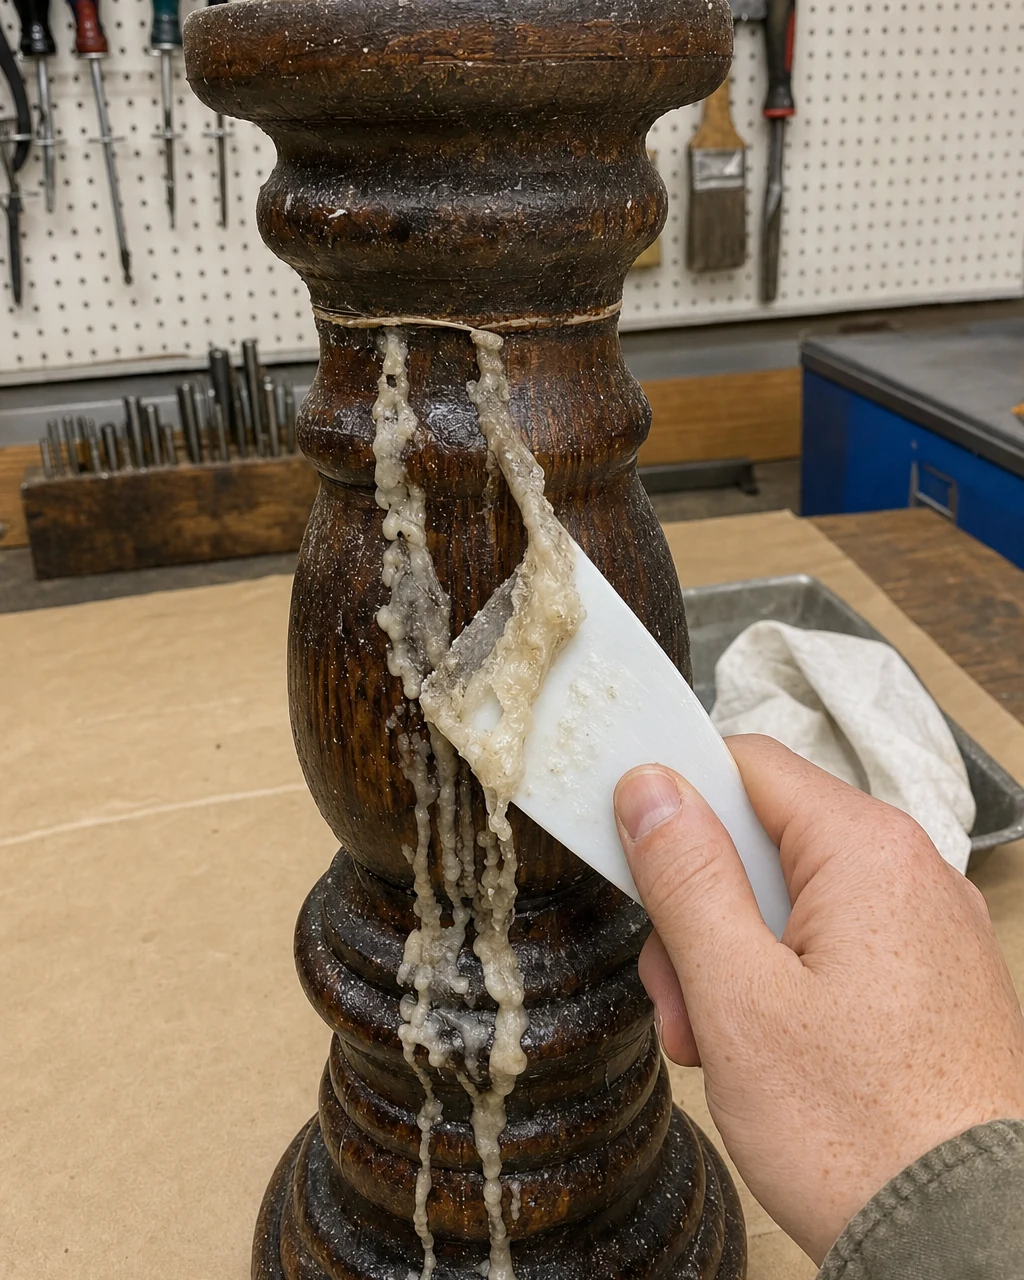
Warm the wax drips with a heat gun on a low setting until softened, keeping the tool moving constantly to avoid scorching the wood or vaporizing the wax. Gently push the wax off the curved wood using a plastic putty knife, letting it fall onto the protective paper until the surface is free of dimensional wax, leaving only a thin oily residue.
Step 3: Prep Without Heavy Sanding
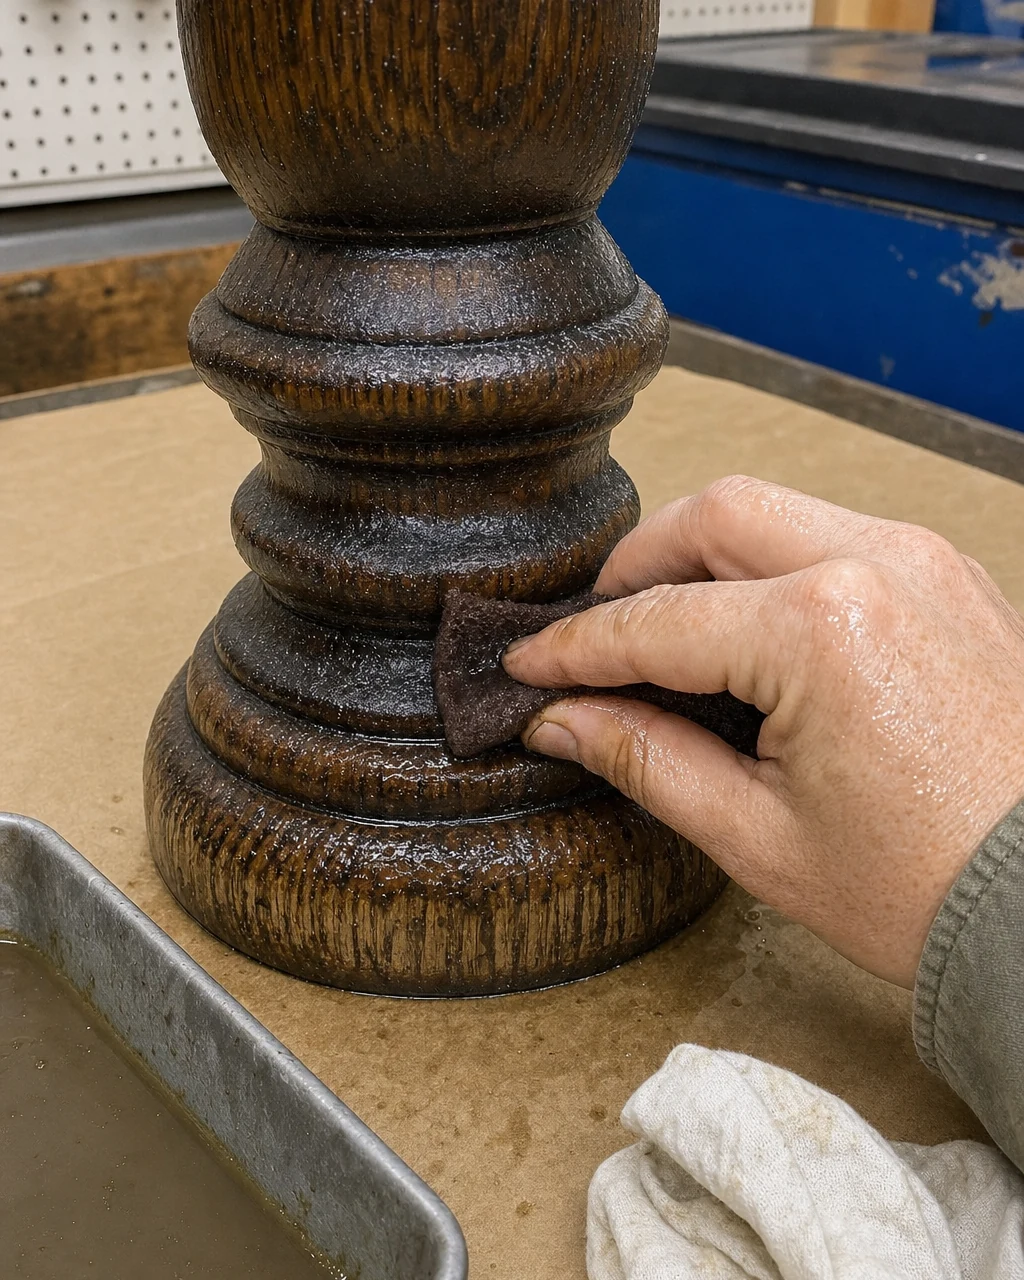
Apply liquid deglosser to a coarse abrasive pad and scrub the entire turned surface to break down the sticky varnish and remaining wax oils without heavy sanding. Wipe the piece clean with a shop rag and let it dry for 30 minutes to reveal a dull, scuffed surface ready for paint. Work in a well-ventilated area and wear a respirator when using chemical deglossers.
Materials checklist
Step 4: Add Architectural Hardware
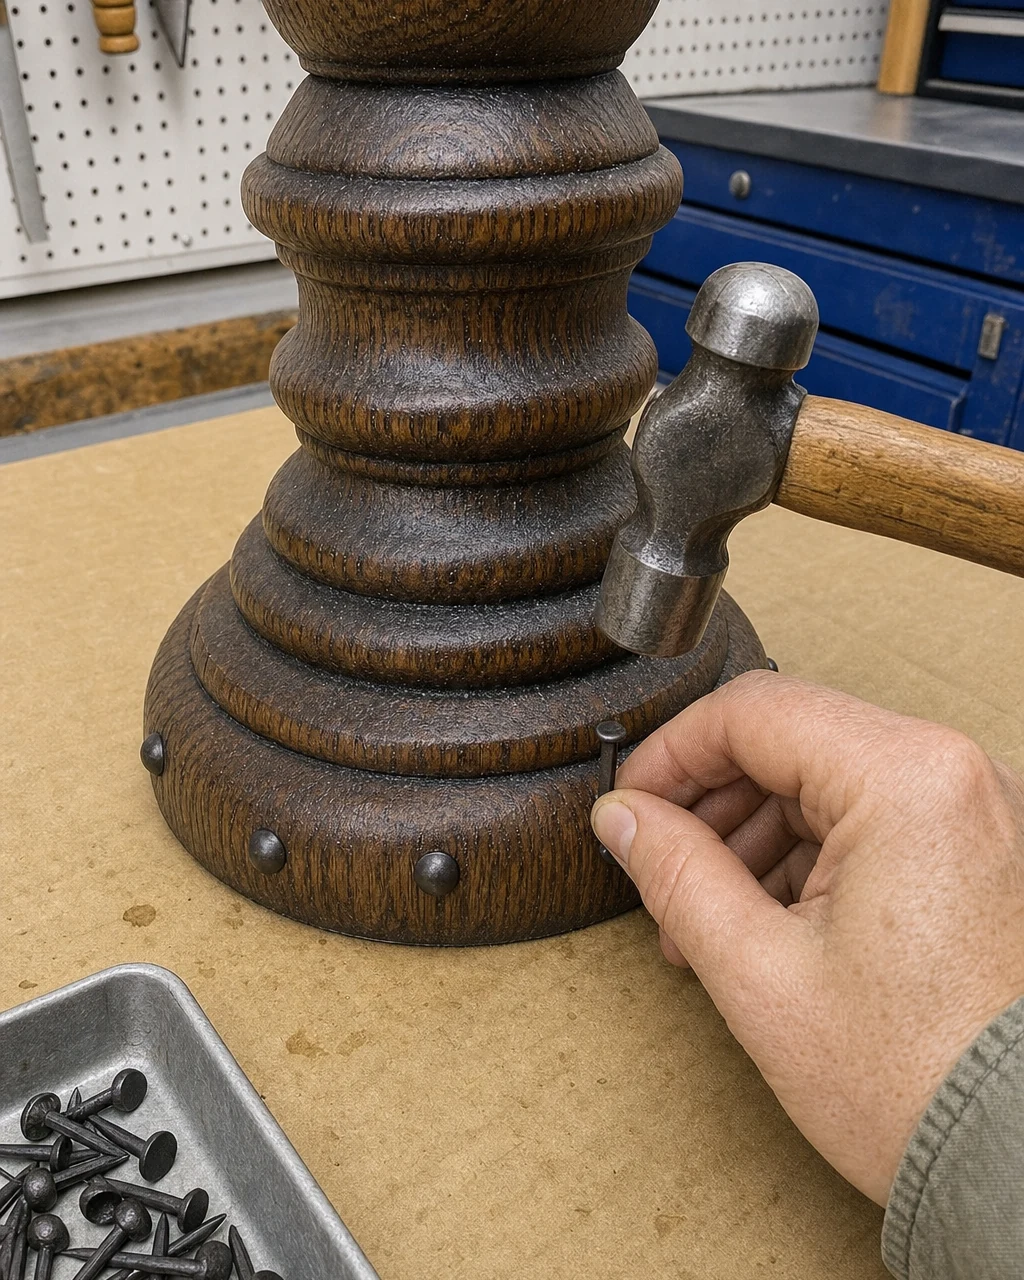
Measure and mark evenly spaced intervals around the wide wooden base collar. Tap decorative dark iron clavos into the marks using a small tack hammer to create an industrial, riveted look. This creates a ring of raised iron studs encircling the wooden base, instantly adding architectural weight. Hold the small tacks with needle-nose pliers if needed to avoid striking your fingers.
Step 5: Create a Cast-Iron Finish
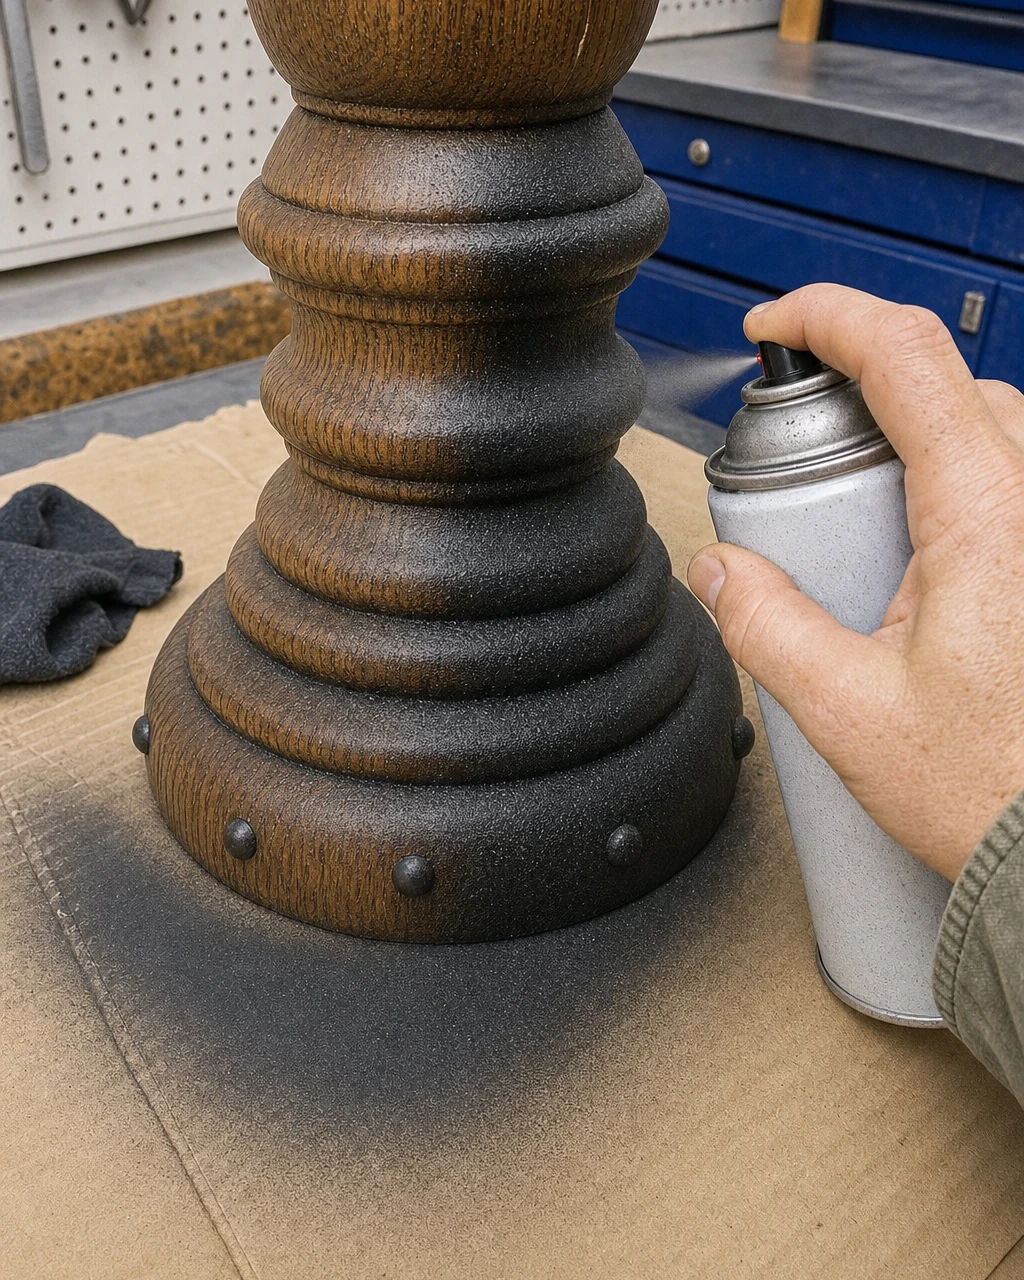
Coat the entire piece, including the new studs, with textured matte black spray paint. Use short bursts to build up a gritty finish, ensuring all deep turned grooves are covered. Allow the paint to cure for two hours to achieve a uniform, gritty matte black finish that disguises the original wood grain. Spray outdoors or in a dedicated booth with appropriate respiratory protection.
Step 6: Attach Industrial Drip Trays
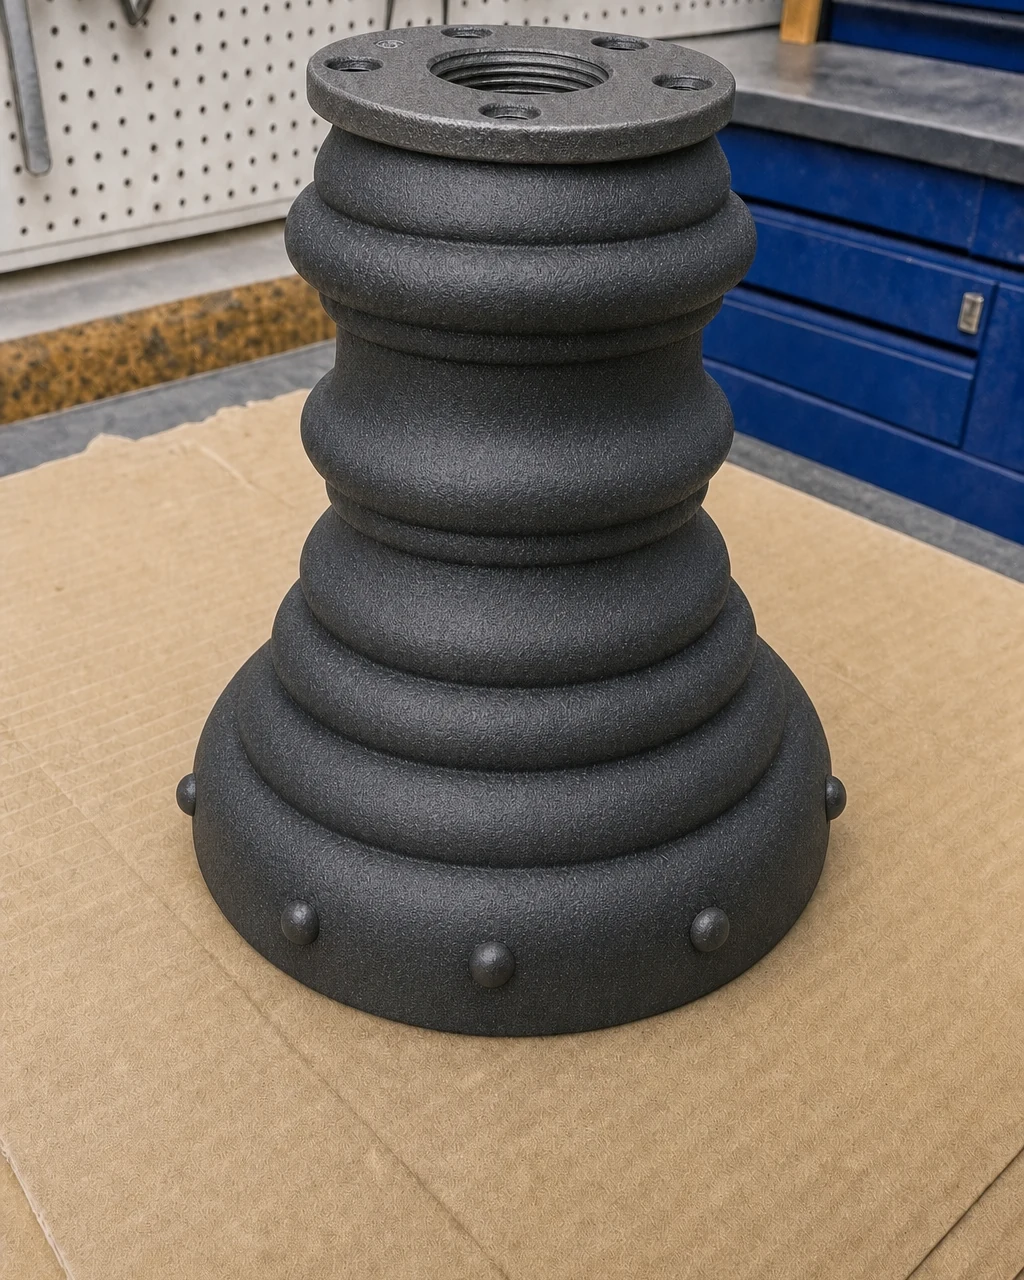
Apply a thick bead of construction adhesive to the flat top platform using a caulking gun. Press a heavy cast-iron plumbing flange onto the adhesive to serve as an industrial drip tray. This completes the piece, leaving the heavy industrial candle holders sitting securely on the workbench to dry. Wipe away any excess adhesive immediately before it cures to maintain a clean finish.
Step 7: Style Your Industrial Decor
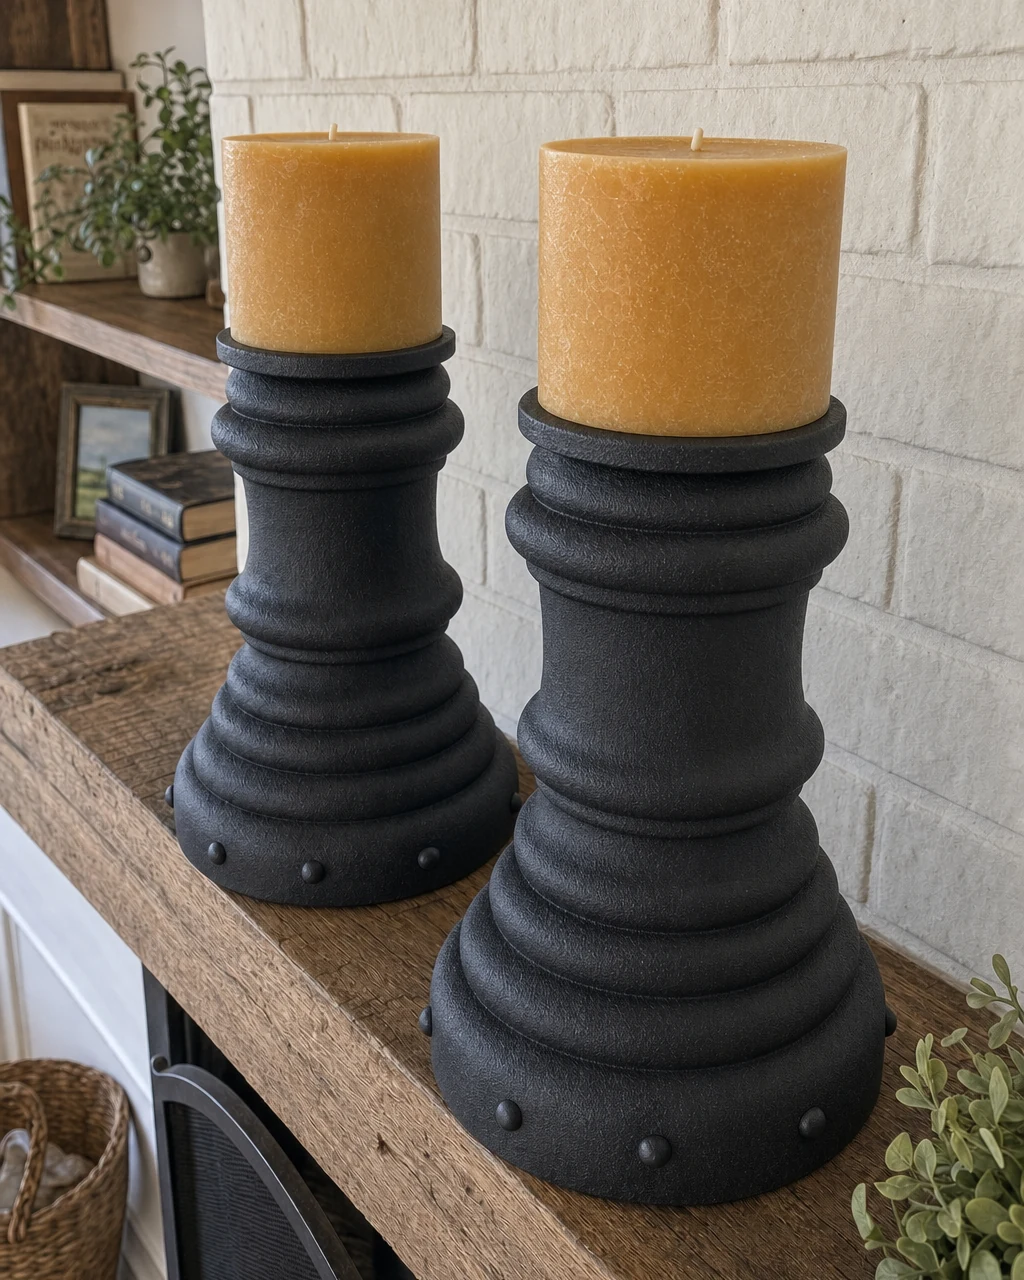
Place the finished pair of heavy, faux-iron pillars on a rustic wooden mantel. Top them with wide, natural beeswax pillar candles to complement the dark, textured metal finish. The transformed candle holders are now beautifully displayed in a cozy, styled living room setting. Always ensure the oversized candles sit completely flat within the cast-iron flanges for safe burning.