
Desktop Apothecary Cabinet DIY Makeover with Custom Pulls
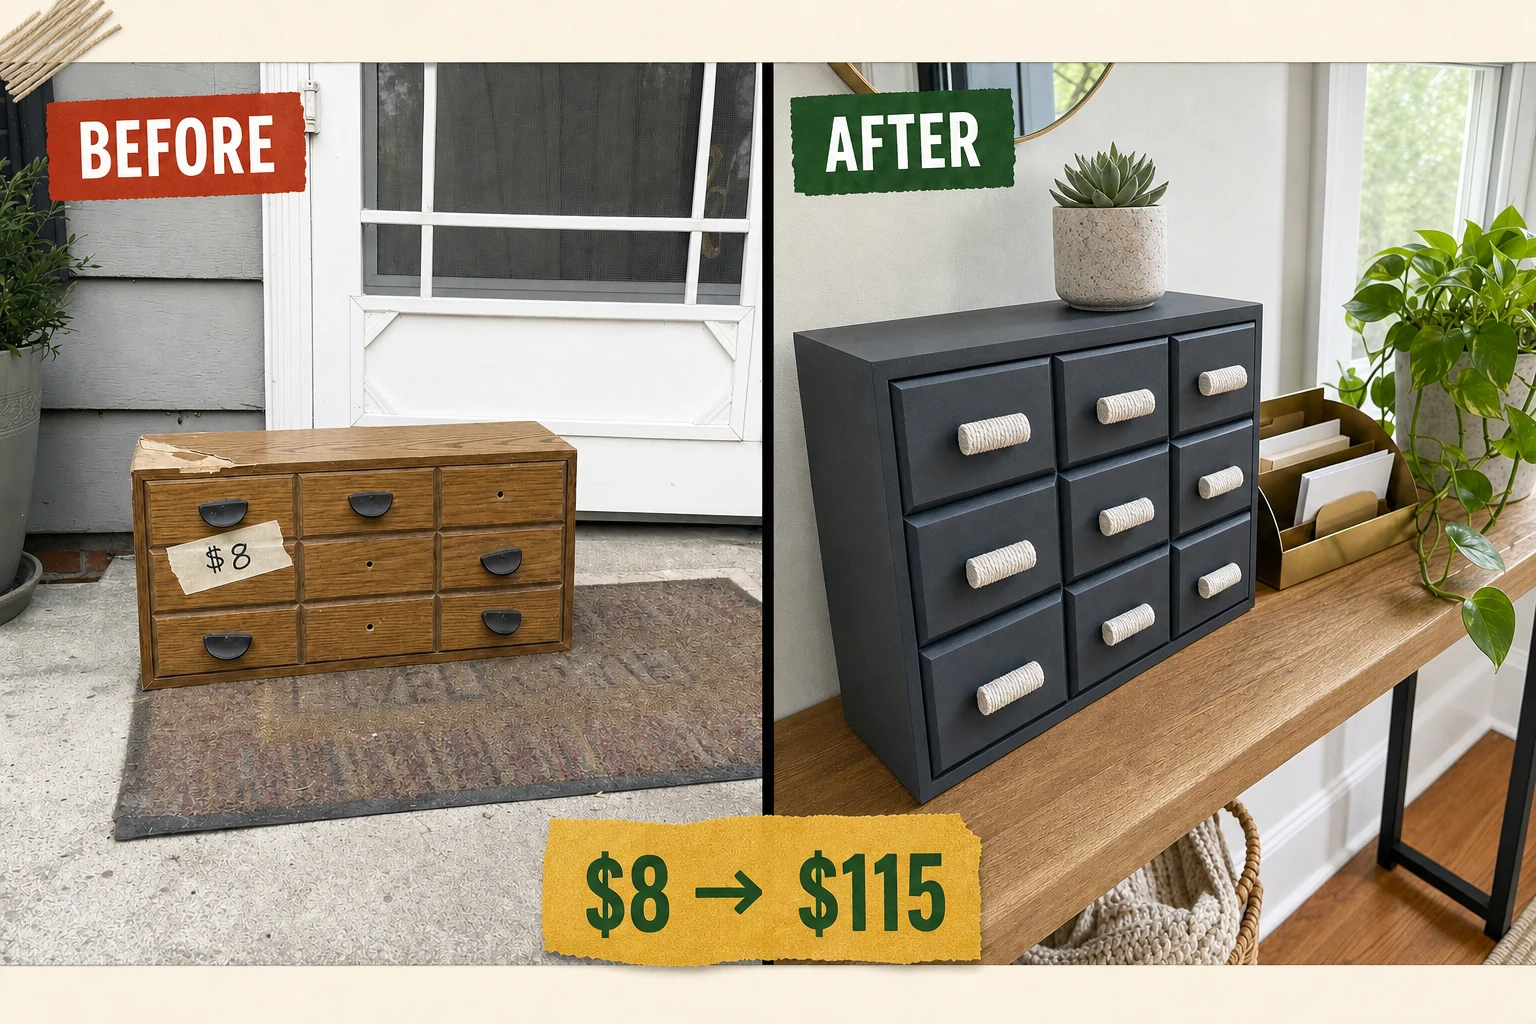
Found on a neighborhood app pickup for just $8, this 1980s faux-apothecary box was waiting on a porch for a new life. We stripped the failing laminate and added custom cord-wrapped pulls for a sleek, modern update.
Assessing the 1980s Apothecary Cabinet
This 1980s modular desktop apothecary cabinet measures 24 inches wide, 12 inches high, and 8 inches deep. The rectangular box features three wide horizontal drawers routed to look like nine small square drawers. Before starting, we evaluated the distinctive damage.
- The faux-oak vinyl laminate is curling and peeling off the MDF casing at the top and side edges, creating a ragged appearance and preventing new paint from adhering.
- The original plastic half-moon pulls are stripped, loose, and three are completely missing, making the drawers difficult to open and dating the piece.
Step 1: Remove the Dated Plastic Hardware
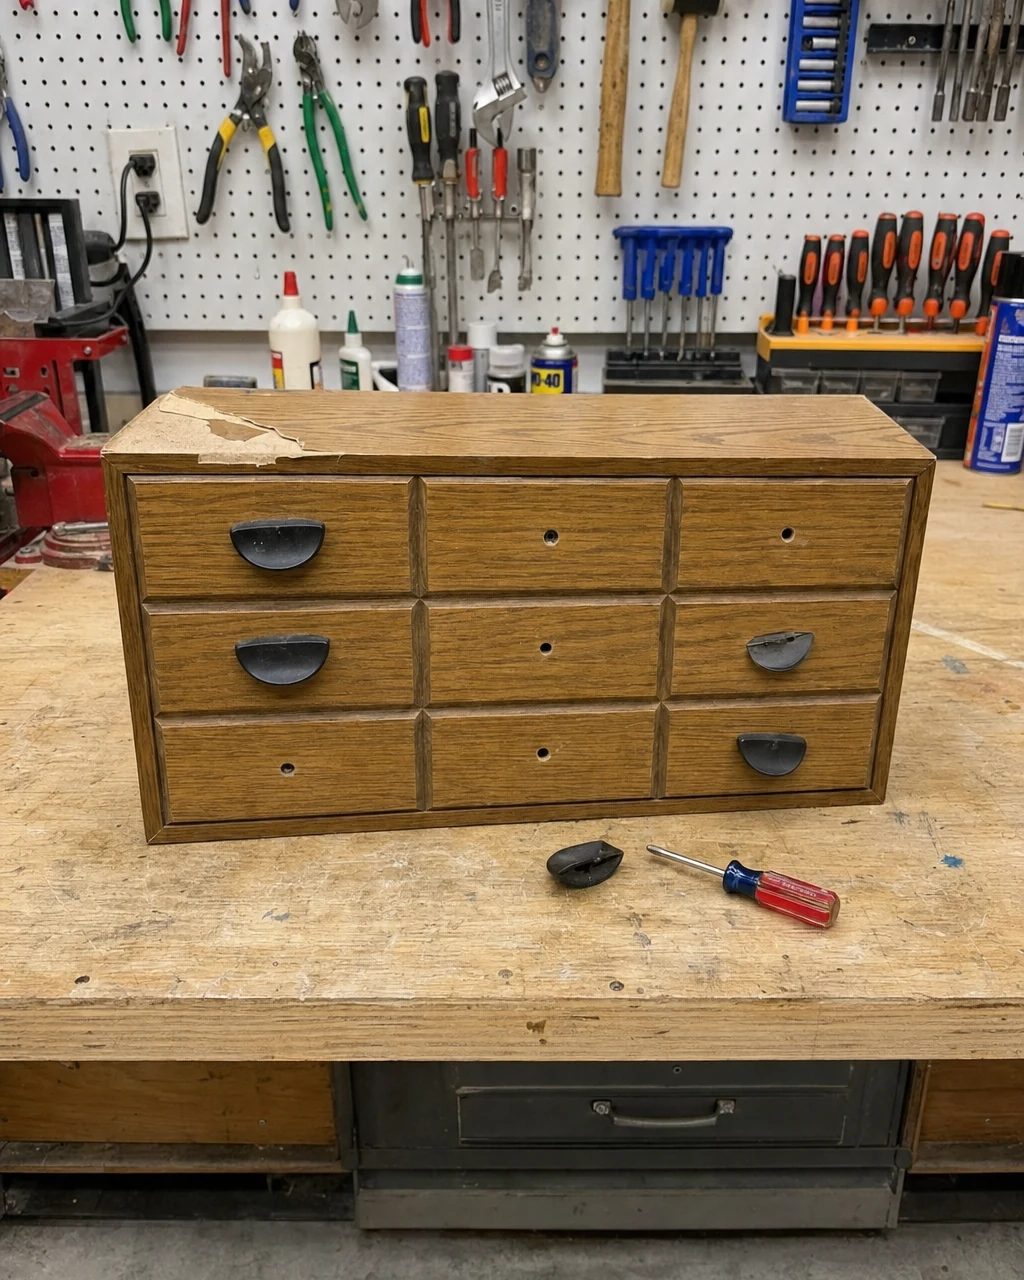
Evaluate the cabinet’s condition on the workbench and prepare it for the update. Unscrew and remove all the loose plastic half-moon pulls from the routed faux-drawer fronts using a Phillips screwdriver. This exposes the original mounting holes for the new custom pulls. Keep track of old screws to avoid workshop hazards.
| Item | Cost |
|---|---|
| Purchase Price | $8 |
| Matte Charcoal Enamel | $15 |
| Wooden Dowels | $4 |
| Cotton Macrame Cord | $9 |
| Wood Glue | $5 |
| Mounting Screws | $3 |
| Materials Total | $36 |
| Total Investment | $44 |
| Estimated Resale Value | $115 |
| Value Gain | $71 |
Step 2: Peel Away the Failing Laminate
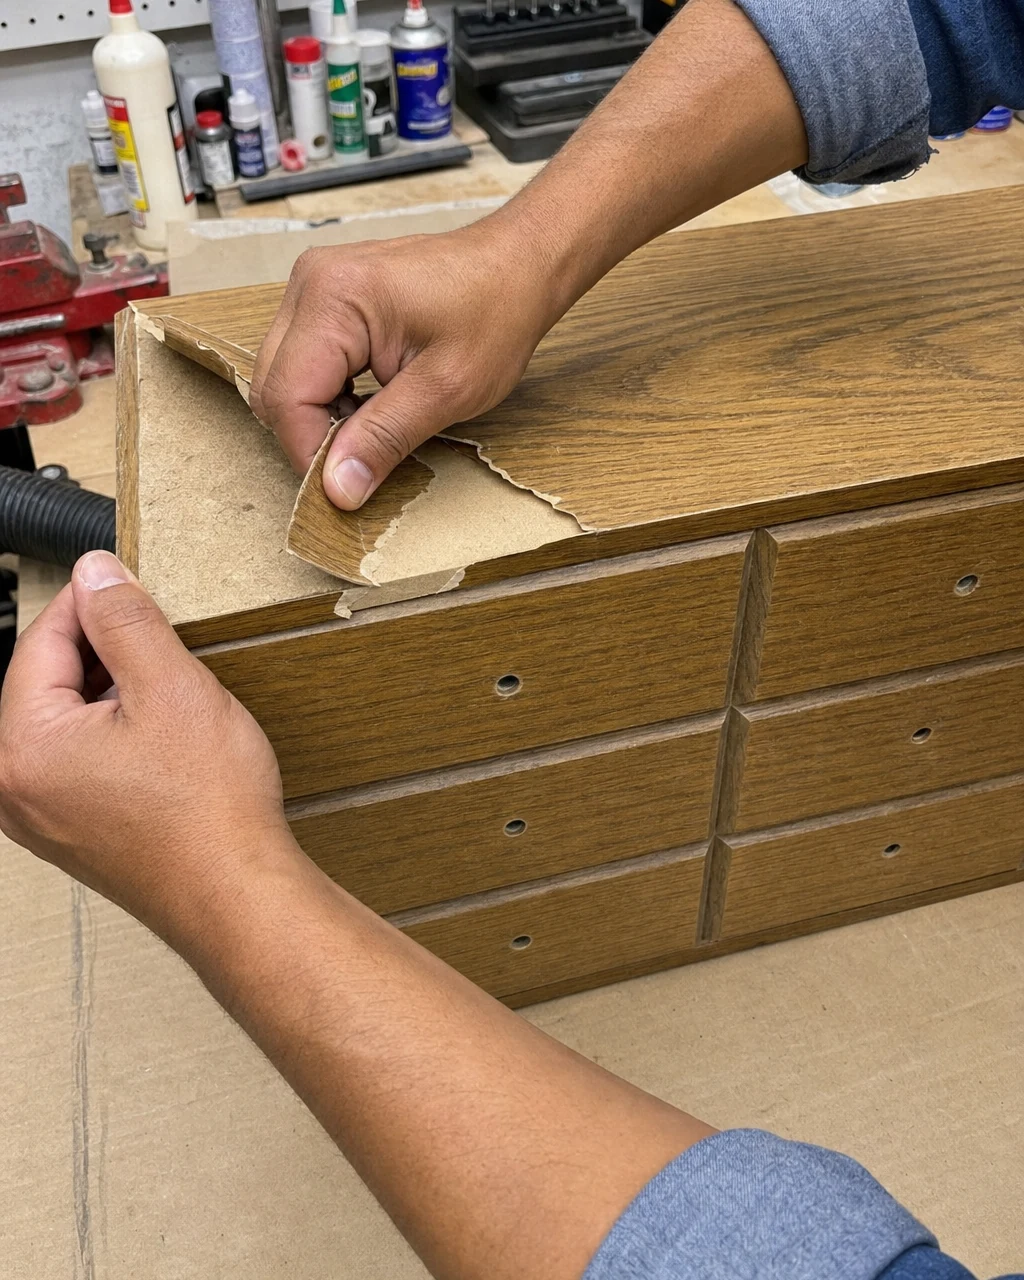
Pull away the failing vinyl laminate from the MDF casing. Because the adhesive is failing, large strips on the top left corner should come away easily. Use a putty knife to carefully lift any stubborn glued sections without gouging the raw wood underneath, stripping the outer casing down to bare MDF. Wear safety glasses in case brittle vinyl snaps back during removal.
Step 3: Sand the Casing and Drawer Fronts
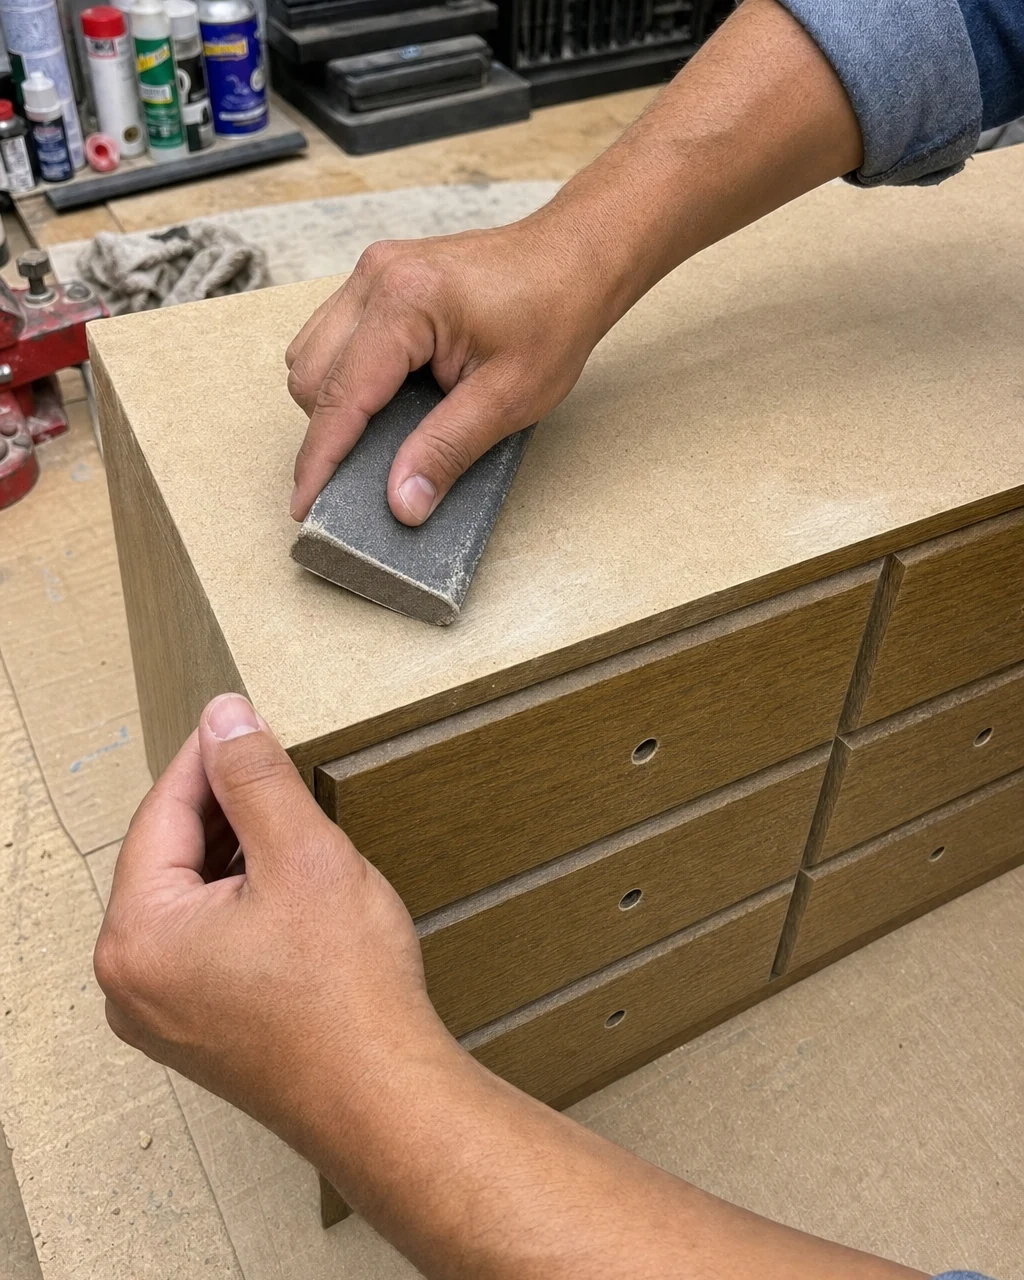
Sand the exposed MDF casing and the pine drawer fronts with 120-grit sandpaper using a sanding block. This removes old glue residue and scuffs the original finished pine surface to ensure proper paint adhesion. The goal is to leave all areas dull, smooth, and free of old adhesive. Wear a dust mask and run a shop vacuum to capture fine MDF dust.
Materials checklist
- — Look for a durable matte or satin finish designed specifically for cabinetry.
- — Select sturdy hardwood dowels that can be easily cut to 2-inch lengths.
- — Choose a thick, natural cotton cord for maximum organic texture and grip.
- — Ensure the glue dries clear to avoid visible residue on the white cotton cord.
- — Pick screws long enough to pass through the drawer front and bite securely into the dowel.
Step 4: Apply Matte Charcoal Enamel
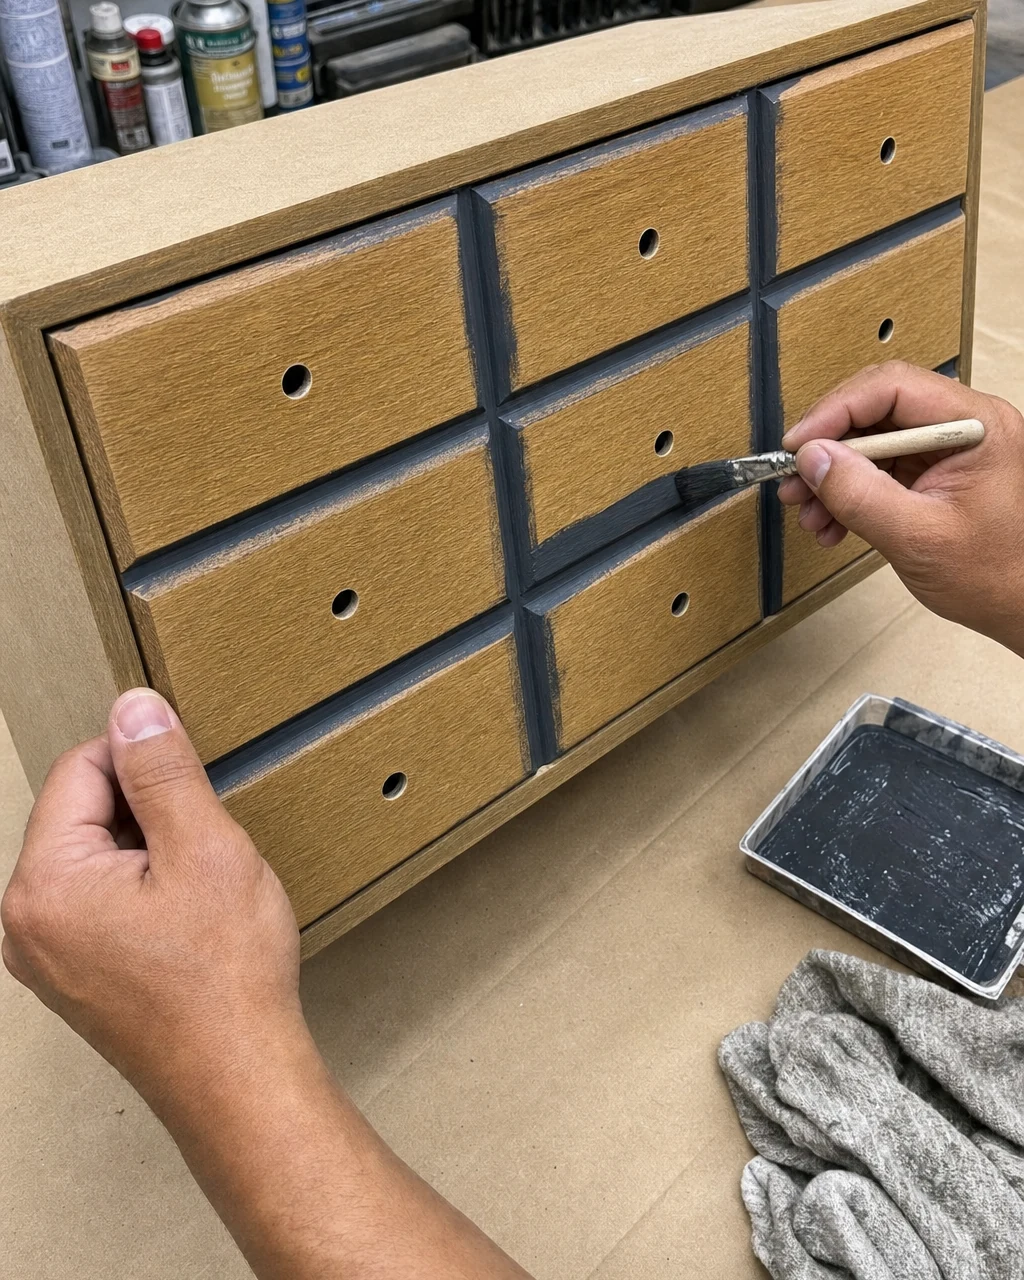
Apply two coats of matte charcoal cabinet enamel to the bare casing and drawer fronts using a synthetic trim brush. Ensure the paint gets deep into the immutable faux-drawer grooves to create a solid, opaque matte finish across the entire piece. Work in a well-ventilated area and protect the workbench with a drop cloth.
- Brush the matte charcoal enamel deep into the routed faux-drawer grooves first to ensure full coverage.
- Coat the flat sections of the pine drawer fronts and the bare MDF casing with a synthetic trim brush.
Step 5: Create Custom Cord-Wrapped Pulls
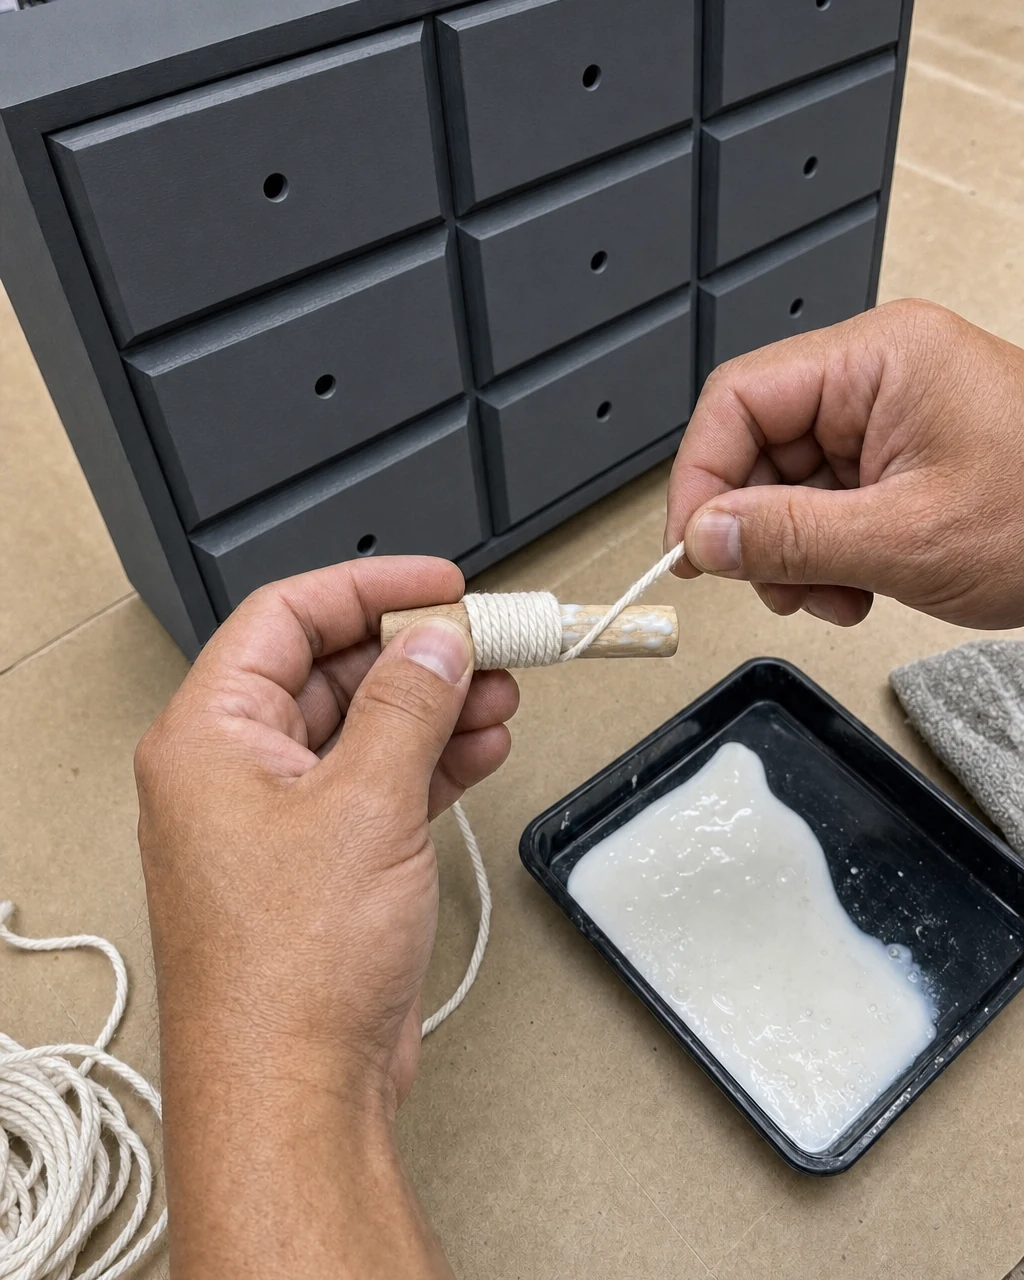
Prepare the base structure for the new custom drawer pulls by cutting sturdy hardwood dowels to 2-inch lengths. Coat the pre-cut wooden dowels in a layer of clear-drying wood glue. Tightly coil natural cotton macrame cord around each one, leaving the back face exposed for mounting. Wipe away excess glue immediately to prevent it from hardening on the exposed cord.
Step 6: Mount the New Textured Hardware
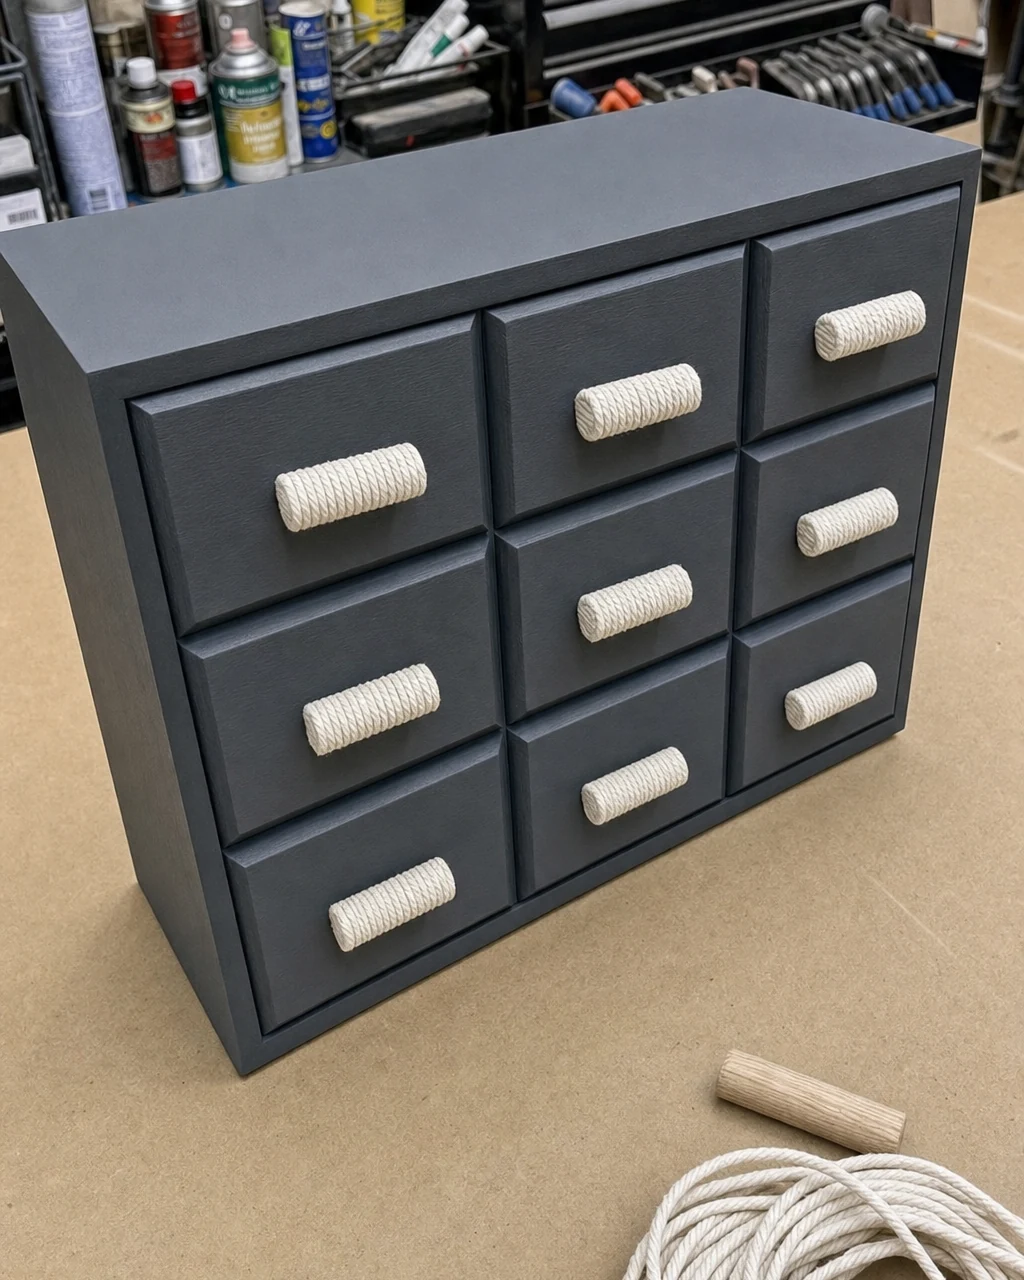
Once the painted cabinet is dry and the cord-wrapped pulls are fully cured, prepare for assembly. Position the new custom handles against the charcoal drawer fronts, aligning them with the original mounting holes left by the discarded plastic hardware.
Securing the Pulls
Drive wood screws from the inside of the drawers into the back of the dowels. This secures the highly textured, organic cotton-wrapped handles tightly, completing the modernized build. Ensure you select screws long enough to bite securely. Do not overtighten to avoid splitting the wooden dowels.
Step 7: Style the Cabinet for Entryway Organization
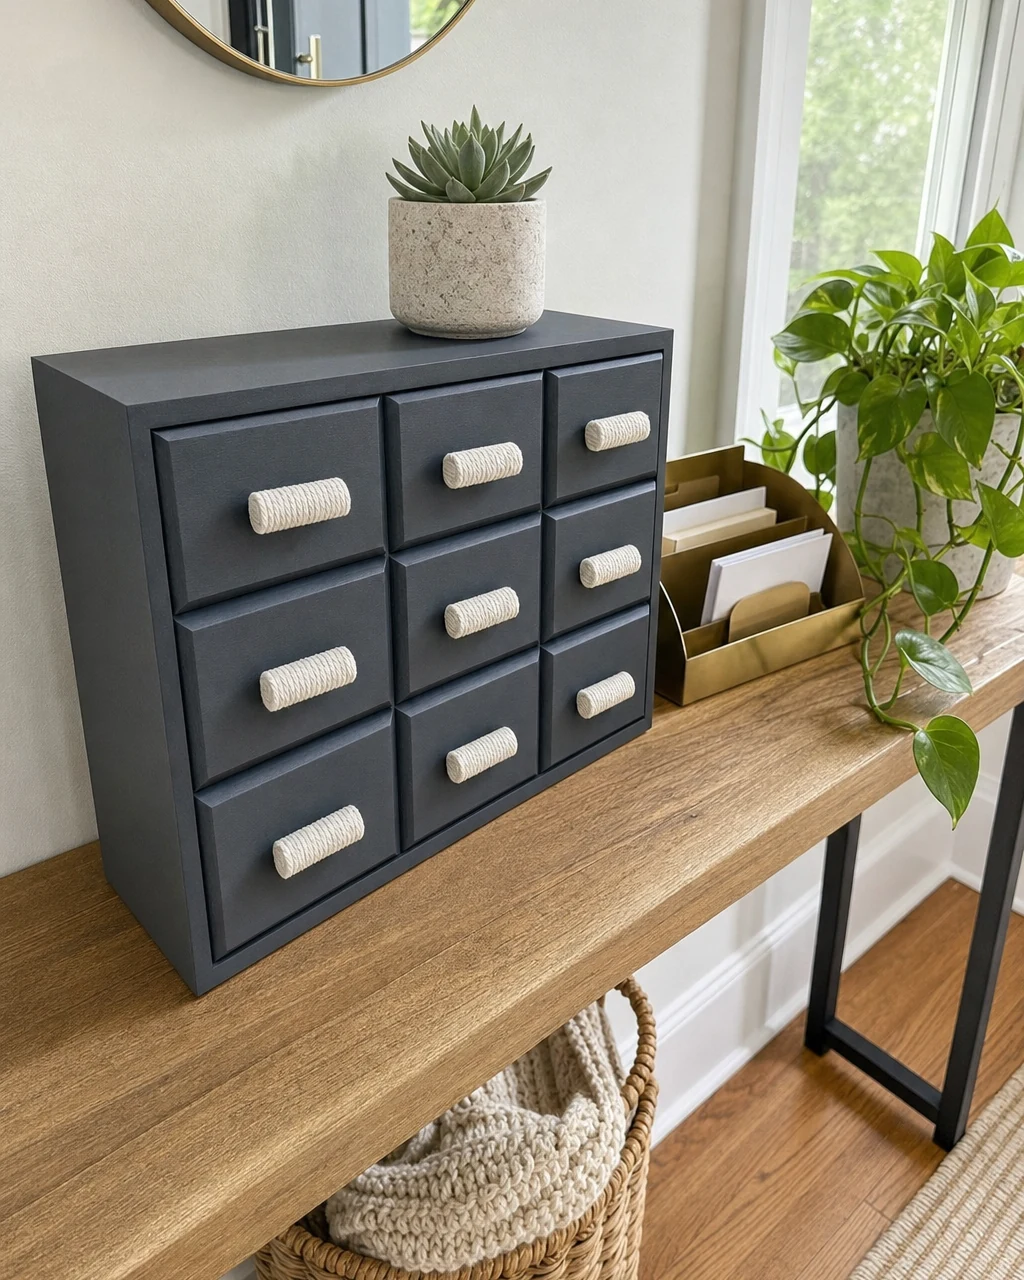
Move the finished cabinet into the home and place it on a bright entryway console table next to a brass mail tray and a trailing pothos plant. The modernized piece now serves as a stylish, textured organization station for keys and mail. Ensure the cabinet is placed on a stable, level surface before filling the drawers.
Valuation and Resale Potential
Apothecary-style storage is highly sought after for desktop organization. Replacing the cheap plastic hardware with custom tactile cord-wrapped pulls and applying a modern matte finish elevates this from a dated 1980s cast-off to a boutique-style piece. This transformation yields an estimated resale value of $115, though this remains an editorial estimate rather than a guaranteed sale price.
Transformation Impact
The chunky cotton-cord wrapped handles against the matte charcoal wood create a striking visual hook. Moving from a peeling, shiny faux-oak box to a sleek cabinet with highly textured, organic pulls completely modernizes the silhouette.