
Beadboard Bathroom Layouts: Heights, Materials & Plans
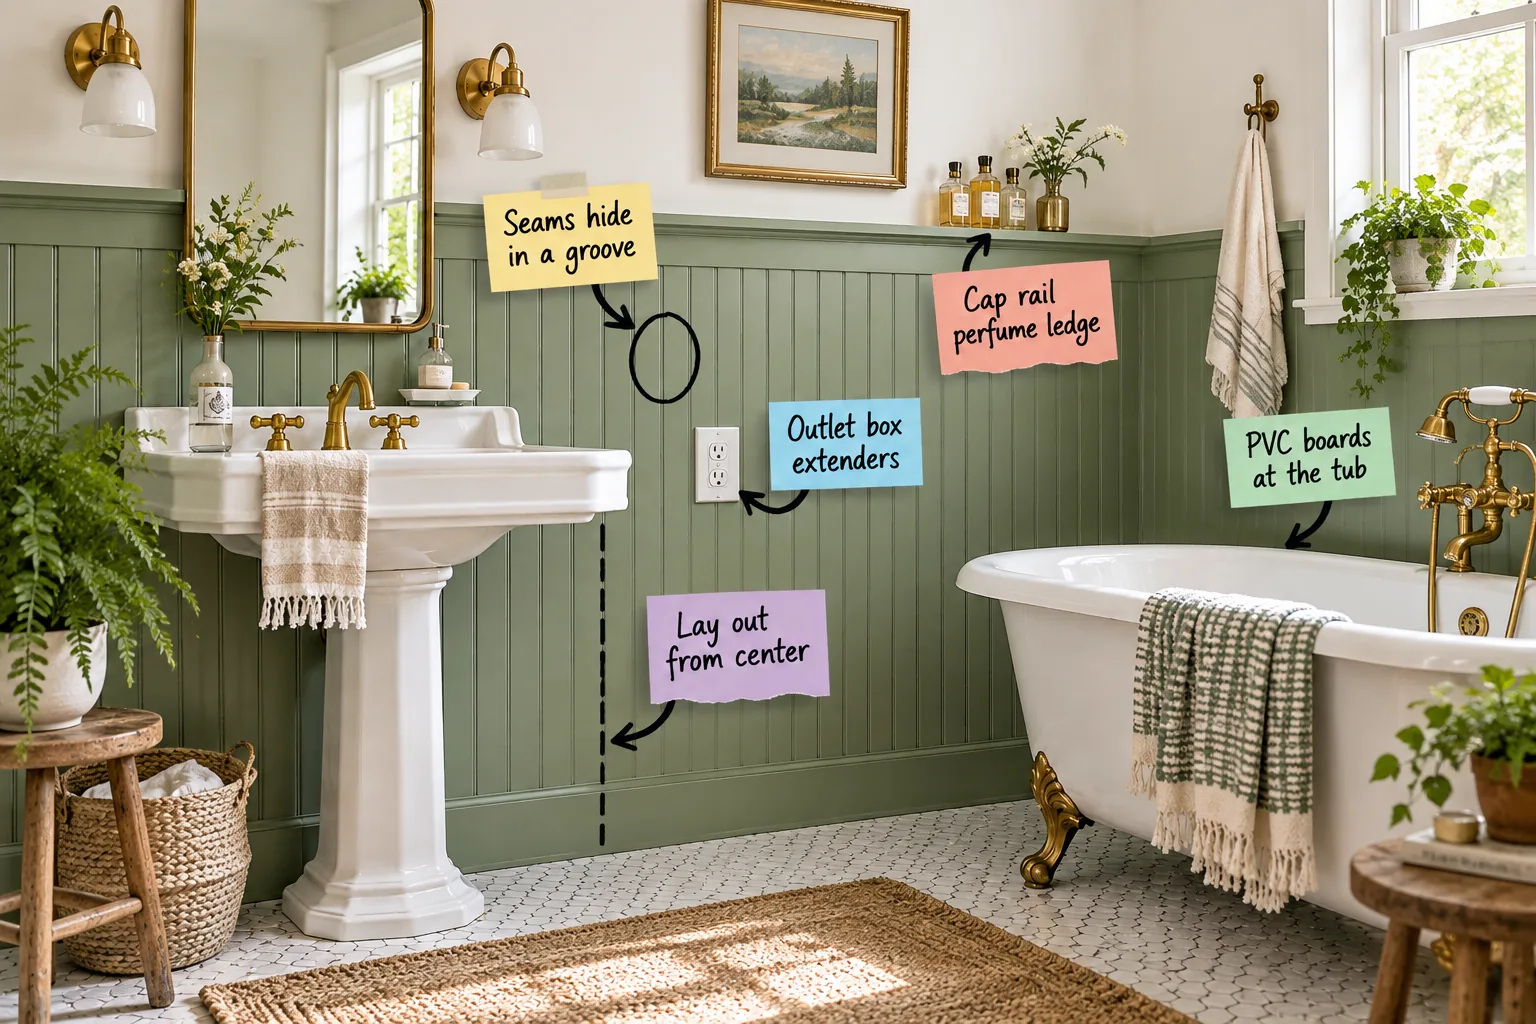
Planning a beadboard bathroom upgrade means you need our free Beadboard Height & Layout Sheet to calculate your ideal cap-rail proportions and center your panels perfectly. You will be able to lock in your exact beadboard height, plan a balanced layout, and confidently handle tricky outlets and wet zones.
Why Going Higher Works
Standard chair-rail height cuts a room exactly in half, which visually shrinks your ceiling and makes the space feel squat and cramped. Taking your beadboard two-thirds or three-quarters up the wall draws the eye upward to make the entire room feel significantly taller and more elegant.
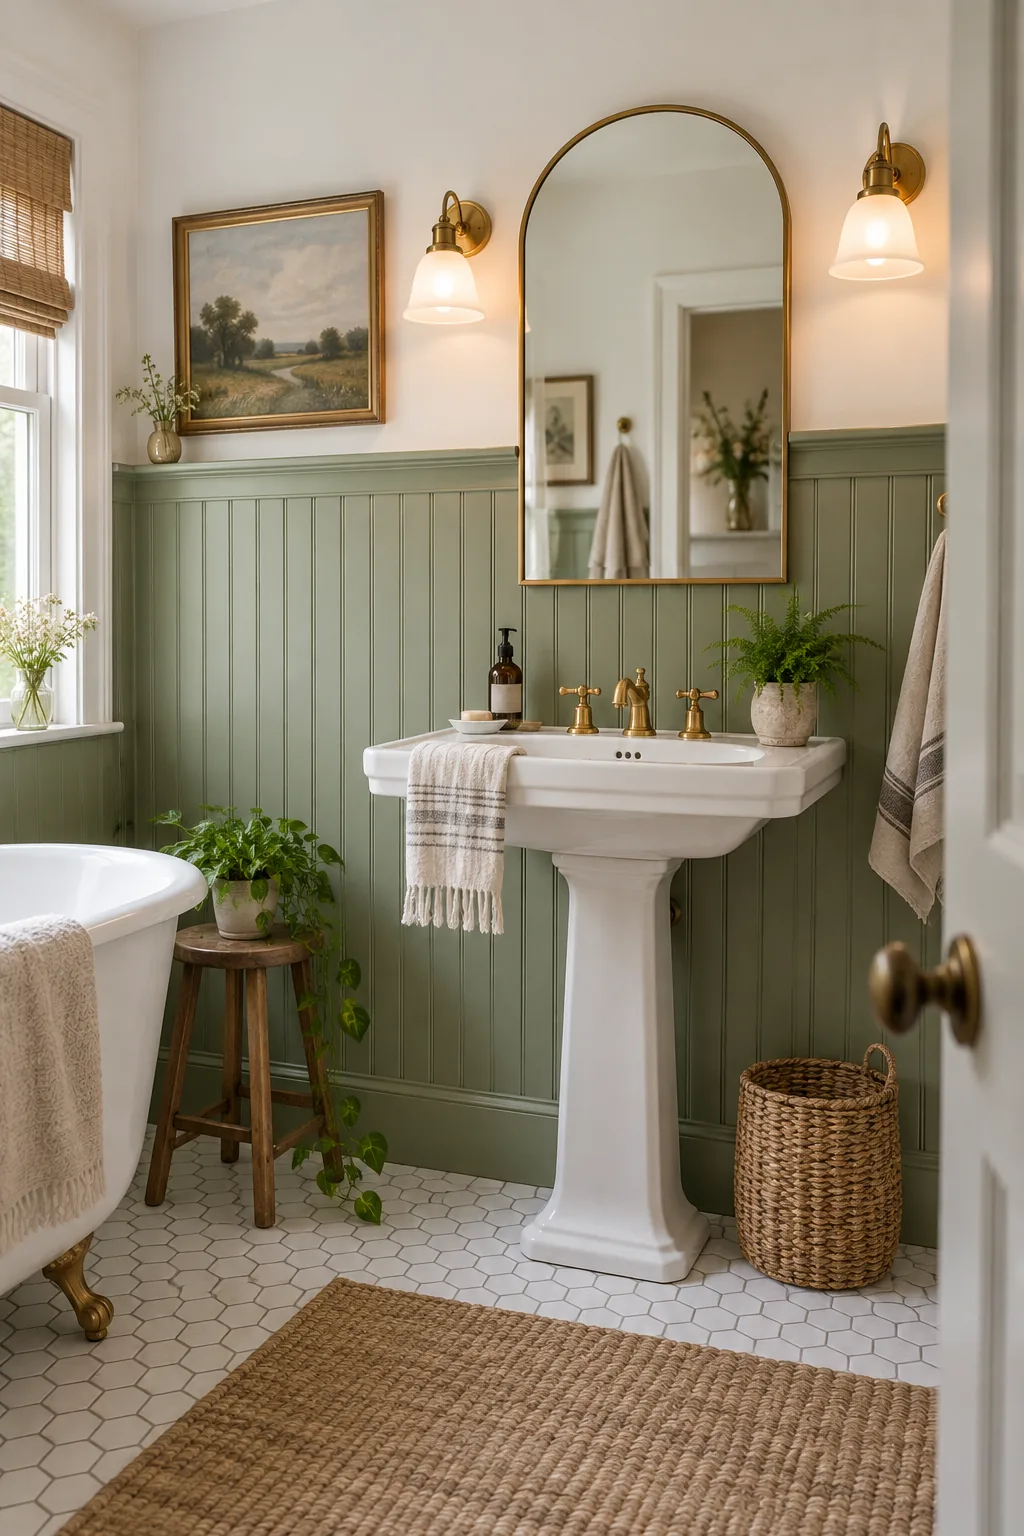
To find your ideal cap-rail target, simply measure your total ceiling height in inches and multiply by 0.66 or 0.75 for the best visual balance. This simple mathematical trick ensures your wainscotting proportions always look intentional rather than awkwardly chopped or poorly planned.
Your Beadboard Height & Layout Sheet
When I first tackled my own guest bath, I spent hours doing layout math on scrap paper before finally making a reusable, foolproof template. I created this printable one-page Beadboard Height & Layout Sheet so you can skip the frustrating guesswork entirely and start building.
- Pre-calculated cap-rail heights tailored for standard 8-foot, 9-foot, and 10-foot ceilings.
- Step-by-step center-out layout instructions to prevent awkward sliver cuts in the corners.
- A quick board-count estimator based on your total linear wall length.
- A handy checklist for outlet extenders and required waterproof materials.
Having these exact numbers mapped out before you buy a single piece of lumber ensures you get the proportions perfectly right on the very first try. You will save money on materials and avoid the headache of returning miscut panels to the hardware store.
Calculating Your Material Needs
Before driving to the hardware store, you must translate your room’s perimeter into a precise count of beadboard panels and top trim boards. Buying extra material upfront is always cheaper than making a second trip or struggling to match slightly different wood grain patterns later.
| Wall Length | 4×8 Panels Needed | Cap Rail (Linear Ft) | Baseboard (Linear Ft) |
|---|---|---|---|
| Up to 10 feet | 3 panels | 12 feet | 12 feet |
| 11 to 15 feet | 4 panels | 18 feet | 18 feet |
| 16 to 20 feet | 5 panels | 24 feet | 24 feet |
| 21 to 25 feet | 7 panels | 30 feet | 30 feet |
| 26 to 30 feet | 8 panels | 36 feet | 36 feet |
Always subtract the width of your bathroom door, vanity cabinet, and any large floor-to-ceiling windows from your total perimeter measurement. However, you should always add ten percent extra to account for inevitable cutting waste, accidental damage, and minor layout adjustments during the installation process.
Starting From the Center
Starting your installation in a random corner is a guaranteed way to end up with an awkward, tiny sliver of beadboard on the opposite wall. The absolute best secret to a perfectly balanced, professional look is always using the center-out layout technique for every wall.
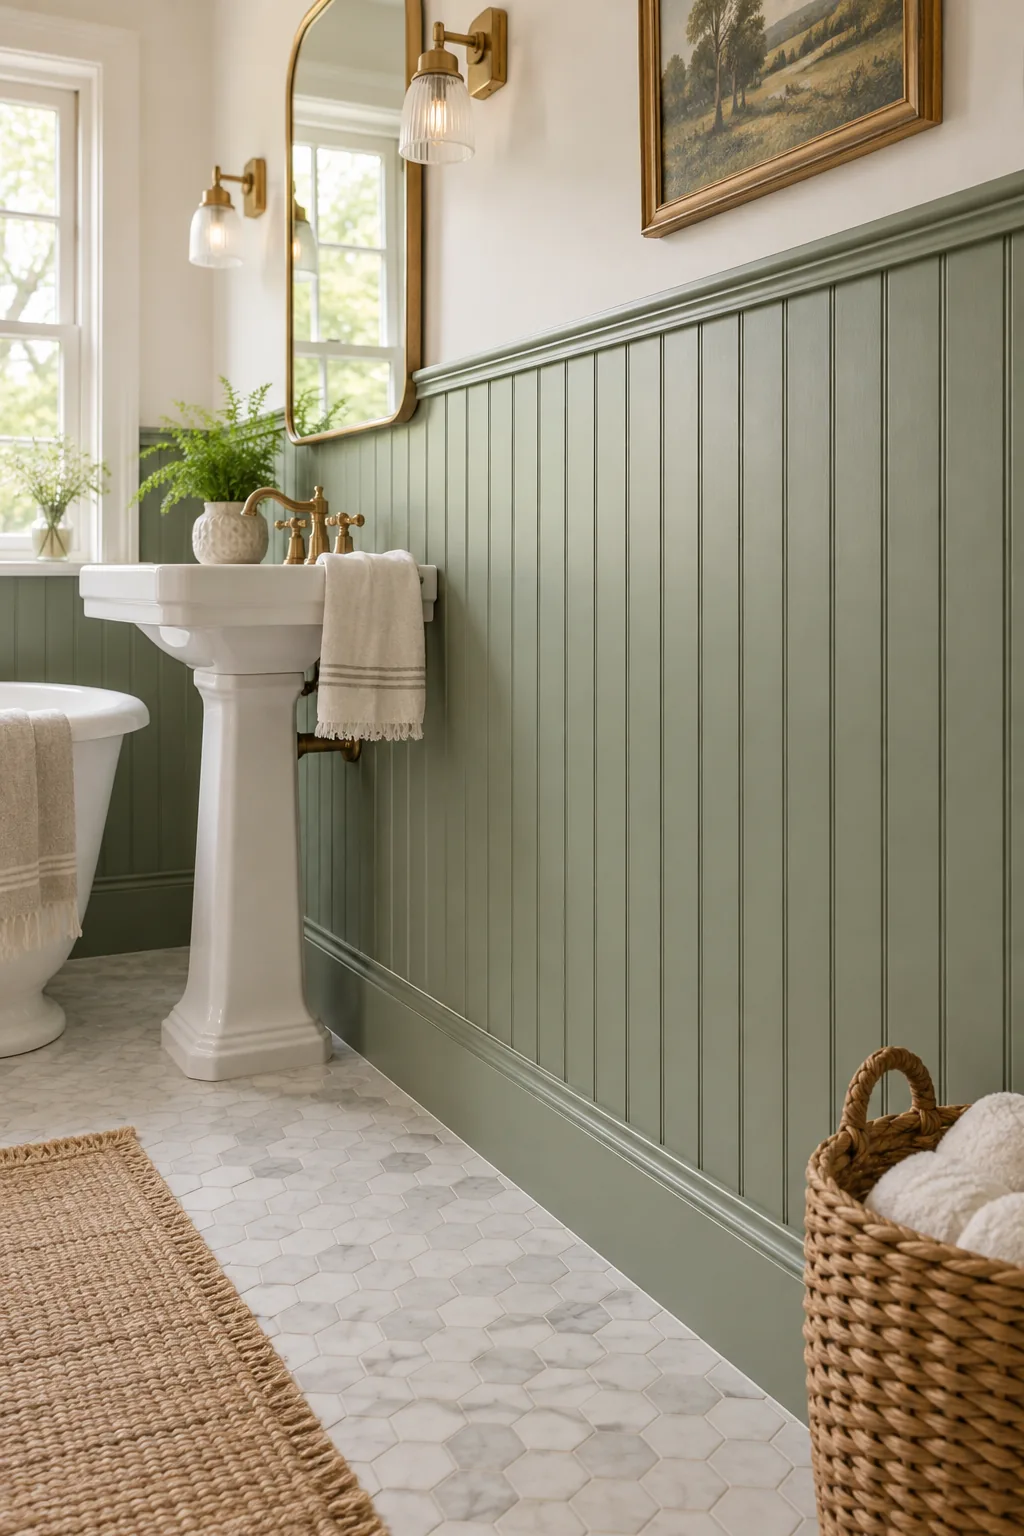
Find the exact centerline of your vanity sink and mirror, and align either the center of a bead or a deep V-groove directly on that mark before working outward. This ensures the visual focus of the room remains completely symmetrical and incredibly pleasing to the eye.
Navigating Corners and Angles
Once you push your centered layout outward toward the edges of the room, you will eventually hit the corners where the walls meet. Handling these critical transitions properly dictates whether your wainscotting looks like a custom carpentry job or a hasty, amateur weekend DIY project.
For prominent outside corners, always miter the edges of your beadboard panels at a clean 45-degree angle. This technique ensures the classic grooved pattern wraps continuously around the bend without exposing the raw, unfinished core of the composite wood to the humid bathroom air.
Using PVC Boards at the Tub
Even with excellent ventilation, bathrooms are inherently high-moisture environments that constantly test the durability of your chosen building materials. Choosing the wrong panel material near active plumbing fixtures is a fast track to unsightly swelling, bubbling paint, and eventual structural water damage behind the walls.
Cellular PVC beadboard gives you the exact same traditional grooved profile as classic pine wood but remains completely waterproof and totally rot-resistant in heavy splash zones. You can easily cut, nail, and paint these synthetic panels using the exact same tools as standard lumber.
Choosing the Right Adhesive and Nails
Securing beadboard to bathroom drywall requires a dependable dual approach of strong construction adhesive and strategically placed brad nails. Relying on nails alone allows the wooden panels to bow outward over time as indoor humidity levels fluctuate heavily throughout the changing seasons.
- Apply a generous zigzag pattern of heavy-duty construction adhesive directly to the back of each cut panel.
- Press the panel firmly against the bathroom drywall, ensuring it sits perfectly plumb and completely level.
- Shoot 18-gauge brad nails directly through the recessed V-grooves into the wall studs for maximum long-term hold.
Shooting your metal brad nails directly into the deepest part of the recessed grooves makes the tiny nail holes much easier to fill with putty. Once you sand those filled spots completely smooth, they will vanish entirely under your first coat of fresh paint.
Making Seams Disappear
Continuous wainscotting looks infinitely better when you completely hide the vertical seams where two separate beadboard panels meet on a long wall. The clever trick is to carefully plan your cuts so the factory edges meet exactly at the bottom of a V-groove.
Once the adjacent panels are secured tightly together on the wall, a light application of wood filler followed by gentle sanding will make that joint completely invisible. Your guests will assume you installed one massive, continuous piece of custom milled wood across the entire bathroom.
Bringing Outlets Flush
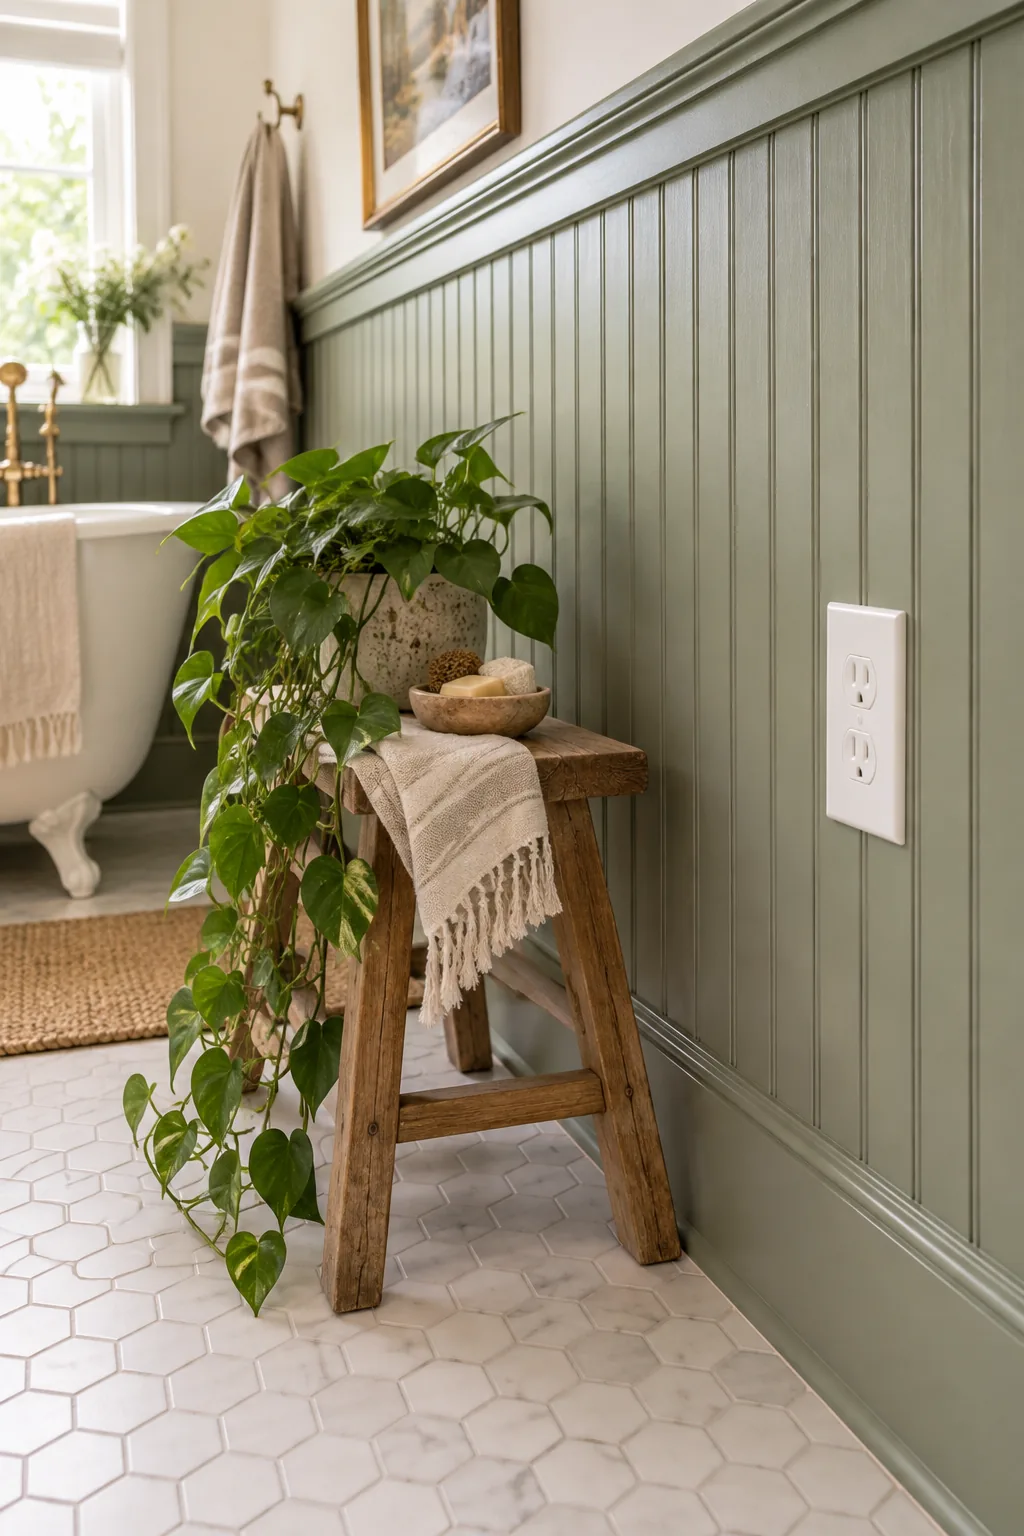
Layering thick beadboard over your existing drywall means your electrical receptacles will suddenly be recessed far too deeply into the wall cavity. This creates a serious safety hazard because the exposed sides of the outlet are no longer protected by the plastic electrical box.
You can easily fix this dangerous issue by installing plastic outlet box extenders to safely bring the receptacle forward so it sits perfectly flush with the new beadboard face. This simple hardware addition saves you the massive expense of hiring an electrician to rewire the room.
Priming for a Flawless Finish
Applying paint directly over raw wood or slick PVC beadboard guarantees an uneven, blotchy finish that easily chips when bumped. A dedicated priming step seals the porous surface, blocks underlying wood tannins, and provides a gripping texture so your final color glides on beautifully.
Finishing the Bottom Edge
In my master bathroom, I realized too late that my vintage floor sloped, leaving an uneven gap under the pristine new beadboard panels. The absolute best way to anchor the wainscot is to install a tall, flat baseboard directly over the fragile bottom edge.
More Beadboard Bathroom Looks
Explore how different paint colors and styling choices completely change the mood of a beadboard bathroom.
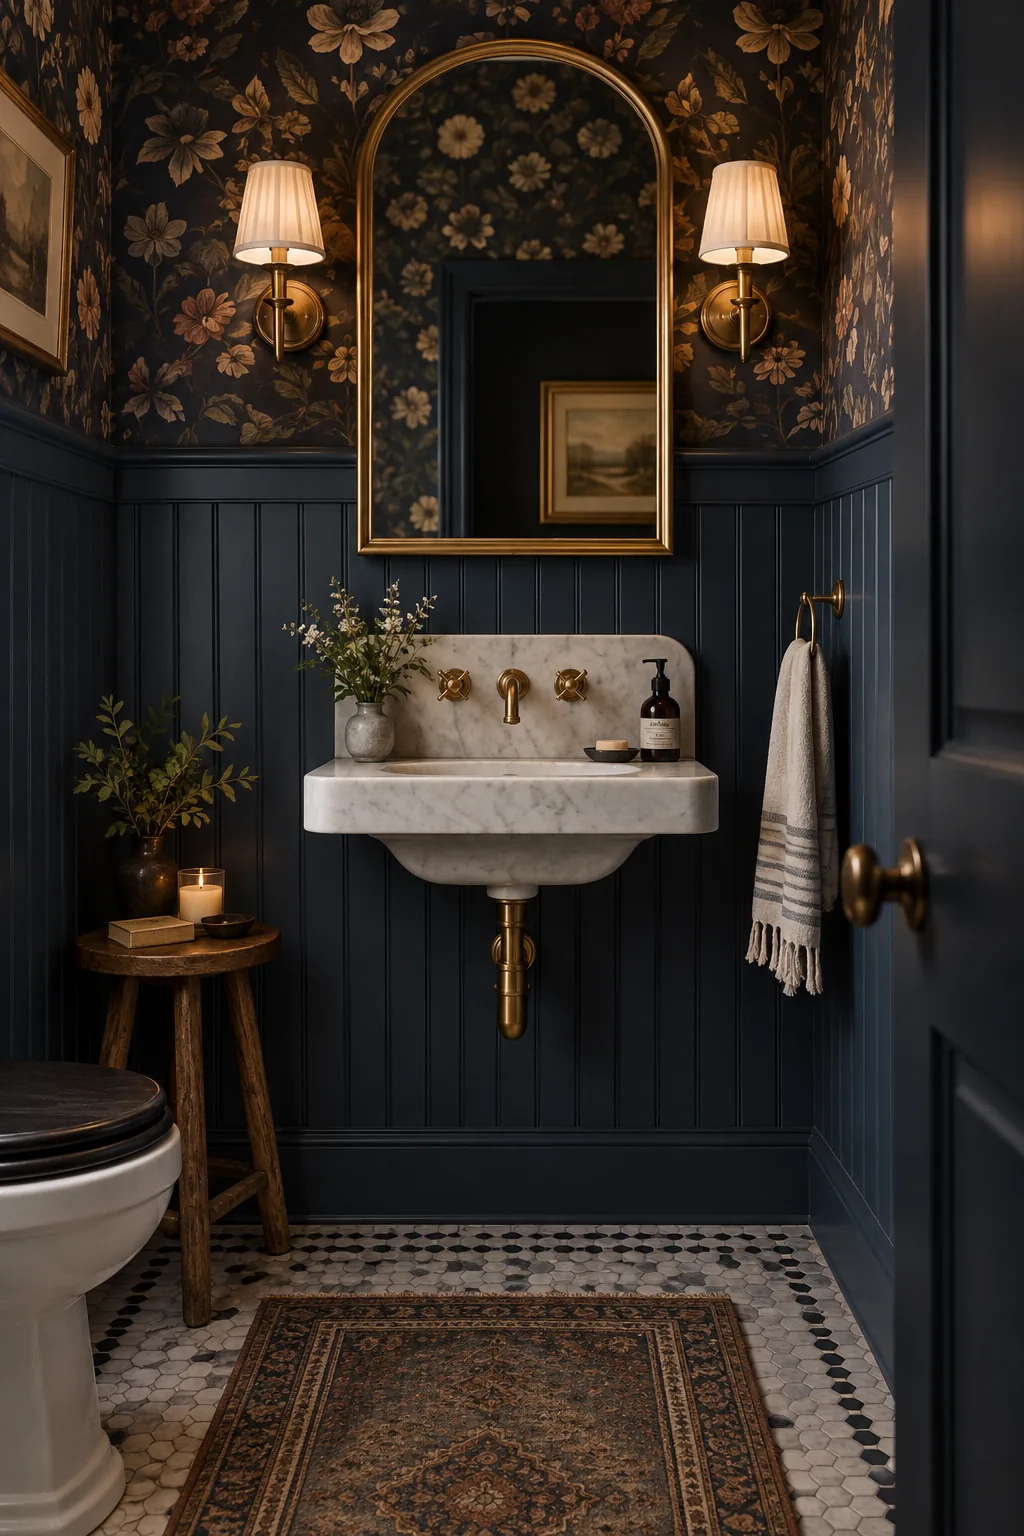
Navy and warm brass: Deep navy panels paired with warm brass fixtures give a small powder room a classic, sophisticated atmosphere.
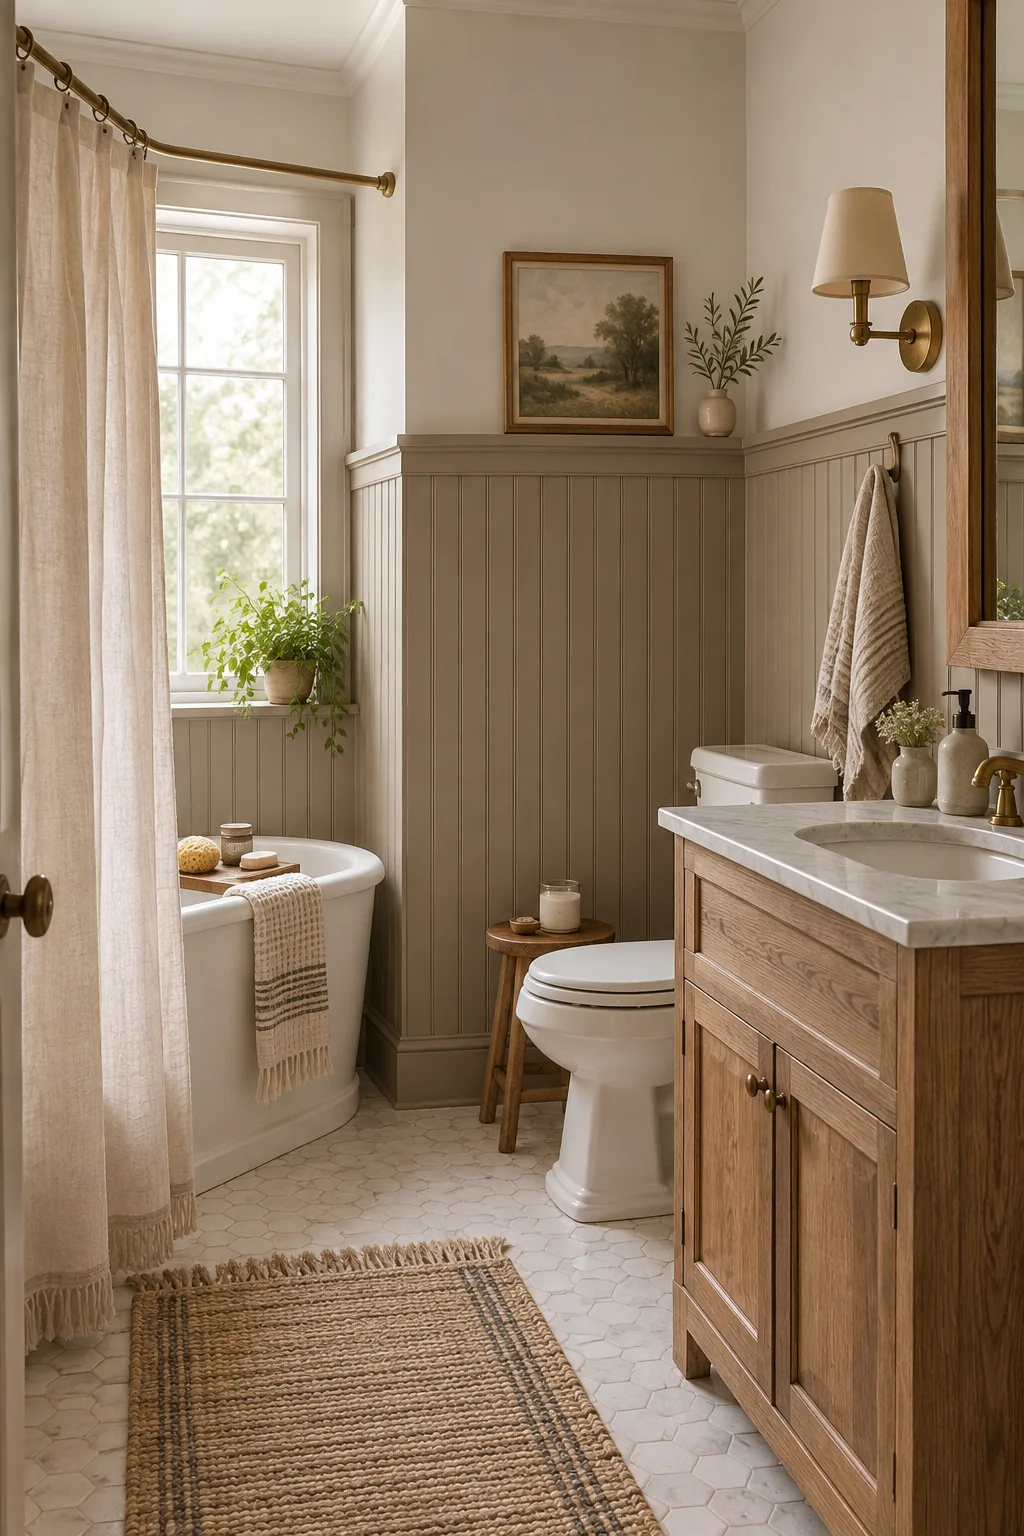
Earthy taupe and wood: Warm taupe paint and natural oak accessories create a calming, organic environment that feels grounded and relaxing.
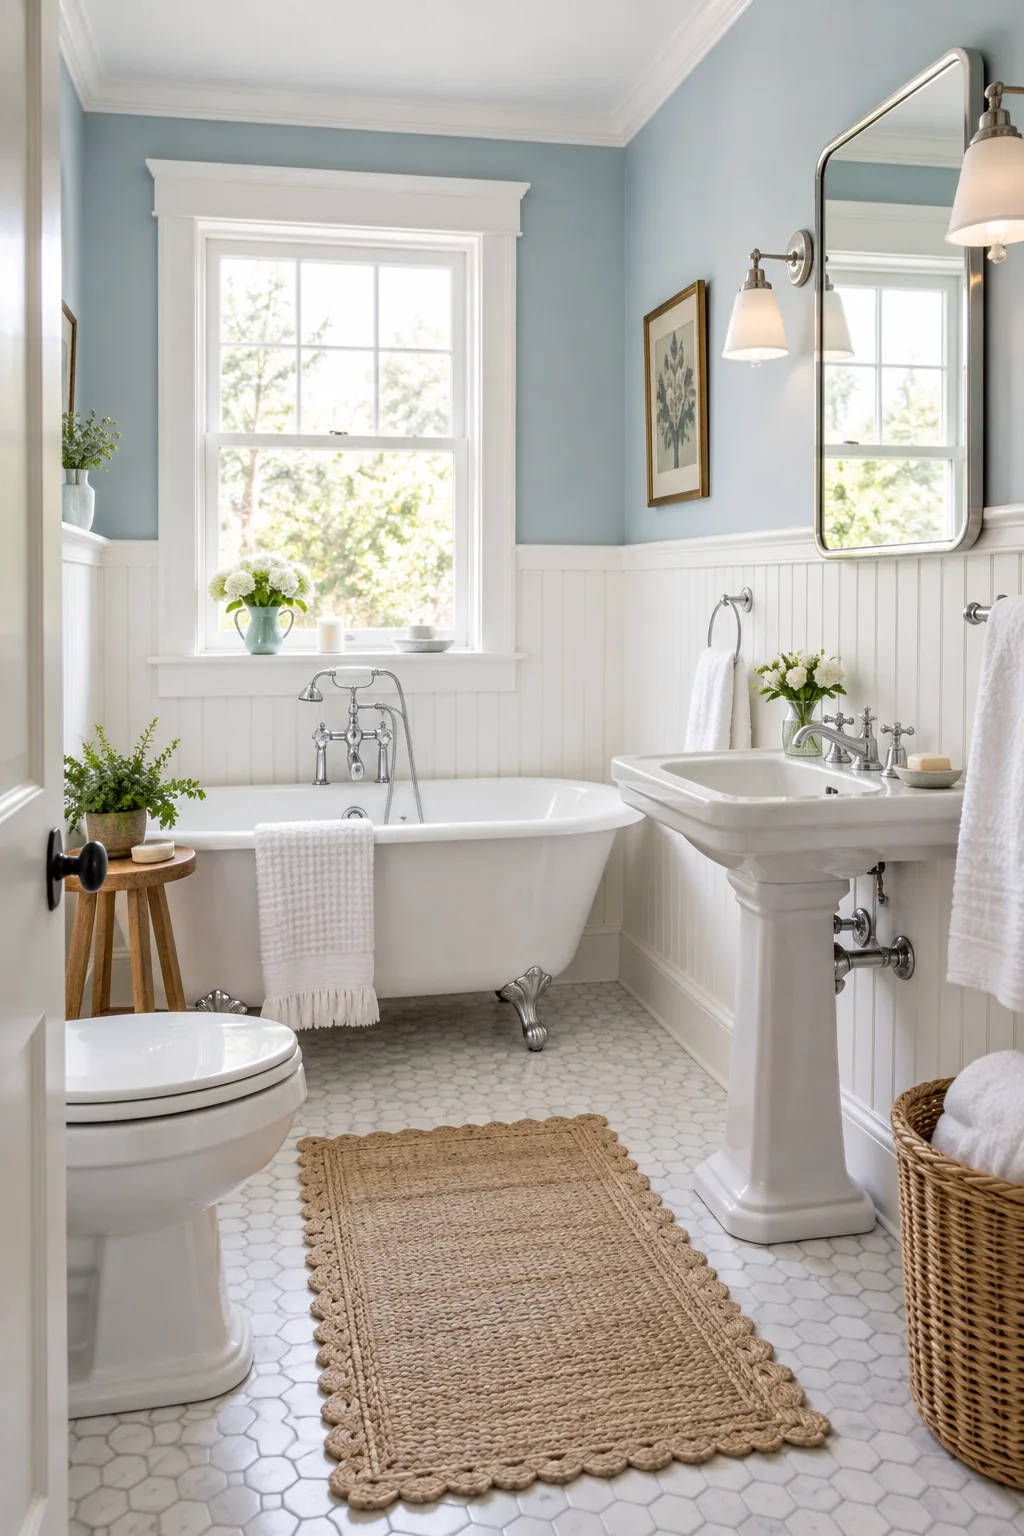
Classic white and chrome: Crisp white beadboard topped with a soft blue upper wall creates an endlessly fresh, traditional coastal look.
Building a Functional Cap Rail
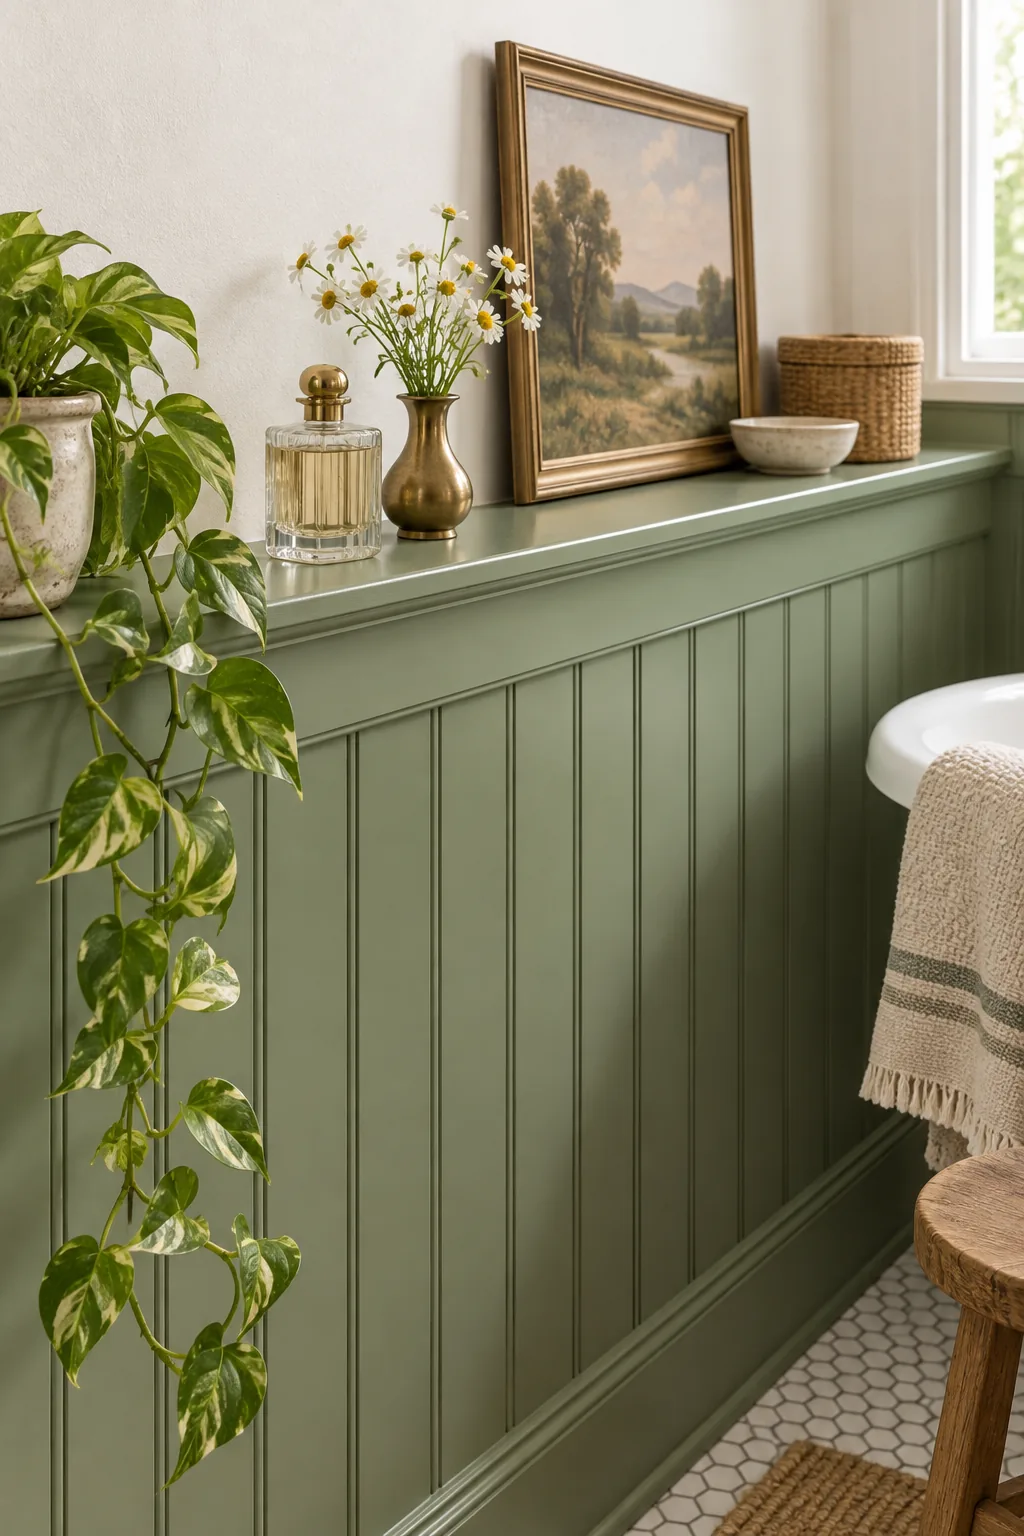
Finishing the top of the wainscot is your final chance to add both architectural weight and practical, everyday storage to the bathroom. Instead of installing a thin, flimsy trim piece, I highly recommend building a deep cap rail straight across the top edge.
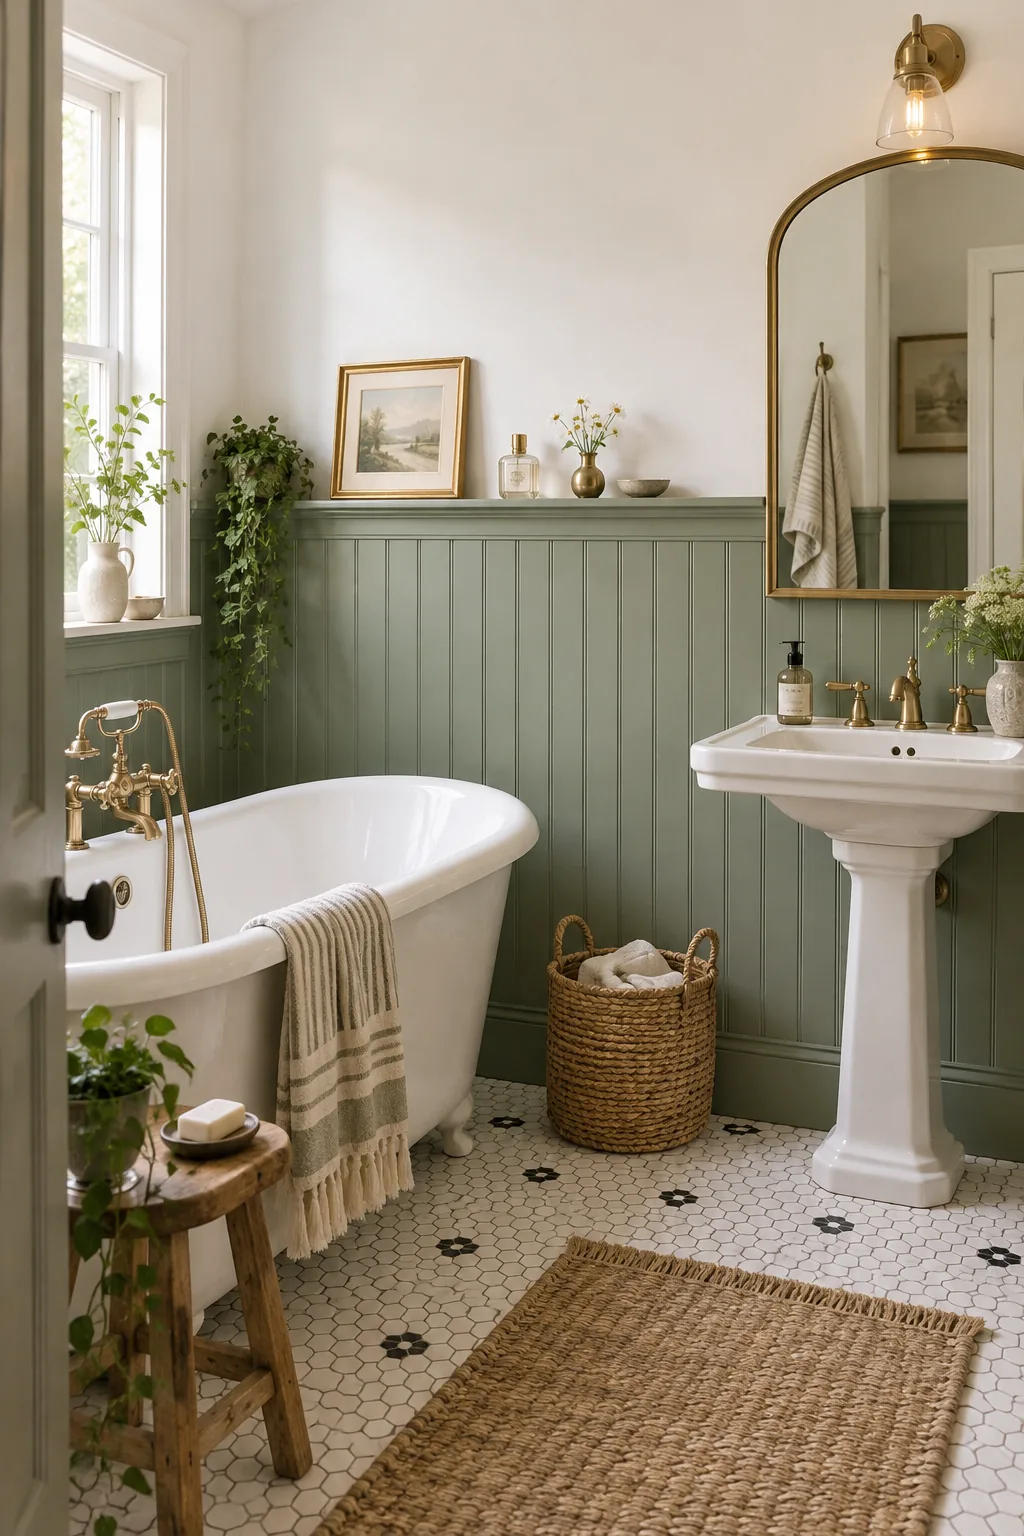
Laying a standard 1×3 or 1×4 board flat across the top trim creates a sturdy, intentional ledge that is absolutely perfect for displaying small art, bud vases, or your favorite perfume bottles. It provides the perfect finishing touch to elevate your entire bathroom renovation project.