Modern Corner Garden Ideas: Plant Layout & Spacing Guide
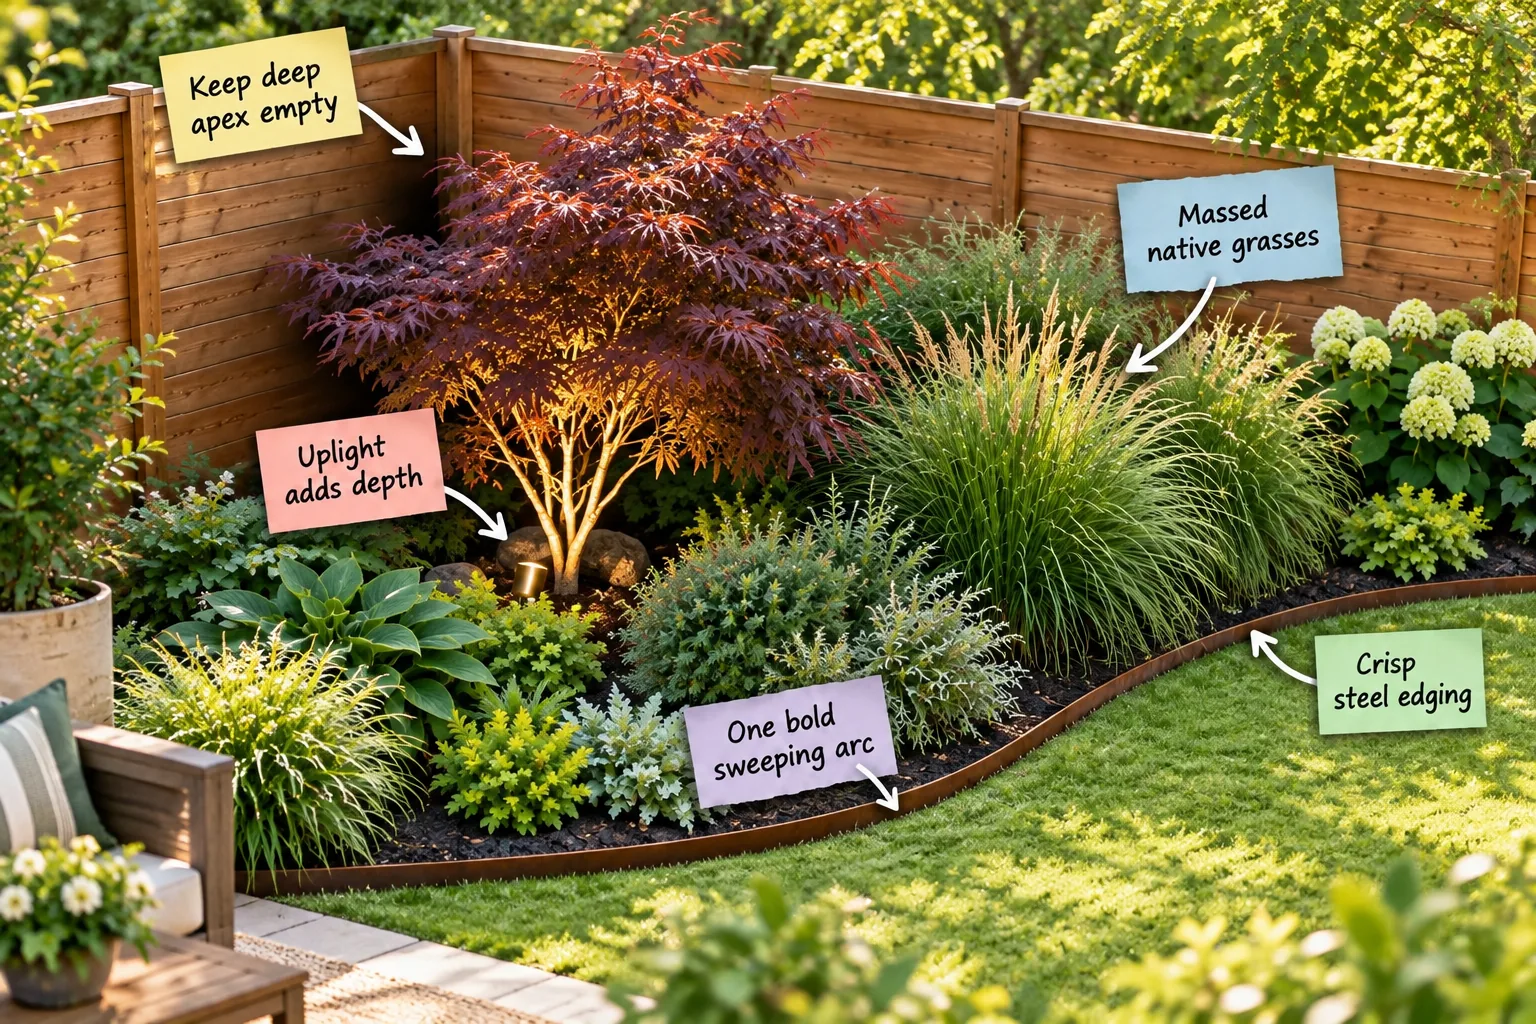
Transform awkward yard angles with this complete corner planting layout and spacing guide so you can confidently map out and build a perfectly proportioned landscape bed. This blueprint delivers the exact measurements you need to turn a dark fence corner into a lush, modern focal point.
The Deep Apex Strategy
In my first house, I jammed a shrub right into the fence corner and ended up replacing two rotted cedar panels a year later, which taught me the critical importance of leaving an 18 to 24-inch empty shadow gap behind the tree. This deep apex strategy prevents costly wood decay by ensuring the anchor tree has adequate air circulation.
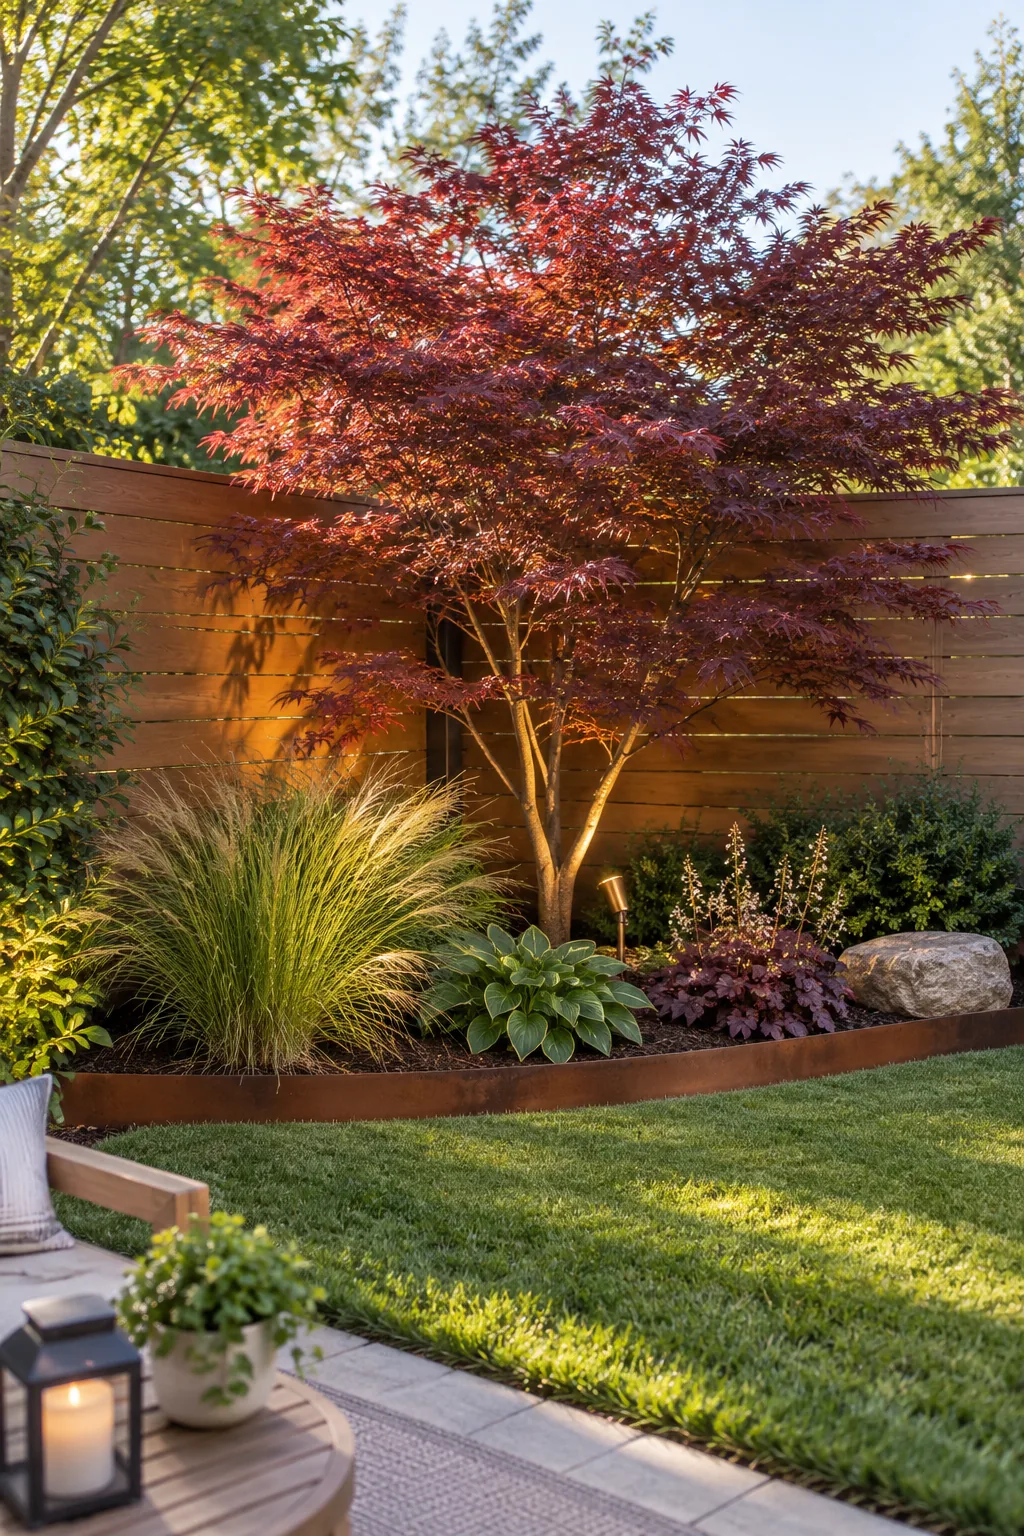
Pushing plants all the way into the corner might seem like a brilliant way to maximize your small yard space, but it often creates significantly more structural problems than it actually solves.
Protecting the Wooden Fence
Keeping the corner panels completely dry extends the life of your wooden fence by decades and prevents unsightly mold growth. Applying a high-quality penetrating oil stain to the lower boards before you start planting provides an essential secondary barrier against accidental splashback and ambient garden humidity.
Selecting the Anchor Tree
Choosing a structural focal point, such as a delicate Japanese maple, sets the scale and visual weight for your entire corner garden design. You must plant the trunk 36 to 48 inches away from the fence panels to accommodate future canopy growth without crowding the wood.
- Measure from the corner: Pull a tape measure diagonally from the 90-degree fence apex to mark your 36-inch minimum distance.
- Check the overhead clearance: Look up to ensure your chosen tree won’t eventually entangle with existing rooflines or utility wires.
- Orient the best side forward: Rotate the root ball so the most graceful branch structure faces outward toward the lawn.
Evaluating the Soil Drainage
Trapped rainwater in a 90-degree fence corner quickly drowns expensive ornamental trees and encourages aggressive, irreversible root rot. Digging a temporary twelve-inch test hole and filling it with water lets you verify that the corner drains completely empty within three hours before you ever plant.
Amending the Corner Soil
Builders often dump poor-quality fill dirt and construction debris into the deepest corners of a residential yard. Working three inches of rich organic compost into the native soil provides the vital nutrients your new anchor tree requires to push out healthy, vigorous feeder roots.
Illuminating the Corner
Positioning a low-voltage brass landscape spotlight properly transforms the space at night, highlighting the branch structure and casting dramatic shadows against the fence. Place the fixture 12 to 18 inches from the trunk and angle it upward at exactly 45 degrees to capture the canopy.
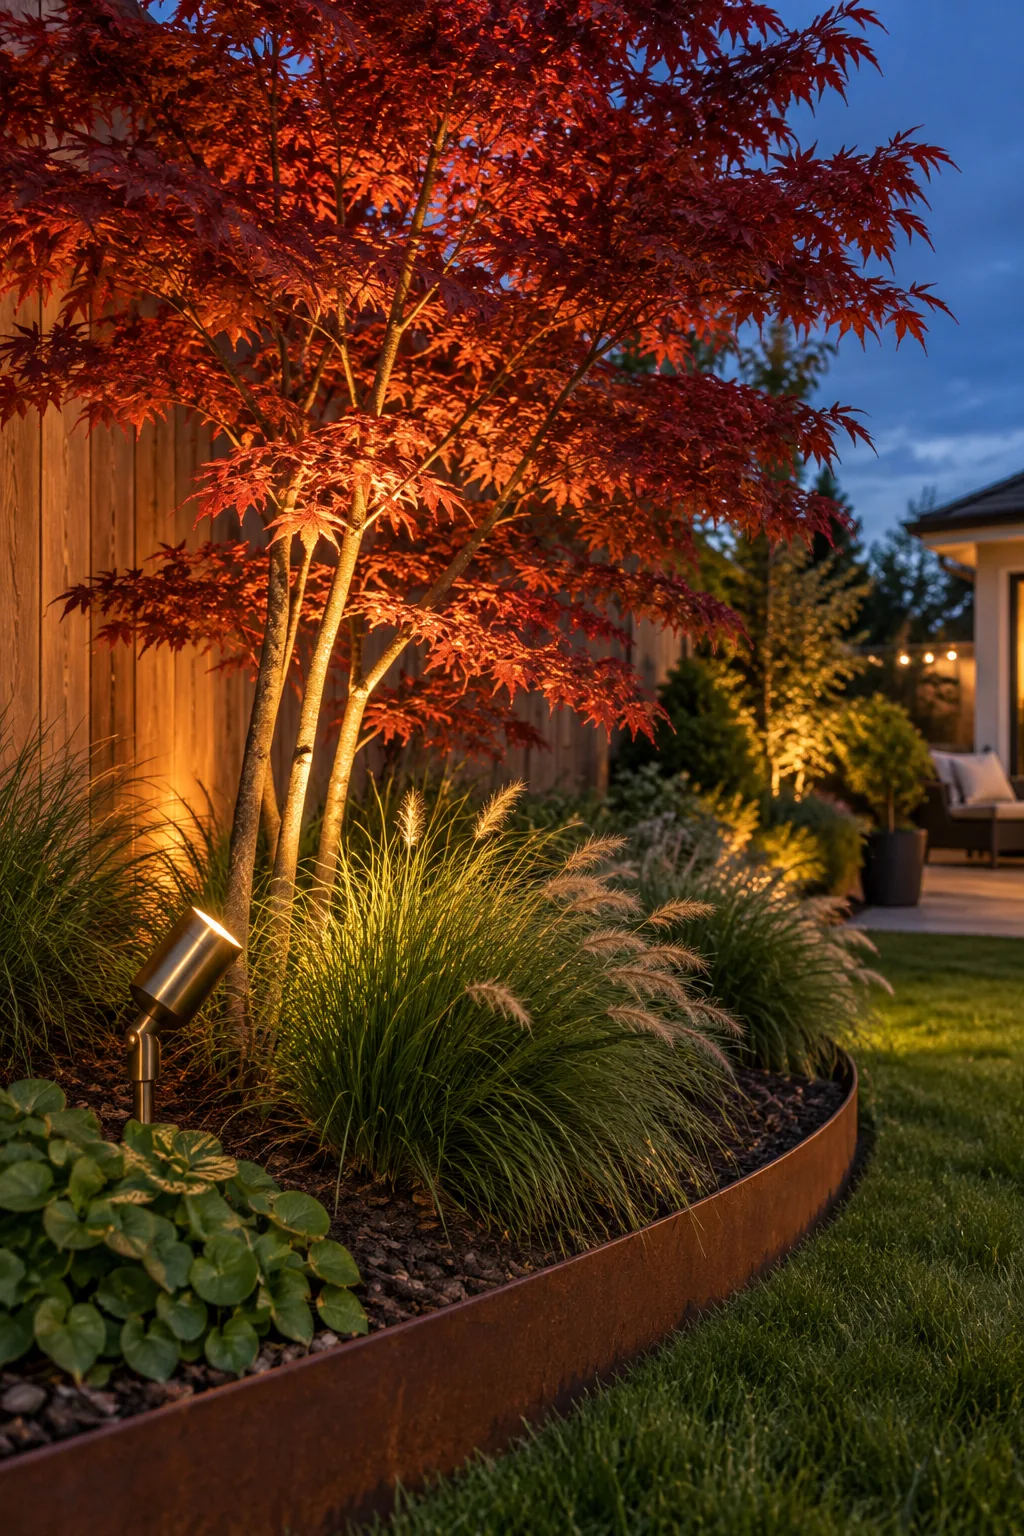
Angling the uplight fixture correctly ensures you illuminate the brilliant tree foliage rather than accidentally blinding guests on the patio or shining harsh, disruptive beams directly into your neighbor’s bedroom windows.
Hiding the Lighting Cables
Leaving low-voltage lighting wires exposed on the surface looks incredibly messy and invites accidental, frustrating cuts from sharp garden trowels. Trenching the main electrical cable four inches below the soil line keeps the power supply completely invisible and safely protected beneath the future mulch layer.
Layering Mid-Height Shrubs
I used to skip the middle layer entirely, which left my yard looking like a messy collection of floating tree canopies and flat ground. Transitioning from the tree to the ground by planting evergreen shrubs creates a solid, grounding middle tier that anchors the design year-round.
Pruning for Density
Evergreen shrubs naturally become leggy and sparse if you simply let them grow wild without any intentional structural intervention. Lightly shearing the outer branch tips immediately after planting encourages rapid lateral branching, which forces the middle tier to fill in completely solid by next spring.
Massing Native Grasses
Planting a dense, uniform cluster of ornamental grasses introduces a striking modern texture block that contrasts beautifully with the structured evergreen shrubs behind it. Spacing the grass plugs exactly 18 inches apart ensures they merge into one continuous, solid block of texture as they mature.
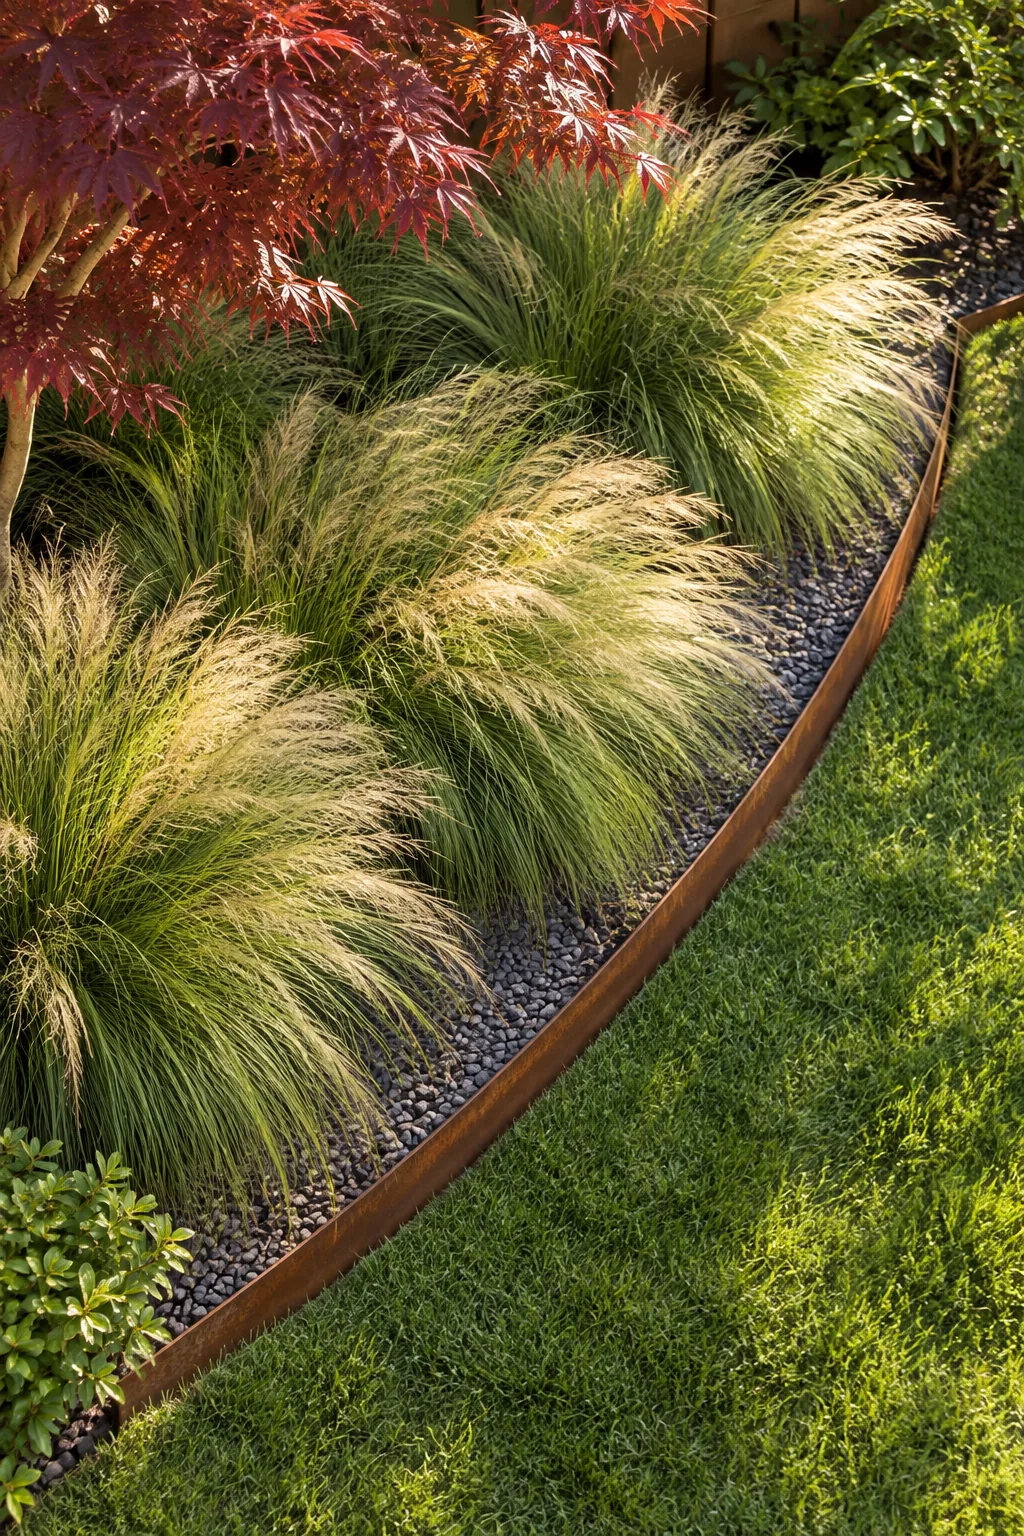
Keeping this specific spacing tight forces the individual root systems to weave together, creating a bold sweeping wave of green foliage that moves beautifully and organically in the afternoon breeze.
Managing Seasonal Grass Growth
Ornamental native grasses provide stunning winter interest when left standing, but they require a hard reset to maintain their vibrant modern appearance. Shearing the dried clumps down to three inches above the soil line in early spring guarantees a fresh, uniform flush of healthy green foliage.
Groundcover to Suppress Weeds
Utilizing creeping perennials near the front borders quickly forms a dense living mulch that chokes out weeds and softens the harsh hardscape transition. Space these low-growing plants 12 inches apart so their root systems interlock and cover the bare soil before invasive weed seeds can take hold.
Watering the Front Border
Creeping groundcovers possess incredibly shallow root systems that dry out rapidly during their first intensely hot summer in the ground. Running a dedicated half-inch drip irrigation line specifically along the front border ensures these delicate perennials receive consistent, gentle moisture without encouraging destructive fungal diseases.
Defining the Sweeping Arc
Using a flexible heavy-duty garden hose is the absolute easiest way to map out a smooth, continuous curve that defines the clean front edge of the bed. Ensure the bed reaches a maximum depth of 72 inches at its center apex to allow enough room for layered planting.
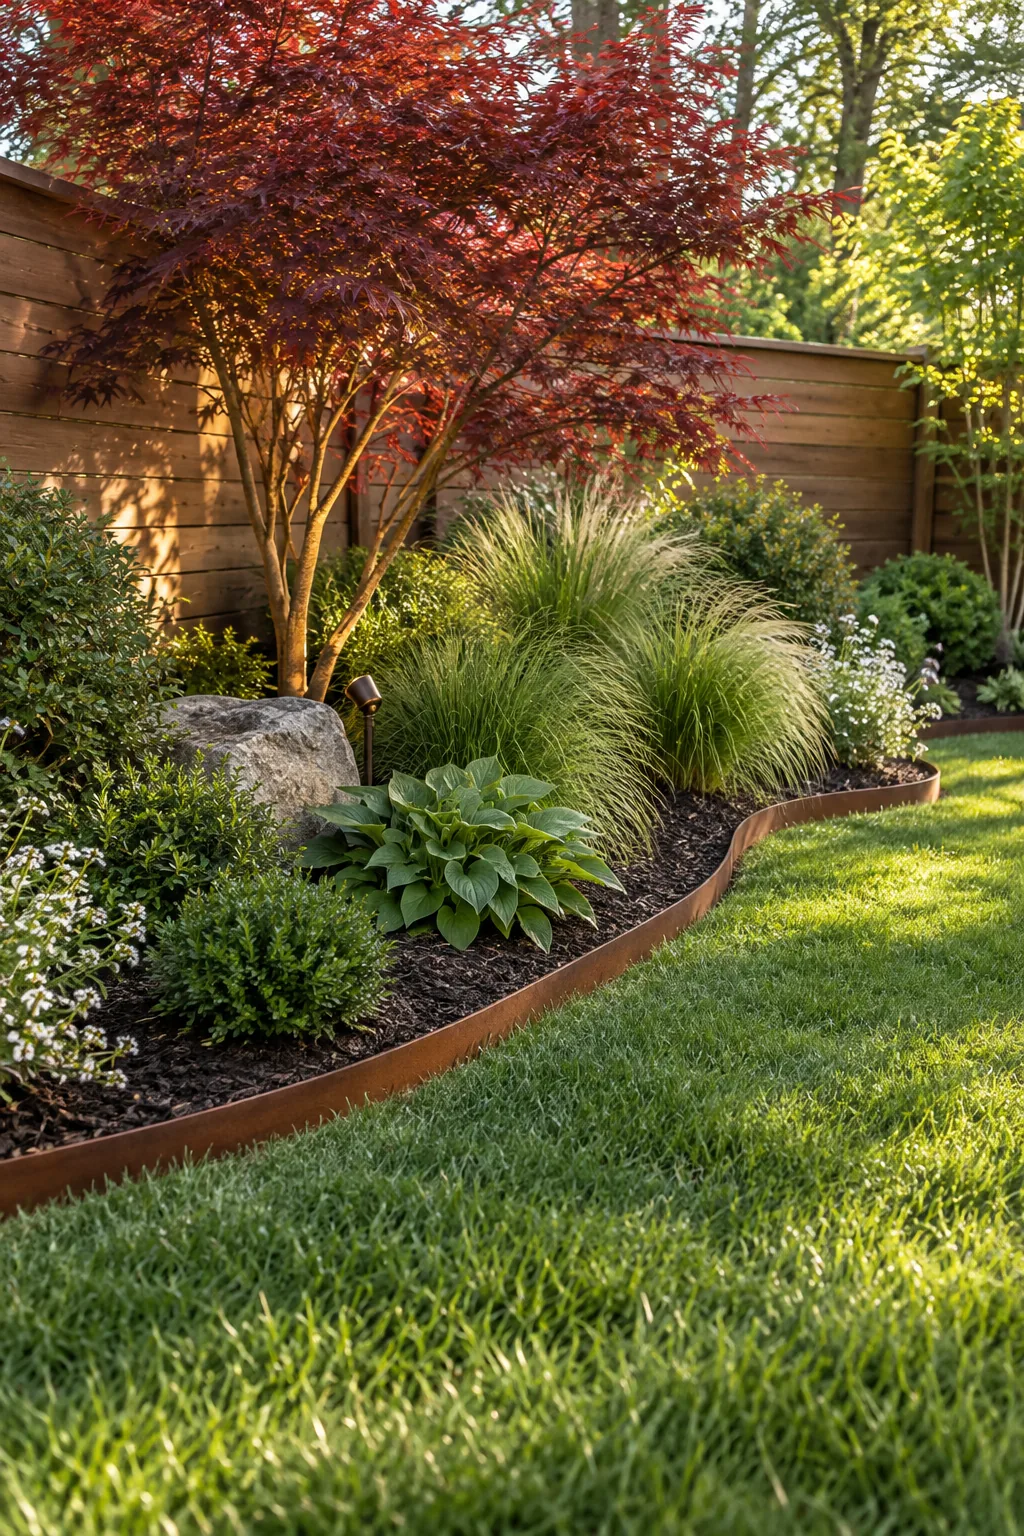
Step back onto your patio or walkway to view the marked hose line from multiple daily angles, adjusting the sweep until the curve feels entirely natural and perfectly proportional.
Testing the Mower Path
A beautifully curved garden bed quickly becomes a frustrating weekly chore if the arc is simply too tight for your standard lawn equipment. Pushing your lawnmower along the marked hose line before you dig ensures the sweeping curve allows for smooth, continuous turning without awkward reversing.
Installing Crisp Steel Edging
Installing 4-inch corten steel edging permanently separates the bed from the lawn, creating a crisp, modern boundary that stops aggressive grass runners from invading your groundcover. Bury the steel border deeply so only 1 inch remains above the soil line, maintaining a sleek profile that won’t trip up the mower.
Securing the Edging Stakes
Winter frost heave and heavy seasonal spring rains can easily push poorly installed metal edging right out of the softened ground. Hammering the included steel anchor stakes at alternating 45-degree angles locks the corten border permanently into the dense subsoil so it never leans or shifts.
Selecting the Perfect Mulch
Applying a generous two-inch layer of dark shredded bark mulch unifies the entire corner design while drastically reducing punishing summer soil evaporation. Keeping this protective mulch layer pulled slightly away from the individual plant stems prevents dangerous crown rot and deters destructive chewing insects.
Corner Layout and Spacing Guide
Following this complete spacing blueprint ensures every plant tier has enough room to reach its mature size without fiercely competing for water or light. Use these exact measurements as your master reference when plotting the bed depth and digging the individual planting holes.
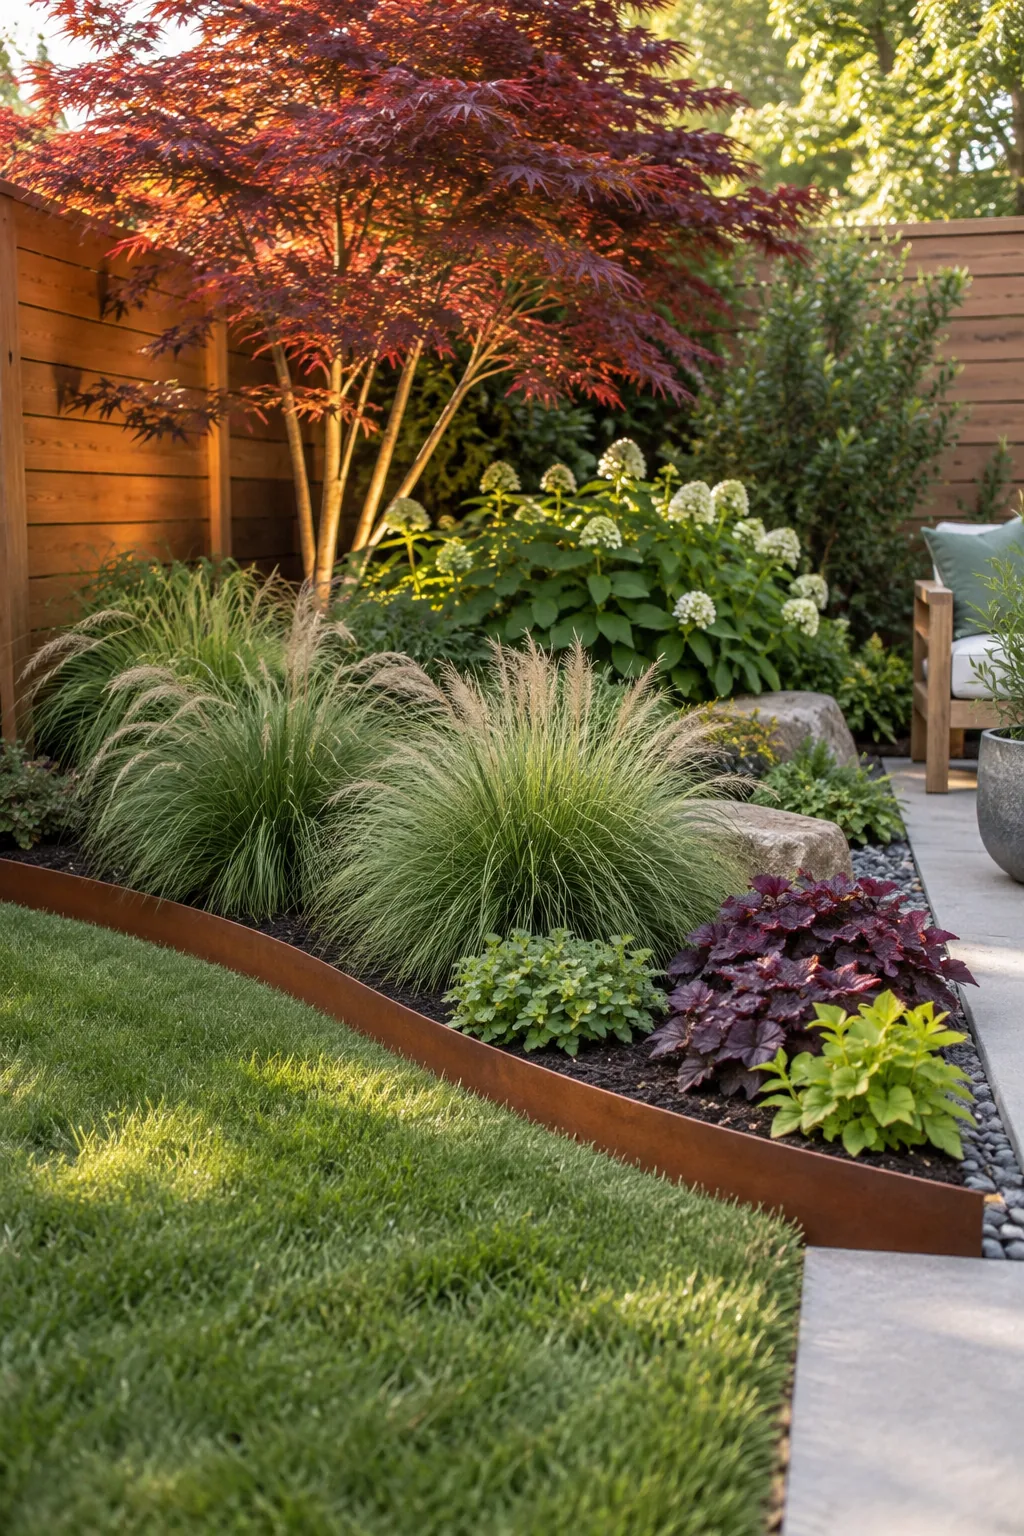
This compact reference chart breaks down the critical distances from the fence line and between individual root balls for a perfectly scaled corner garden.
| Garden Zone | Planting Element | Spacing Rule |
|---|---|---|
| Back Apex | Empty shadow gap | 18–24 inches from corner |
| Focal Point | Anchor tree trunk | 36–48 inches from panels |
| Middle Tier | Evergreen shrubs | 24–30 inches apart |
| Texture Block | Ornamental grasses | 18 inches apart |
| Front Border | Creeping groundcover | 12 inches apart |
| Lawn Edge | Maximum bed depth | 72 inches at center arc |
Before you finalize the planting layout and roll out the heavy bark mulch, run through these essential measurements to ensure your corner garden will thrive.
More Corner Garden Styles to Try
Find the perfect plant palette and hardscape combination for your yard's unique aesthetic.
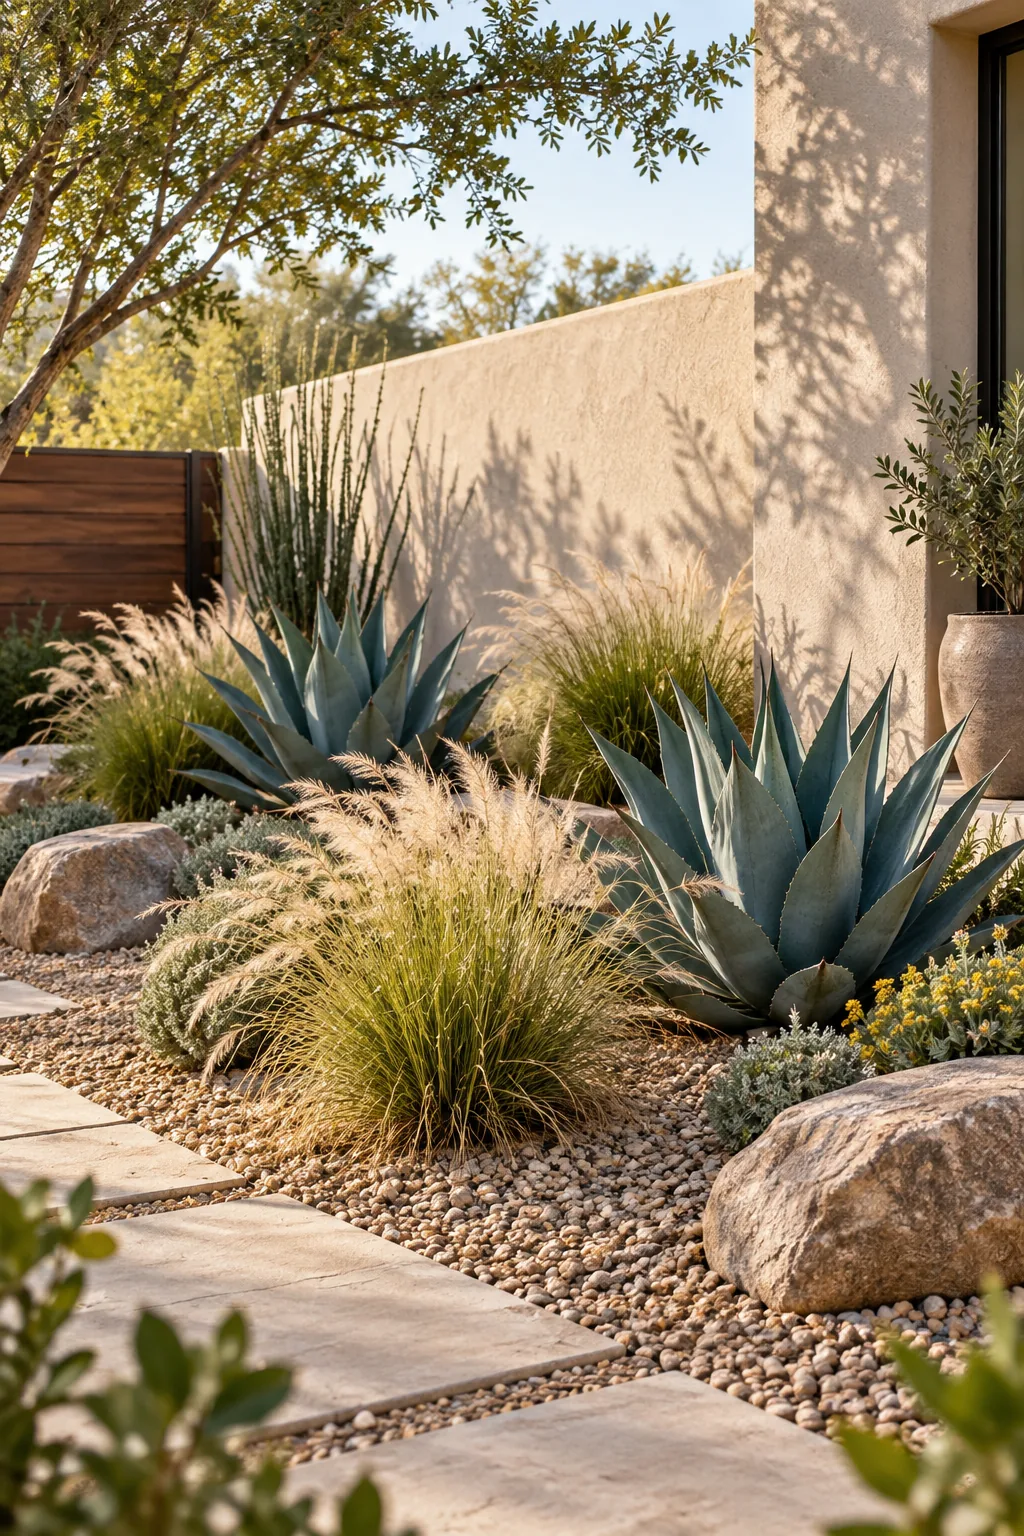
Desert Modern Gravel Corner: Swap mulch for crushed gravel and use structural agaves to create a low-maintenance, drought-tolerant desert aesthetic.
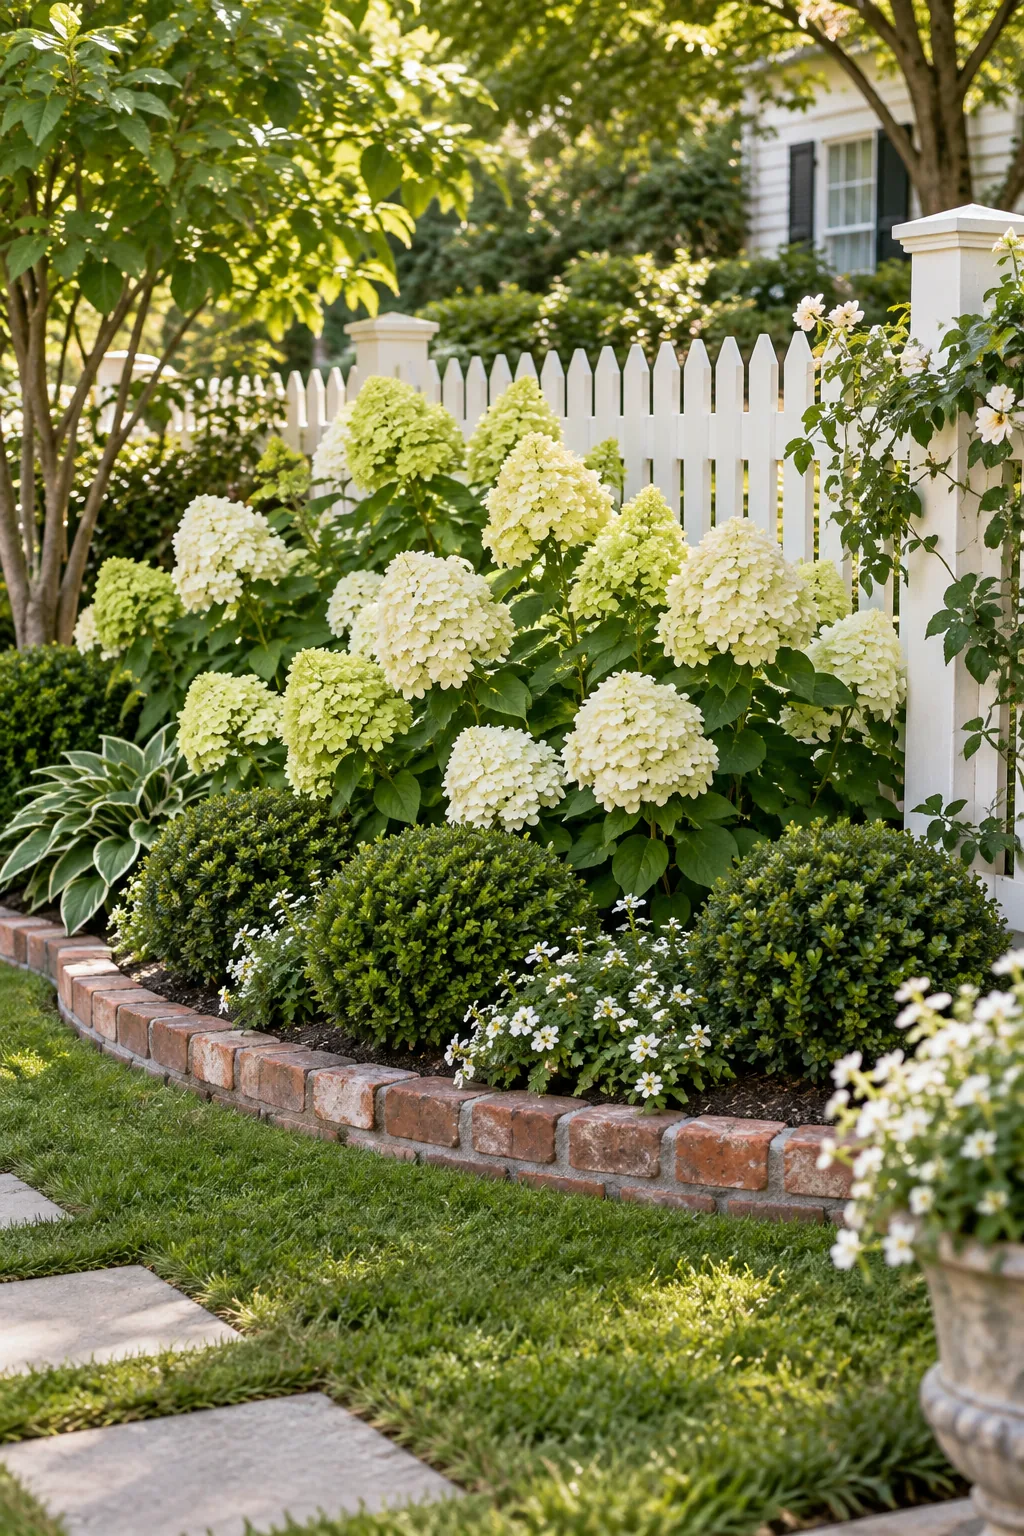
Cottage Hydrangea Nook: Layer voluminous hydrangeas behind neat boxwood spheres and classic brick edging for a romantic, traditional cottage feel.
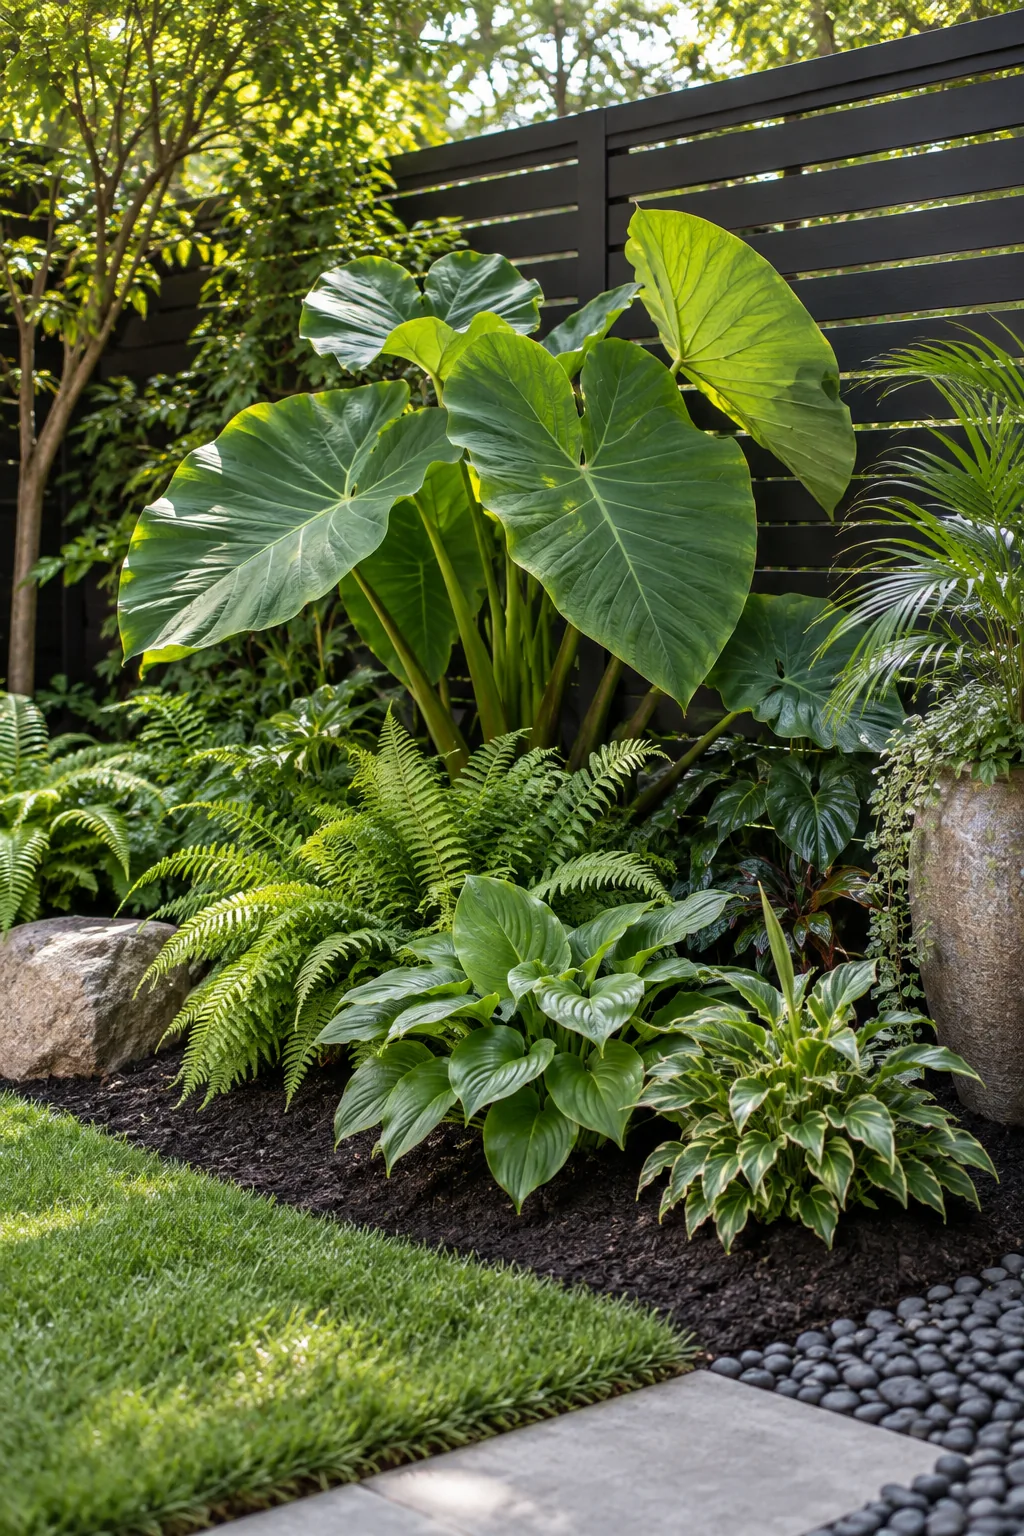
Tropical Shade Oasis: Embrace a dark, moody backdrop with a black slatted fence to make the vibrant green of oversized tropical foliage pop.
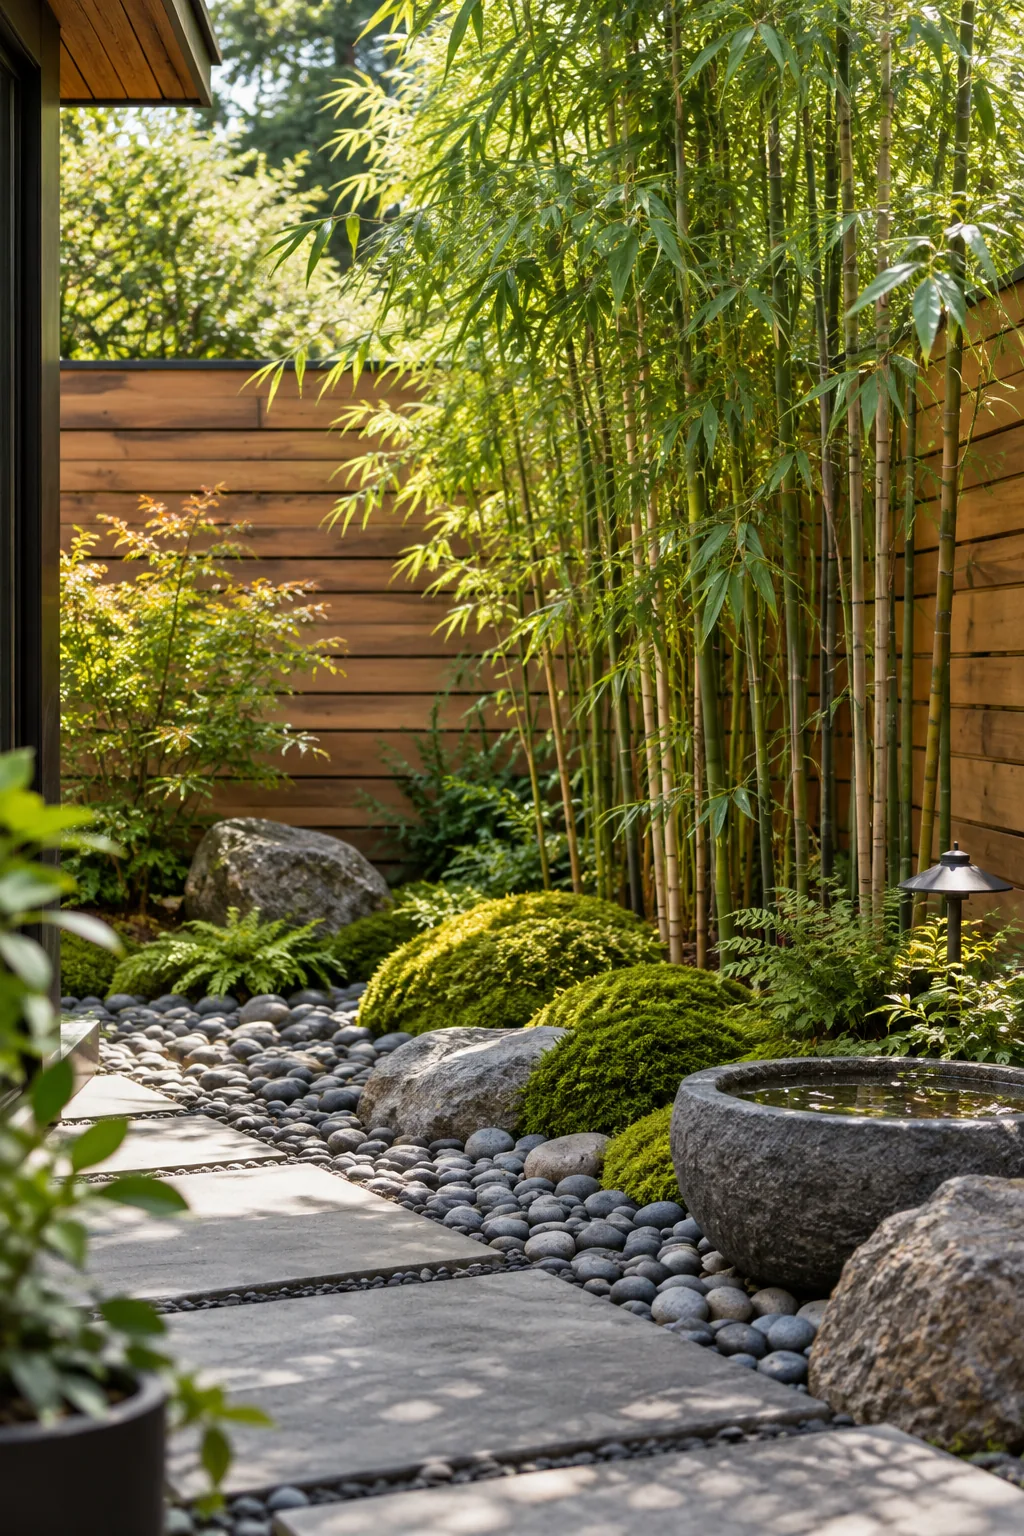
Minimalist Zen Garden: Keep the palette incredibly restrained with simple clumping bamboo, smooth river rocks, and soft moss mounds for quiet reflection.
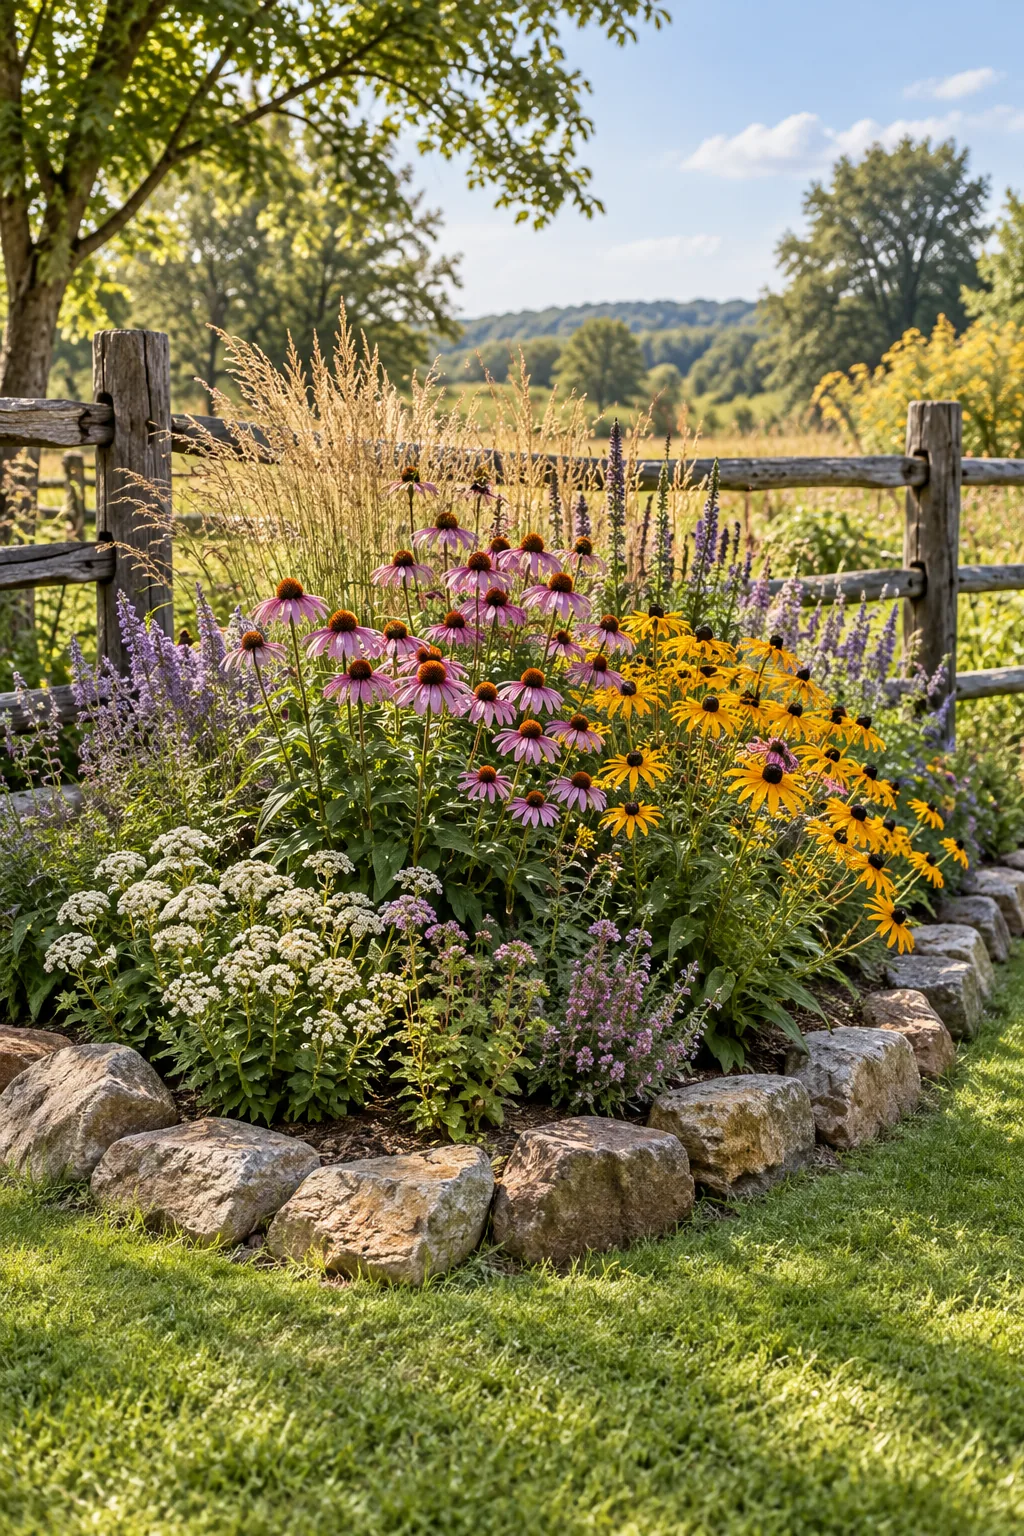
Pollinator Prairie Wedge: Fill the sweeping arc with a wild, dense mix of native coneflowers and black-eyed Susans to attract local butterflies.