
Small Modern Bathroom: Hidden Luxury Details & Dimensions
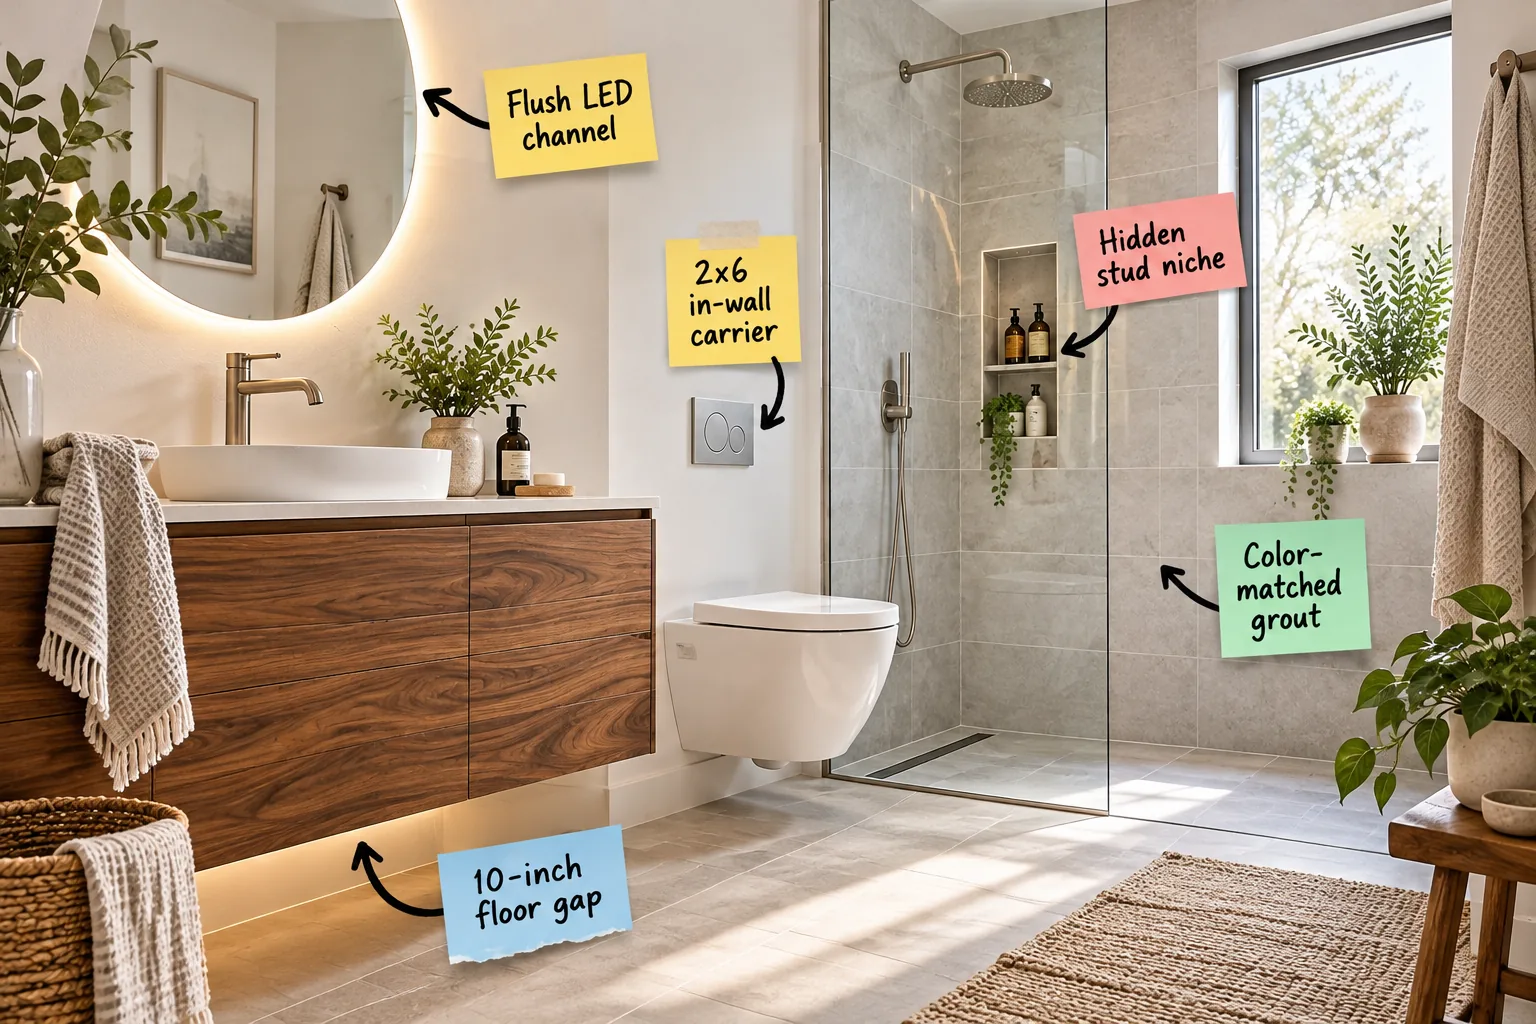
You can make a compact bathroom feel like a high-end spa once you have the exact framing depths and clearances to guide your layout. Grab this hidden dimension cheat sheet so you can hand your contractor the precise measurements needed to build these space-saving luxury features.
Backlit Mirrors for Ambient Depth
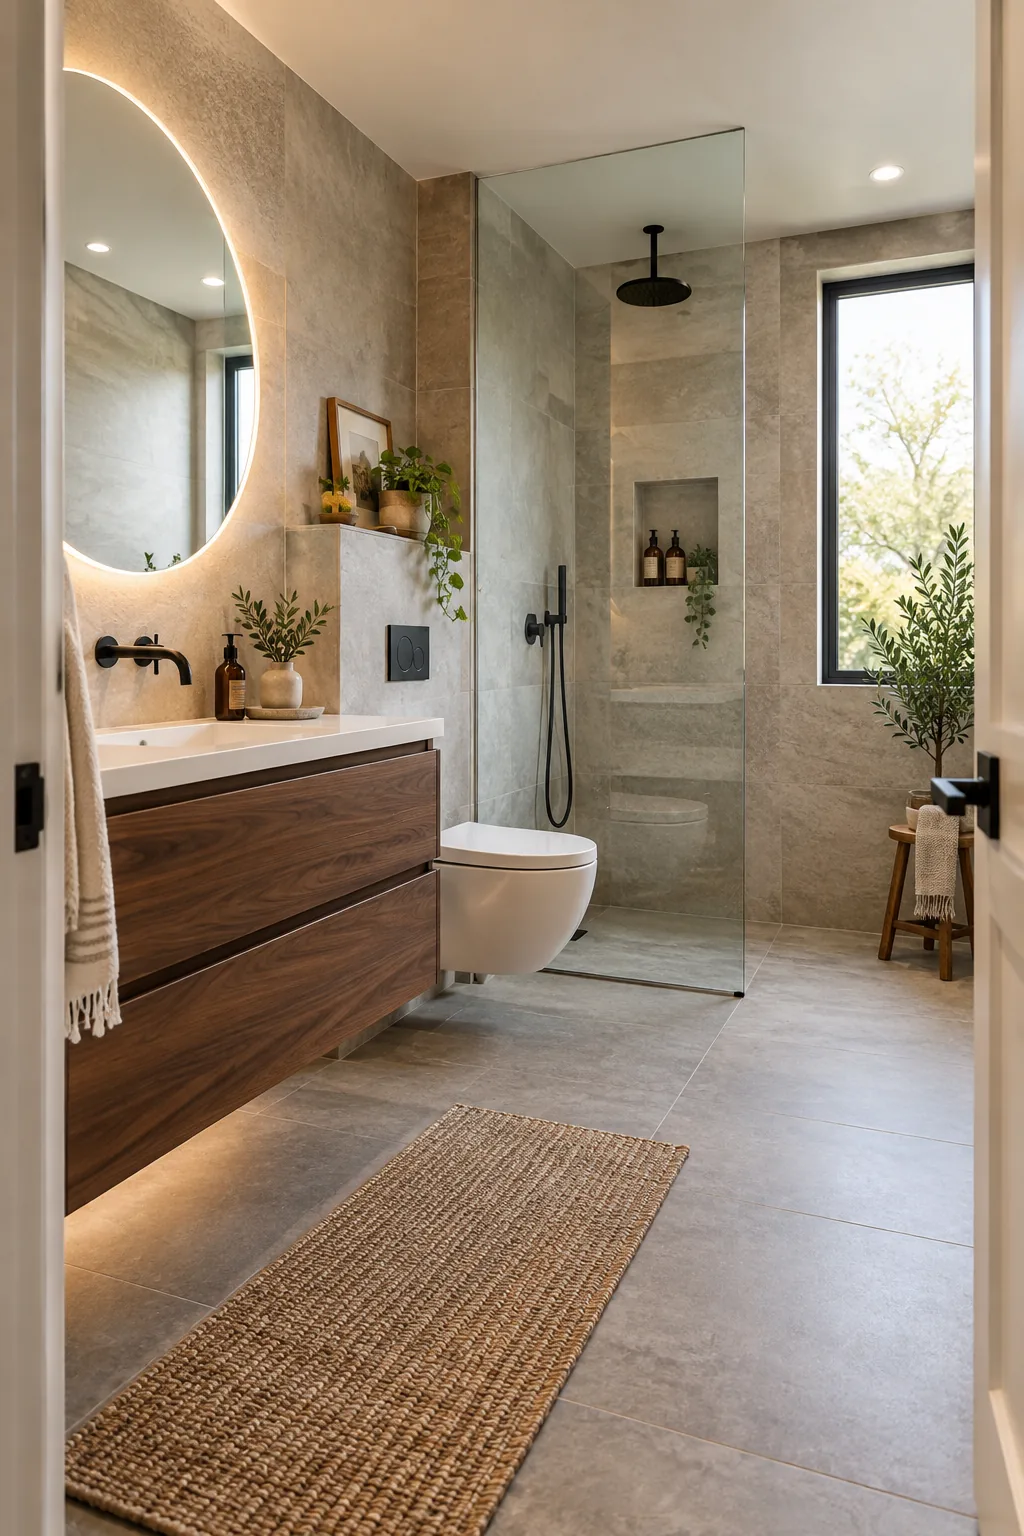
A flush LED channel hidden behind the mirror washes the wall in soft, shadow-free lighting that visually pushes the boundary backward. Specifying a standard 3000K color temperature provides a natural, flattering glow for daily routines without overwhelming a tight space.
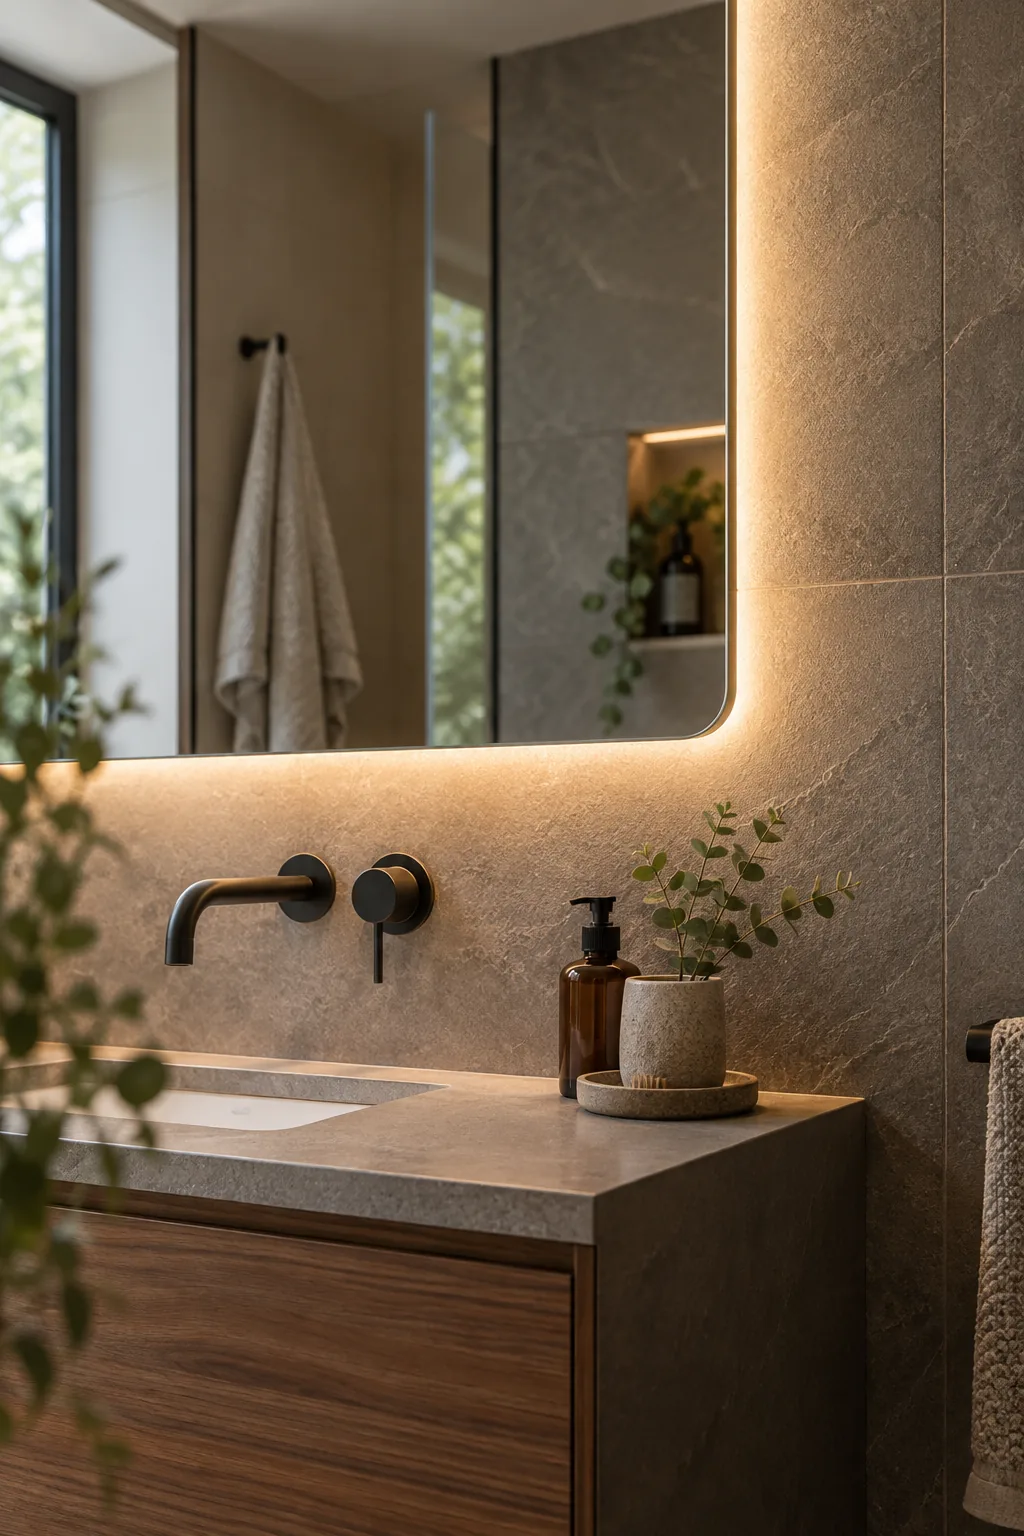
Operating this accent lighting on a separate dimmer switch gives you complete control over the room’s atmosphere. You can keep the overhead lights off during late-night visits to maintain a calm, restful environment.
Balancing Symmetry at the Sink
Eastern design principles teach us that visual balance creates a calming environment, which is vital in a small bathroom. Centering the sink and mirror exactly between the side walls anchors the room and establishes a clear focal point upon entry.
Selecting a High-Contrast Countertop
Pairing a warm wood vanity with a crisp white quartz countertop creates a striking horizontal line that defines the vanity zone. This sharp contrast draws the eye upward, shifting focus away from the limited square footage of the floor.
Maximizing Vanity Drawer Storage
Designing the floating vanity with deep, U-shaped drawers maximizes storage by wrapping around the central plumbing trap. Custom acrylic dividers keep cosmetics and daily grooming tools perfectly organized so the countertop remains completely clear of clutter.
Selecting a Wall-Mounted Faucet
Mounting the sink faucet directly to the wall frees up valuable inches on the vanity countertop. This wall-mounted configuration makes wiping down the quartz surface effortless since there is no base plate or handle to clean around.
Floating the Vanity for Visual Space
Leaving a 10-inch floor gap beneath a floating walnut vanity provides essential standing clearance for your feet. In my own Denver home, floating the cabinet instantly cured the heavy, cramped feeling of our narrow guest bath.
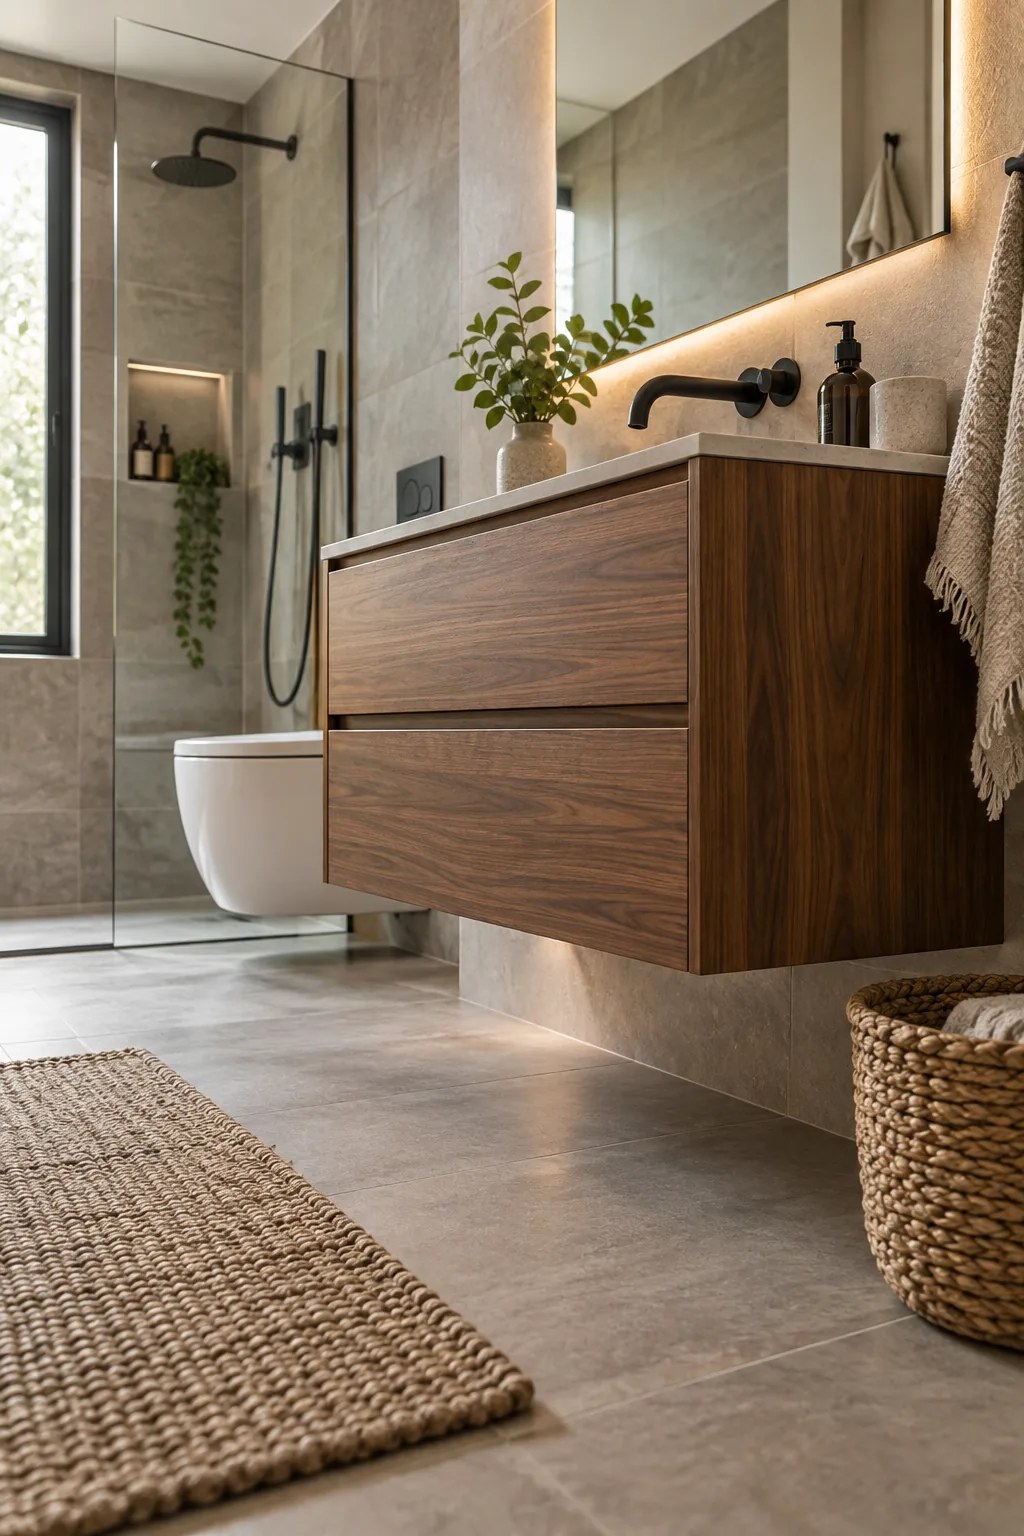
Hiding the sink plumbing inside the wall rather than running it through the floor is critical for this floating effect. Ensure your contractor routes the P-trap directly backward into the framing to keep the space underneath completely clear.
Concealing the Tank in the Wall
Installing a 2×6 in-wall carrier for a wall-hung toilet hides the bulky tank and saves up to 9 inches of crucial floor space. I always use this trick in historic remodels because reclaiming those few inches often makes the difference in meeting strict clearance codes.
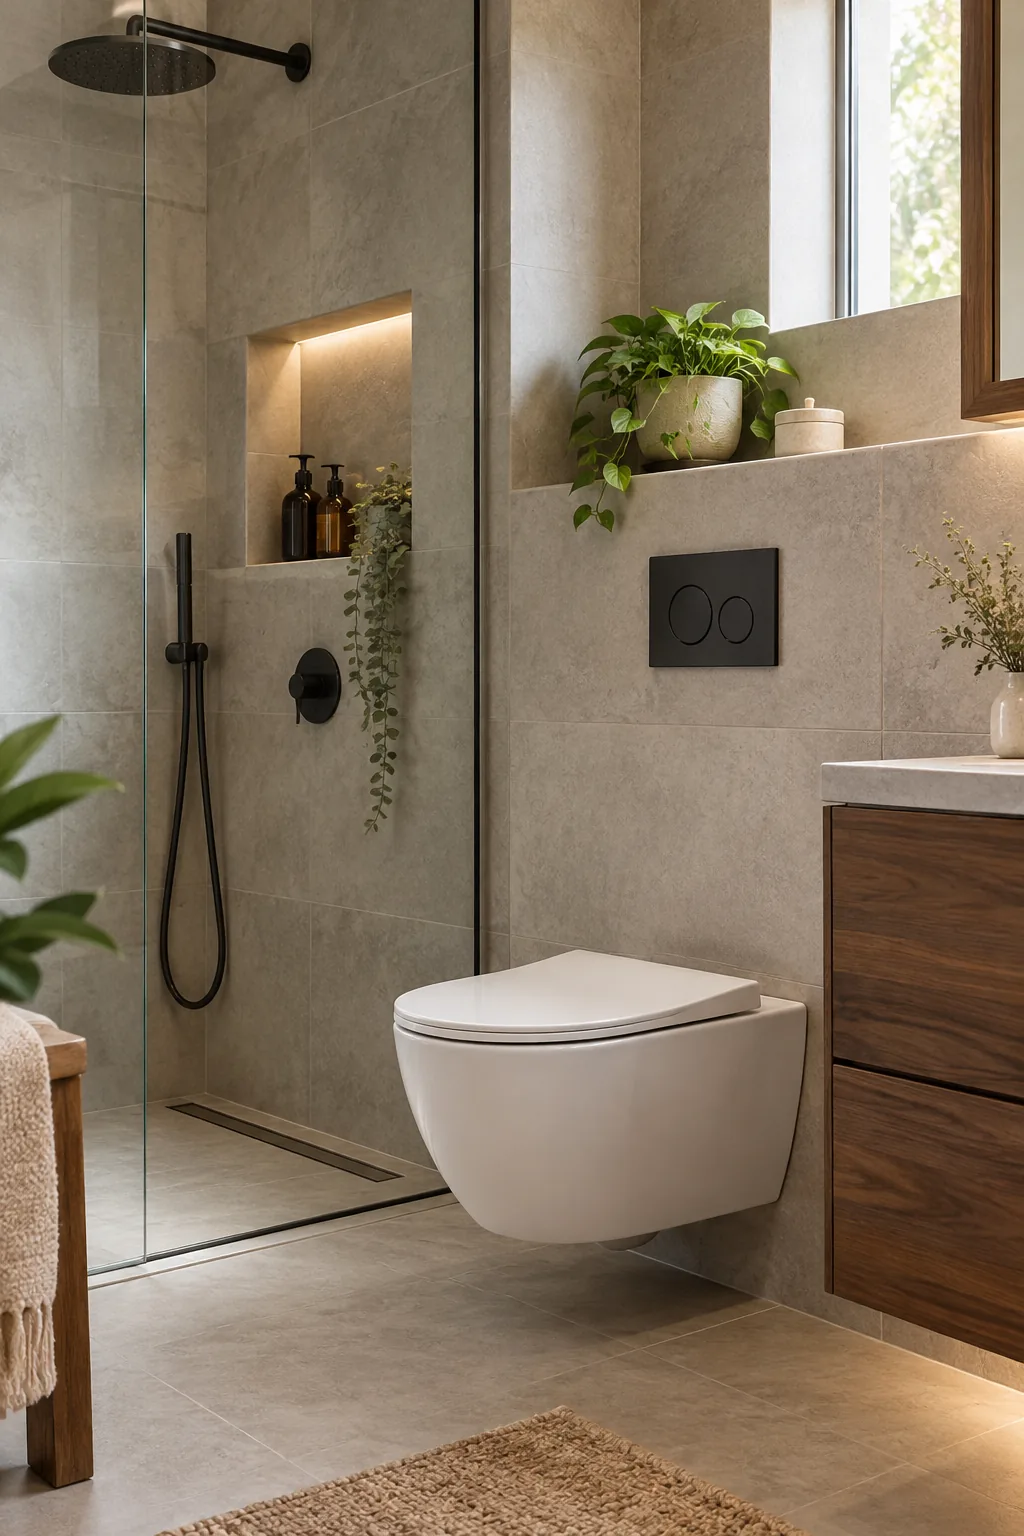
While in-wall carriers save valuable square footage, improper framing during the rough-in phase can ruin the installation. Watch out for these common structural missteps before the drywall goes up.
Choosing a Compact Toilet Bowl
Selecting a rounded or compact elongated bowl further maximizes the space saved by the hidden carrier system. A bowl projecting no more than 22 inches from the finished wall ensures comfortable passage toward the shower area.
Aligning the Flush Actuator
Positioning the flush plate exactly on center with the toilet bowl maintains the room’s strict structural symmetry. Choosing a minimalist metal actuator plate that matches your sink faucet finish ties the separate functional zones together.
Recessing the Shower Niche
A hidden stud niche built between standard 16-inch on-center framing keeps essentials accessible without eating into the shower footprint. Plan for a 12-inch finished interior height so you can comfortably store tall shampoo bottles out of the main sightline.
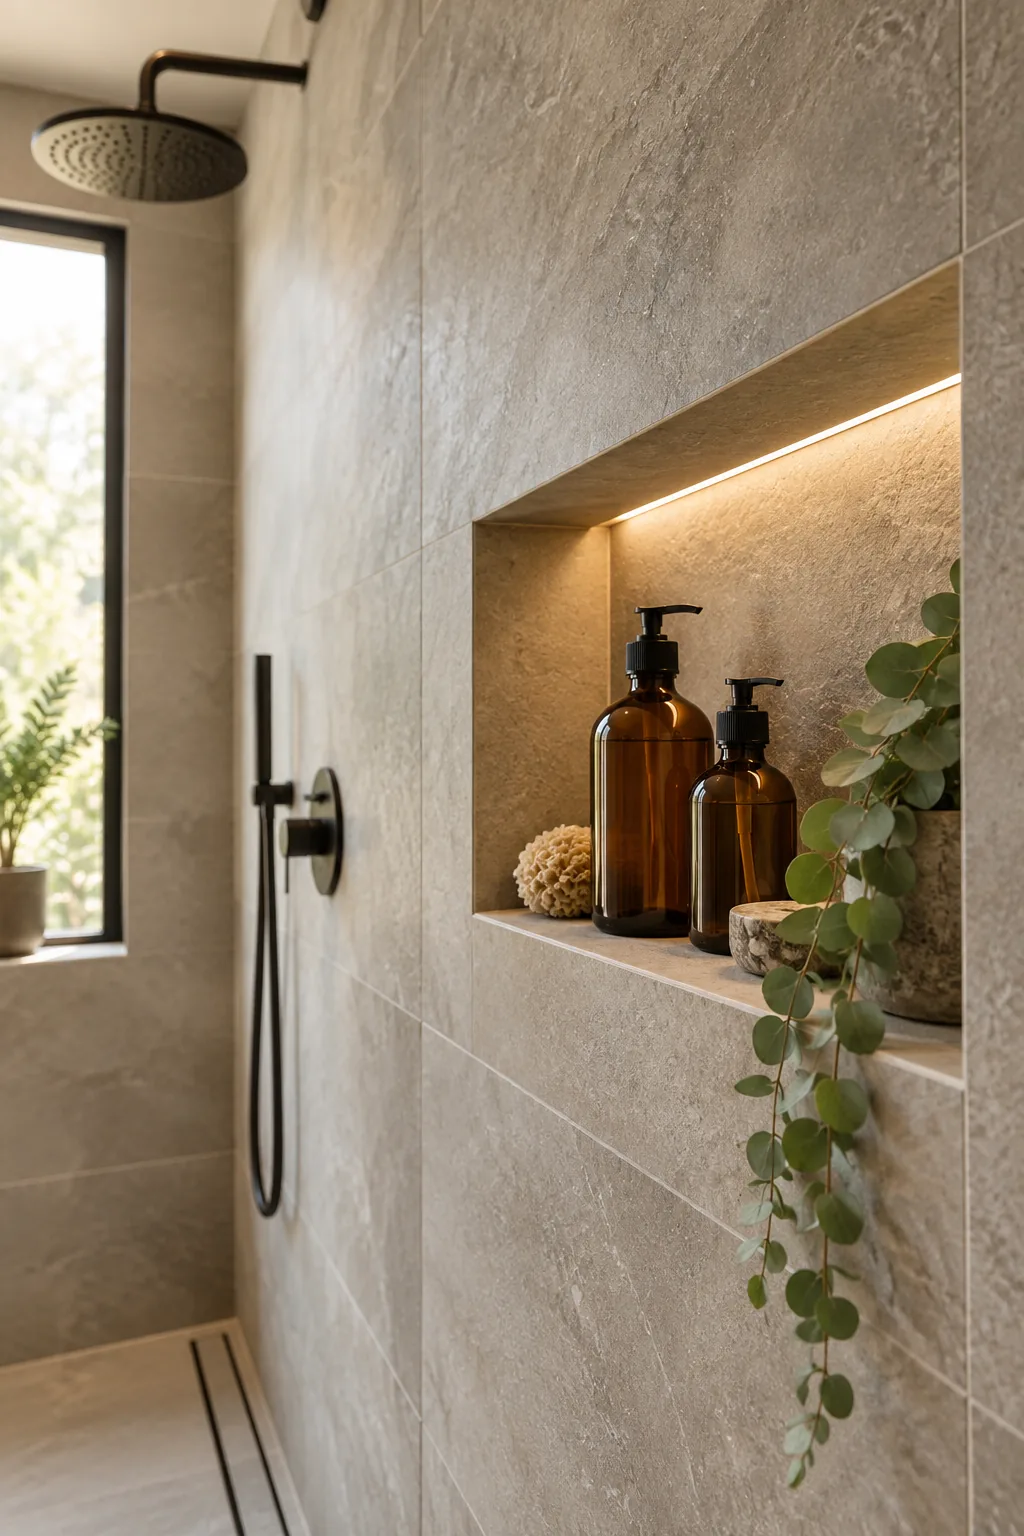
Pitching the bottom sill of the niche slightly forward ensures water drains back into the shower rather than pooling around your products. A solid piece of quartz for the sill creates a waterproof barrier that is much easier to wipe clean than mosaic grout lines.
Trimming the Niche Edges
Finishing the niche borders with a sleek metal profile rather than bulky bullnose tile preserves the modern, minimalist aesthetic. A slim Schluter edge in a brushed finish frames the recess cleanly while protecting the delicate tile corners from chipping.
Unifying the Walls with Matched Grout
Using color-matched grout with large format tiles creates a seamless, monolithic surface that visually expands the shower enclosure. I always specify a tight 1/16-inch grout line in my projects because it reduces visual clutter and allows the beautiful tile pattern to take center stage.
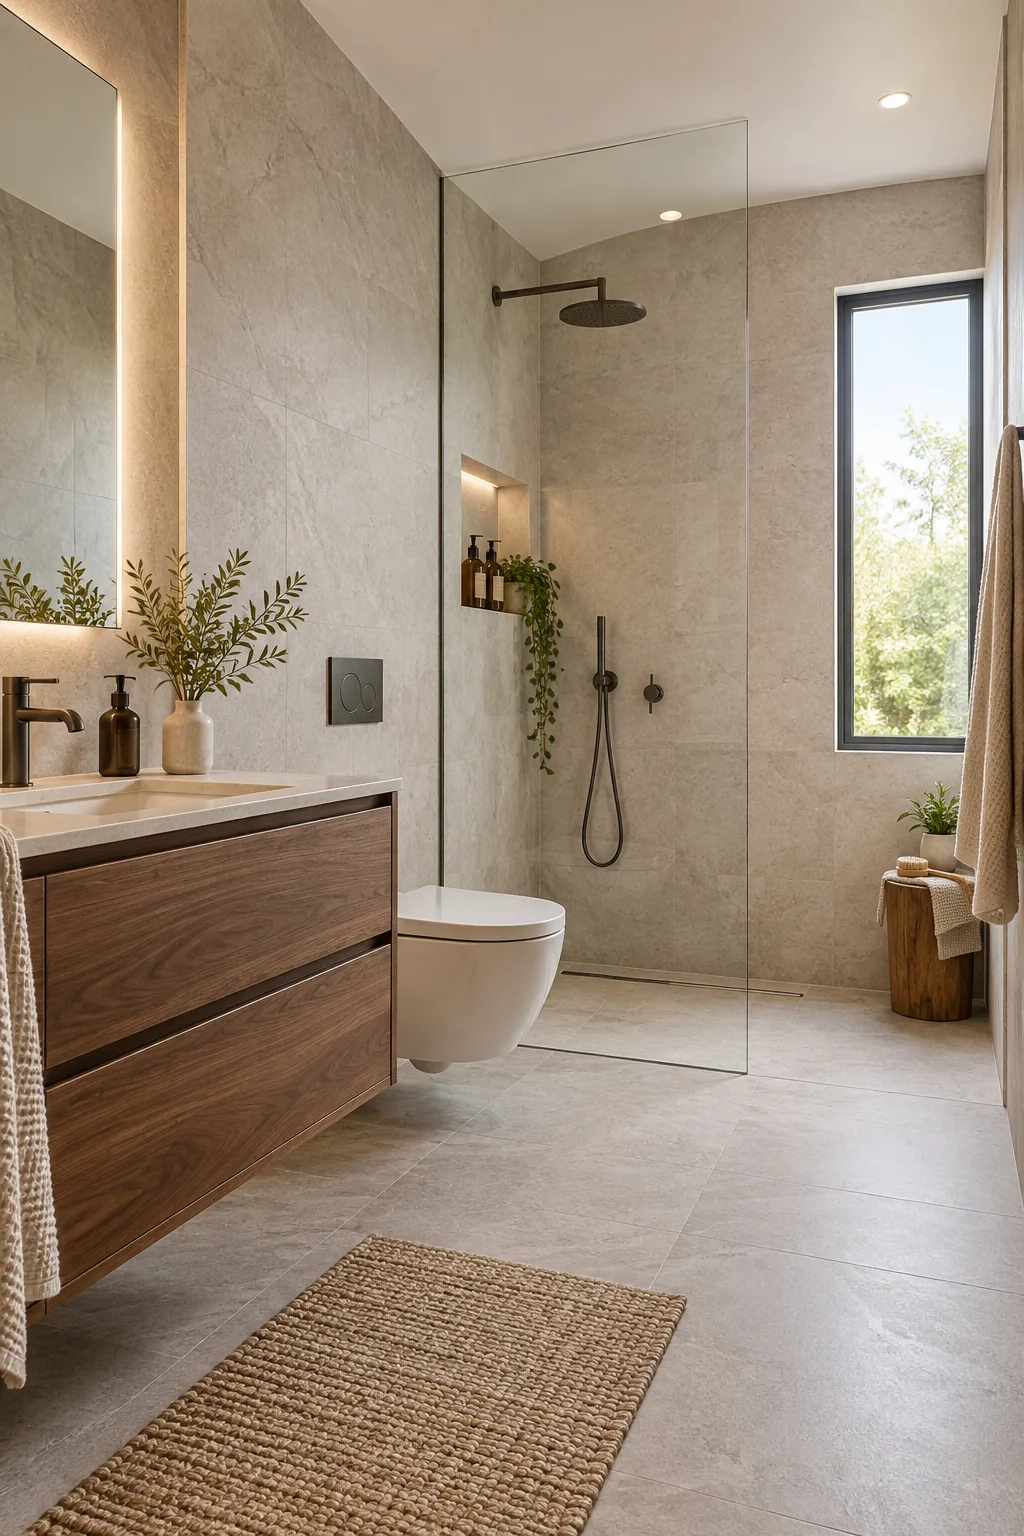
Applying a high-quality penetrating sealer to these minimal joints protects the uniform color from fading or staining over time. Resealing the grout annually ensures your carefully matched walls remain pristine and hygienic.
Scaling the Wall Tile
Installing oversized 24×48-inch porcelain tiles dramatically reduces the number of visible grout joints on the walls. Fewer intersecting lines create a calm, uninterrupted background that allows the vanity and fixtures to stand out as sculptural elements.
Eliminating the Shower Curb
Sloping the floor uniformly toward a linear drain allows for a completely curbless shower that removes visual barriers in a small footprint. When I removed the curb in my own primary suite, the continuous floor tile immediately made the entire room feel twice as deep.
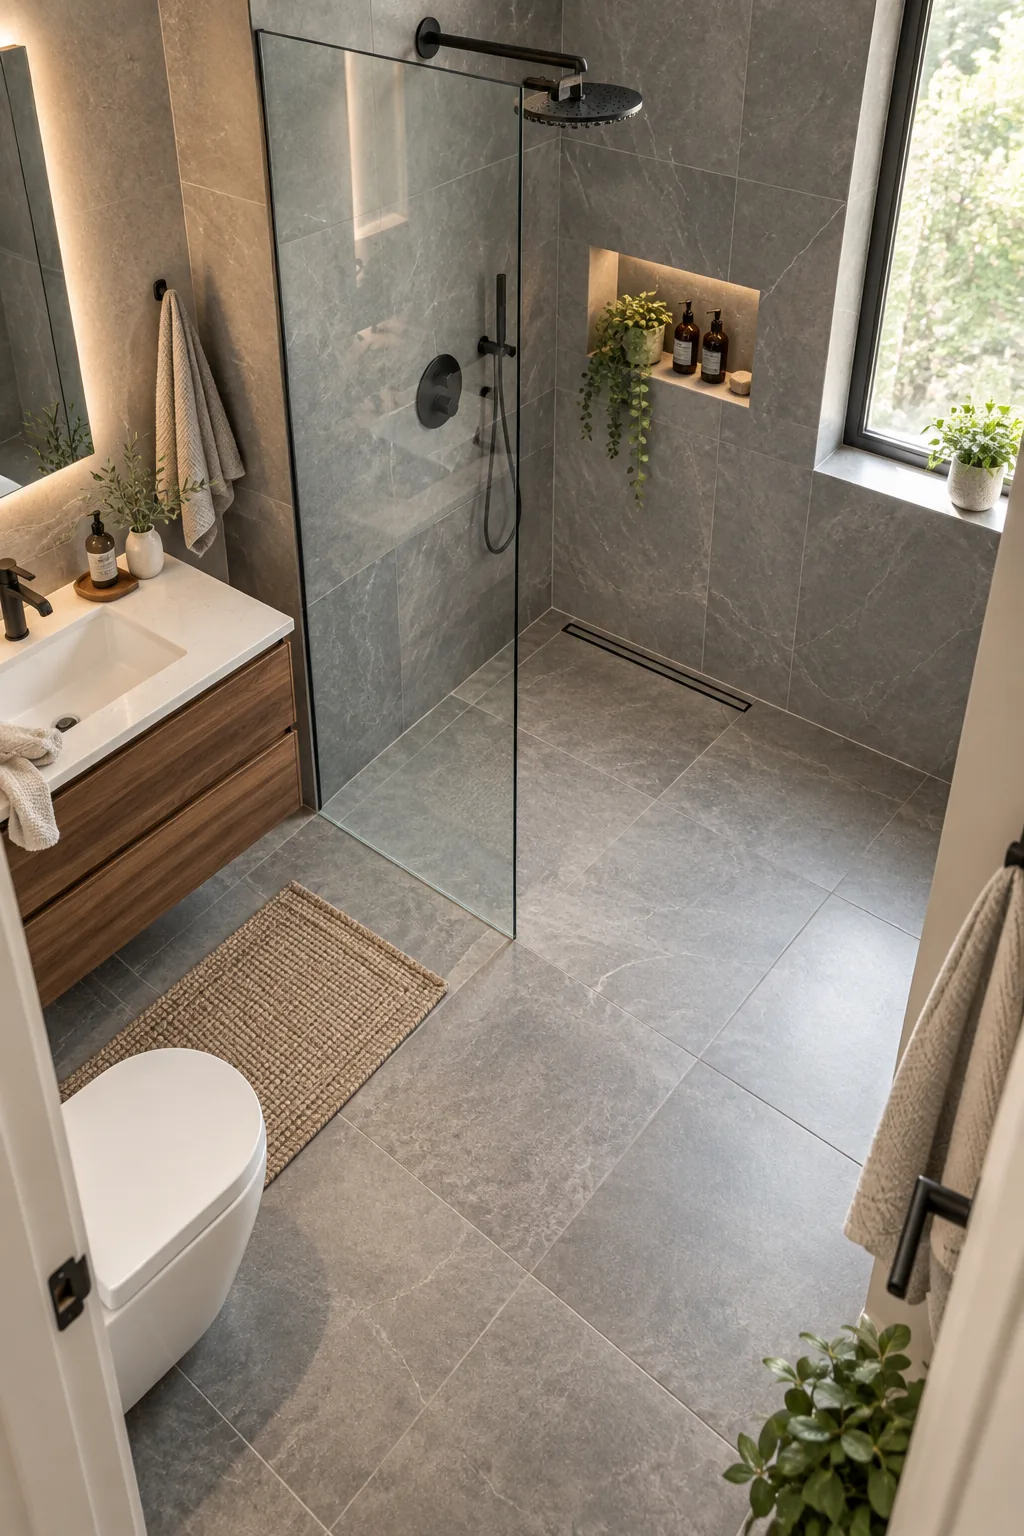
Removing the shower curb creates a sleek, unbroken sightline, but it changes how the room handles water. You must adjust your moisture barrier strategy to protect the surrounding subfloor.
Pitching the Shower Floor
A curbless design requires a precise, single-plane slope dropping a quarter inch per foot toward the drain. This gentle pitch ensures rapid water evacuation while remaining comfortable underfoot and fully accessible for universal design needs.
Integrating a Linear Drain
Tucking a slim linear drain against the back wall of the shower creates a seamless look that does not interrupt the floor tile pattern. This placement allows the large format floor tiles to run continuously from the vanity straight into the shower.
Choosing the Floor Tile Material
Selecting a matte porcelain tile for the main floor provides essential slip resistance in a wet environment. Porcelain is incredibly dense and non-porous, making it the ideal durable surface for a heavily used luxury bathroom.
Installing Radiant Floor Heating
Placing an electric radiant heating mat beneath the floor tile adds an invisible layer of luxury that transforms cold mornings. A programmable thermostat ensures the floor reaches a comfortable temperature exactly when you step out of the shower.
Sizing the Fixed Glass Panel
Installing a frameless fixed glass panel keeps the space open and airy while eliminating the awkward swing of a traditional shower door. I recommend a minimum 36-inch width to effectively contain splashes without visually chopping the room in half.
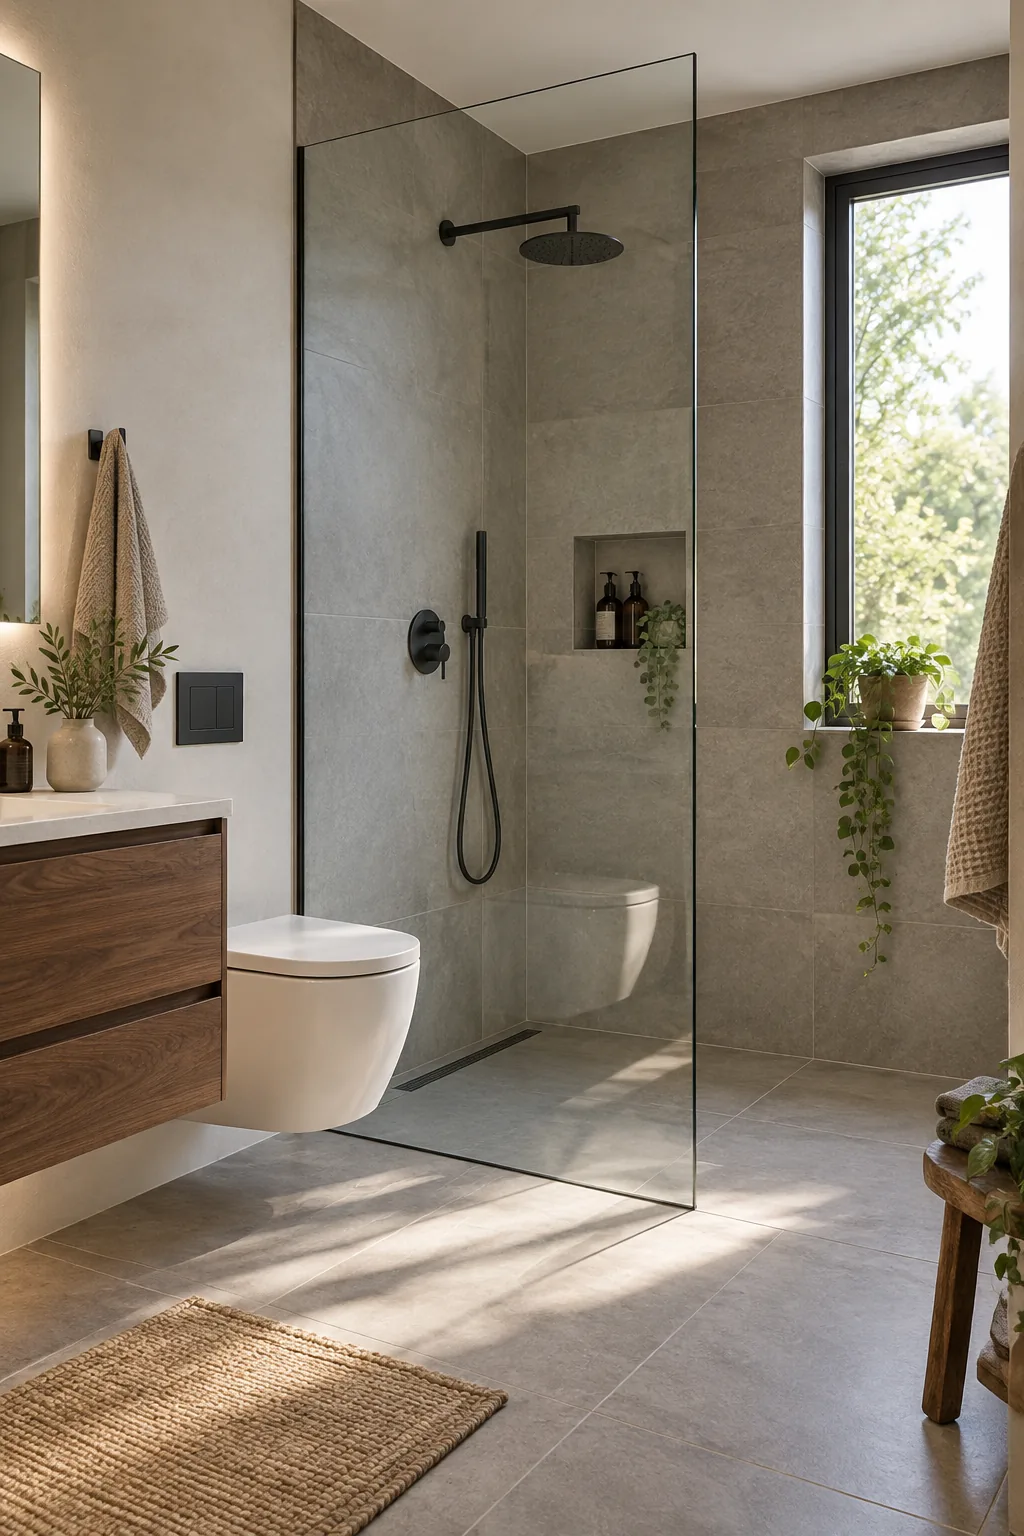
Treating the interior side of the glass with a permanent hydrophobic coating prevents hard water spots from etching the surface. This invisible barrier forces water to bead up and roll off, drastically reducing the time spent squeegeeing after every shower.
Supporting the Glass Partition
Securing the heavy glass panel requires structural blocking hidden behind the wall tile during the framing phase. Driving heavy-duty mounting clips directly into a solid wood stud guarantees the partition will never sag or shift out of plumb over time.
Positioning the Shower Controls
Placing the shower valve on the wall opposite the showerhead allows you to turn on the water without getting wet. This smart ergonomic placement ensures you can easily adjust the temperature before stepping fully into the enclosure.
Adding a Handheld Shower Wand
Including a secondary handheld shower wand on a sliding vertical bar adds immense flexibility for rinsing off or cleaning the enclosure. Positioning it near the built-in niche ensures the hose hangs neatly without tangling around the primary fixtures.
Planning the Bathroom Ventilation
A powerful, ultra-quiet exhaust fan is critical in a small bathroom to prevent moisture buildup on the glass and mirrors. Placing the vent directly above the shower zone captures steam at the source before it can migrate across the ceiling.
Strategizing the Lighting Zones
By layering multiple light sources, you can change the bathroom’s mood from bright and energetic to a relaxed spa atmosphere. Follow a specific sequence to ensure every functional area receives adequate illumination without creating harsh glare.
- Task lighting: Install the backlit mirror first to provide clear illumination for the sink area.
- Ambient lighting: Add dimmable recessed ceiling cans to wash the main floor space in soft light.
- Wet zone lighting: Place a waterproof, vapor-tight fixture directly over the shower to brighten the dark enclosure.
Selecting Minimalist Hardware
Streamlined faucets and towel hooks in a consistent brushed nickel finish prevent small spaces from feeling visually chaotic. Mounting the towel hooks on the wall immediately outside the shower reach keeps fabrics dry while maintaining a clean, uncluttered profile.
Harmonizing the Material Palette
Limiting the bathroom to just three core materials—warm walnut, matte white porcelain, and brushed nickel—creates a cohesive, restful environment. Introducing too many colors or textures into a small footprint quickly makes the room feel busy and overwhelming.
The Small Bathroom Dimension Cheat Sheet
Having exact framing depths and clearances on hand empowers you to execute these hidden luxury details flawlessly. Use this dimension cheat sheet to verify your layout before construction begins.
| Feature | Required Dimension | Primary Benefit |
|---|---|---|
| Wall-Hung Toilet | 2×6 framing depth | Conceals the tank |
| Floating Vanity | 10-inch floor gap | Visual expansion |
| Stud Shower Niche | 14-inch interior width | Fits between studs |
| Fixed Glass Panel | 36-inch minimum width | Contains water splashes |
Reviewing these measurements with your installation team ensures everyone understands the structural requirements. Pinning down these critical dimensions early guarantees a smooth, predictable construction process without costly on-site modifications.
5 Ways to Style a Small Modern Bathroom
Explore how different material palettes can completely transform this compact luxury layout.
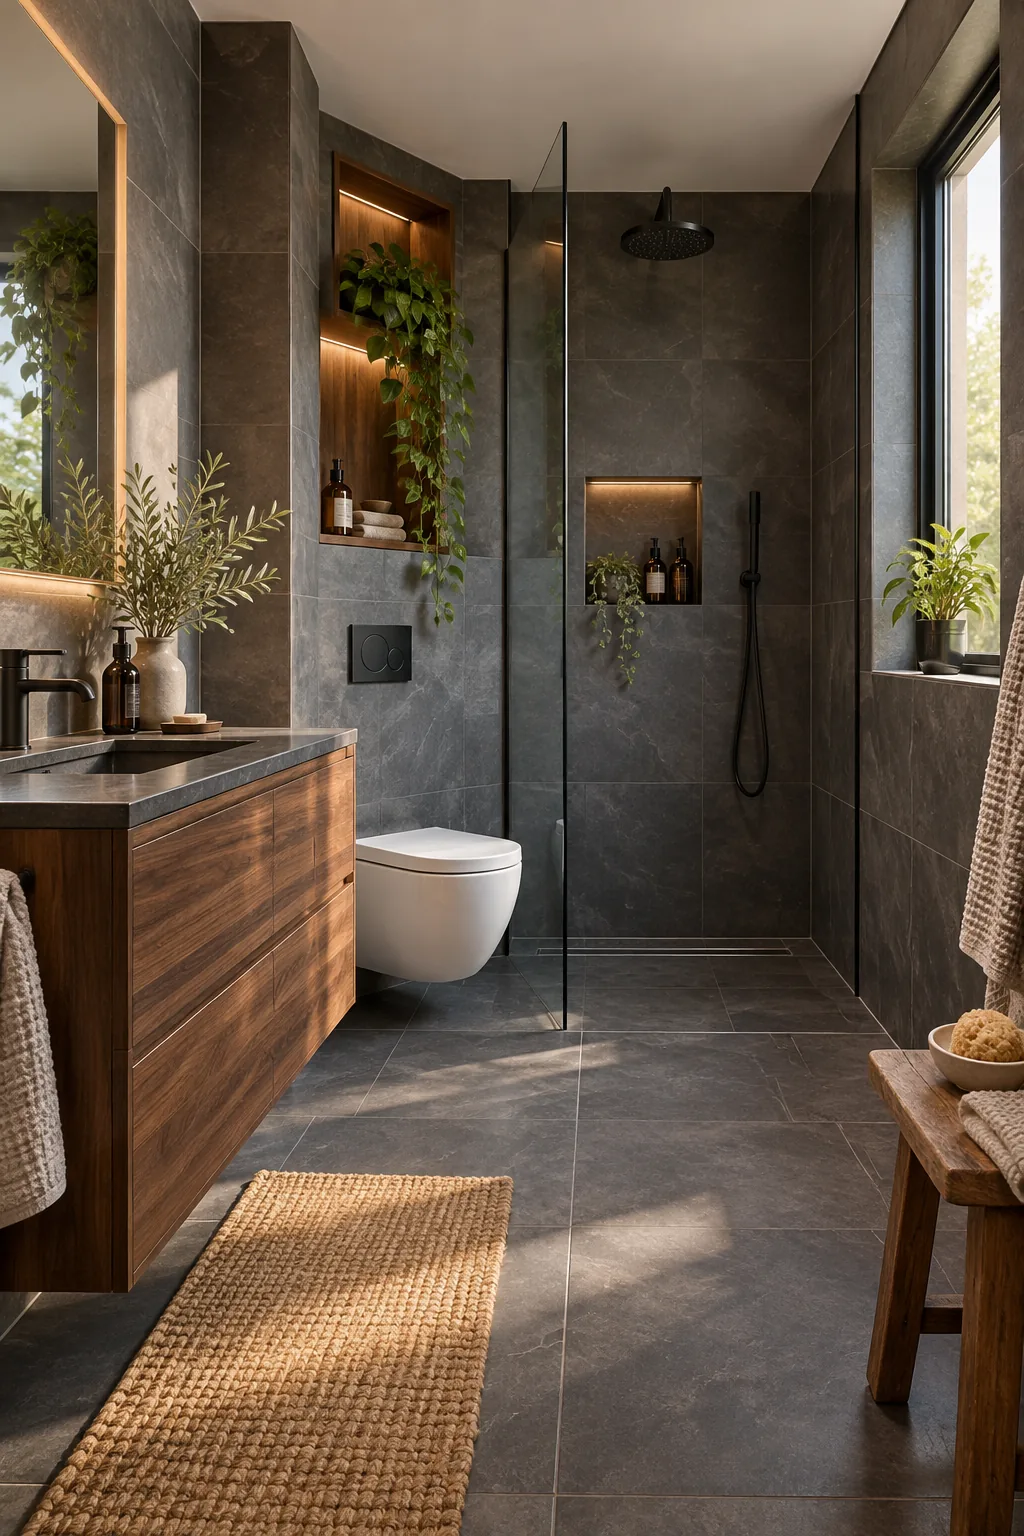
Moody Slate and Walnut: Dark slate tiles paired with rich walnut cabinetry create a sophisticated atmosphere. Use matte black fixtures to complete the upscale, masculine aesthetic.
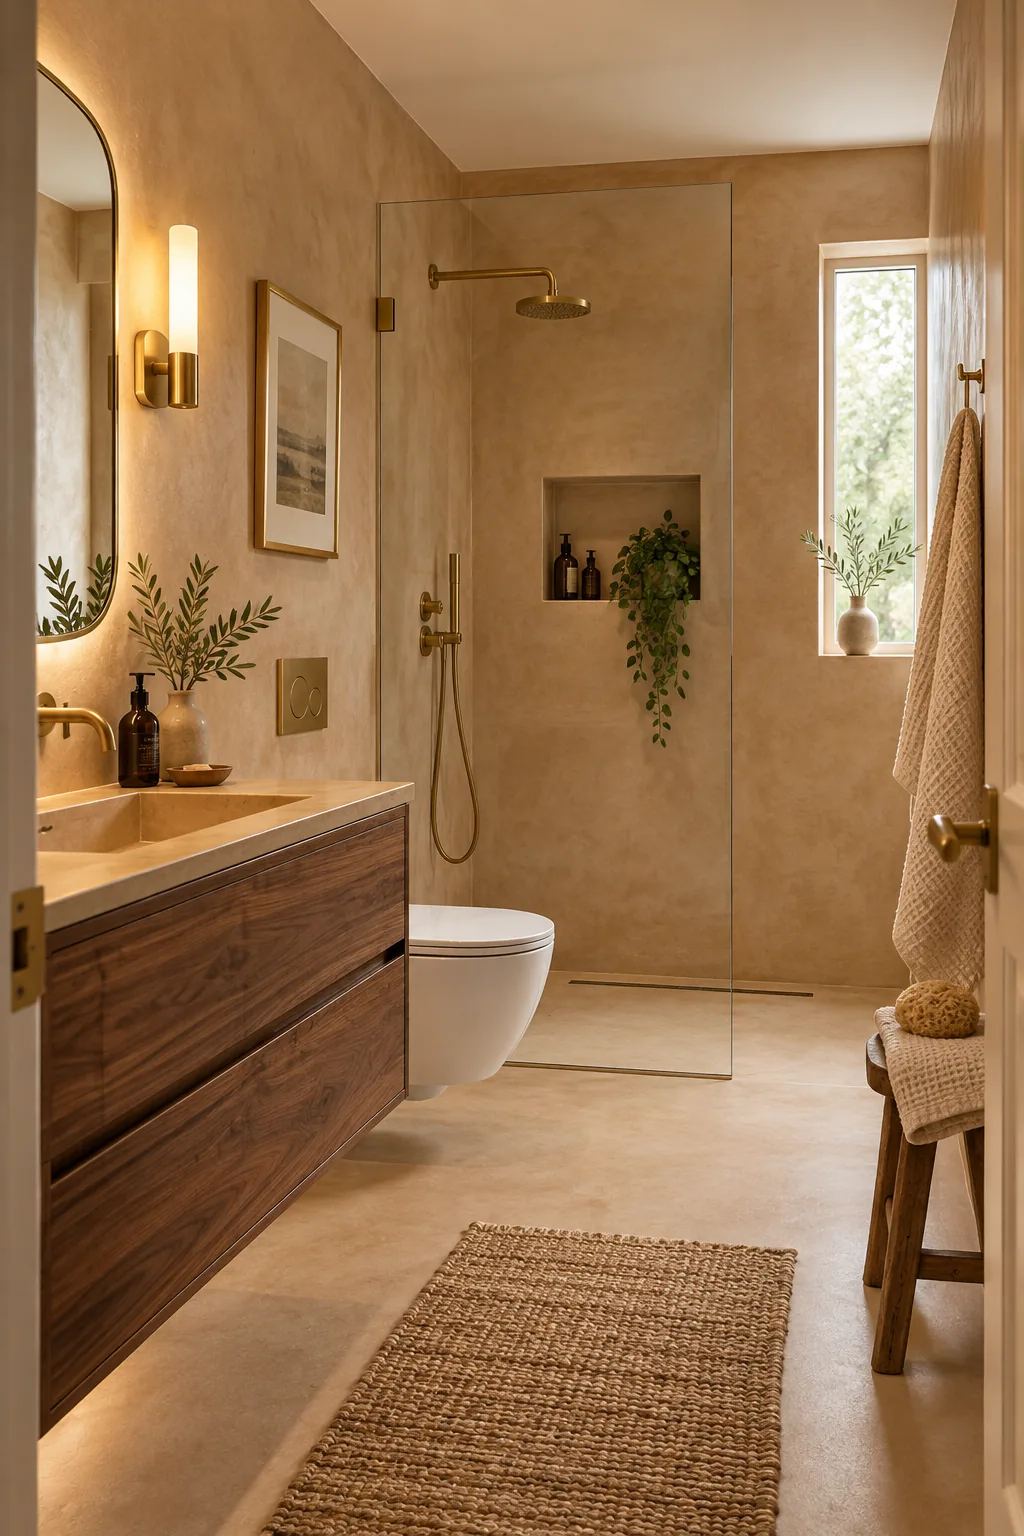
Warm Plaster and Brass: Tadelakt plaster walls offer a seamless, earthy alternative to tile. Warm unlacquered brass hardware will develop a beautiful natural patina over time.
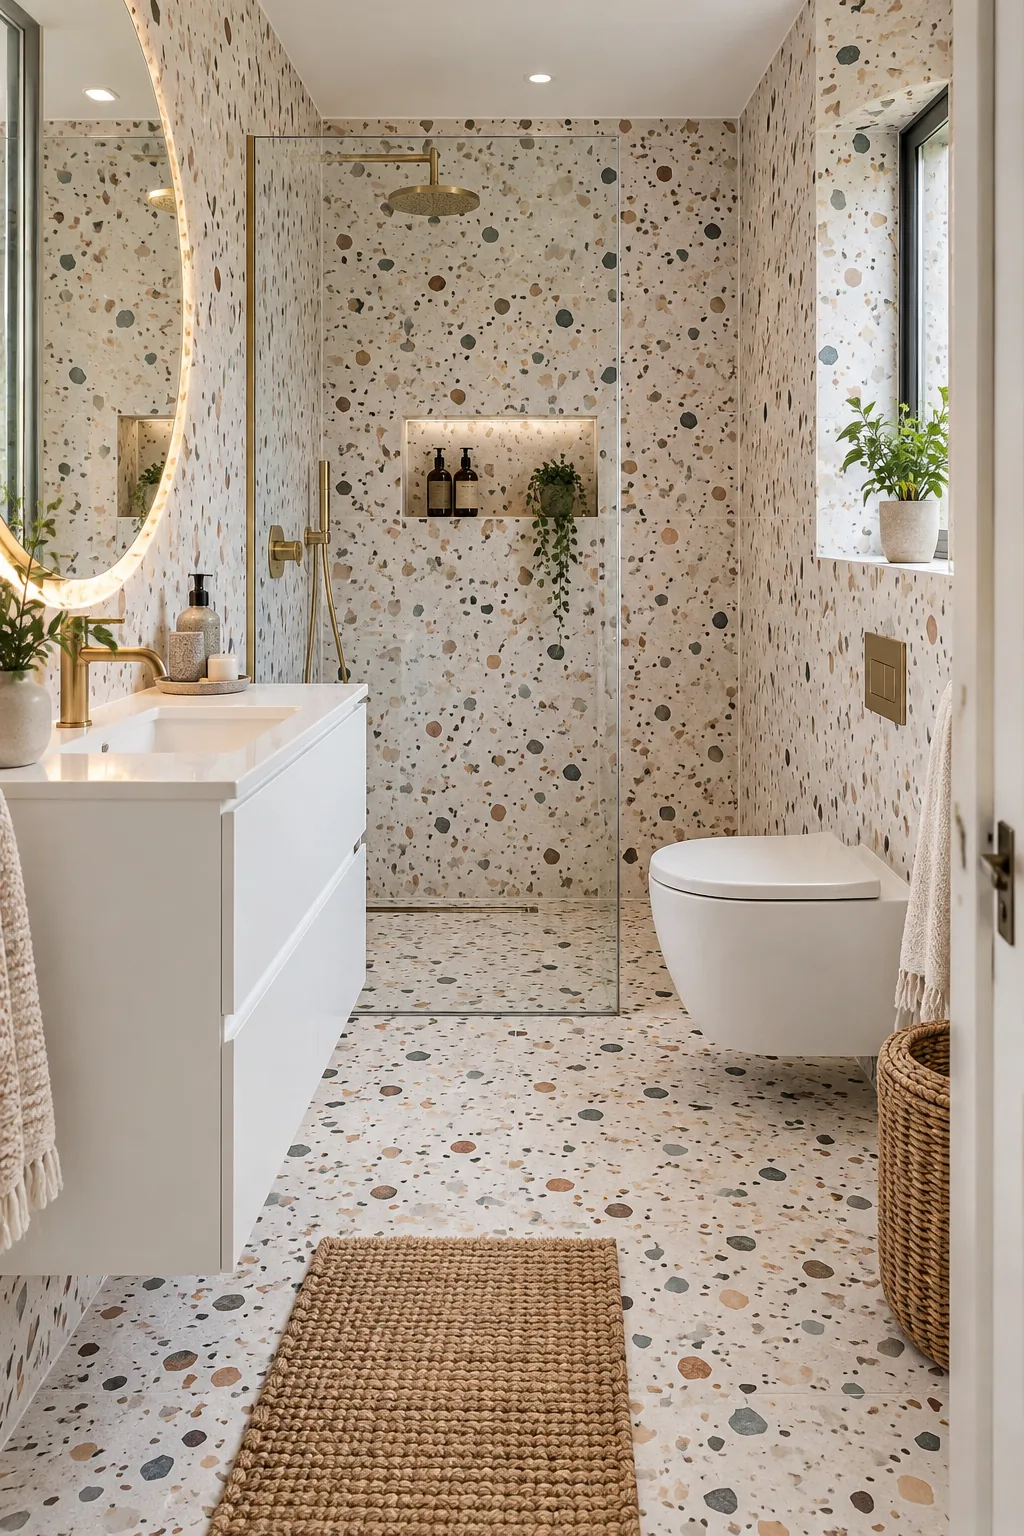
Playful Monolithic Terrazzo: Wrapping the floor and walls in identical terrazzo creates a playful, monolithic envelope. Keep the vanity stark white to let the aggregate pop.
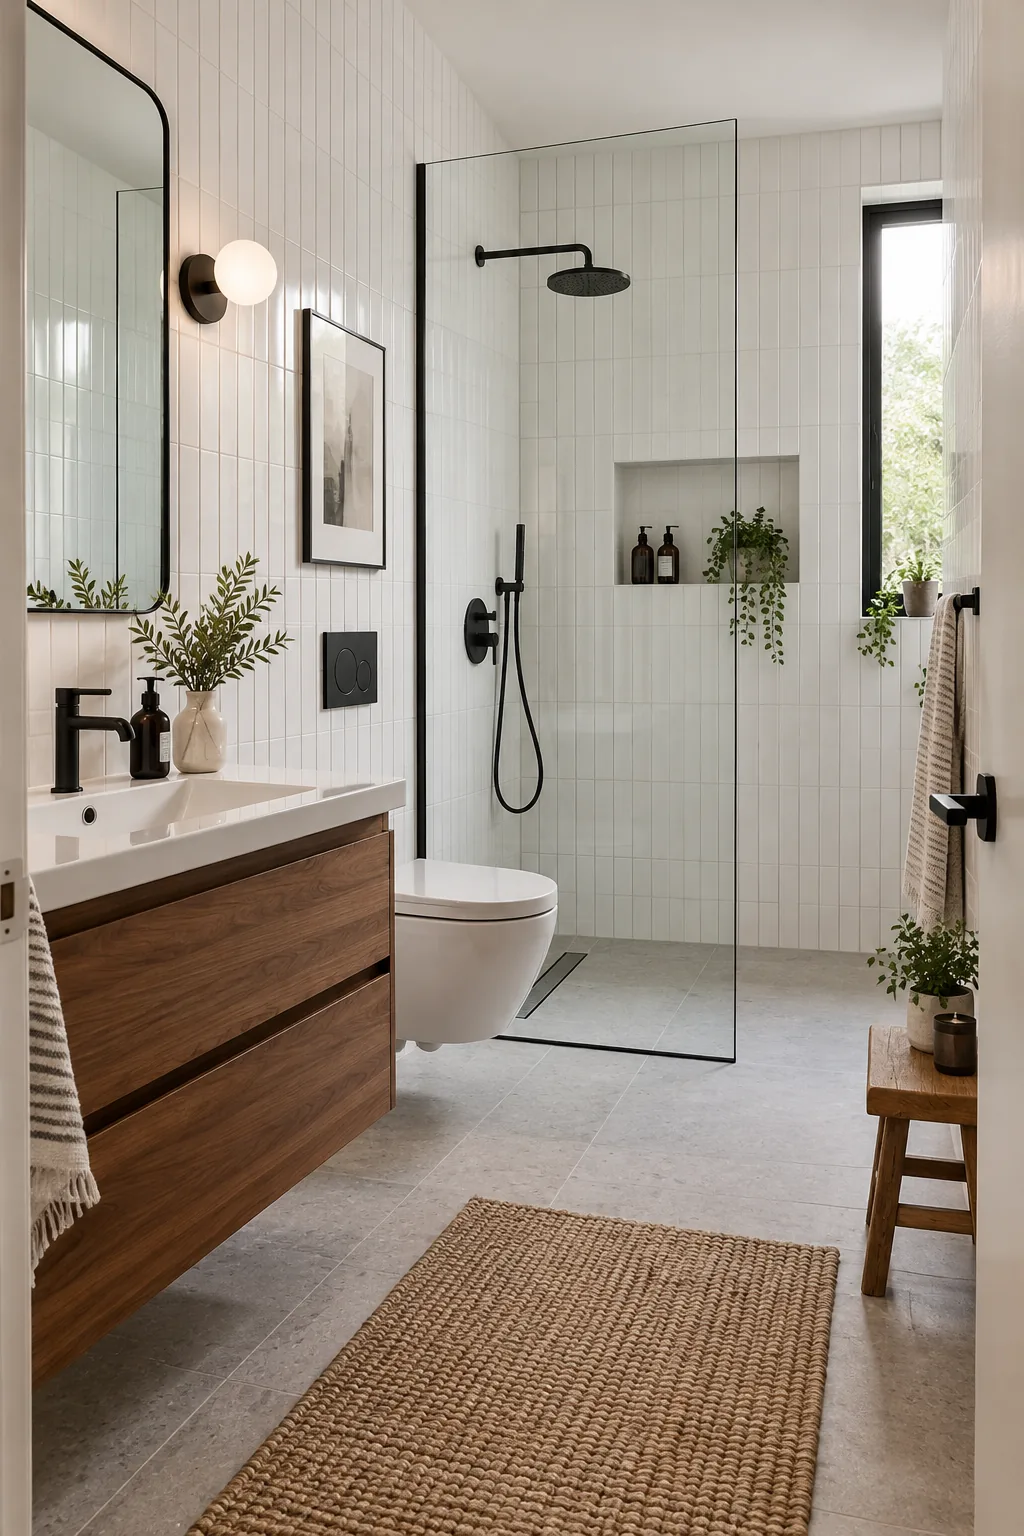
Crisp White and Black: Crisp white subway tiles stacked vertically draw the eye upward. Contrast this bright shell with stark matte black hardware for a graphic punch.
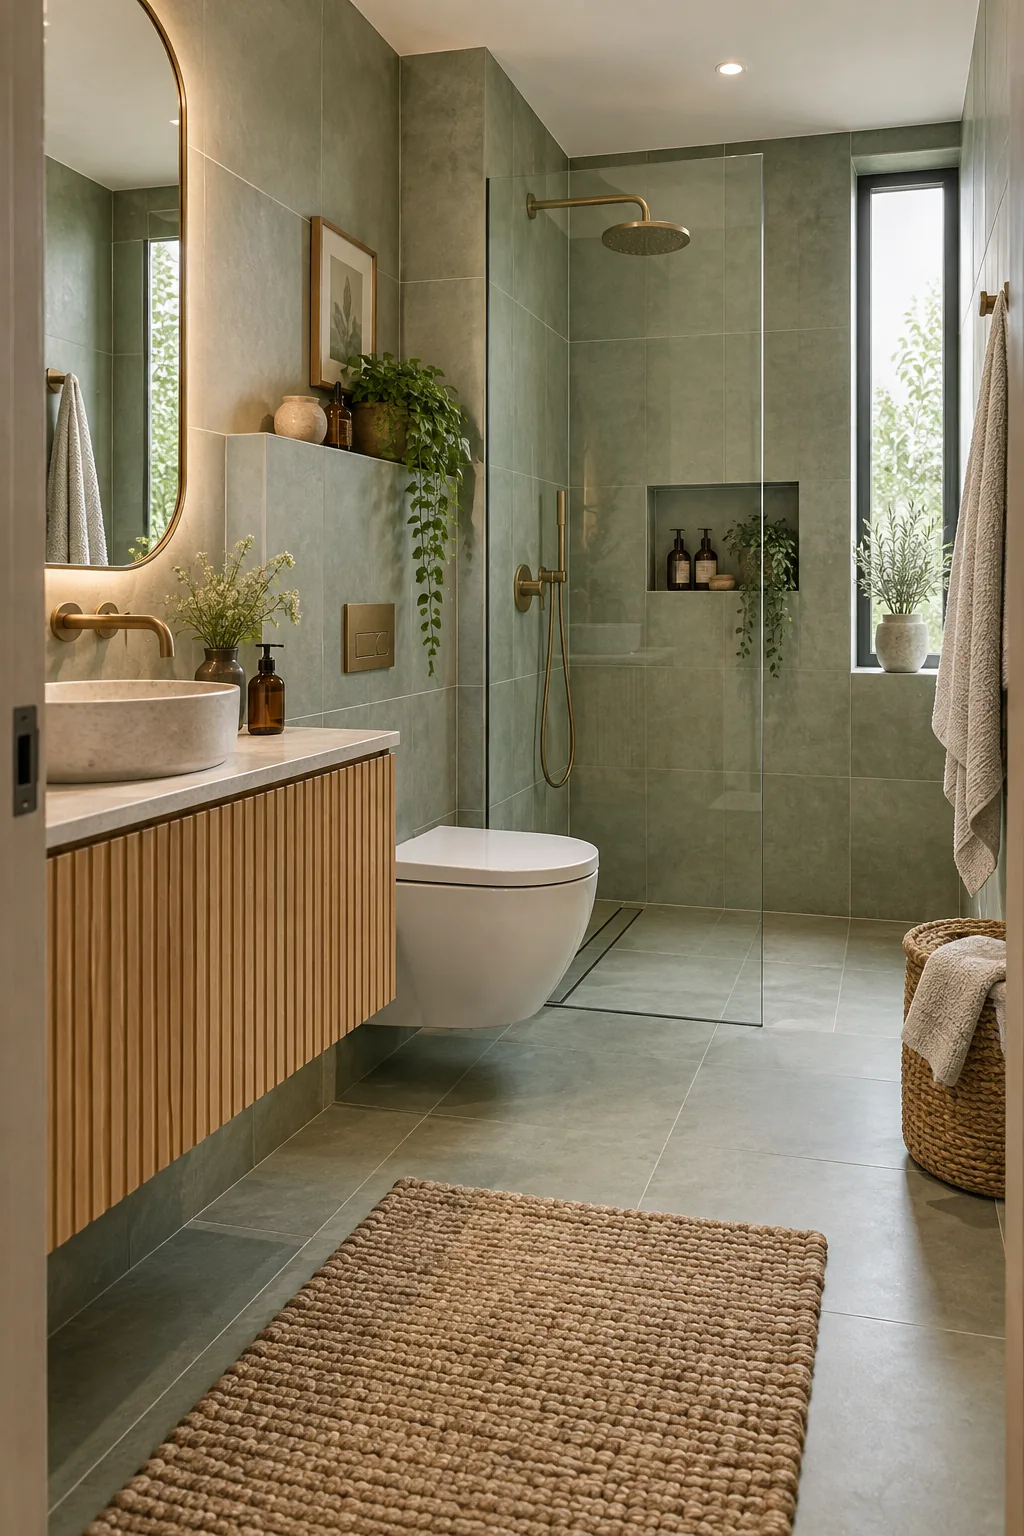
Soft Sage and Fluted Oak: Soft sage green tiles bring a calming, spa-like energy to the compact footprint. A fluted oak vanity adds essential tactile warmth.
Finalizing Your Luxury Layout
Precise alignments and careful measurements turn a cramped layout into a highly functional luxury retreat. Hand these verified numbers to your contractor to guarantee every space-saving feature fits perfectly.
Your contractor can use these exact specifications to order the correct rough-in valves and framing materials today. Establishing these ground rules early allows you to focus entirely on selecting your beautiful finish materials.