
Gazebo String Light Length Chart & Starburst Install Guide
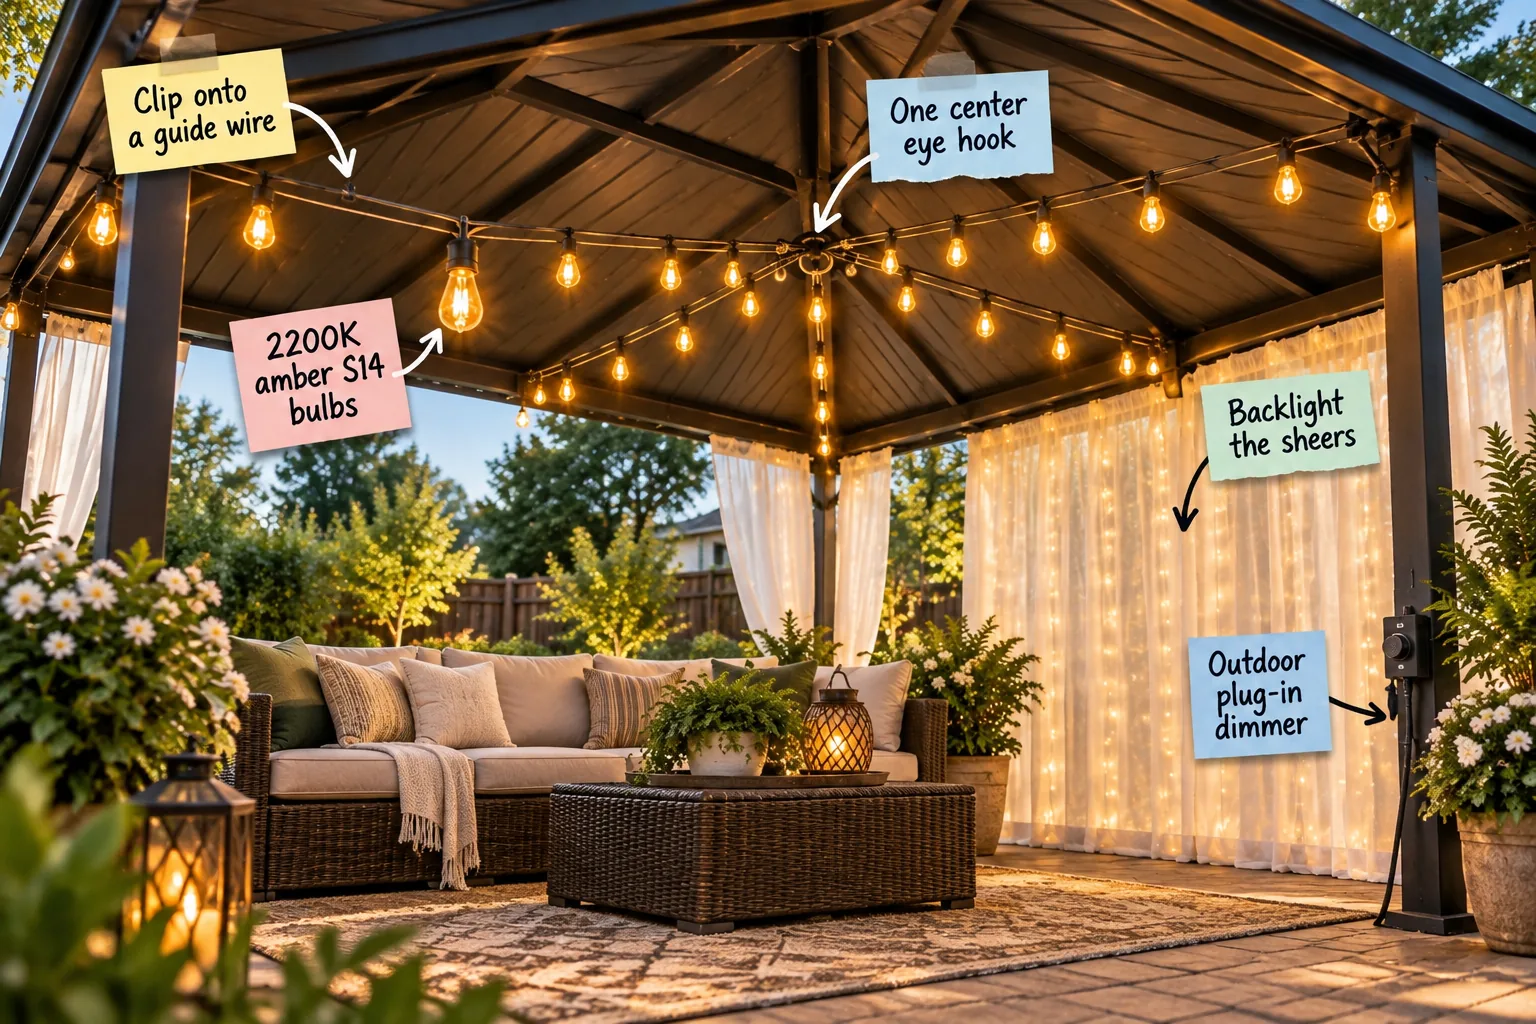
Transform your backyard with a starlit gazebo ceiling using our printable string light length chart, sag allowances, and shopping list to start building today. You will easily measure, purchase, and install a secure, dimmable starburst string light canopy and a beautifully backlit curtain wall.
The Center Anchor Point
The entire starburst design relies on a single, highly secure anchor positioned directly at the peak of your gazebo roof. One center eye hook must bear the converging tension of all four light spokes, making heavy-duty hardware absolutely essential for long-term overhead stability.
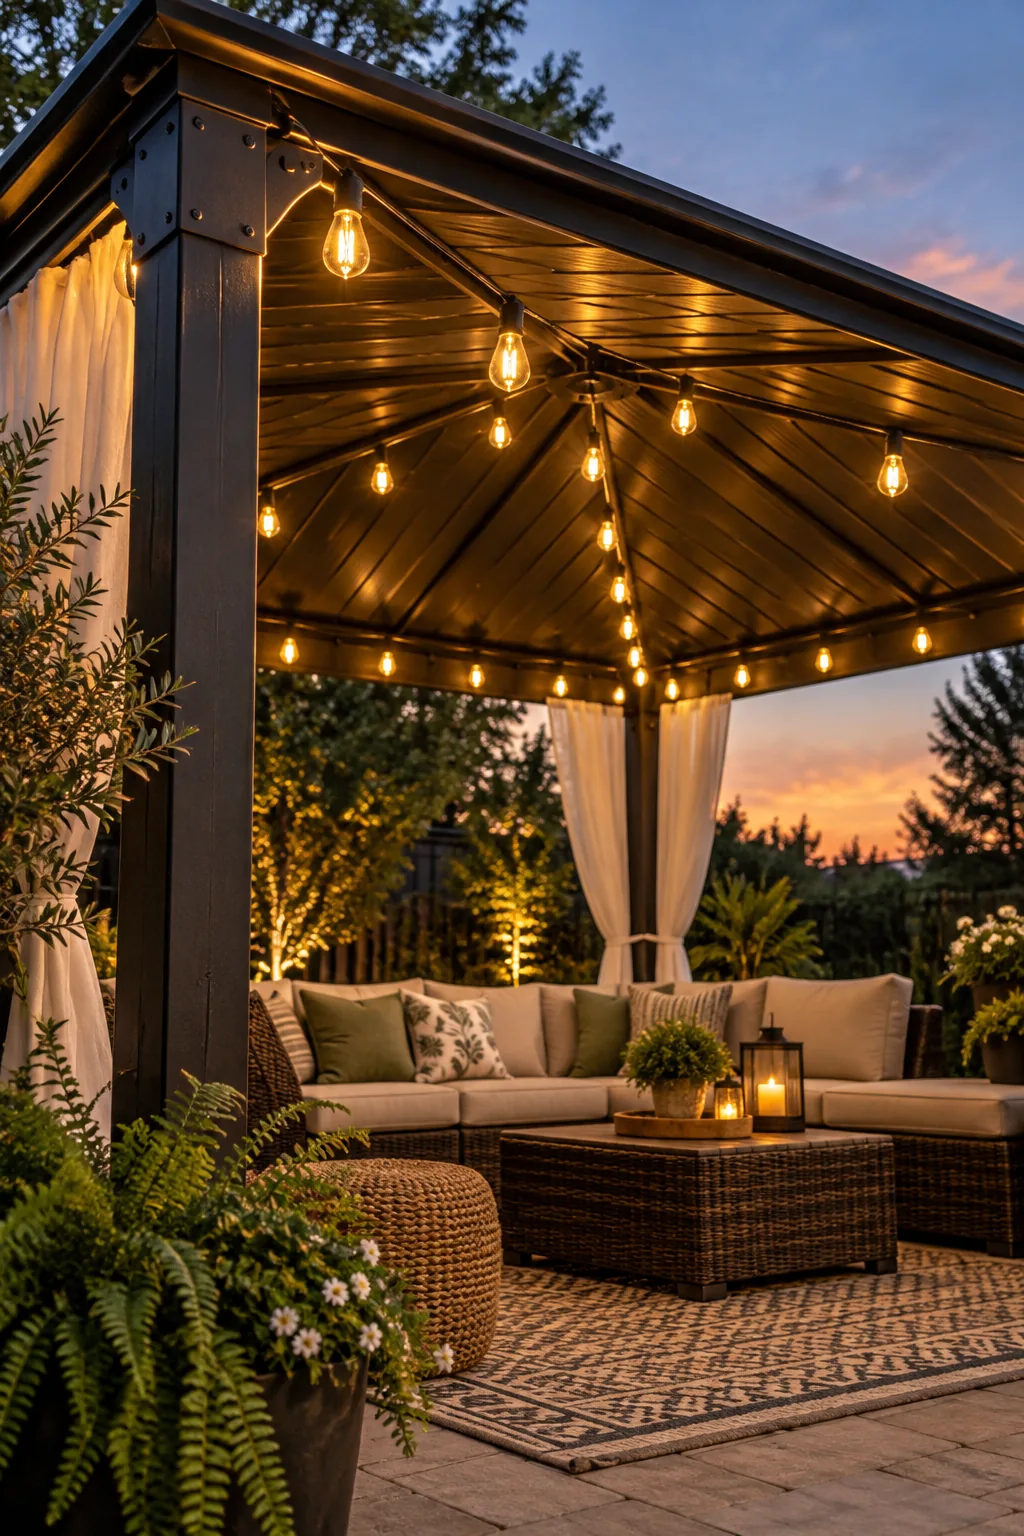
Finding the exact center point of your hardtop frame guarantees that your radiating light strands will look perfectly symmetrical from below. Once you mark the spot, you need to install the hardware carefully so it bites deeply into the strongest part of the metal roof structure.
- Measure diagonally from opposite corner posts using a long tape measure to find the true intersecting center point.
- Pre-drill a pilot hole slightly smaller than your hook threads to prevent metal fatigue in the roof frame.
- Drive a heavy-duty stainless steel eye hook flush against the metal frame for maximum holding power.
- Apply a small bead of clear exterior silicone around the base of the hook to prevent rainwater intrusion.
- Test the anchor by applying firm downward pressure before attaching any of your tensioned steel support cables.
With the central anchor firmly established, you now have a reliable foundation that will support the physical weight of the entire lighting installation without sagging or pulling loose during heavy winds.
Installing the Guide Wires
Running thin stainless steel guide wires from the center eye hook to each of the four corner posts creates the structural skeleton of your ceiling. These tensioned cables carry the physical weight of the installation, protecting the electrical cords from stretching, fraying, or snapping.
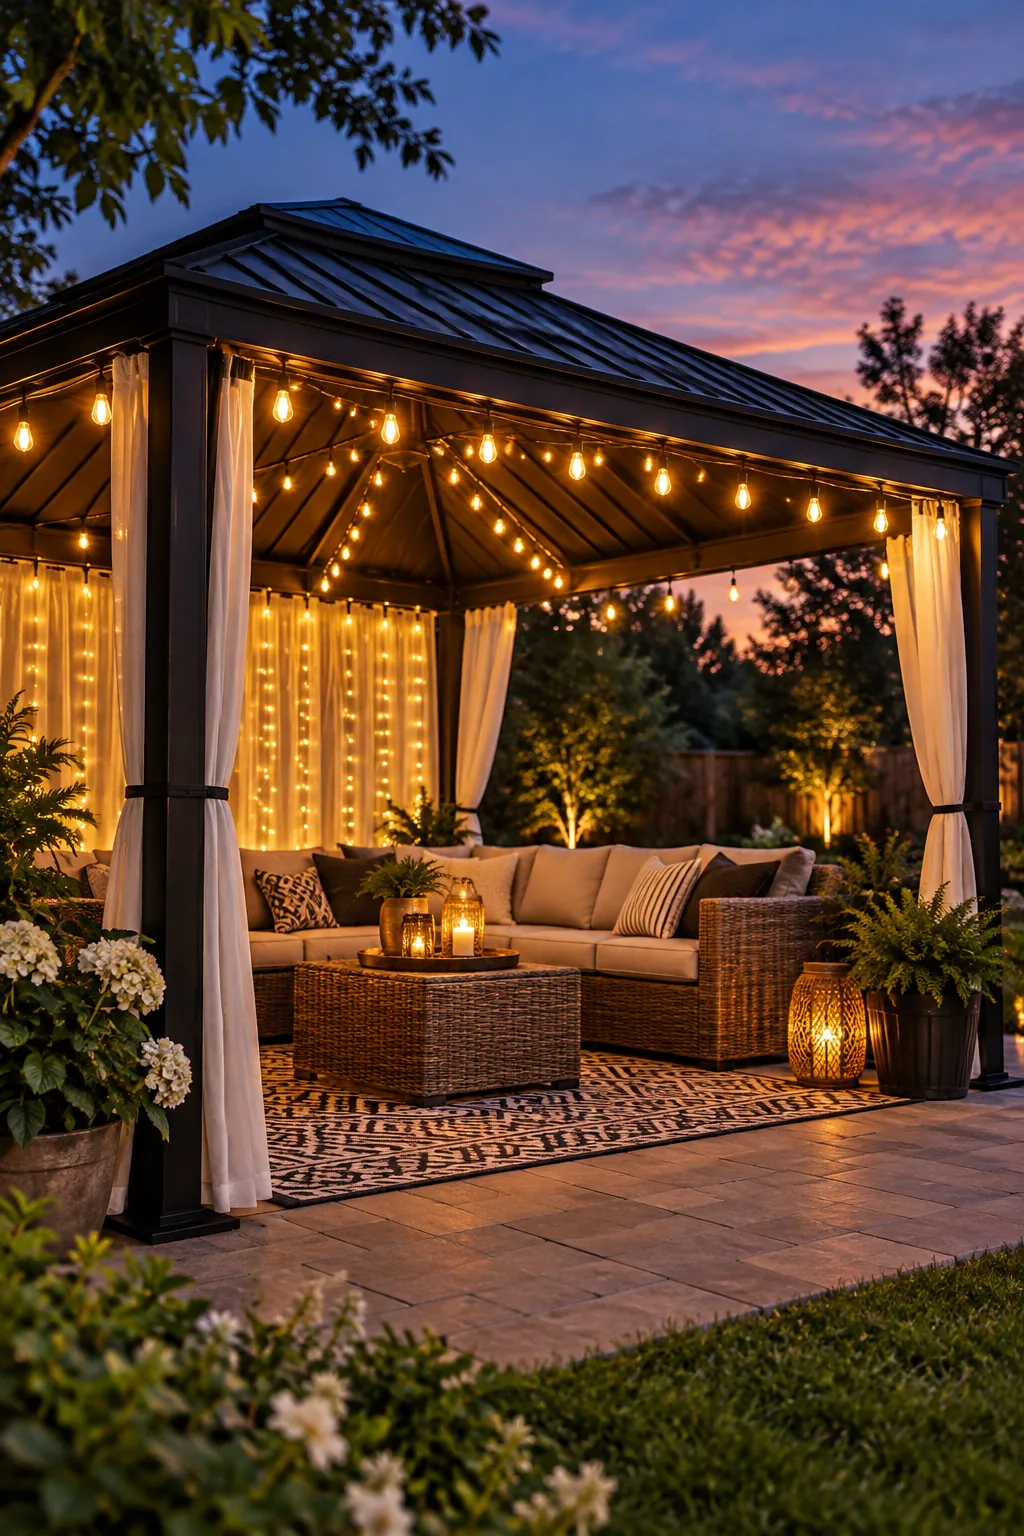
A common approach is to string heavy light cables directly between the posts, but this often leads to long-term structural issues. Relying solely on the internal copper wiring for support will eventually cause the heavy glass strands to droop dangerously low over your seating area.
By properly tensioning a dedicated steel support line first, you ensure that your overhead canopy remains perfectly draped and structurally sound through seasons of unpredictable backyard weather.
Selecting the String Lights
Choosing the right illumination is crucial, and 2200K amber S14 bulbs provide the ideal warm, low-glare ambiance for an overhead seating area. This specific color temperature mimics candlelight, avoiding the harsh, clinical feel that cooler daylight bulbs often cast over evening outdoor gatherings.
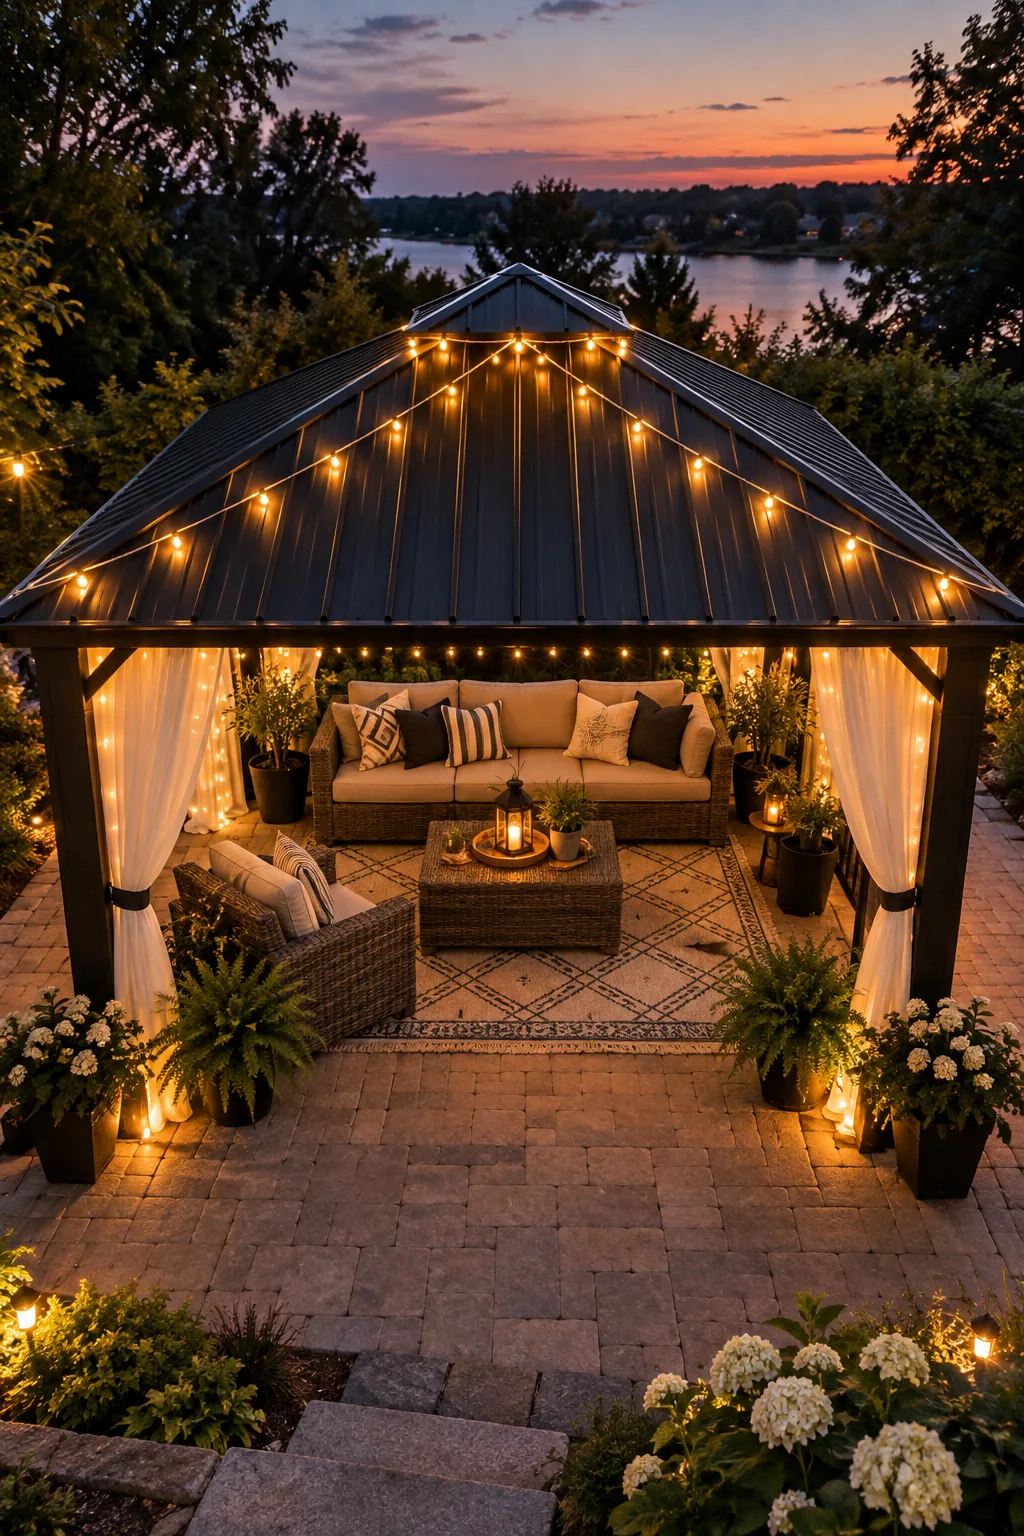
I once made the mistake of hanging 3000K bulbs in my own patio gazebo, and it felt like a glaring hospital waiting room until I swapped them out! The amber teardrop shape instantly creates a cozy, inviting atmosphere that naturally encourages your guests to linger.
Sticking to a classic teardrop profile for your everyday setup ensures the design looks intentional, timeless, and perfectly scaled against the heavy metal framework of a standard backyard structure.
Calculating Your Strand Length
You can easily calculate your total strand feet using the Pythagorean theorem for standard roof pitches, always adding a 10 percent sag allowance for a natural drape. This printable gazebo string-light length chart gives you the exact measurements needed for the most common backyard footprints.
| Gazebo Size | Total Strand Feet | Spoke Count | Hook Count |
|---|---|---|---|
| 10×10 ft | 32 feet | 4 spokes | 5 hooks |
| 10×12 ft | 36 feet | 4 spokes | 5 hooks |
| 12×12 ft | 40 feet | 4 spokes | 5 hooks |
| 12×16 ft | 48 feet | 4 spokes | 5 hooks |
| 14×14 ft | 48 feet | 4 spokes | 5 hooks |
| 16×16 ft | 56 feet | 4 spokes | 5 hooks |
Using these precise measurements keeps the radiating spokes perfectly symmetrical as they travel from the center peak down to the corner posts. Having the correct length immediately prevents unsightly bunching or dangerously tight cables across your ceiling.
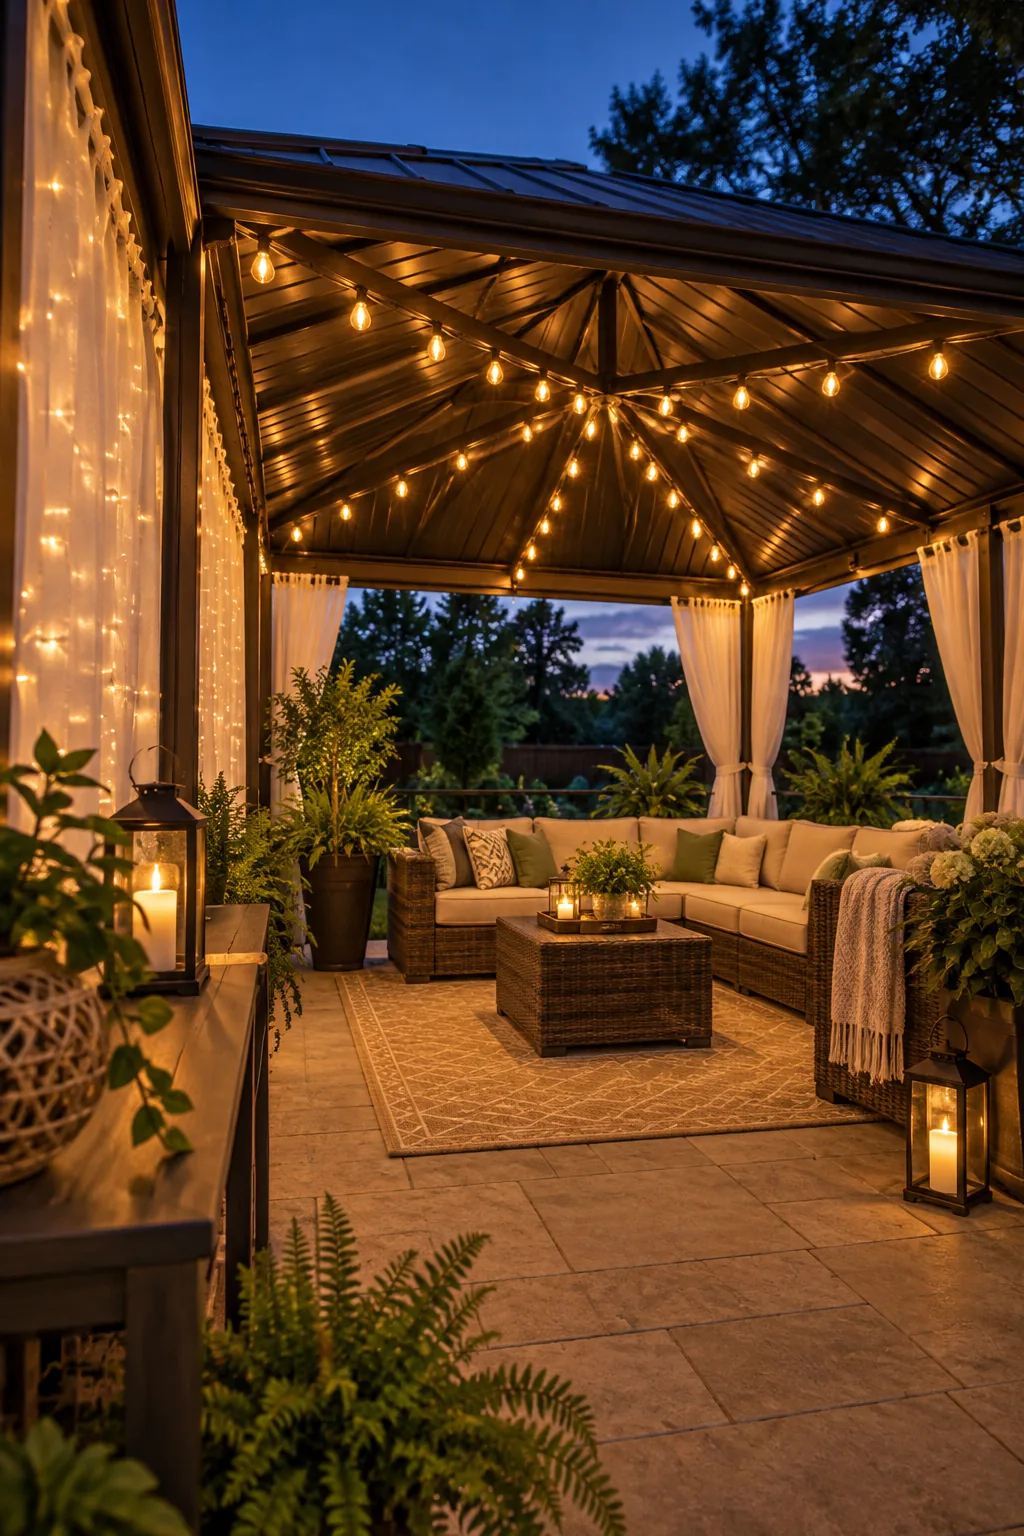
Before you start climbing the ladder with your perfectly measured cables, gather all your materials in one place to ensure a smooth, uninterrupted installation process from start to finish.
Having these supplies ready on your patio table means you will not have to constantly climb up and down the ladder while trying to hold heavy glass bulbs.
Weatherproofing the Connections
Protecting your electrical connections from moisture is just as important as securing the physical cables. Wrapping every plug intersection with heavy-duty electrical tape or enclosing them in weatherproof plastic capsules prevents unexpected short circuits during heavy summer rainstorms.
Clipping the Starburst Pattern
With your support lines tensioned, you can now clip onto a guide wire using small black carabiners or UV-resistant zip ties. Spacing your attachment points evenly every twelve inches creates a clean, slightly swooping line that radiates perfectly from the center hub.
I highly recommend using carabiners because I learned the hard way that zip ties make it incredibly frustrating to take the strands down for winter storage! The metal clips allow the electrical cable to slide slightly, naturally absorbing sudden wind gusts without snapping.
Managing Cable Tension
Striking the right balance between a taut support wire and a gently draped electrical cable is the secret to a professional finish. You want the steel guide wire completely rigid, while the light strand itself hangs just loosely enough to form graceful, uniform scallops.
Controlling the Glow
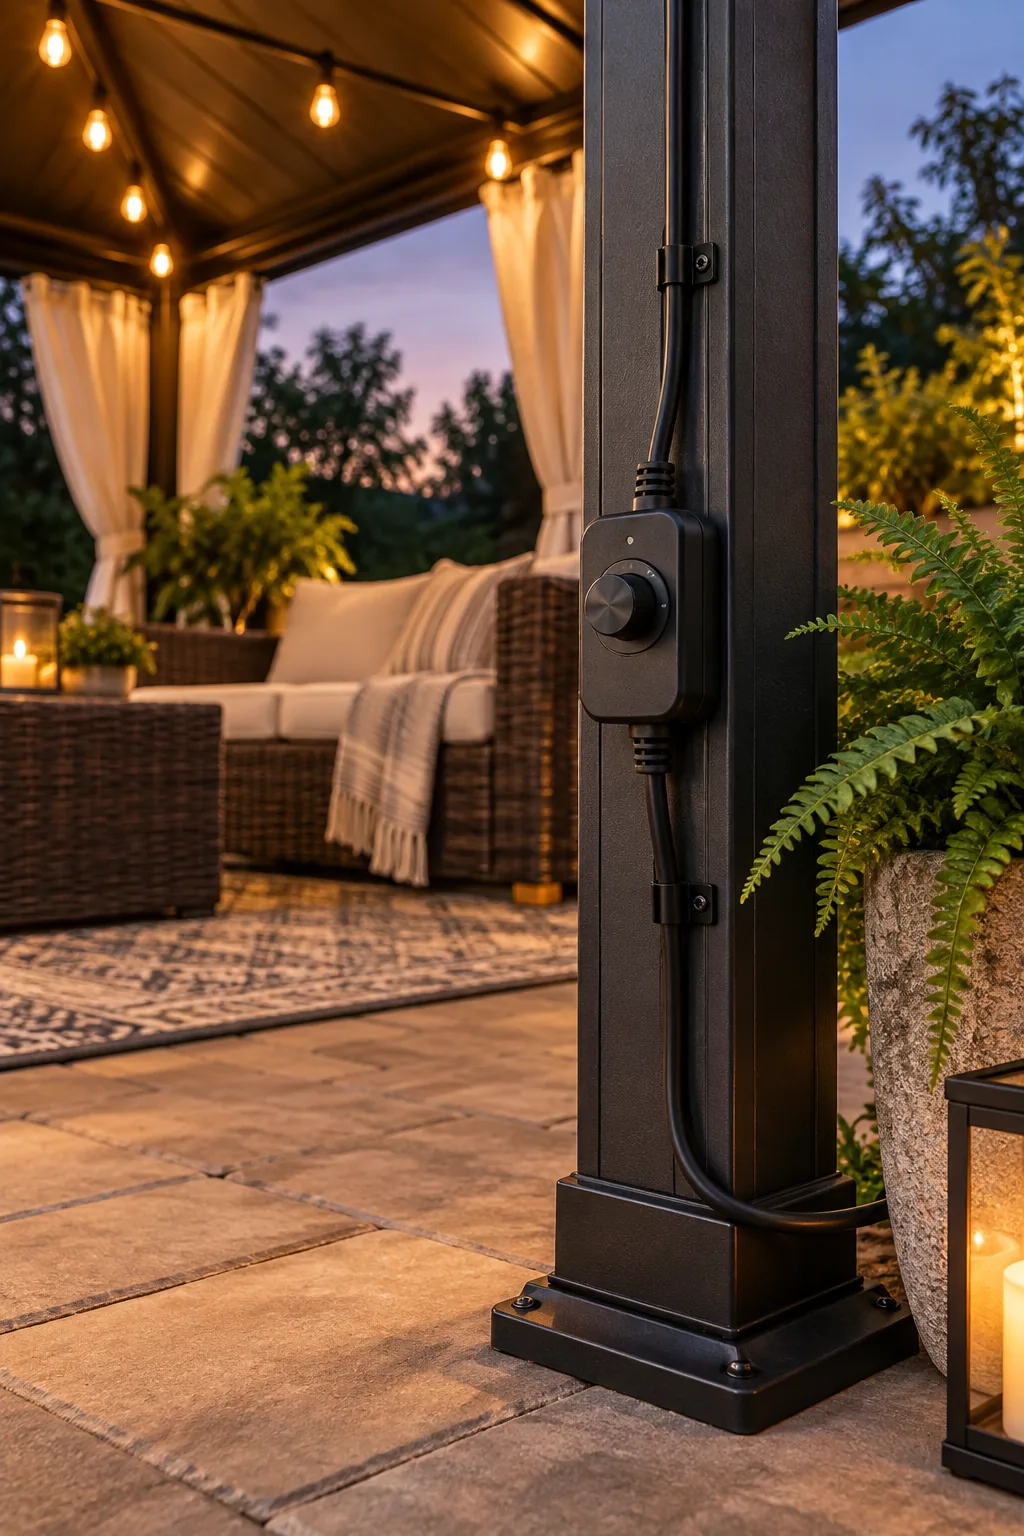
Routing the electrical cord cleanly down the back corner post keeps the visual focus entirely on your starburst canopy. You must integrate an outdoor plug-in dimmer module at an accessible height to easily adjust the overhead ambiance for different evening activities.
When I installed my own dimmer, I mounted it just behind the sofa at waist height so I could lower the lights without leaving my seat. Always ensure the control module remains elevated safely above the patio floor to avoid pooling rainwater or melting snow.
Concealing the Power Cords
Hiding the thick black extension cords running down the metal posts makes the entire installation look like a permanent architectural feature. Securing the wires against the back edge of the frame with dark cable ties keeps them completely out of sight from the main seating area.
Hanging the Fairy Lights
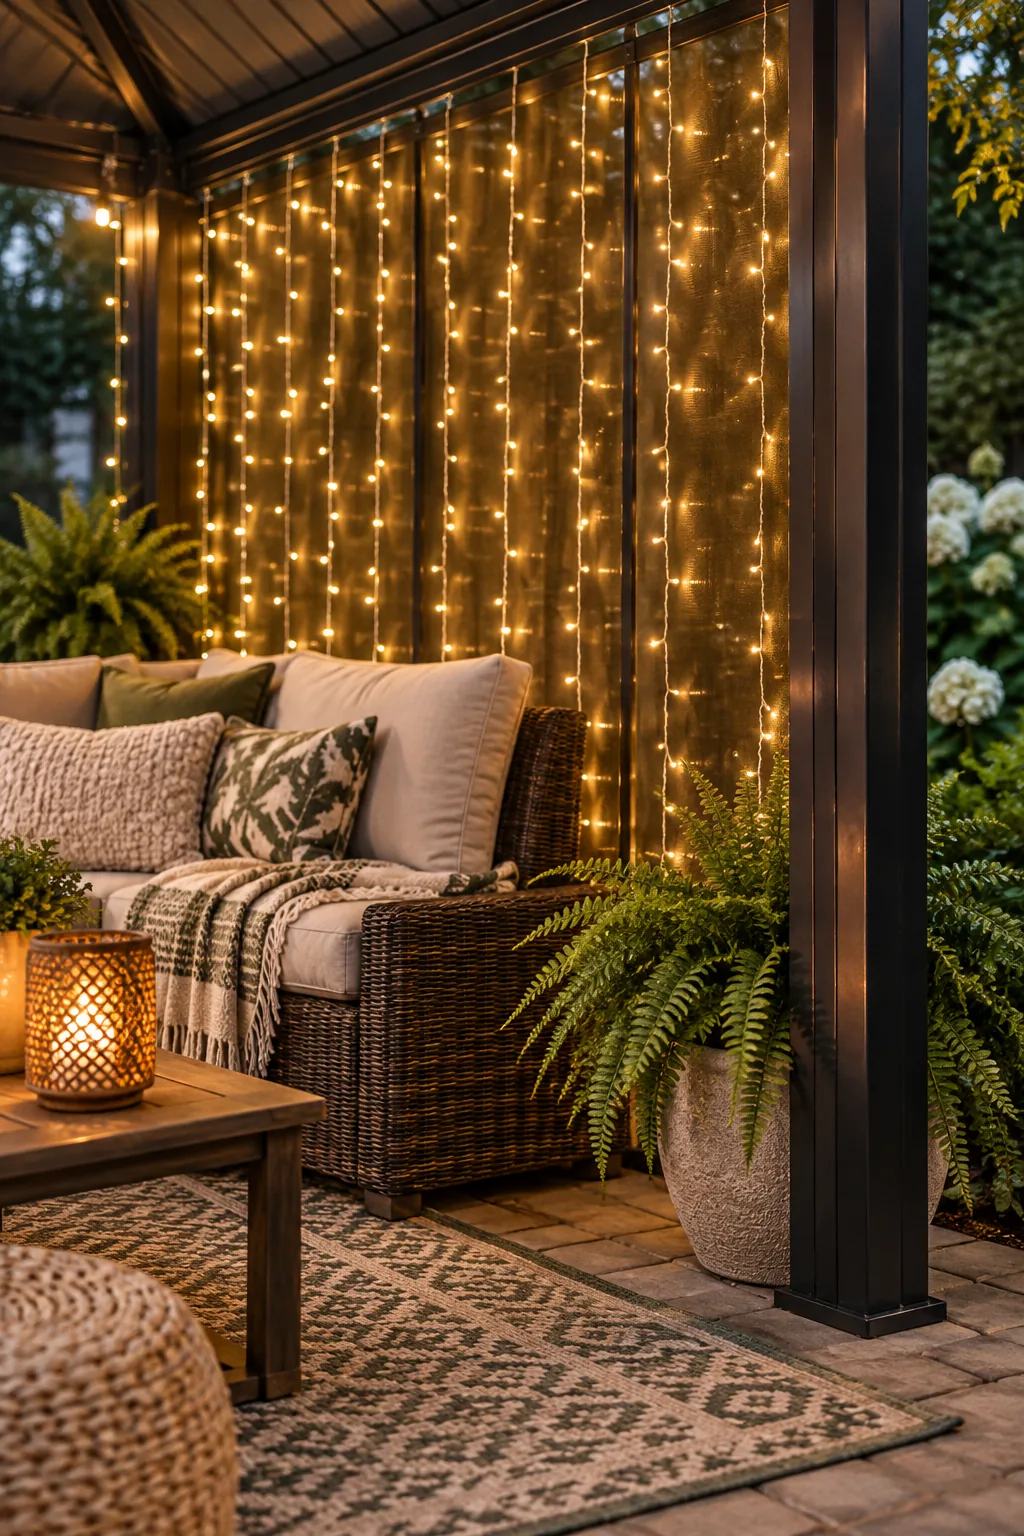
Moving to the backdrop, installing fine fairy curtain lights along the back frame of the gazebo builds a stunning vertical focal point. Spacing the delicate vertical strands closely together creates a dense, continuous wall of illumination directly behind your primary seating area.
Securing the top wire of the curtain tightly against the horizontal metal beam ensures the tiny diodes hang perfectly straight down to the deck. This concentrated layer of miniature lights serves as the powerful foundational glow for your upcoming fabric diffusion layer.
Anchoring the Base Weights
Preventing the delicate fairy light strands from blowing wildly in the breeze requires a simple anchoring strategy at the bottom. Tying the lowest points of the curtain wires to a discrete horizontal tension line keeps the entire glowing wall perfectly disciplined and untangled.
More Gazebo Lighting Styles
Explore how different bulb shapes and curtain fabrics can completely change the mood of your outdoor room.
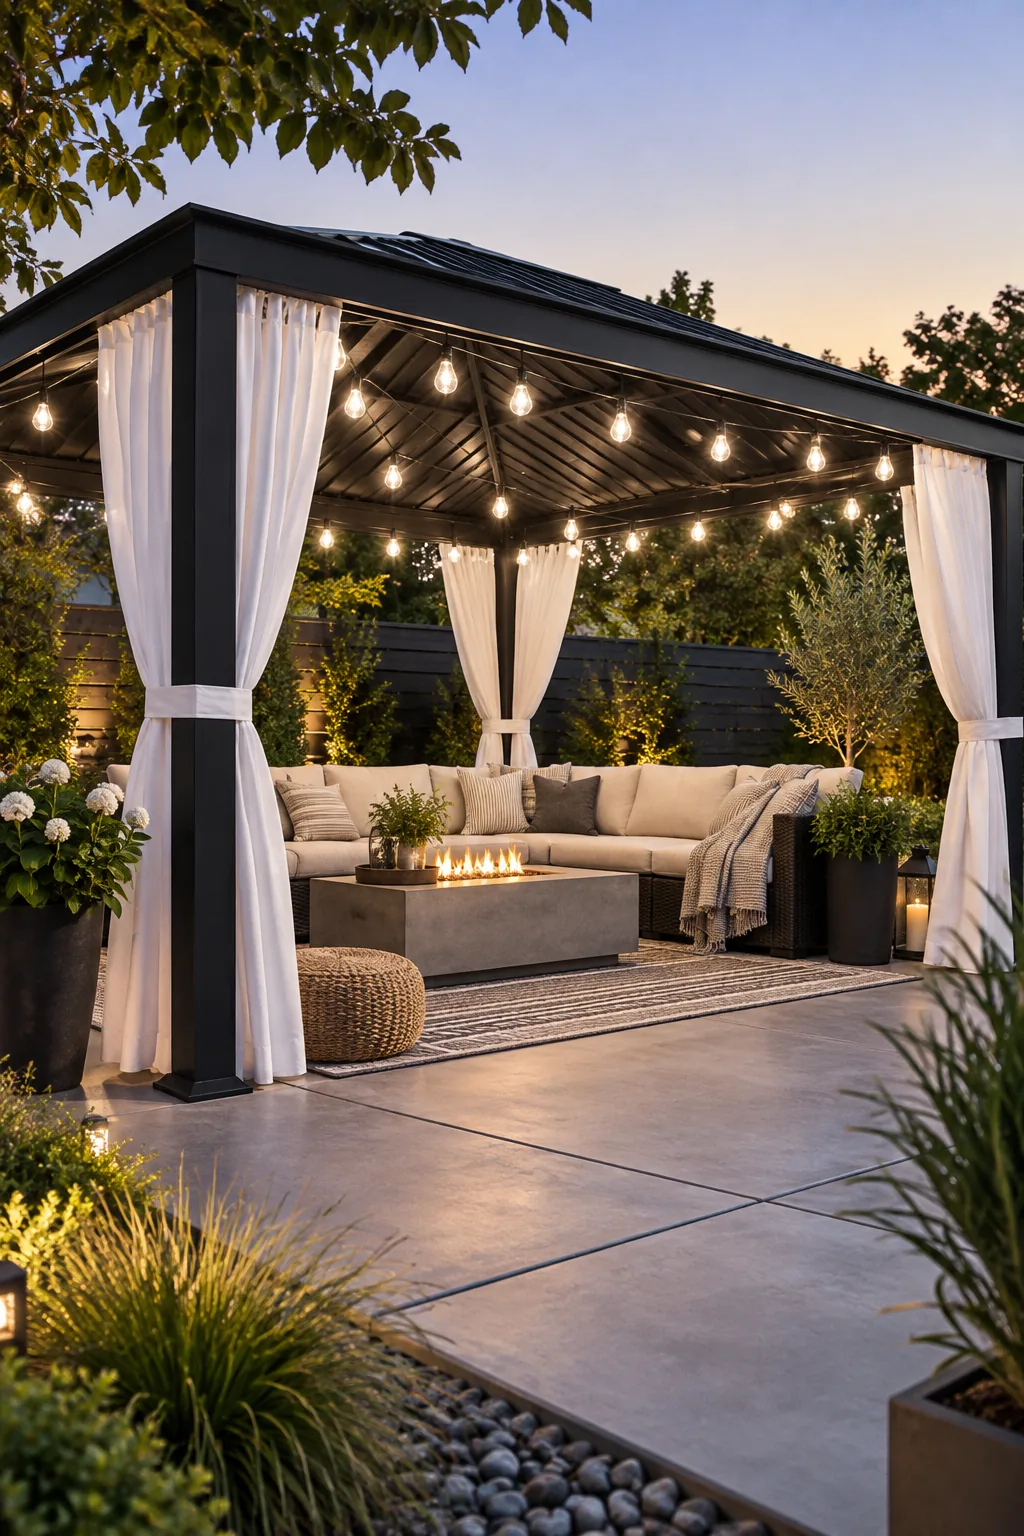
Modern Monochrome: Crisp white 4000K Edison bulbs against a black pergola create a sharp, high-contrast modern look. Use heavy canvas curtains for a structured, architectural feel.
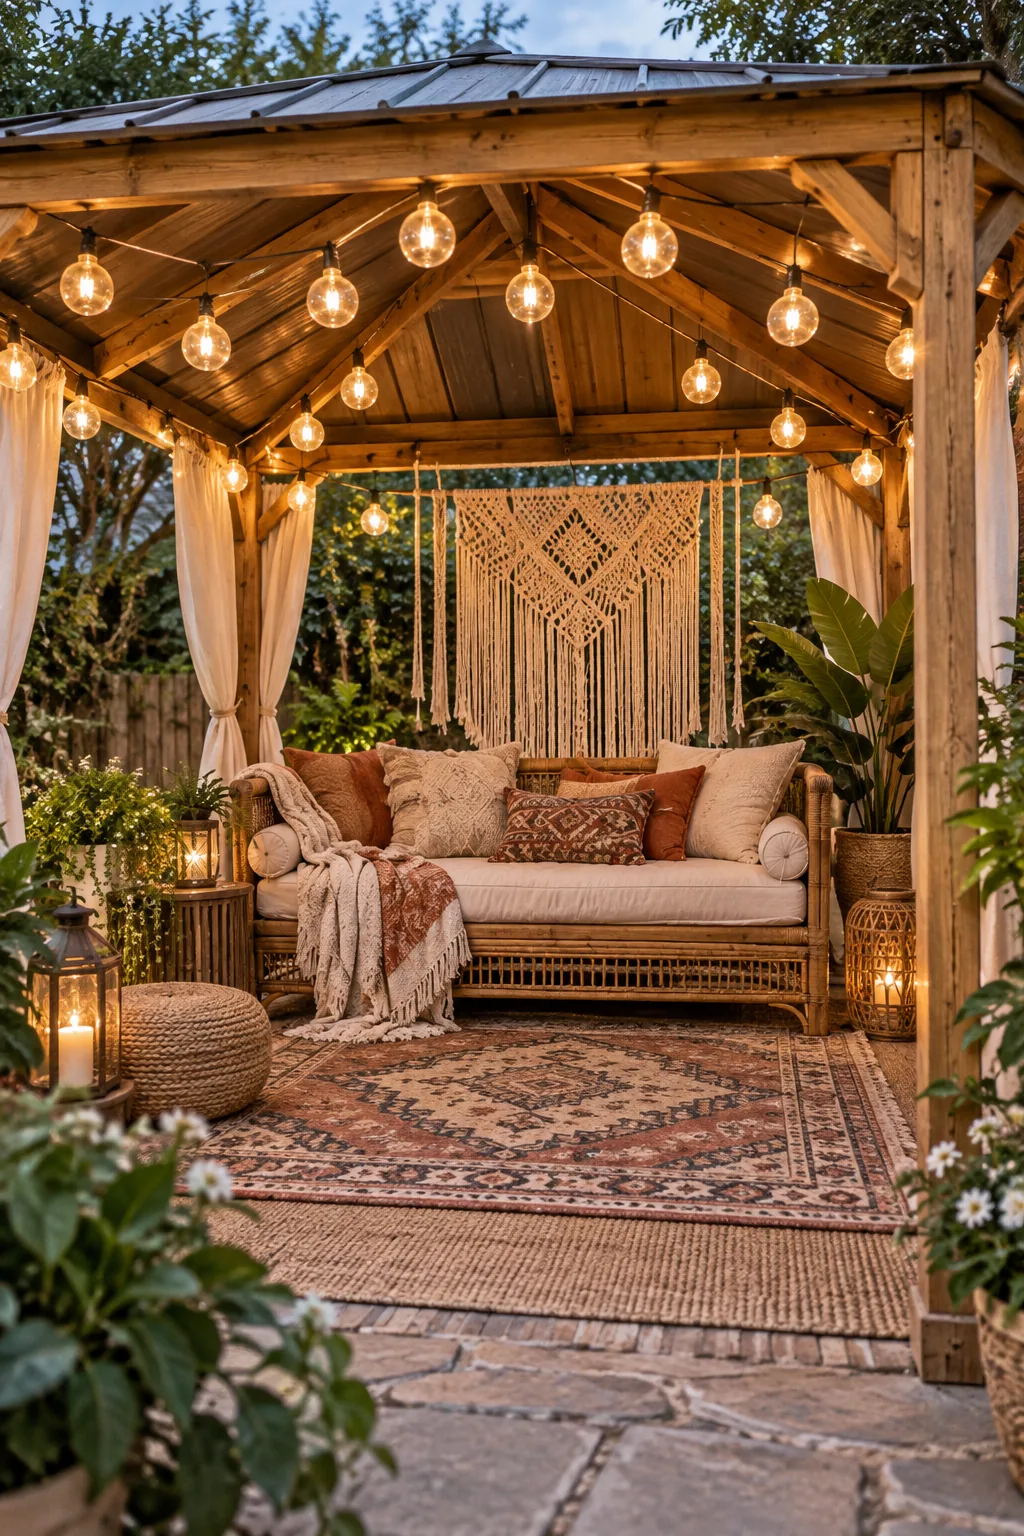
Bohemian Oasis: Oversized globe bulbs paired with a natural wood frame bring a relaxed, bohemian energy. Layer a macrame backdrop over the fairy lights for rich texture.
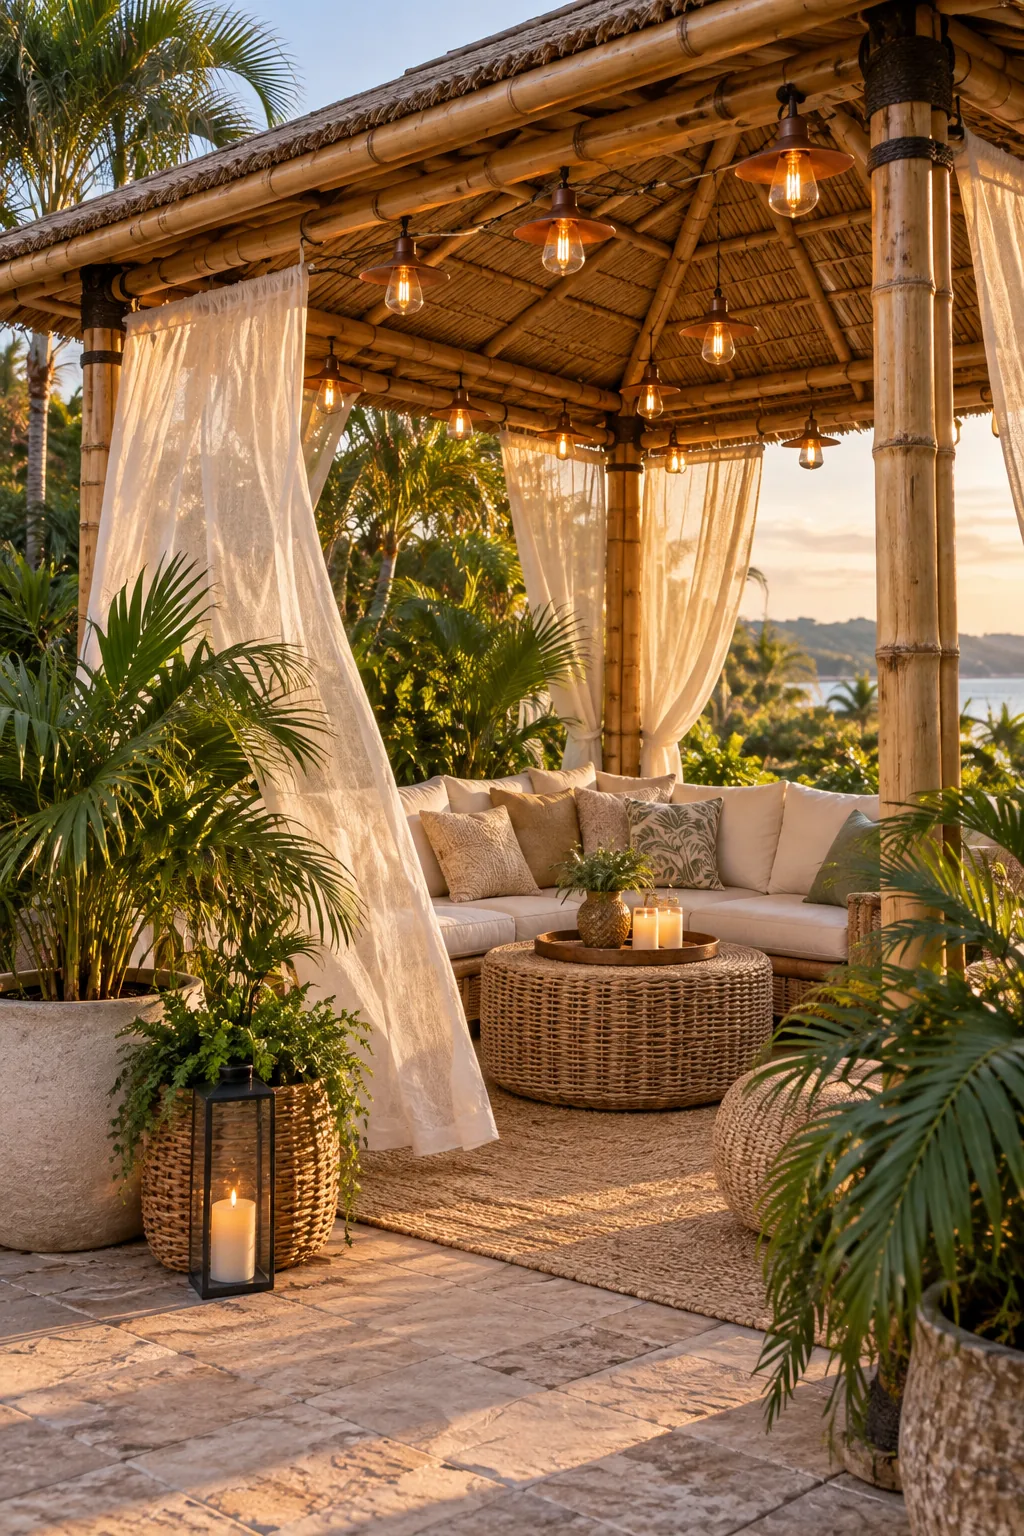
Tropical Resort: Copper-capped bulbs and a bamboo frame instantly channel a luxury island resort. Choose loose, sheer linen panels that catch the evening breeze.
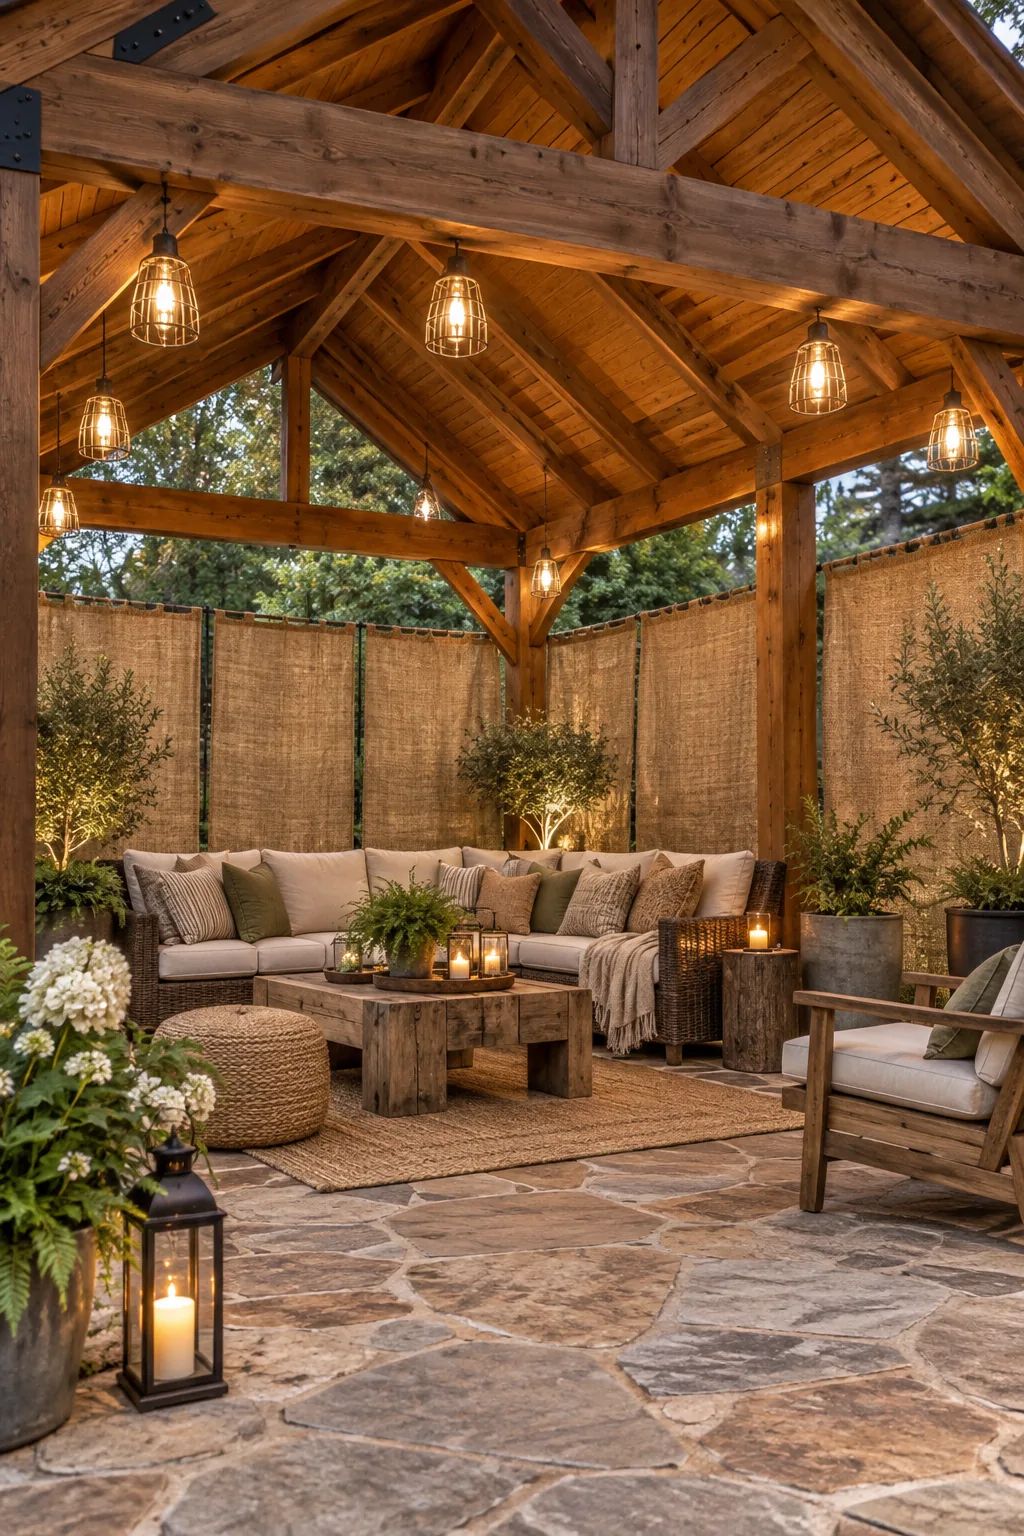
Rustic Cabin: Vintage cage-wrapped bulbs complement heavy timber structures beautifully. Swap delicate sheers for rustic burlap screens to maintain a rugged, cabin-inspired atmosphere.
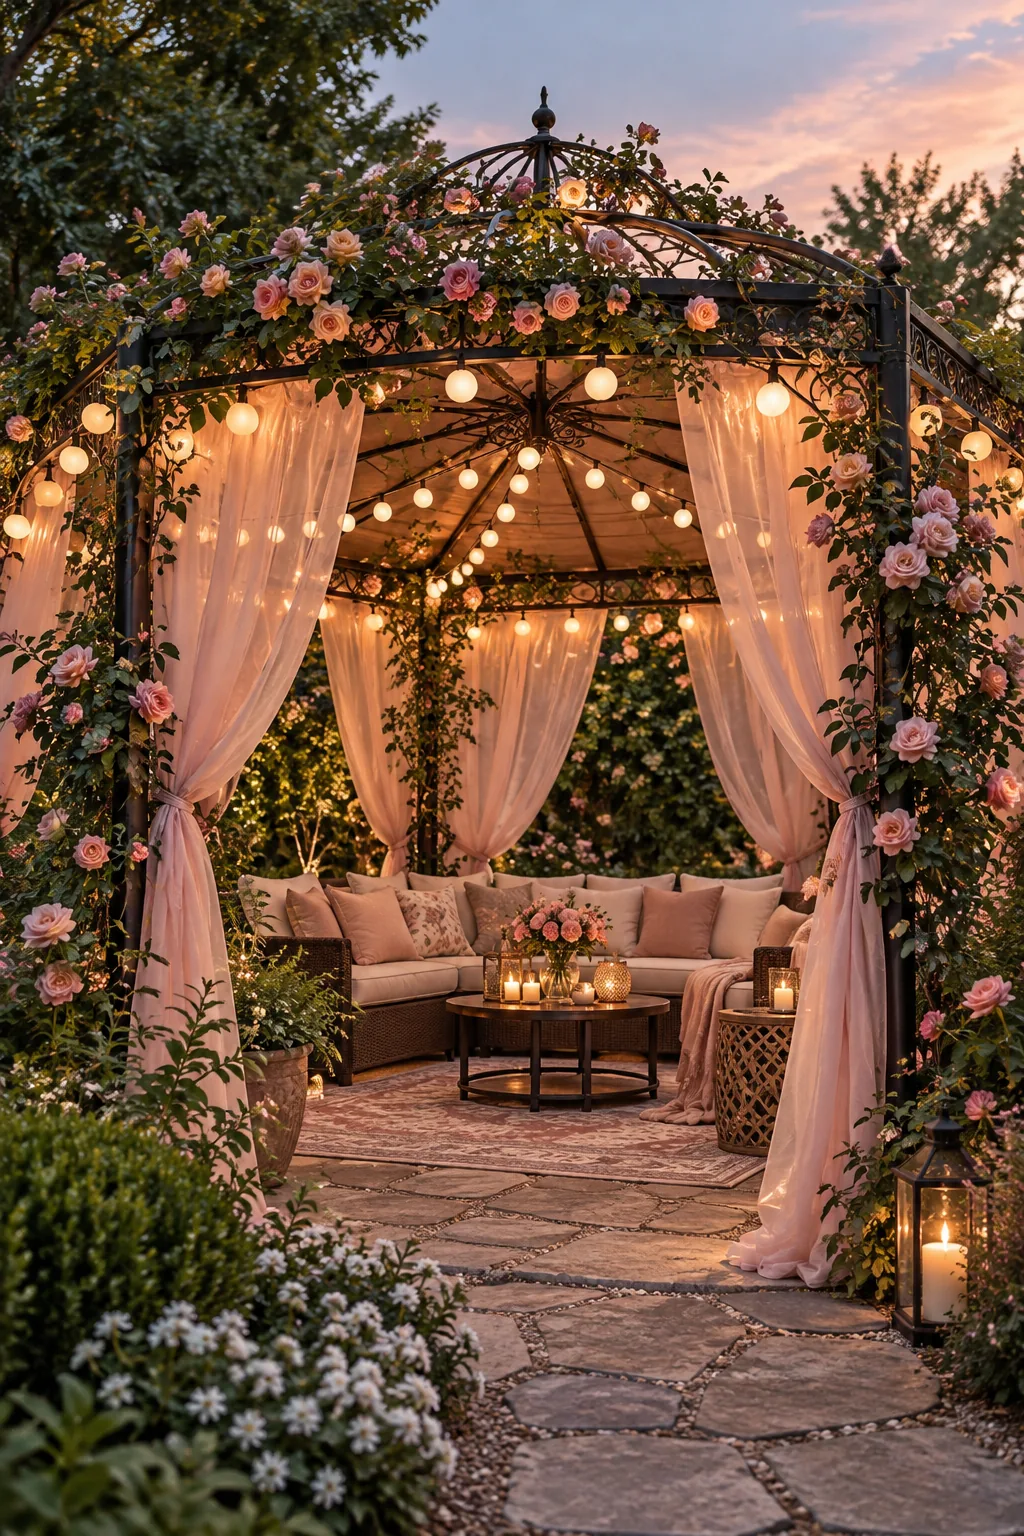
Romantic Garden: Frosted mini globes offer a delicate, whimsical twinkle perfect for a wrought iron frame. Blush pink chiffon drapes add a soft, romantic wash of color.
Backlighting the Sheer Curtains
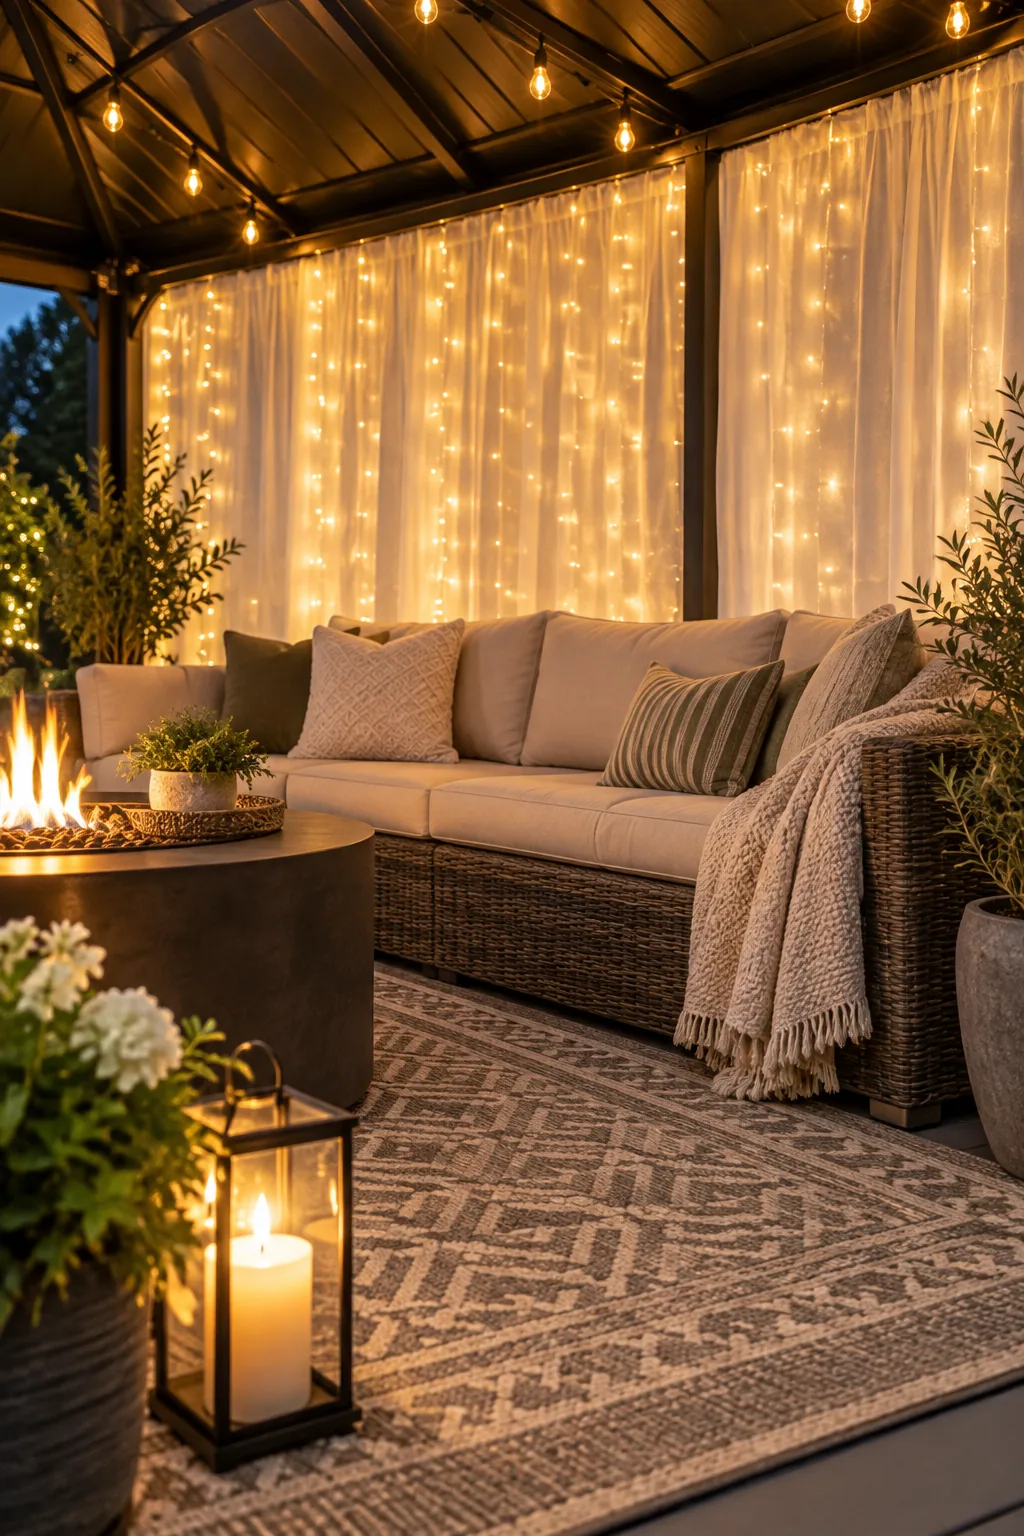
To finish the space, hang crisp white sheer curtain panels directly in front of the dense fairy light wall. When you backlight the sheers, the simple fabric layer diffuses the individual LED diodes, transforming the entire back wall into a soft, glowing lantern.
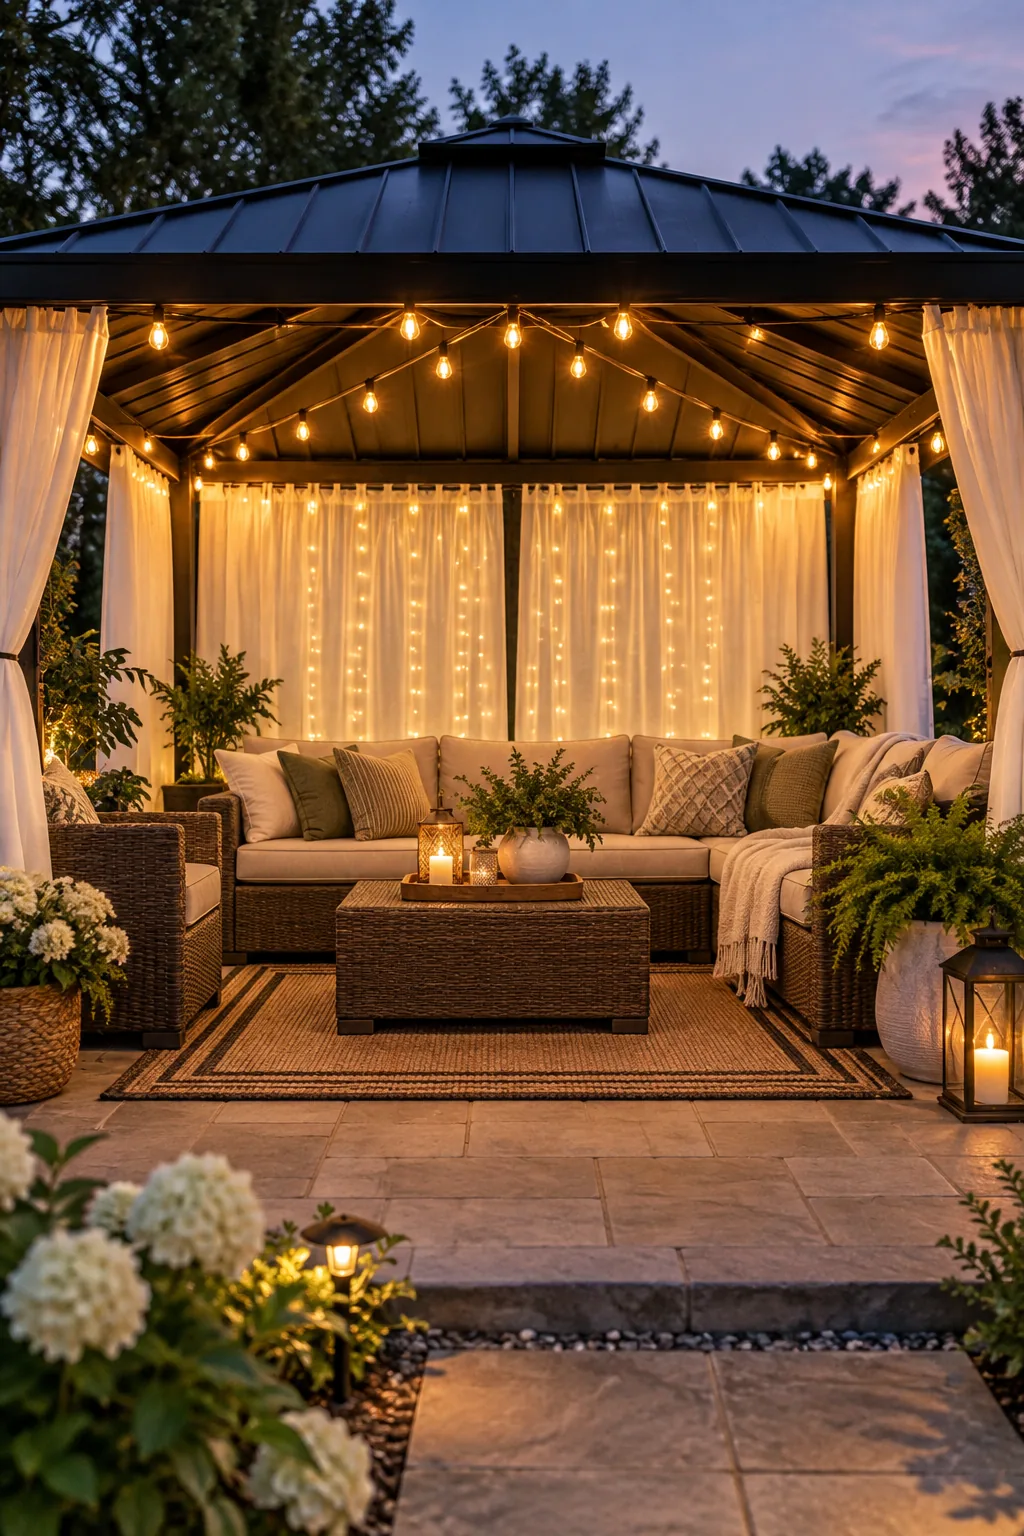
This ambient diffusion eliminates harsh pinpoints of glare and elevates the entire outdoor room into a luxurious, inviting retreat. The combination of the overhead starburst canopy and the glowing backdrop creates a beautifully layered lighting design that you can enjoy all season long.