
Small Indoor Pool Plans: Space & Ventilation Planning Sheet
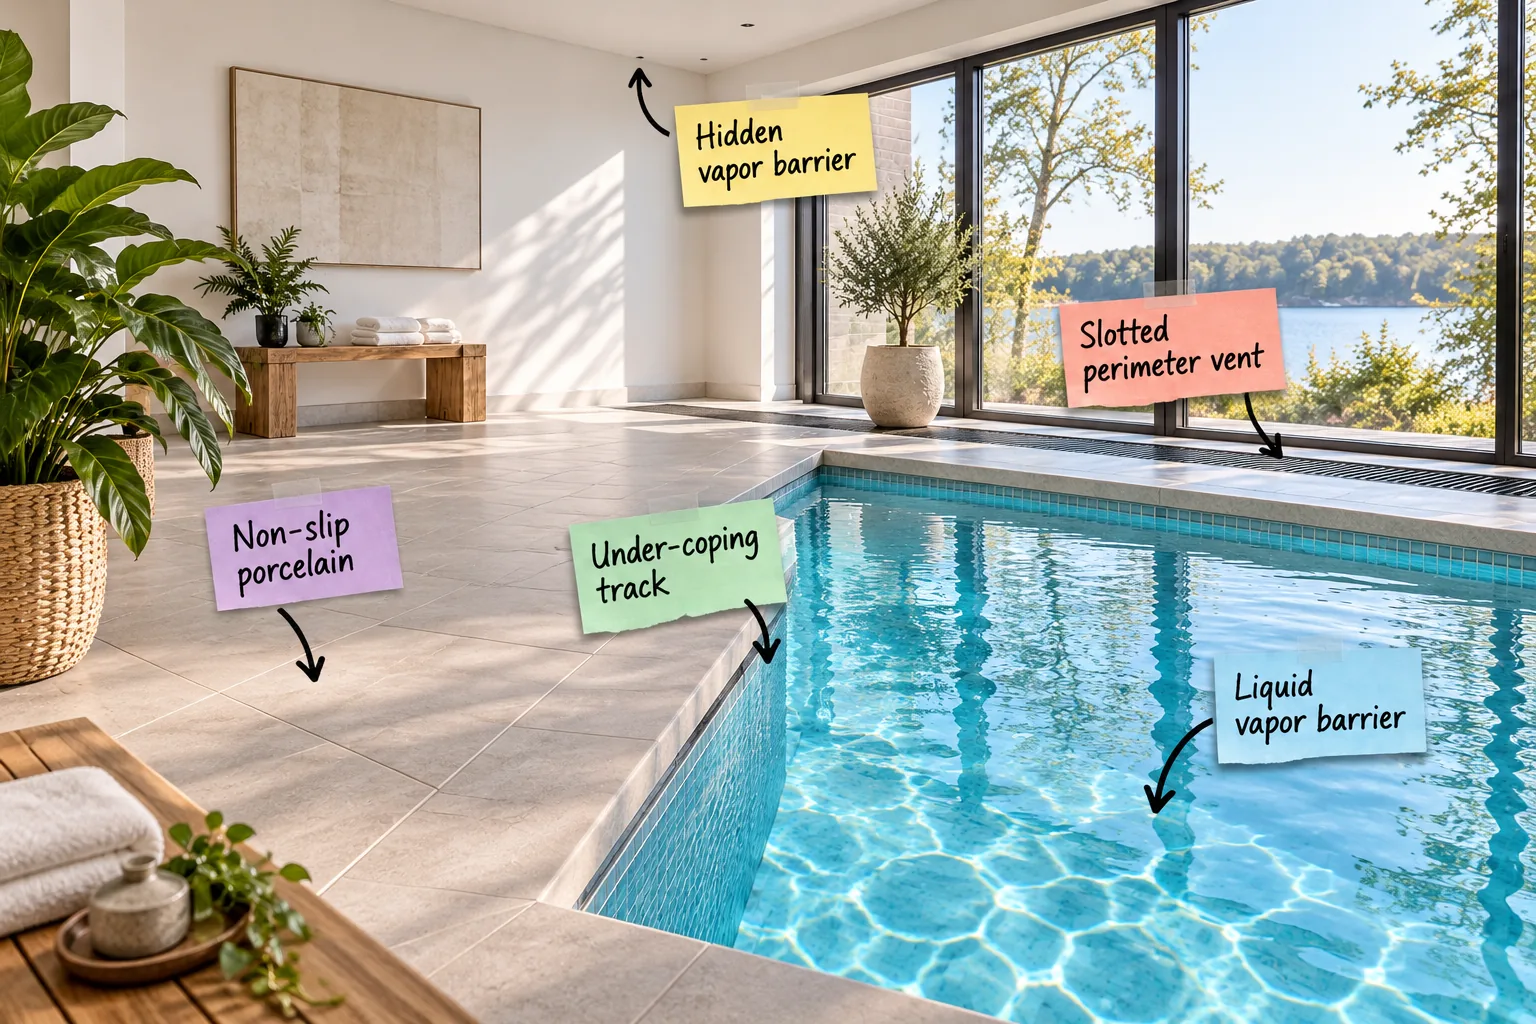
Planning a small indoor pool requires precise climate control, which is why I use a dedicated space and ventilation planning sheet to balance the footprint. You will be able to calculate your exact ventilation needs, specify the correct moisture barriers, and design a safe, beautiful oasis.
Securing the Room Envelope
A successful indoor pool relies on a completely sealed room envelope, and I learned this the hard way when a client’s prior sunroom addition suffered severe structural rot. Install a continuous 6-mil polyethylene hidden vapor barrier behind the drywall where the painted wall meets the ceiling on all exterior walls.
This robust plastic sheet stops corrosive pool moisture from penetrating the framing, but it only works if you detail the connections perfectly.
Insulating the Exterior Walls
Before you staple up the plastic, you must fill every stud bay with closed-cell spray foam insulation to achieve an R-value of at least R-21 in the walls. This dense insulation prevents the exterior cold from reaching the interior vapor barrier, eliminating hidden condensation points inside the structural framing.
Selecting the Vapor Barrier Material
Standard builder-grade plastic often degrades over time, so you should specify a virgin polyethylene sheet designed specifically for high-humidity environments. This hidden vapor barrier must remain completely puncture-free during the drywall installation to maintain its strict permeability rating of less than 0.1 perms.
Taping and Sealing the Joints
Every electrical box, window rough opening, and duct penetration represents a massive vulnerability in your moisture defense line. You must seal these critical junctions using heavy-duty acrylic flashing tapes that can expand and contract with the building structure without losing their waterproof adhesion.
Selecting the Wall Finishes
Once the barrier is sealed, cover the framing with moisture-resistant fiberglass-mat gypsum board instead of traditional paper-faced drywall. Finish the surface with a high-gloss exterior-grade acrylic latex paint to create a final, washable defense layer against splashing and daily evaporation.
Placing Perimeter Vents
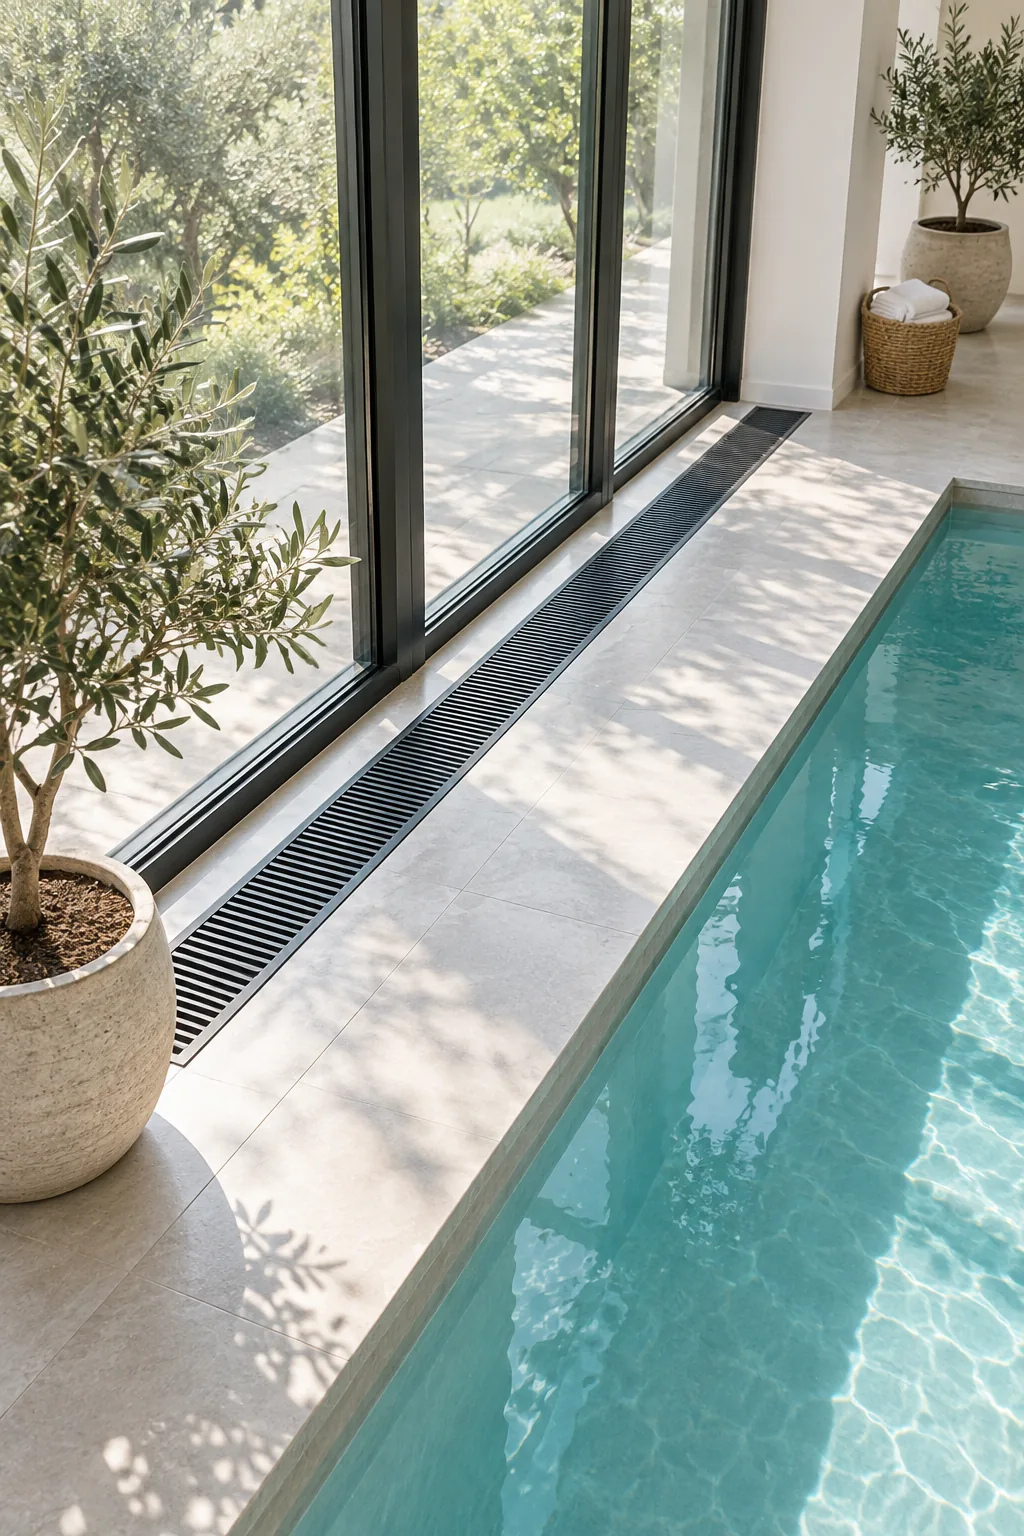
Proper airflow is critical to keep large windows clear of condensation, a strict rule I enforce on every Colorado mountain project I design. Position a slotted perimeter vent directly into the floor, running a sleek, narrow linear diffuser parallel to the glass.
Setting these diffusers correctly ensures they push a continuous curtain of warm, dry air up the face of the glass to actively block the humid room air.
Sizing the Linear Diffusers
To effectively blanket the windows, you must size the floor grilles to deliver a specific volume of air without creating a drafty environment. Set these linear diffusers 4 to 6 inches from the window base and calculate the required airflow based on the glass height.
| Glass Height | Required Airflow | Diffuser Width |
|---|---|---|
| Up to 6 feet | 40 CFM per foot | 2 inches |
| 6 to 8 feet | 55 CFM per foot | 3 inches |
| Over 8 feet | 70 CFM per foot | 4 inches |
Matching the exact diffuser width to your window height ensures the warm air reaches the very top of the glass before it can cool and condense.
Managing Window Condensation
Even with perfect airflow, you must specify triple-pane insulated glazing with warm-edge spacers for any exterior windows in the pool room. This high-performance glass keeps the interior pane temperature above the room’s dew point, drastically reducing the workload on your perimeter vents.
Your Space and Ventilation Planning Sheet
Balancing a small footprint with heavy mechanical requirements takes precise calculation, which you can manage using our dedicated space and ventilation planning sheet. A standard residential indoor pool requires a massive air exchange rate of 4 to 6 changes per hour to remain comfortable.
Sizing the Dehumidification System
Never rely on a standard residential HVAC unit to manage an indoor pool, as the chlorine and moisture will destroy the internal coils within months. You must install a dedicated mechanical dehumidifier built with cupronickel or fully coated coils to withstand the highly corrosive environment.
Designing the Equipment Room
This specialized dehumidification equipment requires a substantial footprint, typically demanding a dedicated mechanical room measuring at least 8 by 10 feet. Locate this equipment room against an exterior wall to simplify the fresh air intake ducting and reduce noise transfer into the main living spaces.
Automating the Climate Controls
To maintain perfect harmony between the water and air, connect your dehumidifier to a smart humidistat mounted centrally on an interior wall. Program the system to maintain a strict relative humidity of 50 to 55 percent, which prevents mold growth while keeping swimmers comfortable.
Routing the Supply and Return Ducts
Moving massive volumes of air quietly requires expansive ductwork that must be integrated seamlessly into your structural framing plans. You must route the supply and return lines strategically to create a continuous sweeping motion of air across the entire pool surface.
- Run the main supply trunk line through the floor joists to feed the perimeter vents.
- Position the return grilles high on the opposite interior wall to capture rising humid air.
- Seal all duct joints with mastic to prevent pressurized air leaks inside the framing.
Keeping the return grilles as far away from the supply vents as possible prevents short-cycling and guarantees that the entire room receives fresh, conditioned air.
Specifying Non-Slip Porcelain
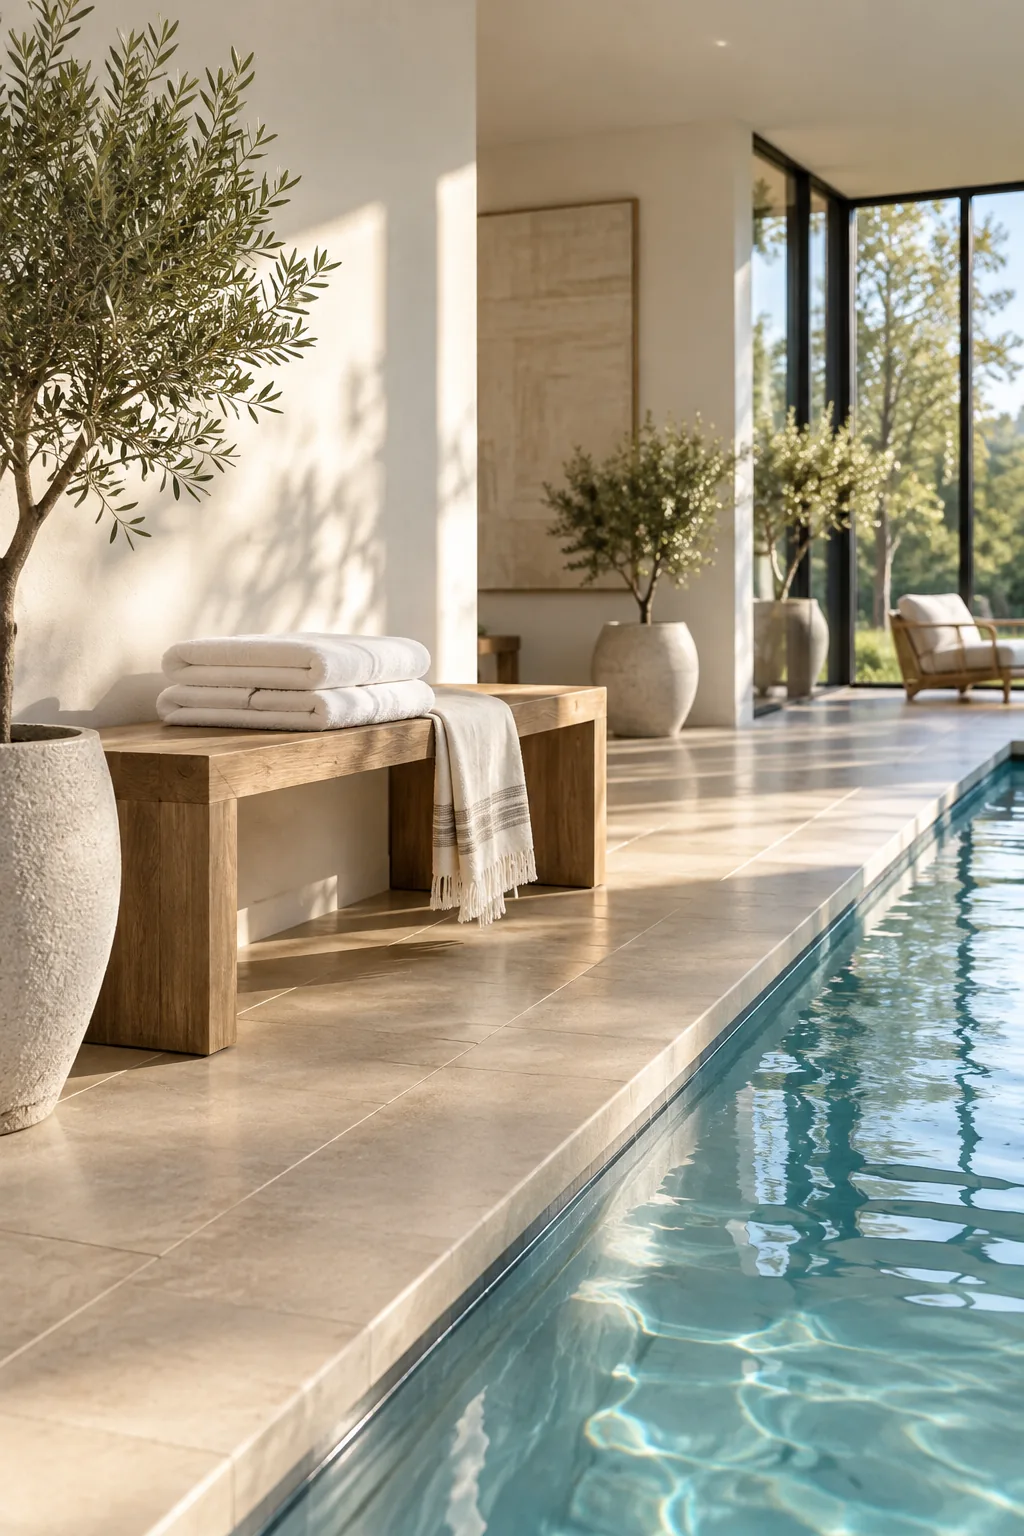
The pool deck must balance sleek aesthetics with strict safety standards, so I always choose large-format, non-slip porcelain tiles to minimize grout lines. Ensure your selected matte tile has a Dynamic Coefficient of Friction (DCOF) rating of 0.42 or higher to maintain excellent traction in wet areas.
Choosing a matte finish over a high-gloss glaze provides critical barefoot grip without sacrificing the seamless, modern look of the surrounding architecture.
Pitching the Deck for Drainage
Standing water on the pool deck creates a slip hazard and accelerates evaporation, so the floor must actively shed water away from the walking paths. Pitch the entire concrete slab at a strict 1/4-inch per foot slope, directing all splash-out toward a continuous linear slot drain.
Choosing the Right Grout
Standard cementitious grout will quickly discolor and degrade when exposed to constant moisture and harsh pool chemicals. Specify a 100-percent solids epoxy grout for the deck tiles, which provides a completely waterproof, stain-proof joint that never requires chemical sealing.
Hiding the Under-Coping Track
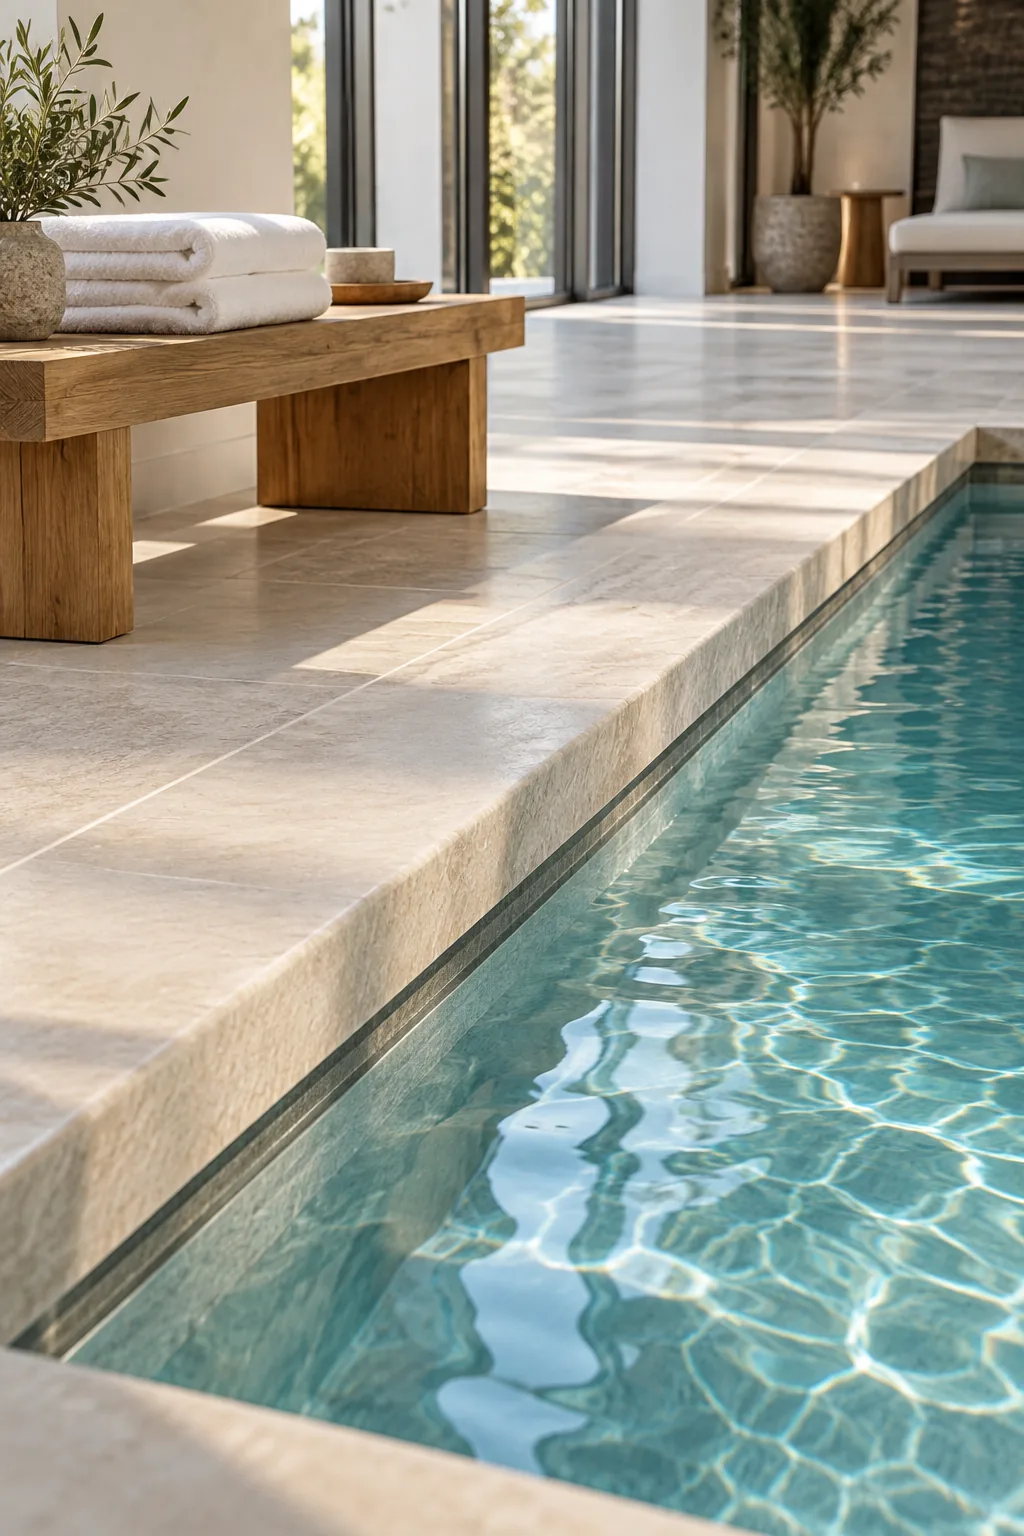
An automatic pool cover is essential for indoor moisture control, but the mechanical hardware absolutely does not have to be an eyesore. Integrate an under-coping track directly into the pool wall during the concrete pour to conceal the 2-inch aluminum channel just beneath the stone edge.
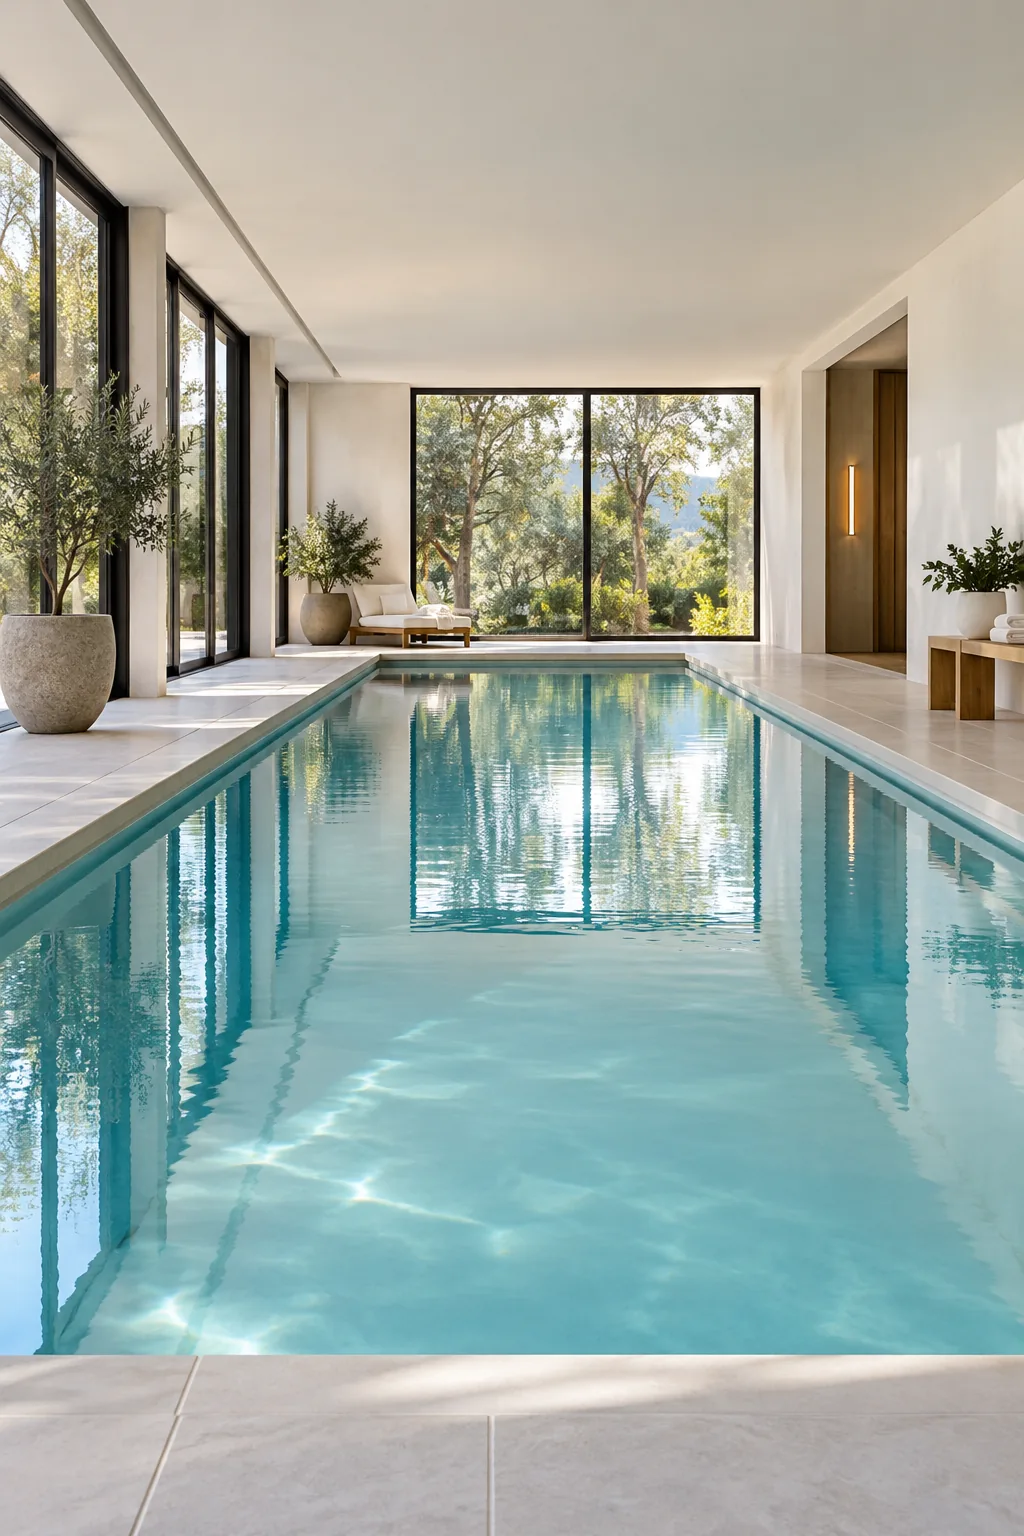
This flush integration keeps the visual focus entirely on the water and the tile, rather than exposing industrial metal tracks along the walking surface.
Integrating the Cover Vault
The heavy vinyl cover and its motorized aluminum roller require a dry, accessible housing pit located at the deep end of the pool. Construct a concrete cover vault measuring 14 inches wide and 14 inches deep, capping it with custom stone trays that sit flush with the surrounding deck.
Pouring the Cantilevered Edge
To achieve a flawless finish above the hidden track, you must pour the concrete shell with a perfectly level bond beam. Install heavy limestone or granite coping with a 2-inch cantilevered overhang, which casts a sharp shadow line that completely hides the cover mechanics from view.
5 Inspiring Indoor Pool Aesthetics
Explore these distinct material palettes to find the perfect mood for your private oasis.
Minimalist Concrete and Steel: Embrace industrial elegance by pairing raw concrete walls with stark black steel frames for a bold, modern sanctuary.
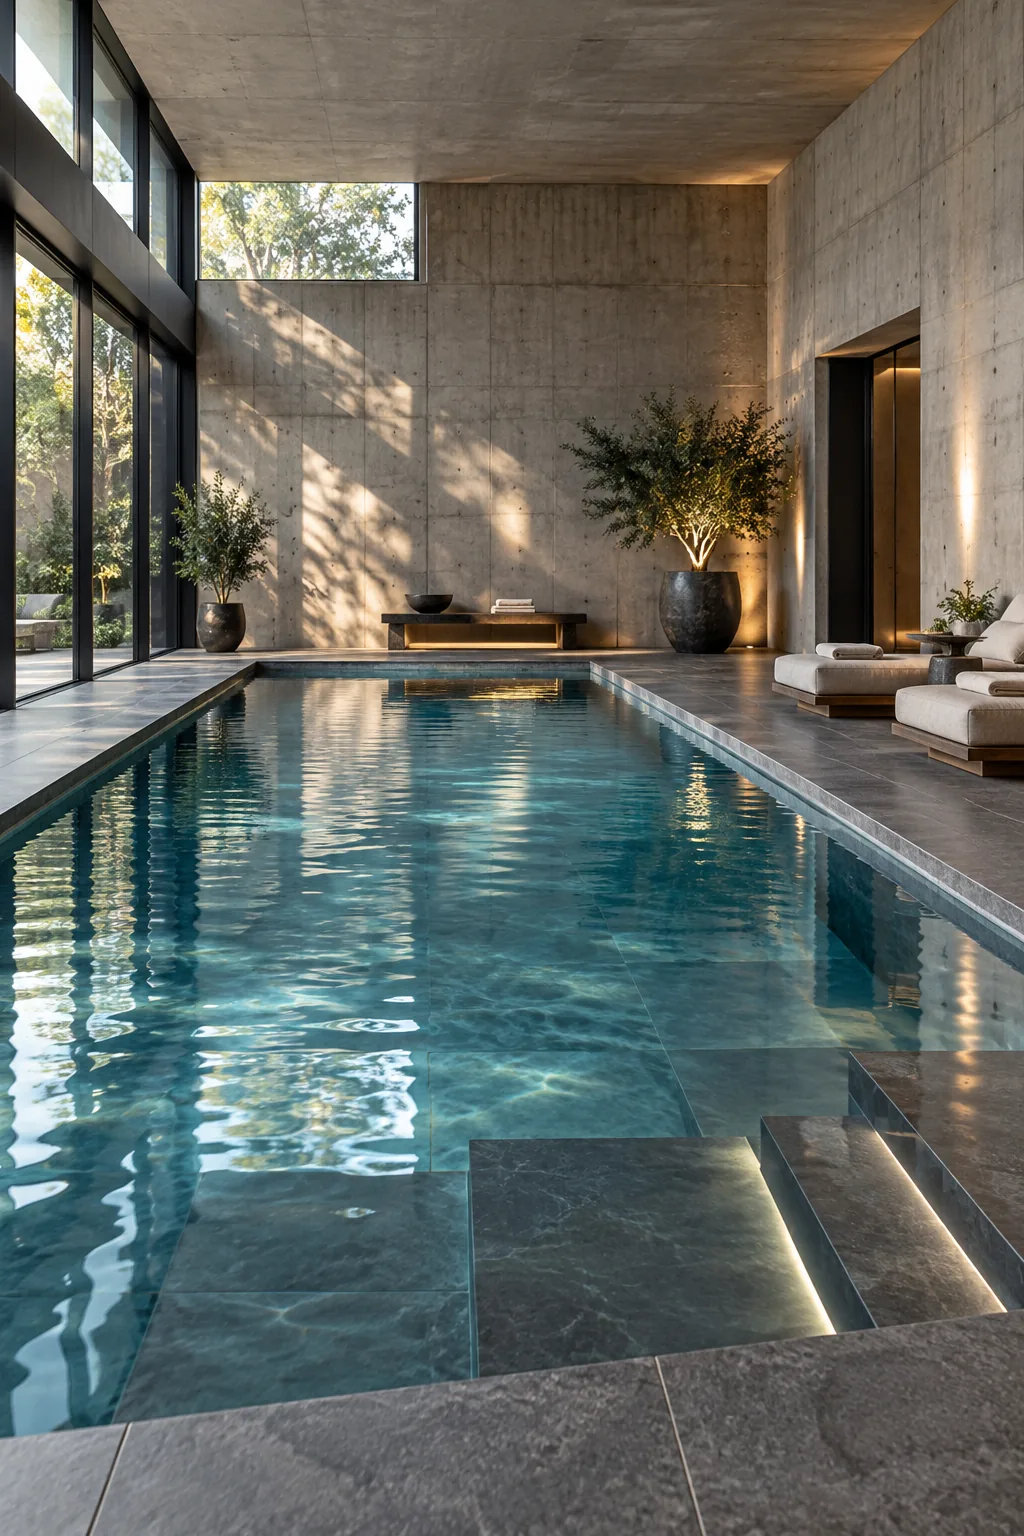
Warm Organic Travertine: Soften the space with honed travertine tiles and a slatted cedar ceiling to create a warm, nature-inspired retreat.
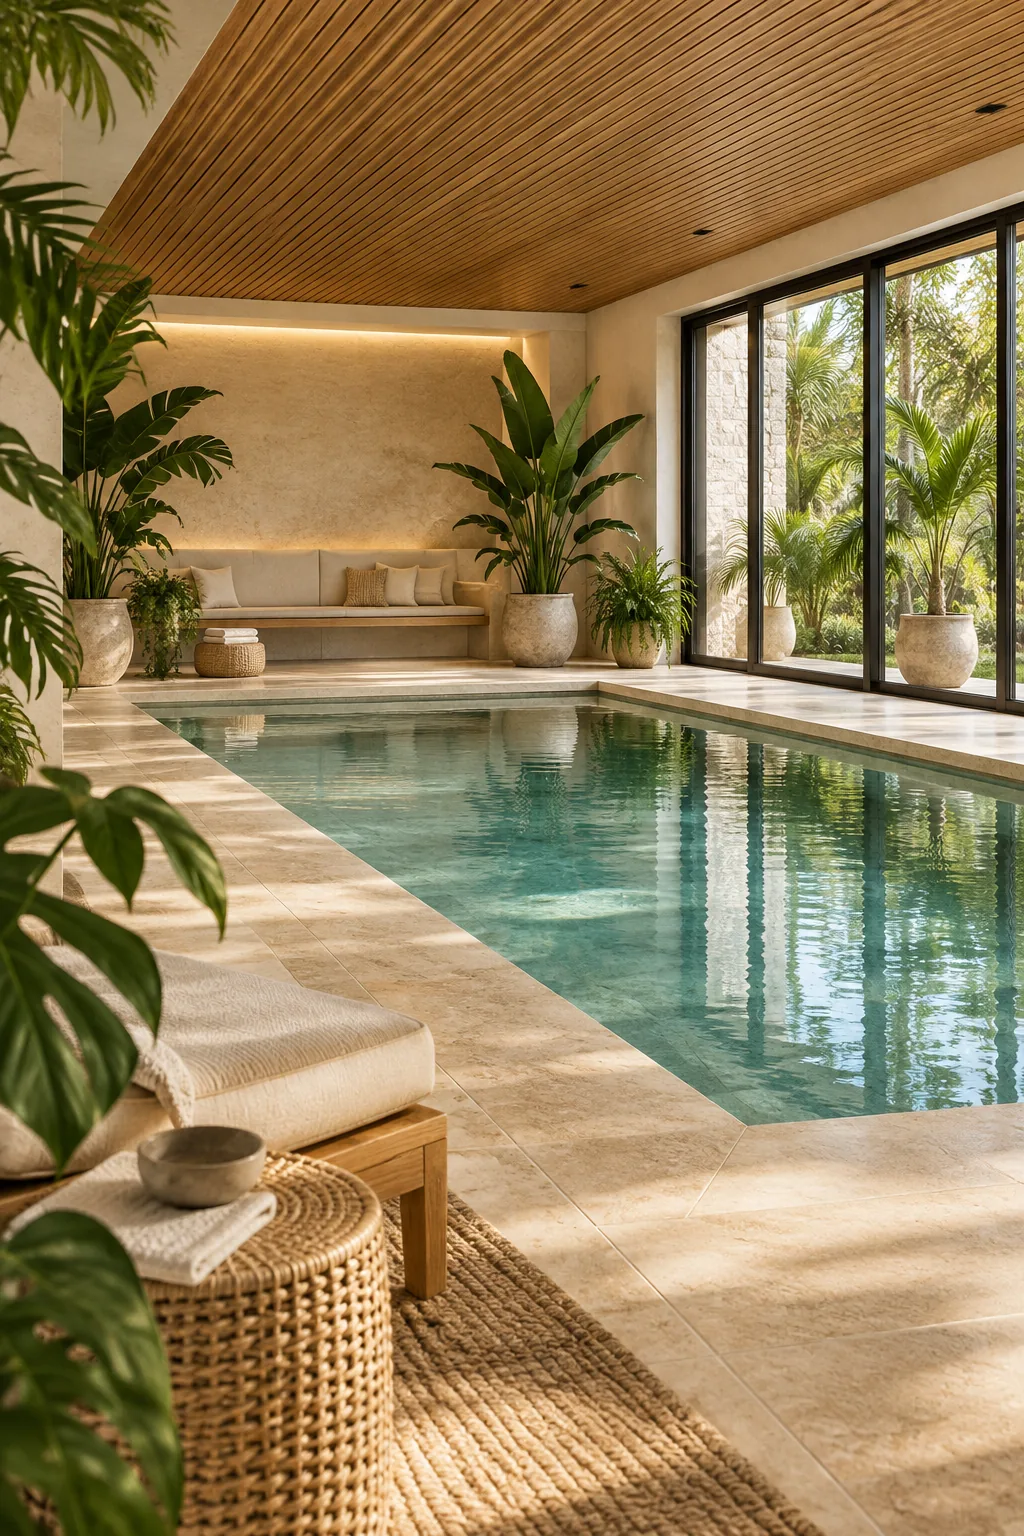
Dark Moody Slate Spa: Lean into a luxurious grotto aesthetic by combining cleft slate flooring with deep emerald green waterline tiles.
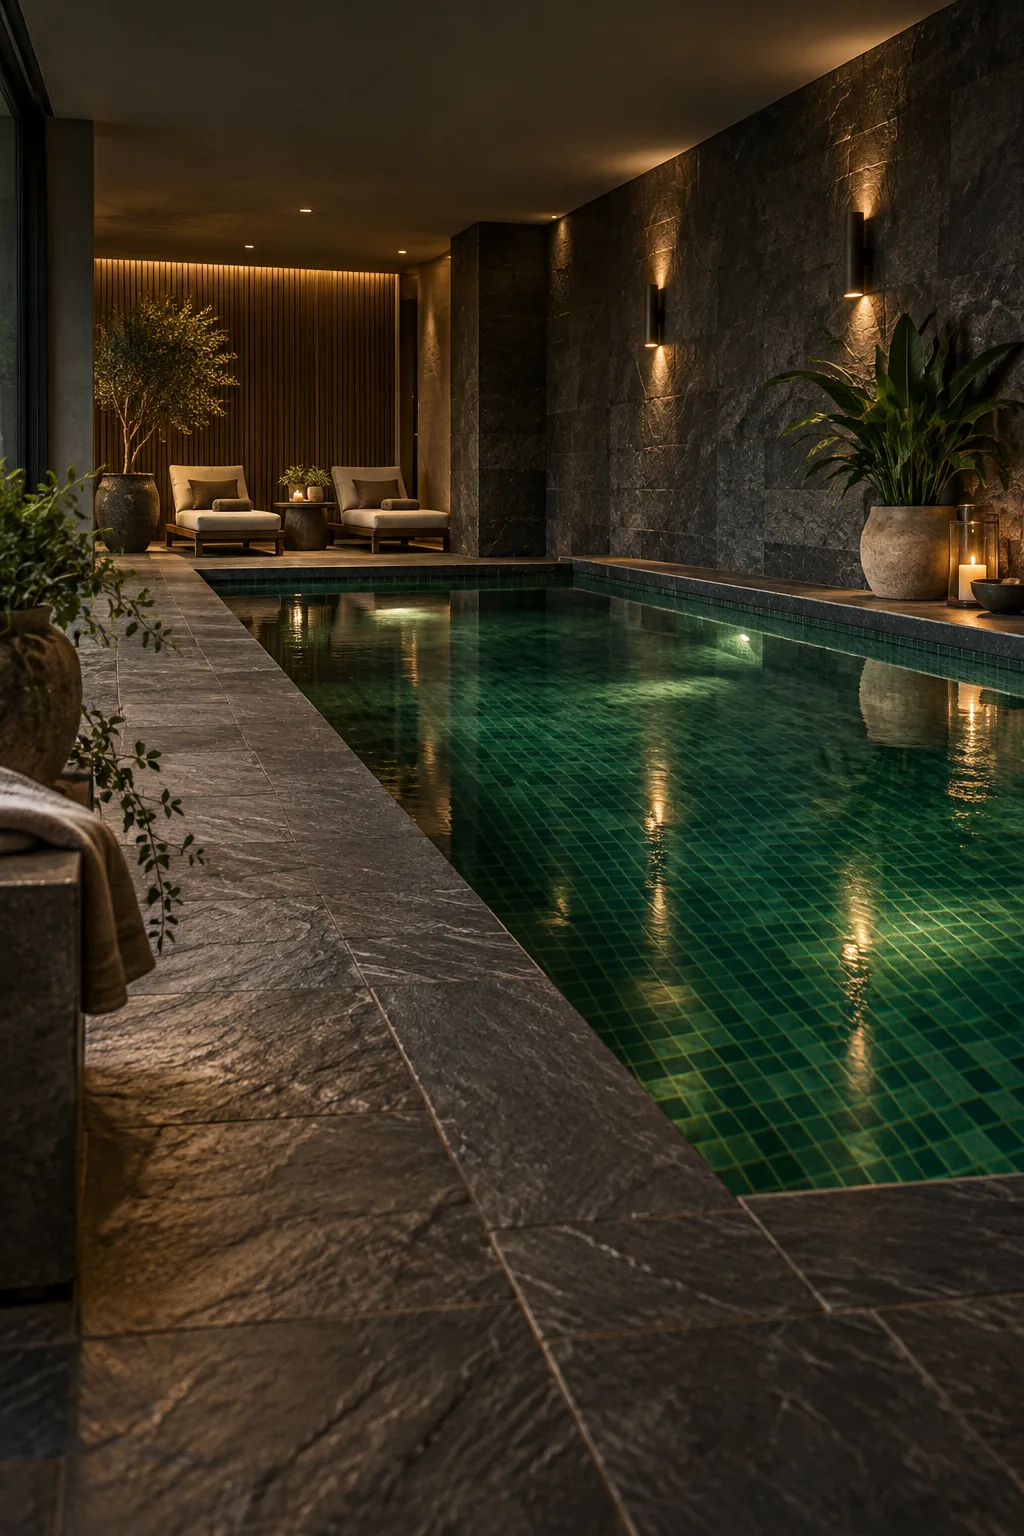
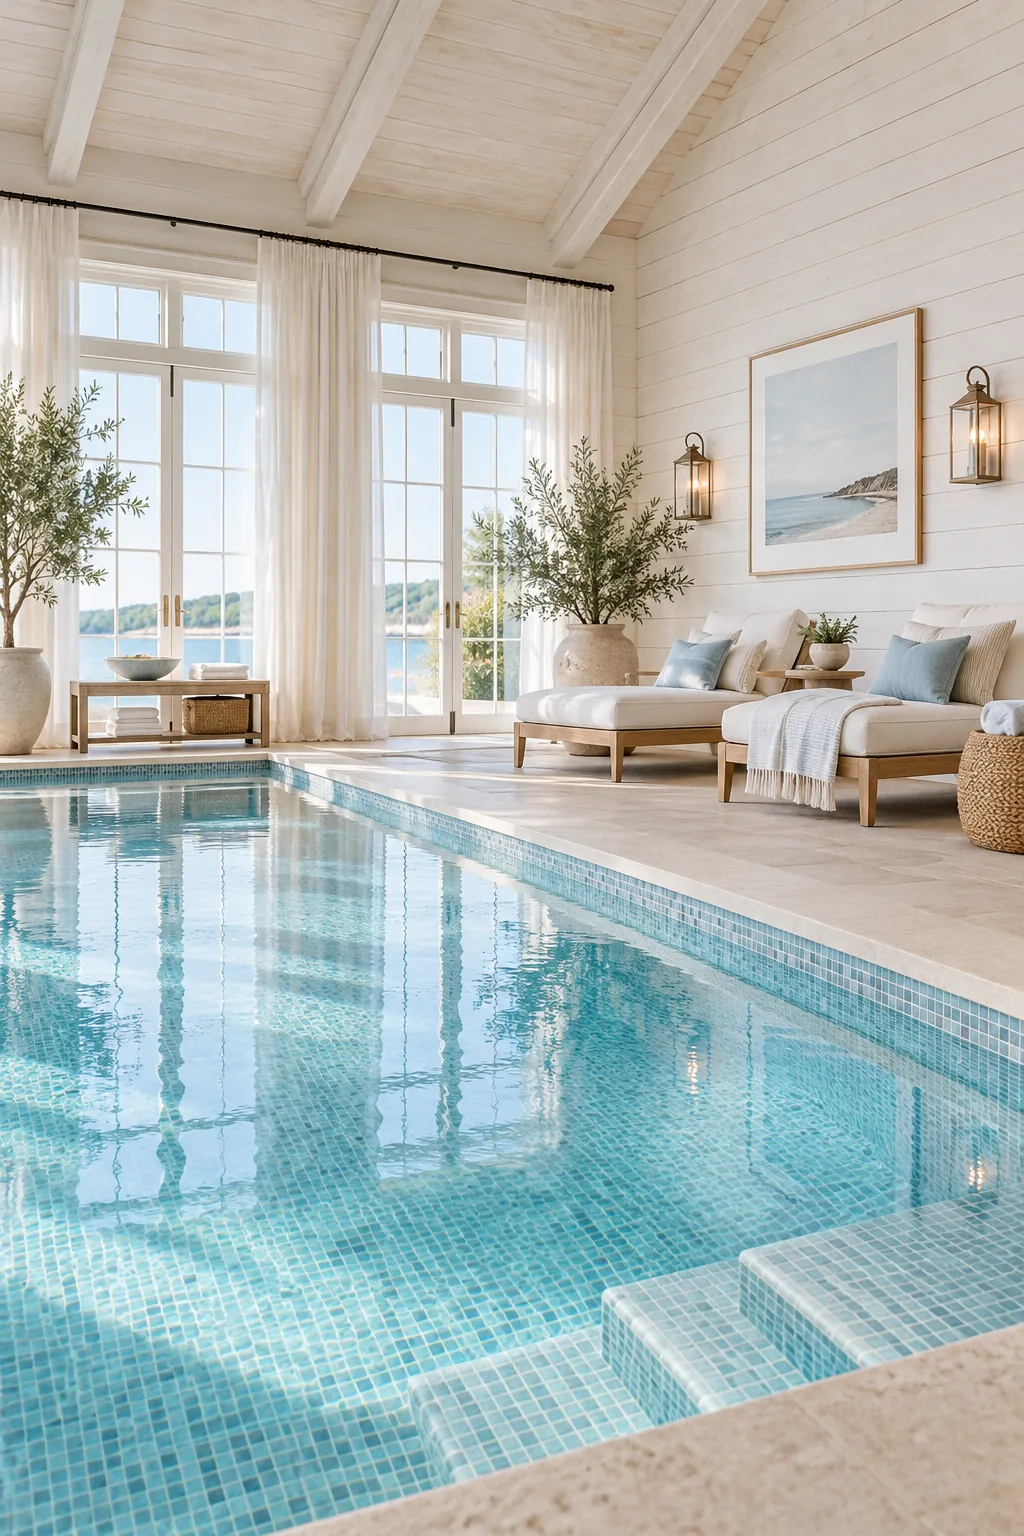
Bright Coastal Whitewash: Bring the beach indoors with whitewashed wood paneling and shimmering pale blue glass mosaics that reflect the sunlight.
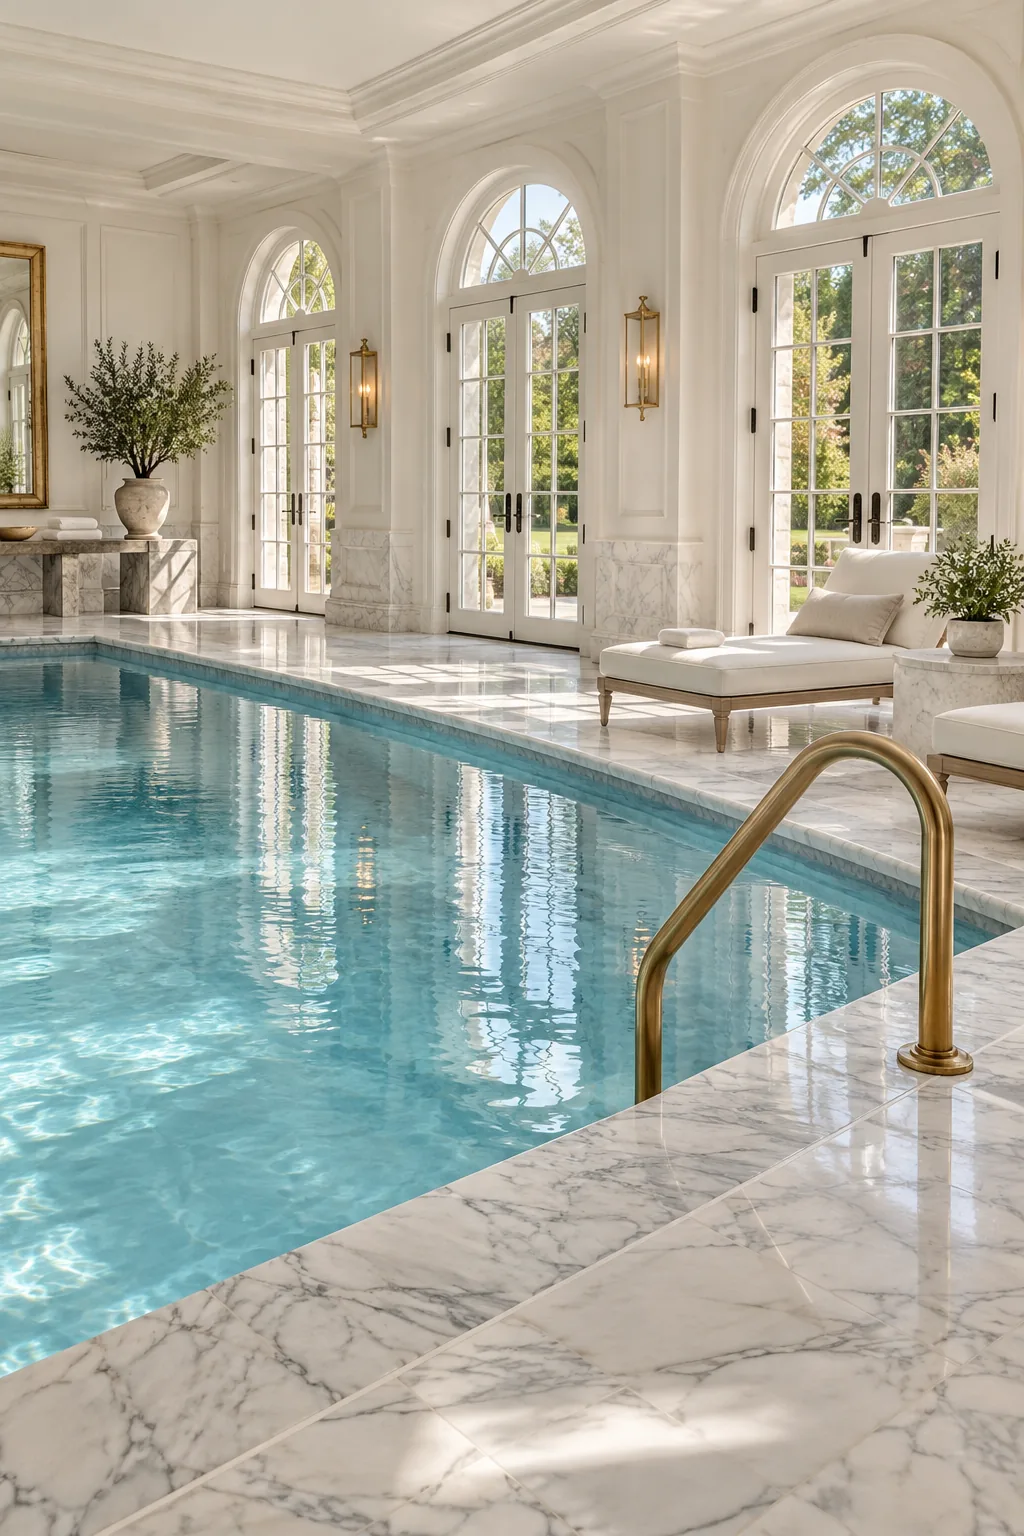
Classic Marble and Brass: Elevate the room with timeless Carrara marble decking and unlacquered brass accents that patina beautifully in humid environments.
Applying a Liquid Vapor Barrier
When the physical pool cover is open, evaporation immediately spikes the room’s humidity, pulling heat and water into the air. Add a liquid vapor barrier to the crystal clear, light blue pool water to create an invisible, microscopic shield directly on the surface.
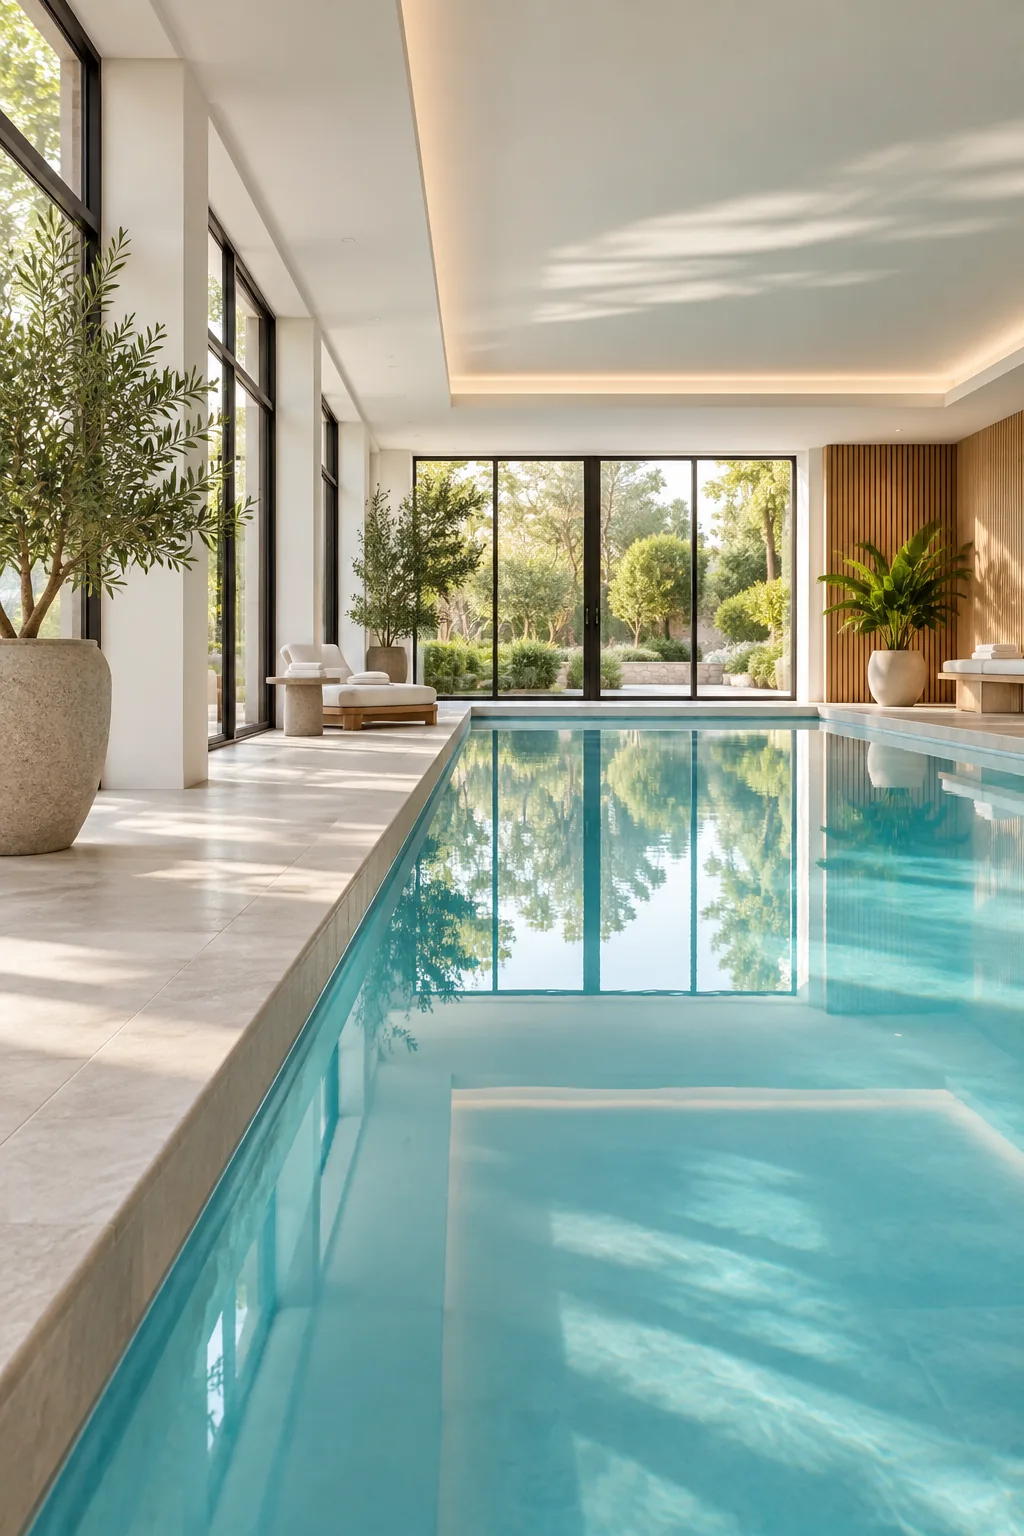
This simple addition can reduce active evaporation rates by up to 50 percent while the pool is in use, dramatically lowering your dehumidifier’s workload and protecting your finished space.