
17+ Stunning Cupcake Display Ideas for Your Next Party
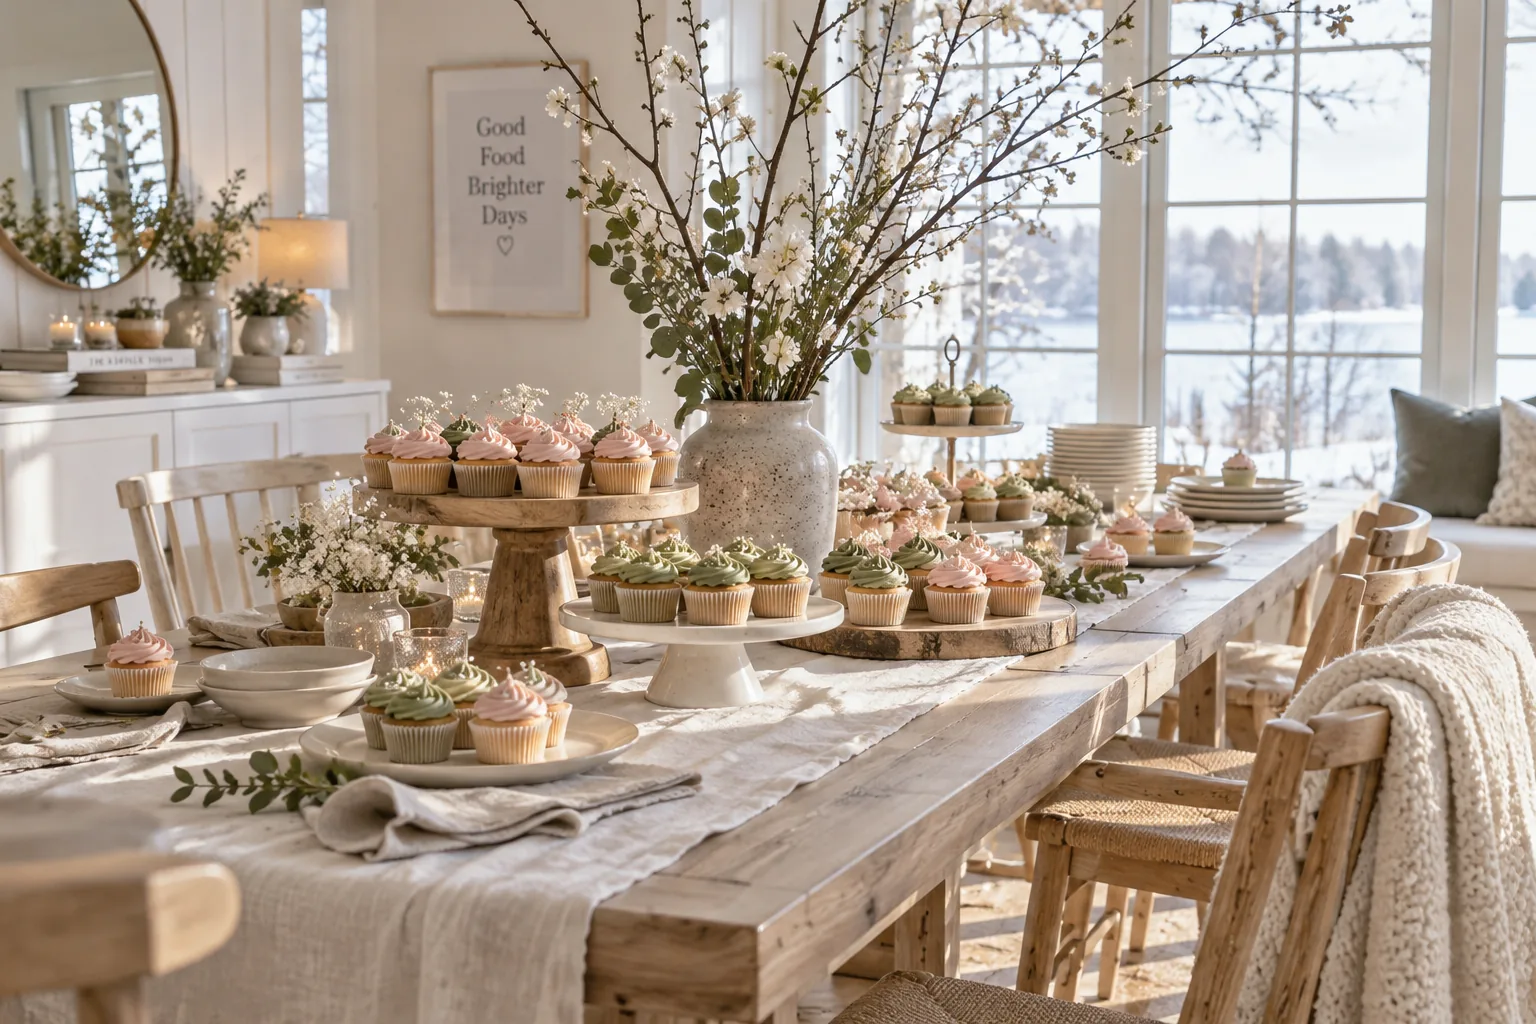
Setting up a beautiful cupcake display is one of my favorite ways to make a dessert table feel instantly pulled together. I gathered my go-to styling tricks so you can recreate these exact looks for your next party.
1. DIY Tiered Stand
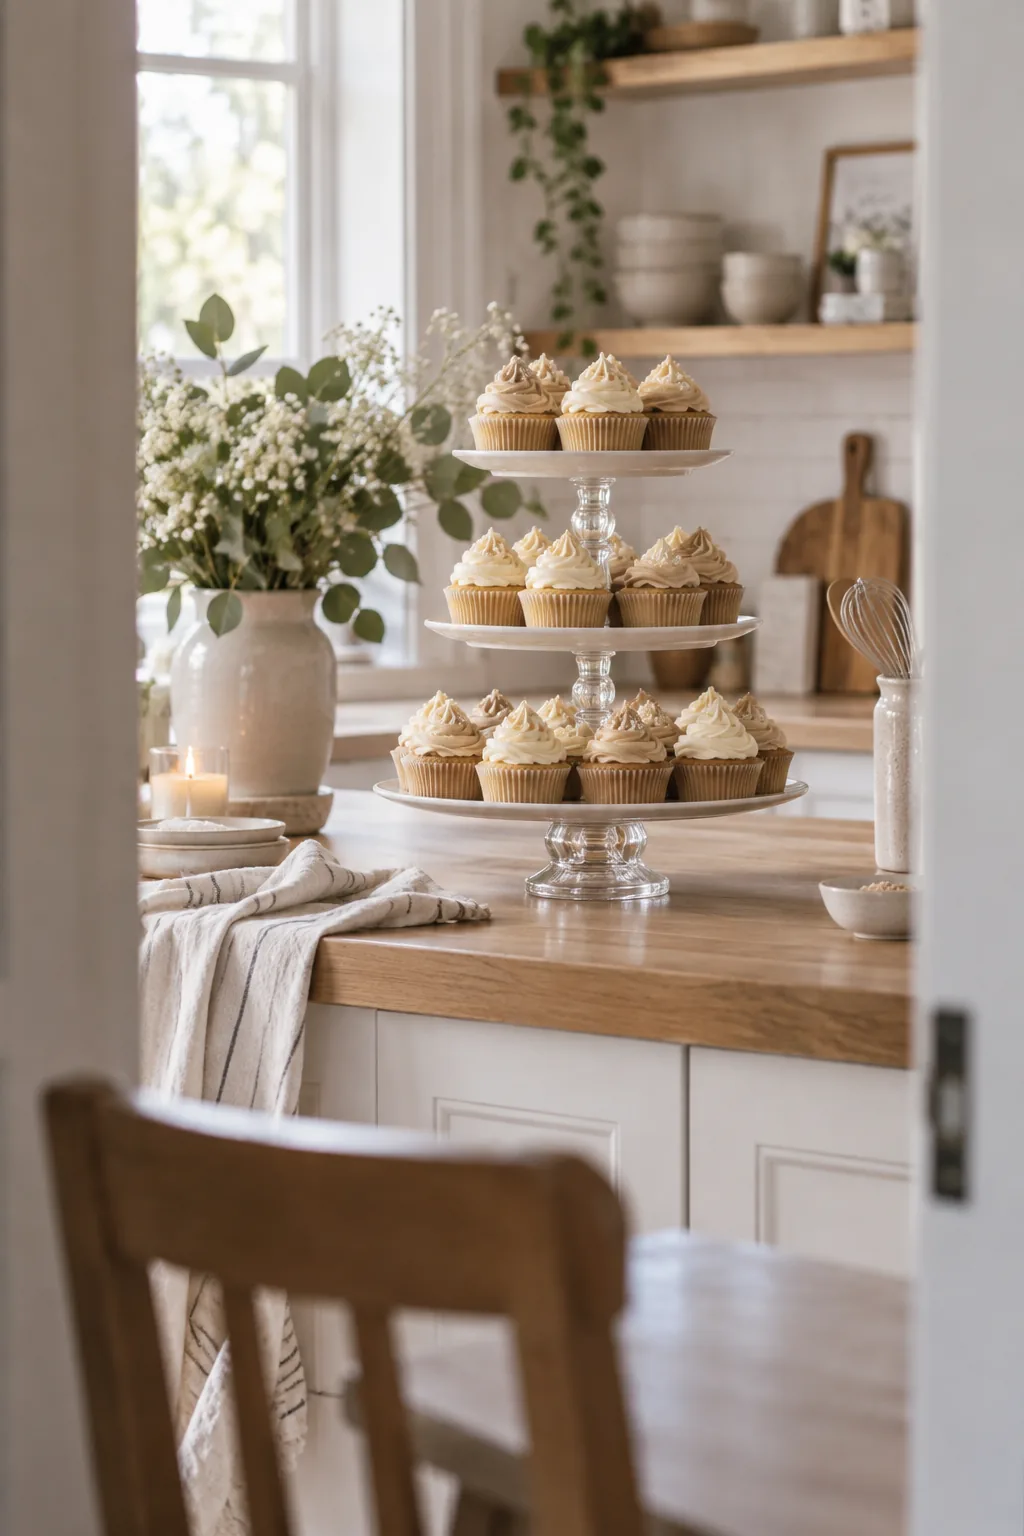
A standard tiered stand holds exactly two dozen standard cupcakes when spaced properly. You can build your own custom tower using pieces you already own. Just grab these basics:
Use a little poster putty to hold the glass stems between the plates.
- A wide dinner plate for the base
- A medium salad plate
- A small saucer
- Two sturdy glass candlesticks
2. Rustic Wooden Crates
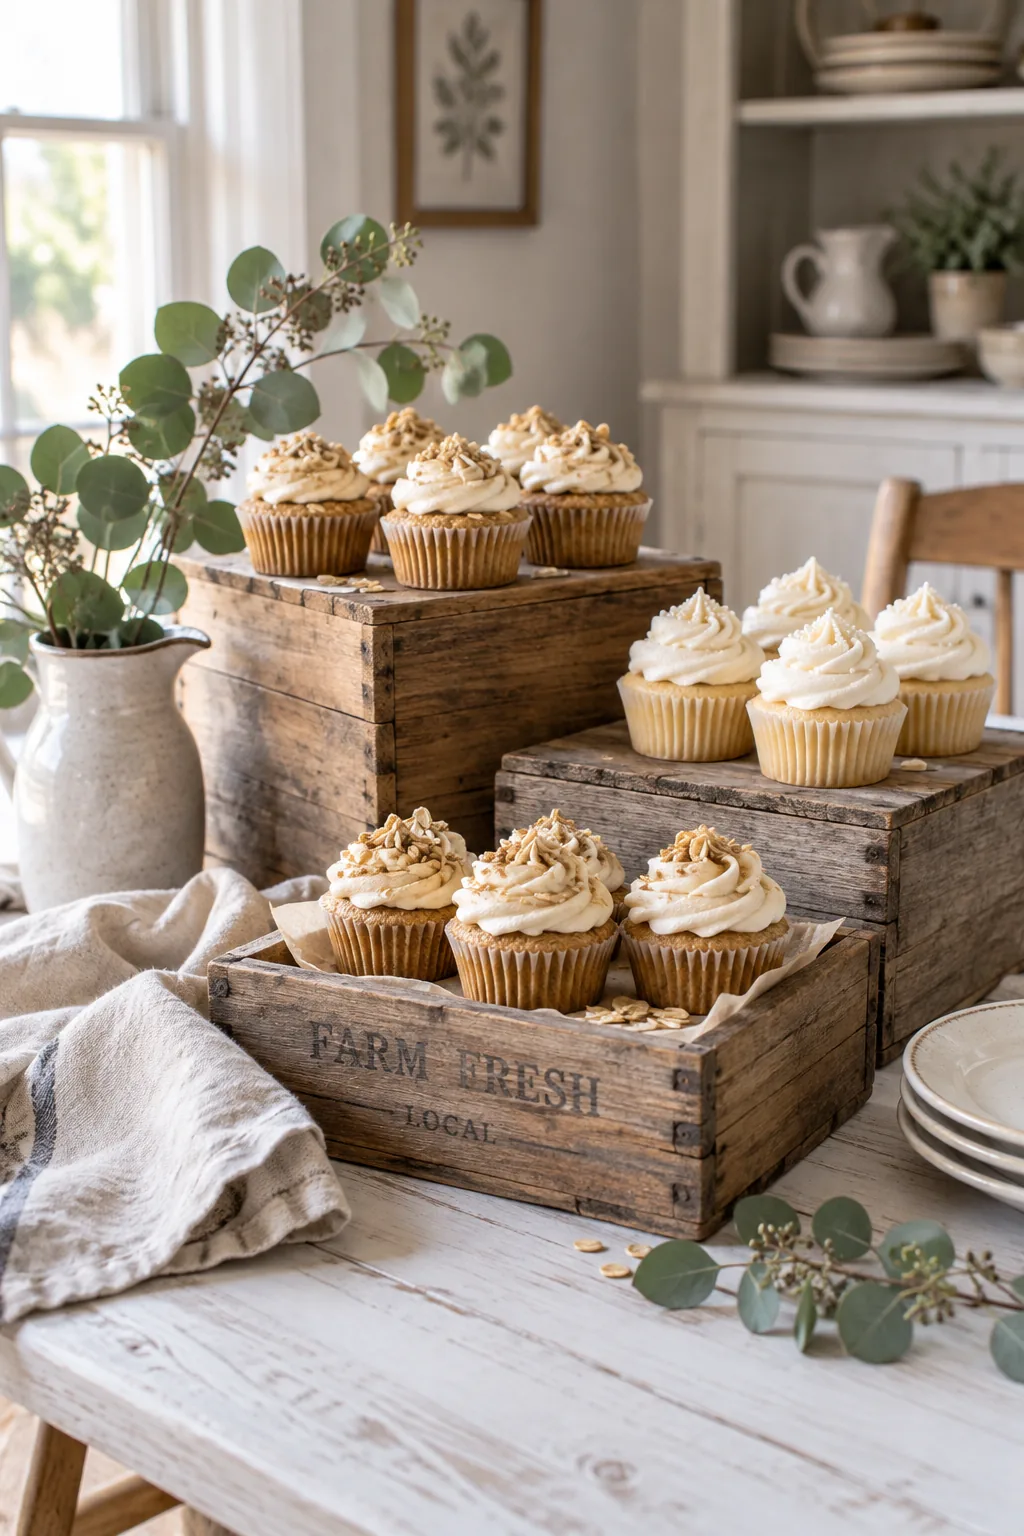
Cupcakes look tiny and lost when placed directly on a flat, oversized dining table. You need to create instant elevation using a few wooden crates and simple props.
- Three varying sizes of apple crates
- A rustic linen runner
- Fresh eucalyptus sprigs
3. Geometric Flat Lay
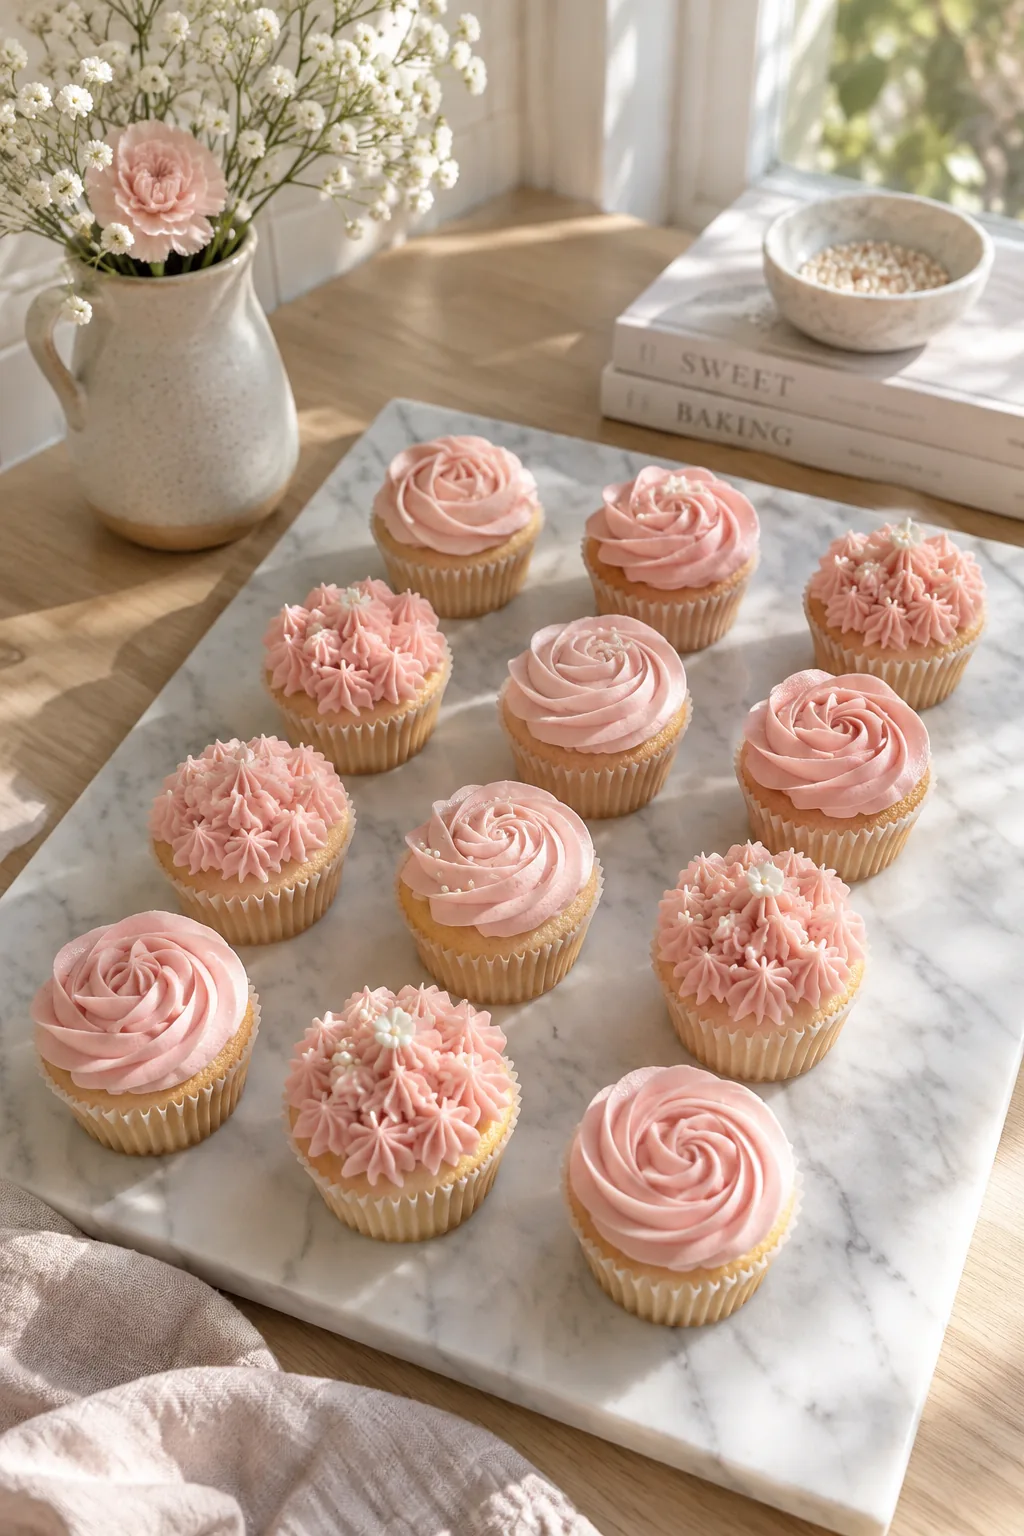
Keeping all the frosting colors in the same pastel family makes a flat lay display look incredibly cohesive. You just line the treats up in neat geometric rows on a large marble slab instead of stacking them.
4. Glass Cloche Dome
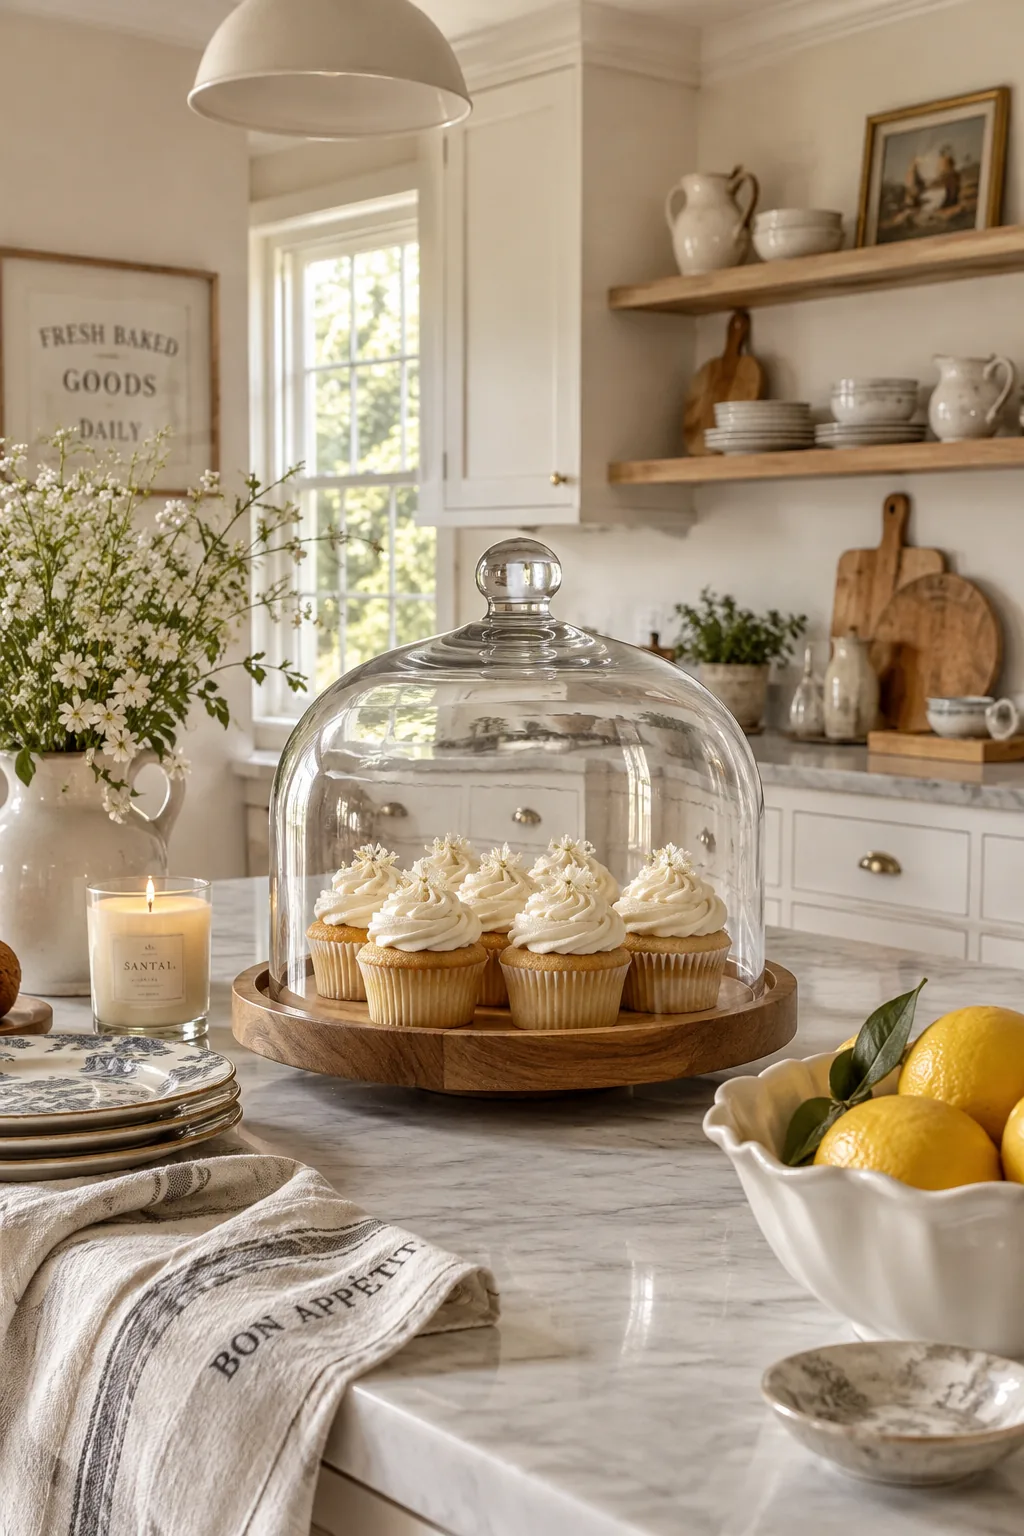
This setup gives you that charming, old-world bakery aesthetic right in your kitchen.
You achieve this by displaying the treats under a large glass cloche with a wooden base. Group these items together for the best effect:
The glass cover keeps the frosting fresh while acting as a beautiful focal point.
- One tall pedestal cake stand
- A clear glass dome
- Vintage silver dessert forks
5. Upside-Down Teacups
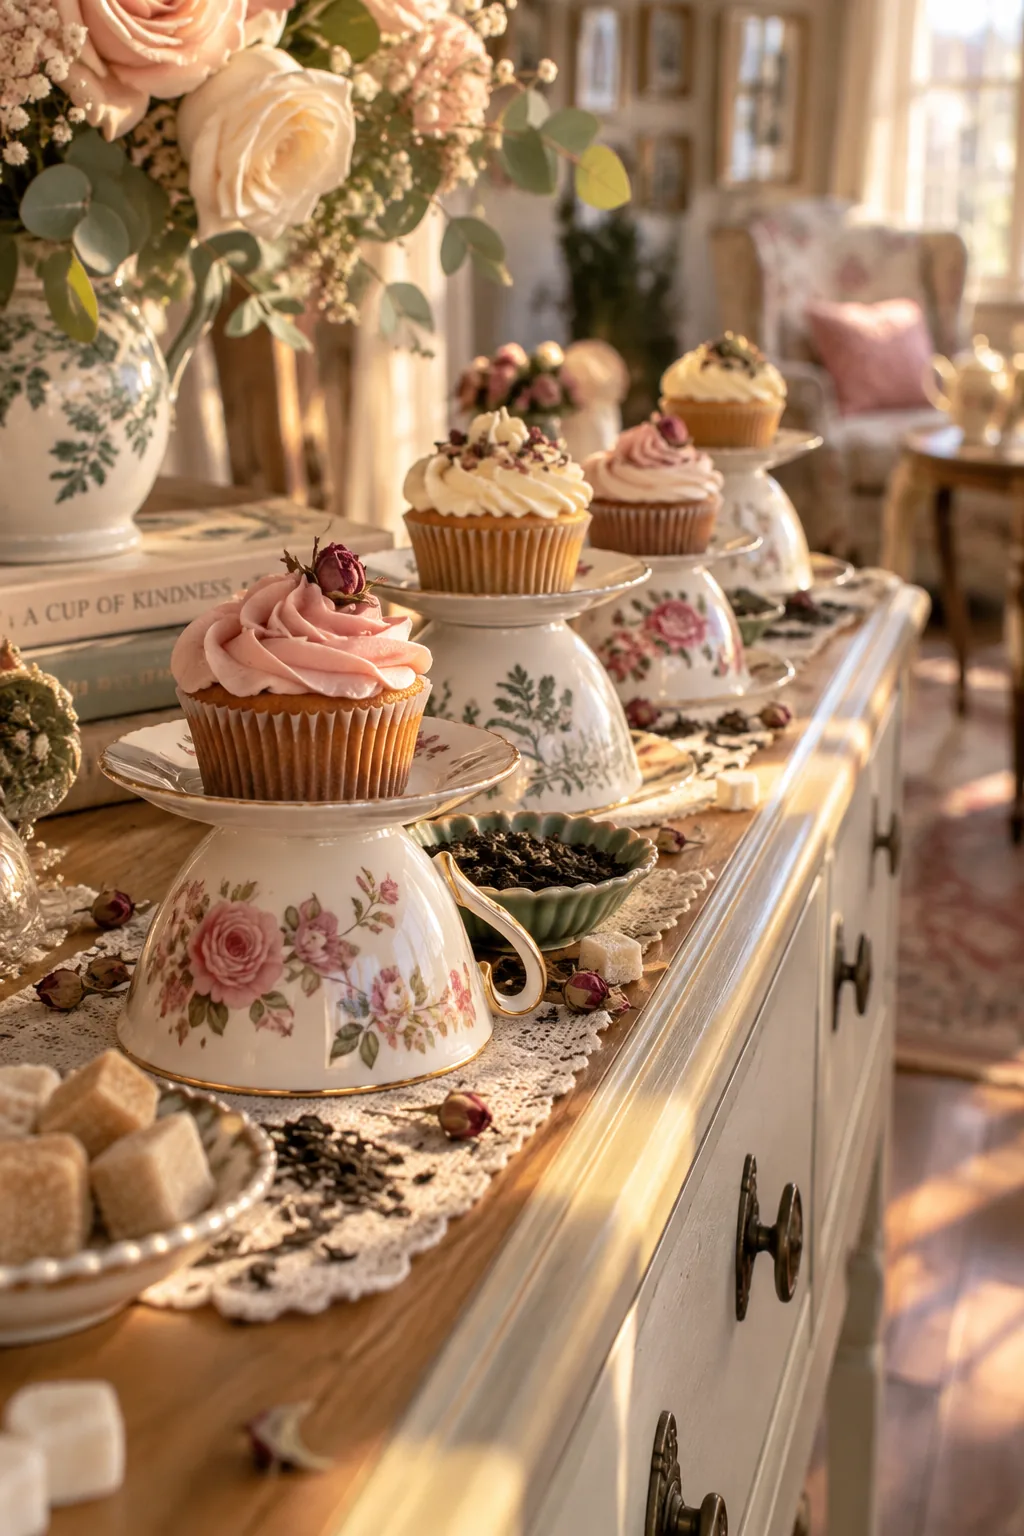
Mixing different heights is the secret to a dynamic dessert table.
Instead of buying matching stands, I love turning vintage teacups upside down to hold individual cupcakes. It creates a whimsical, floating effect across the buffet.
Scatter some loose tea leaves or sugar cubes around the saucers to finish the scene.
6. Chilled Galvanized Tray
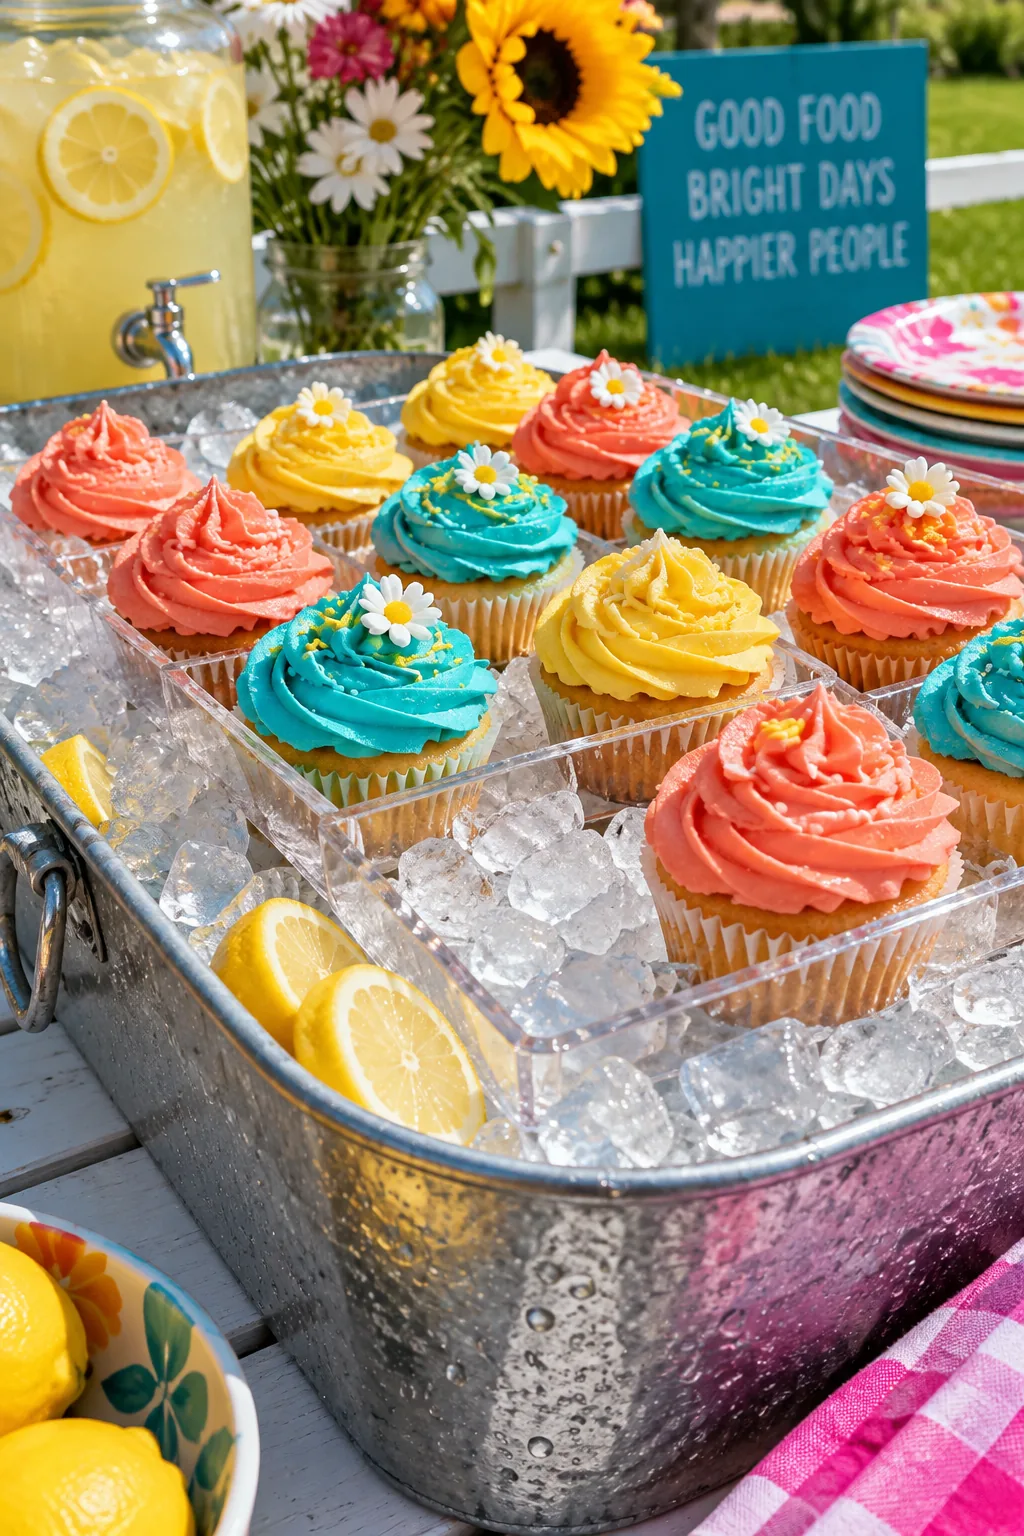
I always struggle with outdoor summer parties, so I started using a deep galvanized tray filled with ice to keep the frosting from melting. You just nestle a smaller acrylic tray over the ice and add your toppings.
- Deep metal serving tub
- Crushed ice
- Clear acrylic insert tray
7. White Paper Doilies
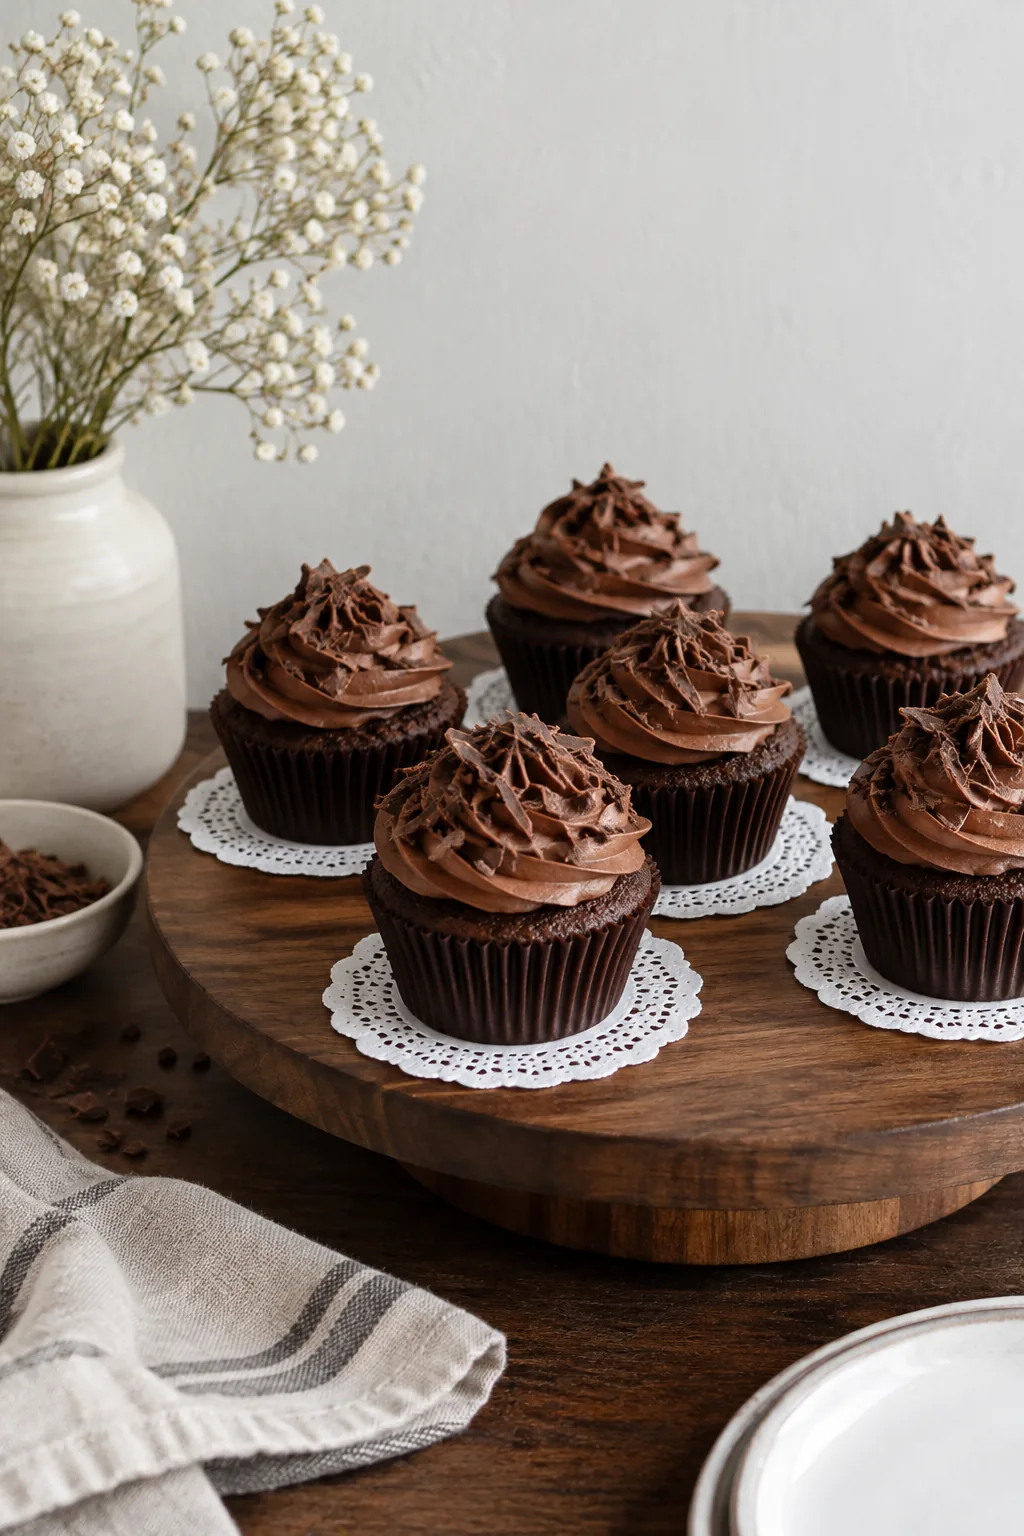
Dark chocolate wrappers completely disappear against dark wooden tables.
You can fix this by placing a bright white paper doily under each individual treat. The crisp white border frames the dessert and makes the rich chocolate colors pop beautifully.
8. Clear Acrylic Risers
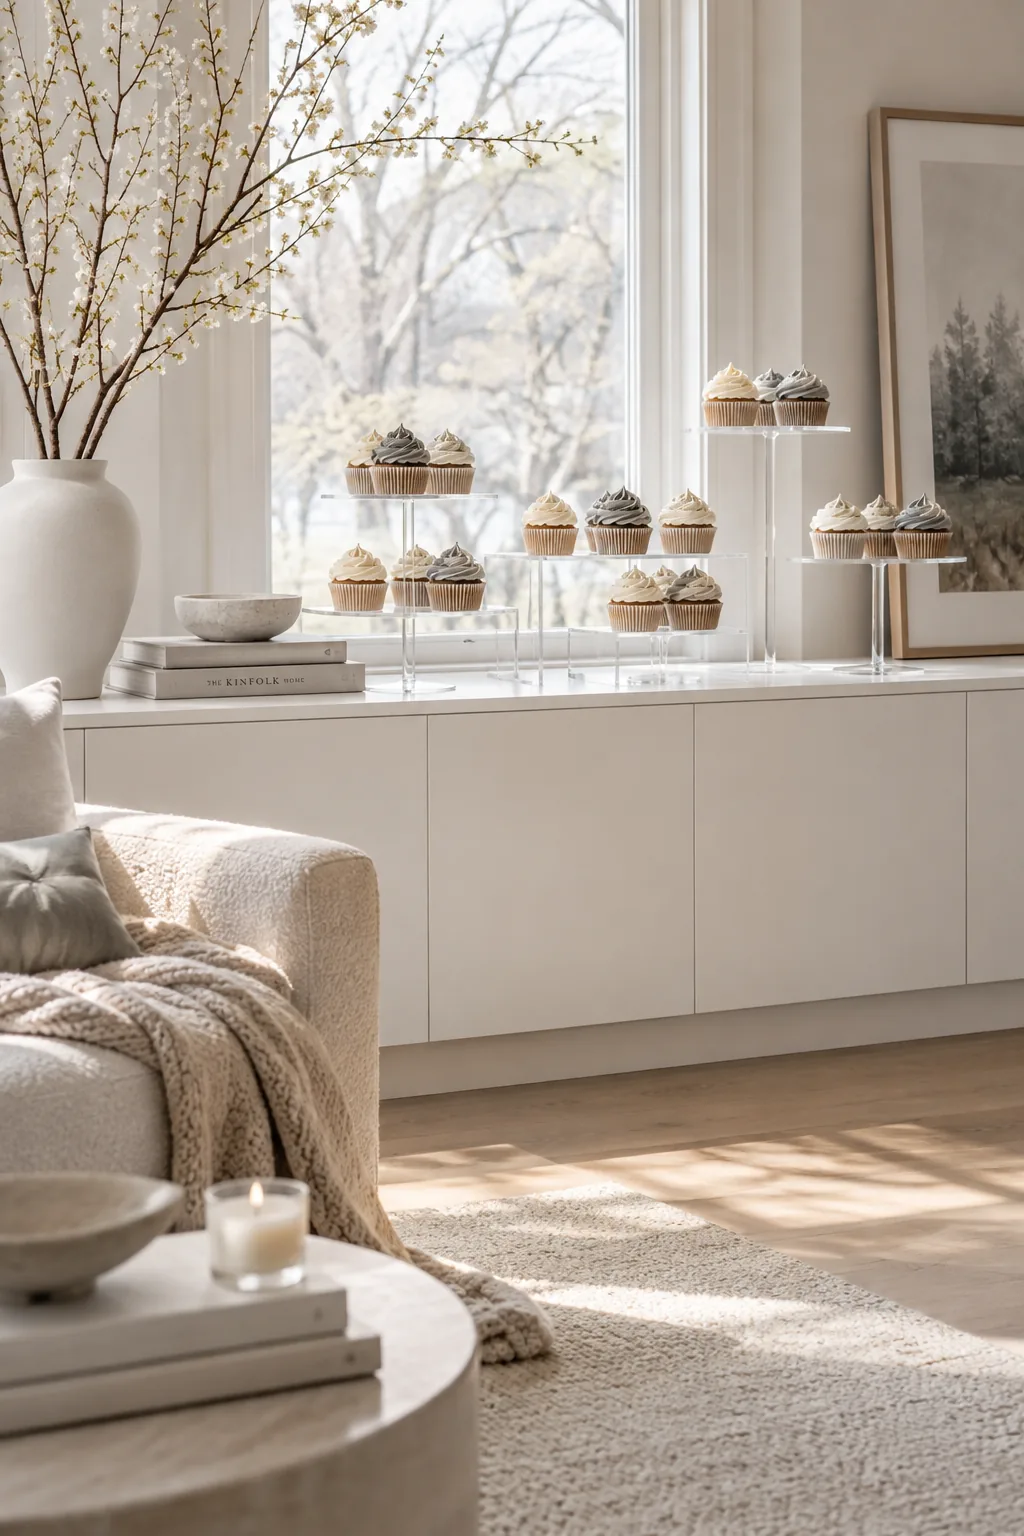
A modern, minimalist vibe happens naturally when you use clear acrylic risers. The transparent stands make the cupcakes look like they are floating in mid-air. You will need a few sleek pieces to pull this off:
Keep the spacing perfectly even to maintain that clean, gallery-like appearance.
- A set of clear U-shaped risers
- Plain white baking cups
- A solid color tablecloth
9. Rustic Wood Slices
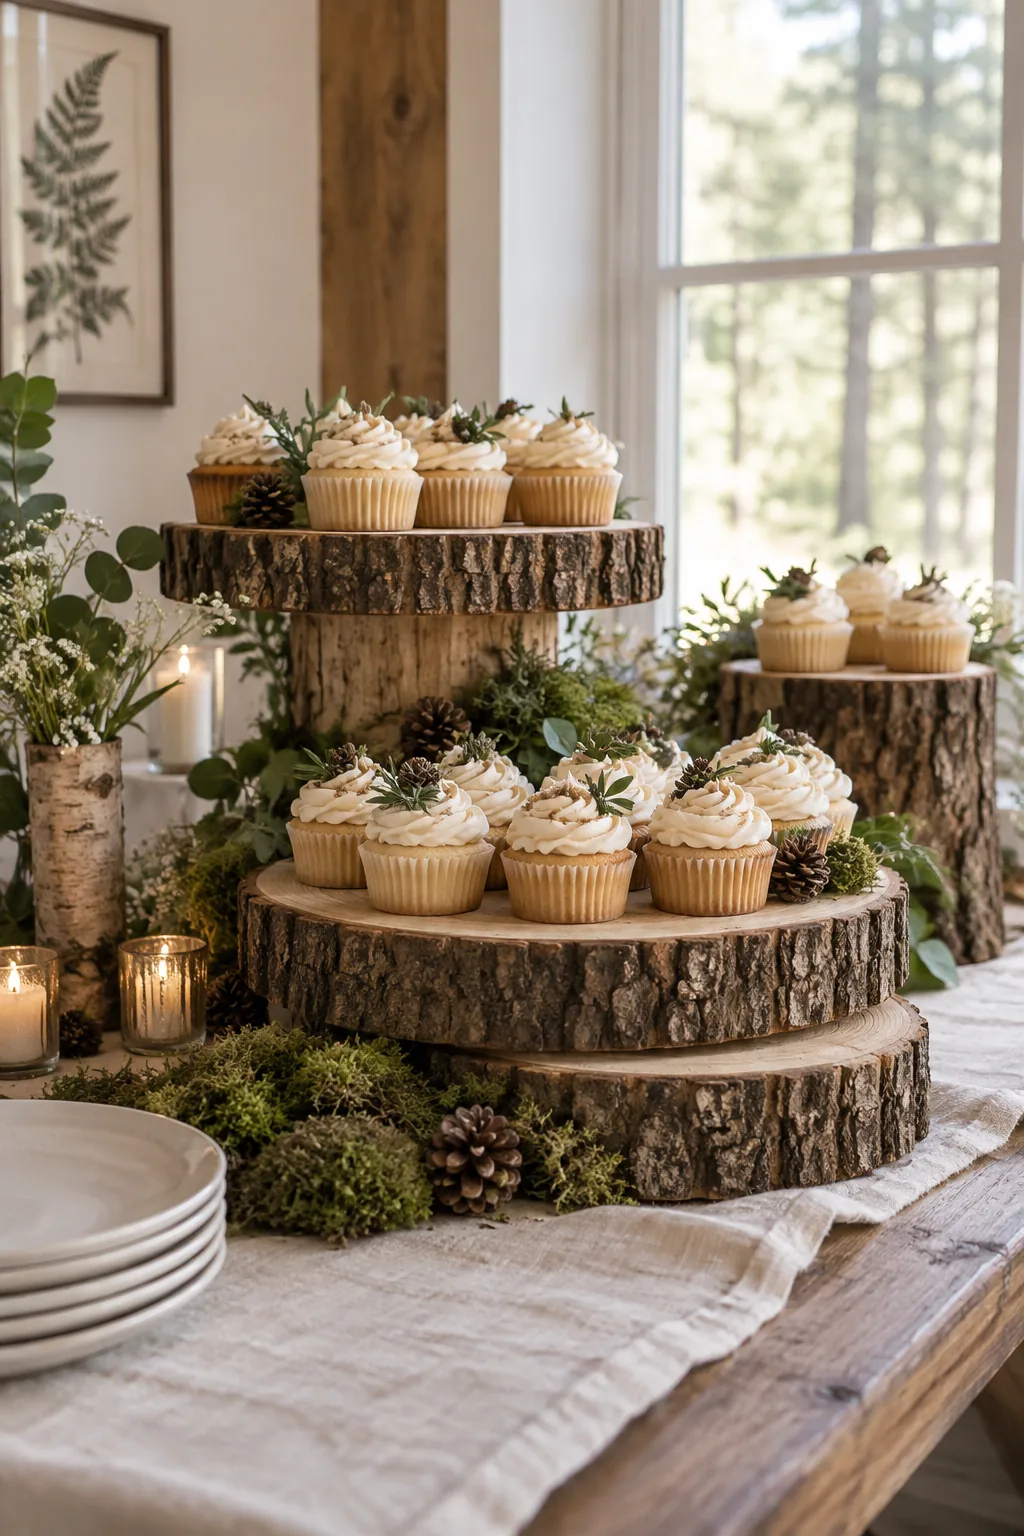
Store-bought stands often wobble when guests reach for a heavy dessert.
I prefer using thick wood slices stacked on top of each other for rustic woodland parties. The raw bark edges provide a sturdy, heavy base that will not tip over.
You can tuck small pinecones or moss around the bottom edges to soften the wood.
10. Floral Garland Runner
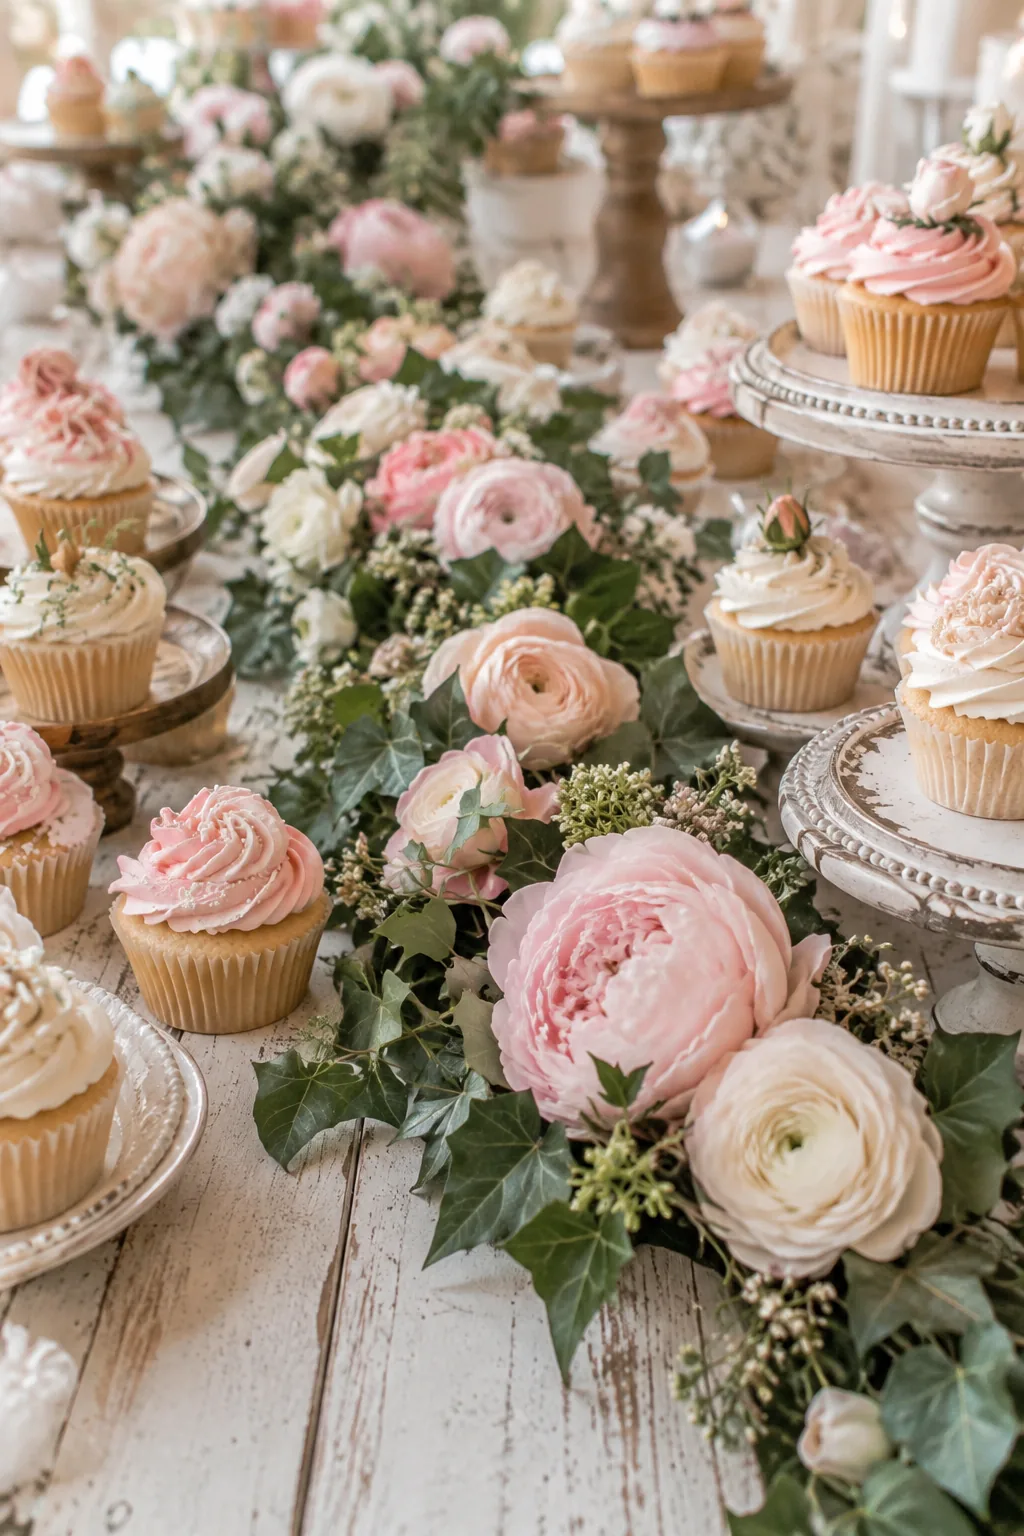
This arrangement creates a lush, garden-party atmosphere that feels incredibly romantic. You simply weave a faux floral garland directly through the center of your cupcake spread. The greenery acts as a soft runner that connects the individual treats together visually. I like to tuck a few real blooms into the artificial vine to make it look expensive. Grab these styling elements:
- A flexible faux eucalyptus vine
- Fresh pastel roses
- Small glass votive candles
11. Dressed-Up Muffin Tin
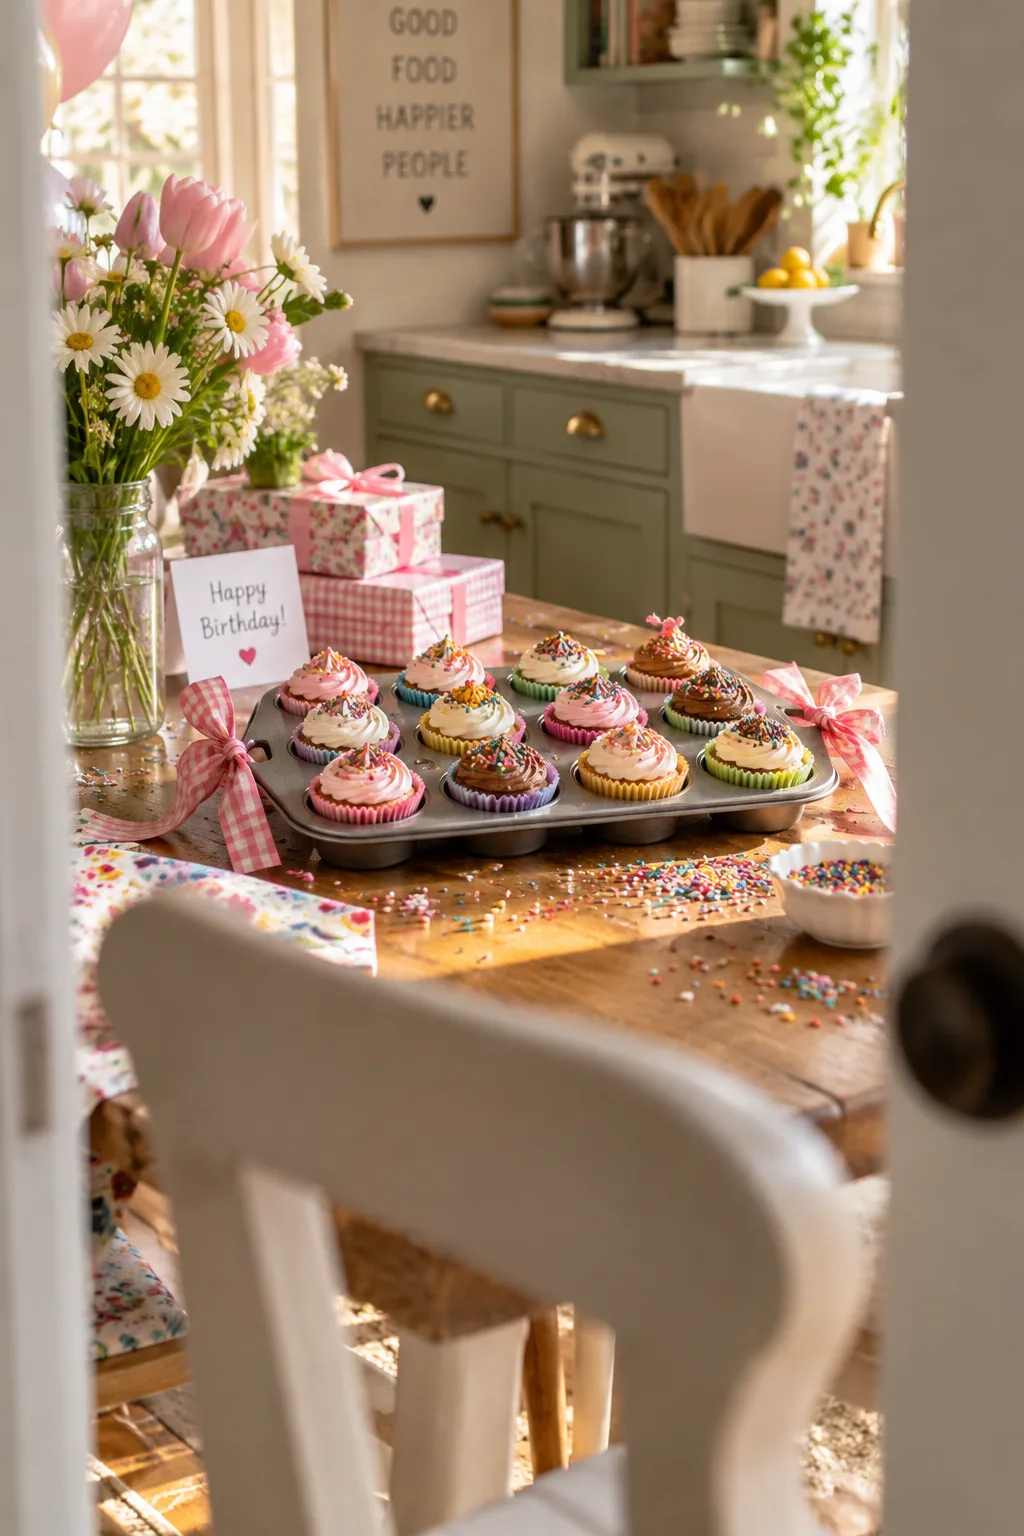
My absolute favorite trick for kids' birthdays is using a clean muffin tin as the actual serving tray.
It keeps the cupcakes perfectly spaced and catches any stray sprinkles before they hit the floor. You can line the empty cups with brightly colored tissue paper for an extra pop of fun.
Tie a thick ribbon around the handles of the pan to dress it up.
12. Vintage Mirrored Tray
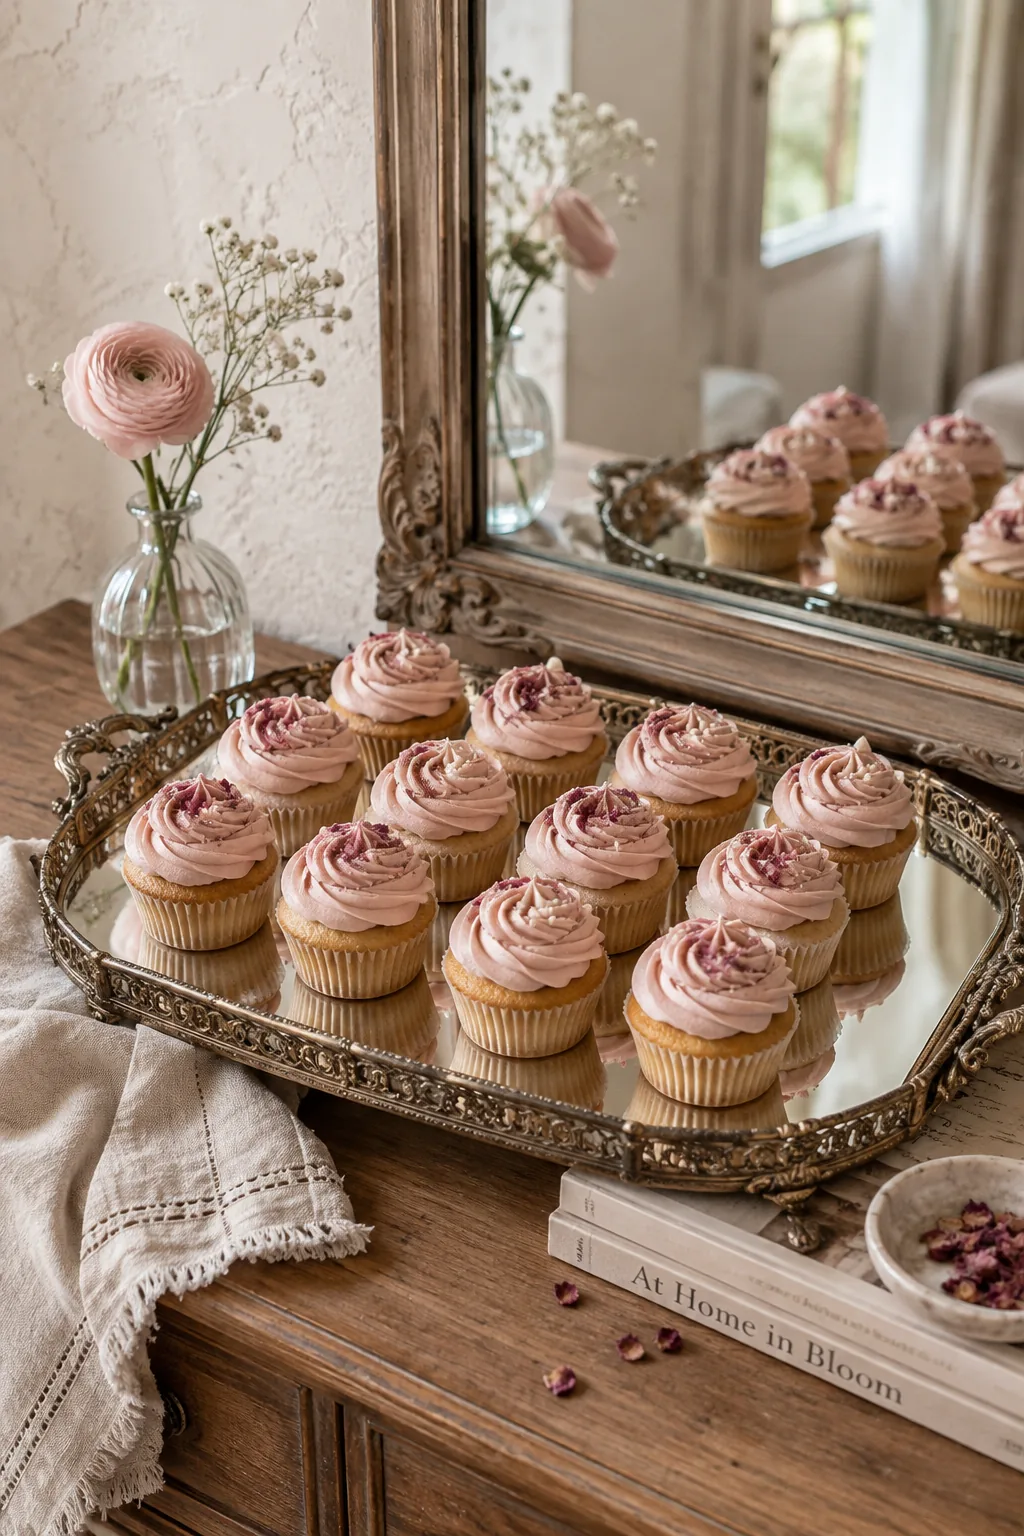
Using a mirrored tray works so well because it reflects the light and doubles the visual impact of your frosting. The reflection makes a small batch of twelve cupcakes look like a massive, abundant spread. You can easily find these vintage vanity trays at local thrift stores.
Give the glass a quick polish with vinegar before setting the food down.
13. Ceramic Ramekins
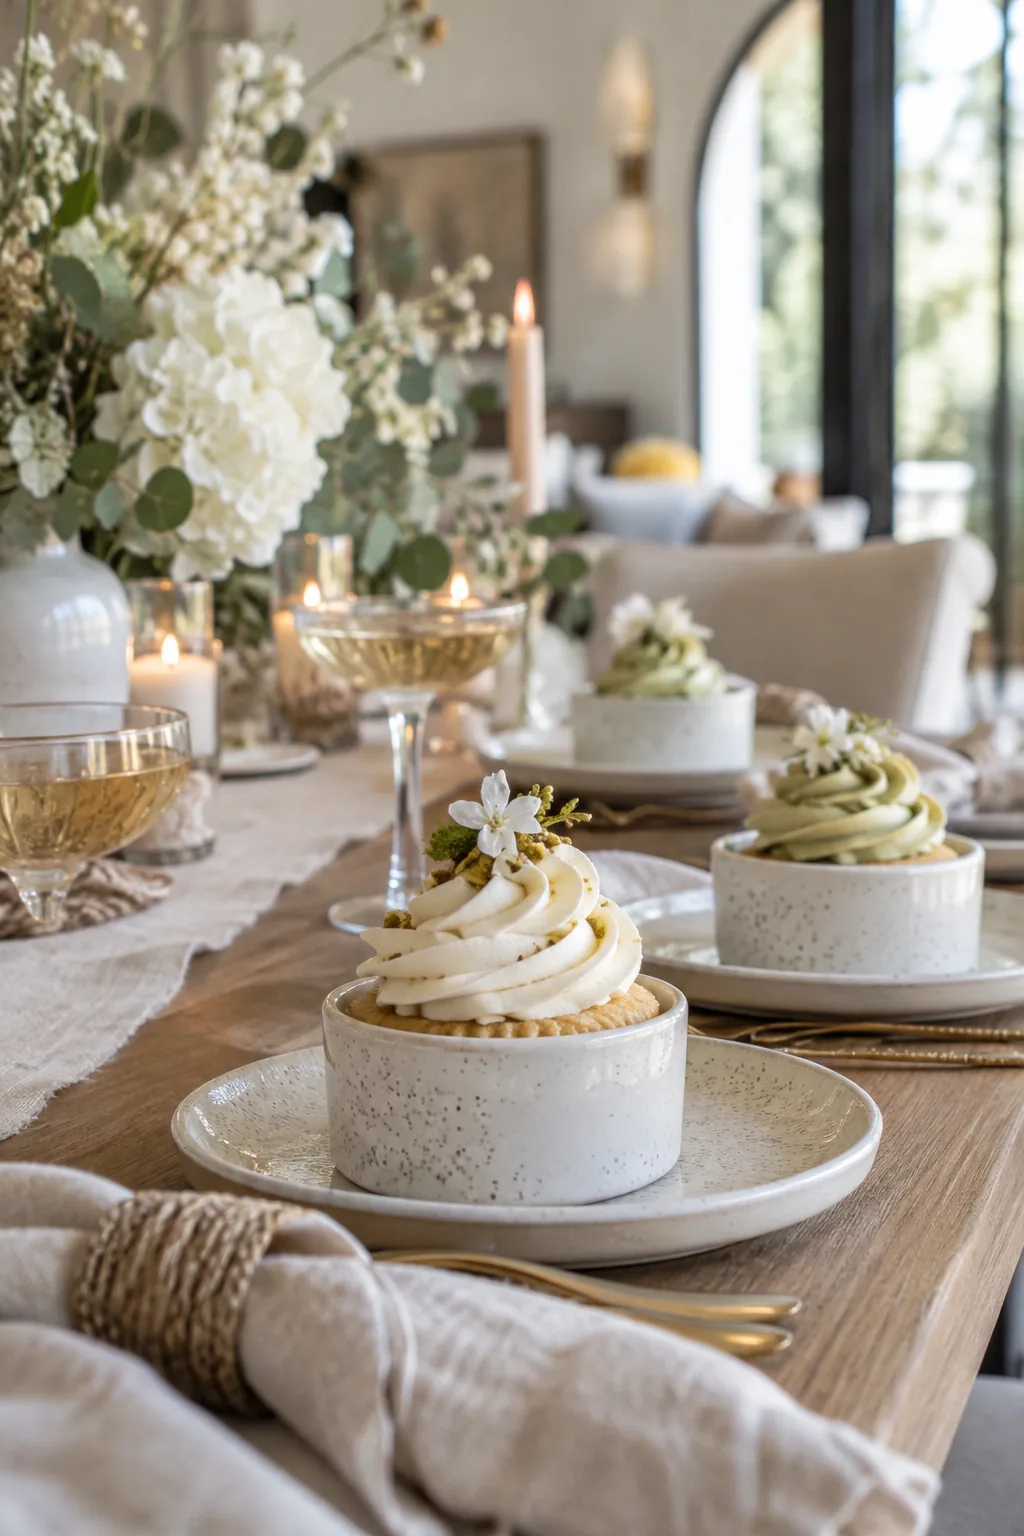
Most standard cupcake wrappers start to peel away from the cake after sitting out for a few hours. Dropping them into sturdy ceramic ramekins completely hides the messy paper and gives the display a high-end restaurant feel.
14. Tabletop Bookshelf
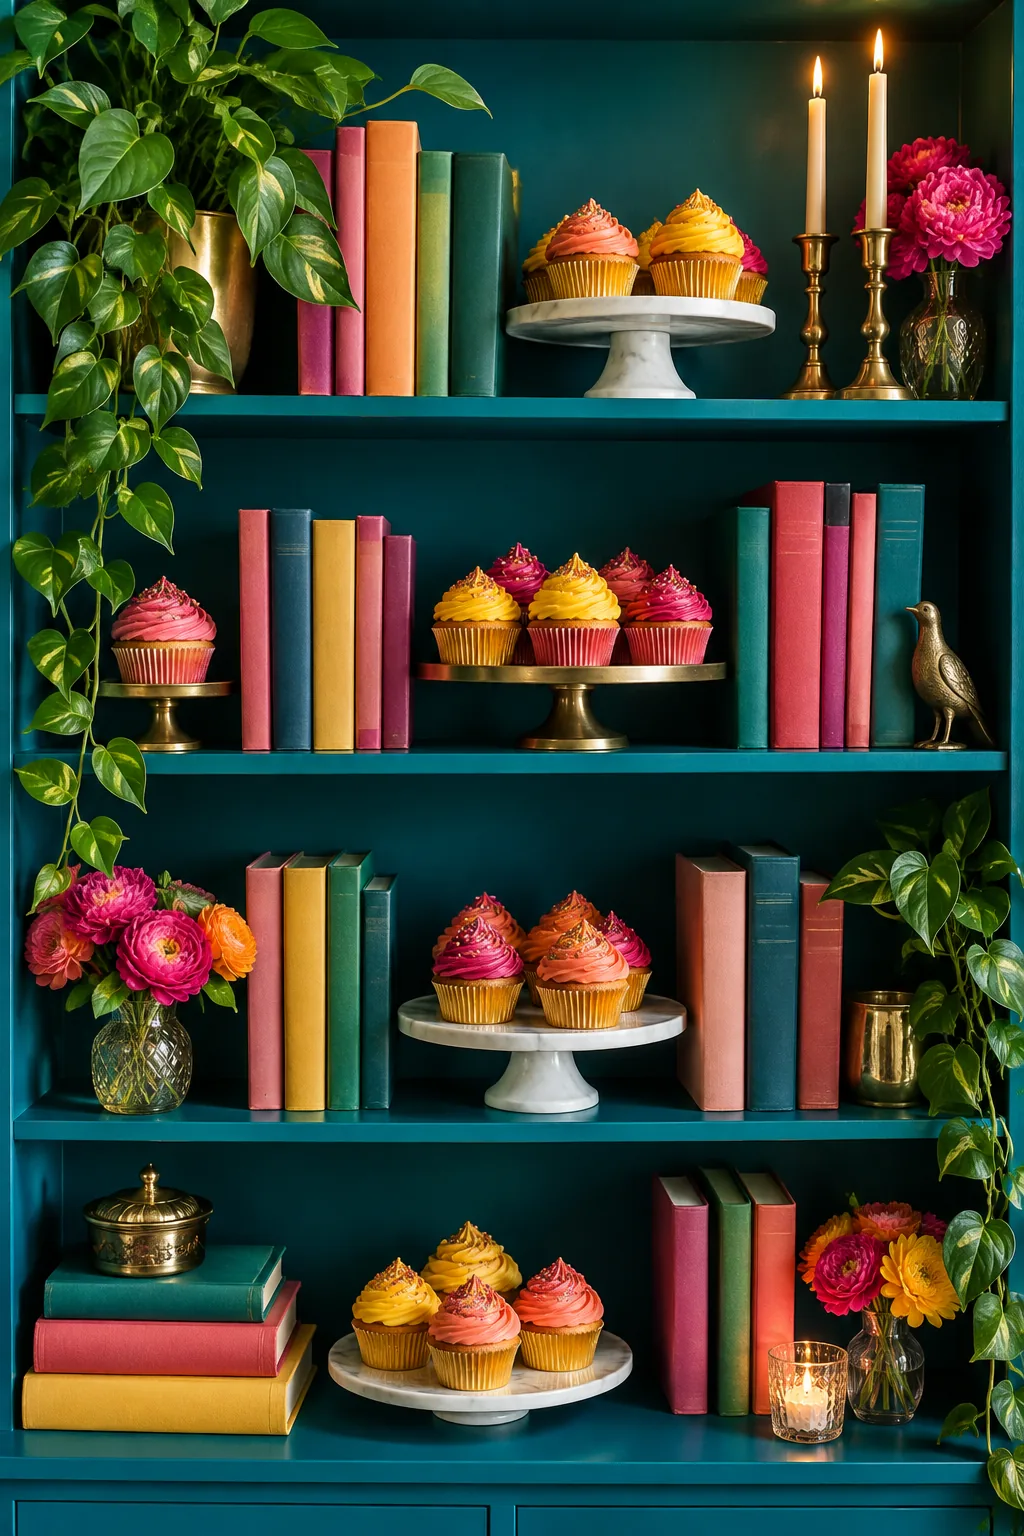
Using existing furniture as a dessert station makes party prep completely stress-free.
A simple bookshelf display turns your everyday decor into a dramatic focal point. Just clear off a few shelves and arrange the treats alongside your favorite hardbacks. Gather these pieces to style the shelves:
- A small tabletop bookshelf
- Several thick vintage books
- Small decorative bookends
15. Interactive Frosting Bar
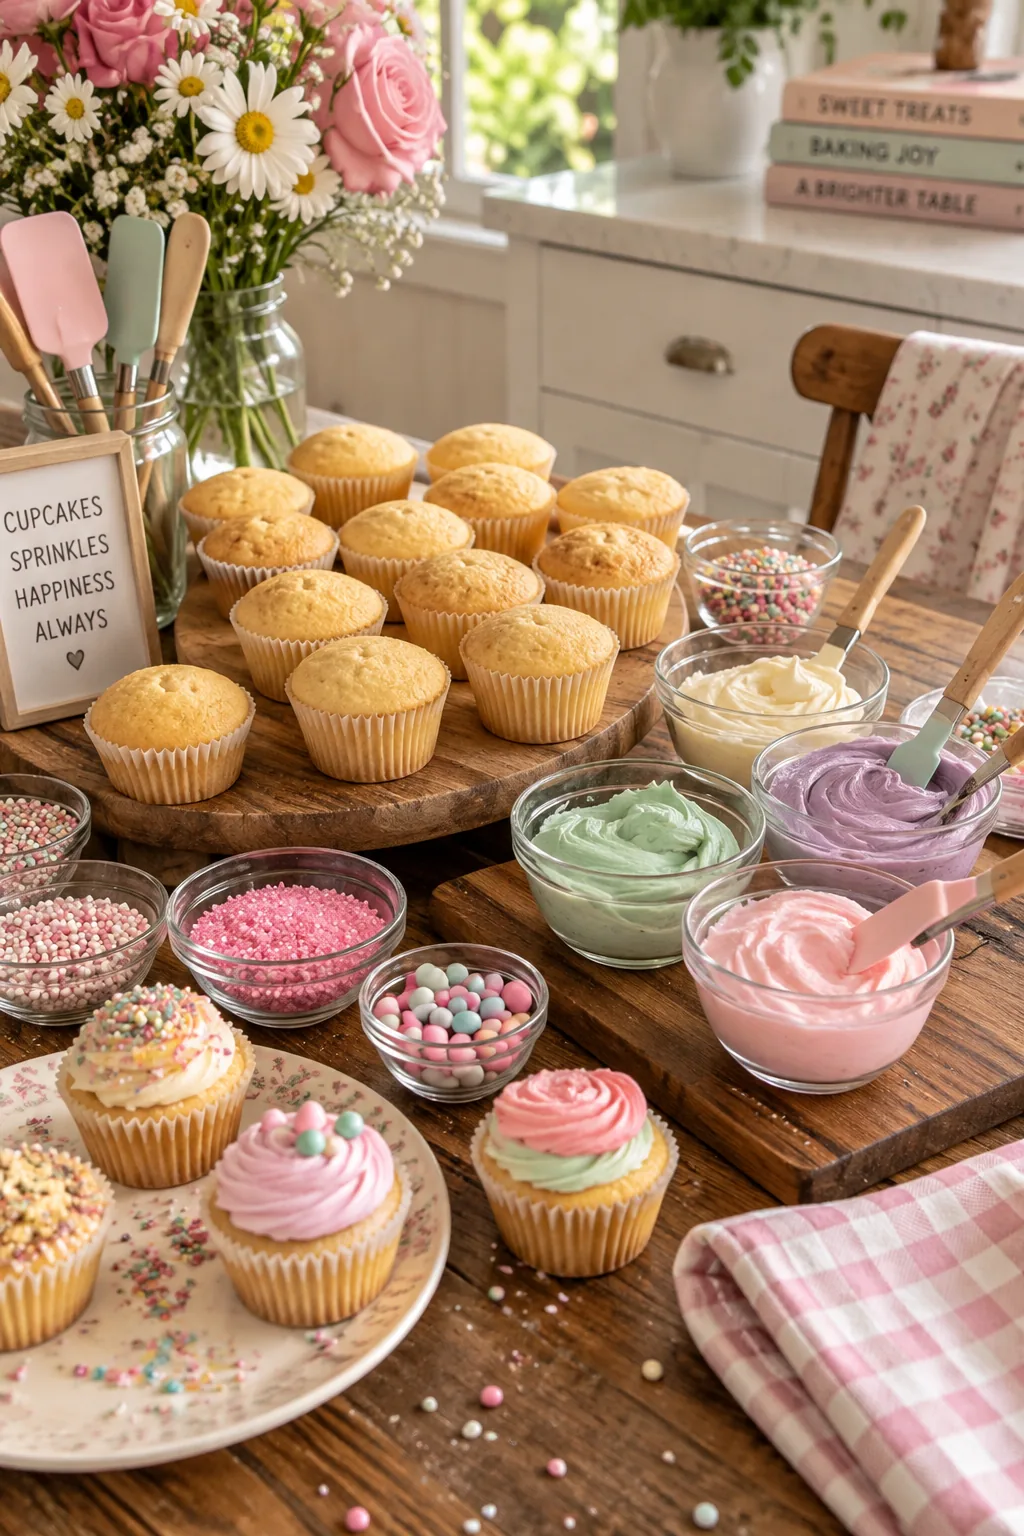
A playful, interactive candy shop look is always a huge hit.
You can set up a DIY frosting bar where the plain cupcakes sit naked on a large wooden board. Guests use small spatulas to add their own swirls and toppings from tiny glass bowls.
Why it works: This works perfectly because it serves as both the dessert and the main party entertainment.
16. Vertical Pegboard Wall
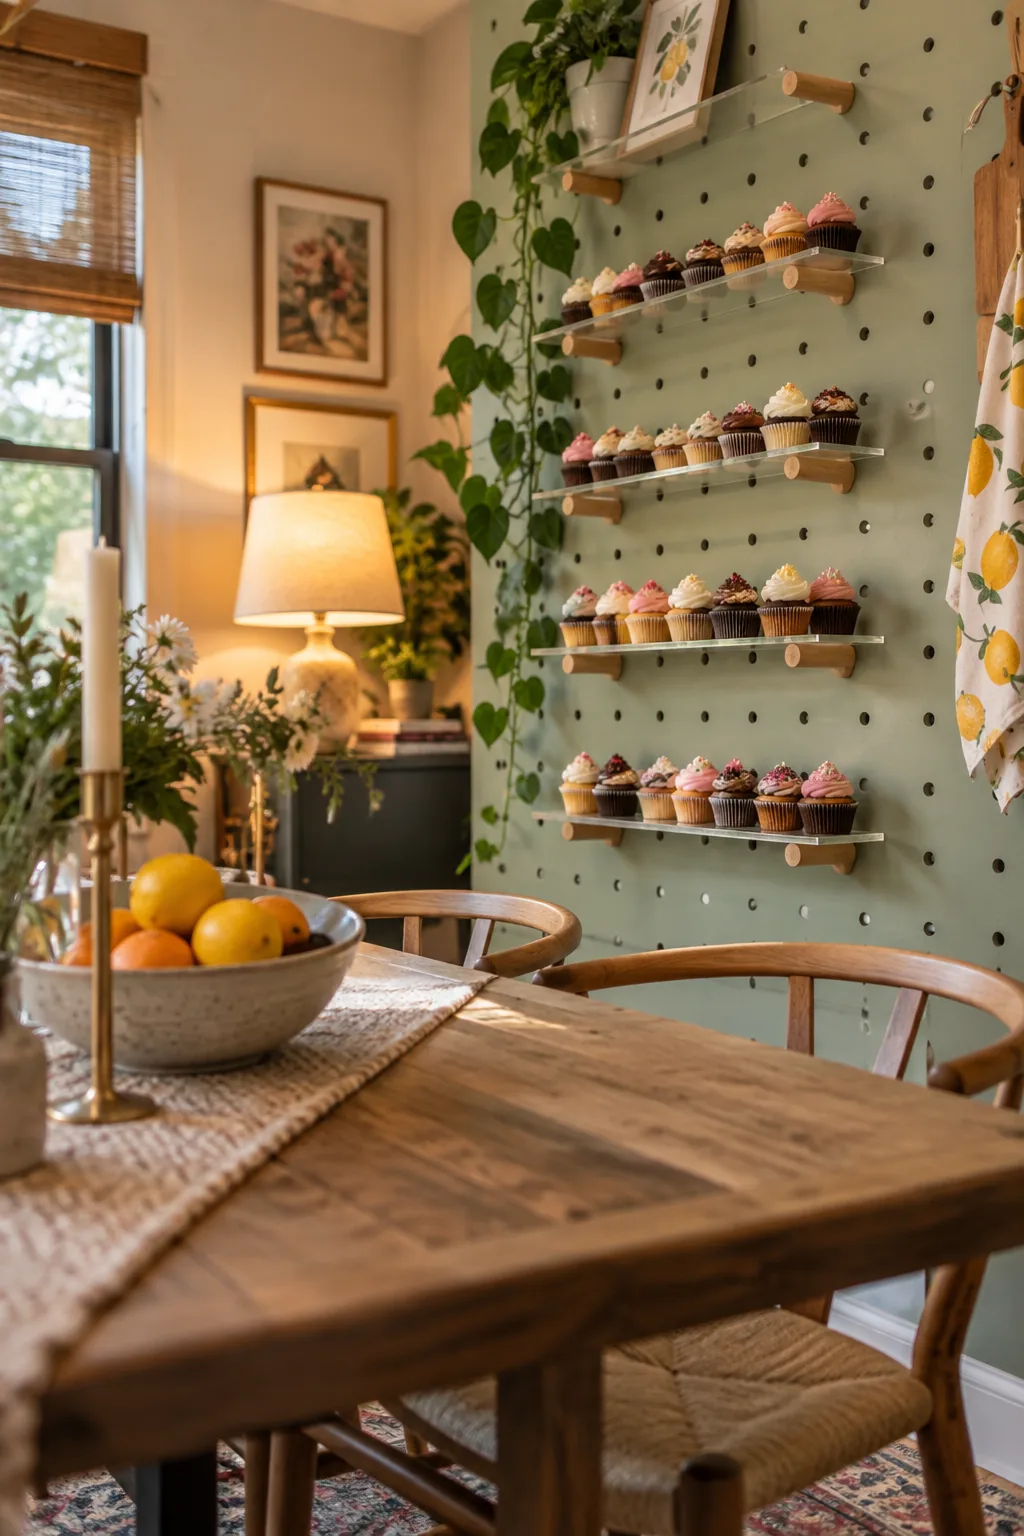
A standard pegboard wall can hold up to fifty mini cupcakes when you use wooden dowels as shelves. You just insert the pegs at an angle and balance a lightweight acrylic sheet across them. This vertical setup saves so much valuable table space in a cramped dining room.
Paint the board to match your party theme a day before the event.
17. Flavor Grouping Signs
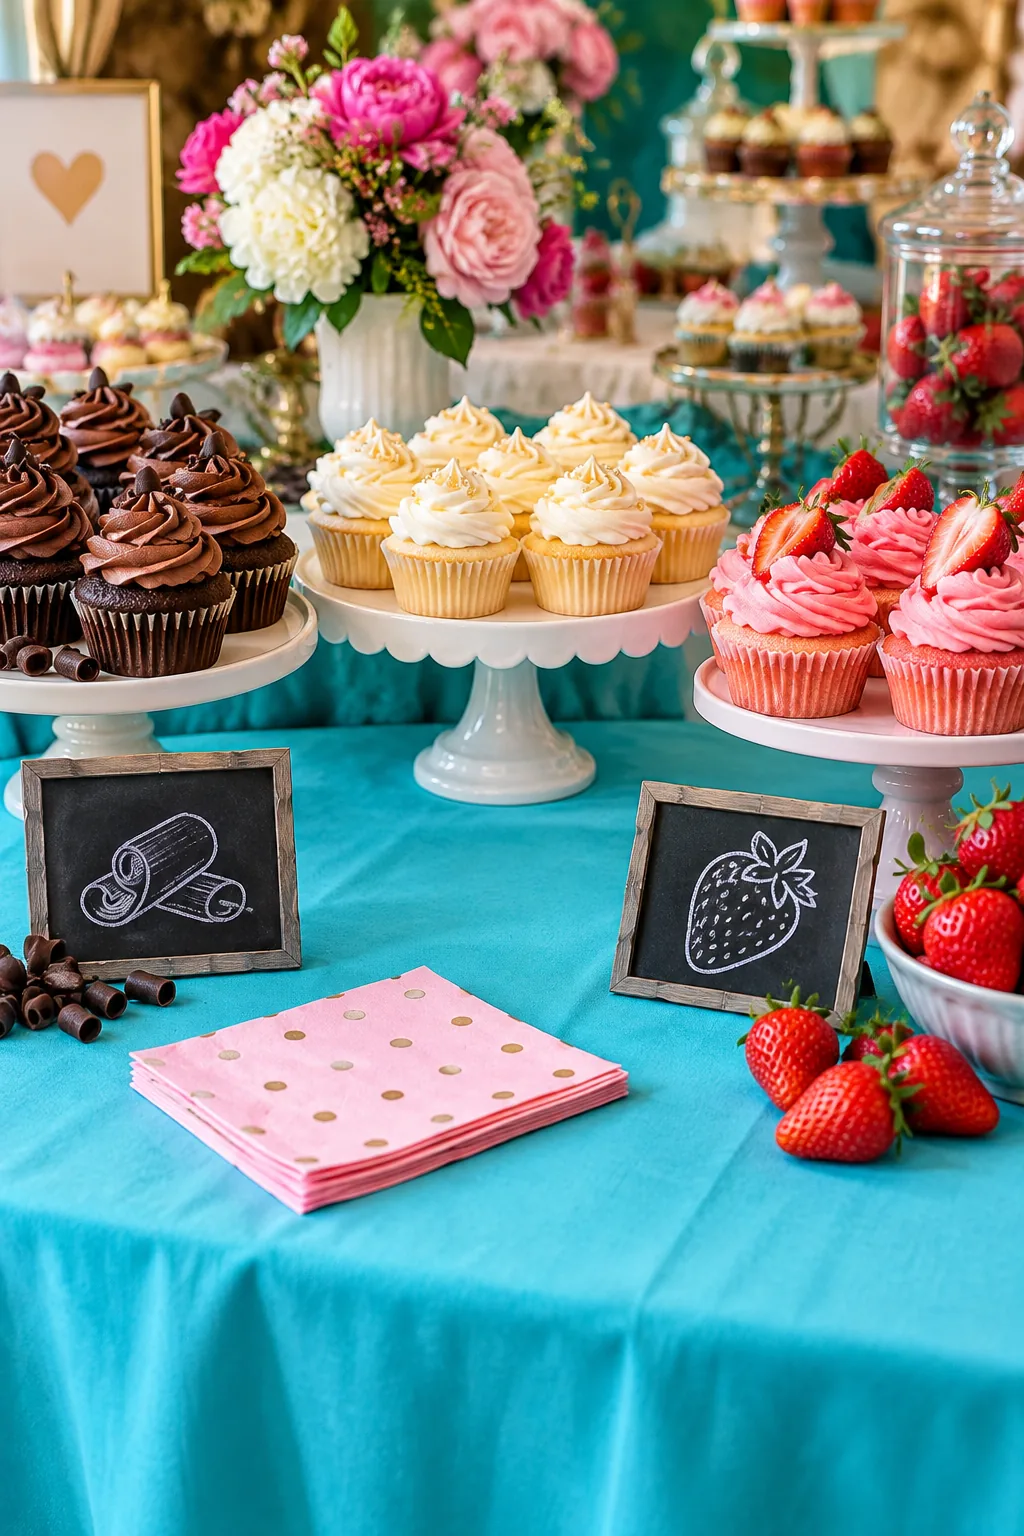
Grouping by flavor is what makes a massive dessert buffet easy for guests to navigate. You can use small, handwritten chalkboard signs to label each distinct cluster on the table. Keeping the chocolate, vanilla, and fruit flavors separated prevents the distinct aromas from blending together. I like to place the most popular flavors right at the front edge for easy access. Add a small prop next to each flavor group, like a fresh strawberry or a chocolate curl, as a visual cue.
18. Tiered Wire Baskets
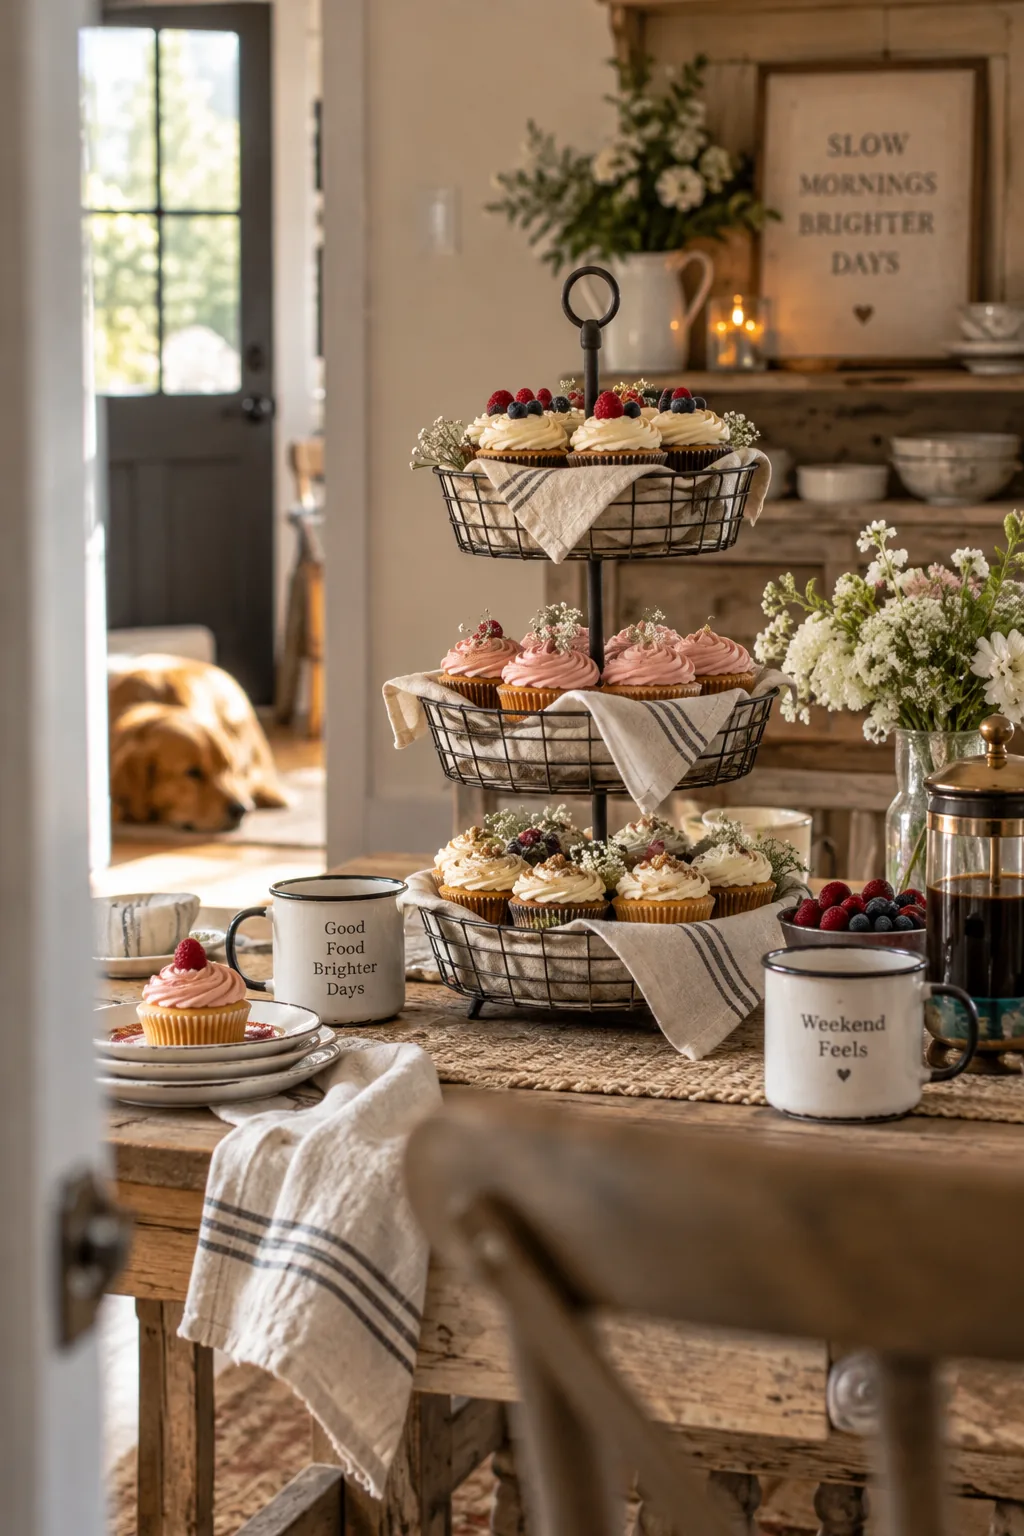
A cozy, farmhouse aesthetic comes together instantly when you use an old tiered wire basket. The open wire frame lets guests see all the intricate frosting details from every angle. You can line the bottom of each metal tier with a simple linen napkin to keep crumbs from falling through. This setup feels incredibly welcoming and relaxed for a casual weekend brunch.