
16+ Gorgeous Front Yard Hosta Garden Plan Ideas
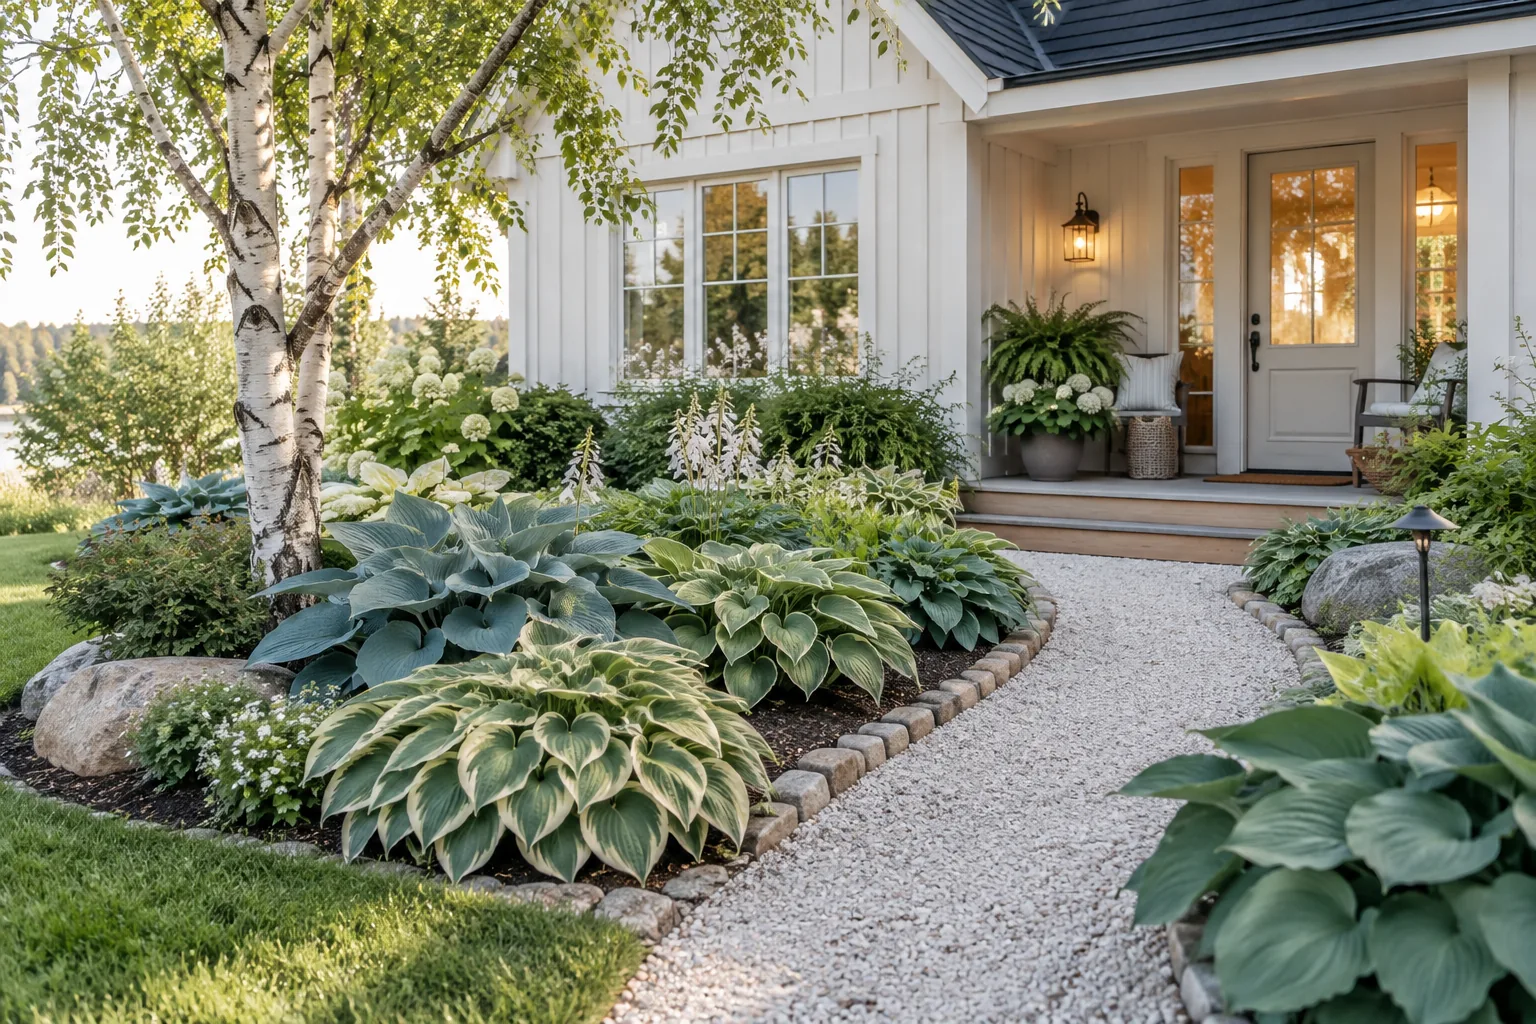
Hostas are the ultimate cheat code for a gorgeous, low-maintenance front yard. I put together these practical layouts so you can easily recreate that lush, layered look right at home.
1. Mix Leaf Textures for Impact
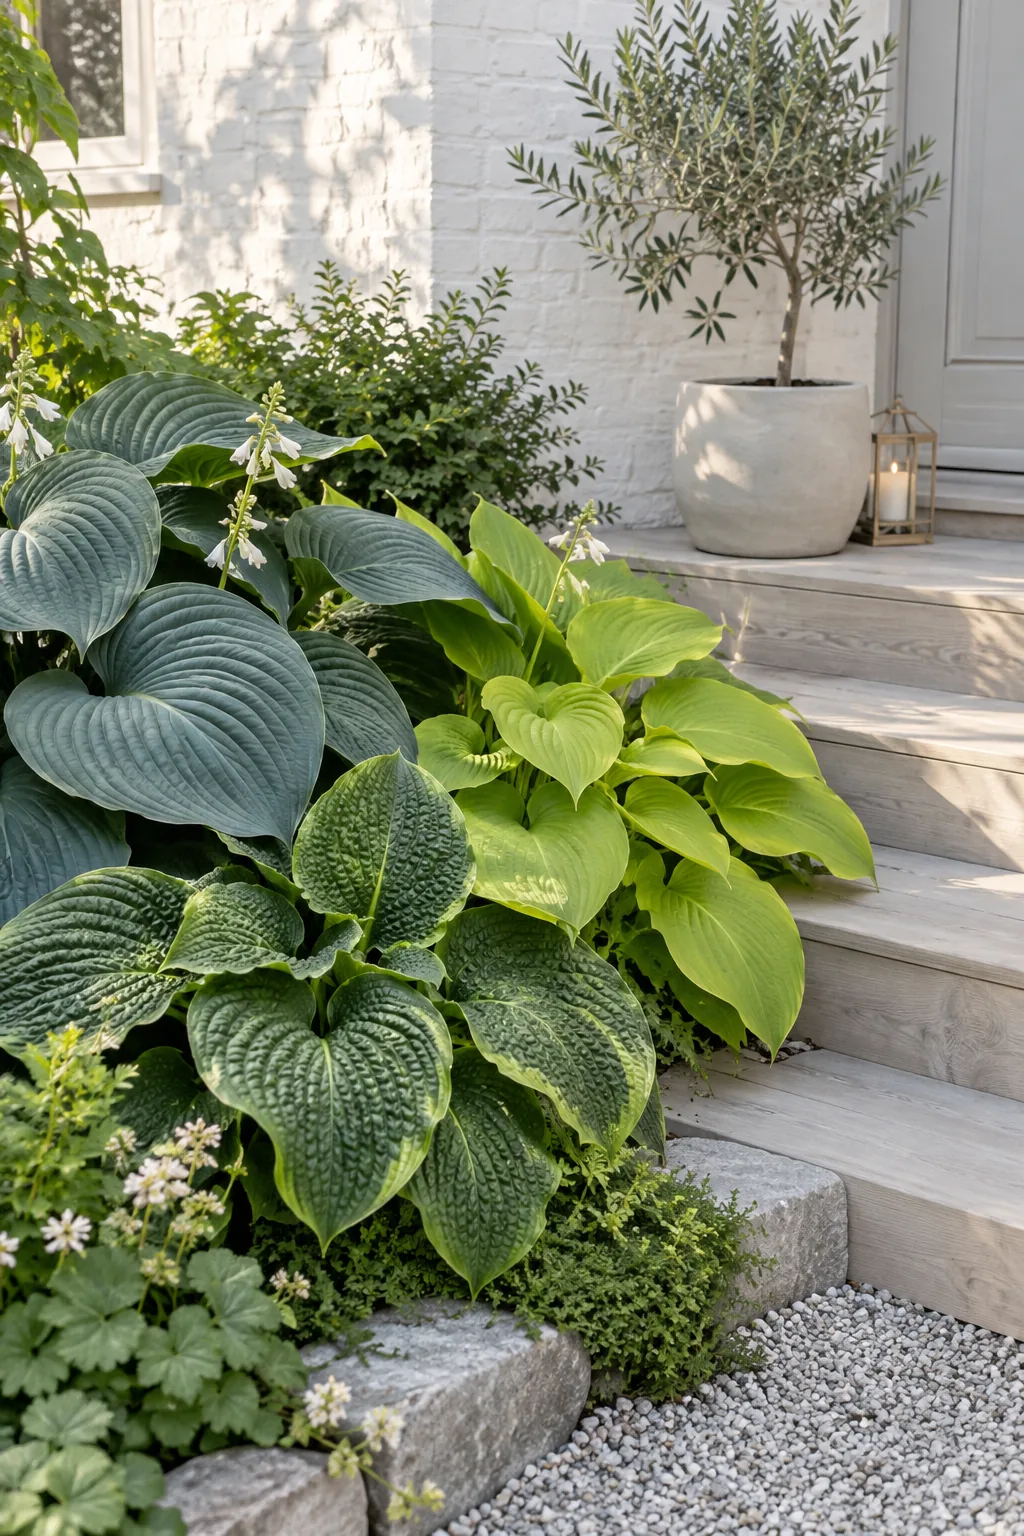
Grouping plants by leaf texture creates instant visual interest without relying on blooms. You can mix ribbed, smooth, and crinkled varieties in a tight cluster near your front steps. It keeps the hosta garden looking intentional and lush all season long. Try pairing these textures for maximum impact:
- Giant ribbed hostas
- Smooth miniature varieties
- Wavy-edged medium hostas
2. Conquer Dry Tree Shade
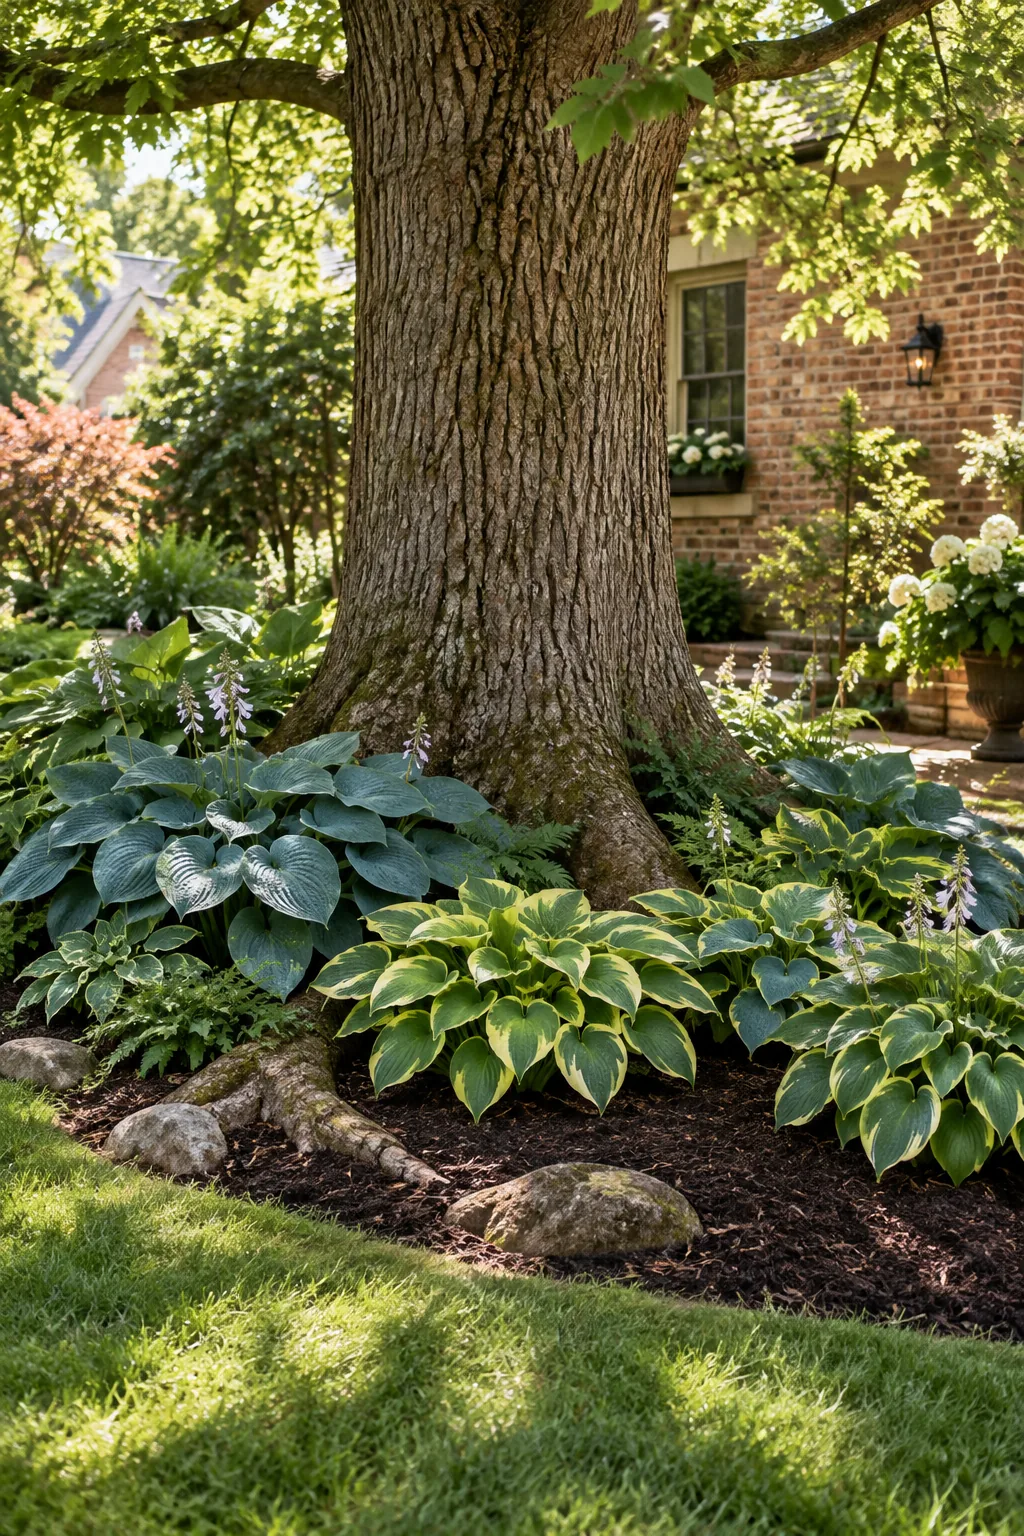
I always struggled with that awkward bare spot under my mature oak tree. Hostas completely saved the day since they actually thrive in those dry, shady conditions.
You just need to dig wide, shallow holes to avoid the tree roots. Adding a thick layer of mulch helps lock in the moisture.
Here are the toughest varieties I use for heavy shade:
- Dark green hostas
- Blue-leafed varieties
- Thick-leaved slug-resistant types
3. Stagger Heights for Depth
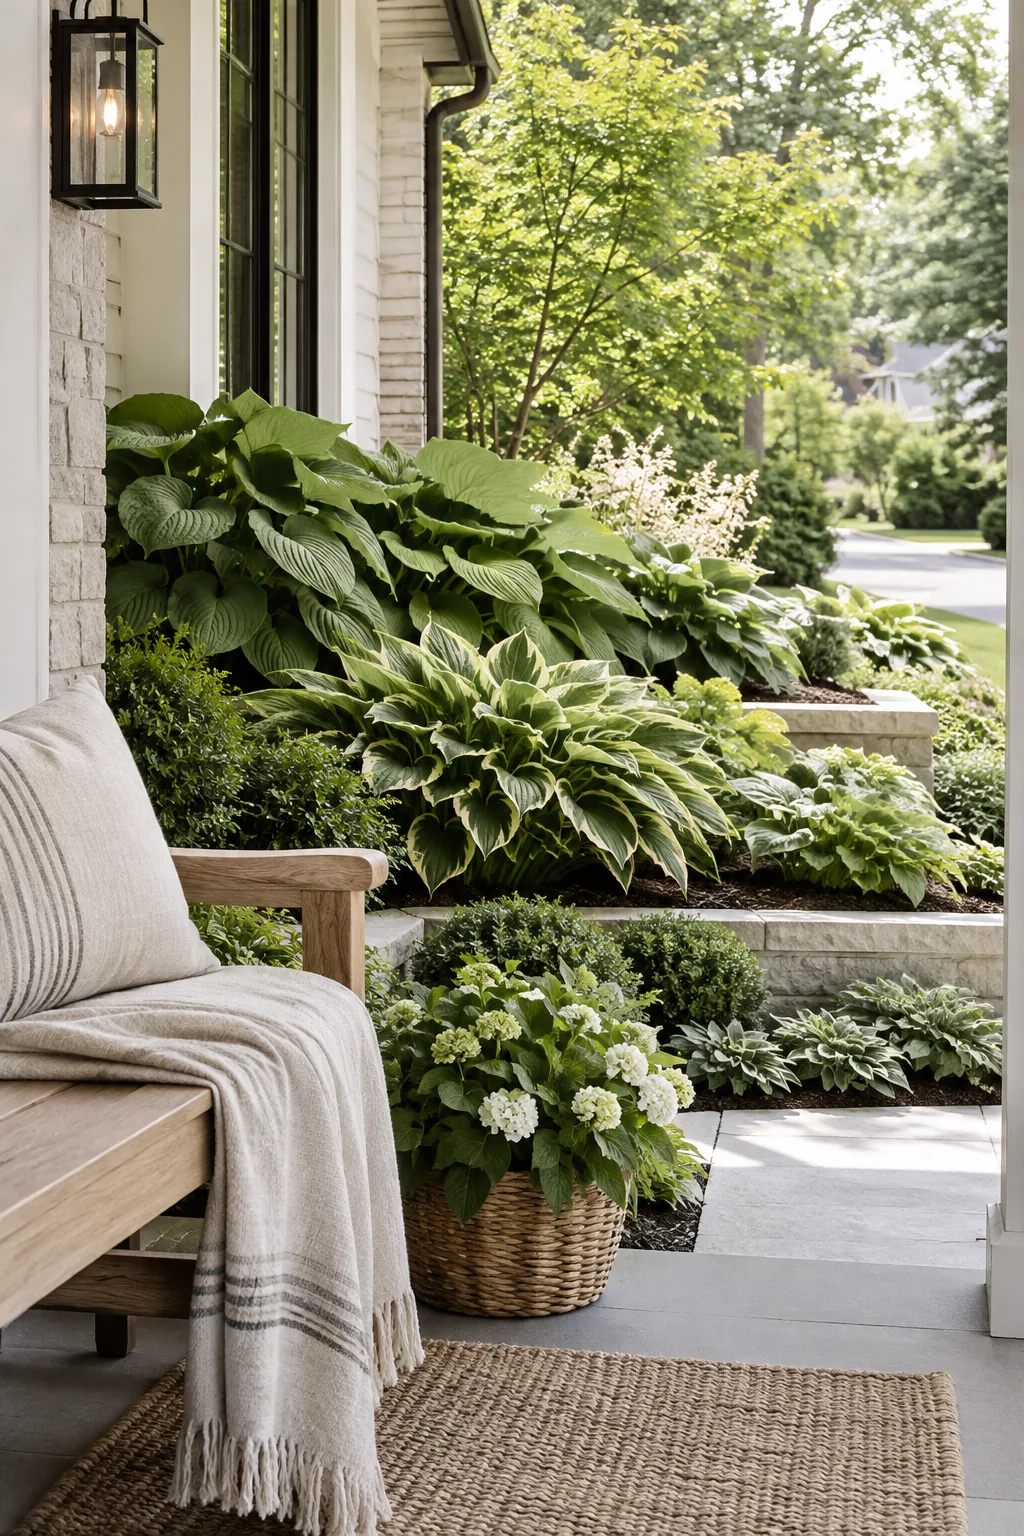
Staggering your planting heights draws the eye upward and makes a small front yard feel much larger. Put the massive varieties in the back against the foundation and step down to the tiny ones bordering the sidewalk. This tiered approach gives you that professional landscape designer vibe with zero guesswork. My favorite height progression looks like this:
- Three-foot giants against the brick
- Knee-high variegated types in the middle
- Ankle-high solid greens along the concrete edge
4. Design a Blue Hosta River
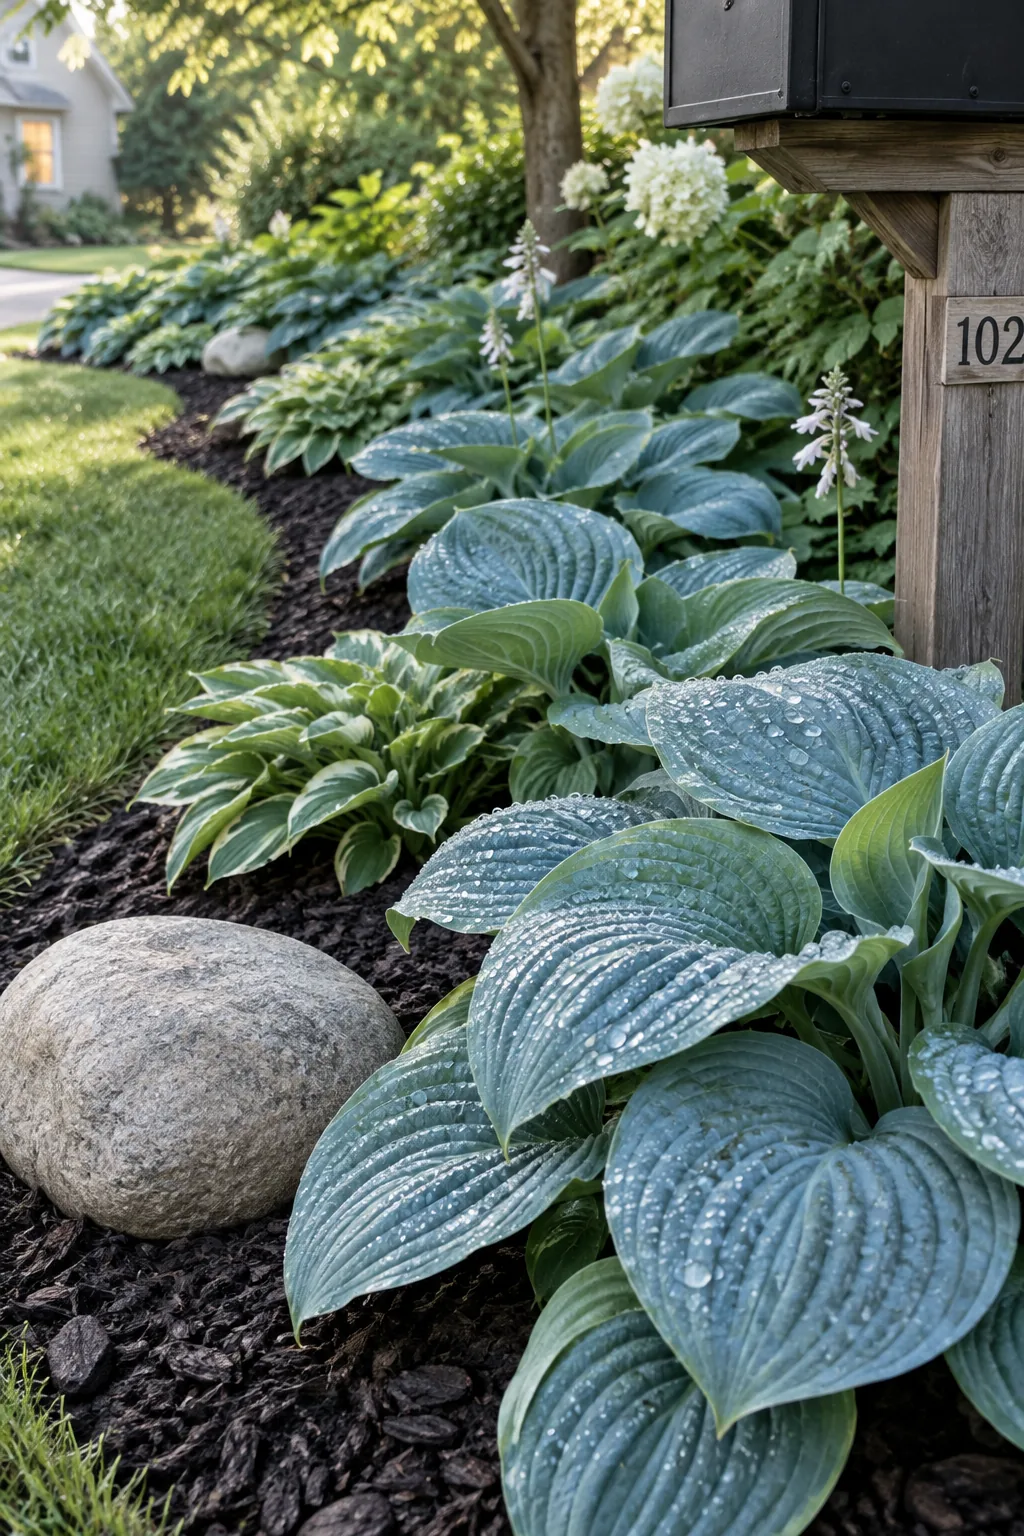
A curved river of blue hostas creates a calming, modern aesthetic across your front lawn. Instead of sharp geometric beds, you let the plants flow naturally around existing hardscaping or mailboxes. The powdery blue foliage really pops against dark mulch and catches the morning dew beautifully. I love how this sweeping layout softens harsh driveway edges. It turns a basic yard into a lush garden retreat with just one plant variety.
5. Plant in Threes for Quick Cover
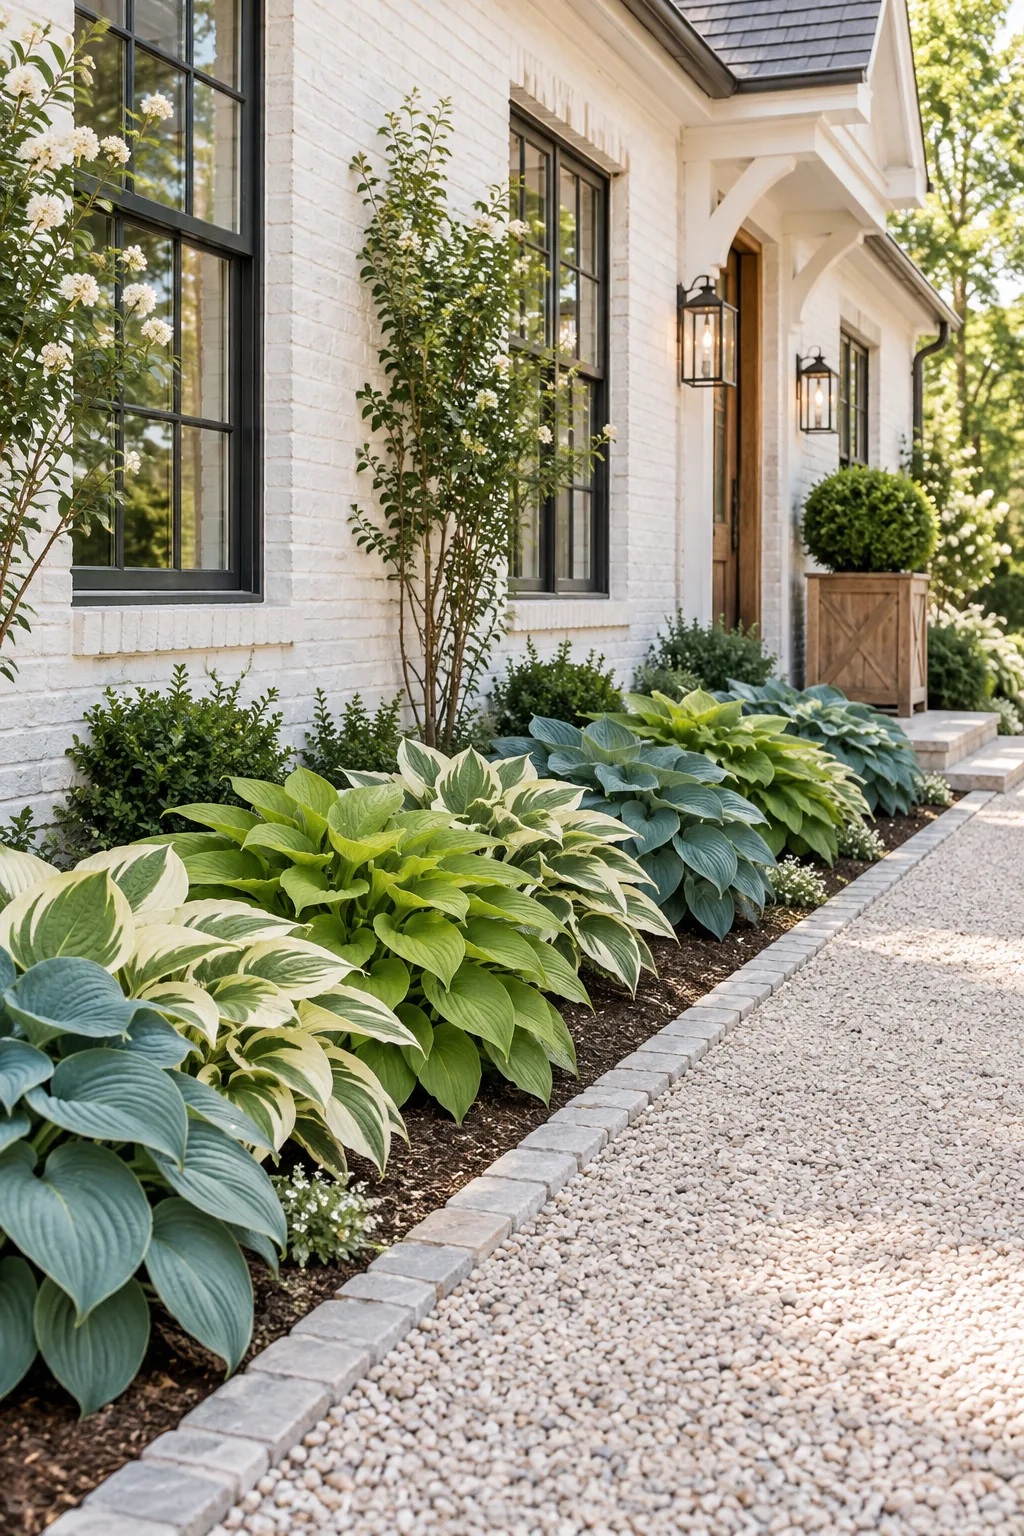
Planting exactly three different hosta varieties in a repeating pattern covers ground fast. You need about one plant per square foot if you are using medium-sized types. This geometric repetition tricks the eye into seeing a massive, expensive installation.
Just remember to leave them enough room to spread out over the next three years.
6. Contrast with Dark Evergreens
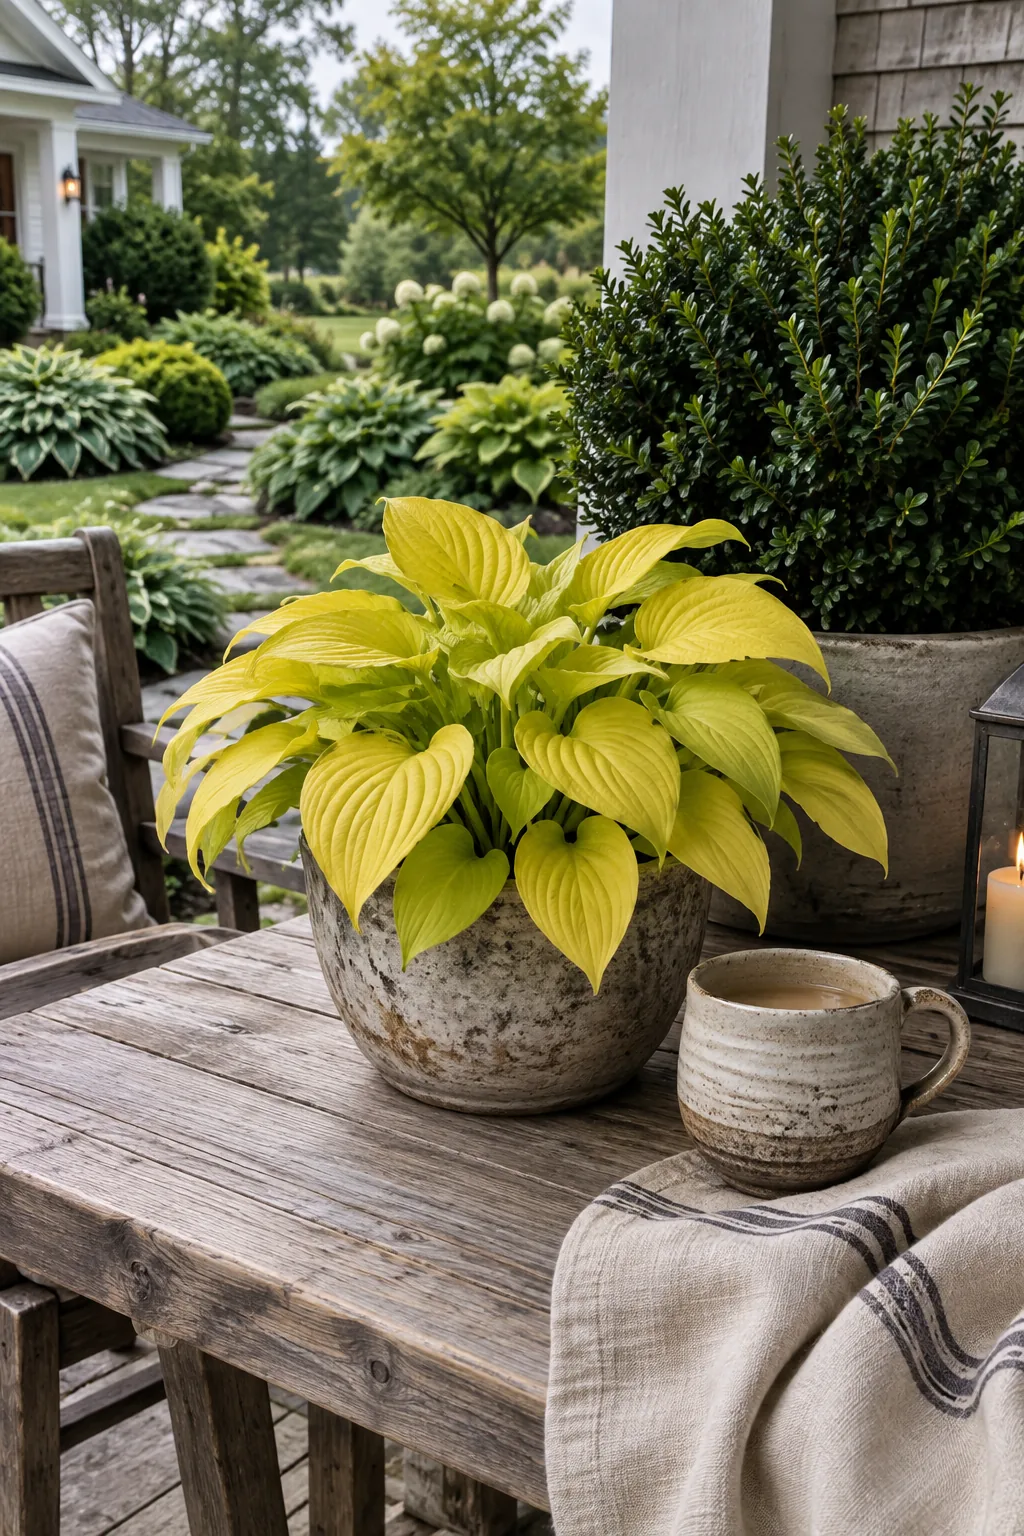
Contrasting bright yellow hostas against dark green evergreen shrubs makes your foundation planting pop even on cloudy days. The bold color difference highlights the distinct shape of both plants and brightens up deep shade zones.
7. Frame Your Walkway
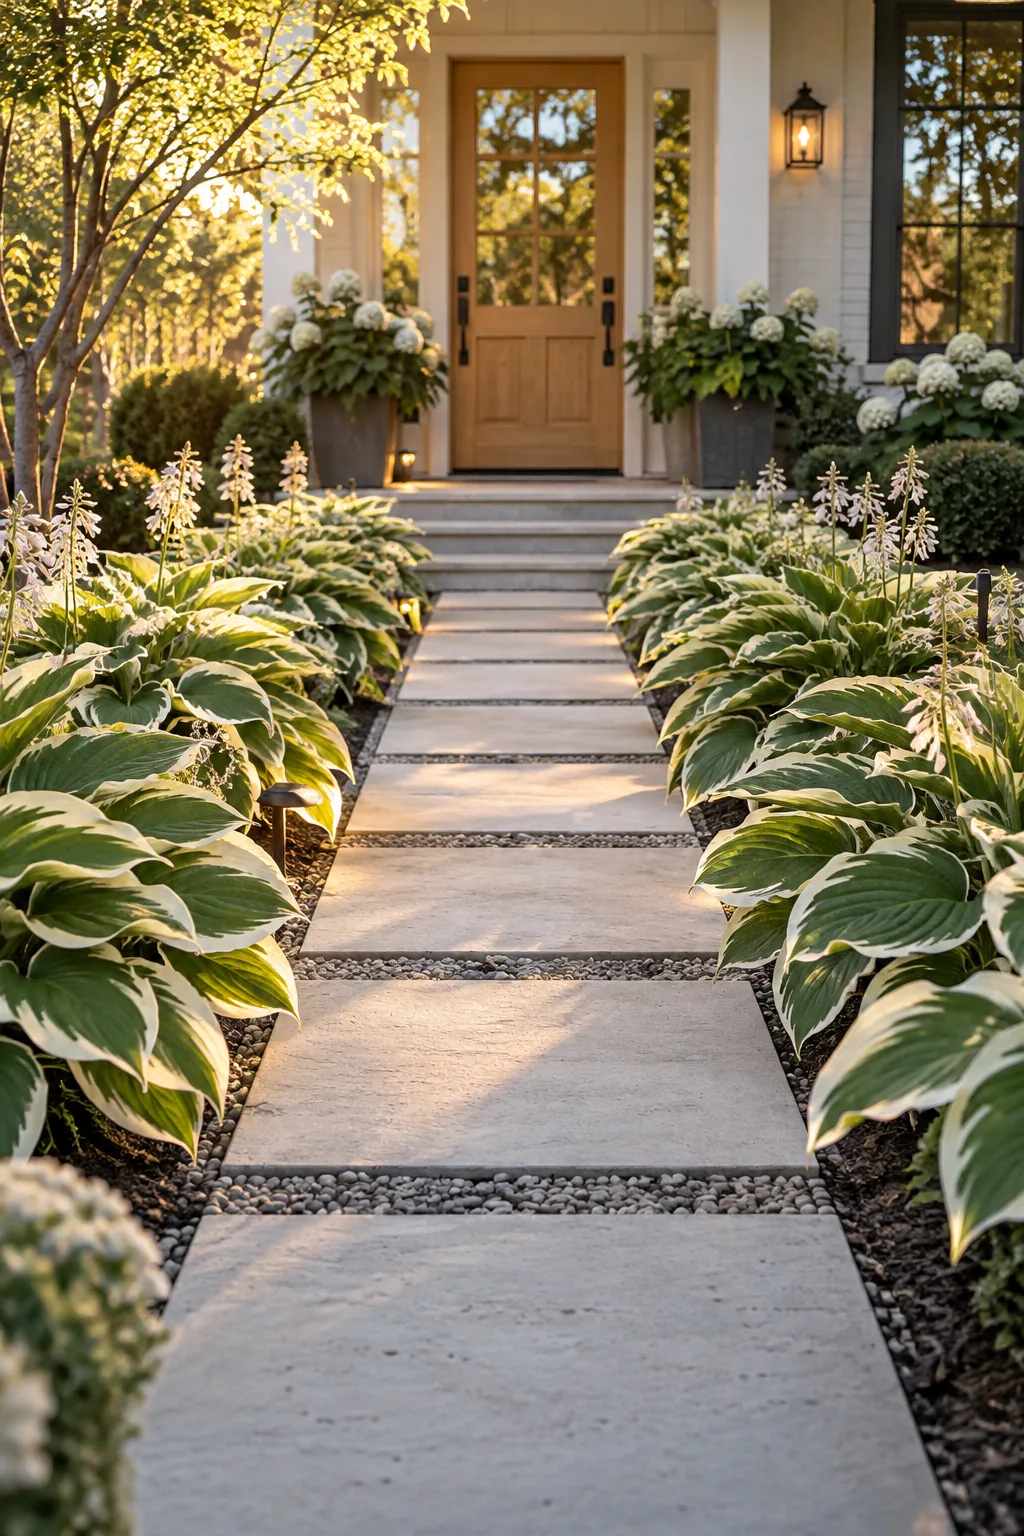
A neat, symmetrical border frames your front walkway with classic elegance. It feels very traditional and keeps the path looking tidy.
You want to use a uniform variety of variegated hostas for this layout. The white edges act like runway lights guiding guests to your door.
Spacing them exactly eighteen inches apart ensures they eventually touch but never overcrowd.
8. Anchor a Steep Slope
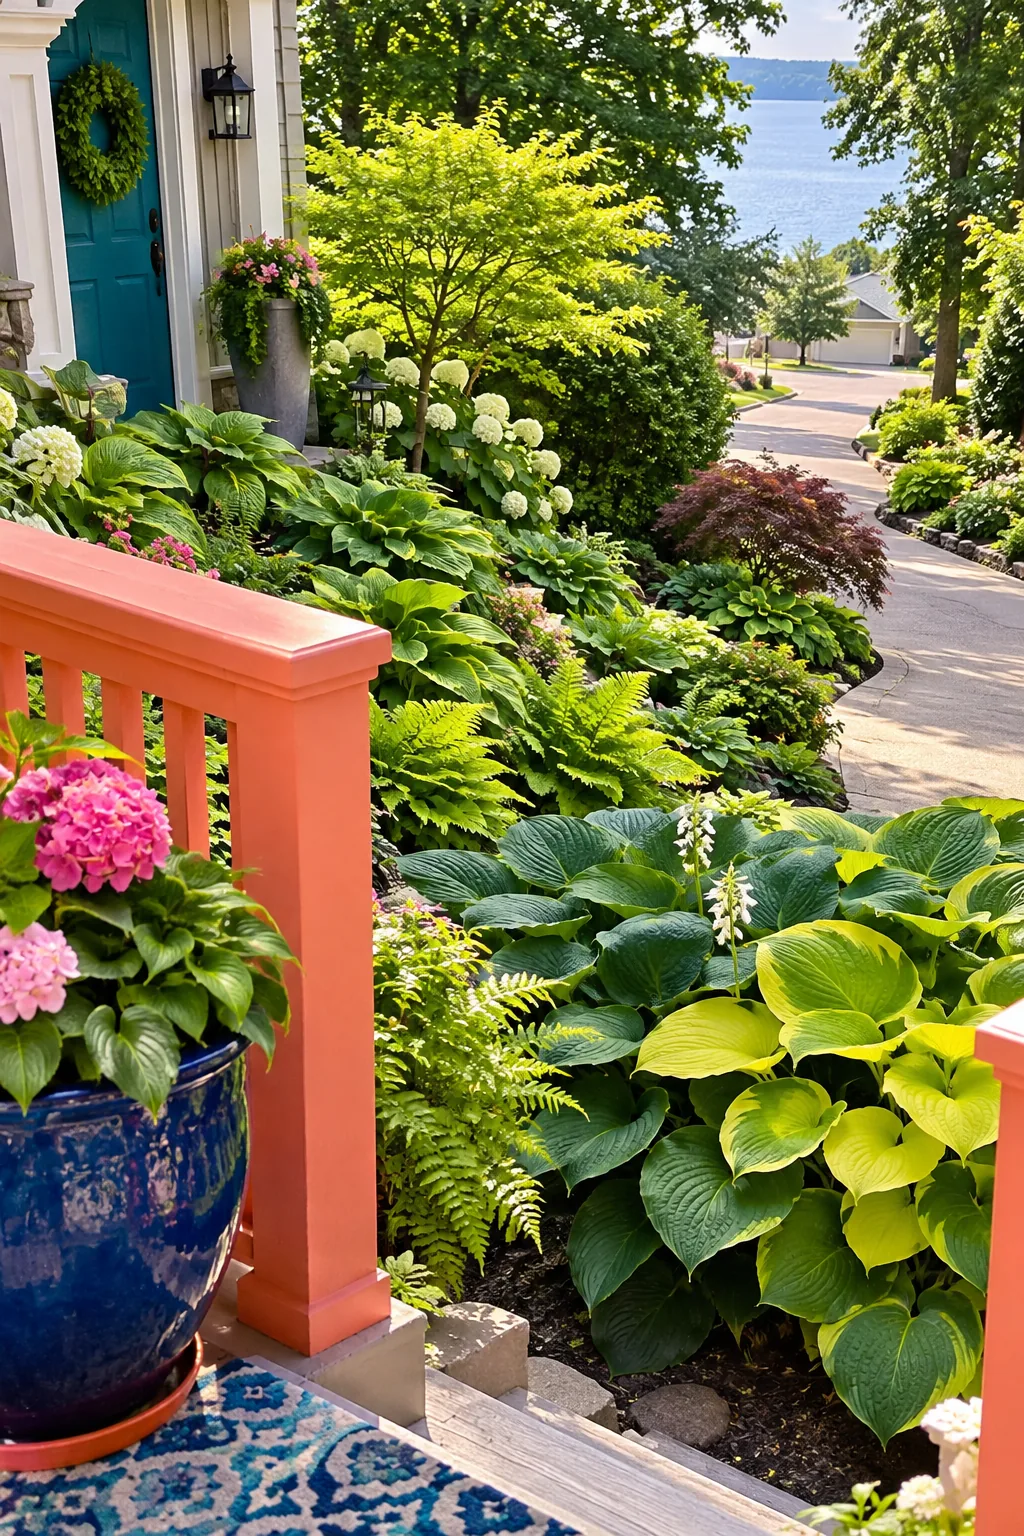
I finally gave up on trying to grow grass on the steep slope by my driveway. Swapping the patchy turf for a dense hosta garden plan was the best decision I made for my curb appeal. The thick canopy of broad leaves acts as a living mulch to stop soil erosion completely. You just have to water them deeply during their first summer to get those roots established. Trimming back the dead foliage in late fall keeps the slope looking neat for winter.
Why it works: The massive root systems anchor the hillside while the wide foliage blocks weeds from taking over.
9. Mulch with Dark Compost
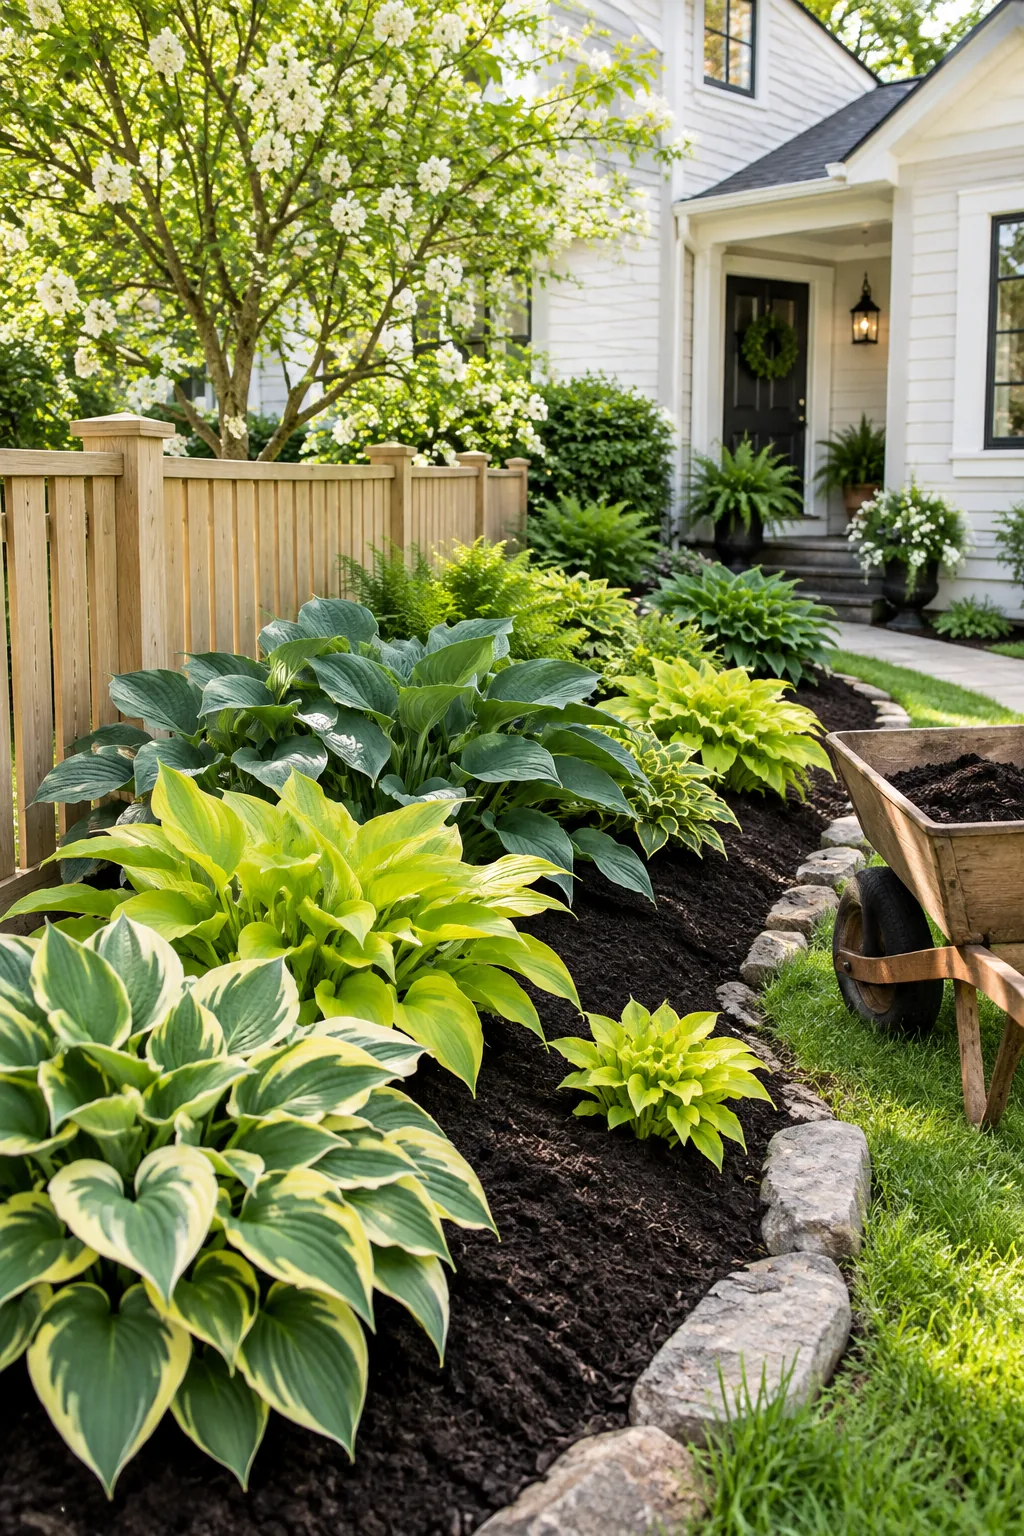
Adding two inches of dark compost around your hostas every spring supercharges their growth. The dark background makes the bright green and yellow leaves look incredibly vibrant from the street. It also cuts your watering time in half during the hottest weeks of July.
Plus, the worms do all the soil aerating for you.
10. Mix in Shade Companions
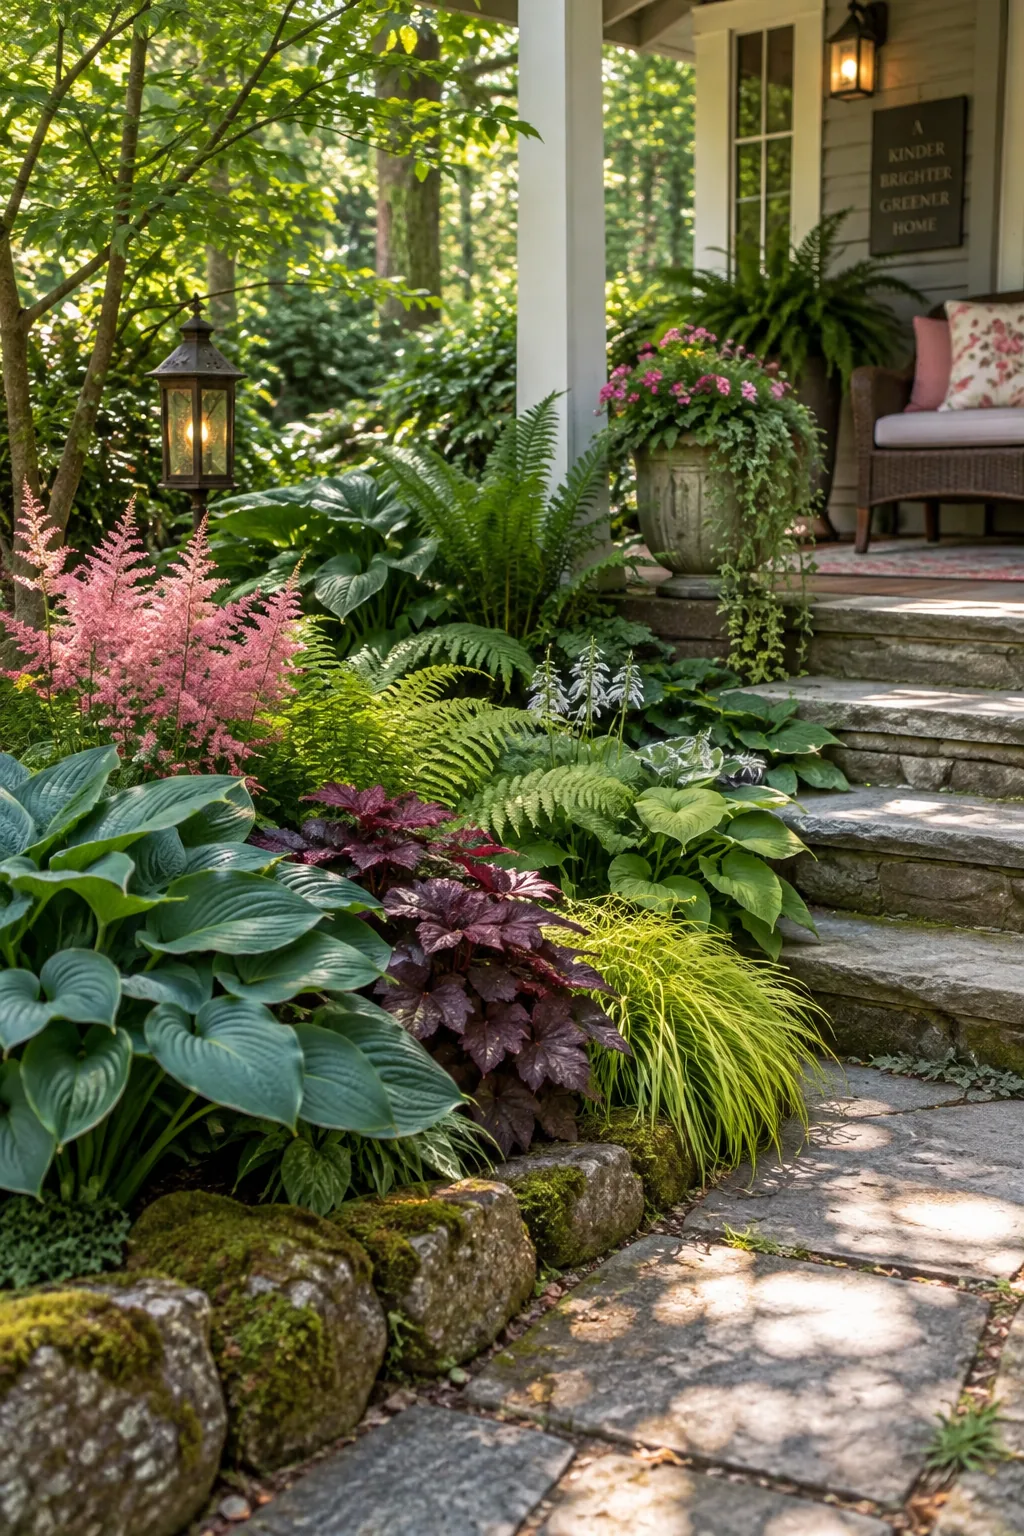
My absolute favorite trick is mixing hostas with shade-loving companion plants to break up the greenery. I tuck in a few different textures so the bed does not look like a giant green blob by mid-summer. It brings so much life to the front yard without adding extra maintenance. These companions pair perfectly with broad hosta leaves:
- Delicate bleeding hearts
- Colorful coral bells
- Feathery Japanese painted ferns
11. Utilize Transition Zones
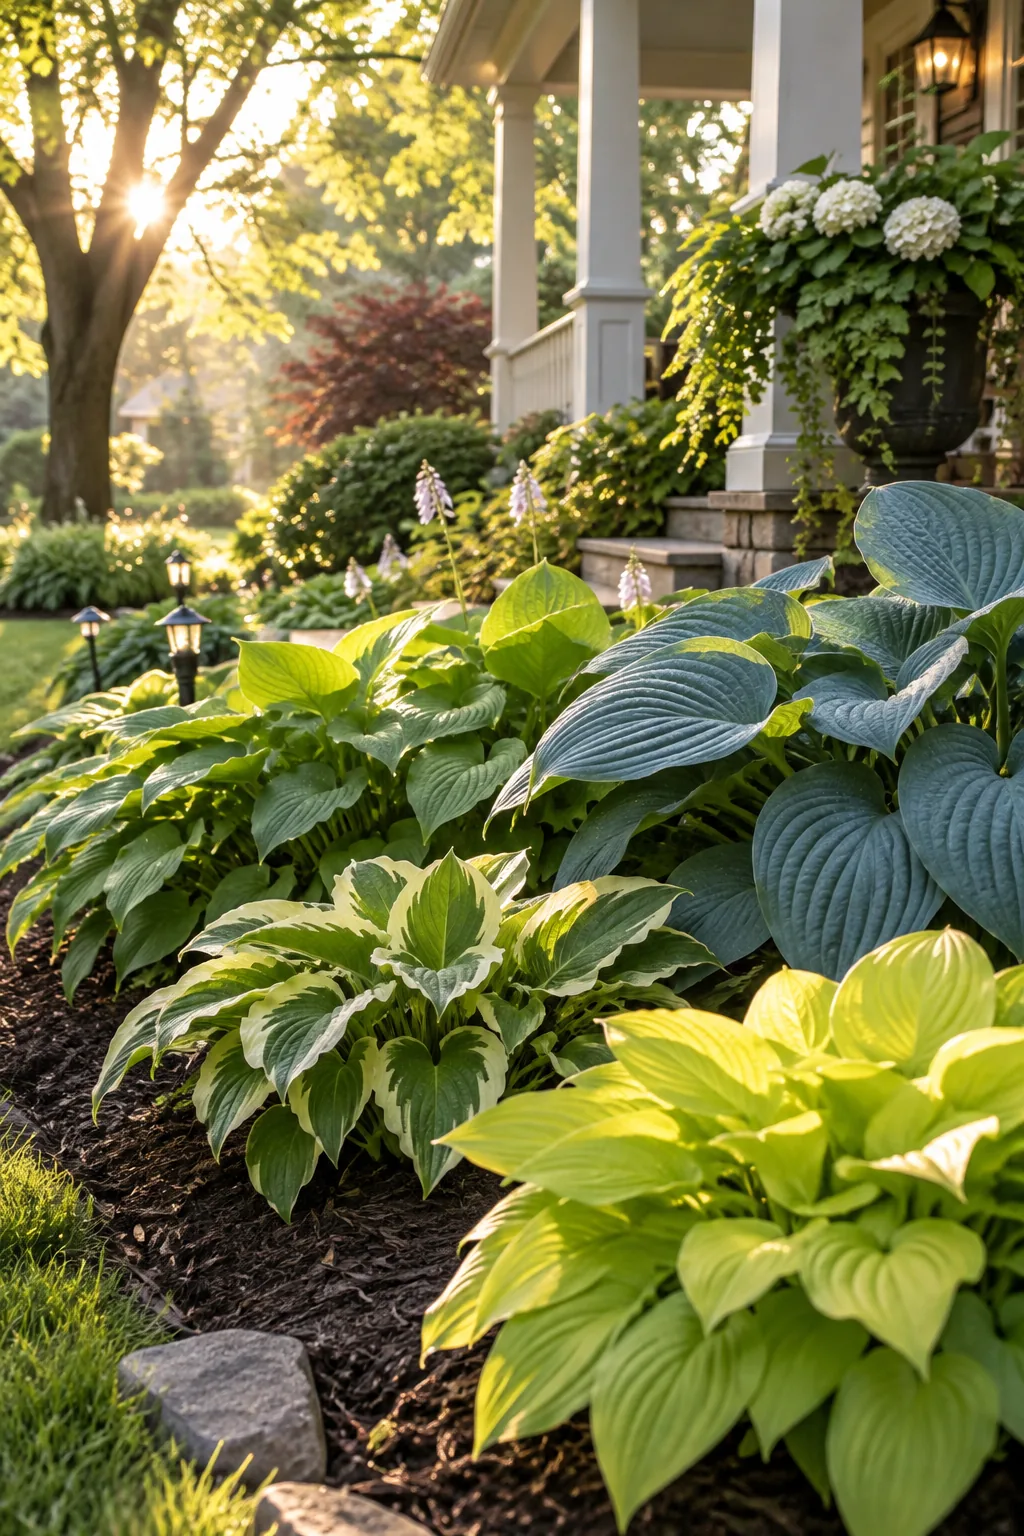
Morning sun mixed with afternoon shade is the absolute sweet spot for growing massive hostas. You will notice the plants in these transition zones grow twice as fast as the ones in deep, dark corners. Taking advantage of the changing light patterns around your porch lets you experiment with different varieties. I map out the shadows before planting to find the perfect microclimates. You can confidently plant these types in those dappled sunlight areas:
- Chartreuse or yellow varieties
- Fragrant white-blooming hostas
- Sun-tolerant green types
12. Soften Landscaping Boulders
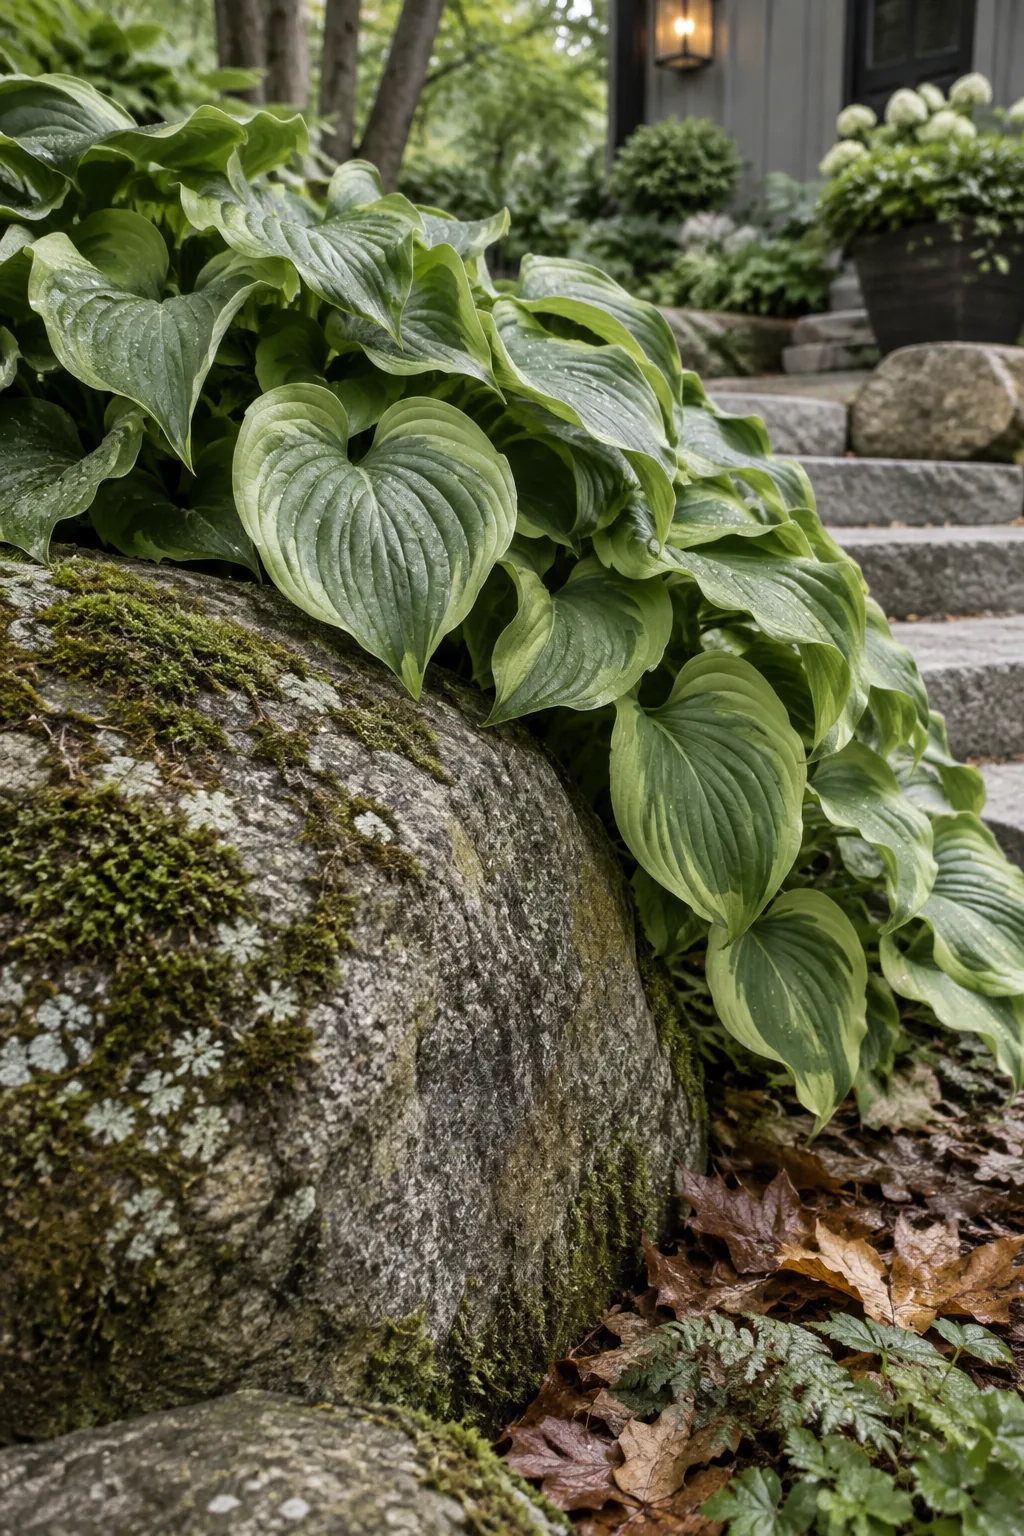
A rustic woodland vibe comes together instantly when you plant hostas around large, mossy landscaping boulders. The soft, cascading leaves spilling over the rough stone give your front yard a naturally aged appearance.
13. Elevate in Galvanized Tubs
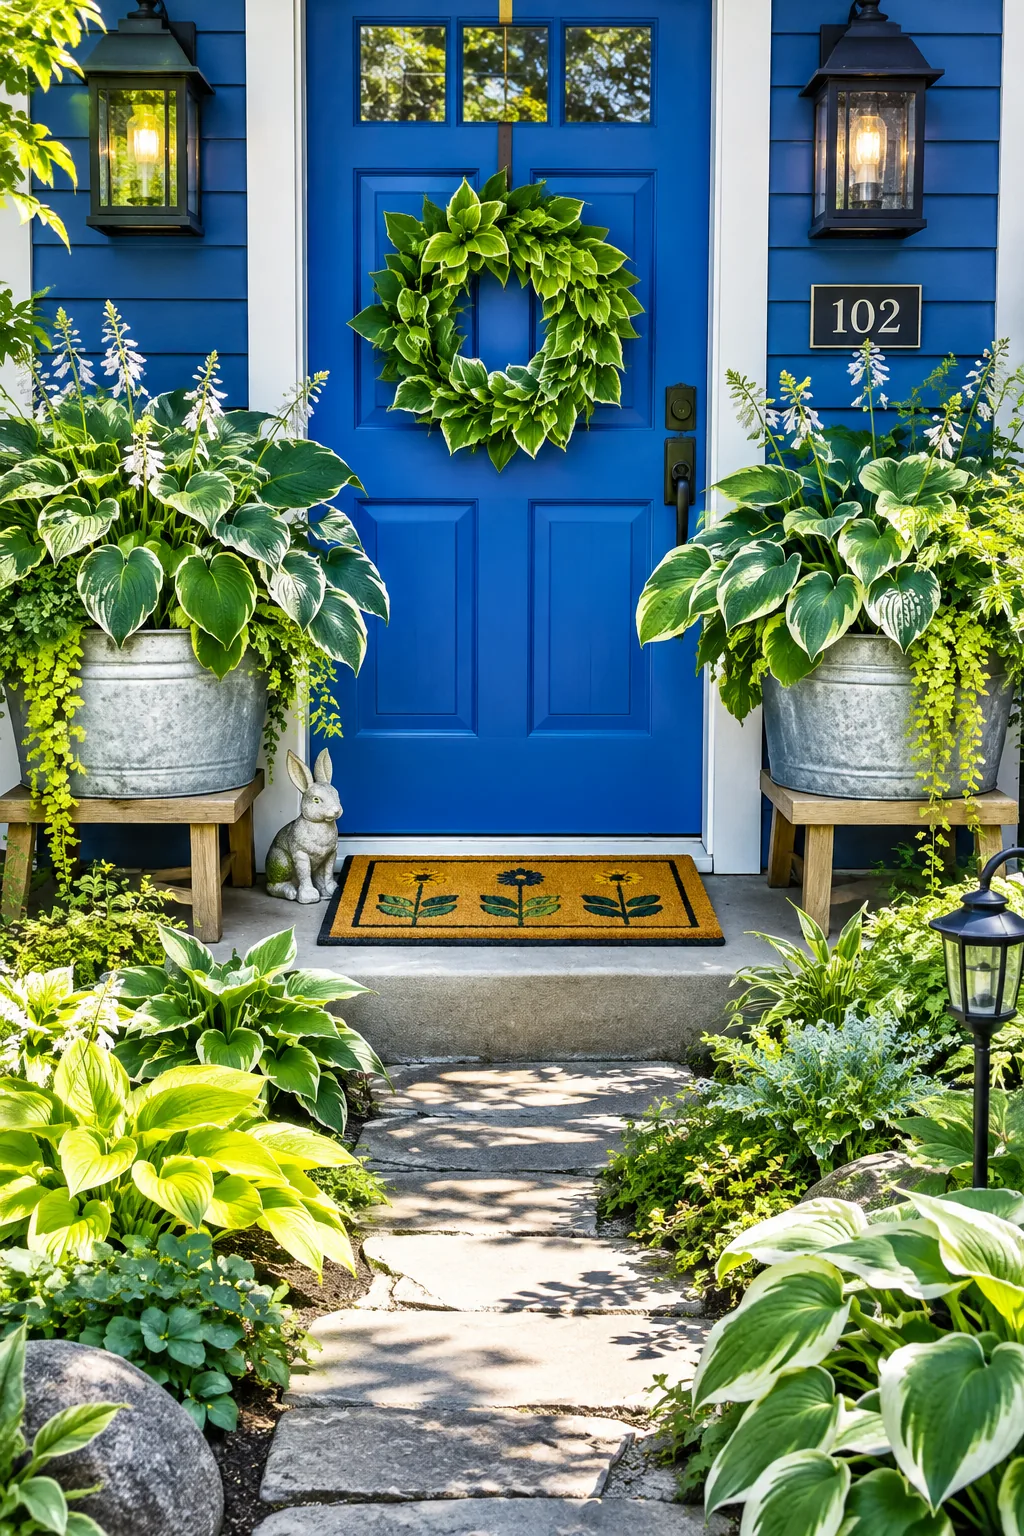
Planting hostas in large galvanized tubs elevates them by two feet and completely stops slug damage. This container strategy lets you feature rare or delicate varieties right next to your front door.
14. Remove the Flower Stalks
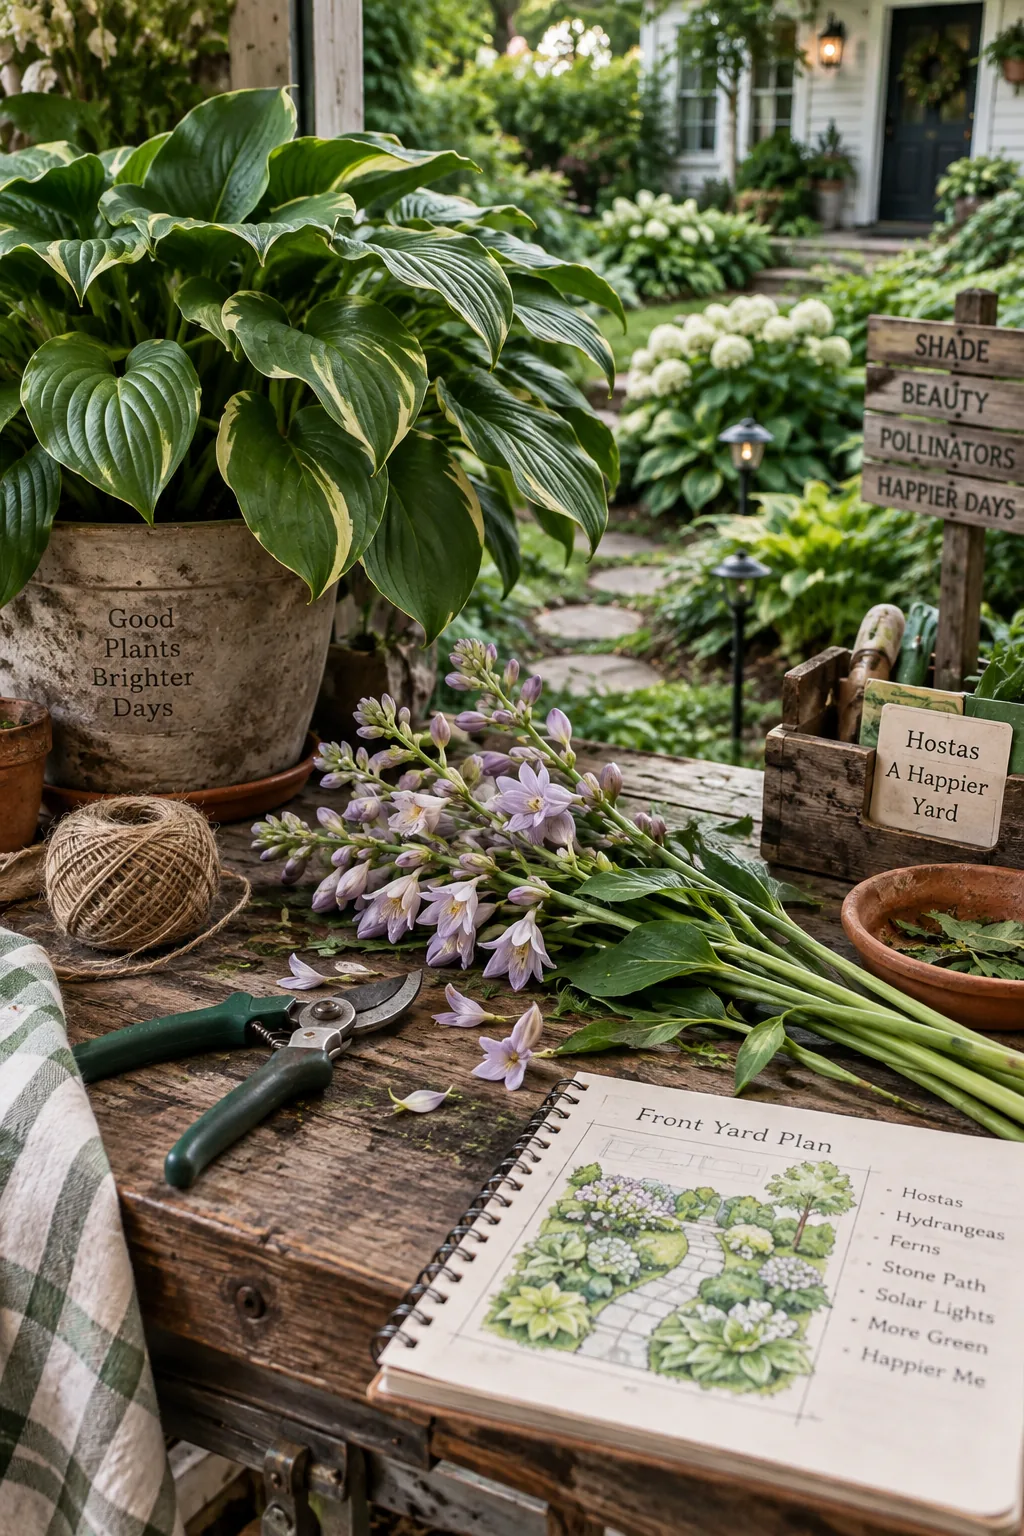
Always snip off the flower stalks as soon as they appear if you want massive foliage. Redirecting that energy back into the roots pushes the plant to grow wider and thicker leaves instead of seeds. Some people love the little purple blooms, but I prefer the clean, structural look of just the foliage. It keeps the garden plan looking incredibly tidy and intentional. You will be shocked by how much larger your plants get when you make this one simple change.
15. Fill Exterior Window Boxes
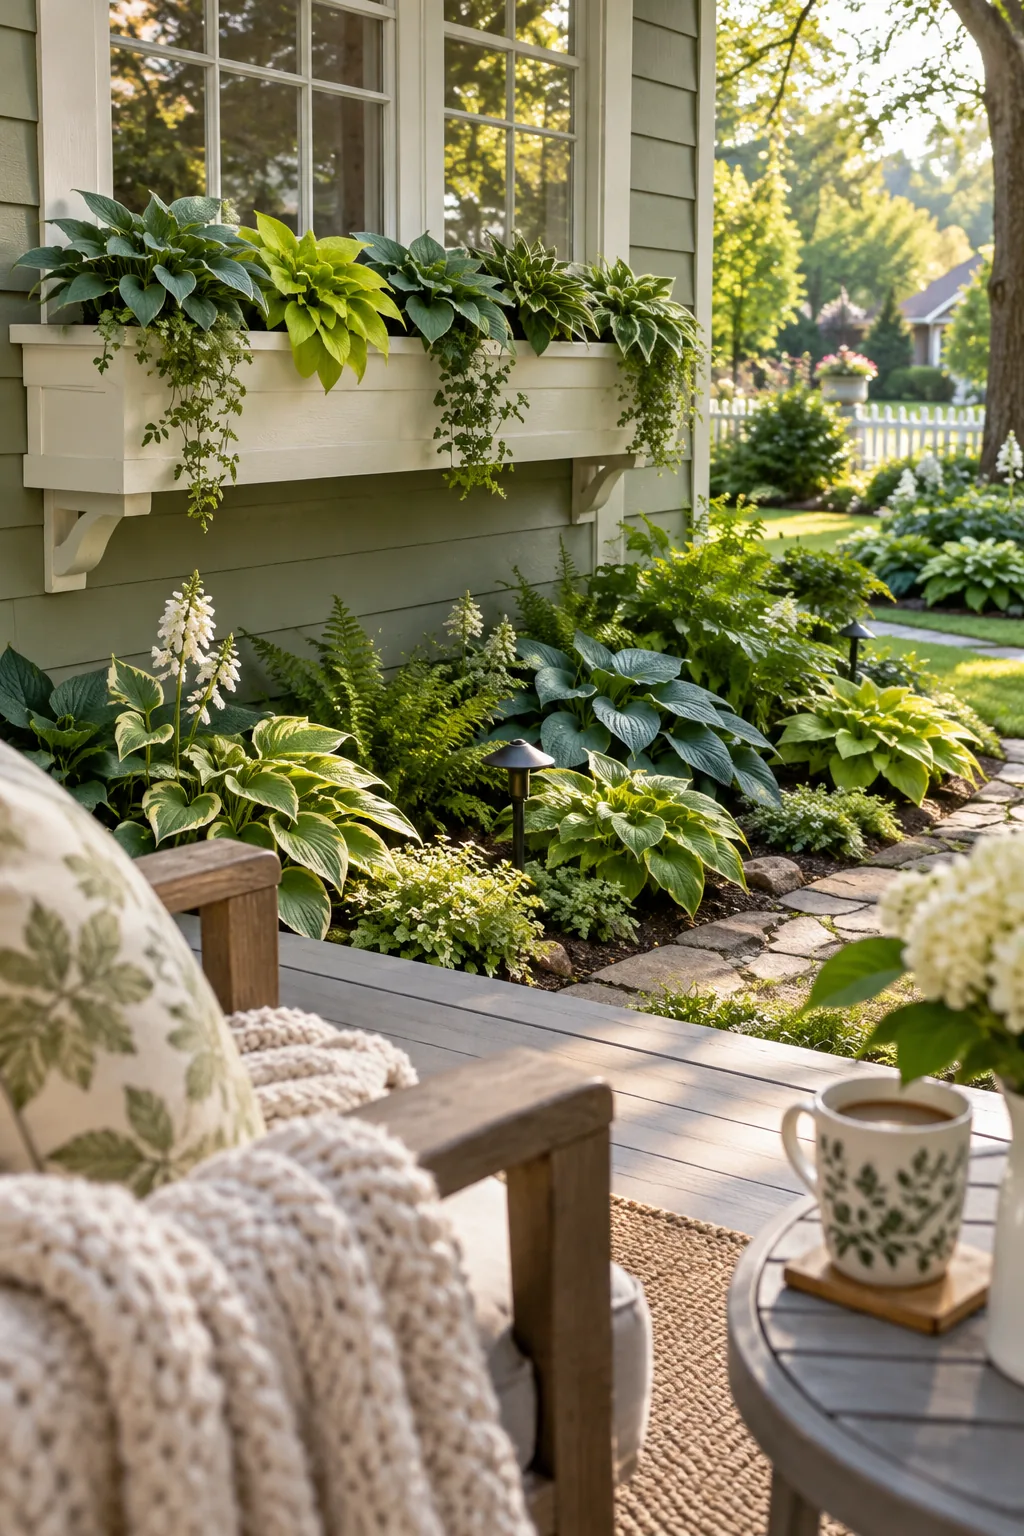
Five mini hostas fit perfectly into a standard window box.
Using these tiny varieties brings the lush shade garden look right up to your exterior windows. They require almost zero pruning and look fantastic trailing over the edges as they mature. Just make sure your window boxes have adequate drainage holes before planting.
16. Build a Downspout Rain Garden
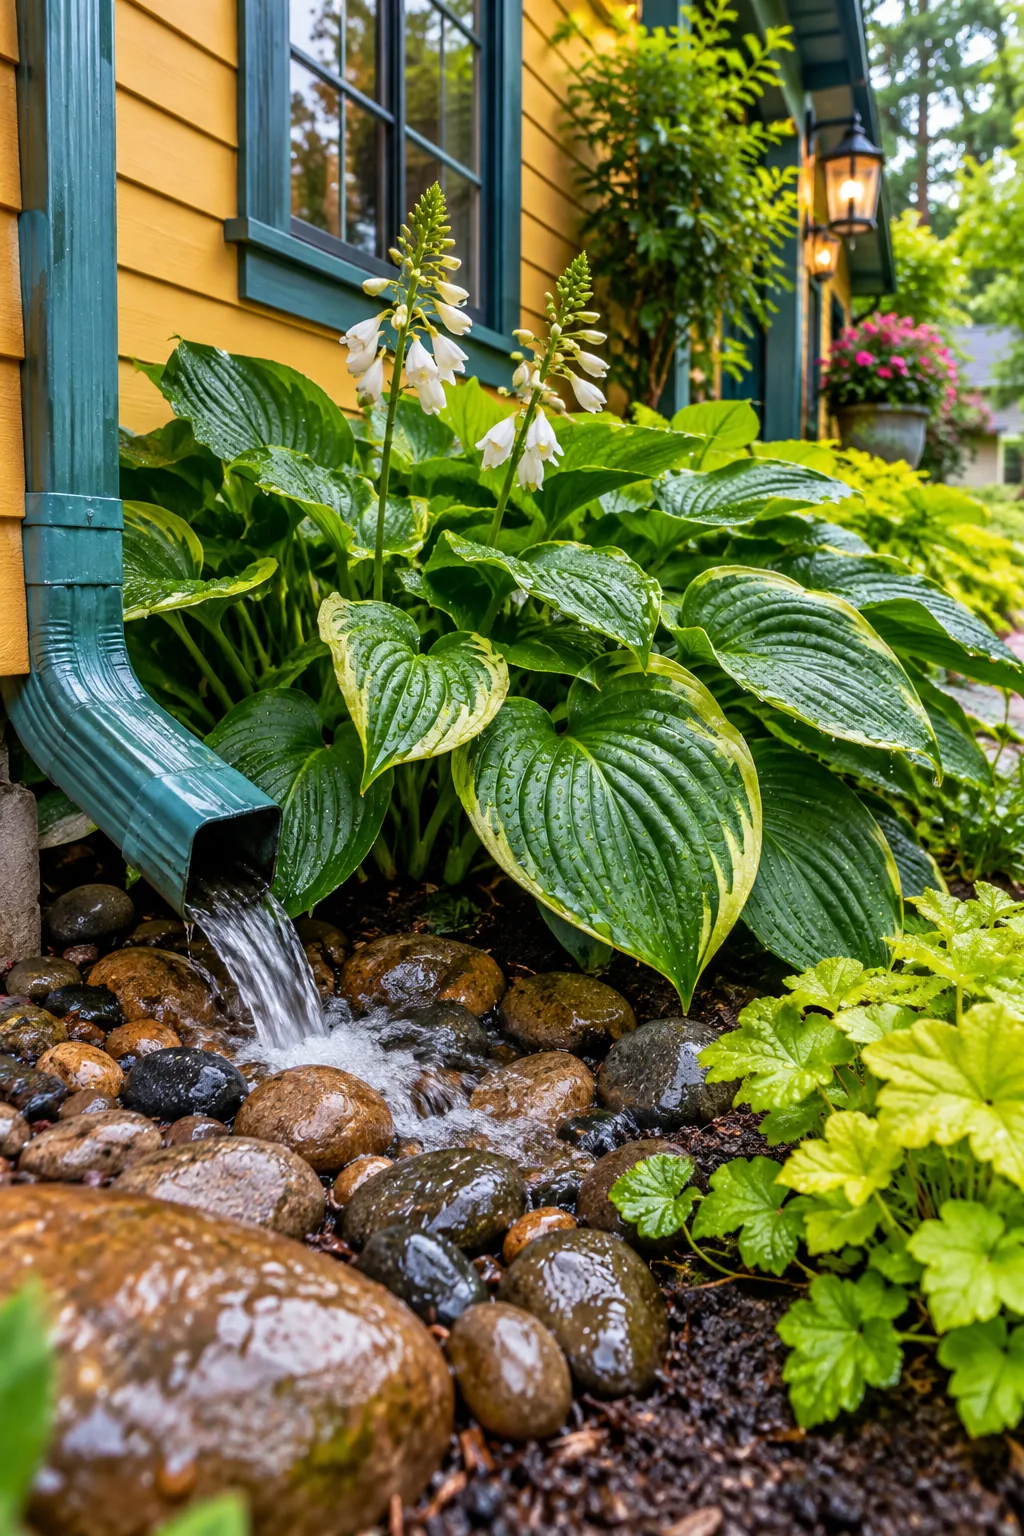
Hostas planted near downspouts always grow the largest.
You can use this extra moisture to your advantage by building a small rain garden at the end of your gutters. The plants will naturally filter the runoff while creating a gorgeous, thriving focal point in a normally soggy spot. It solves a landscaping problem while boosting your curb appeal.
17. Create a Secret Pathway
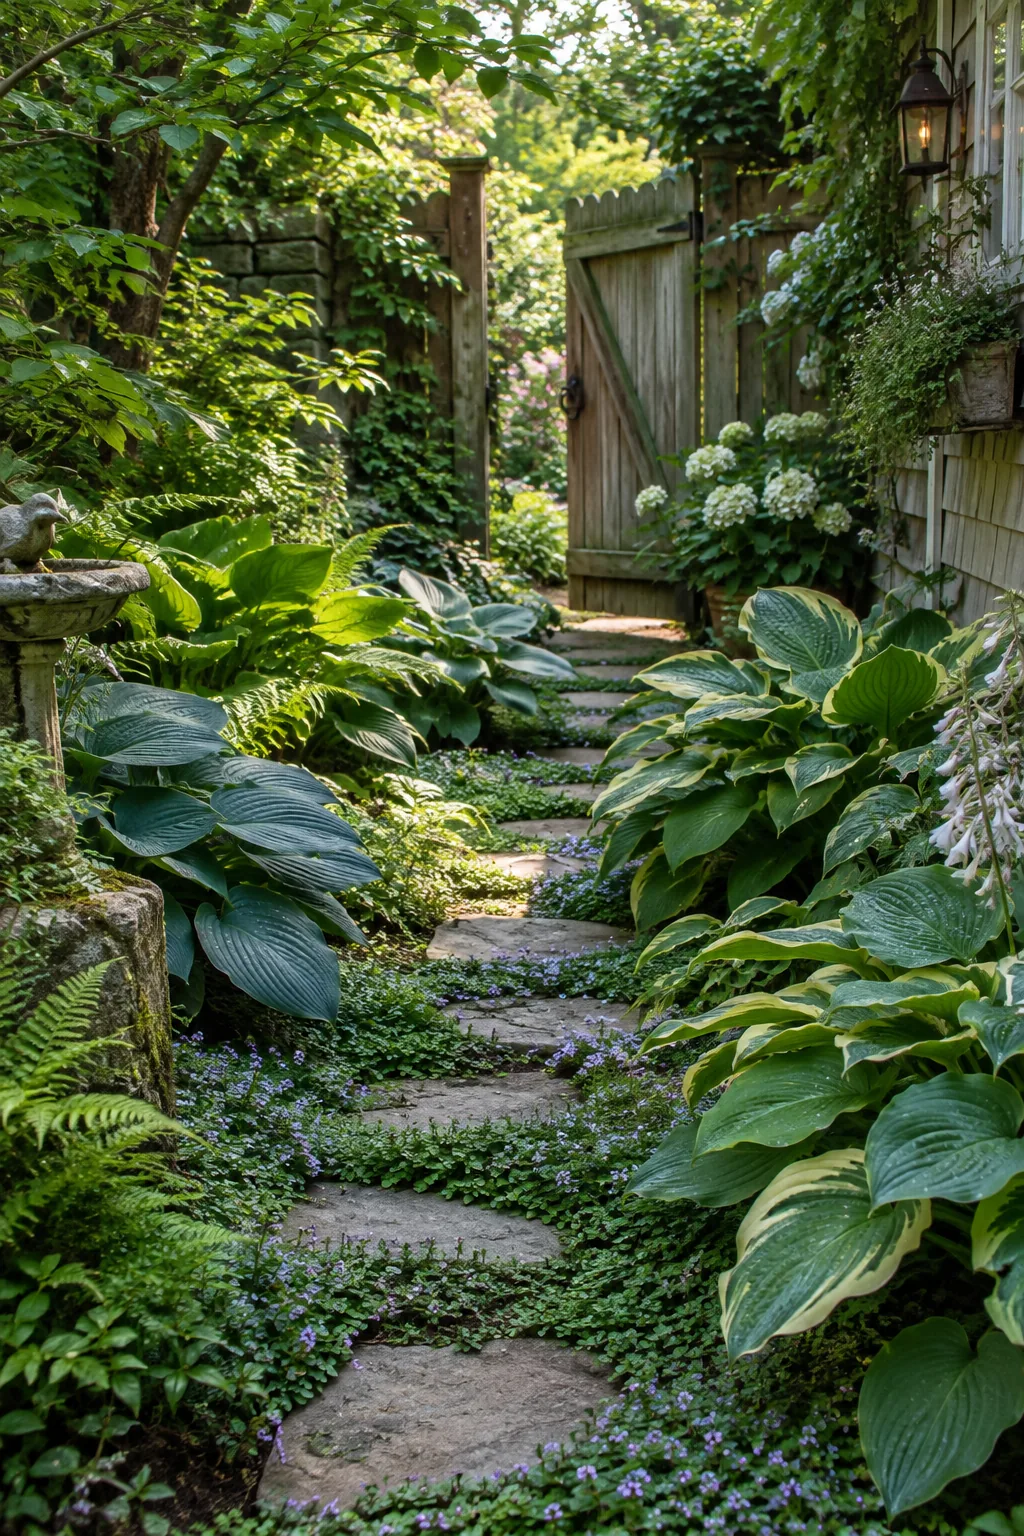
A secret garden pathway feels magical when lined with giant, overlapping hostas.
Using stepping stones intermingled with creeping groundcover creates a charming route to your side gate. The enormous leaves brush against your ankles and make the space feel lush and secluded. It turns a boring side yard transition into the best part of your front yard hosta garden plan.