Inexpensive Raised Garden Bed: The Picket and Log Method
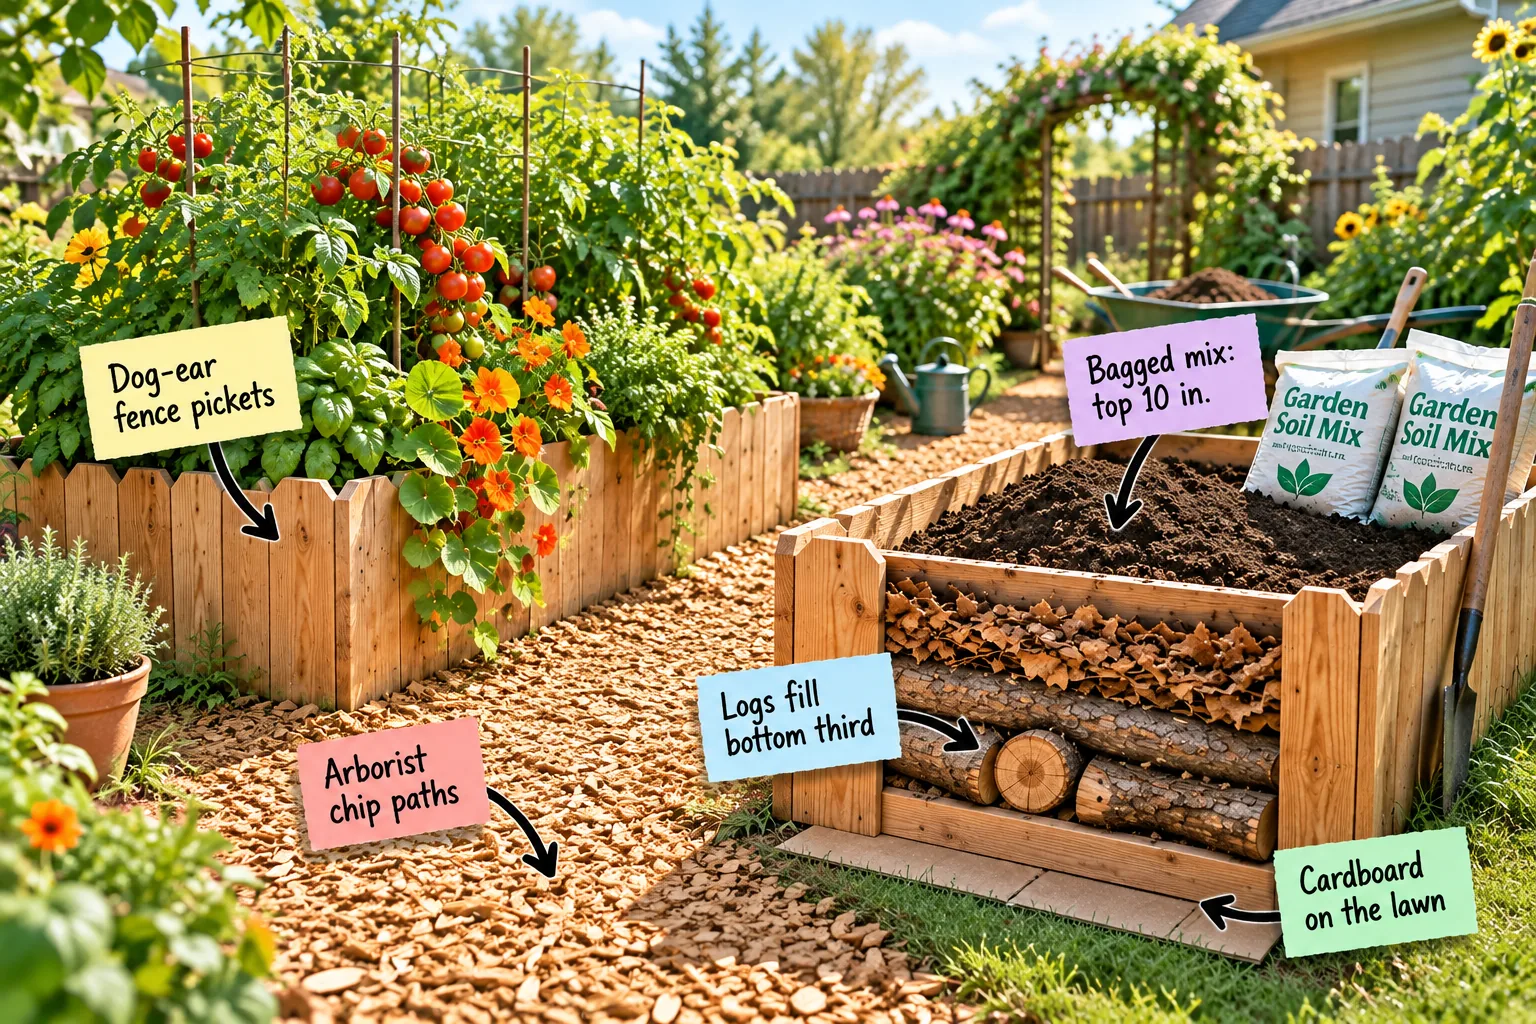
You can build a lush, budget-friendly planter right now by printing our complete 4×8 picket bed cut list and layer quantity chart. We will build this 17-inch-deep bed from the ground up, starting with simple site preparation and finishing with the exact topsoil volumes you need.
Smothering the Lawn with Cardboard
Skip the backbreaking sod removal by laying plain brown corrugated cardboard directly over the grass to create a biodegradable weed barrier. I used saved delivery boxes for this exact step in my own Austin backyard, and it completely stopped stubborn weeds.
Overlap the cardboard edges by at least 6 inches to ensure absolutely no sunlight reaches the lawn below. Once covered with soil, this base layer eventually decomposes and invites beneficial earthworms up to feed your garden system.
Removing Shipping Tape and Labels
Before laying any boxes down, peel off every piece of plastic packing tape and shiny shipping label. These synthetic materials will never break down in your garden, leaving frustrating plastic debris mixed into your beautiful topsoil for years to come.
Soaking the Cardboard Base
Spray the flattened cardboard heavily with a garden hose until the material turns dark brown and completely soft. Thoroughly soaking the barrier jumpstarts the decomposition process and prevents the dry boxes from wicking precious moisture away from your freshly laid soil.
Building Walls from Dog-Ear Pickets
Standard cedar dog-ear fence pickets offer a naturally rot-resistant material at a fraction of the cost of dimensional lumber. Stacking them horizontally creates a sturdy 17-inch-tall wall that provides plenty of depth for deep-rooted summer vegetables.
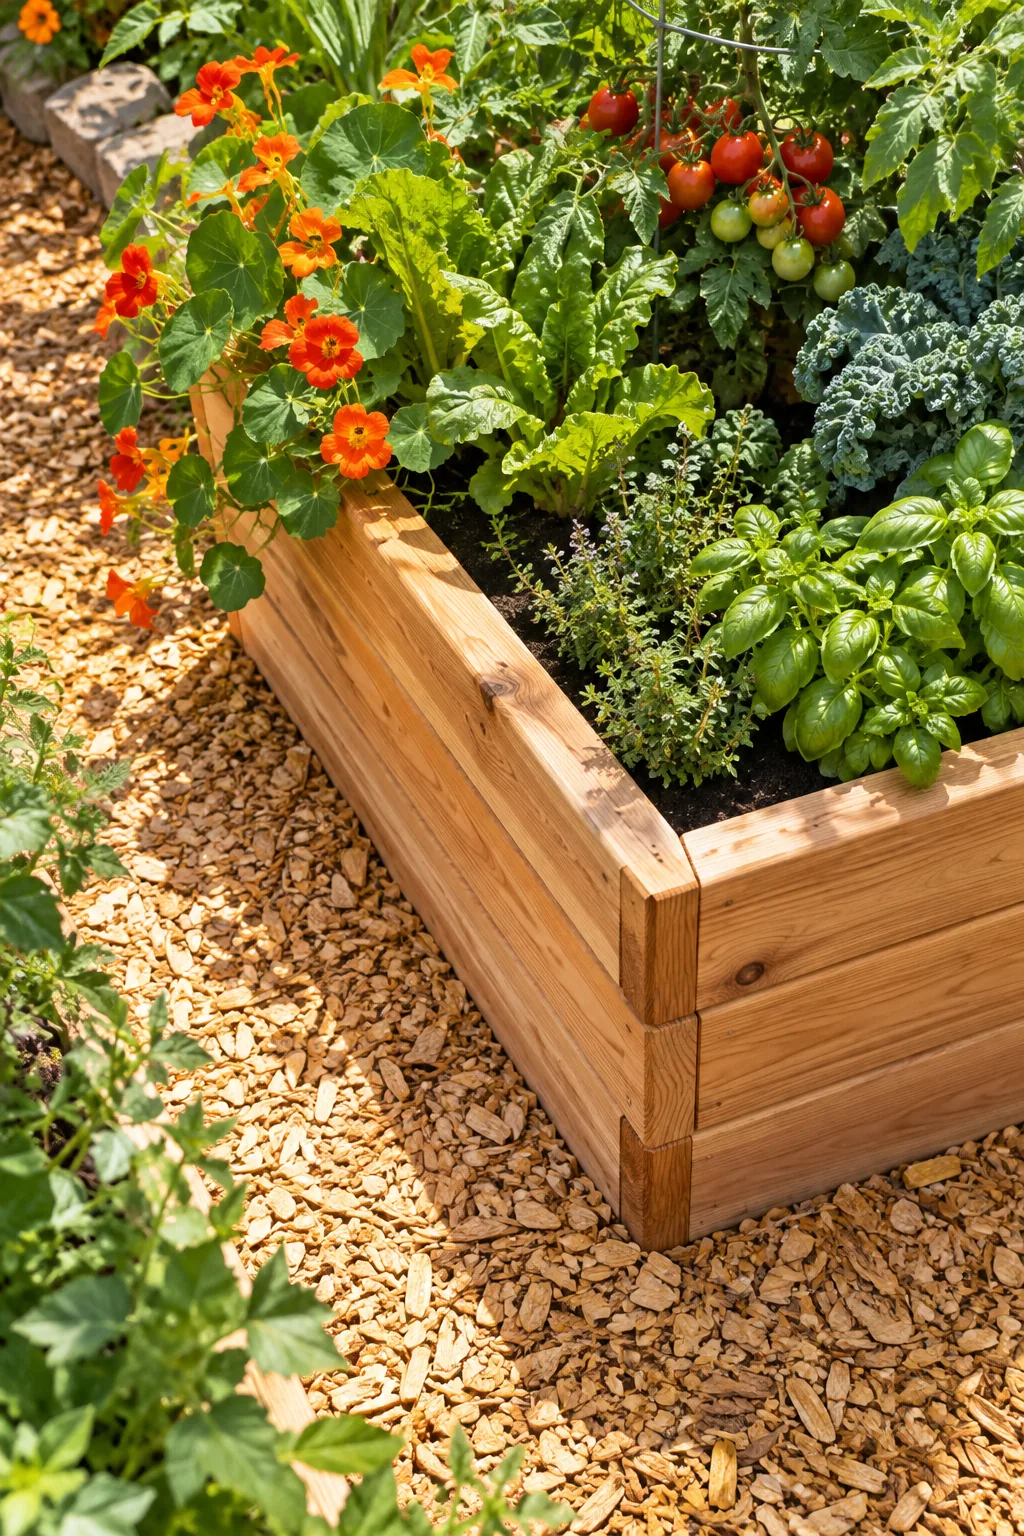
Before heading to the hardware store, carefully inspect each cedar board to ensure your planter walls will line up perfectly flush during assembly. A few minutes of checking prevents frustrating gaps in your finished garden frame.
Choosing Sturdy Corner Posts
Anchor your horizontal pickets into thick 4×4 cedar corner posts to prevent the long walls from bowing outward under the immense weight of wet soil. Cutting these posts exactly flush with your top picket creates a clean, professional finish.
Driving Exterior Wood Screws
Fasten every board using polymer-coated exterior wood screws rather than standard indoor nails. These specialized fasteners easily bite into the cedar without stripping, and their weather-resistant coating ensures they will never leave ugly rust streaks running down your wooden frames.
Spreading Arborist Wood Chip Paths
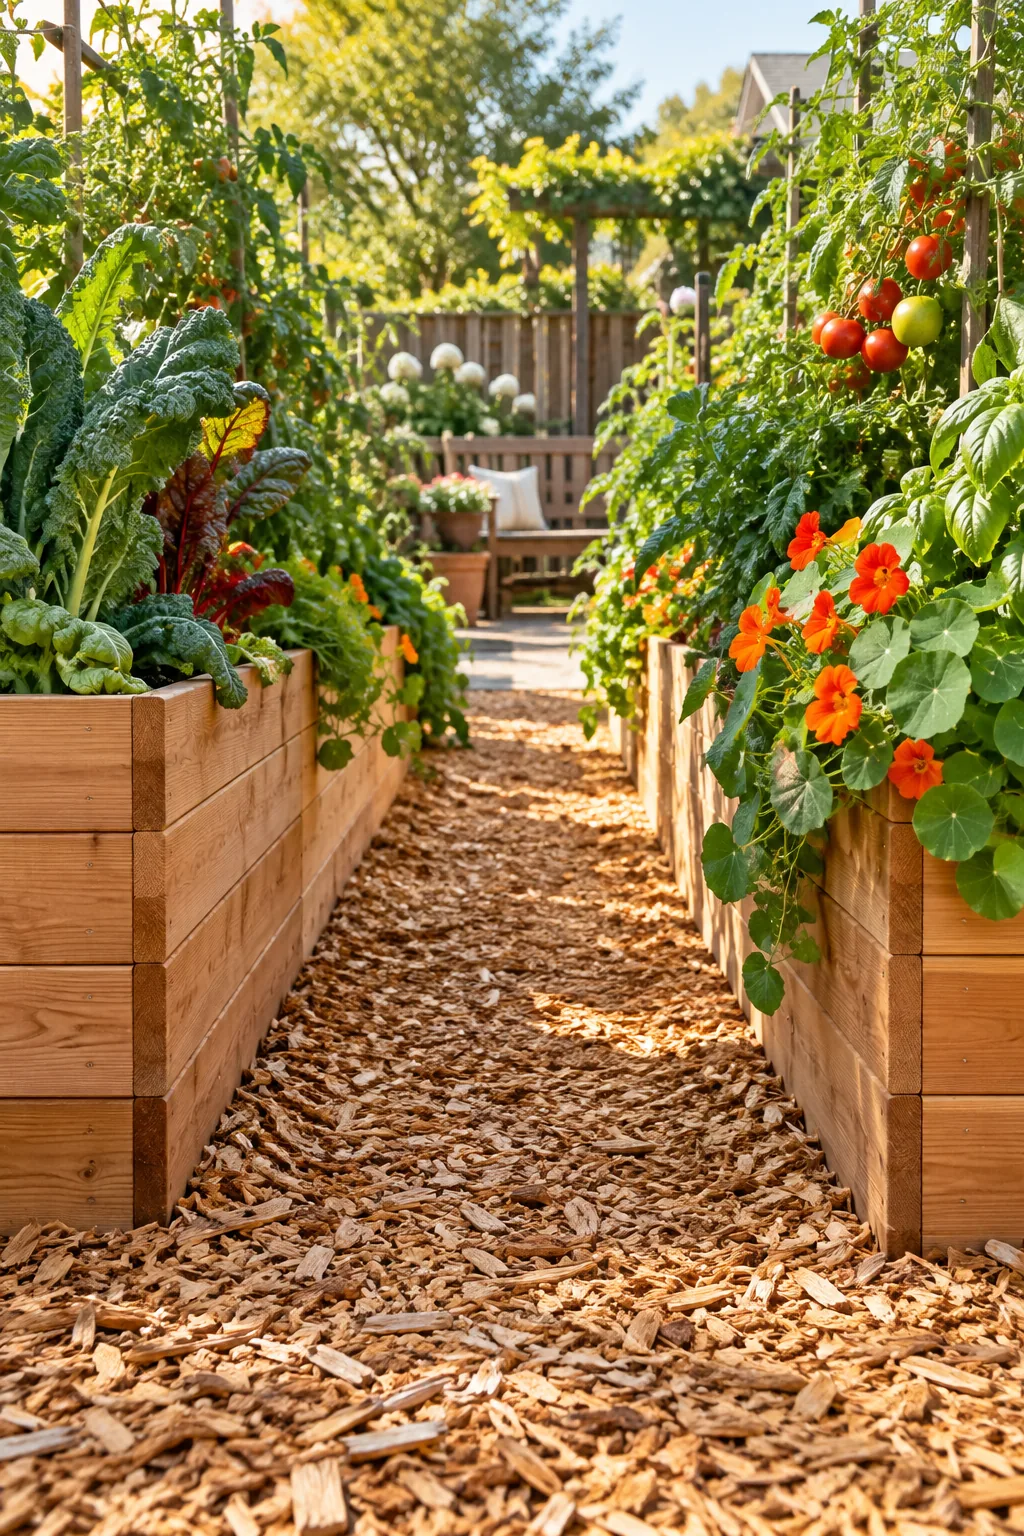
Surround the completed frames with a thick layer of fresh arborist wood chips to suppress surrounding weeds and retain ground moisture. I grabbed a free truckload from a local tree service last spring, and it transformed my muddy yard into a clean oasis.
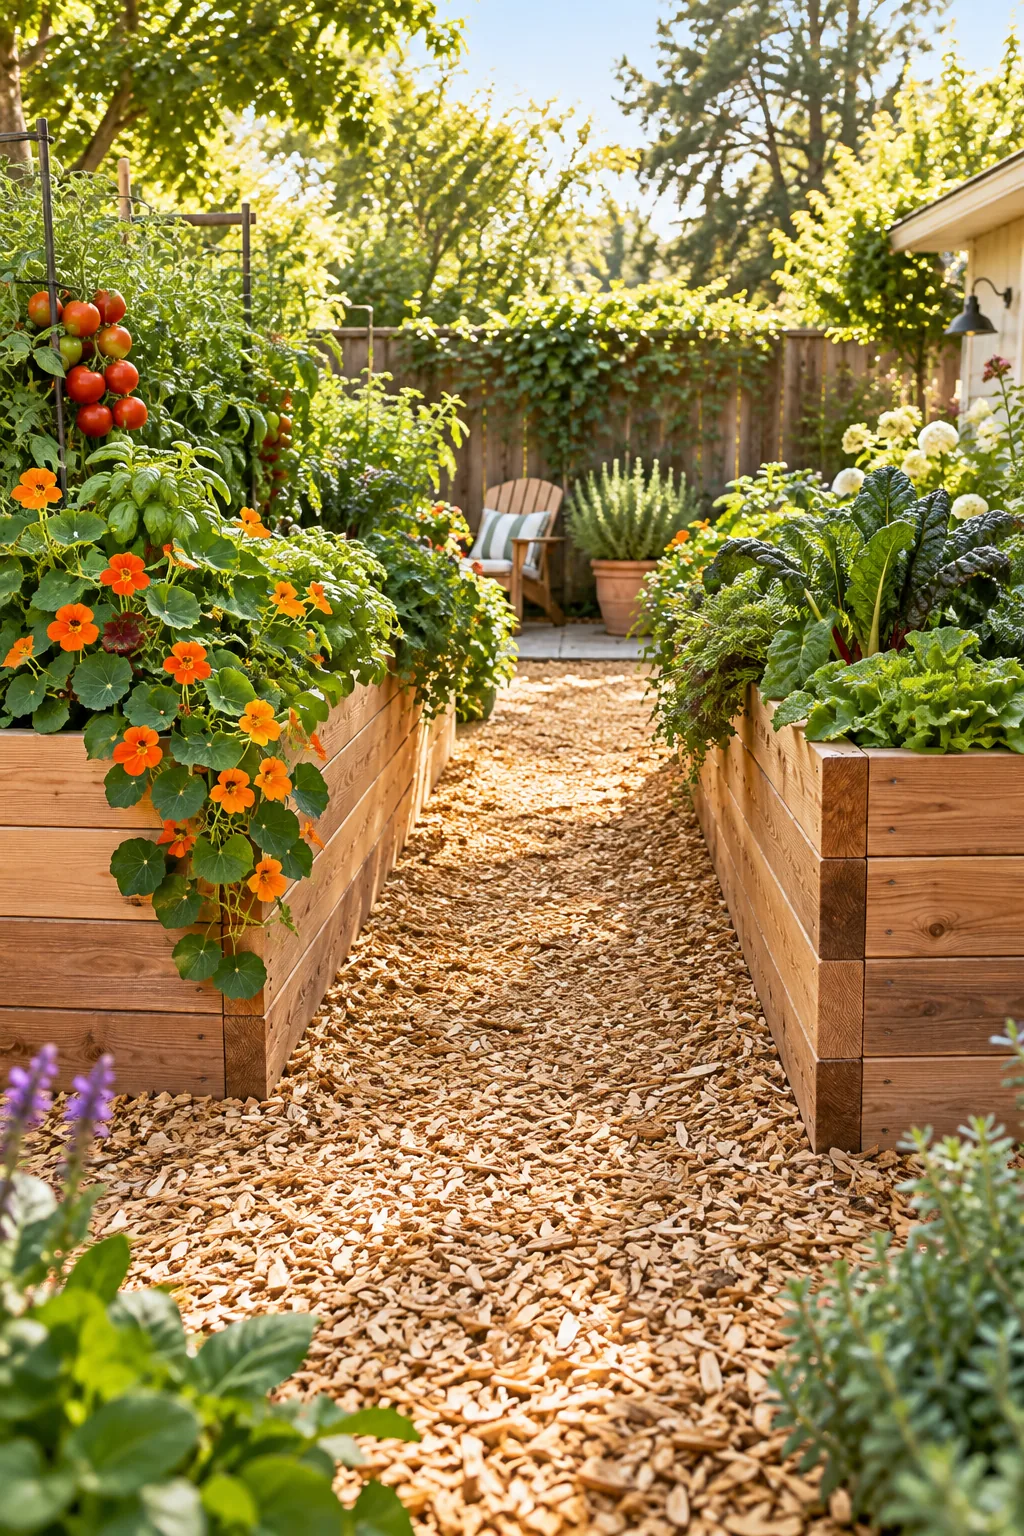
Maintain paths that are exactly 3 feet wide between your planter boxes. This specific spacing allows a standard wheelbarrow to pass through comfortably when you are hauling compost or harvesting heavy summer crops.
Refreshing Paths Annually
Plan to add a fresh one-inch layer of wood chips to your pathways every single spring. The bottom layer constantly breaks down into rich compost, so topping it off maintains that clean aesthetic while continuously improving the surrounding native dirt.
Filling the Bottom Third with Logs
Borrowing from the traditional hugelkultur method, arrange large hardwood logs and thick branches to entirely fill the bottom third of the empty bed. This deeply buried base layer acts as a massive natural sponge that holds water through severe summer droughts.
| Wood Type | Decomposition | Best For |
|---|---|---|
| Oak & Hickory | Slow | Long-term moisture retention |
| Maple & Ash | Moderate | Balanced nutrient release |
| Fruitwoods | Moderate | Safe vegetable growing |
Sourcing free wood is a brilliant budget strategy, but the wrong materials can introduce toxins or stunt your vegetables. Always identify your logs correctly before burying them beneath your future food supply.
Arranging the Thickest Base Logs
Place your largest, heaviest logs directly on the cardboard, running them parallel to the longest sides of your planter. Orienting the massive pieces lengthwise creates a stable, structured foundation that will not shift or roll outward against your cedar walls.
Tucking Branches into Gaps
Wedge medium branches and small twigs tightly into the deep voids between your foundation logs. Eliminating these large empty air pockets prevents your expensive topsoil from suddenly sinking halfway down the planter after the first heavy summer rainstorm.
Adding a Leaf Layer Filter
Spread a dense, 2-inch layer of dry autumn leaves directly over the logs before adding any dirt. This crucial carbon-rich barrier prevents your fine topsoil from washing down into the deep crevices between the branches during heavy rain.
Wetting the leaves thoroughly as you spread them helps pack the material down into a solid mat. This simple step locks the foliage in place so it immediately begins breaking down to feed the rich soil above.
Sourcing Chemical-Free Leaves
Always collect fallen leaves directly from your own healthy lawn or a trusted neighbor’s yard. Never use bagged street sweepings, as they frequently contain harmful motor oil, road salt, and harsh chemical runoff that will severely damage your vegetable roots.
Tamping the Leaves Down
Step gently onto the wet foliage and use your body weight to compress the barrier tightly against the wood below. Creating this firm, dense mat guarantees your expensive bagged dirt stays exactly where your shallow-rooted vegetables need it most.
Topping with 10 Inches of Bagged Mix
Pour a high-quality bagged garden soil mix over the leaves to fill the remaining top 10 inches of the frame. This generous top layer gives shallow-rooted vegetables immediate access to vital nutrients while the logs below slowly decompose.
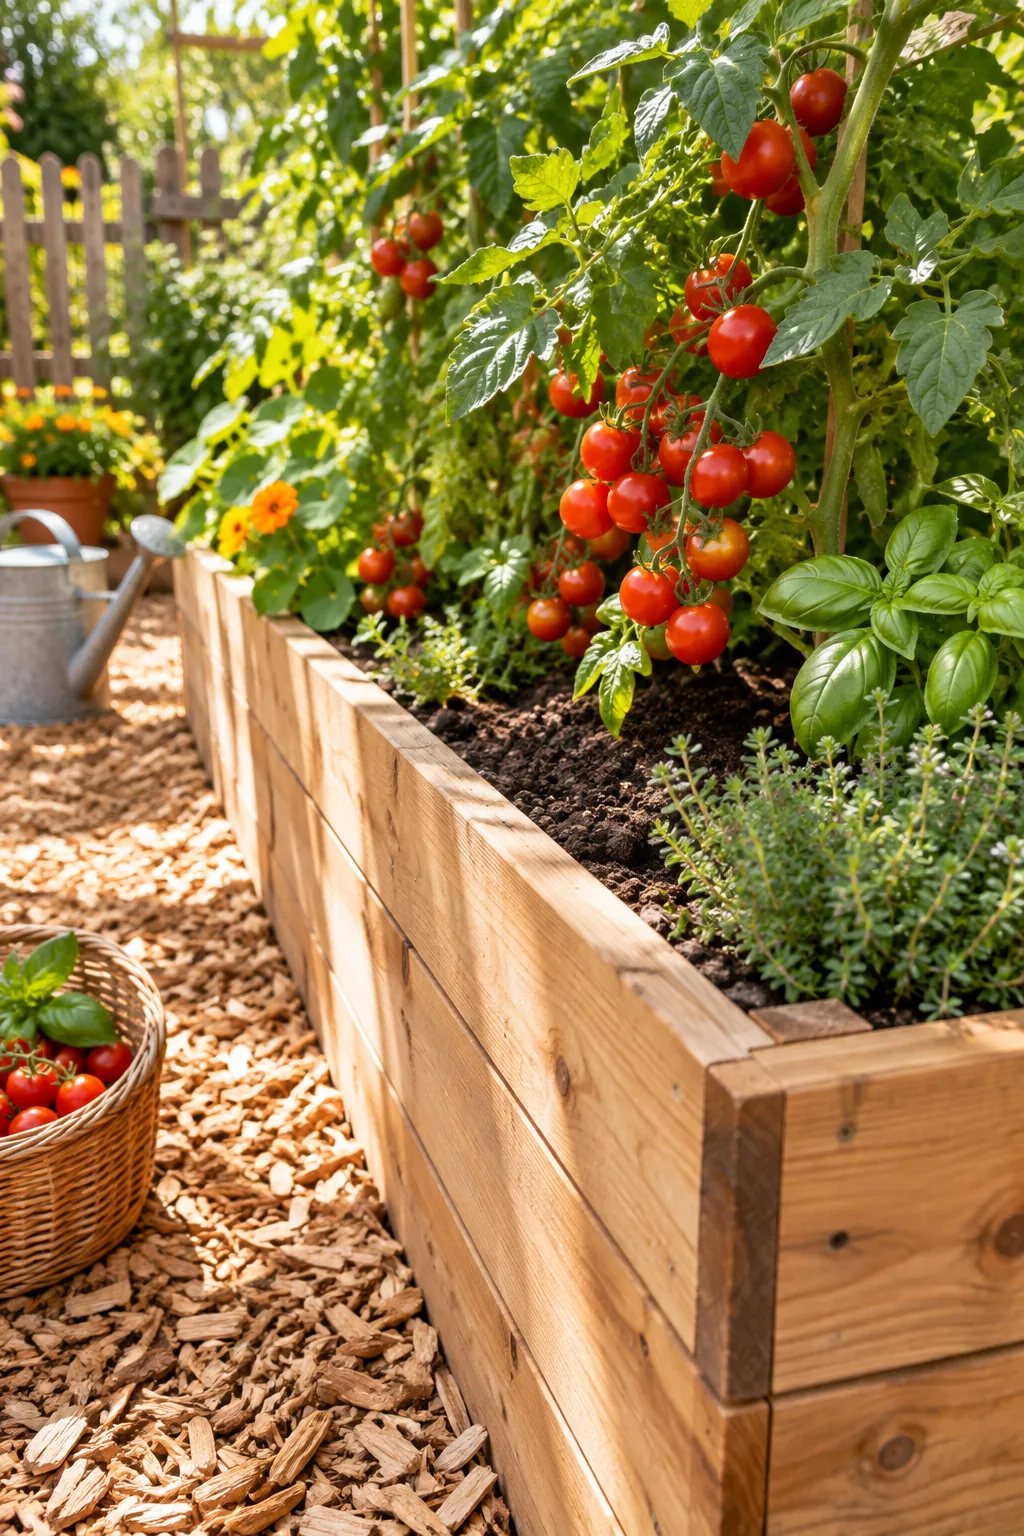
Using a pre-mixed bagged product ensures a weed-free start with the perfect blend of compost, peat, and aeration. Smooth the surface gently with a rake so water distributes evenly across your newly finished planting area.
Blending in Organic Compost
Mix one generous bag of rich mushroom compost into the top three inches of your potting soil before planting your seeds. This targeted nutrient boost feeds hungry young seedlings right at the surface without wasting expensive fertilizers deep in the planter.
Leveling the Soil Surface
Pull a wide metal bow rake across the dirt until the entire bed sits completely flat from corner to corner. A perfectly level surface prevents irrigation water from pooling at one end and drowning your sensitive young vegetable starts.
Selecting Deep-Rooted Companion Plants
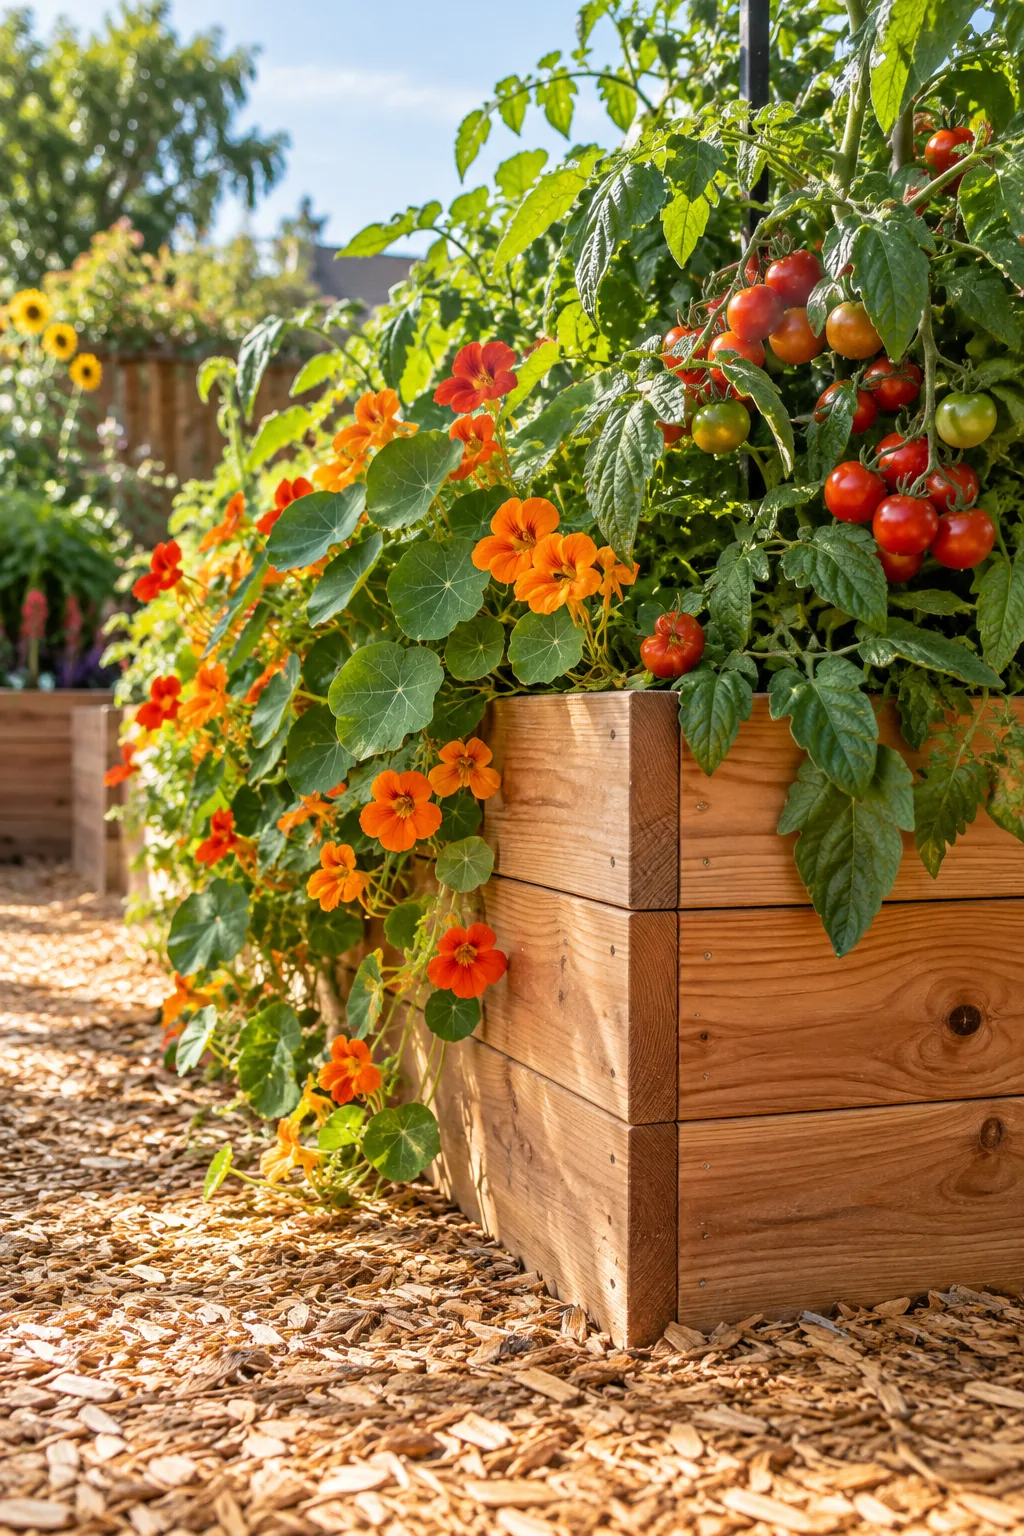
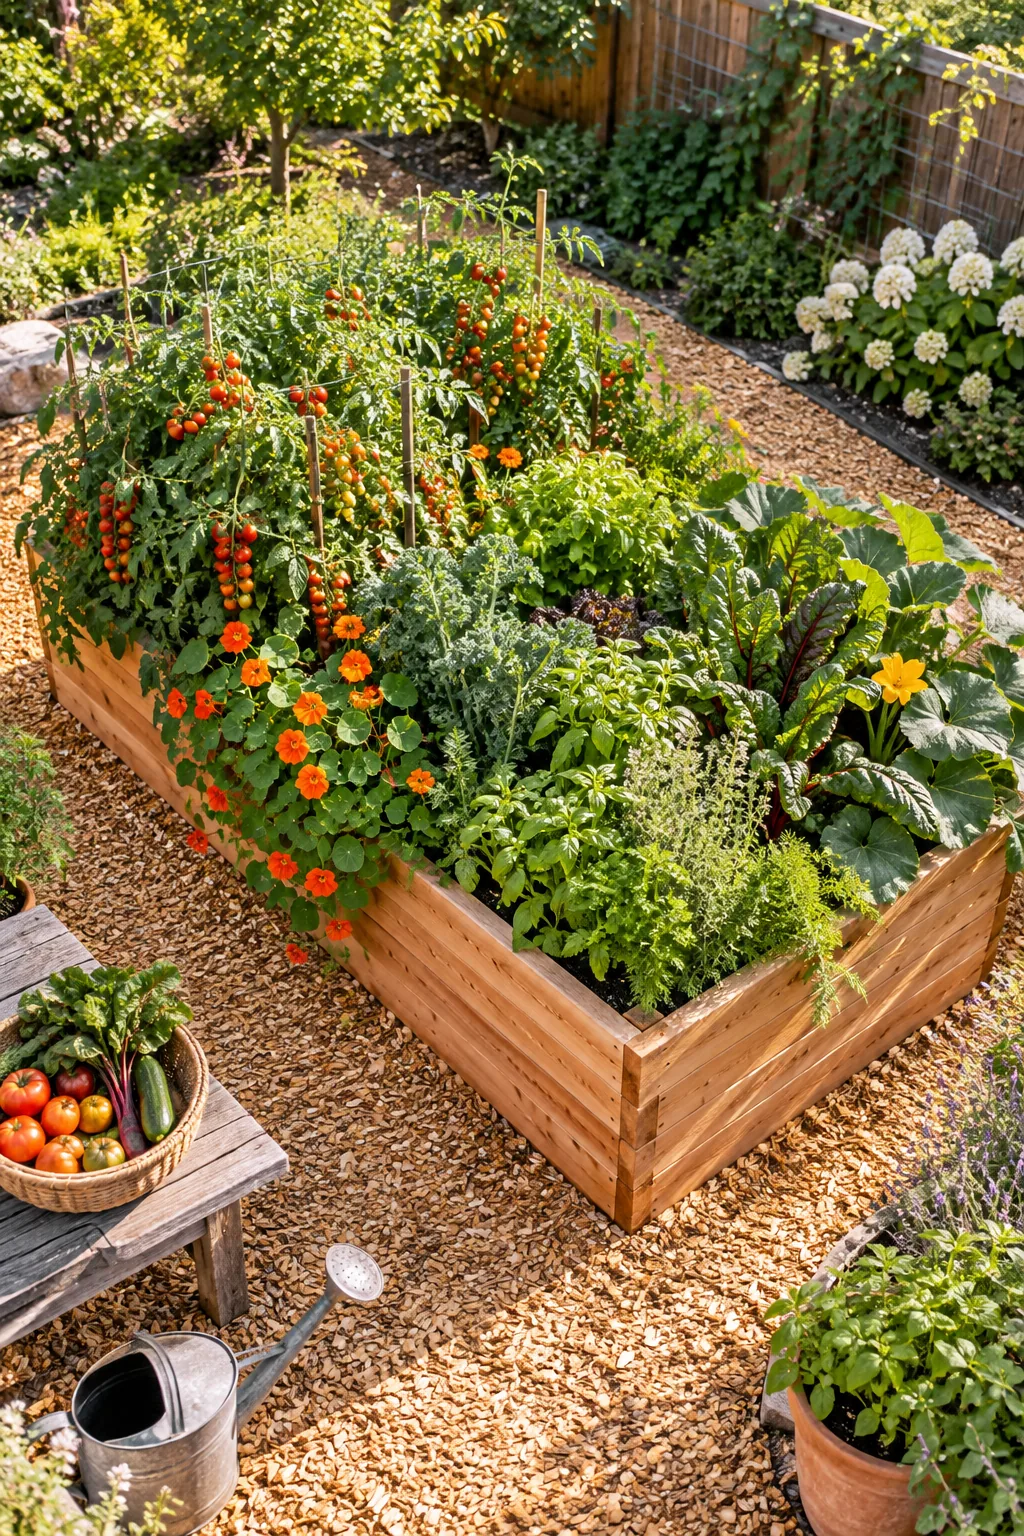
Take advantage of the 17-inch depth by planting heavy feeders like heirloom tomatoes alongside trailing nasturtiums. The tomatoes send roots deep into the moisture-rich rotting logs, while the nasturtiums act as a vibrant trap crop for destructive aphids.
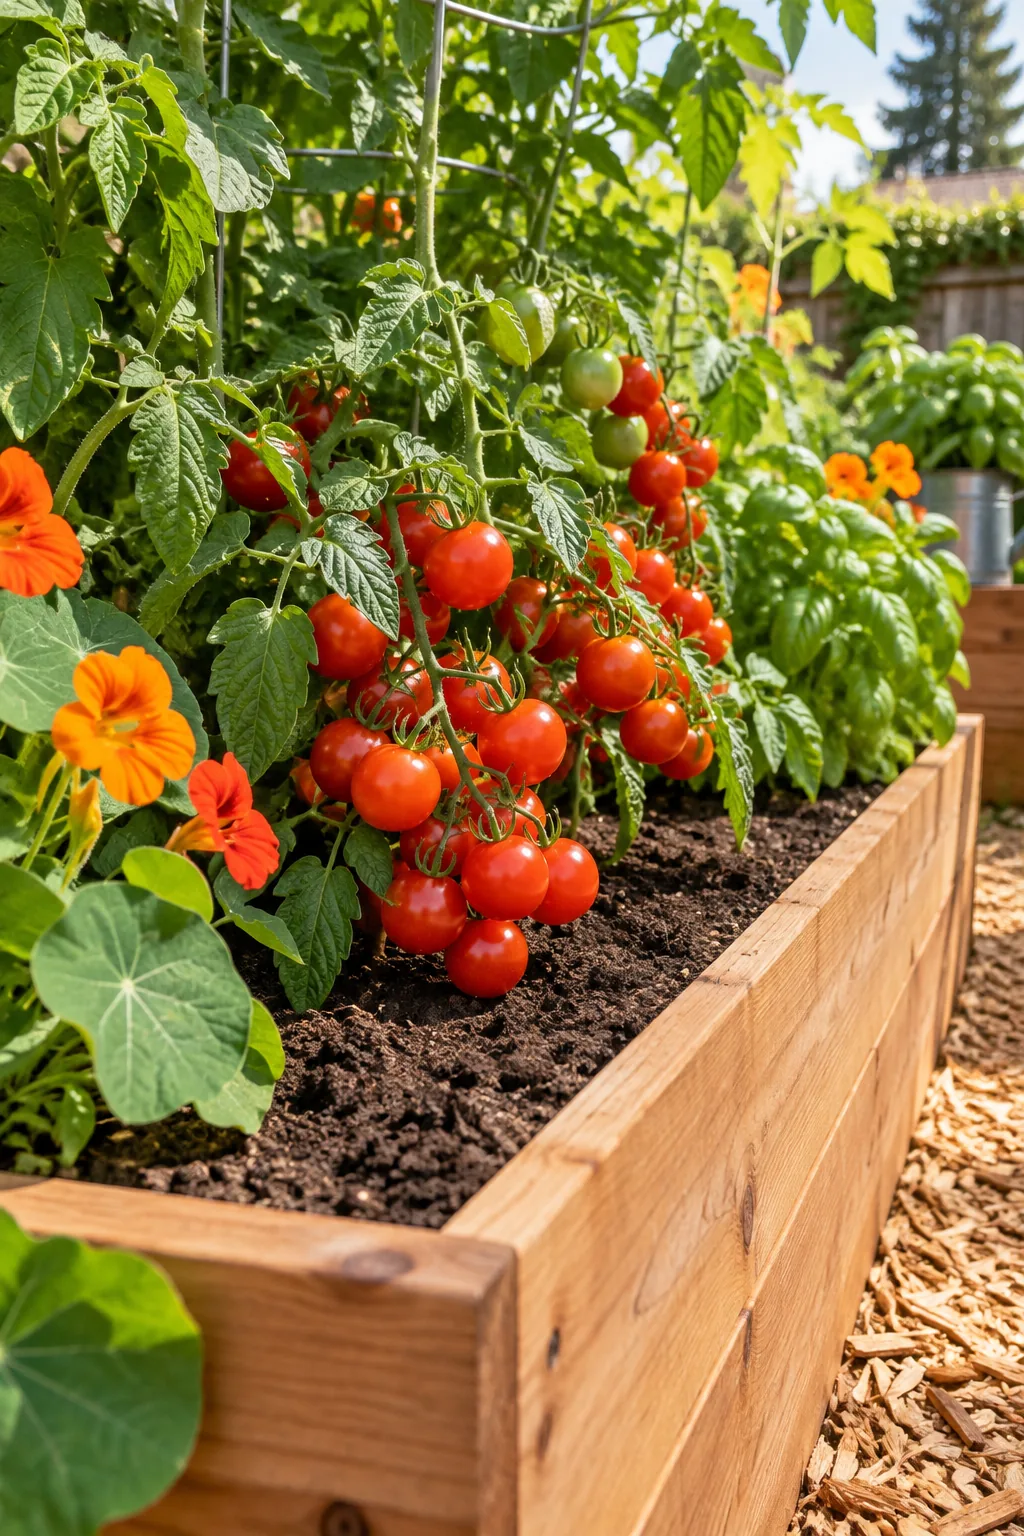
Pairing these specific companions maximizes your vertical space while naturally protecting your primary harvest. The cascading nasturtium vines also shade the exposed dirt, drastically reducing evaporation during the hottest, driest days of the summer growing season.
Spacing Heirloom Tomatoes
Plant your tomato seedlings at least two feet apart to guarantee adequate airflow through their dense mature foliage. Proper spacing prevents devastating fungal diseases from taking hold in the humid microclimate created by your densely packed raised bed.
Training Nasturtium Vines
Gently drape the young nasturtium vines over the warm cedar edges as they begin to stretch outward. Encouraging them to cascade down the wooden walls keeps your central growing area entirely clear for your main vegetable crops to thrive.
Watering the Finished System
Saturate the completed planter with a gentle shower setting until water slowly seeps out from the very bottom edges. This initial deep watering physically connects the dirt, leaves, and logs, activating the decomposition cycle that will power your garden.
The 4×8 Picket Bed Cut and Fill Chart
Use this printable 4×8 picket bed cut list and layer quantity chart to calculate your exact material needs without any guesswork. It provides the precise board lengths for flush corners, ensuring your wooden frame squares up perfectly on the first try.
The chart also details the exact cubic feet required for the logs, leaves, and bagged mix to perfectly fill a 17-inch-deep planter. Having these concrete numbers in hand makes your weekend supply run fast, accurate, and completely stress-free.
More Raised Bed Styles to Inspire You
Find the perfect raised bed material and style to match your backyard aesthetic.
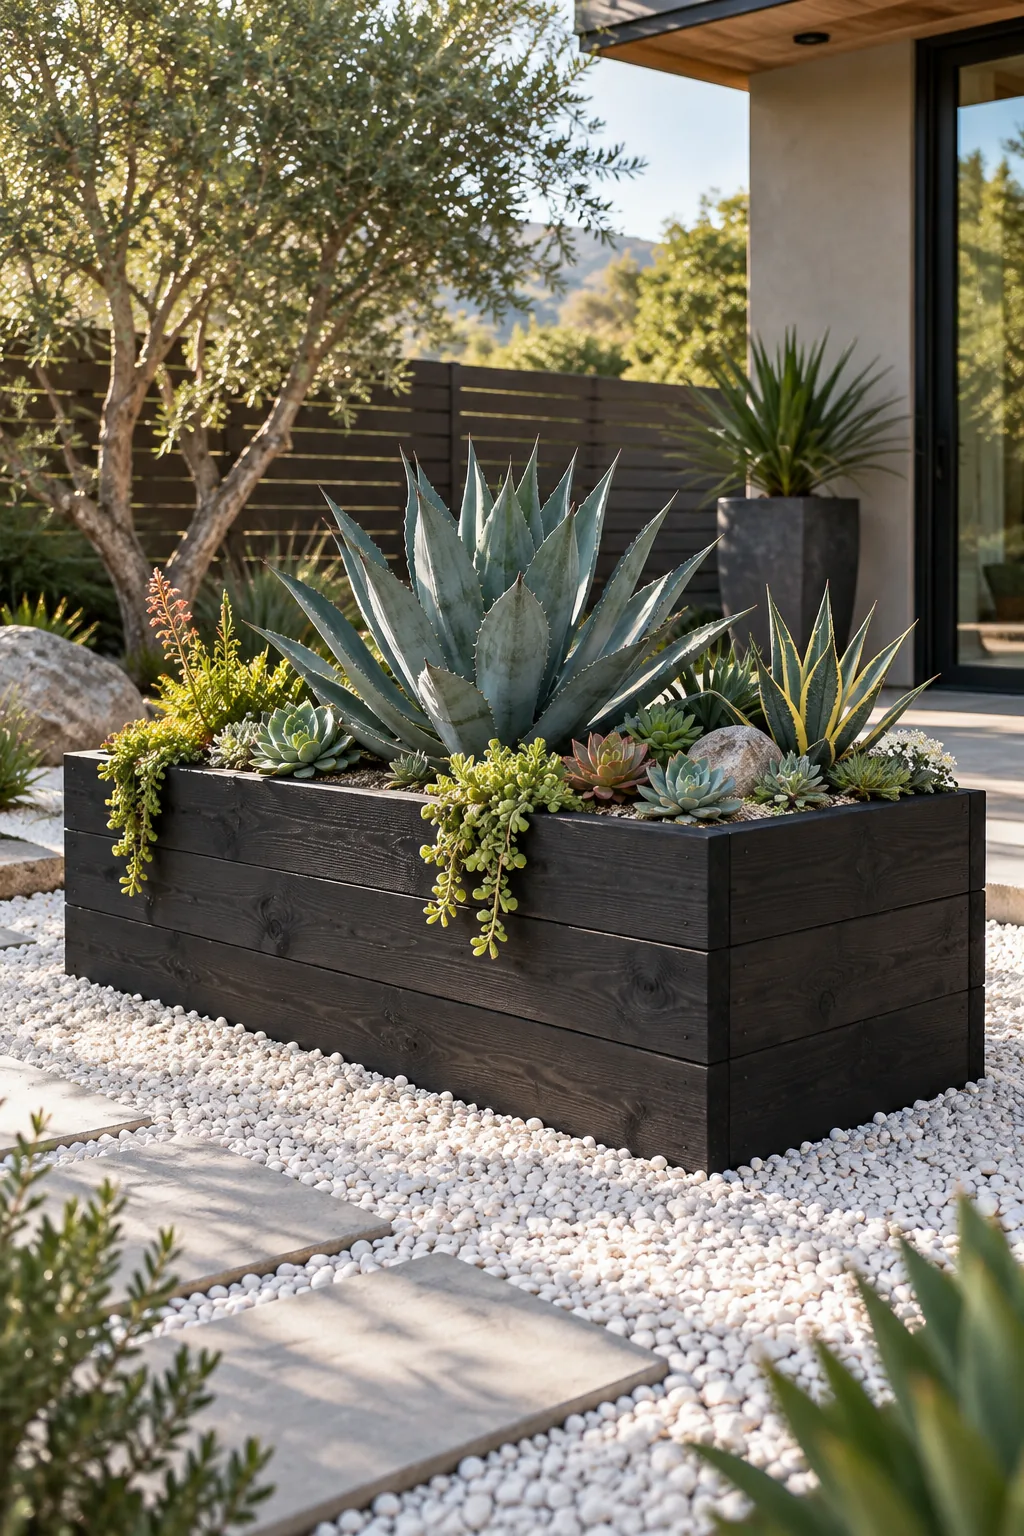
Modern Black and Gravel: Dark stains create a striking contrast against pale gravel paths, perfect for a minimalist succulent garden.
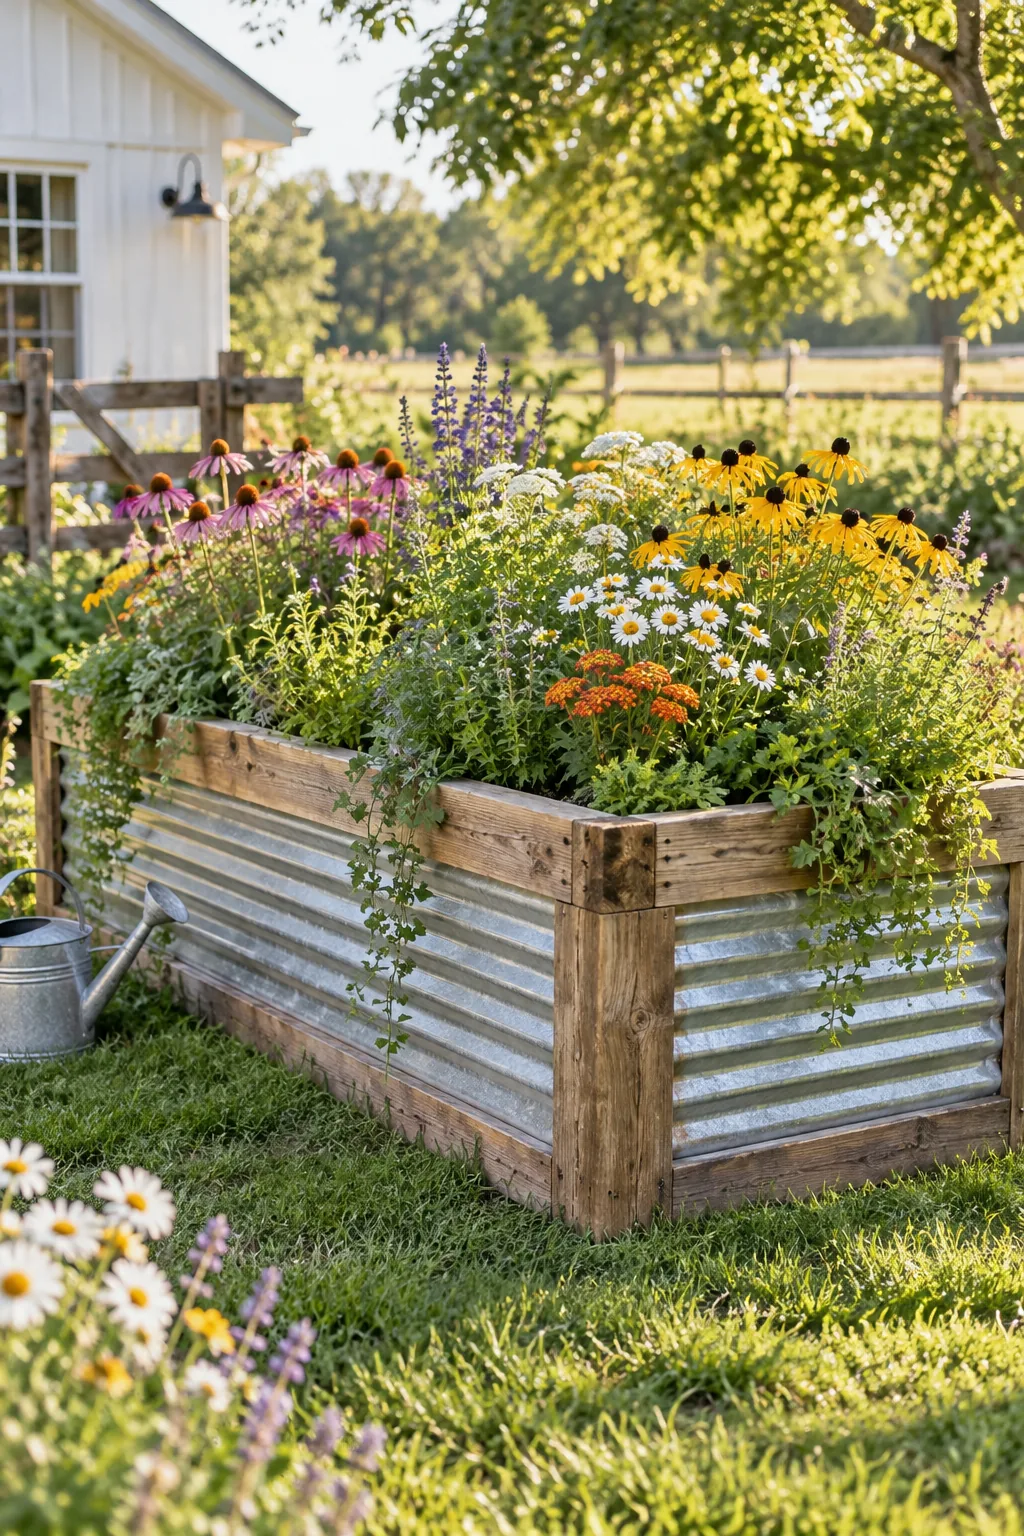
Rustic Corrugated Farmhouse: Pair galvanized metal roofing panels with thick timber frames to achieve an authentic, rugged farmhouse look.
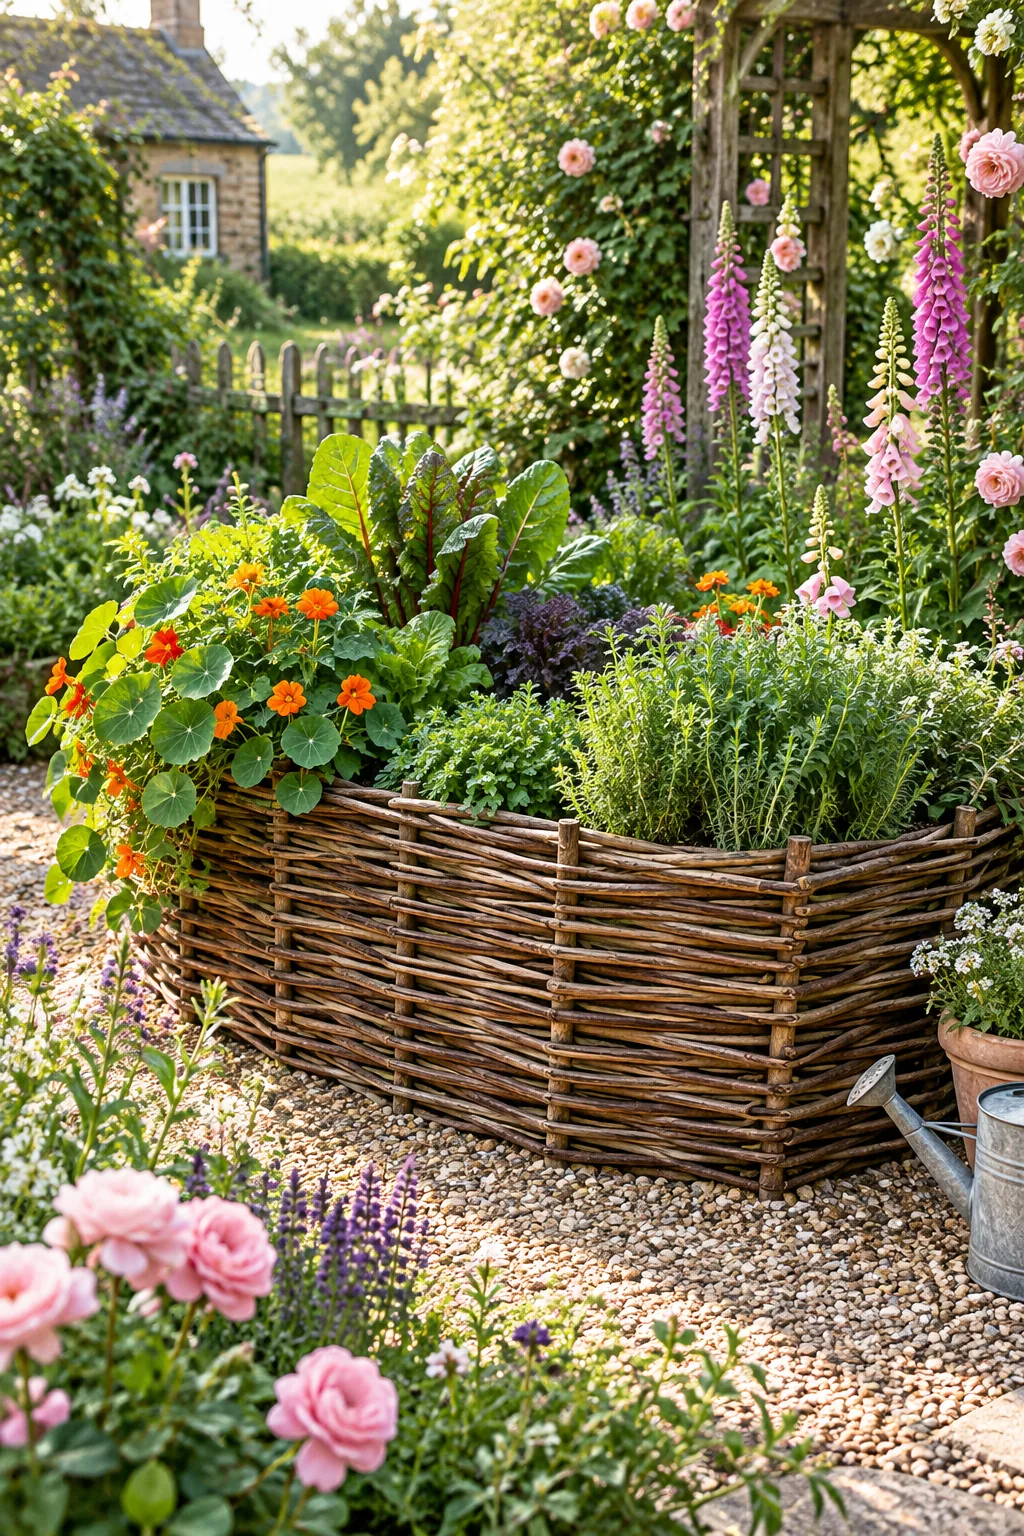
Woven Willow Cottage: Forage flexible willow branches to weave a beautiful, organic wattle border that blends seamlessly into cottage plantings.
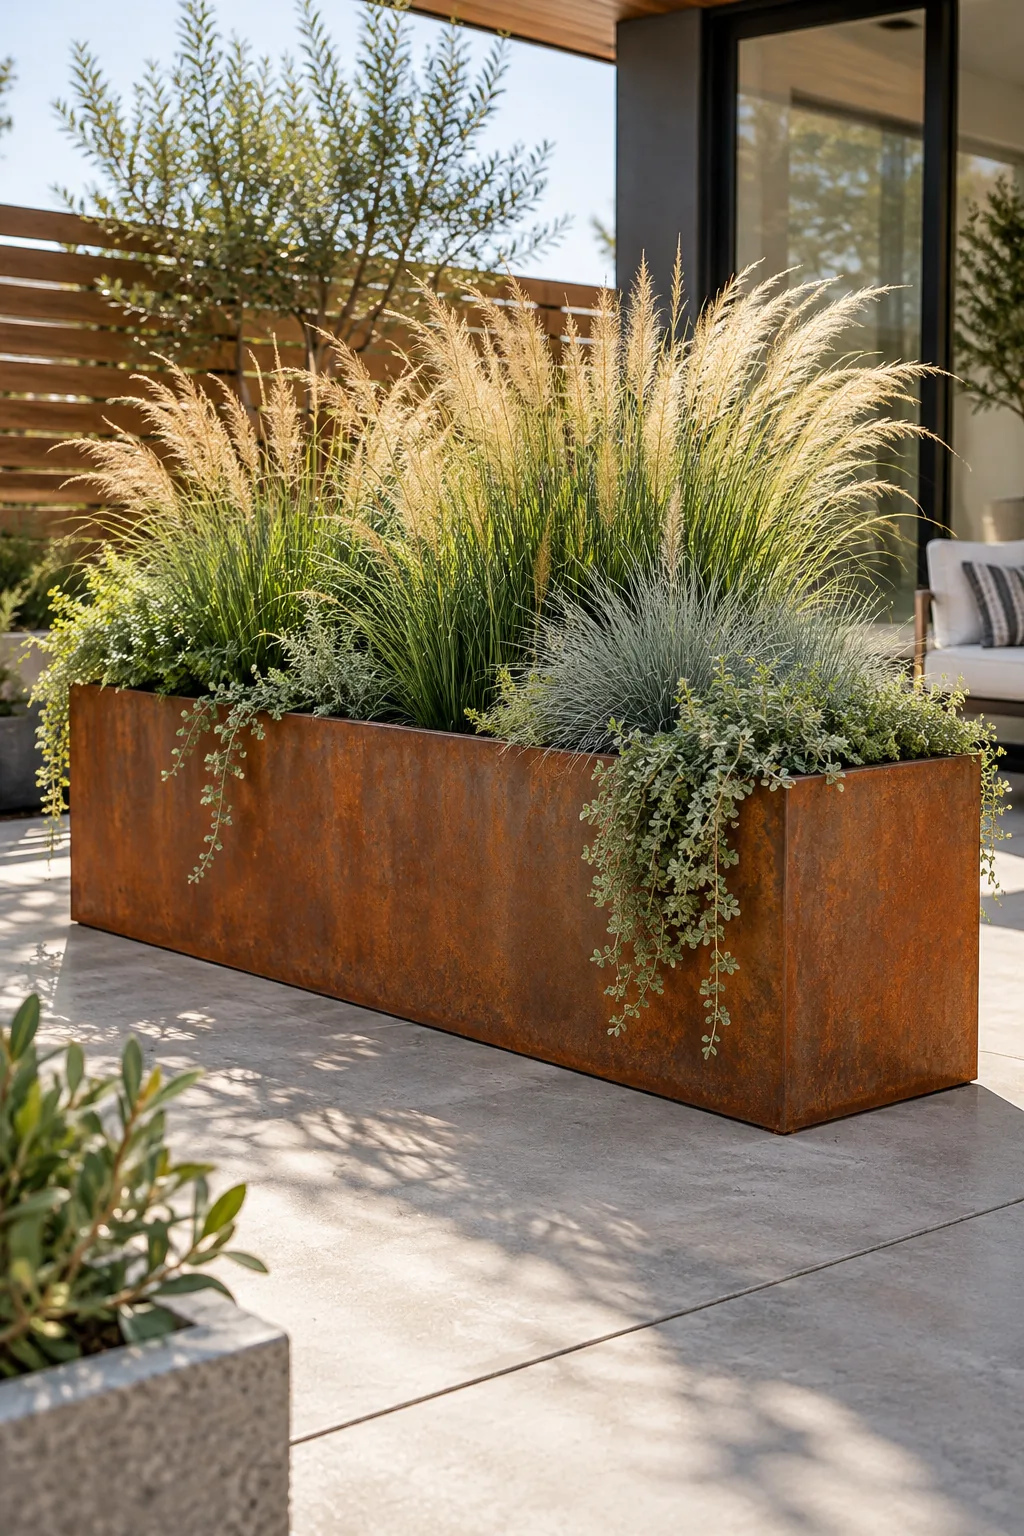
Industrial Corten Steel: Invest in weathering steel planters that develop a protective rust patina, offering incredible durability for concrete patios.