
How to Build a Box Window Valance: Framework & Measurements
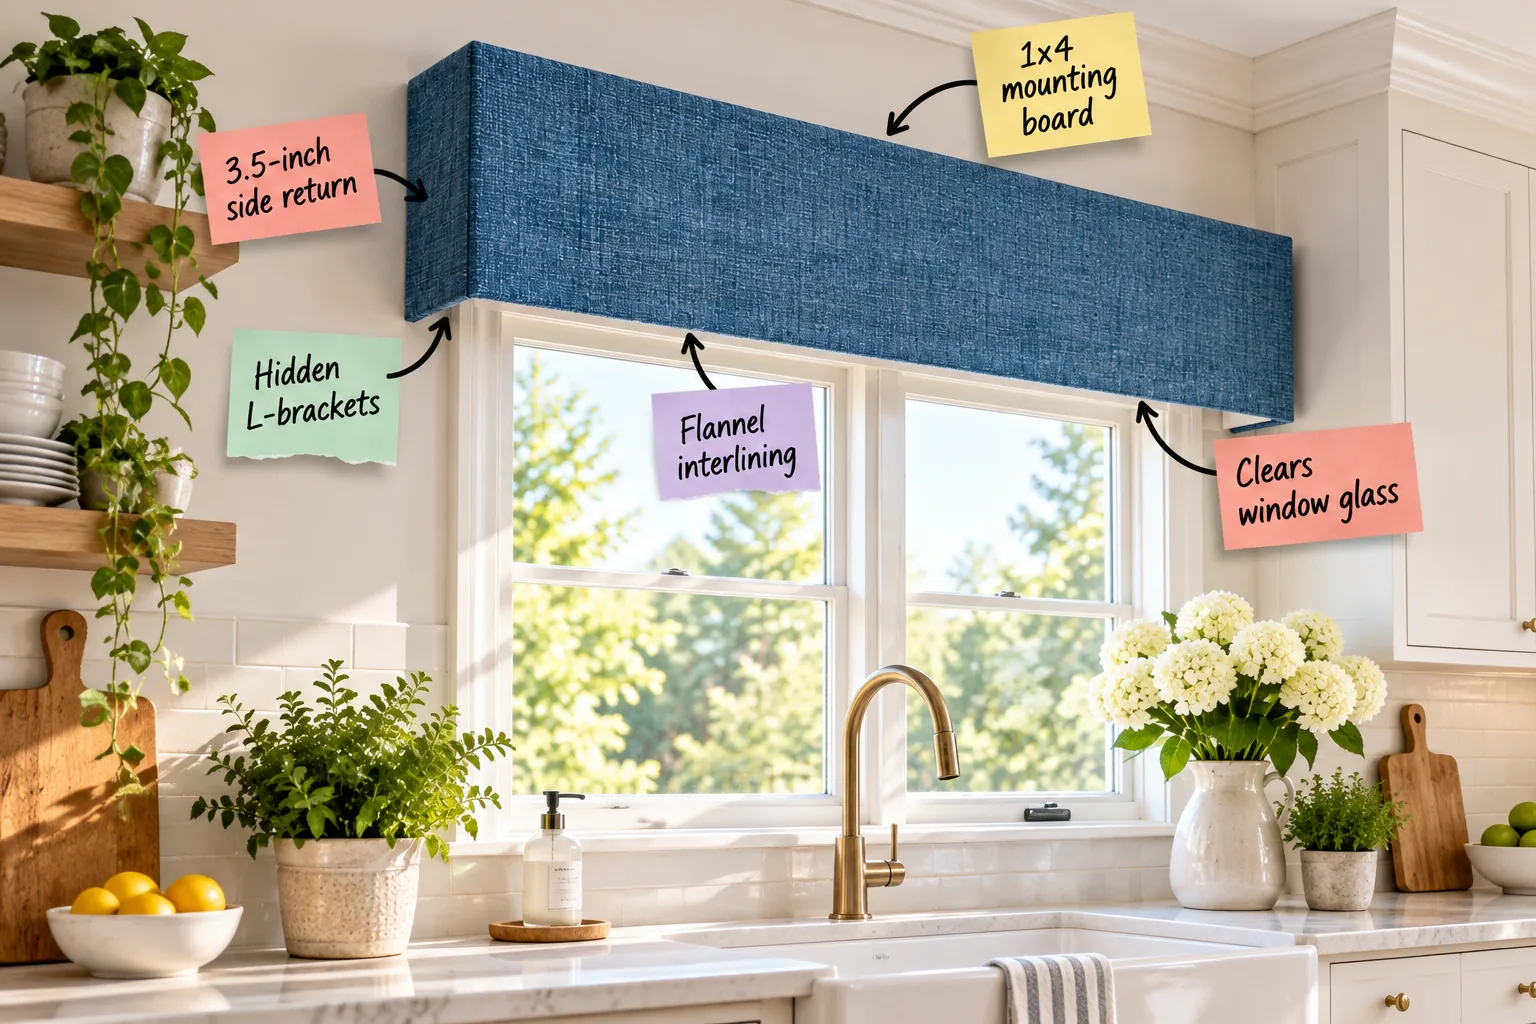
Building a crisp, modern box valance is surprisingly simple when you understand the hidden framework that gives it structure. By using our printable custom valance measurement worksheet, you will be able to calculate your exact fabric cuts, build a sturdy wooden base, and mount a professional-looking window treatment today.
Start with a 1×4 mounting board
The foundation of a crisp box valance is a solid wood top that keeps everything perfectly straight. A standard 1×4 pine board provides a rigid edge that rests completely flat against your drywall, preventing the fabric from sagging over wide kitchen windows.
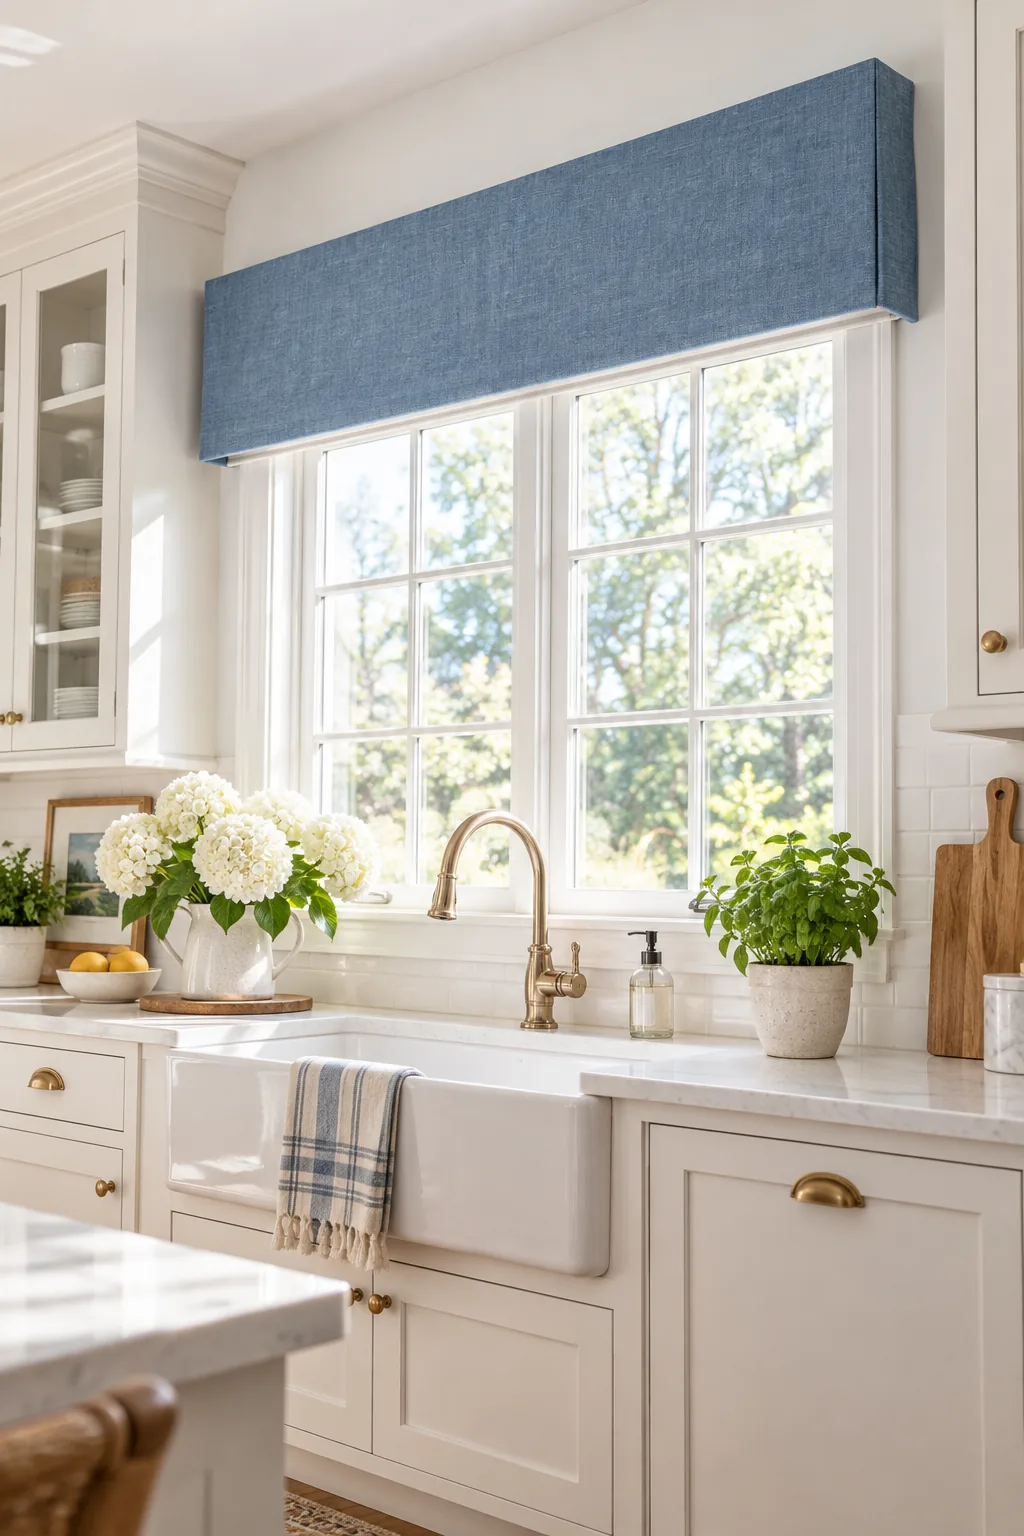
Because a 1×4 actually measures exactly 0.75 inches thick by 3.5 inches deep, it creates the ideal projection for standard window frames. This depth allows the fabric to hang gracefully without bumping into your existing window trim or interior blinds.
Understand the true lumber dimensions
Before you start calculating fabric cuts, it is crucial to understand that lumber names do not match their actual physical sizes. If you assume a 1×4 is four inches deep, your entire fabric calculation will be off by half an inch.
| Lumber Size | Actual Thickness | Actual Depth |
|---|---|---|
| 1×4 | 0.75 inches | 3.5 inches |
| 1×6 | 0.75 inches | 5.5 inches |
Always base your fabric cuts on the actual depth of the board rather than the nominal name. This precision ensures your side returns sit perfectly flush against the wall without leaving an unsightly gap behind the window treatment.
Select straight pine for the foundation
When you visit the hardware store, take a few extra minutes to inspect the boards before bringing them home. A warped mounting board will make your finished valance look crooked, no matter how perfectly you staple the face fabric.
- Sight down the edge of the board to check for bowing.
- Lay the wood flat on the floor to check for cupping.
- Avoid boards with large, loose knots that might split.
Taking the time to select premium, perfectly straight pine guarantees a professional result. Starting with a flawless wooden foundation makes the fabric wrapping and final installation process significantly easier for any skill level.
Sand the edges to protect your fabric
Raw lumber often has sharp corners and rough splinters that can easily snag your beautiful decorator fabric. Run a medium-grit sanding block over the top and bottom edges of your 1×4 board to create a slightly rounded, smooth profile before wrapping.
Secure with hidden L-brackets
To keep the valance safely on the wall without visible hardware, use heavy-duty steel L-brackets mounted directly underneath the board. You want to install one bracket every 30 to 36 inches to properly distribute the weight of the wood and heavy fabrics.
Because the steel brackets sit completely underneath the 1×4 board, the beautifully wrapped face fabric will conceal them entirely from the front of the room. This hidden mounting system is the secret to a floating, custom-tailored appearance.
Anchor the hardware into wall studs
Whenever possible, drive your bracket screws directly into solid wood wall studs for maximum security. If your ideal bracket placement lands on hollow drywall, you must use heavy-duty toggle bolts to prevent the heavy valance from pulling away from the wall.
Plan a 3.5-inch side return
A professional valance never leaves its mounting hardware or the raw edge of the wood exposed on the sides. The side return is the crucial fabric panel that wraps exactly 90 degrees back to touch the wall, hiding the brackets completely.
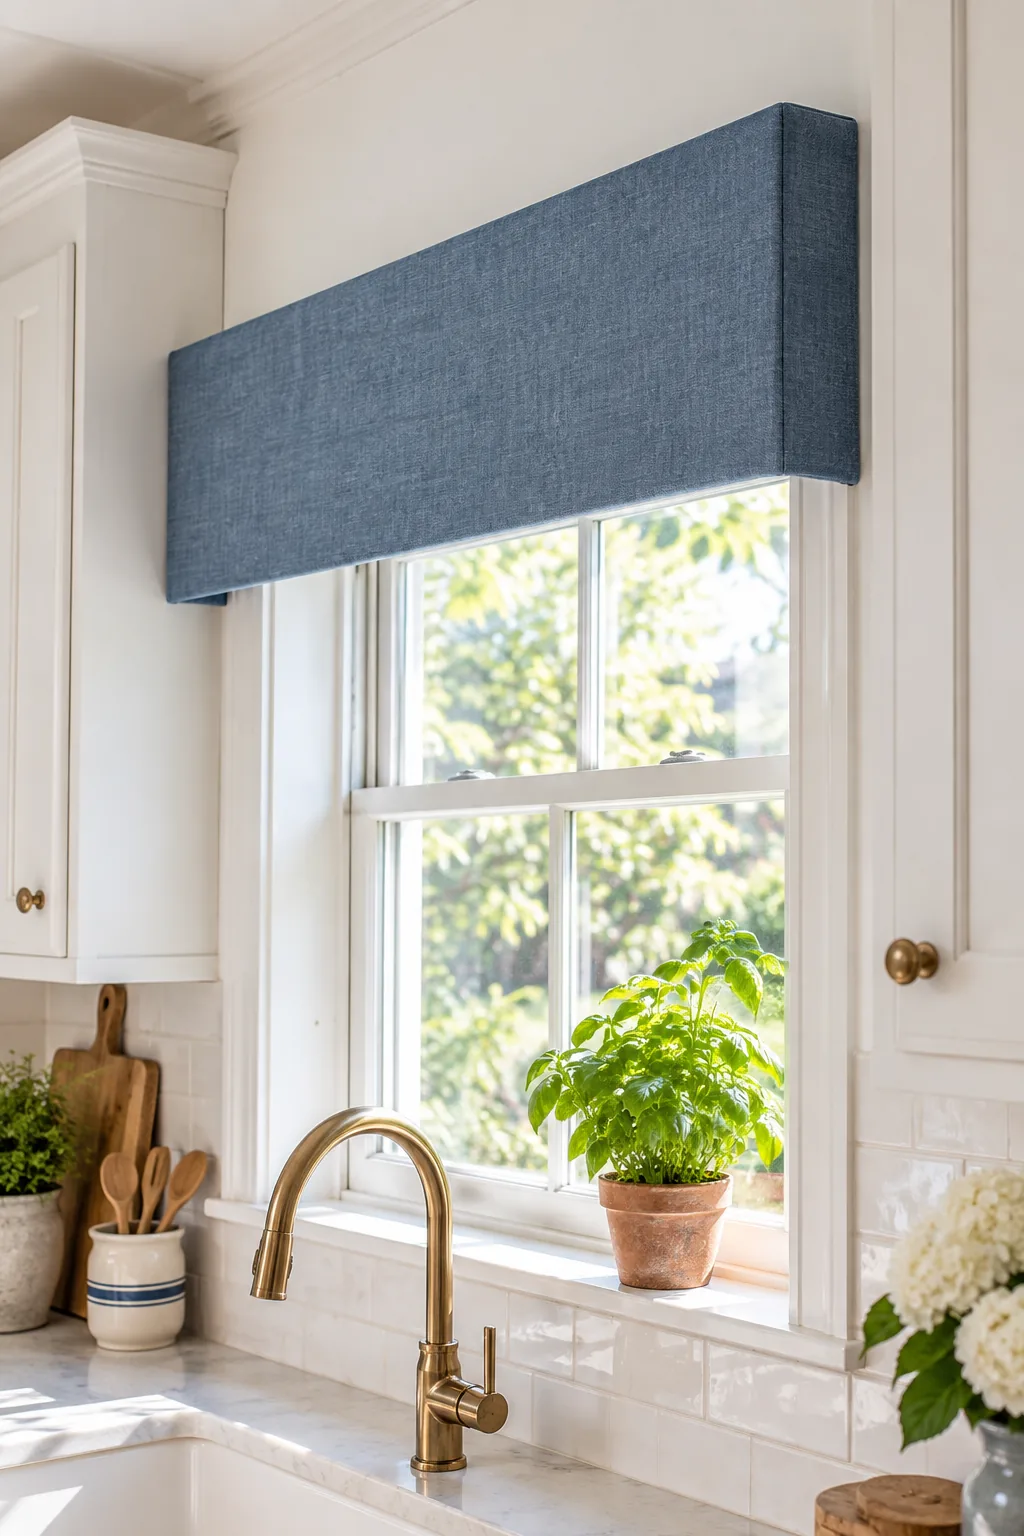
In my own kitchen, I once skimped on this measurement, and you could see the ugly steel brackets from the dining table! Because you are using a 1×4 board, this return must measure exactly 3.5 inches deep to sit flush.
Hide the mounting hardware completely
When the side return matches the board depth perfectly, it creates a seamless fabric box that looks exactly like expensive custom upholstery. This precise 3.5-inch wrap is the single biggest difference between a cheap DIY project and a high-end window treatment.
Cut your face fabric to size
To calculate your total fabric width, add the width of your window, plus two 3.5-inch side returns, plus extra allowance for wrapping over the back. Always leave yourself at least two inches of extra fabric on every side to grip while stapling.
Add flannel interlining for structure
The secret to a high-end, custom look is what sits between the face fabric and the lining. A thick layer of cotton flannel interlining gives the valance a crisp, substantial bottom hem that hangs beautifully without wrinkling or sagging.
I used cheap craft interfacing on my first living room valance, and it ended up looking like a stiff cardboard box instead of custom tailoring. Spending a few extra dollars on proper cotton flannel makes all the difference in the drape.
Prevent sunlight from washing out patterns
Beyond adding physical structure, the thick flannel interlining acts as a crucial light barrier for your window treatment. It stops bright afternoon sunlight from shining through the fabric and completely washing out the vibrant colors in your carefully chosen printed pattern.
Mount high to clear the window glass
Position the mounting board high enough on the wall so the bottom edge of the finished valance barely overlaps the top of the window trim. The goal is to clear the window glass entirely so you do not block your view outside.
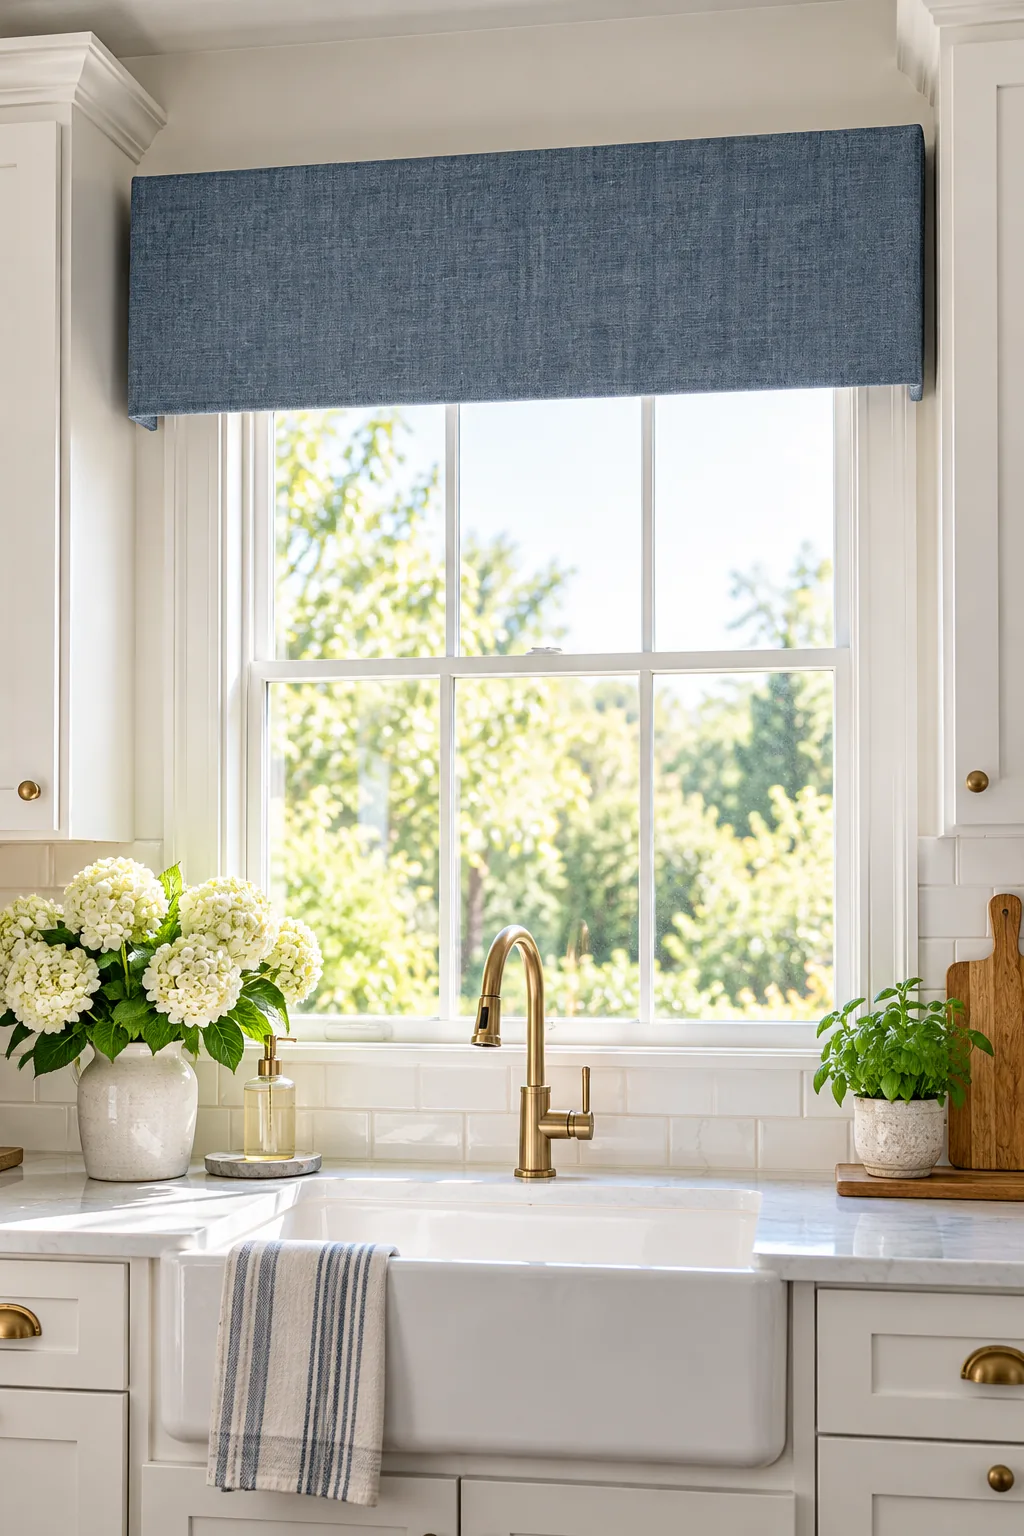
By keeping the thick fabric layers entirely above the actual glass pane, you maximize the natural light flooding into your room. This strategic placement successfully hides ugly blind headrails without sacrificing any precious sunshine.
Create the illusion of taller ceilings
Mounting the wooden framework several inches above the actual window frame is an old designer trick that dramatically changes the room’s proportions. This elevated placement draws the eye upward, creating the powerful visual illusion of a much taller, grander window.
Calculate with the measurement worksheet
Before cutting any wood or fabric, you need exact dimensions based on your specific window width and desired drop length. I always print out my custom valance measurement worksheet right at the kitchen island so I never mess up the expensive math.
Determine your exact fabric yardage
Use the printed worksheet to calculate your exact board length, face fabric cuts, lining yardage, and precise bracket placement. Having all your final measurements written down in one place prevents costly mistakes when you start cutting your beautiful decorator fabric.
Layer the lining and face fabric
Lay your face fabric face down on a large, clean work surface, followed by the flannel interlining, and finally the standard lining fabric. Smooth all three layers completely flat with your hands to ensure there are no hidden wrinkles trapped inside the sandwich.
Center your pattern on the board
If you are using a large floral or geometric print, take a moment to center the dominant motif perfectly on the front of your 1×4 board. Pin the fabric temporarily to the wood so the pattern stays perfectly aligned while you stretch it.
Wrap and staple for tight fabric tension
A box valance relies on tight, even fabric tension across the wooden framework to look crisp and professional. Pull the face fabric taut over the top of the mounting board, securing it firmly into the pine with a heavy-duty staple gun.
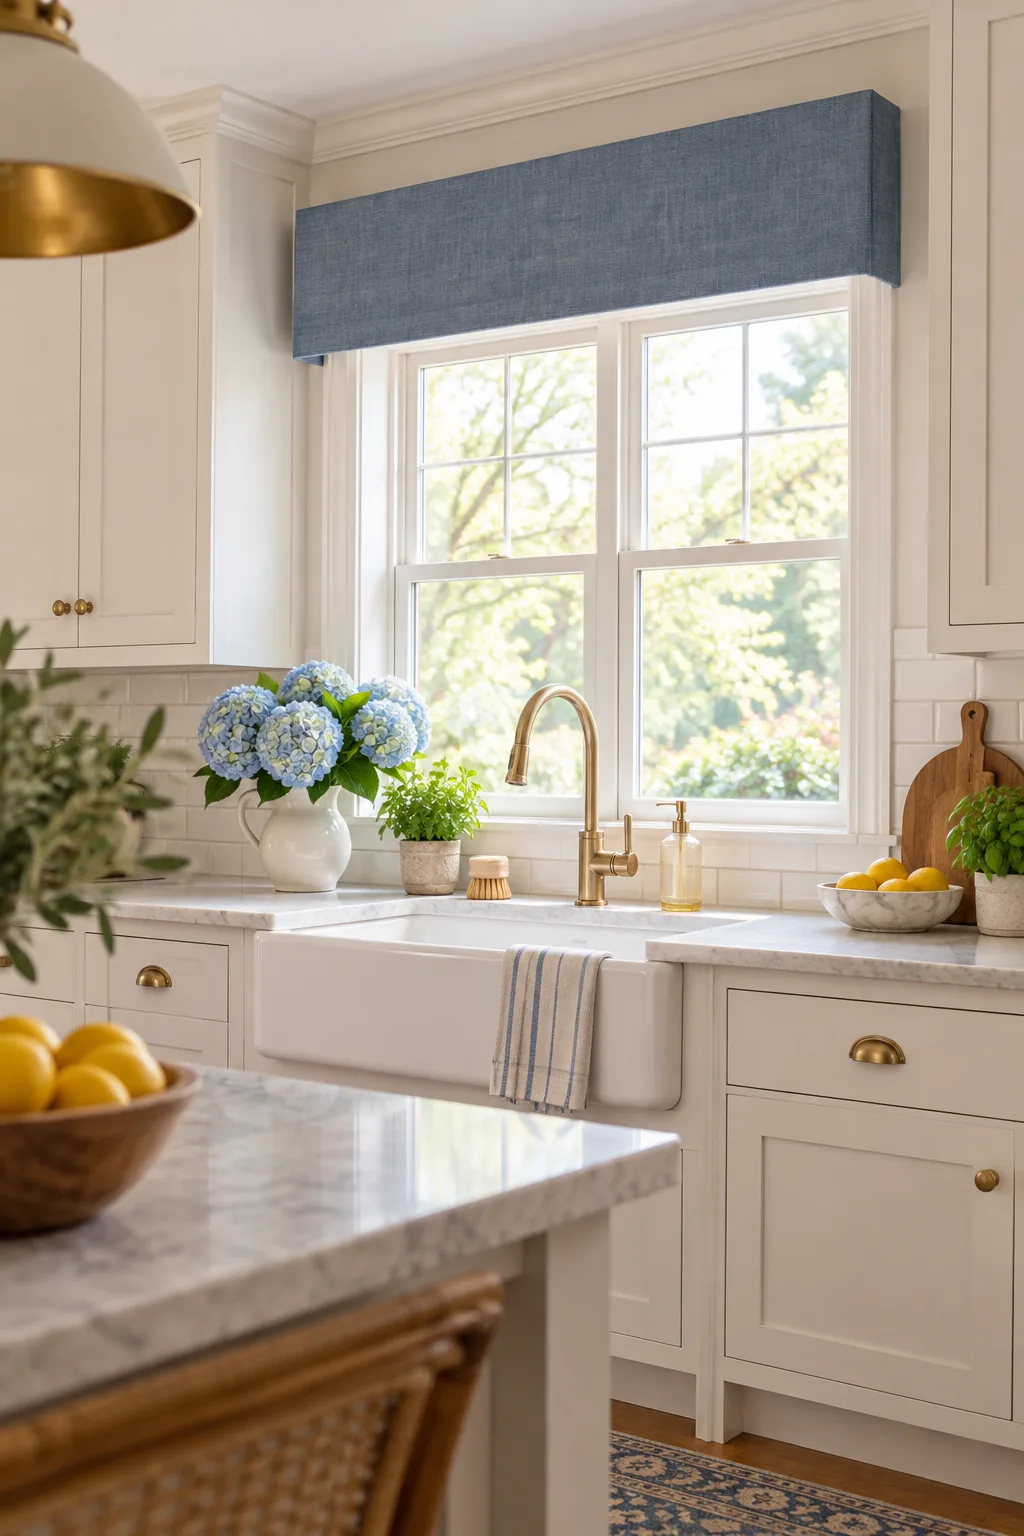
You want to pull the fabric layers just tight enough to smooth out any ripples, but not so tight that you distort the woven pattern or warp the board. Consistent tension keeps the bottom hem looking incredibly sharp and tailored.
Staple from the center outwards
Always place your first staple in the exact top center of the mounting board, then work your way outward toward the left and right edges. This professional upholstery technique pushes any excess fabric toward the ends, completely preventing loose, baggy wrinkles.
Fold crisp hospital corners
When you reach the ends of the board, fold the fabric corners tightly like a beautifully wrapped present to maintain a sharp 90-degree profile. A clean, bulky-free corner fold is absolutely essential for making the side returns look tailored and precise.
Trim excess bulk from the corners
Before driving your final staples into the corners, use sharp fabric shears to trim away any hidden excess interlining. Removing this hidden bulk allows the face fabric to lay perfectly flat against the wood without creating an ugly, lumpy bump on top.
Lift the framework onto the brackets
Once the valance is completely wrapped and stapled, carefully lift the finished framework up and rest it onto your installed L-brackets. You will likely need a friend to help support the other end if you are spanning a particularly wide double window.
Box valance styling inspiration
Explore how this simple hidden framework adapts to completely different room aesthetics.
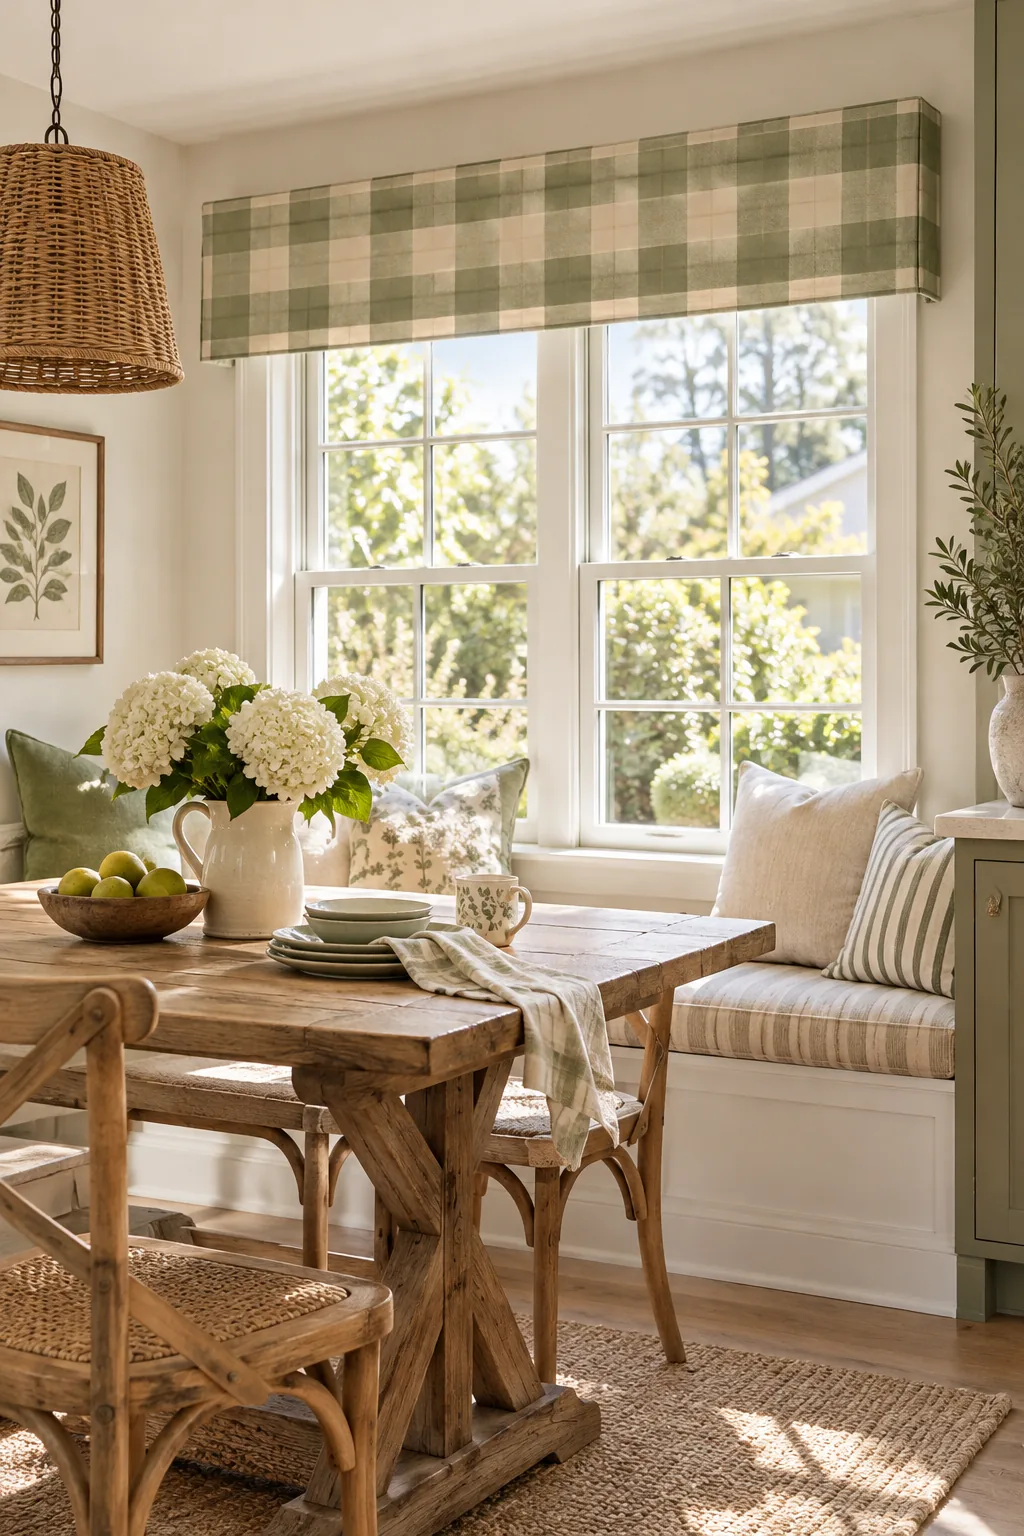
Classic farmhouse plaid: A patterned fabric adds instant warmth to a casual dining space when paired with natural wood tones.
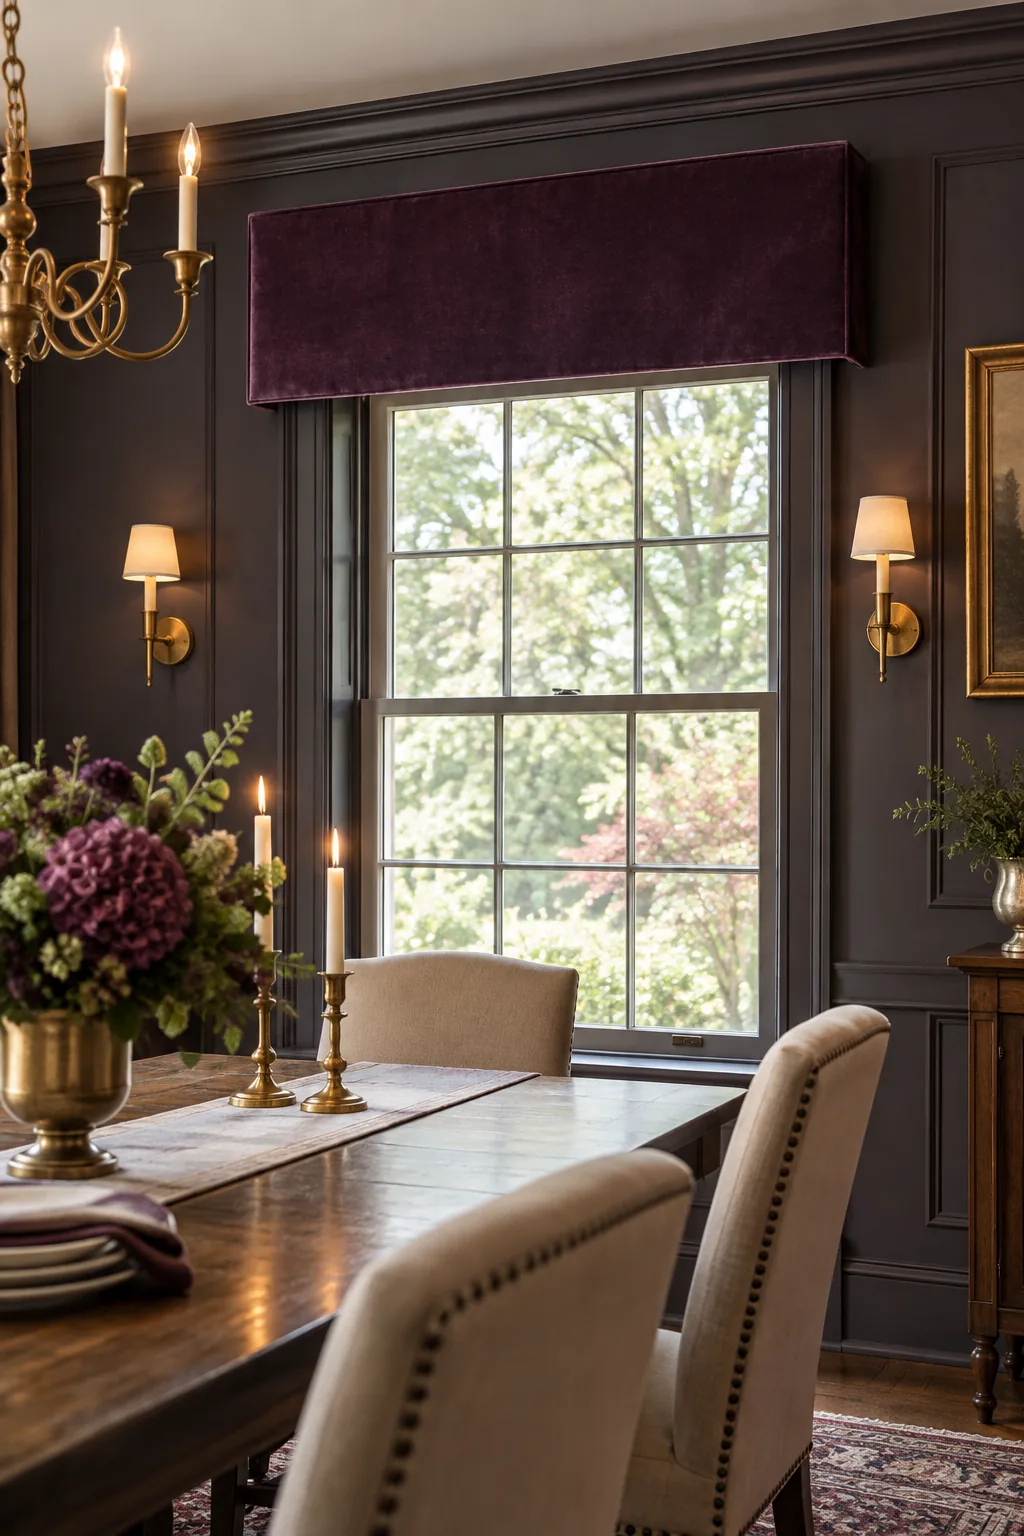
Tailored formal velvet: Heavy velvet requires a sturdy mounting board to support the extra weight without bowing in the center.
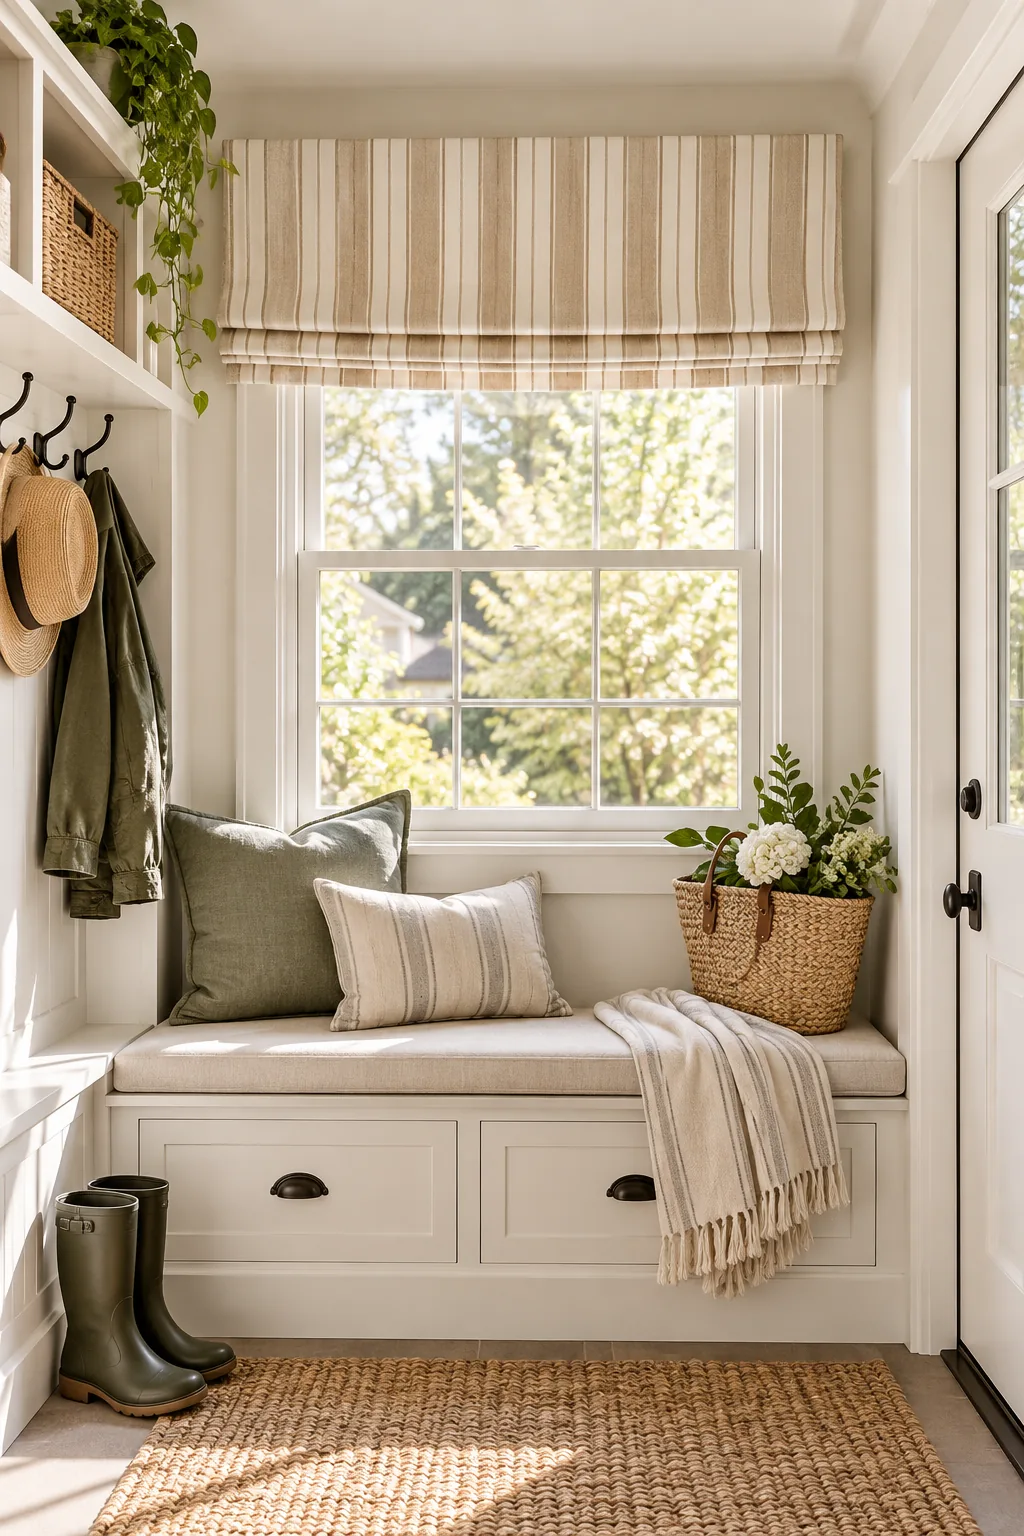
Relaxed Roman mock: Adding a faux fold at the bottom hem mimics the look of a Roman shade while keeping the rigid framework.
Perform final level and mounting checks
Once the valance is resting on the brackets, drive short wood screws up through the bracket holes directly into the bottom of the 1×4 mounting board. This locks the hidden framework permanently in place, giving you a stunning, custom-tailored window treatment.
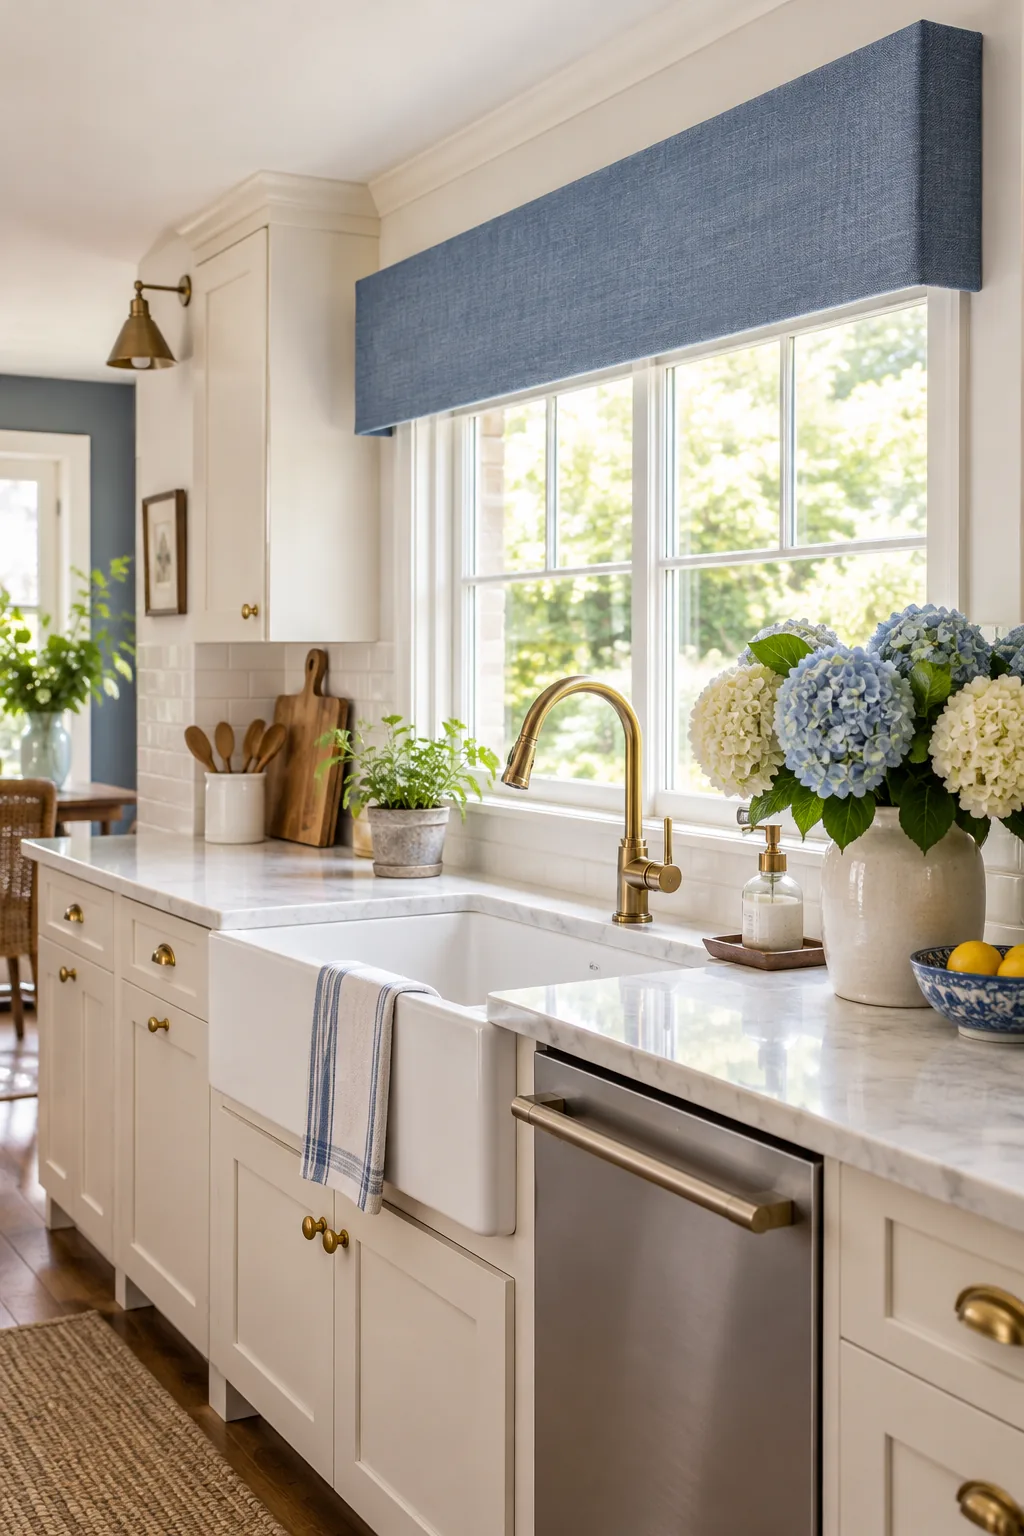
Before you tighten the final screws, step back and verify the installation geometry. You want to ensure the side returns sit perfectly flush against the wall and the entire framework looks visually balanced from every angle in the room.