Dining Room Curtains: The Complete Measuring & Styling Guide
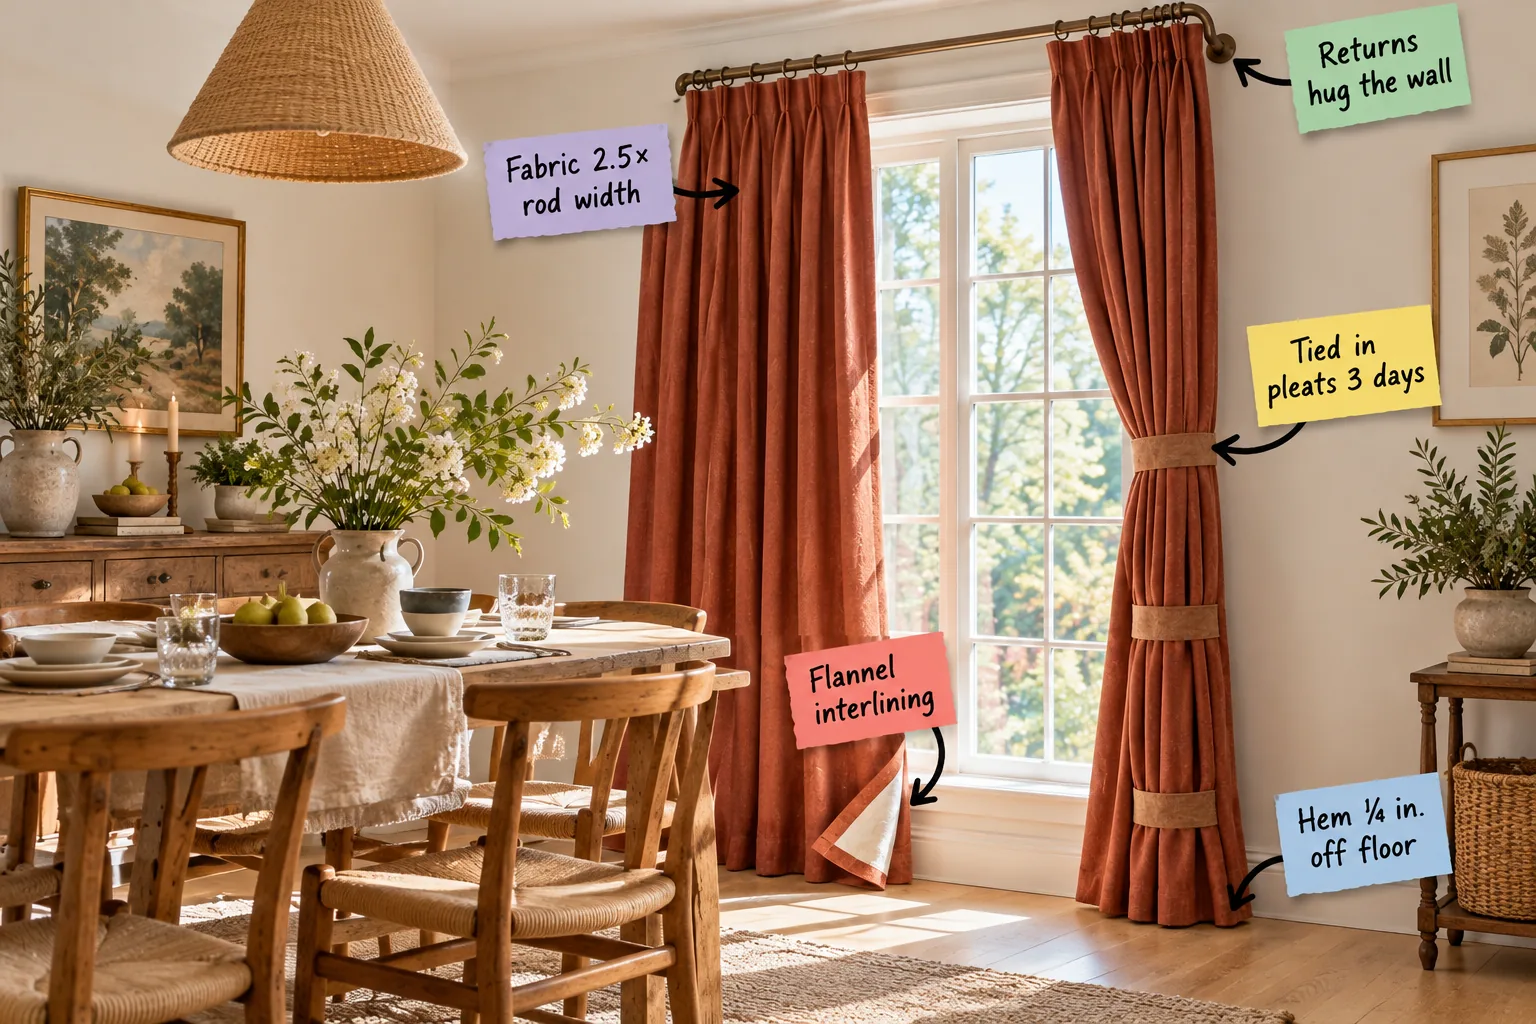
You can measure, order, and train dining room curtains that hang in perfect, tailored columns using my exact fullness ratios and flannel interlining specs. Grab The Dining Room Curtain Measuring Sheet below to calculate your rod width and track the three-day pleat-training sequence.
Hardware: Letting Returns Hug the Wall
A custom built-in look starts at the very top with a French return rod that wraps the fabric all the way back to the wall. This specific hardware choice eliminates peripheral light gaps and anchors the drapery visually, framing the window beautifully.
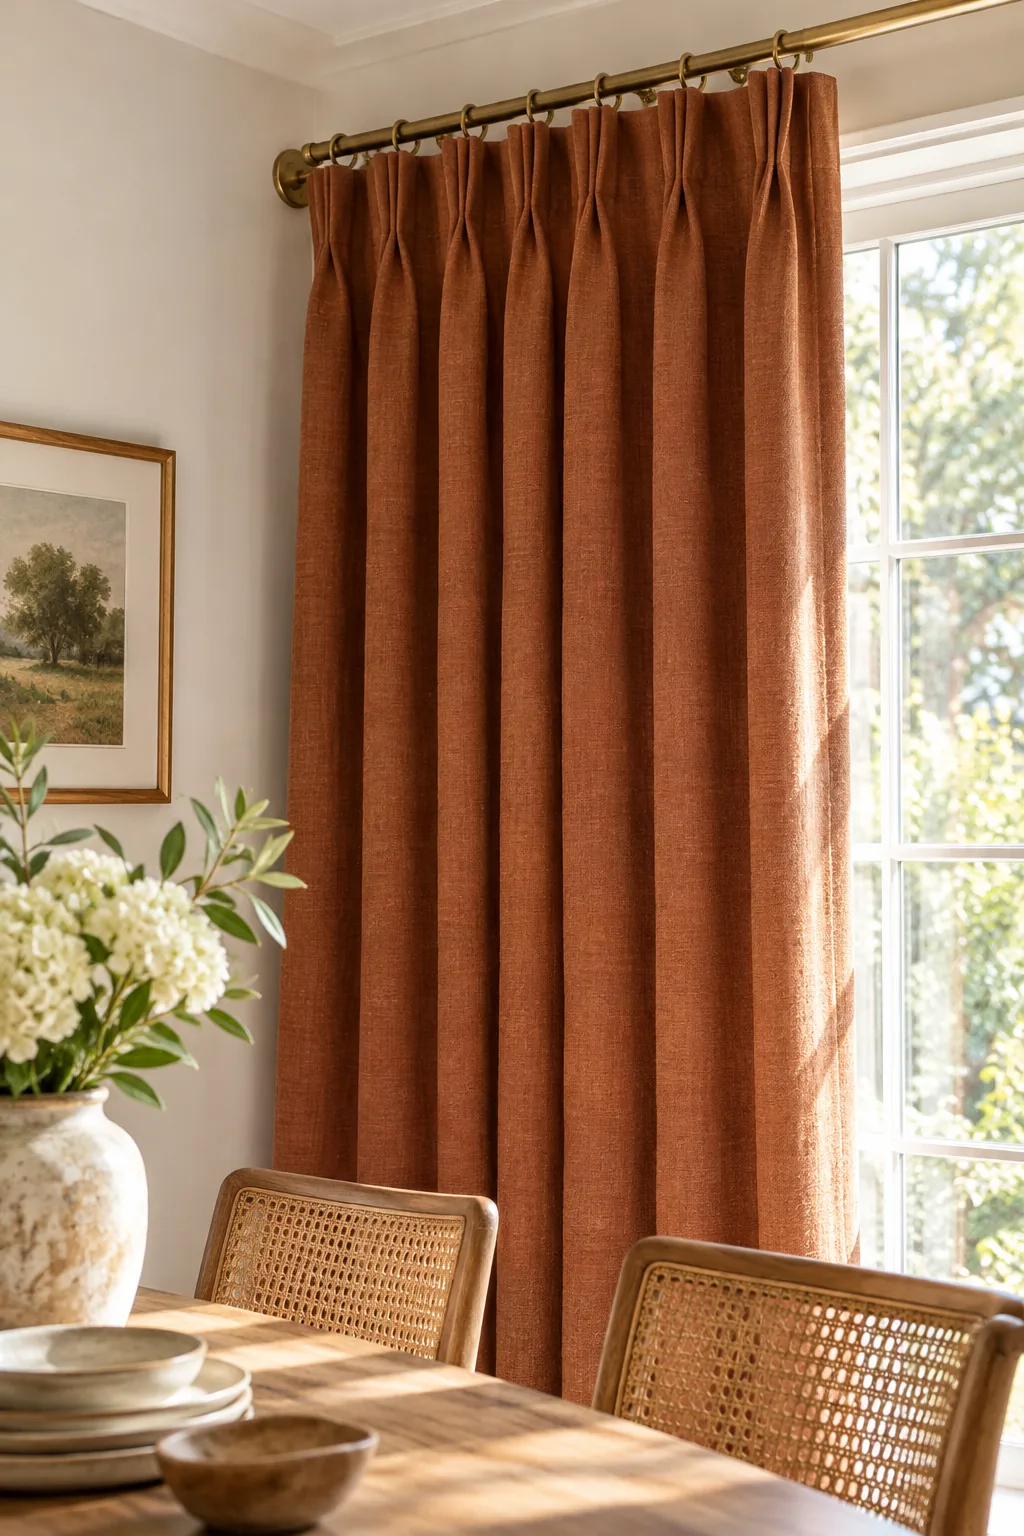
Measuring the return depth, which typically ranges from 3.5 to 6 inches, is absolutely essential for ordering the correct panel width. You must account for this wrap-around distance so the fabric reaches the wall without pulling the front pleats out of alignment.
Hardware Placement: Finding the Ideal Rod Height
Mounting your rod at the correct height draws the eye upward and balances the overall proportions of your dining room. I always treat window framing as an exercise in structural symmetry, ensuring the hardware respects the ceiling line and architectural trim.
- High placement: Mount the rod halfway between the window frame and the ceiling molding to create a distinct illusion of height.
- Wide stance: Extend the rod exactly 10 to 12 inches beyond the window casing on each side.
- Level verification: Always use a laser level across the entire span before drilling your brackets.
Securing the heavy-duty brackets directly into wall studs guarantees the rod can support the substantial weight of lined and interlined panels. This foundational strength prevents the center span from sagging noticeably once the heavy linen is finally hung.
Fullness: The 2.5× Rod Width Rule
Pinch pleats require exactly 2.5 times the rod width in flat fabric to look lush rather than skimpy when closed. In my own Denver dining room, adhering strictly to this ratio transformed flat linen panels into deep, architectural columns that anchor the space.
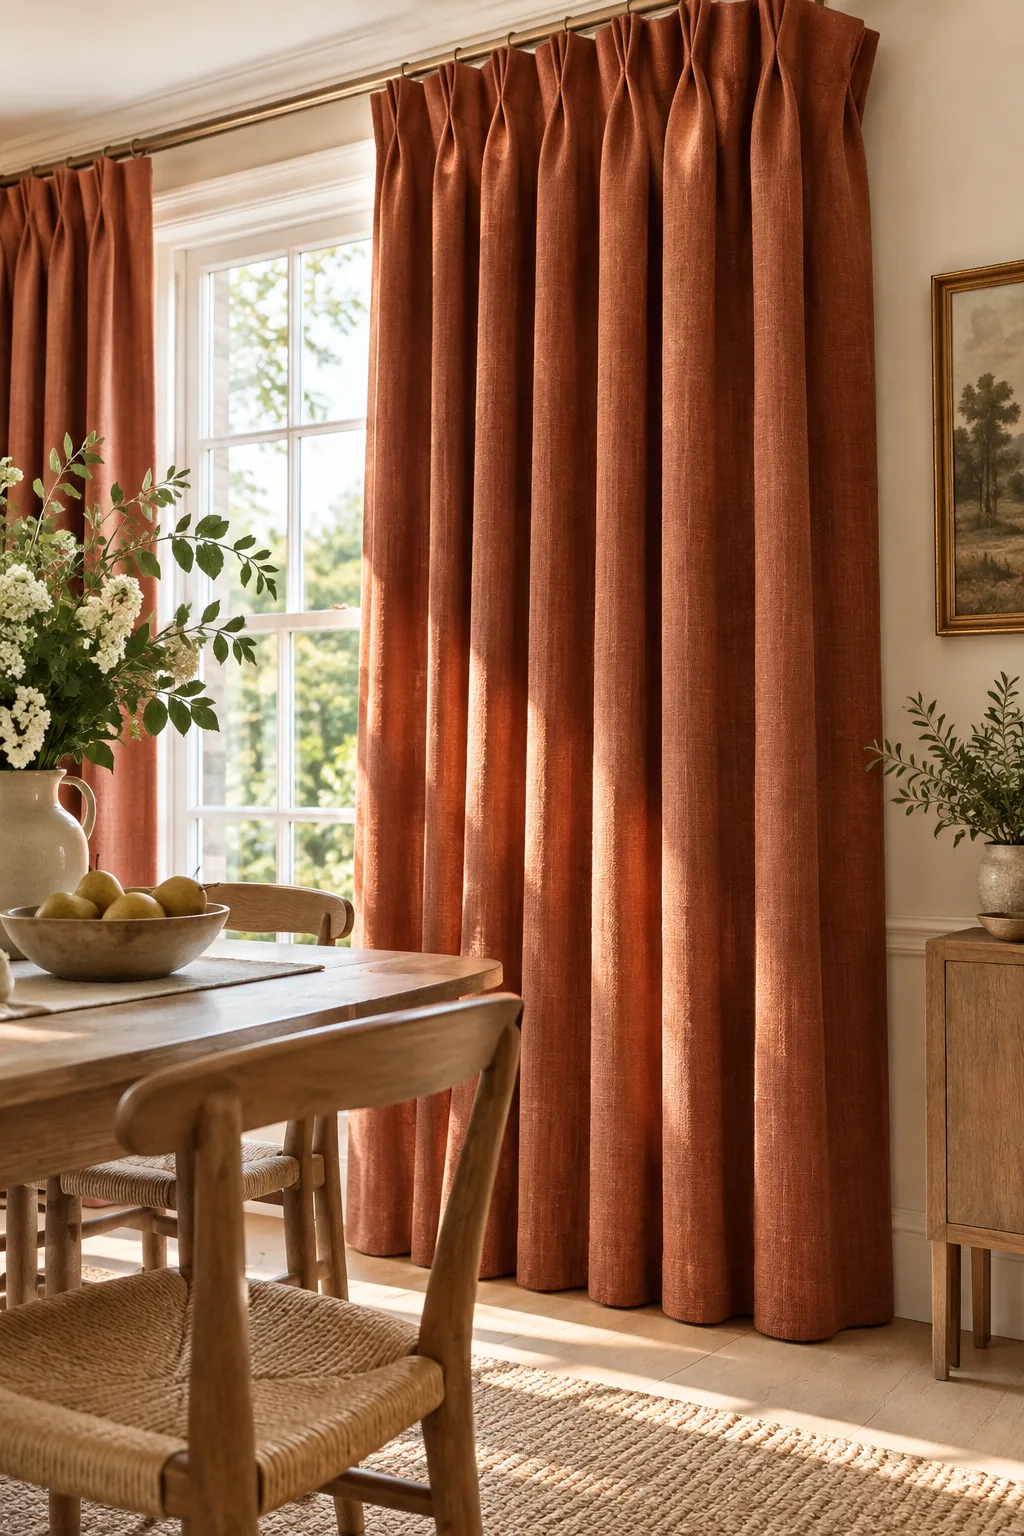
Getting the exact math right before ordering your custom fabric prevents the most common drapery disappointment during installation. Taking the time to calculate the true fullness ensures your final panels maintain their deep, rich folds even when drawn shut.
Fullness Math: Calculating the Total Panel Width
Calculating your final fabric width requires a simple but rigid formula to ensure absolute visual symmetry across the window. You must combine the visible rod span with the hidden return depths before applying the crucial fullness multiplier to the total.
| Measurement | Value to Add |
|---|---|
| Visible Rod Span | Total inches between brackets |
| Left & Right Returns | 7 to 12 inches total |
| Center Overlap | 3 inches for closure |
| Total Flat Width | Sum × 2.5 fullness |
Dividing that final flat width by two gives you the exact measurement required for each individual curtain panel. Ordering custom drapery to this precise specification guarantees a lush, tailored appearance that never looks stretched or strained across the glass.
Structure: Why Flannel Interlining Matters
A tailored drape relies on a three-layer stack of face fabric, flannel interlining, and a standard privacy lining to build rounded volume. I learned during a noisy downtown loft project that this plush white flannel layer adds crucial acoustic dampening to hard spaces.
The heavy interlining acts as a structural skeleton, preventing the outer face fabric from collapsing into sharp, messy creases. This hidden middle layer gives the pleats their luxurious, sculptural presence while protecting delicate natural linen from harsh sun rot.
Lining Pairings: Balancing Light and Weight
Selecting the correct backing layer determines how your curtains filter harsh afternoon glare during early evening dinner parties. The harmony between the outer linen and the inner lining dictates the overall drape, weight, and movement of the finished panels.
- Face fabric: Choose a breathable, mid-weight linen or cotton blend for the visible room-facing layer.
- Flannel interlining: Add a 100% cotton bump cloth to build volume and soften sharp echoes.
- Privacy lining: Finish with a crisp cotton sateen facing the glass to protect the inner layers from UV damage.
Sewing these three distinct layers together at the heading creates a unified, substantial textile that hangs with genuine purpose. This intentional construction mimics the layered, protective garments worn in cold climates, prioritizing both daily function and long-term structural form.
Clearance: Measuring the Quarter-Inch Hem
Your completed panels should hang with an exact 1/4-inch floor clearance to maintain a crisp, tailored illusion that never buckles. This tiny gap keeps the hem clean from dining room crumbs and heavy foot traffic while ensuring the fabric drops perfectly straight.
Establishing this precise hover requires absolute patience and a highly methodical approach during the final installation phase. Always let the heavy interlined panels hang out for at least a full week before committing to the permanent hand-stitched hem.
Dining Room Flow: Avoiding Chair Snags
Spacing the curtain rod wide enough ensures the stacked panels completely clear the dining chairs when opened. Maintaining that exact 1/4-inch floor clearance keeps the hem clean from foot traffic while projecting a flawless floor-length illusion beside the seating.

The fabric stackback should sit firmly against the wall, leaving plenty of comfortable breathing room around the dining table. This generous spacing ensures your guests do not brush against the heavy linen when pulling out their seats during a meal.
Stackback Allowances: Framing the Window
Calculating the stackback—the dedicated wall space the curtains occupy when fully open—is vital for preserving essential natural light. A properly planned stackback frames the architecture gracefully without obscuring the glass or crowding the dining chairs in tighter rooms.
I typically allocate at least 12 to 15 inches of wall space on each side of the window casing specifically for the gathered fabric. This dedicated zone allows the deep pleats to compress naturally without feeling crushed against the glass.
Technique: Training Pleats for Three Days
Opening the curtains and arranging the folds by hand requires spacing the rod wide enough so the stacked panels easily clear the dining chairs. This generous wall placement allows you to gather the fabric tightly without crushing it against the furniture.
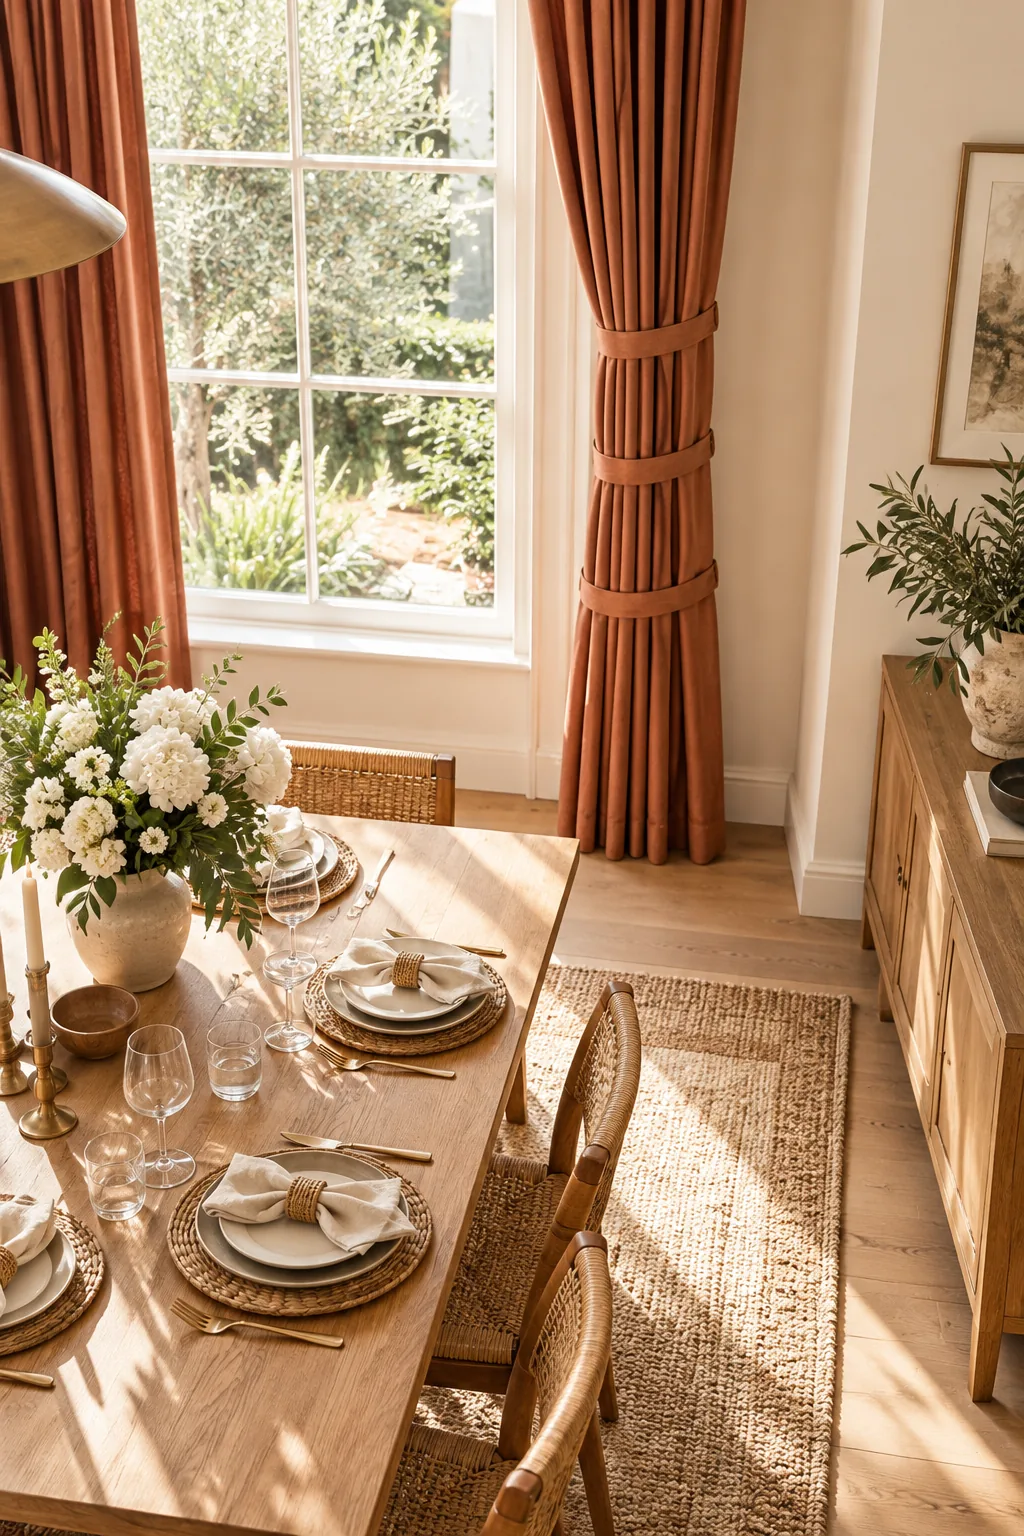
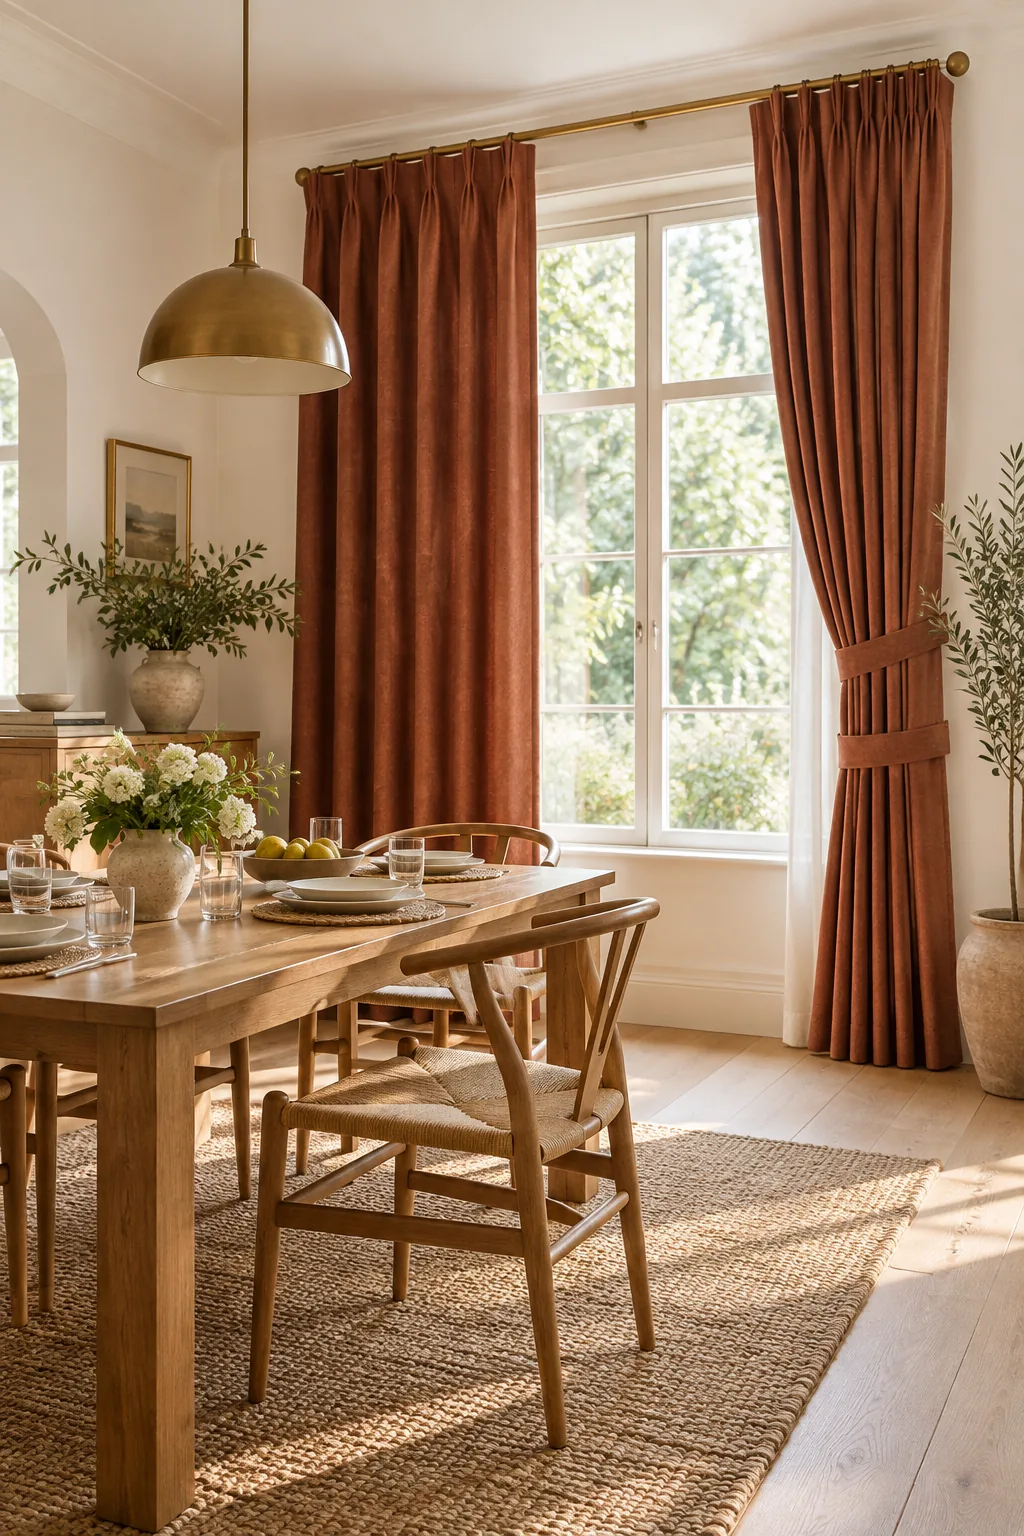
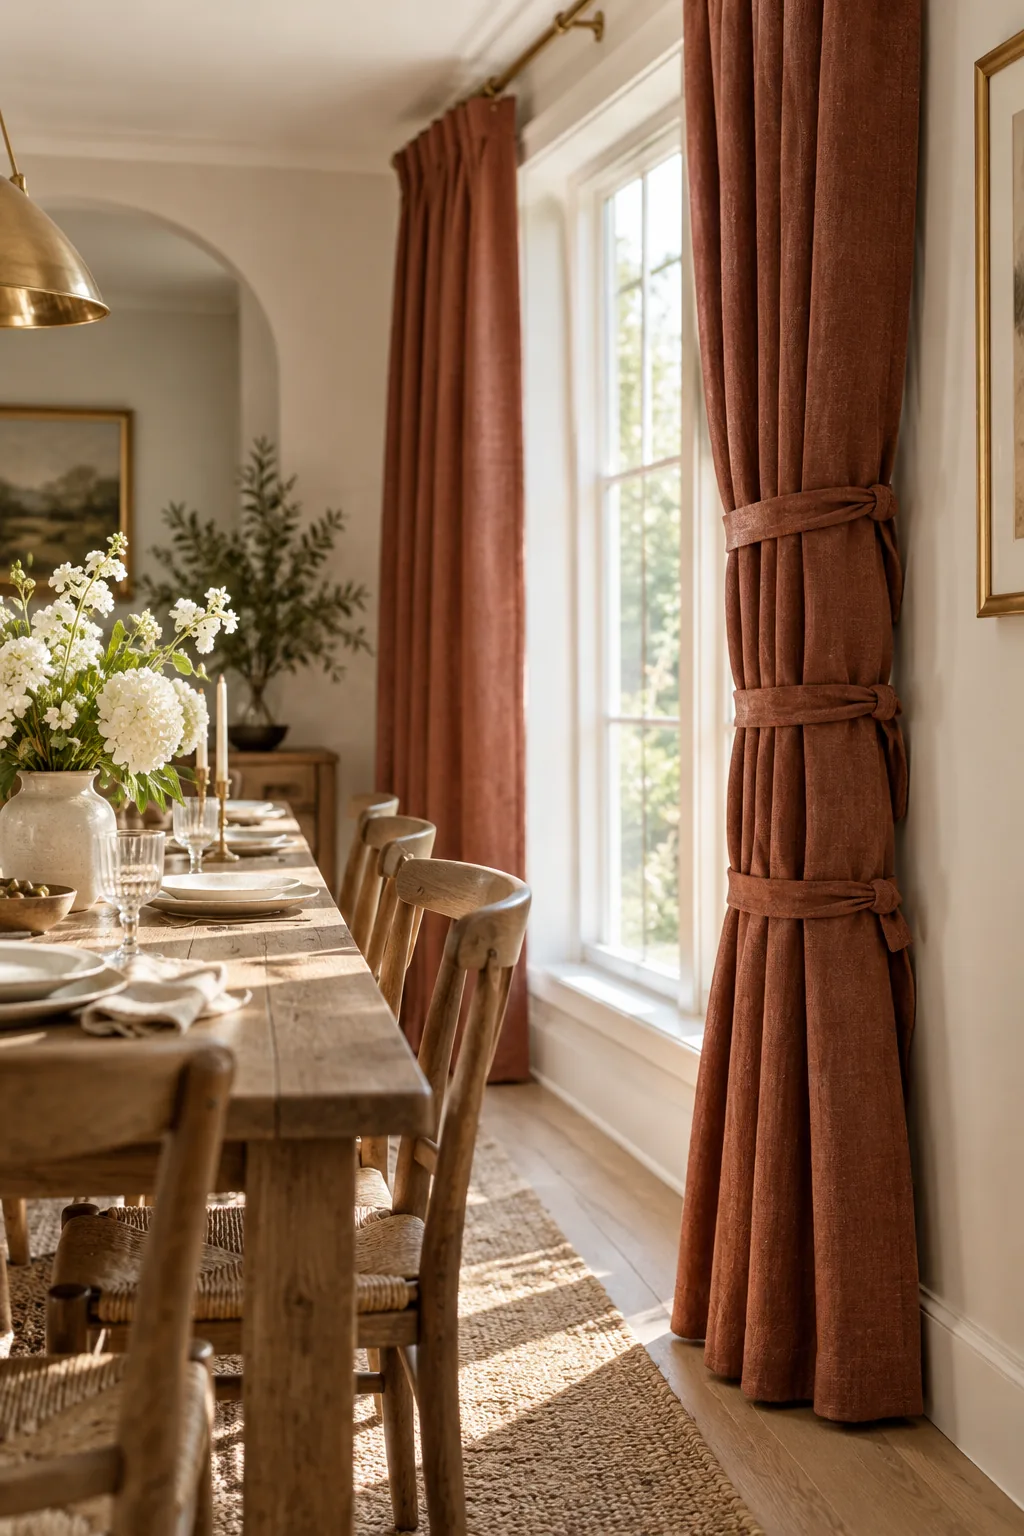
Once gathered, you must tie the folds loosely with soft fabric strips for exactly 72 hours to set the fabric memory. This crucial three-day training process ensures the heavy interlined panels always fall back into neat, architectural columns after opening.
The Dining Room Curtain Measuring Sheet
I created a comprehensive printable worksheet that includes fill-in lines for your rod width, return depth, and hem-height marks. It also walks you through the 72-hour tying process, detailing how to bind the fabric loosely in three places for perfect folds.
Download The Dining Room Curtain Measuring Sheet here to access the simple 2.5× fullness calculator and complete installation checklist. This one-page guide ensures you order the exact yardage required and execute the three-day training sequence flawlessly for a custom finish.
Maintenance: Preserving the Pleat Memory
Once your curtains are fully trained and hanging beautifully, regular maintenance ensures the pleats retain their sharp, tailored structure over time. Always pull the drapes open using a dedicated drapery wand rather than grabbing the leading edge, protecting the delicate face fabric from natural skin oils.
Hardware Finishes: Selecting the Right Metal
Choosing an unlacquered brass or matte black iron finish grounds the airy linen and ties effortlessly into your dining room chandelier. Matching the curtain rod to your existing light fixtures creates a cohesive, intentional metallic thread that runs throughout the entire entertaining space.
Final Ambiance: Light and Acoustics
The finished effect of properly measured and trained curtains transforms a sterile eating area into an intimate, welcoming gathering space. The heavy interlined linen softens harsh afternoon sun during early dinner parties and noticeably dampens echoes bouncing off hardwood floors.

In my own dining room, these tailored columns of fabric bring a quiet, grounded balance to the hard angles of the oak table. The precise measurements and disciplined training process ultimately yield a space that feels effortlessly resolved and entirely complete.
More Dining Room Curtain Ideas
Explore how different fabrics and headers can completely change the mood of your dining space.
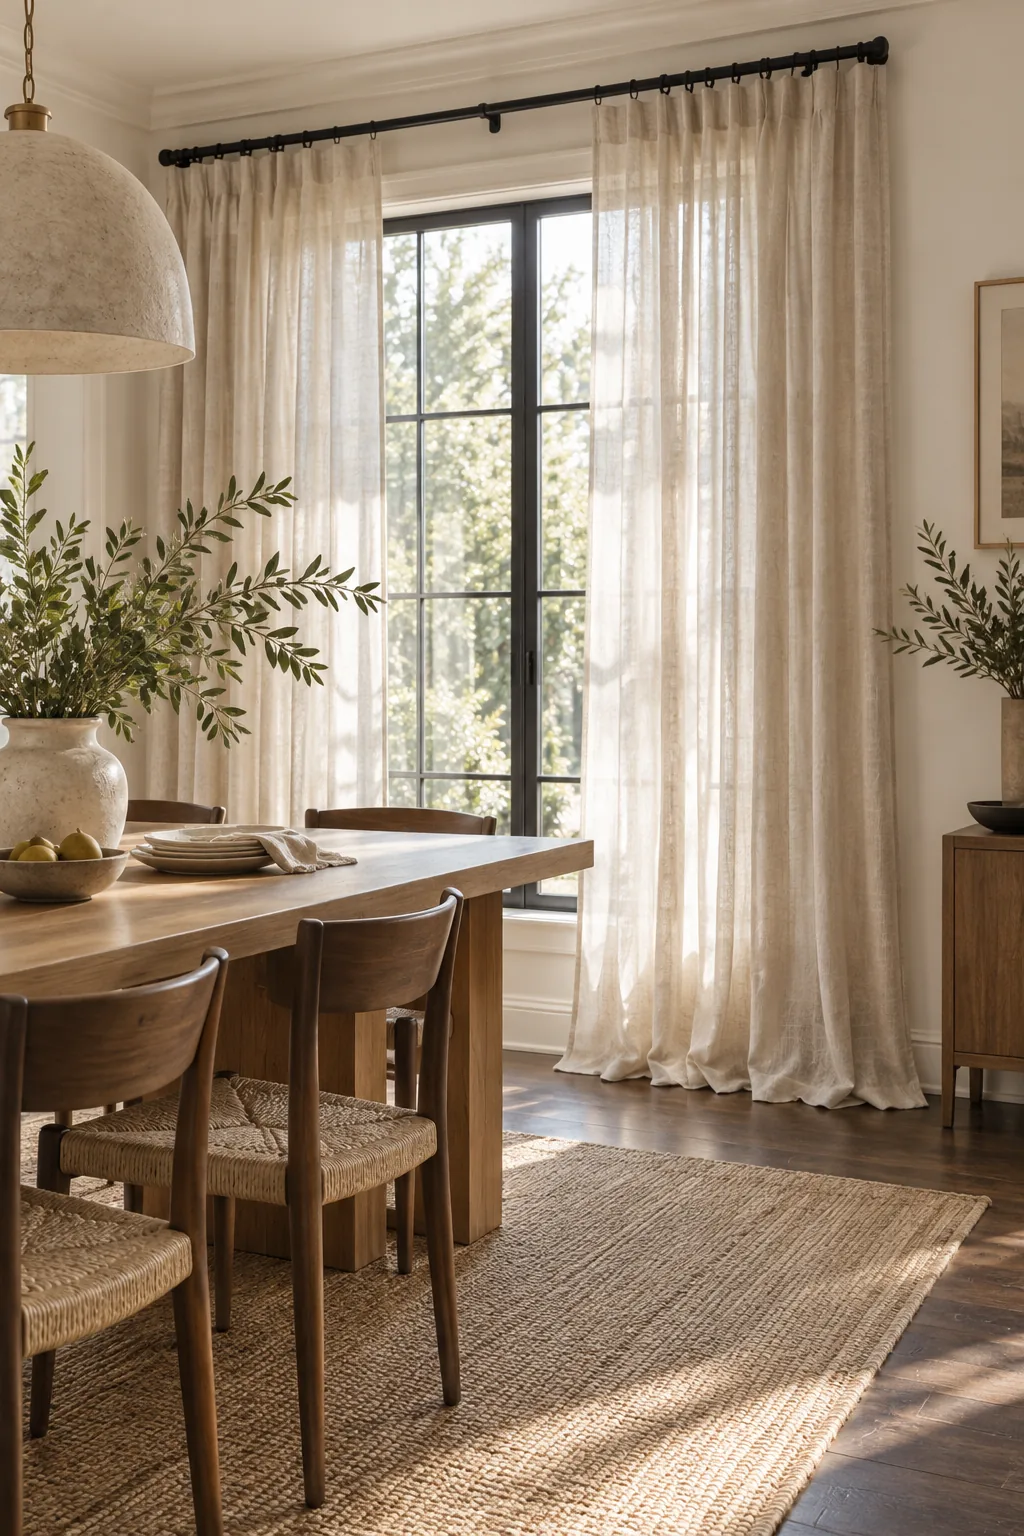
Relaxed Sheer Oatmeal Linen: Unlined sheer linen creates a breezy, informal atmosphere that beautifully filters morning light.
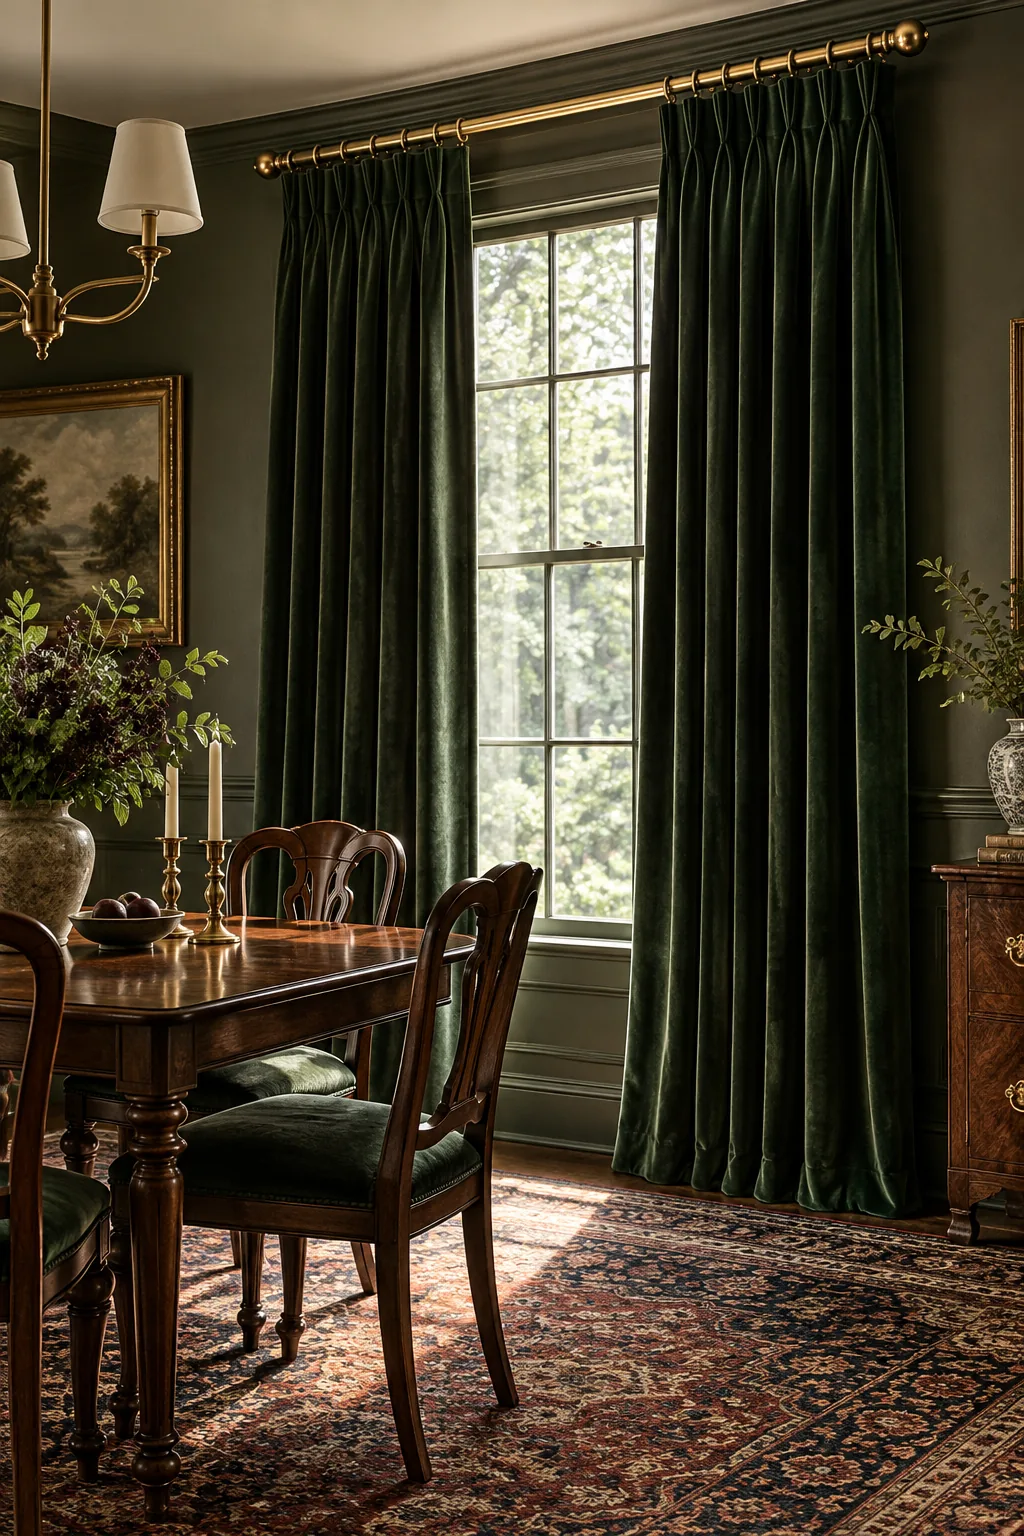
Formal Forest Green Velvet: Heavy velvet adds dramatic weight and superior acoustic dampening for intimate, candlelit dinner parties.
Coastal Blue Striped Cotton: Crisp cotton panels with a subtle stripe bring a tailored but approachable coastal feel to the dining space.