A Fresh Botanical Halloween Theme: Styling Guide & Checklist
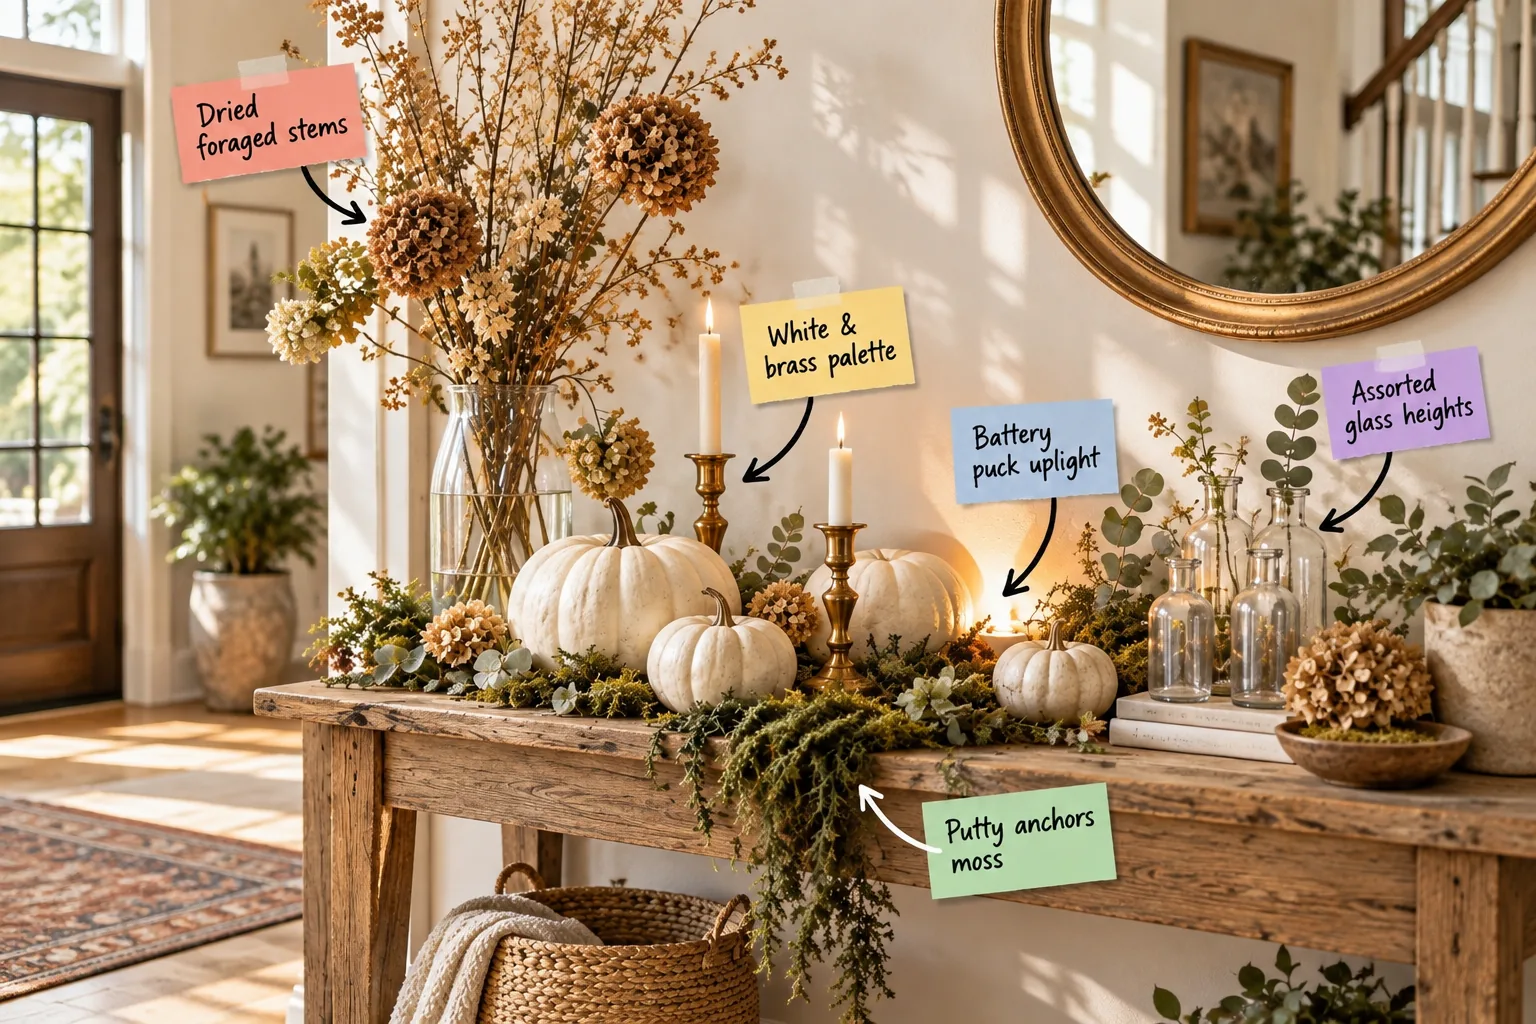
Skip the plastic skeletons this year and use our concrete botanical styling checklist and prop-hunting guide to build a chic, nature-inspired autumn entryway. You will be able to forage, source, and purposefully layer organic materials to recreate this exact elevated Halloween console display.
Establishing the White and Brass Palette
Introduce the core color scheme that keeps this display feeling sophisticated rather than heavy by using 3 to 5 brass candlesticks mixed with matte white pumpkins. Using brass and white establishes a bright, airy foundation that reflects natural light beautifully across the entryway.
Selecting the Right Patina
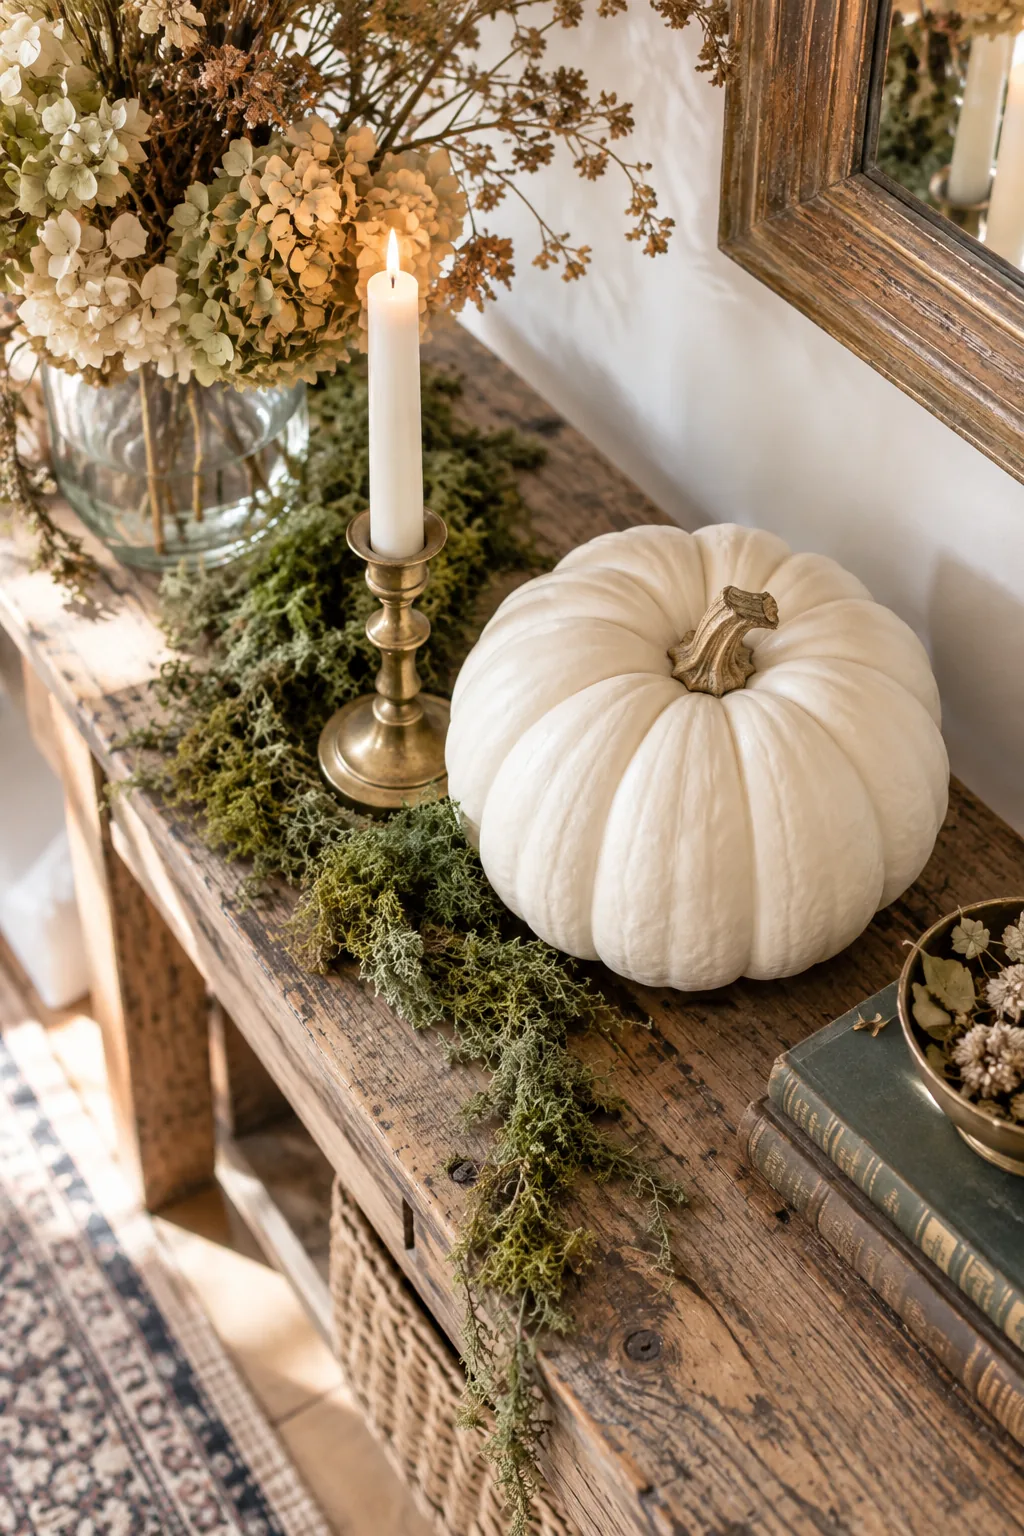
When sourcing your taper holders, prioritize unlacquered brass that has developed a natural, mottled patina over time. Mixing highly polished modern metals with organic botanicals creates a jarring visual contrast, whereas aged brass seamlessly bridges the gap between elegant glass and earthy branches.
Incorporating Subtle Textural Contrast
A successful monochrome palette relies entirely on texture to keep the eye engaged and prevent the display from falling flat. Pairing the smooth, matte skin of the white pumpkins with the rough, oxidized surface of the vintage brass creates immediate visual interest without introducing distracting colors.
Choosing an Earthy Anchor Surface
Select a rustic wood console or raw timber table as your base, leaving at least 40 percent of the wood surface exposed to prevent the arrangement from feeling cluttered. In my own Boston apartment, I use an antique pine table because the imperfect grain perfectly offsets polished brass.
Before building your organic layers, ensure your foundation is prepared to handle natural materials safely without risking permanent water rings or sap damage.
Securing the Spilling Moss Edge
Create an overgrown, abandoned-garden feel by adding preserved sage green moss along the front of the table so it cascades organically over the edge. Using preserved varieties ensures the texture remains soft and the color stays vibrant without requiring any daily misting.
- Pinch off pea-sized amounts of clear museum putty.
- Space the putty dots evenly every 4 inches along the console lip.
- Press the preserved moss firmly into the anchors so it won’t slide off.
Blending Moss Textures
For a truly organic look, mix two different types of preserved moss, such as reindeer moss for dense volume and Spanish moss for wispy trailing ends. Blending these textures prevents the border from looking like a synthetic sponge and mimics how moss naturally spreads.
Maintaining the Preserved Moss
While preserved moss requires no watering, it can become brittle if exposed to direct, intense heat from nearby radiators or heating vents. Keep your console table positioned away from active air registers to ensure the moss retains its soft, spongy texture throughout the entire fall season.
Prepping the Glass Vessel
Before adding your branches, thoroughly clean your large glass vase with a mixture of distilled white vinegar and warm water to remove any cloudy residue. A crystal-clear vessel disappears into the background, allowing the structural shapes of the stems to remain the focal point.
Positioning the Anchor Vase
Place your heavy glass vase approximately one-third of the way from the left edge of the console to establish an asymmetrical anchor. Keeping the tallest element off-center creates dynamic visual tension and leaves plenty of horizontal breathing room for your sprawling pumpkin patch.
Arranging Tall Foraged Stems
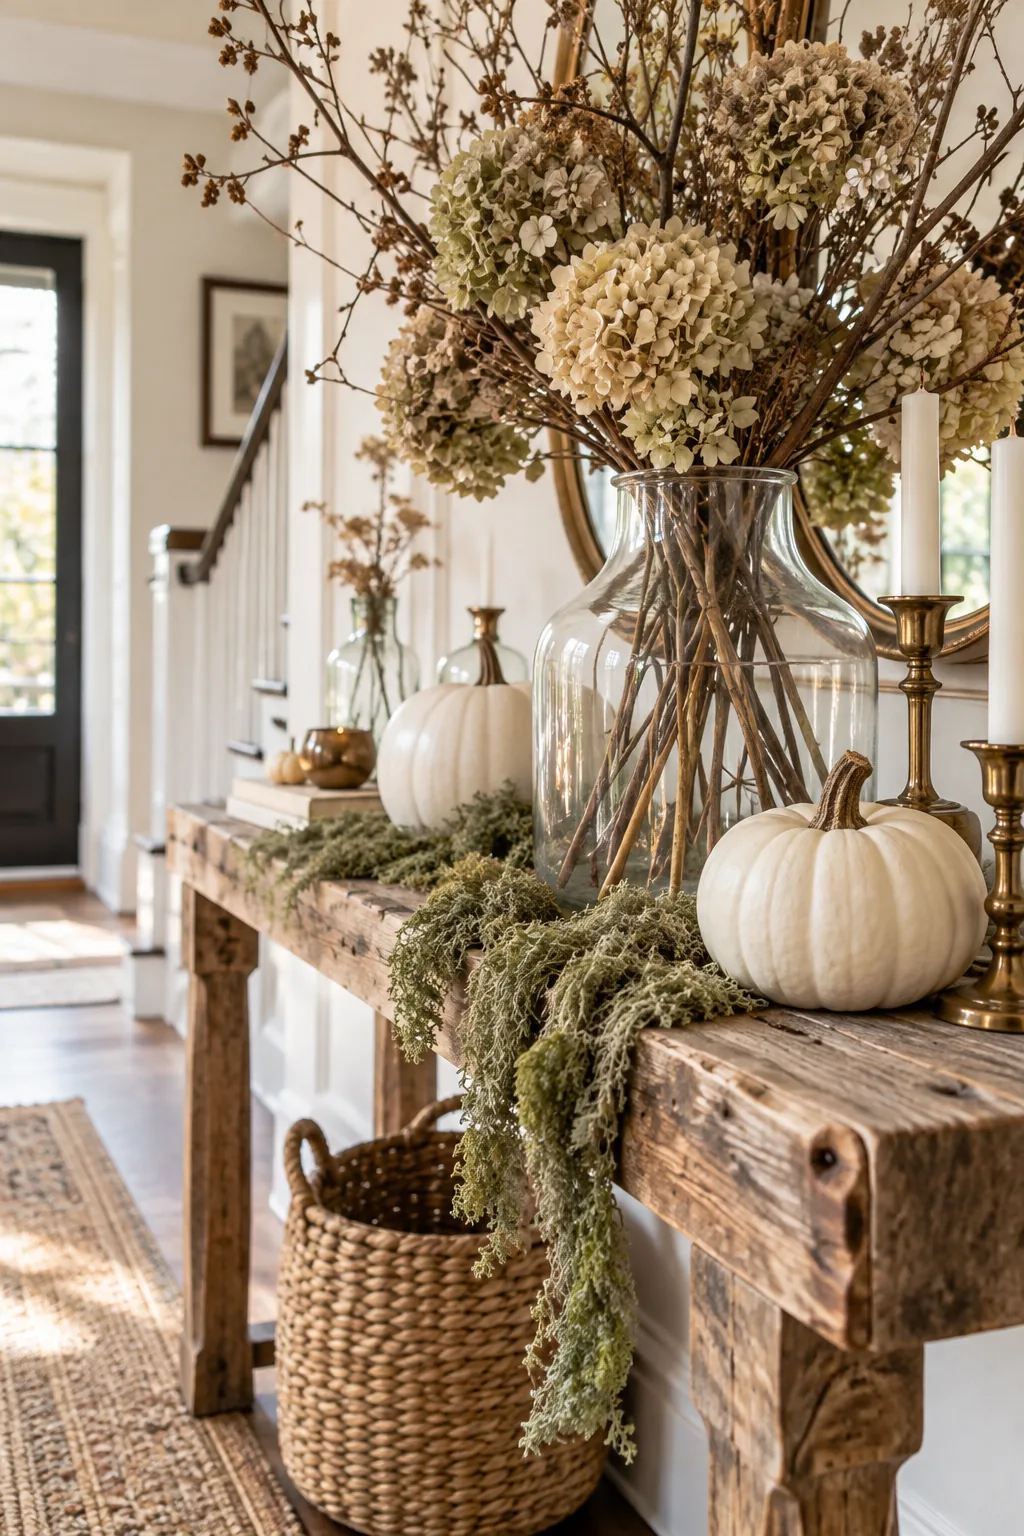
Cut dried hydrangeas and foraged branches to lengths between 24 and 36 inches to introduce dramatic, sweeping height in a heavy, clear glass vase. Cutting dried stems to these exact proportions creates dramatic height while allowing the branches to crisscross visibly for added architectural interest.
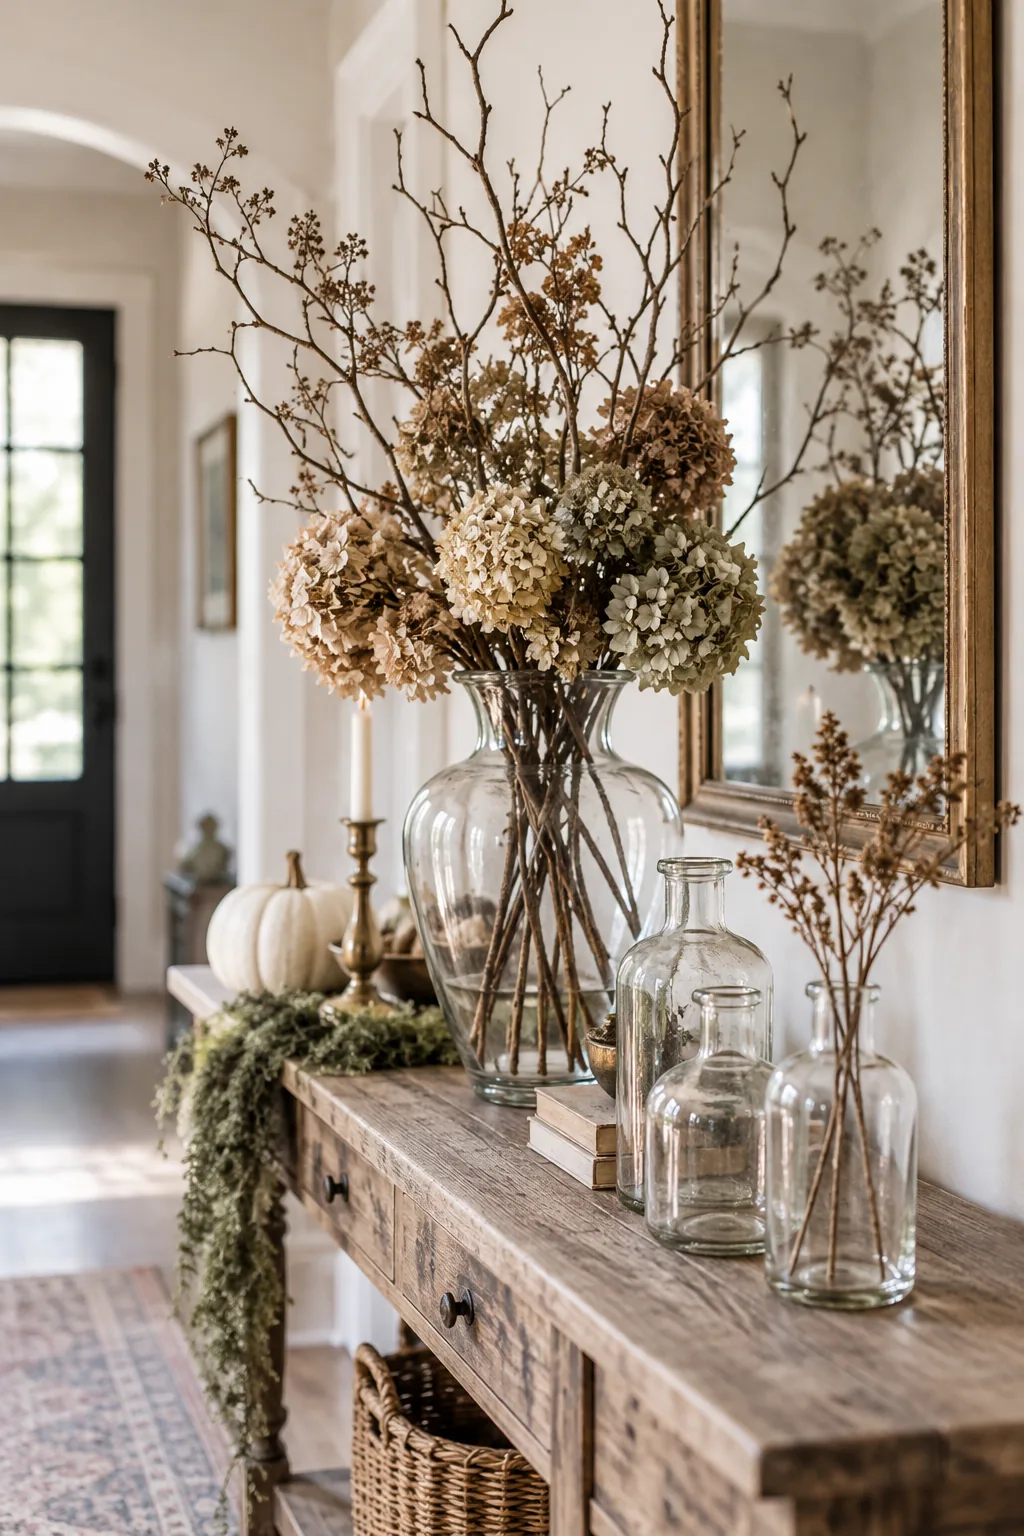
Selecting the right botanicals will determine how well your display holds up through the entire autumn season without shedding debris.
Weaving the Hydrangea Blooms
Tuck three to four large dried hydrangea heads near the rim of the glass vase to conceal the bare lower stalks of your taller branches. The dense, papery blooms act as a visual bridge, connecting the heavy glass base to the sparse, reaching twigs above.
Securing Top-Heavy Branches
If your foraged branches feel unstable in the wide mouth of the glass vase, drop a handful of clear glass marbles into the base to weigh them down. The heavy marbles act as an invisible anchor, gripping the angled stems securely while blending seamlessly with the clear glass.
Foraging Ethically and Safely
When gathering branches from your yard or local woods, gently shake the stems outdoors to dislodge any resting insects before bringing them inside. Trim the bottom of each branch at a sharp 45-degree angle so they sit flat against the glass base without snapping.
Sorting Pumpkins by Shape and Scale
Gather a diverse mix of heirloom pumpkins, prioritizing squat, asymmetrical shapes over perfectly round carving varieties. Sorting them by scale before you begin layering allows you to strategically place the heaviest, flattest gourds at the bottom to support the smaller, more delicate accents.
Layering the Heirloom Pumpkins
Cluster your matte white pumpkins to create a grounded center of gravity, mixing sizes from 4-inch minis to heavy 10-inch anchors. Once your pumpkins overlap slightly, balance their visual weight by grouping vintage apothecary bottles in varying heights on the opposite side of the display.
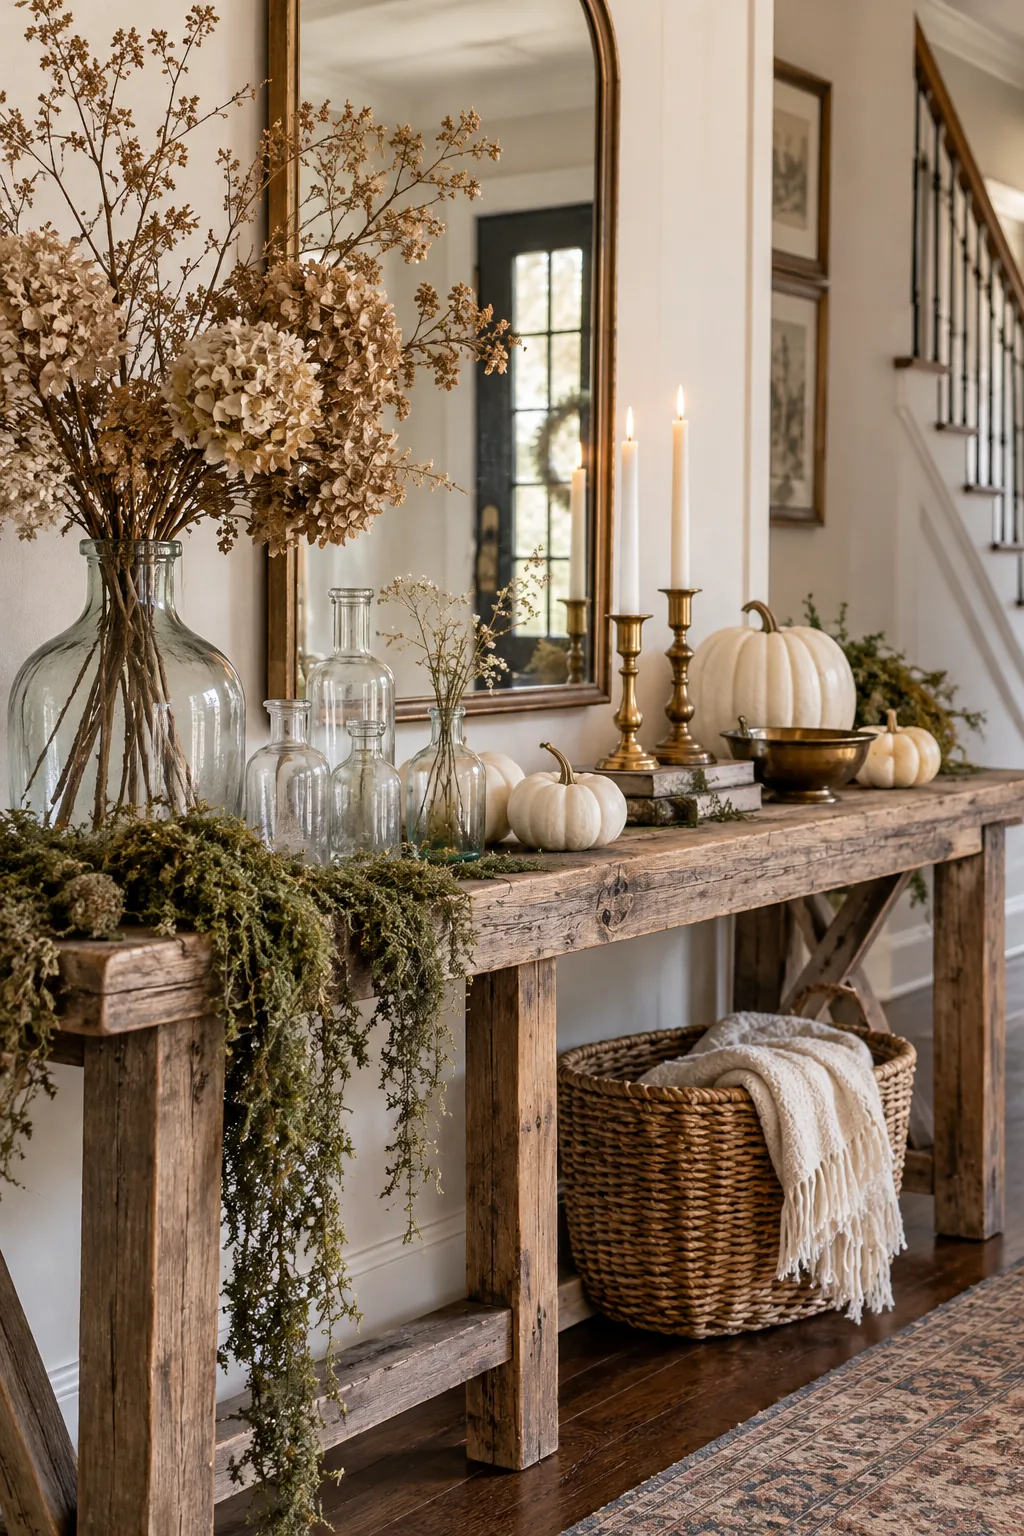
Balancing Asymmetrical Weight
Visual balance does not require perfect symmetry; instead, counter the heavy, solid mass of the stacked pumpkins with the tall, airy volume of your branches. Leaving negative space between these two main clusters prevents the console table from looking like a crowded retail shelf.
Clustering Assorted Glass Bottles
Group 3 to 5 vintage apothecary bottles on the opposite side of your tall vase to balance the visual weight across the wood surface. Varying their heights from 4 to 8 inches creates a staggered skyline that catches the daylight without blocking the rest of the arrangement.
| Bottle Size | Placement Strategy |
|---|---|
| 4 to 5 inches | Tuck near the front edge to catch low daylight. |
| 6 to 8 inches | Place toward the back to bridge the height gap to the branches. |
Sourcing Authentic Vintage Bottles
Scour local flea markets or antique shops for early twentieth-century pharmacy bottles, looking specifically for ones with original glass stoppers or embossed lettering. These subtle historical details add a layer of authentic curiosity to the vignette that mass-produced modern glass simply cannot replicate.
Staggering the Brass Candlesticks
Arrange your three to five brass candlesticks in a loose triangle formation, ensuring no two holders of the exact same height sit directly next to each other. This staggered approach mimics the organic growth patterns found in nature and keeps the metallic elements from looking rigid.
Preventing Wax Drips on Wood
If you plan to actually light the tapers during evening gatherings, apply a small dab of stick-um candle adhesive to the base of each candle. This ensures the tapers stand perfectly straight, drastically reducing the chance of hot wax dripping onto your porous wooden console table.
Playing with Natural Daylight
Position your console table on a wall that receives indirect afternoon sunlight to maximize the reflective qualities of the glass and brass. The natural backlighting will highlight the delicate, papery texture of the dried hydrangea petals and enhance the warm, inviting atmosphere of your entryway.
Casting Shadows with Hidden Uplighting
Tuck a 3-inch battery-operated puck light directly behind a medium pumpkin in the center of the display, angling it upward at roughly 45 degrees to cast moody shadows. I love using this trick in my own entryway because it instantly transforms the dried branches into a spooky silhouette.
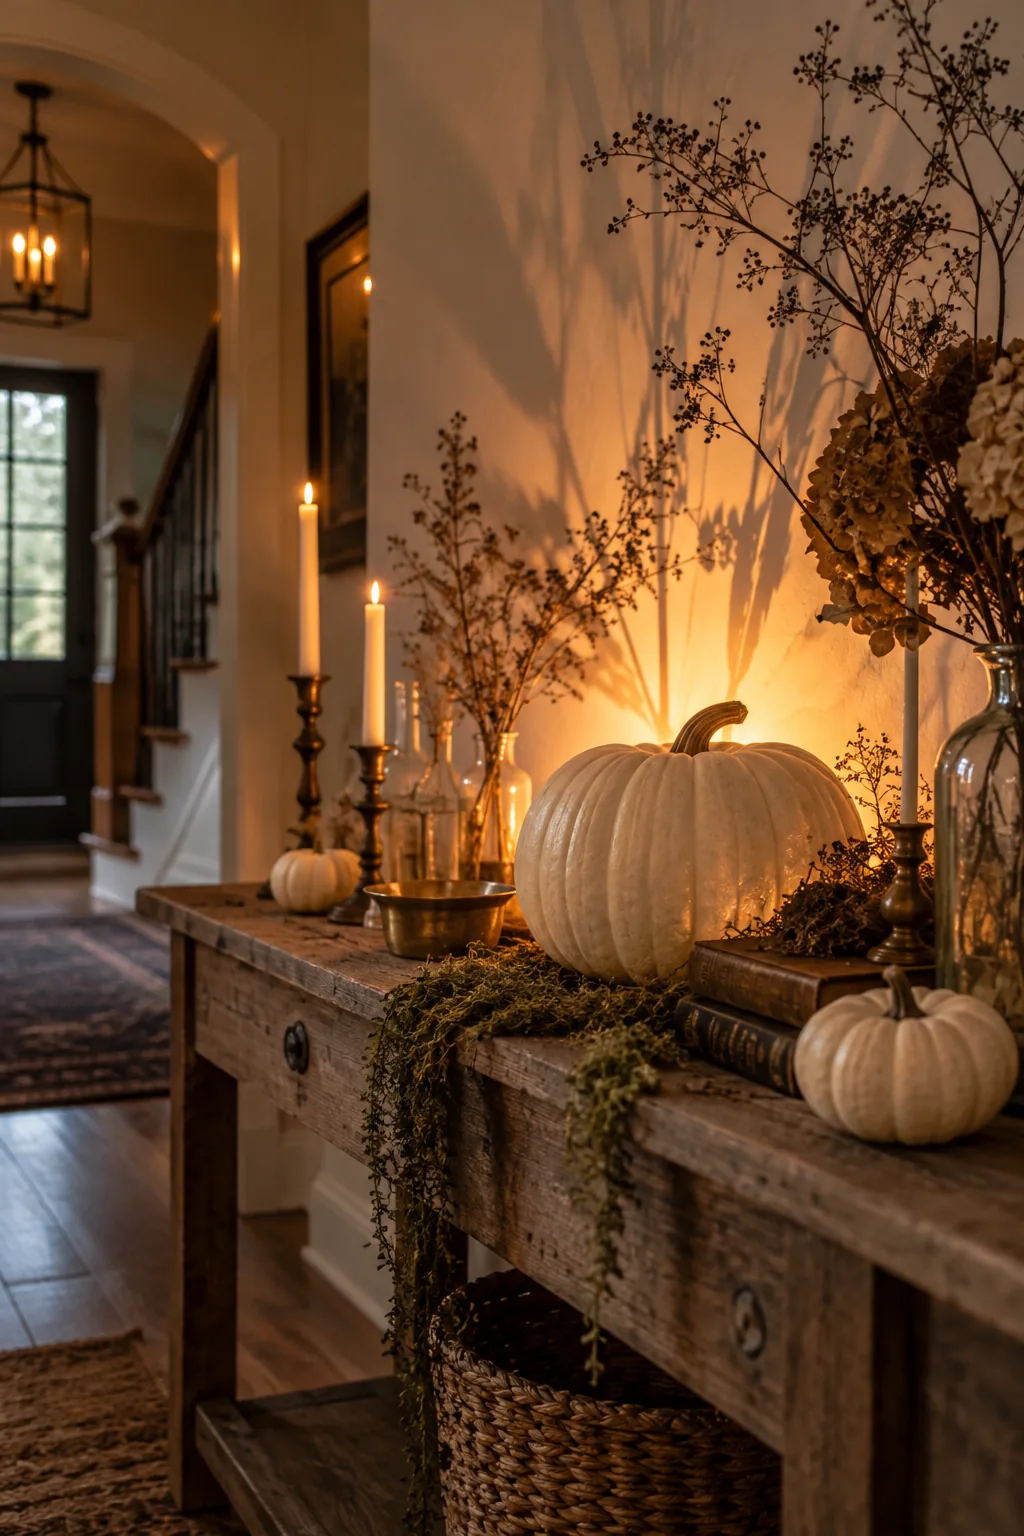
Selecting the Right Light Temperature
Choose a puck light with a warm color temperature between 2700K and 3000K to mimic the inviting flicker of real candlelight. Stark white or cool blue LEDs will instantly ruin the organic, earthy mood and make the arrangement feel artificial and uninviting.
Hiding the Battery Packs
Conceal any visible wires or battery compartments by tucking extra tufts of preserved sage moss loosely around the base of the puck light. This simple camouflage technique ensures the magical, glowing effect remains completely uninterrupted by modern plastic components.
Your Botanical Prop-Hunting Checklist
To build this exact look, gather your materials using this concrete prop-hunting guide of exact quantities needed to construct the display. I keep a screenshot of this list on my phone during weekend antique runs so I never overbuy or forget a crucial layering piece.
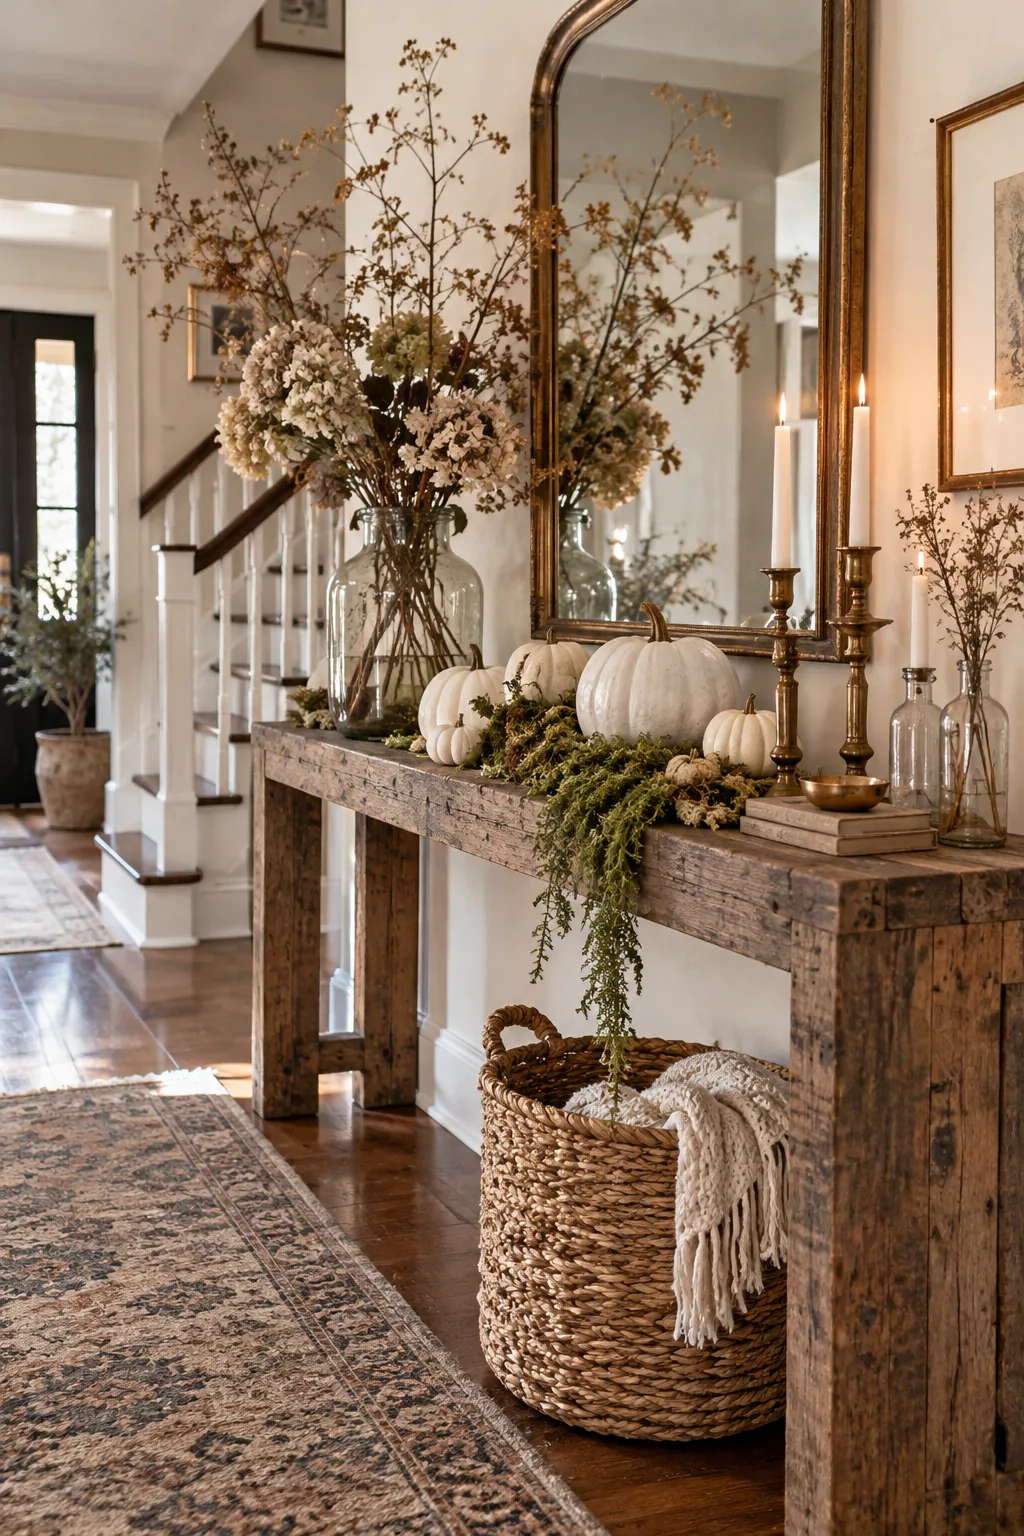
Run through this quick final check to ensure your entryway vignette is polished and ready for the season.
5 More Ways to Style Botanical Halloween Decor
Explore how changing your color palette or room setting can give this natural theme an entirely new mood.
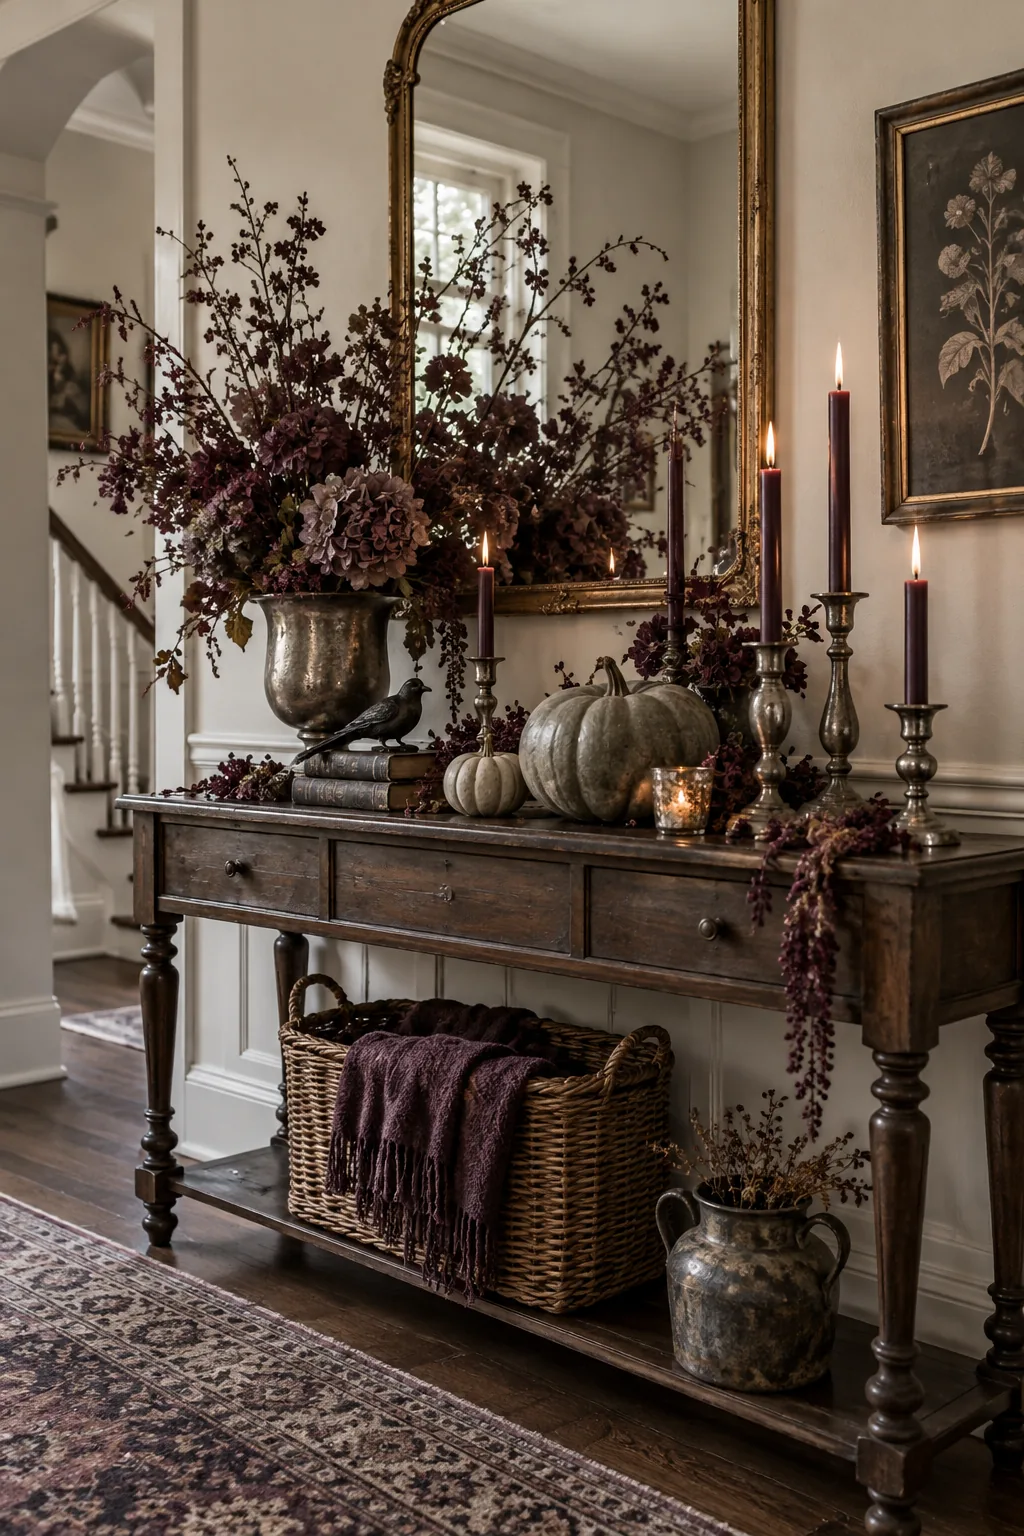
Moody Victorian Botanical: Deep plum florals and tarnished silver accents give this dark walnut console a gothic, romantic edge.
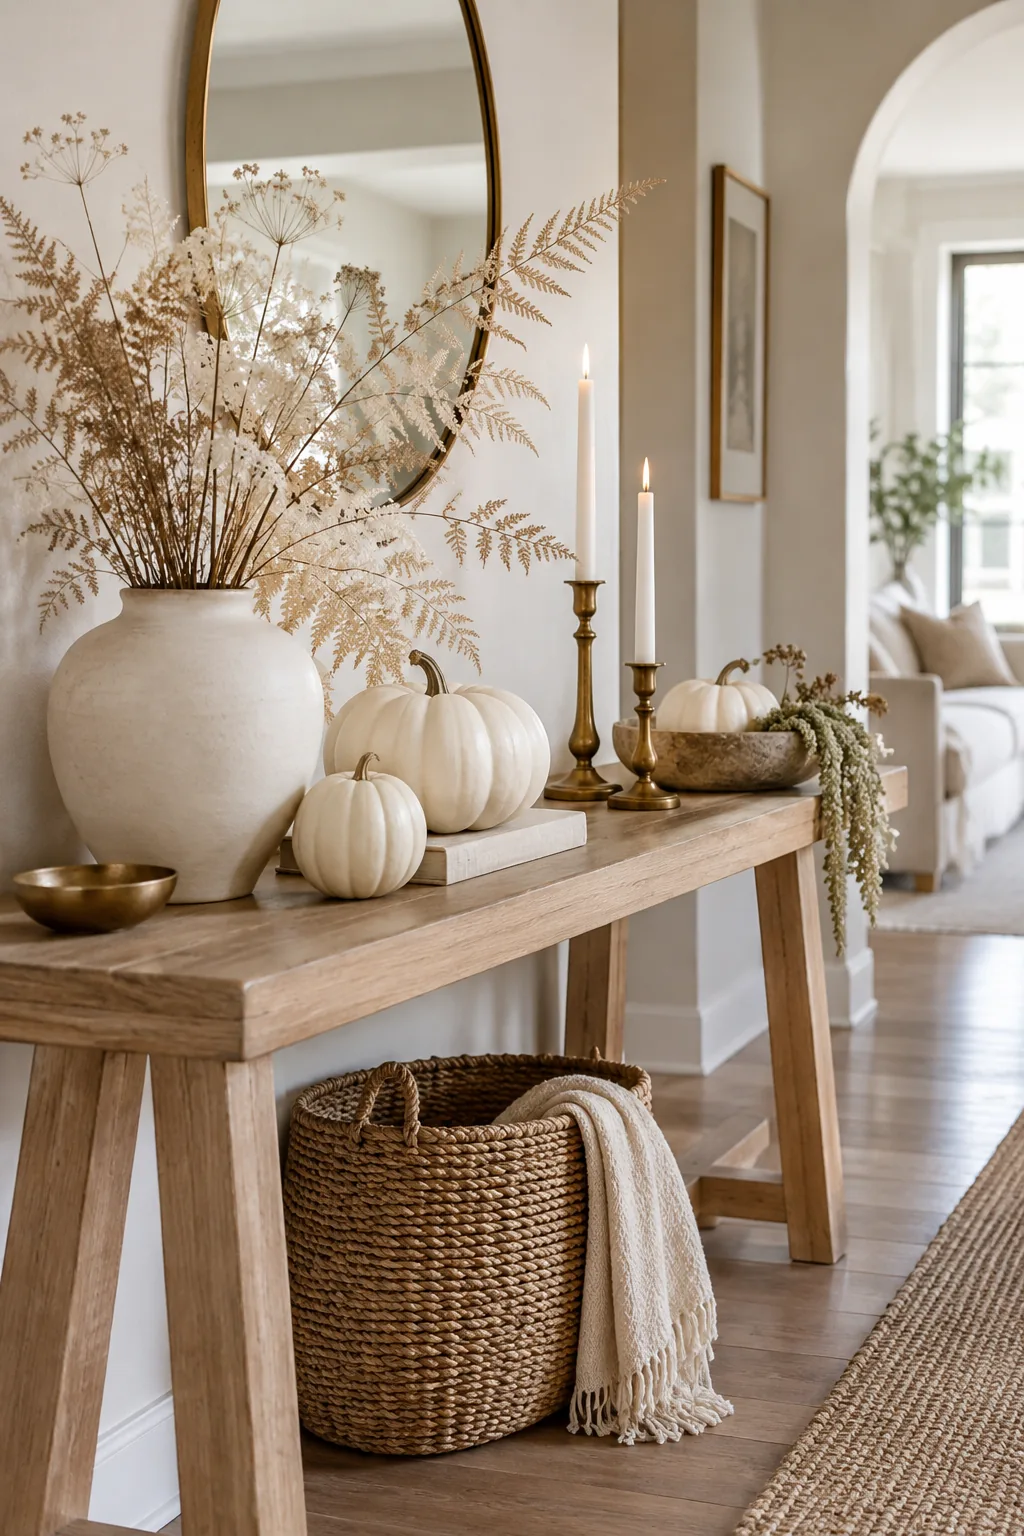
Minimalist Scandi Autumn: Keep the look incredibly clean by using only bleached ferns and perfectly smooth white pumpkins on blonde wood.
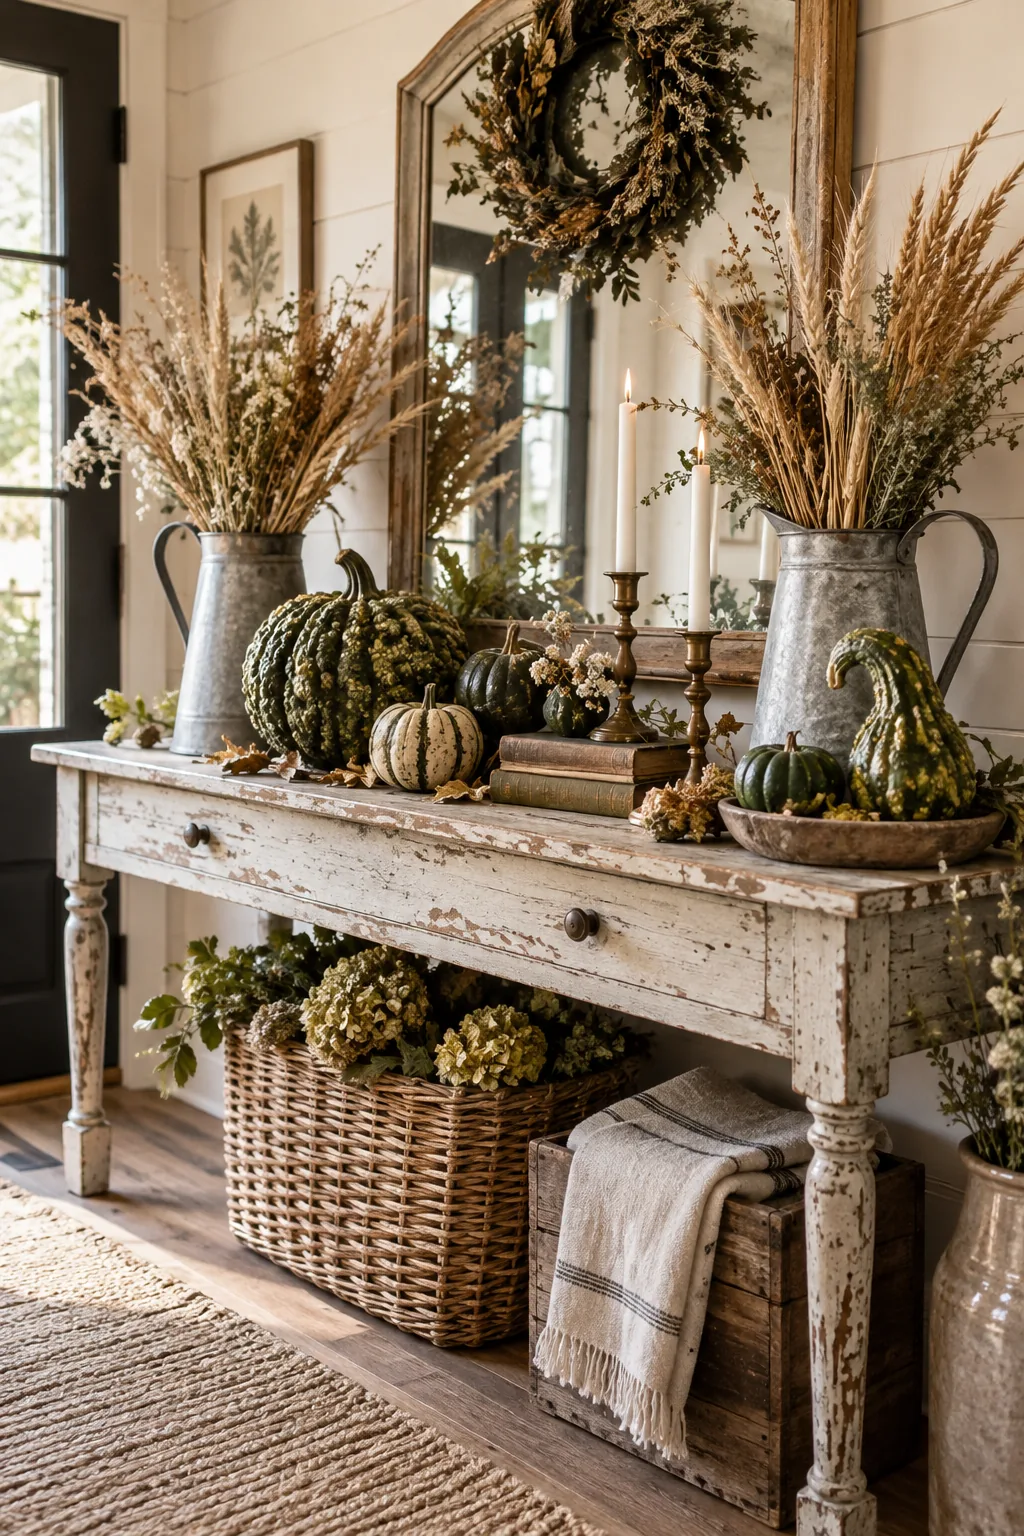
Farmhouse Foraged: Swap delicate glass for galvanized metal pitchers and use textured green gourds to ground the rustic display.
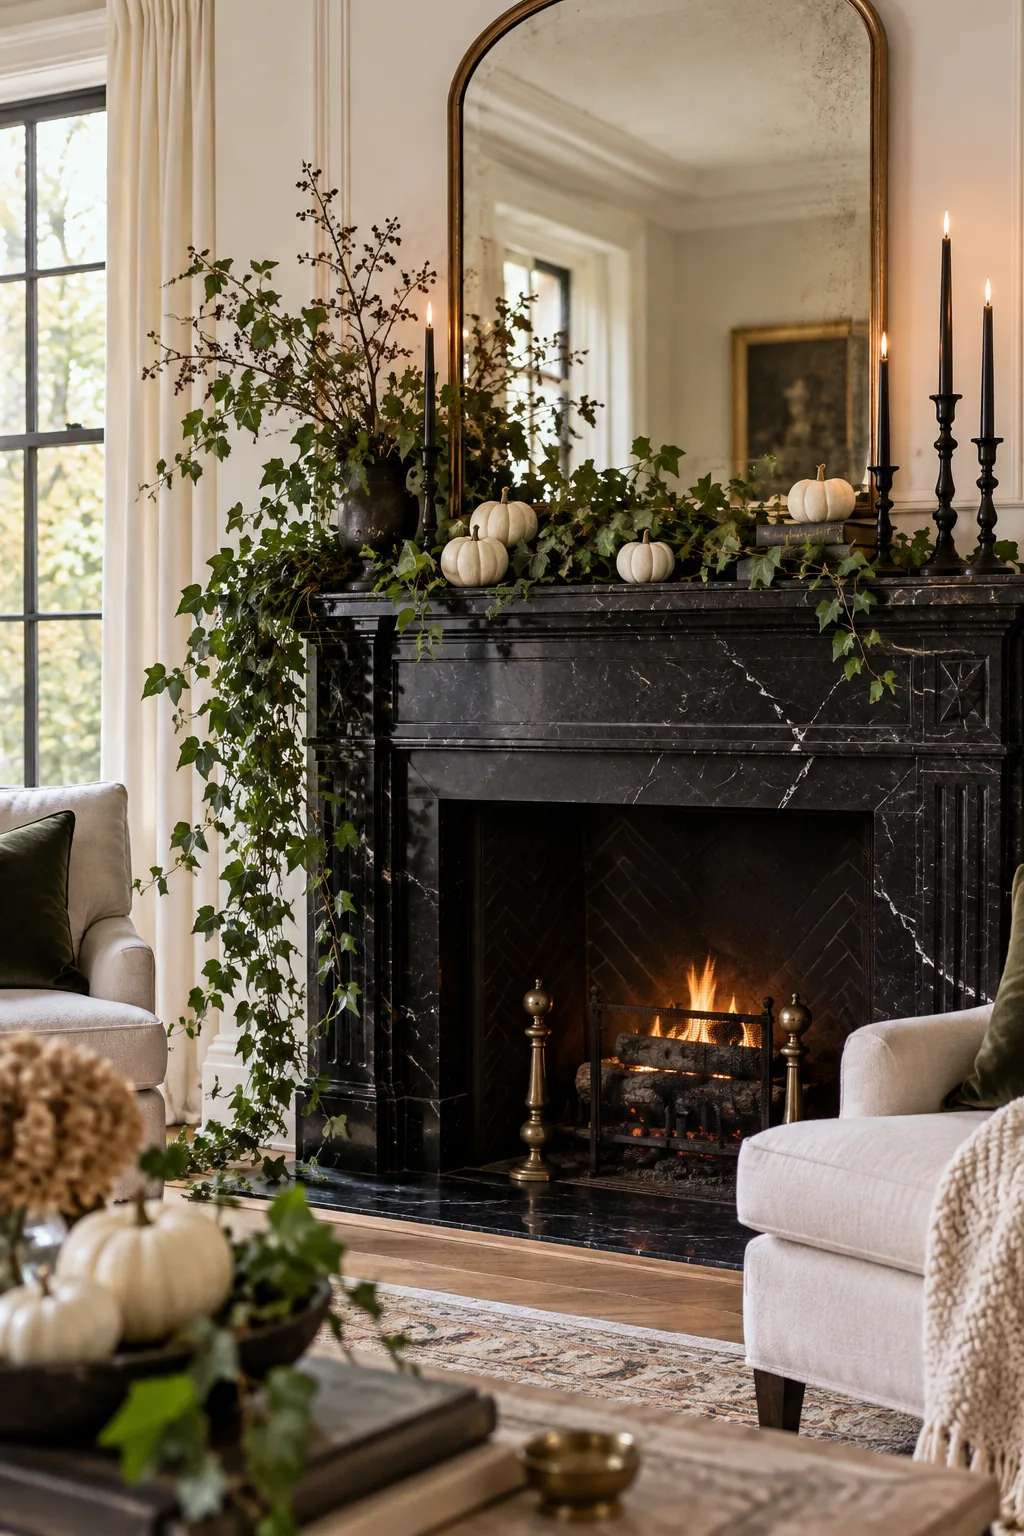
Modern Mantel Botanical: High-contrast matte black candlesticks and stark white pumpkins pop beautifully against a sleek marble fireplace.
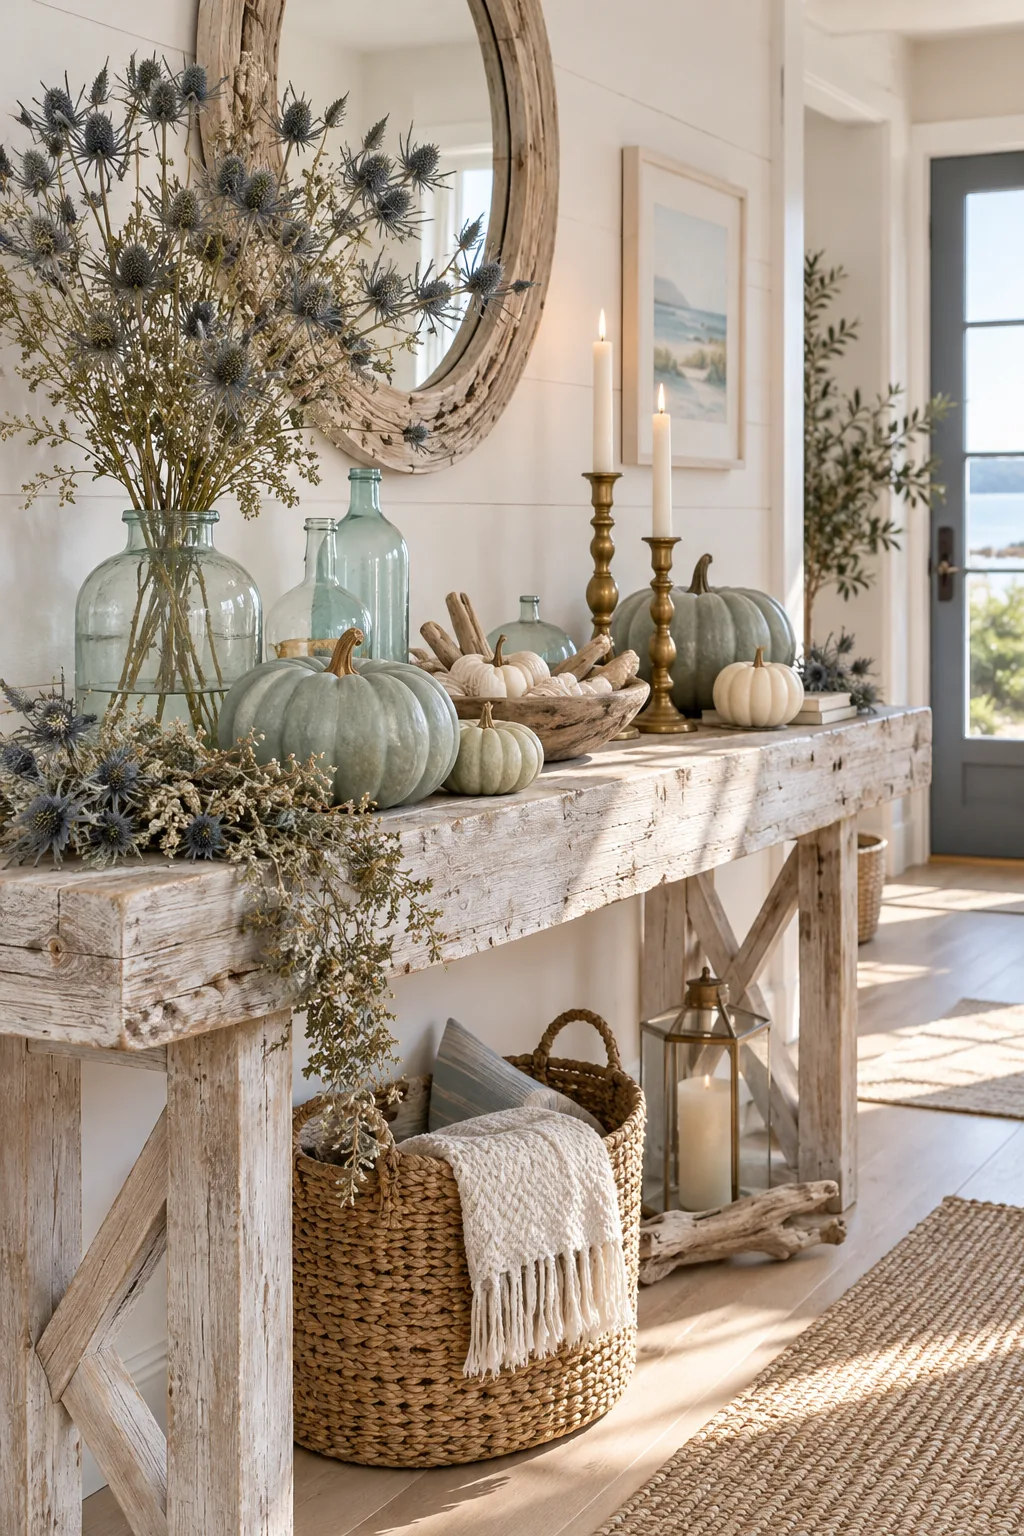
Coastal Fall Entryway: Incorporate pale blue-green heirloom pumpkins and frosted sea glass bottles to blend autumn decor with coastal surroundings.