
The 3-Day Baptism Cake Schedule and Ring-Cut Serving Guide
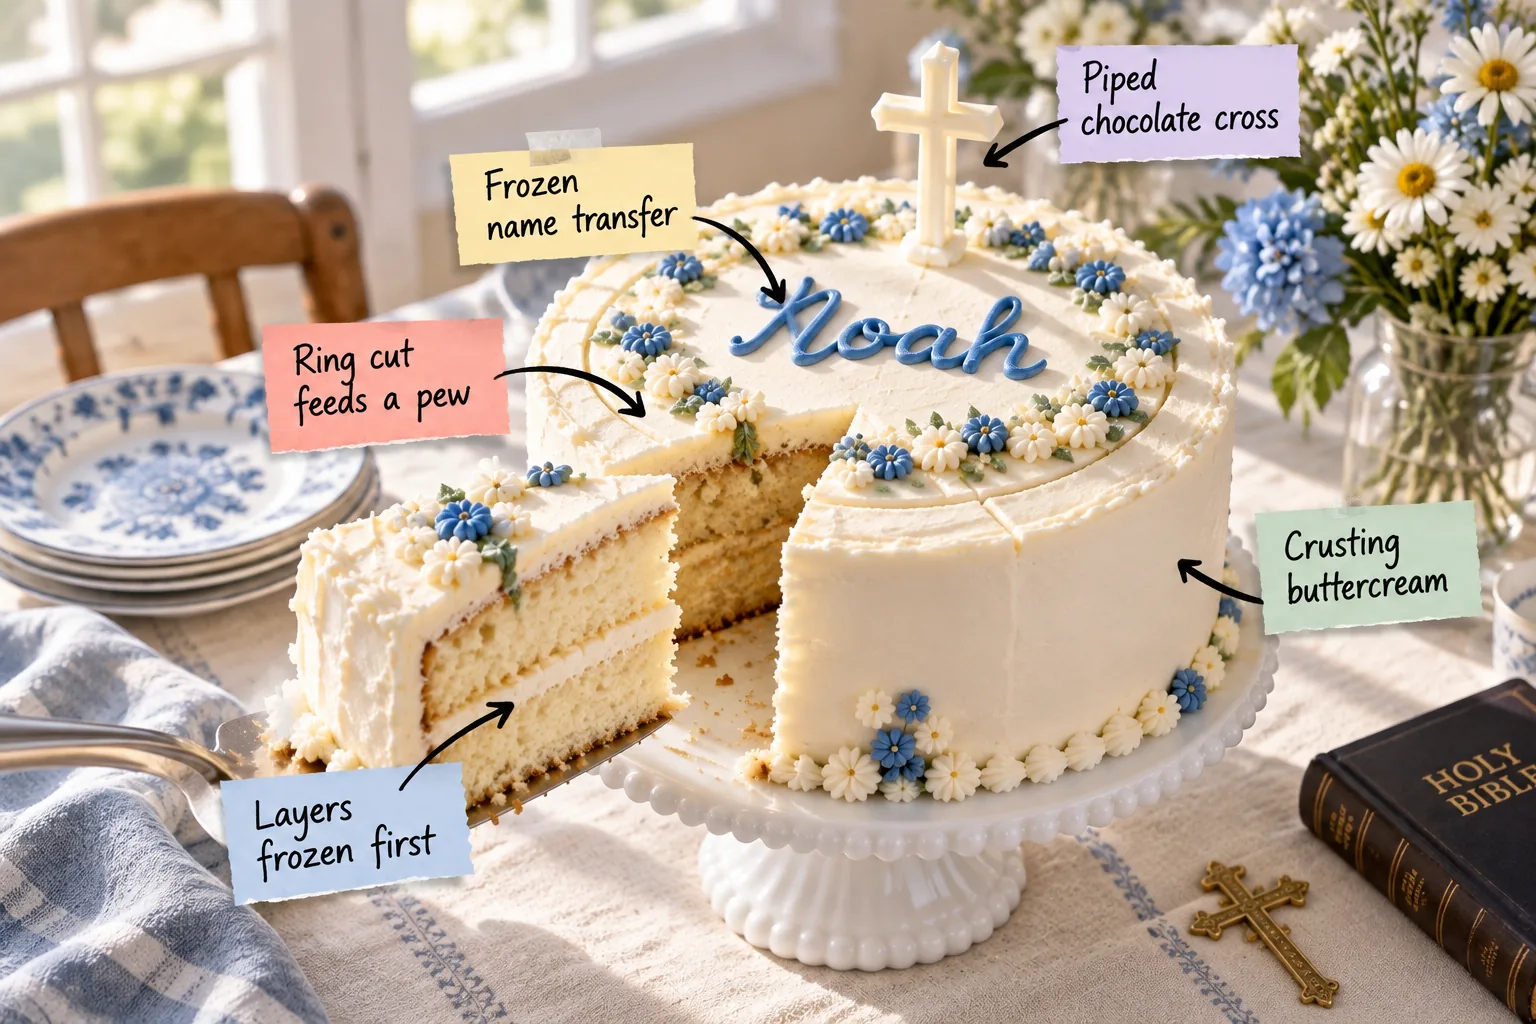
You will be able to bake, decorate, and cleanly serve a beautiful custom cake using this printable 3-day baptism cake schedule that leaves Sunday morning entirely open. Download the complete Thursday-to-Sunday timeline and ring-cut serving chart to plan a stress-free celebration right here.
The 3-Day Make-Ahead Schedule
Download and print the Thursday-to-Sunday baptism cake timeline to organize your baking and decorating process. This schedule breaks the project into manageable daily tasks so you completely avoid a stressful, rushed Sunday morning before the service.
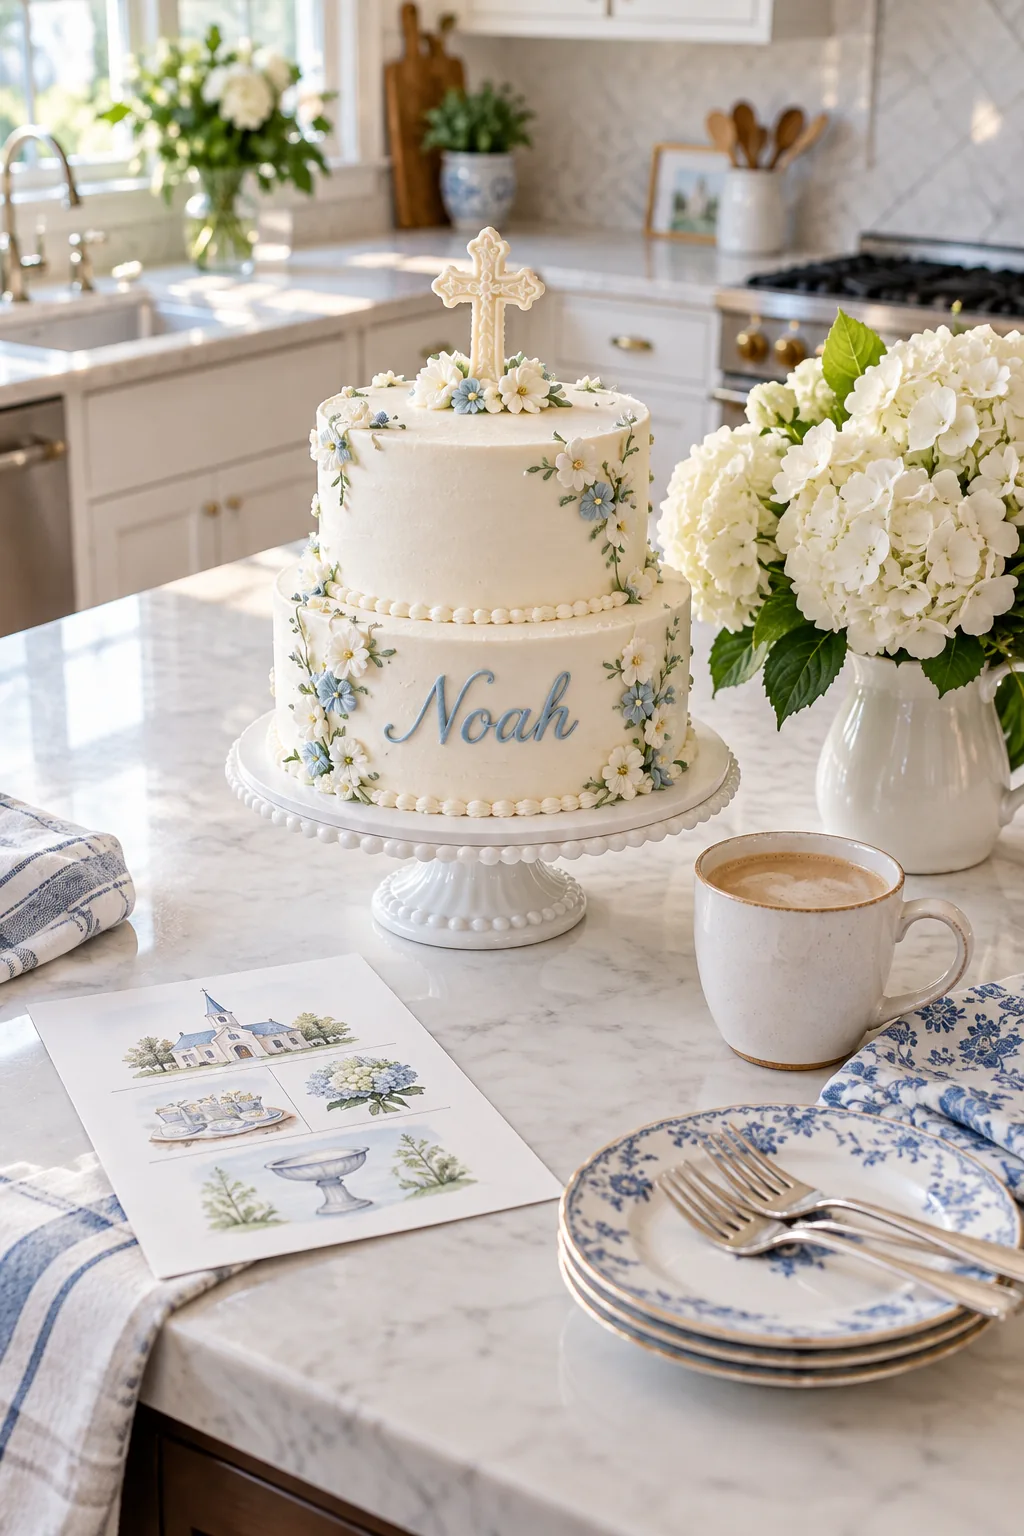
Hanging this printed timeline on your refrigerator keeps you entirely on track from mixing the first batter to slicing the final piece. Checking off each step ensures the crusting buttercream and frozen name transfer are completed in the correct sequence.
- Thursday: Bake all sponge layers and freeze them overnight to lock in moisture.
- Friday: Frost the exterior and pipe the chocolate cross and frozen name transfer.
- Saturday: Rest while the fully decorated cake chills safely in a cardboard box.
- Sunday: Set the cake out before church and serve effortlessly afterward.
Gathering Your Decorating Tools
Set up your workspace on Thursday by gathering a heavy rotating turntable, a tall metal icing scraper, and several piping bags. Having your tools washed and ready prevents frantic searching when the crusting buttercream is mixed and ready to apply.
Preparing the Baking Pans
Line the bottom of two 8-inch round cake pans with parchment paper circles and spray the sides with a flour-based baking spray. This double layer of protection guarantees the delicate sponges will release cleanly without tearing the fragile edges.
Sifting the Dry Ingredients
Pass the cake flour, baking powder, and salt through a fine-mesh sieve before adding them to the mixing bowl. Sifting aerates the dry ingredients and removes any hard lumps, guaranteeing a delicate, uniform crumb structure throughout the baked sponges.
Mixing the Vanilla Batter
Cream the butter and sugar for a full five minutes until the mixture becomes visibly pale and fluffy. Aerating the batter properly at this stage creates a beautifully light crumb that absorbs the buttercream filling without becoming dense or heavy.
Testing for Perfect Doneness
Check the cakes five minutes before the recipe time expires by inserting a wooden skewer into the exact center. The sponges are ready when the skewer emerges with just a few moist crumbs attached, ensuring the layers remain perfectly tender.
Freezing the Sponge Layers
Let the baked layers cool completely on a wire rack, then wrap them tightly in a double layer of plastic wrap. Layers frozen first lock in essential moisture and create a solid foundation that will not crumble during frosting.
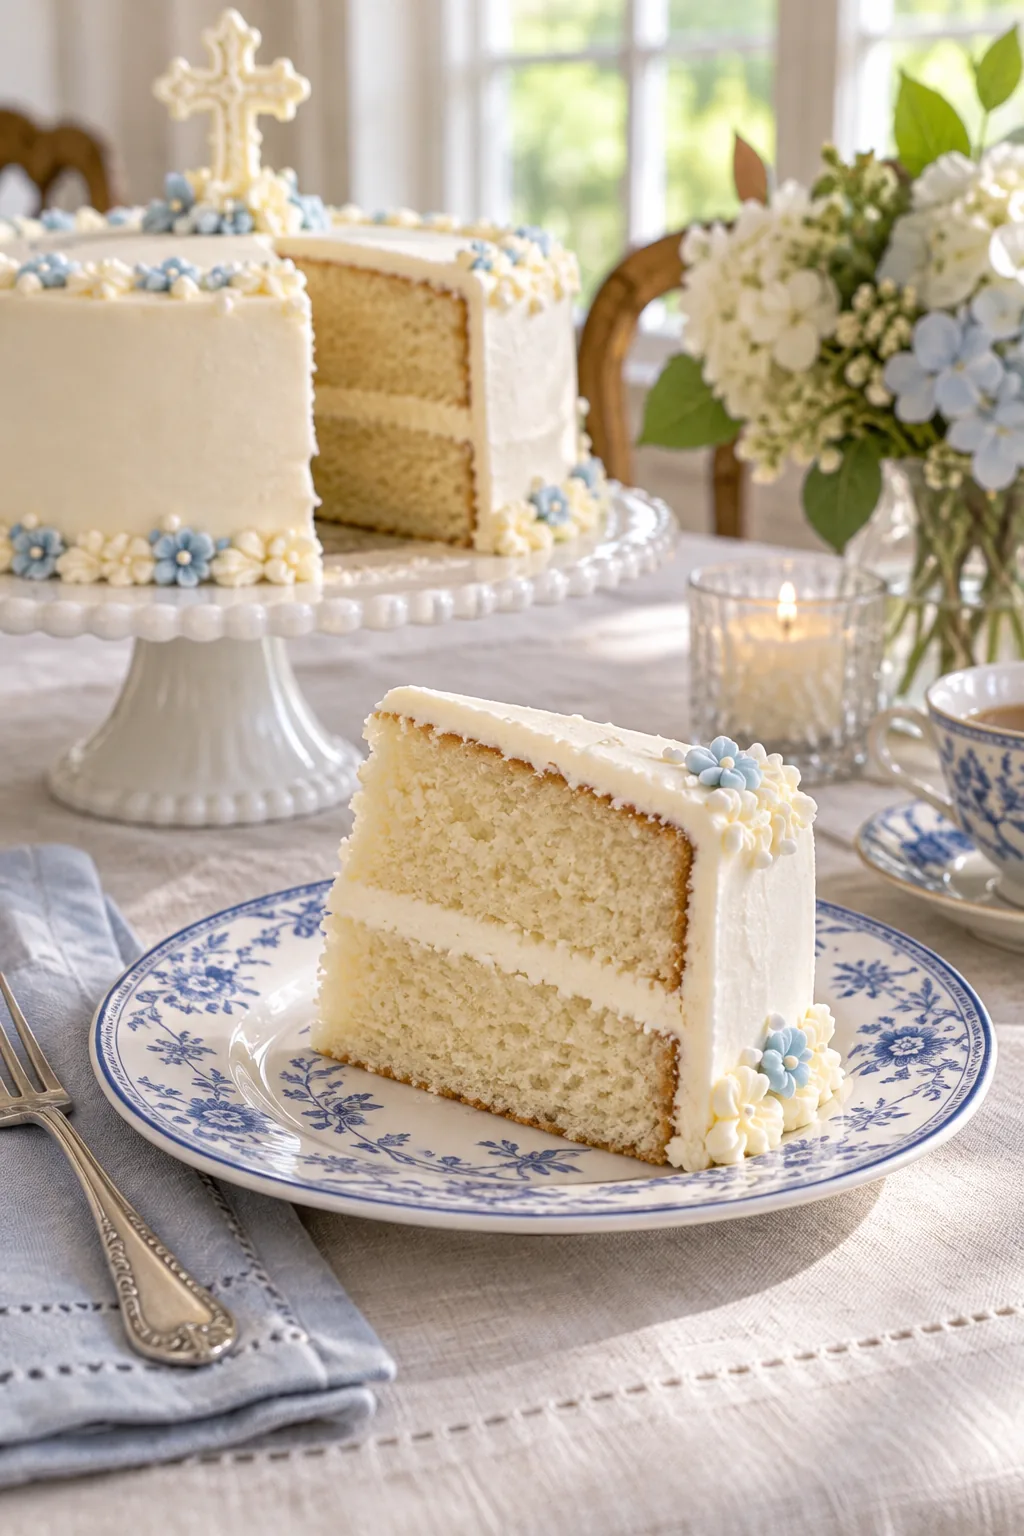
Properly chilling the cake is the secret to a flawless crumb coat, but rushing the process can ruin the texture before you even start decorating. In my own kitchen, I always freeze sponges for at least twelve hours for perfect stability.
Leveling the Chilled Sponges
Use a long serrated knife to carefully slice the rounded domes off the top of each frozen layer. Leveling the cold cake creates perfectly flat surfaces so your final tiered dessert stands absolutely straight on the milk-glass pedestal.
Preparing the Cake Boards
Secure your bottom sponge layer to an eight-inch cardboard cake round using a small dab of fresh buttercream. This hidden cardboard base provides essential structural support when you eventually transfer the heavy, fully decorated tier onto the final pedestal.
Filling the Cake Center
Pipe a thick dam of stiff frosting around the outer perimeter of the bottom layer before adding your softer filling. This structural barrier prevents fruit curds or whipped ganache from bulging out the sides when the top layer is added.
Choosing a Crusting Buttercream
Use a crusting buttercream for the exterior finish to ensure the cake remains perfectly stable at room temperature. A traditional ratio of half butter and half vegetable shortening allows the frosting to set with a satin-smooth, touchable surface.
Applying the Smooth Crumb Coat
Spread a thin, translucent layer of frosting over the entire stacked cake to securely trap any loose crumbs. Chilling this initial coat in the refrigerator for twenty minutes seals the surface, providing a pristine canvas for the final buttercream layer.
Achieving Sharp Buttercream Edges
Hold a tall metal scraper flat against the side of the frosted cake and spin the turntable in one fluid, continuous motion. Pulling the excess frosting inward across the top edge creates the crisp, professional corners that define a custom cake.
Coloring the Blue Buttercream
Tint a small bowl of frosting with gel food coloring to achieve a vibrant cornflower blue for the baby’s name. Gel colors are highly concentrated, so add the pigment one tiny drop at a time until you reach the desired shade.
Tempering the White Chocolate
Melt the white candy coating gently in the microwave using short fifteen-second intervals to prevent the cocoa butter from scorching. Stirring vigorously between each burst ensures the chocolate remains silky smooth and perfectly fluid for piping the decorative cross.
Piping the Chocolate Cross
Create the piped chocolate cross on Friday by tracing the melted candy coating over a printed template onto a parchment-lined tray. Piping the cross off-cake gives you total control and completely eliminates the risk of ruining your smooth buttercream finish.
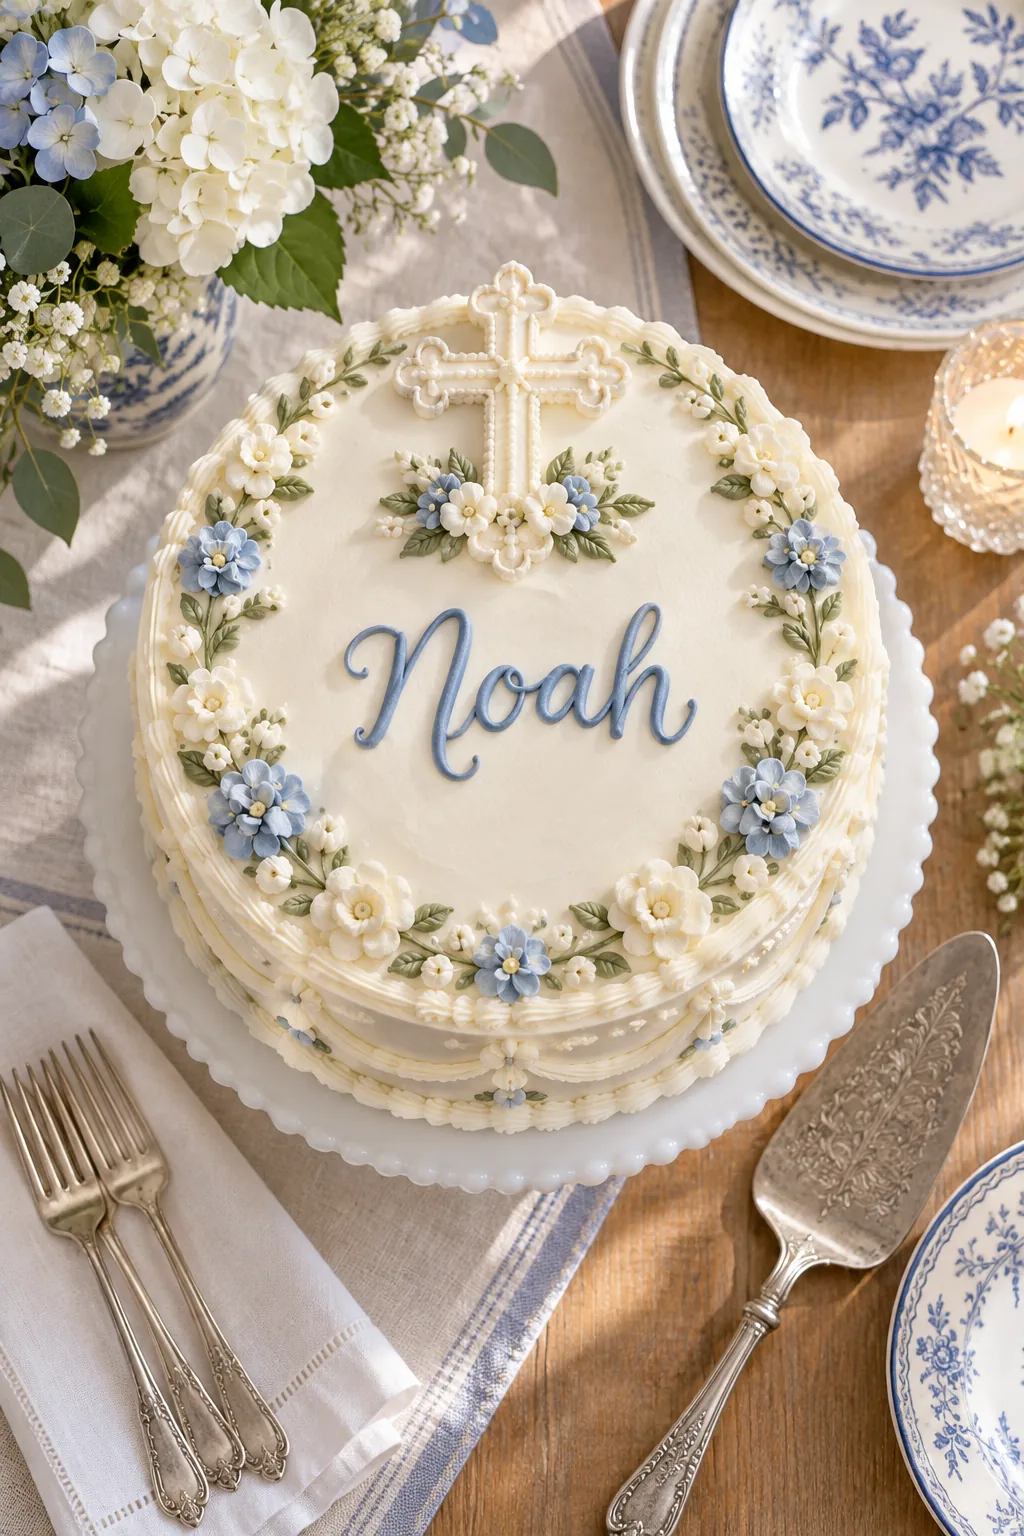
Chilling the piped shape in the refrigerator for fifteen minutes allows the candy coating to harden completely. This crucial step ensures the cross can stand perfectly upright at the back of the cake without drooping during a long Sunday reception.
Creating the Wax Paper Template
Print the baby’s name in a beautiful cursive script and tape a sheet of translucent wax paper directly over the paper. Tracing the letters carefully with your piping bag guarantees perfect spacing, elegant typography, and absolute consistency in the lettering.
Applying the Frozen Name Transfer
Pipe the baby’s name in the blue buttercream onto the wax paper and freeze the sheet for twenty minutes. Once solid, flip the frozen name transfer directly onto the top of the cake for flawless typography without risking a mistake.
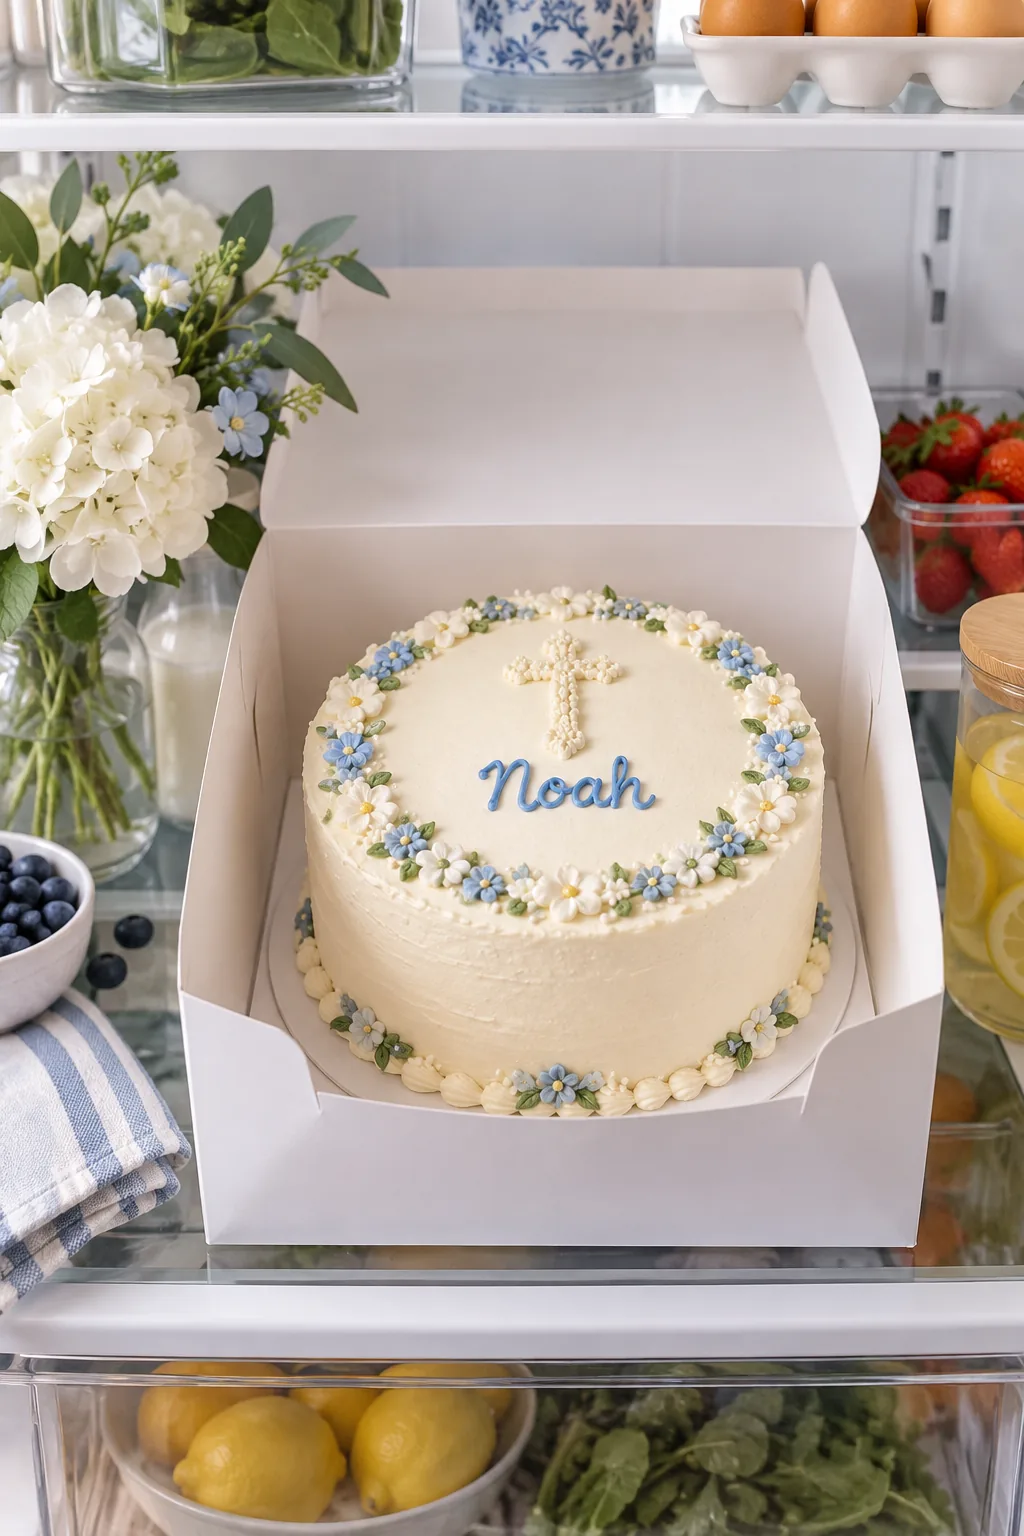
Transferring the frozen lettering requires a quick, confident hand, as the thin buttercream will begin to soften the very moment it leaves the freezer.
Adding Floral Finishing Touches
Place a few small, food-safe floral decorations around the base of the chocolate cross to soften the design and add visual interest. Using muted green leaves and tiny white blossoms perfectly complements the cornflower-blue lettering and the stark white frosting.
Overnight Storage and Thawing
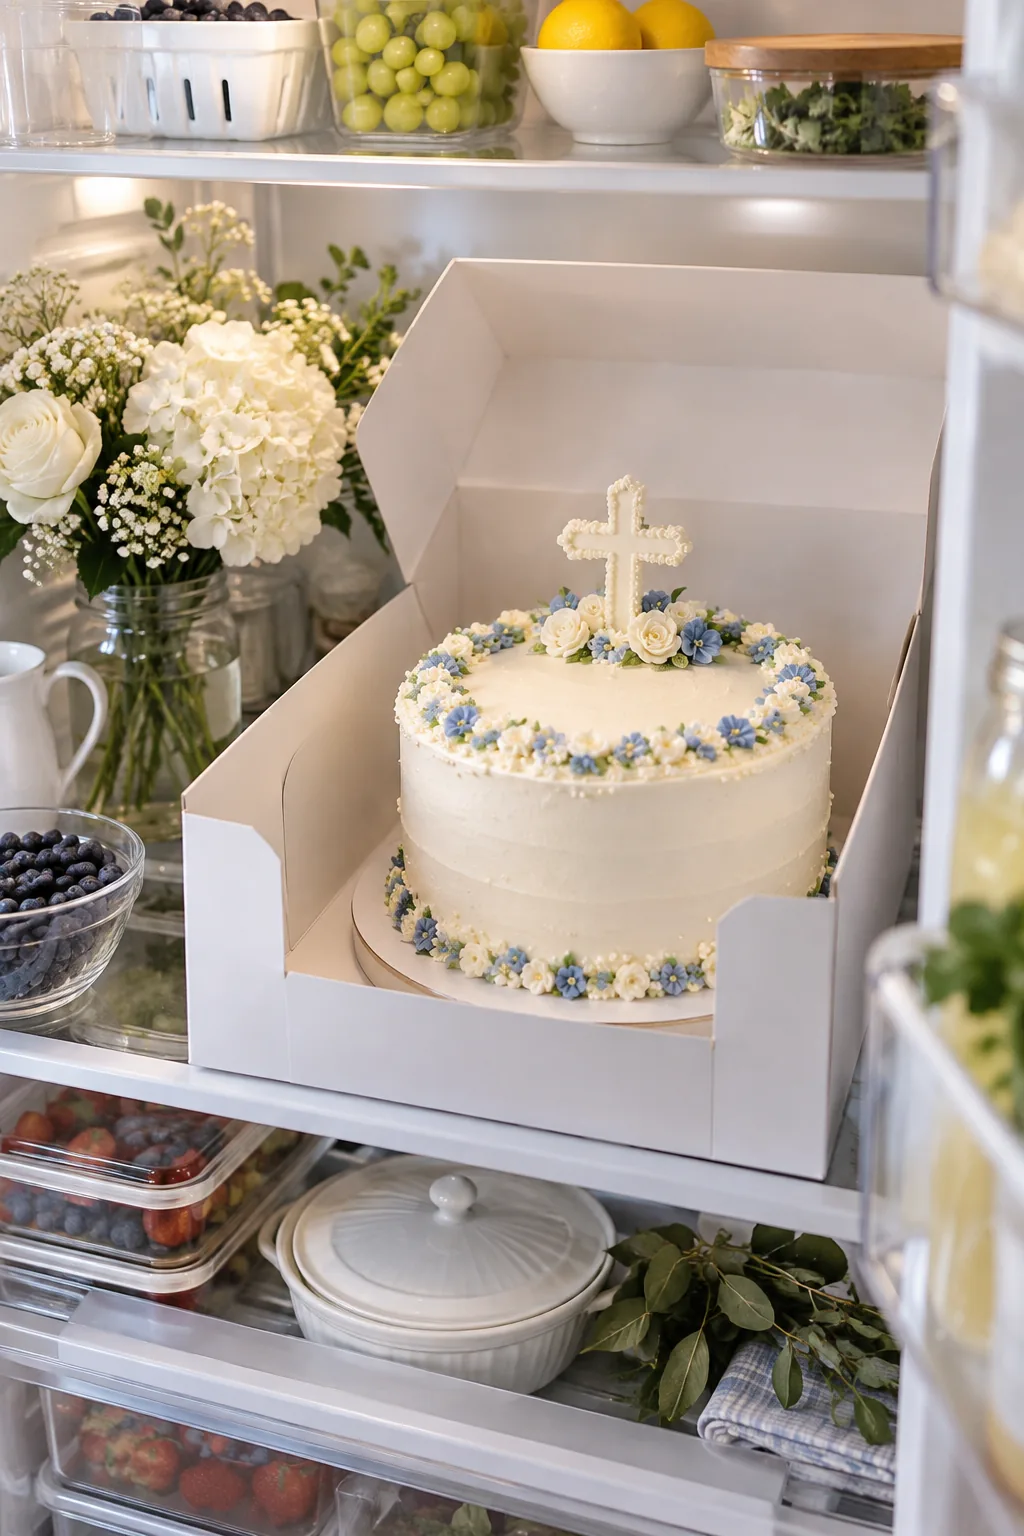
Store the fully decorated cake in a standard cardboard bakery box in the refrigerator throughout the day on Saturday. The porous cardboard naturally absorbs excess humidity, protecting the delicate crusting buttercream from damaging condensation when you move it to the counter.
I learned the hard way that airtight plastic cake carriers trap moisture and quickly ruin a perfectly smooth frosting finish. Always rely on a simple cardboard bakery box to keep your Friday icing beautifully matte and flawless until Sunday morning.
Managing Refrigerator Humidity
Keep the bakery box away from the back wall of the refrigerator, where temperatures fluctuate and condensation tends to pool. Placing the box on the middle shelf ensures consistent cooling and prevents water droplets from falling onto the finished cake.
Selecting a Sturdy Cake Stand
Choose a heavy milk-glass or ceramic pedestal that provides a completely flat, stable surface for the cutting process. A stand with a wide, weighted base will not tip or wobble when you press down firmly with the serving knife.
Planning the Dessert Table Layout
Arrange the dessert plates, silver forks, and folded napkins on the dining table before you even bring the cake out of the kitchen. Setting the entire serving station in advance means you can immediately start slicing when guests arrive.
The Ring Cut for Crowd Serving
Maximize your portions by scoring a faint four-inch inner circle on the top of the cake, ensuring a ring cut feeds a pew of guests. This concentric cutting method yields far more servings than dividing the cake into traditional wedges.
| Cake Size | Inner Circle | Outer Ring Slices | Total Servings |
|---|---|---|---|
| 6-inch round | 3 inches | 8 slices | 12 servings |
| 8-inch round | 4 inches | 14 slices | 24 servings |
| 10-inch round | 5 inches | 20 slices | 38 servings |
I always keep this exact serving chart taped inside my kitchen cabinet so I know precisely how many slices to expect. Cut the outer ring into narrow pieces first, then slice the remaining inner core into standard, even wedges.
More Baptism Cake Inspiration
Choose a decorative style that perfectly matches your celebration's theme and venue.
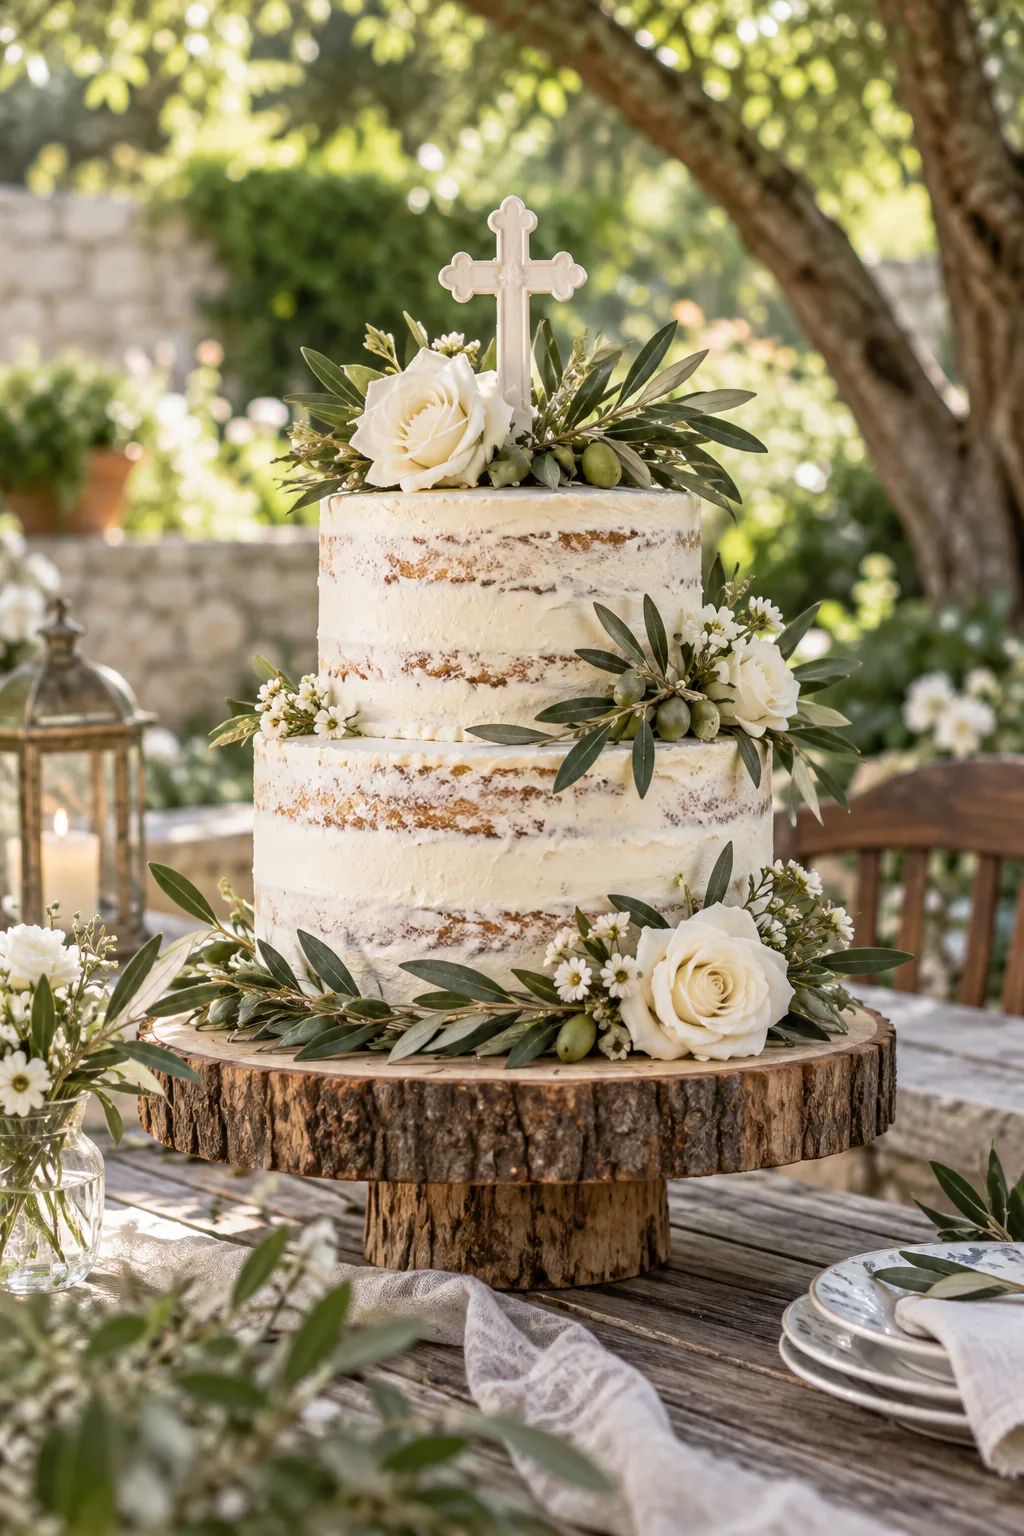
Rustic Botanical Garden Style: Embrace a natural outdoor aesthetic by leaving the sides semi-naked and wrapping the tiers in fresh, food-safe greenery.
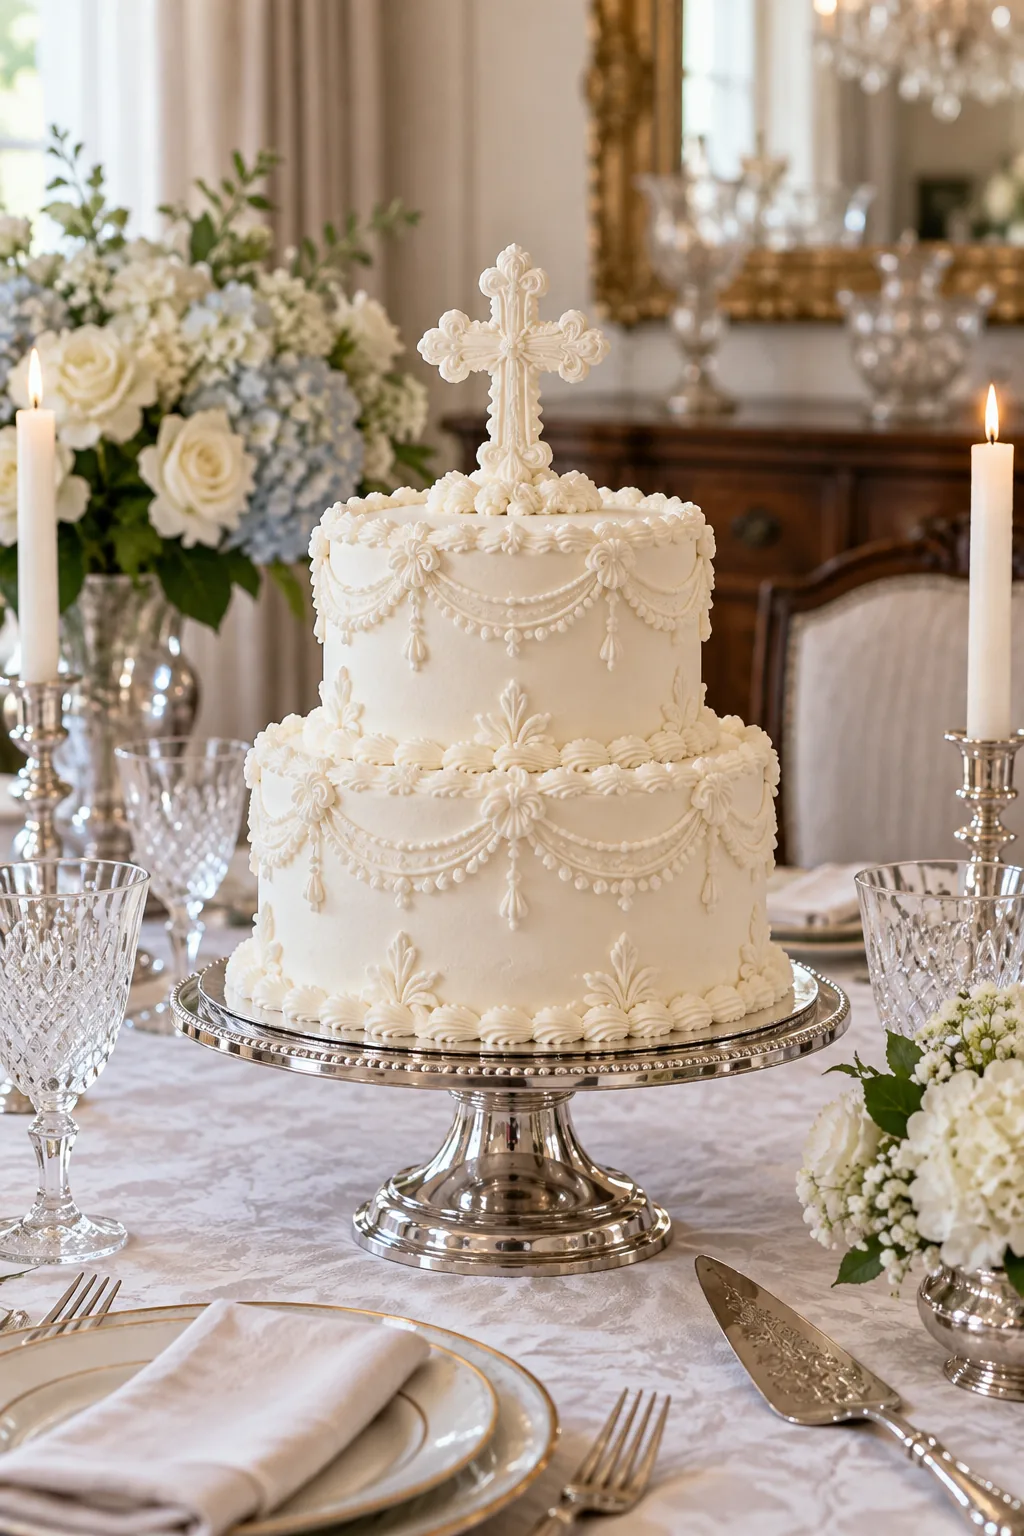
Classic All-White Vintage: Keep the palette entirely monochromatic and rely on intricate, vintage-inspired over-piping to create elegant texture and shadow.
Modern Pastel Watercolor: Blend soft mint and blush frosting on the final coat for a gentle watercolor effect that feels modern and playful.
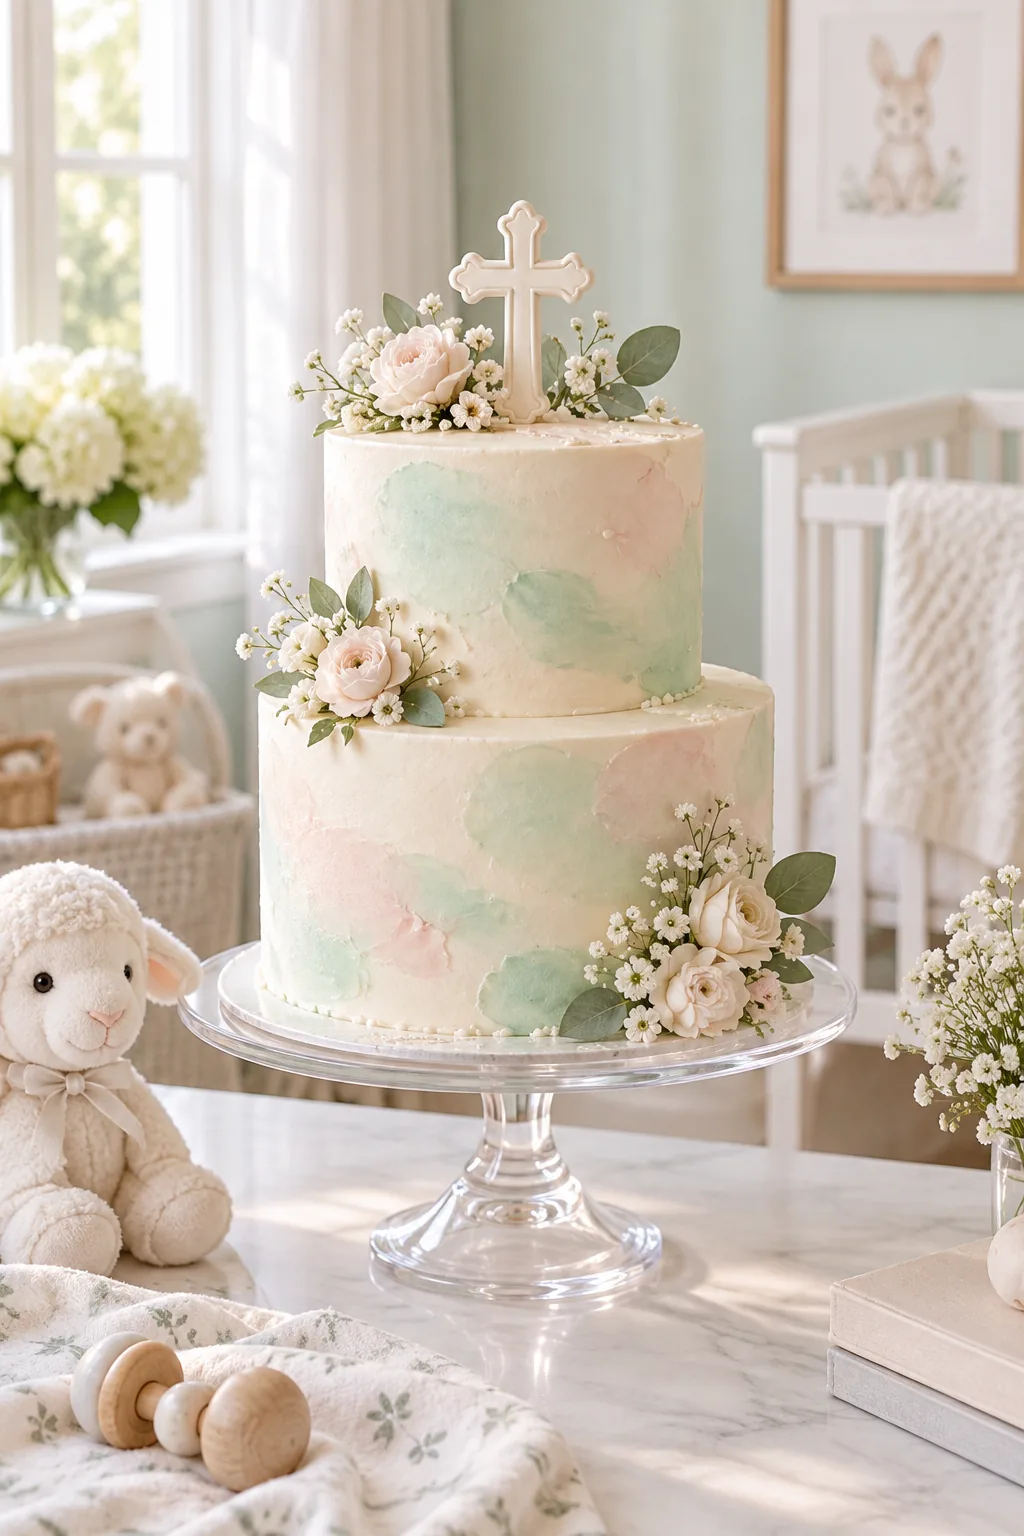
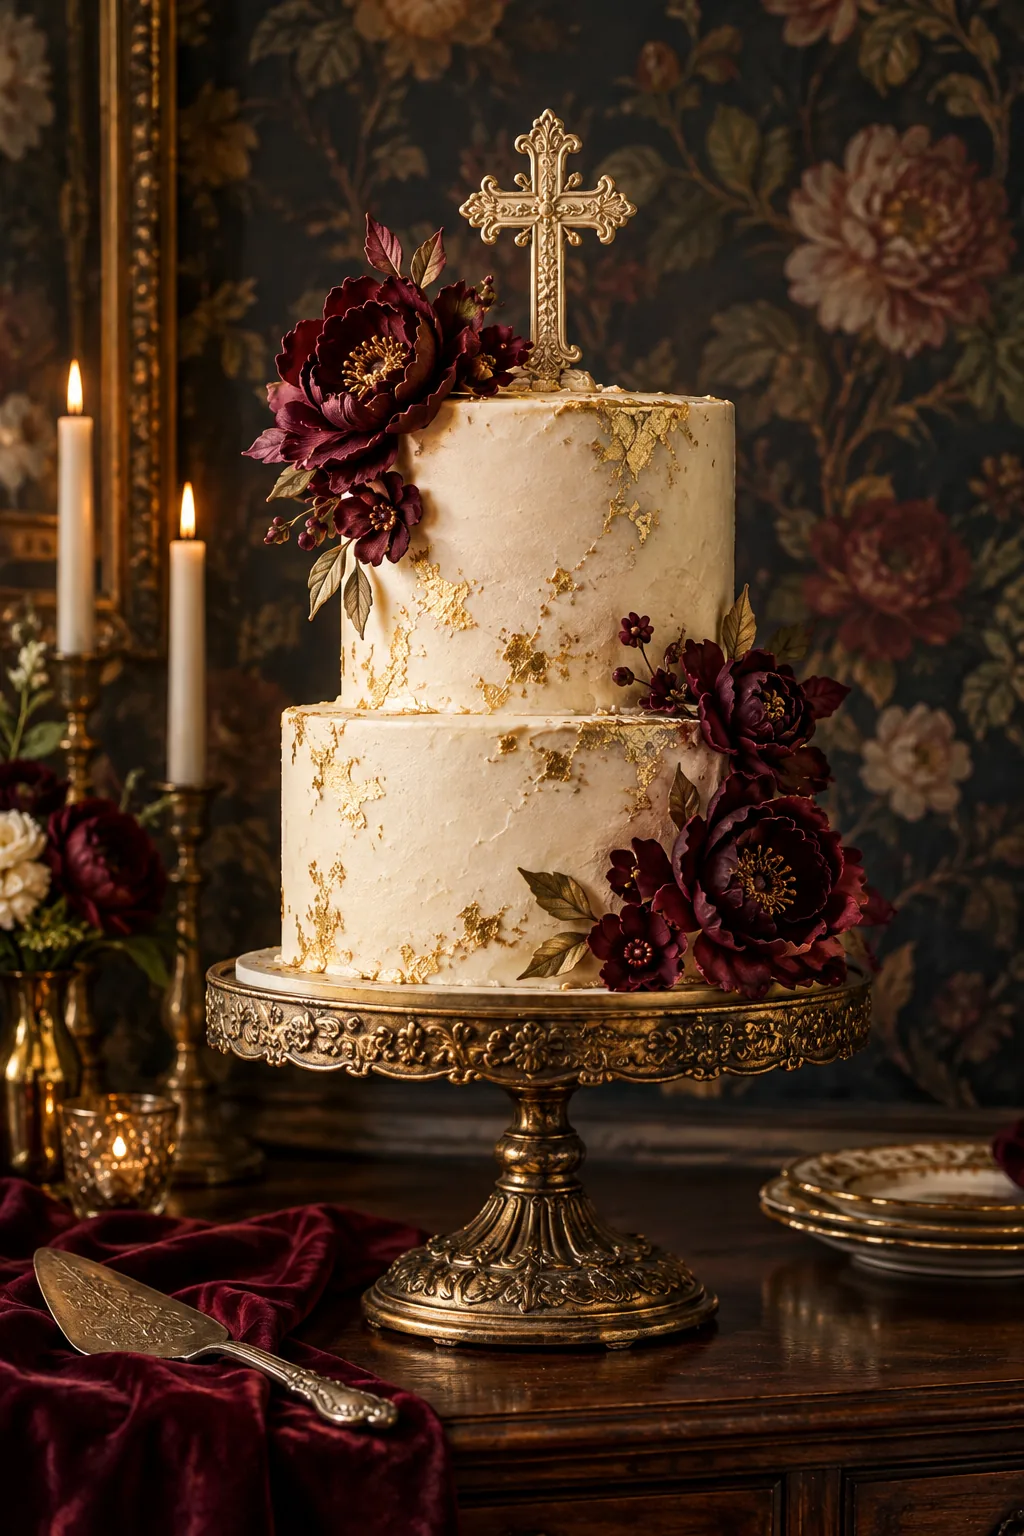
Moody Vintage Gold: Add warmth and sophistication to a simple buttercream base by applying delicate flakes of edible gold leaf along the edges.
Displaying the Cake After Church
Scoring the inner circle and executing the ring cut happens right on the dessert table to easily and quickly serve a crowd. Setting the cake out before you leave for the service ensures everything is beautifully styled the moment guests arrive.
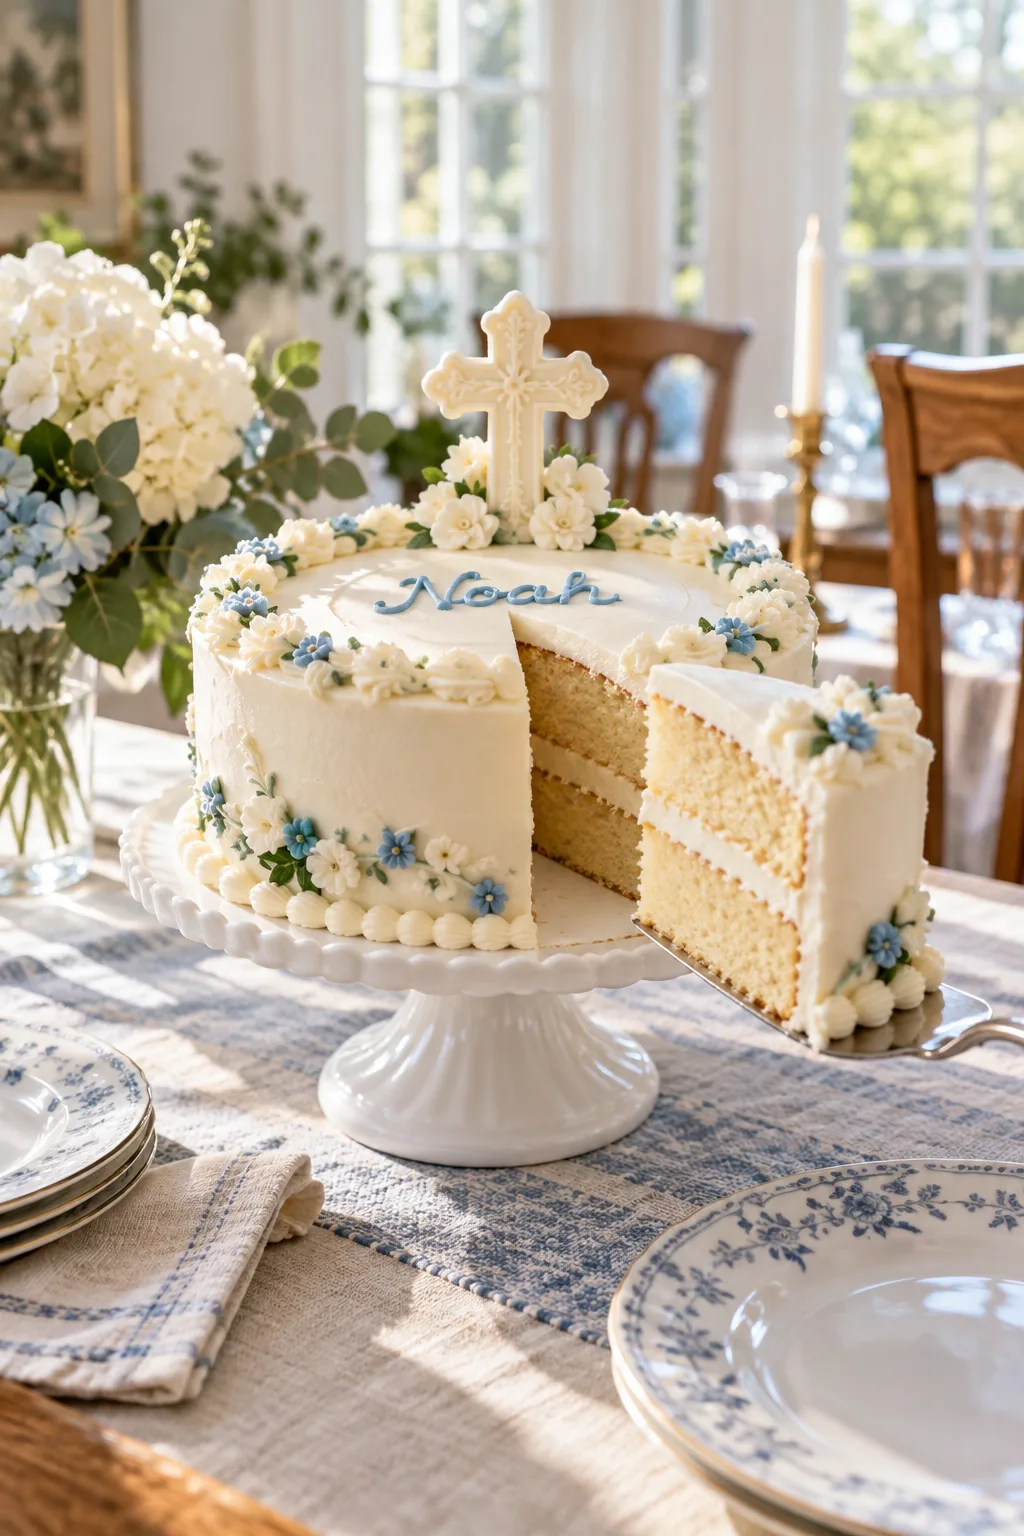
Set the cake on the milk-glass stand in the center of the dining table on Sunday morning before you leave. By the time you return, the buttercream will have softened to the perfect, creamy room temperature for slicing and eating.