
Front Yard Succulent Garden Guide with Printable Layout Plan
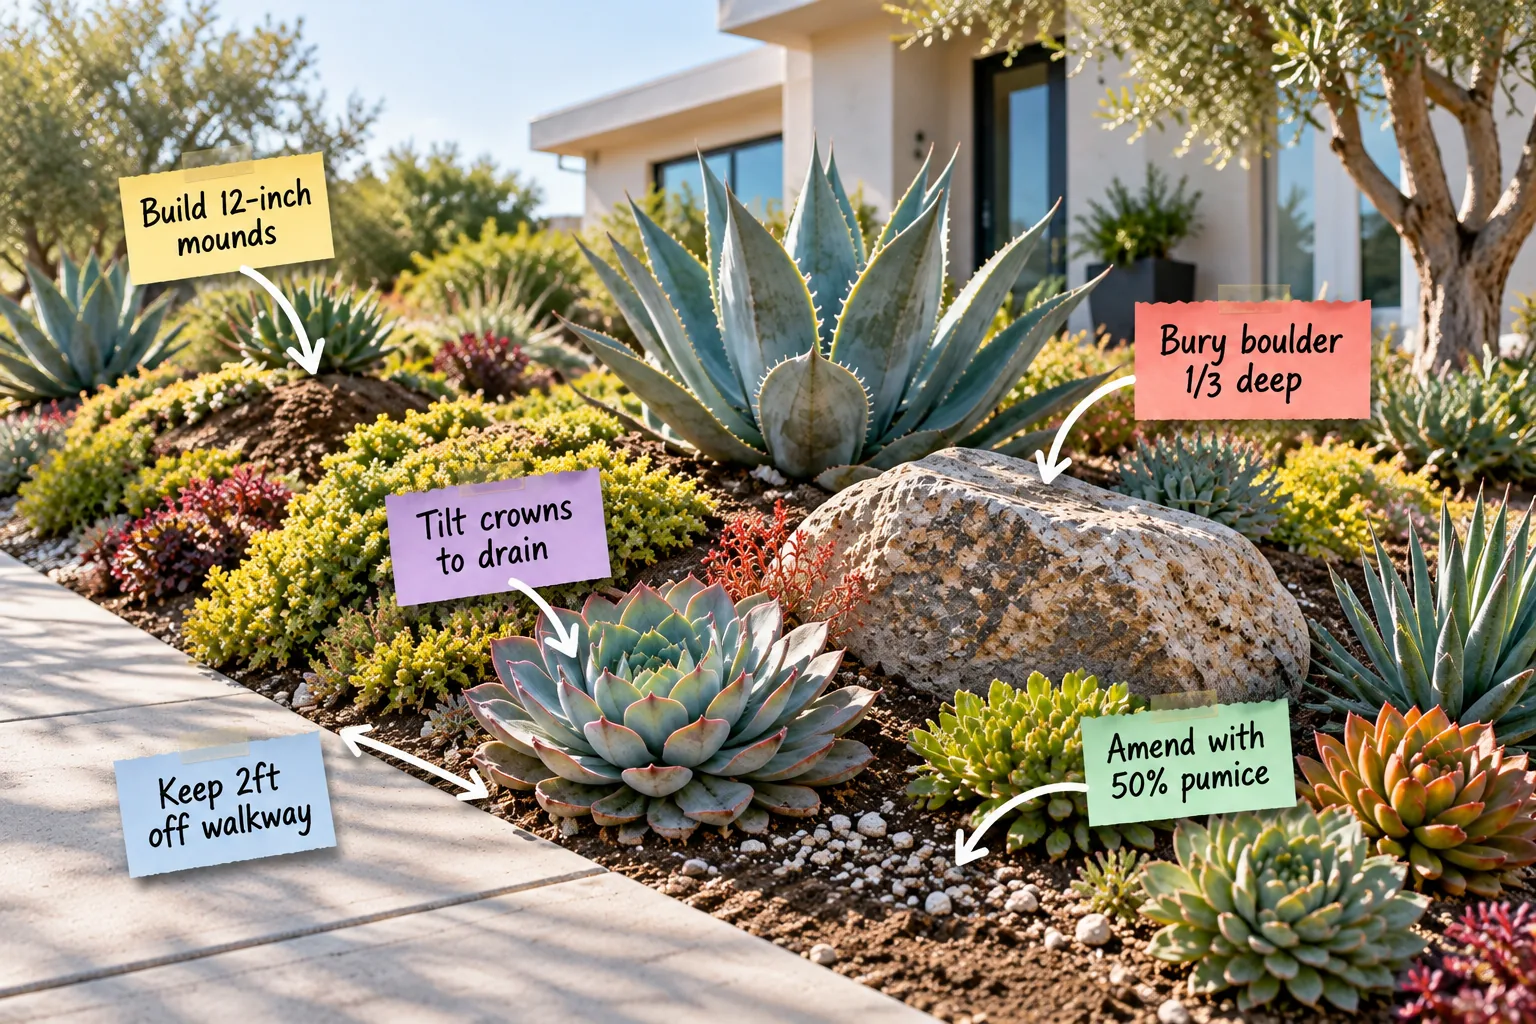
Transforming your curb appeal is completely doable when you grab our printable layout and spacing plan to build a modern succulent garden that thrives year-round. You will be able to prepare fast-draining soil, position anchor boulders naturally, and follow a complete layout plan to plant a stunning front yard.
Preparing the Soil Mix
Outdoor succulents absolutely require fast-draining soil to survive heavy seasonal rainfall without succumbing to root rot. When I first planted succulents in my Austin yard without heavily amending the dense native clay, I lost half of my new investments during an unexpectedly wet spring.
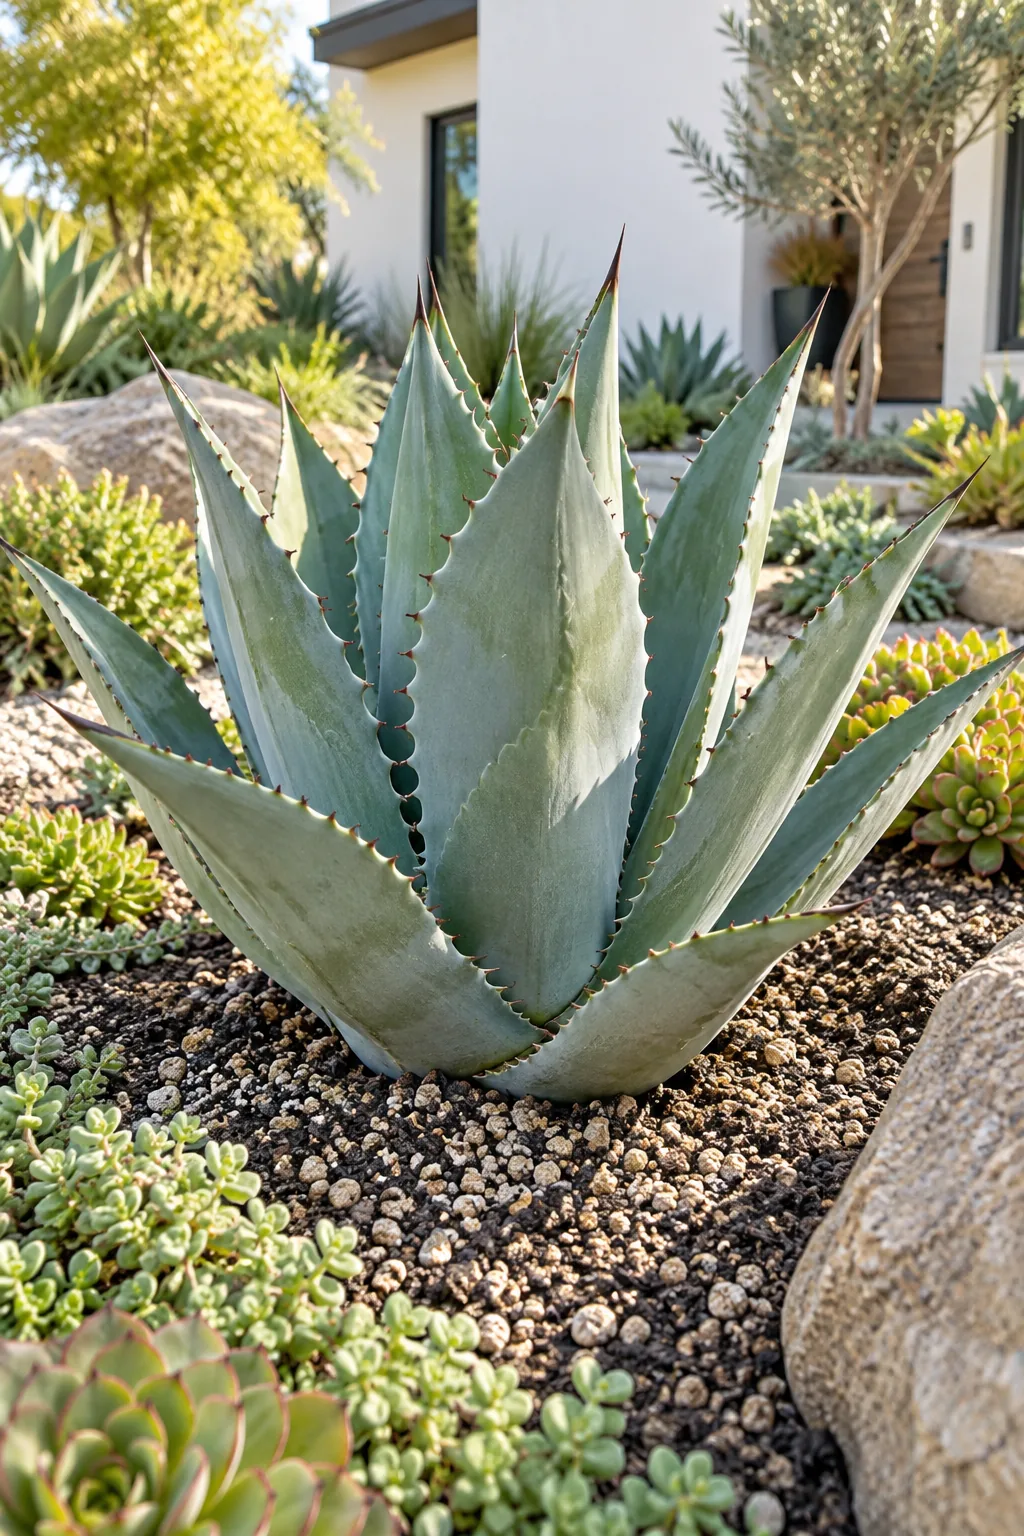
The golden rule for outdoor beds is to amend with 50% pumice to ensure water flows through the root zone rapidly. This precise ratio prevents standing moisture while keeping the soil aerated and structurally stable enough to support mature, heavy plants against strong winds.
Evaluating Existing Hardscaping
Before digging a single hole, assess your current concrete paths, driveway edges, and foundation walls to determine your true planting boundaries. Integrating your new succulent beds with these permanent structures ensures the final garden feels like an intentional architectural extension of your home.
Shaping the Terrain
Flat yards lack the visual interest necessary for a modern landscape, so you need to build 12-inch mounds to create essential depth and drainage. These elevated berms lift the sensitive root zones completely out of potential standing water during heavy summer downpours.
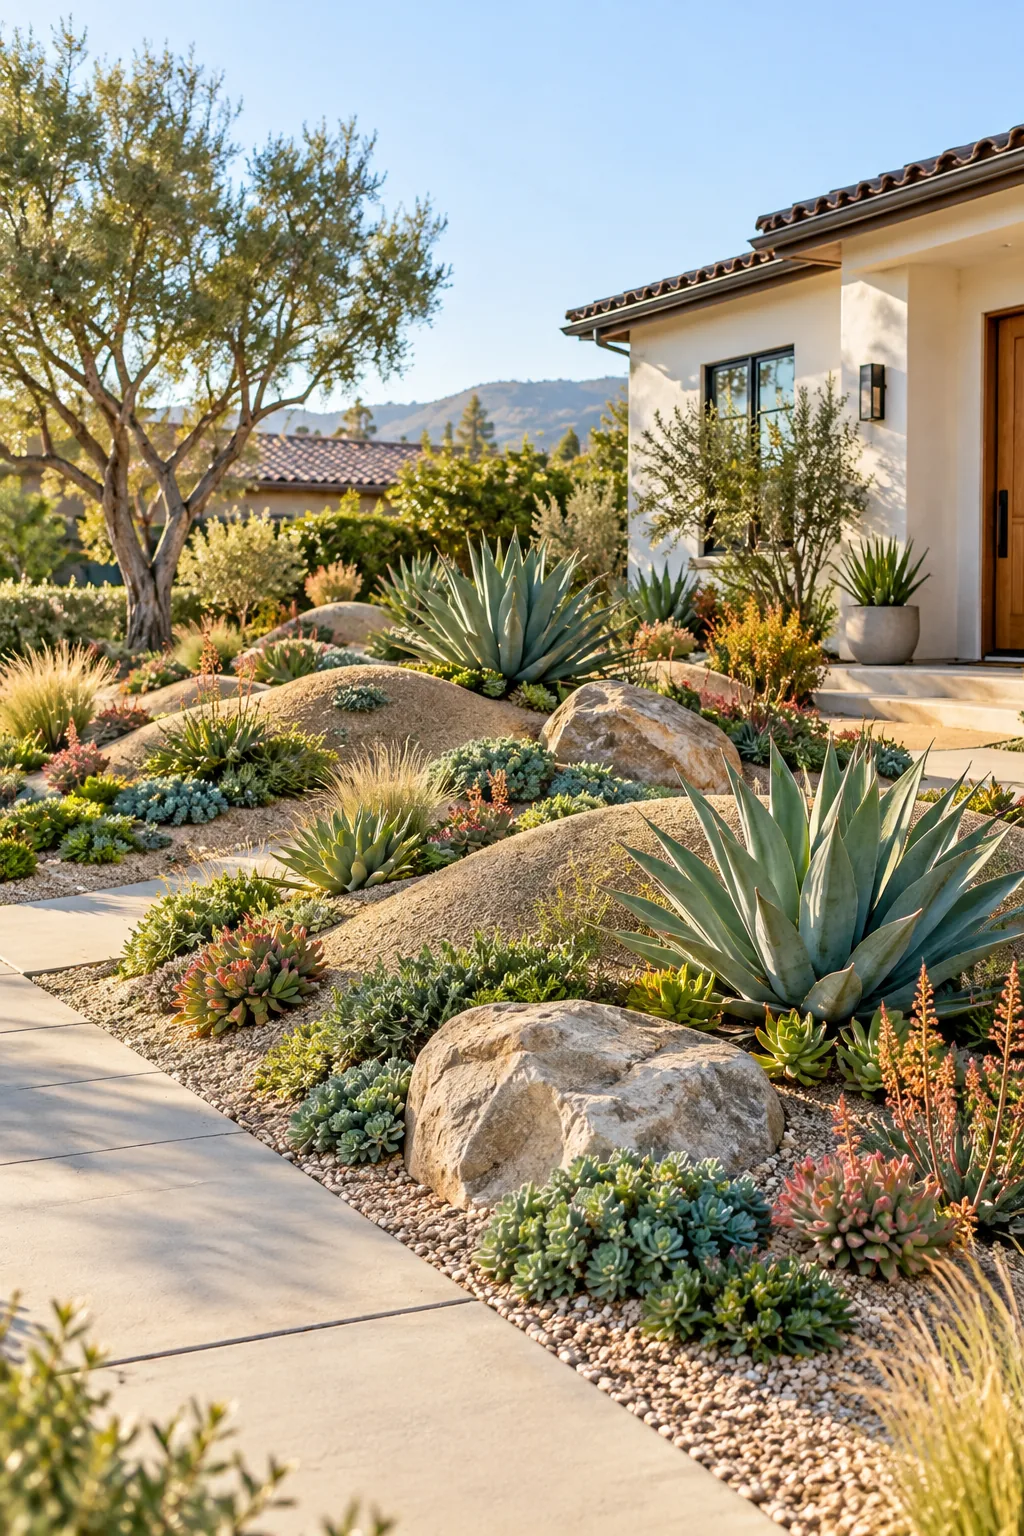
Creating elevation doesn’t necessarily mean buying yards of expensive new soil if you plan your hardscaping first. You can easily repurpose materials already on site to establish the foundation of your new topography.
Placing Anchor Boulders
Large landscape rocks should look like natural geologic outcroppings rather than decorative stones resting artificially on the surface. Achieving this grounded aesthetic requires careful planning regarding the depth, spacing, and orientation of every single rock you place in the garden bed.
| Boulder Size | Visible Height | Buried Depth | Spacing Gap |
|---|---|---|---|
| Small (12 in) | 8 inches | 4 inches | 18 inches |
| Medium (18 in) | 12 inches | 6 inches | 24 inches |
| Large (24 in) | 16 inches | 8 inches | 36 inches |
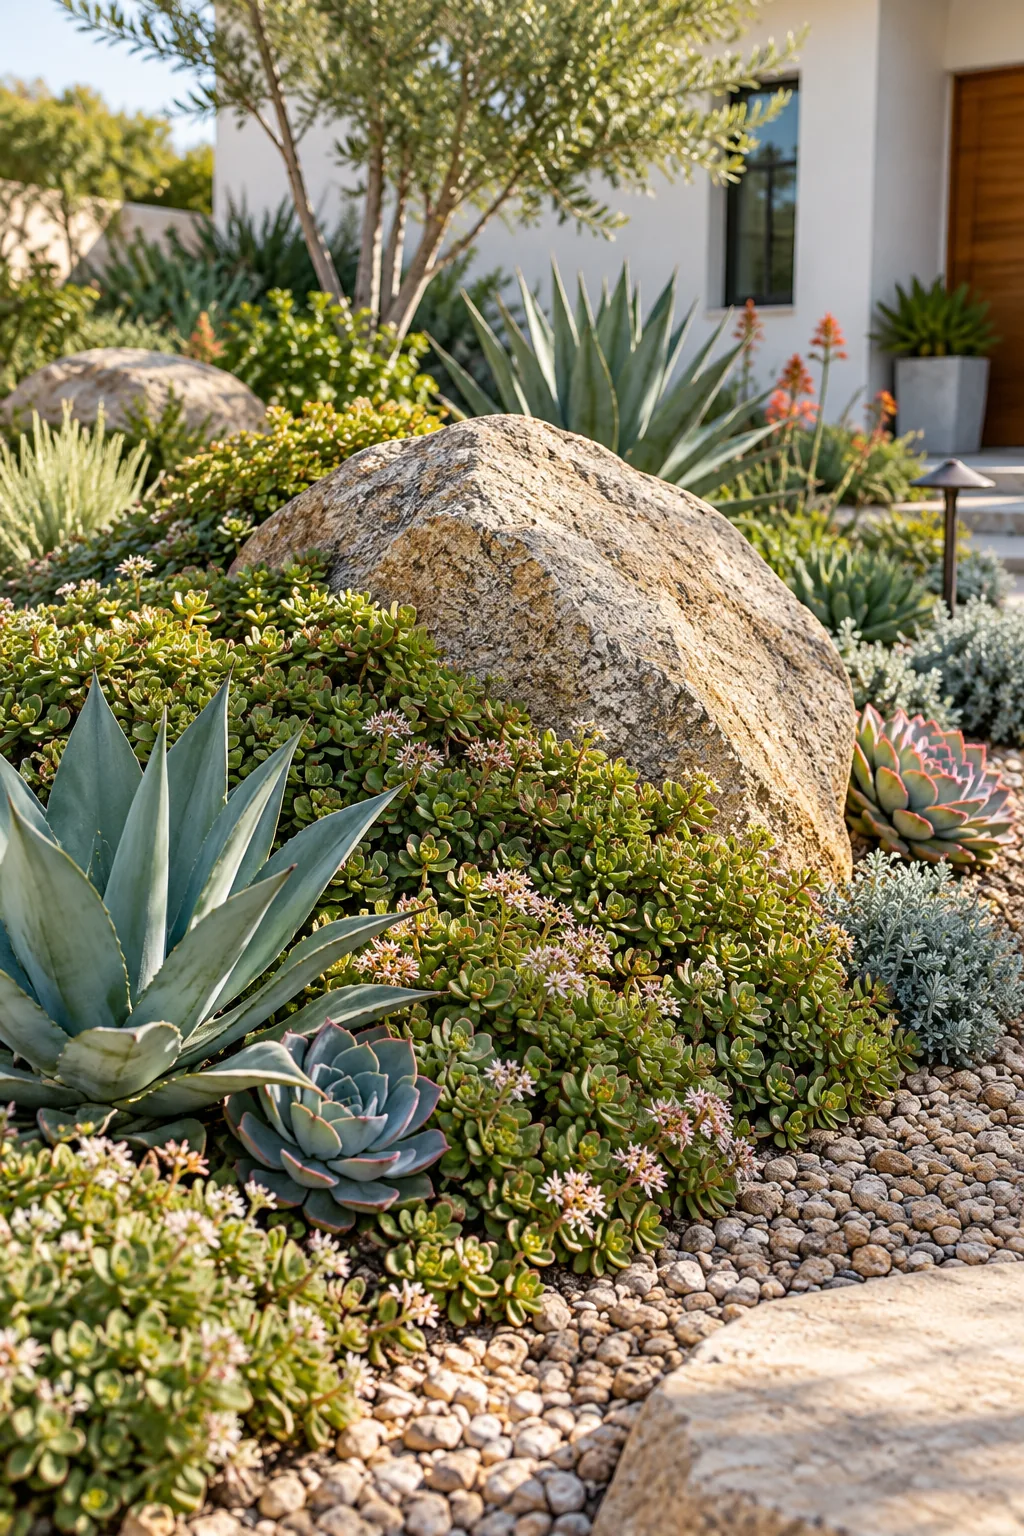
Always bury boulder 1/3 deep into your newly formed mounds so they visually anchor the space. This structural integration ensures the rocks feel permanent and provides a stable, heat-retaining microclimate for the roots of adjacent plants during cooler evening temperatures.
Setting the Walkway Buffer
Pedestrian paths require strict safety and maintenance spacing, especially when working with sharp, architectural plants like mature agaves. You must keep 2ft off walkway edges to protect both your visitors from painful spine injuries and your plants from accidental trampling.
- Pedestrian safety: Prevents sharp terminal spines from catching on loose clothing or scratching bare legs.
- Plant protection: Keeps brittle, slow-growing succulent leaves entirely out of the direct foot traffic zone.
- Maintenance access: Leaves enough clear room to comfortably pull seasonal weeds or adjust irrigation lines.
This protective buffer zone also provides the perfect location to showcase the natural appearance of a boulder buried one-third deep alongside the path. Positioning heavy stones near the concrete edge reinforces the visual boundary and keeps delicate rosettes safely set back.
Mapping the Sun Exposure
Succulents need ample sunlight to maintain their vibrant colors and compact rosette shapes, but intense afternoon heat can scorch unacclimated leaves. Evaluating your yard’s daily shadow patterns ensures you place delicate species in morning sun while reserving harsh western exposures for rugged agaves.
Tracking the light before planting prevents leggy, stretched growth and minimizes sunburn damage during the peak summer months. Document the sun’s path across your mounds for a few days to guarantee every plant receives its ideal light intensity.
Planting for Drainage
Proper placement of large, fleshy rosettes is just as crucial as your soil mix for preventing devastating crown rot. I actually lost a beautiful centerpiece agave in my own front yard because I planted it perfectly flat, allowing water to sit directly in the center.
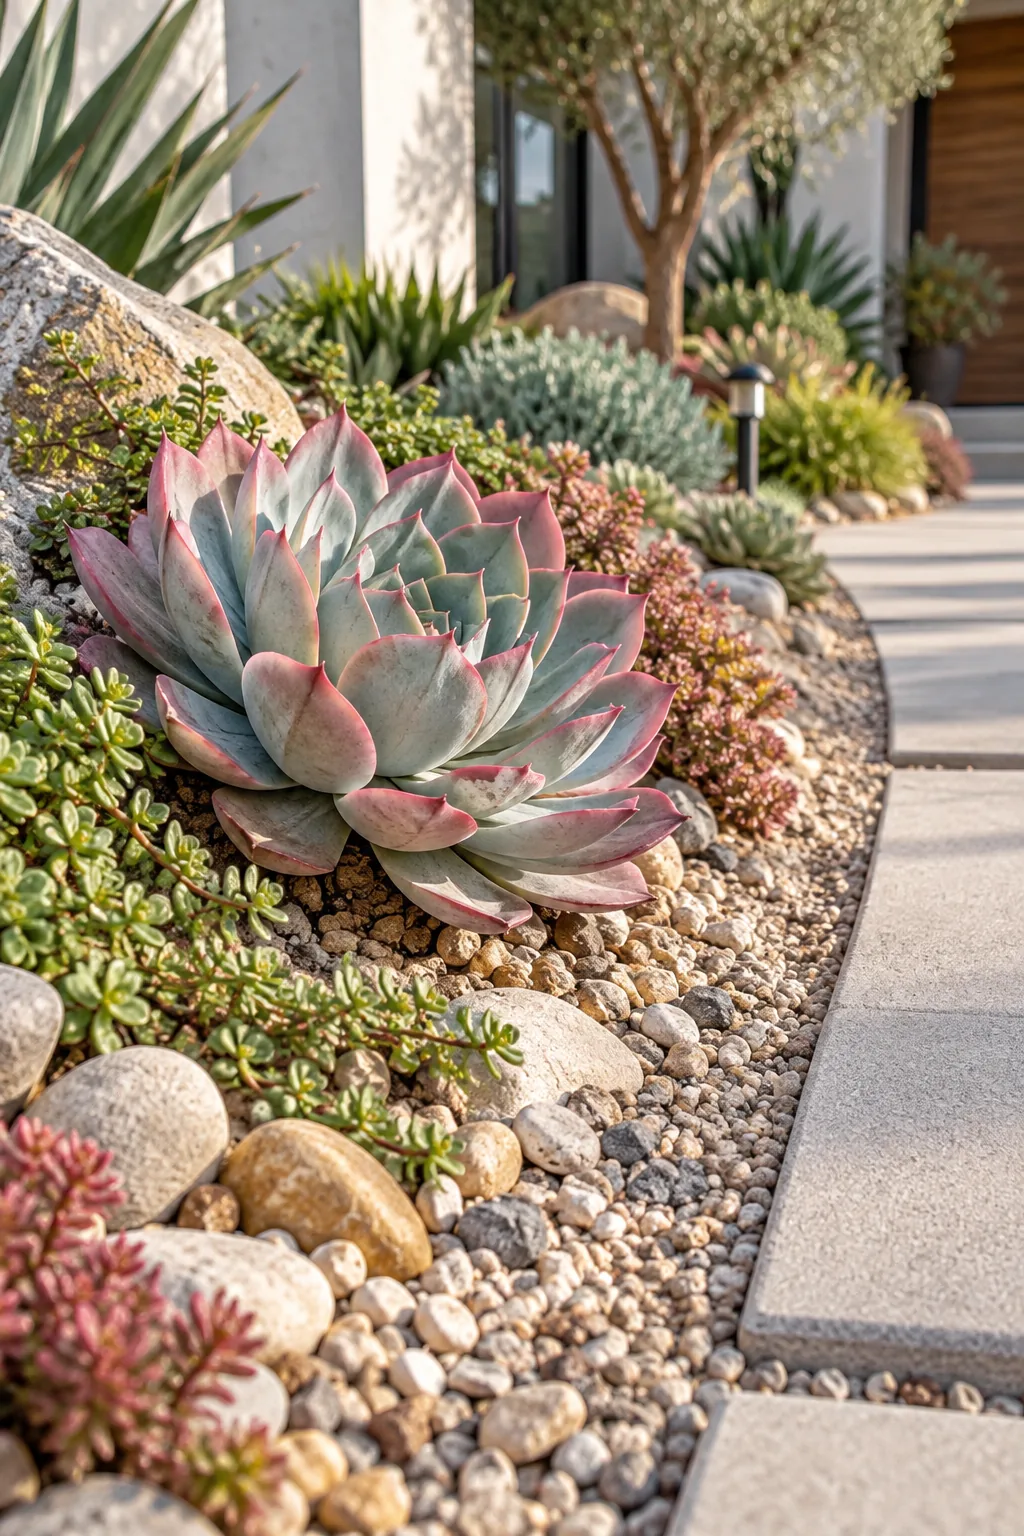
Always tilt crowns to drain slightly when placing these architectural plants into your elevated mounds. This subtle angle allows morning dew and heavy rain to run harmlessly off the leaves rather than pooling dangerously in the core and causing fungal infections.
Selecting Frost-Tolerant Varieties
Front yards often completely lack the warm microclimate protection found in enclosed, fenced backyards. My very first winter here, an unexpected overnight freeze turned my prized, unprotected echeverias to absolute mush because I failed to check their cold hardiness.
- Verify your exact USDA hardiness zone using your local zip code before shopping.
- Select anchor plants rated to survive at least ten degrees below your average winter low.
- Reserve delicate, frost-sensitive varieties exclusively for easily movable container arrangements.
Even with perfect soil and layout, choosing the wrong plant varieties for an exposed front yard can lead to a costly replanting effort after the first hard freeze.
Choosing Accent Groundcovers
Bare soil between your major specimen plants invites invasive weeds and causes rapid moisture evaporation during hot summer afternoons. Planting low-growing, creeping succulents creates a living mulch that cools the ground and visually connects your larger architectural elements together beautifully.
Adding Top Dressing
Finishing the bare soil with a dedicated layer of gravel or decomposed granite is the final critical construction step. This inorganic mulch naturally suppresses aggressive weeds and retains just enough subsurface moisture to keep the roots hydrated during dry spells.
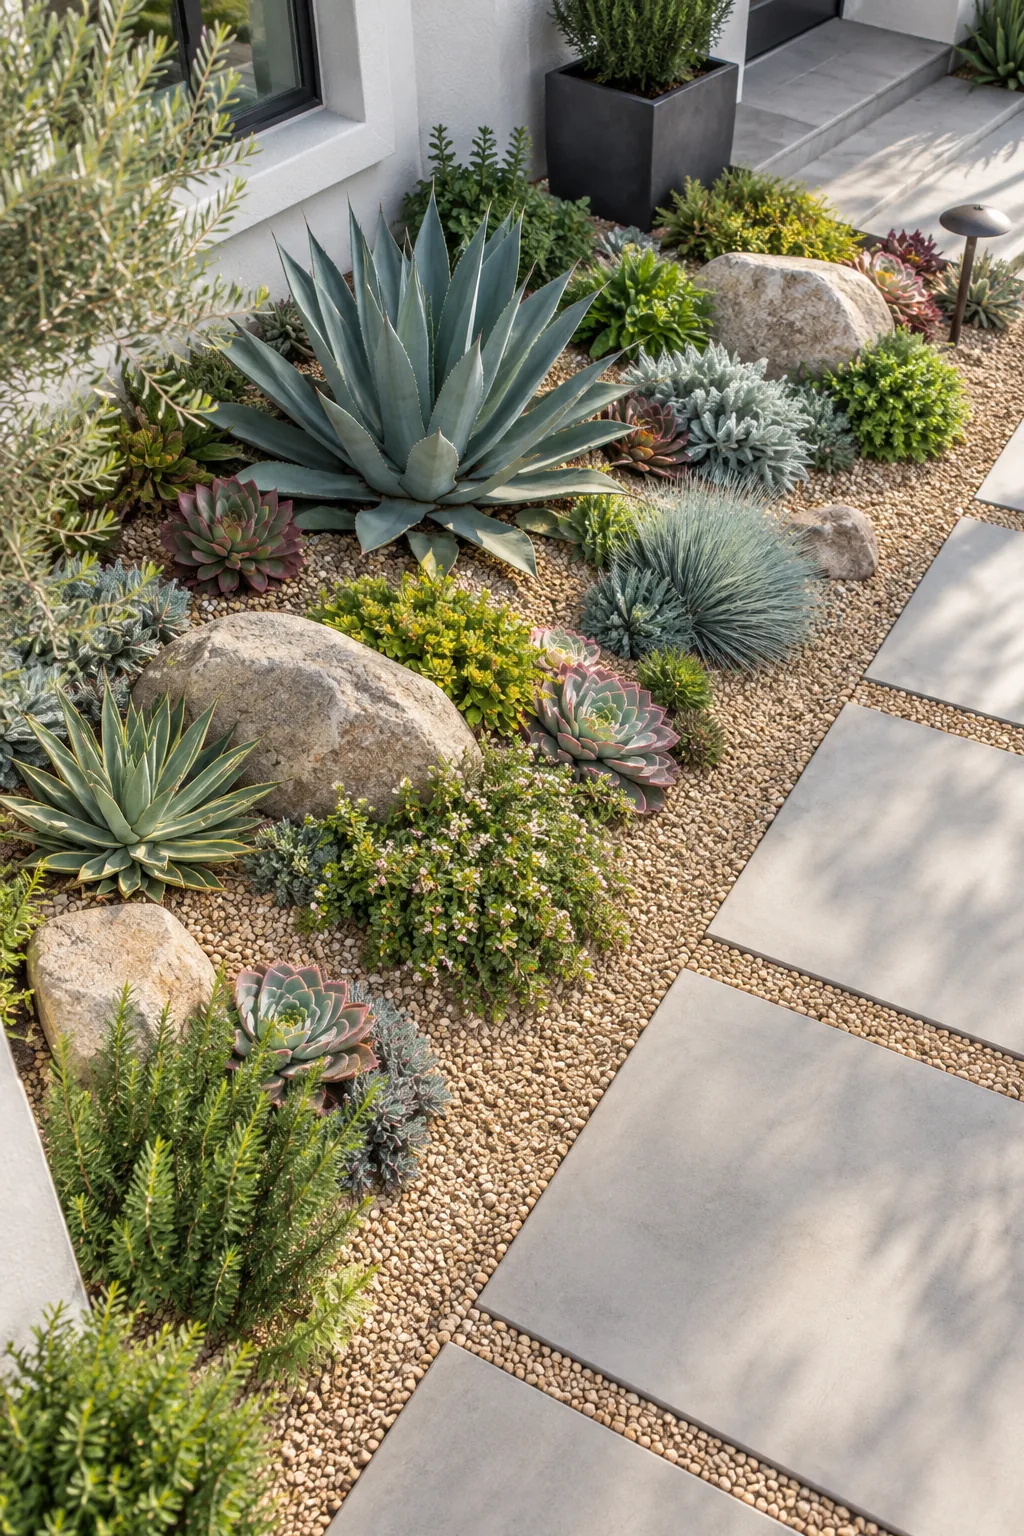
Applying a consistent two-inch layer of top dressing instantly gives the garden a polished, professional look. It also physically locks the lightweight pumice soil in place, preventing your carefully shaped mounds from eroding during heavy spring storms.
Establishing a Watering Schedule
Newly planted succulents require more frequent irrigation while their delicate root systems establish themselves in the freshly amended mounds. You should water deeply once every two weeks during the first active growing season, always allowing the soil to dry out completely between sessions.
Managing Seasonal Debris
Fallen leaves from nearby deciduous trees can quickly become trapped between tight succulent rosettes, holding unwanted moisture against the stems. Using a pair of long landscaping tweezers or a gentle handheld blower weekly keeps the crowns clear and prevents localized fungal outbreaks during autumn.
Sourcing Healthy Specimens
Purchasing mature agaves and thick-stemmed echeverias from a specialized local nursery guarantees the plants are already acclimated to your regional climate. Inspect the drainage holes of every nursery pot to ensure the roots are firm and white, avoiding any specimens with dark, mushy bases.
More Front Yard Succulent Styles
Explore these distinct variations to find the perfect succulent palette for your home's architecture.
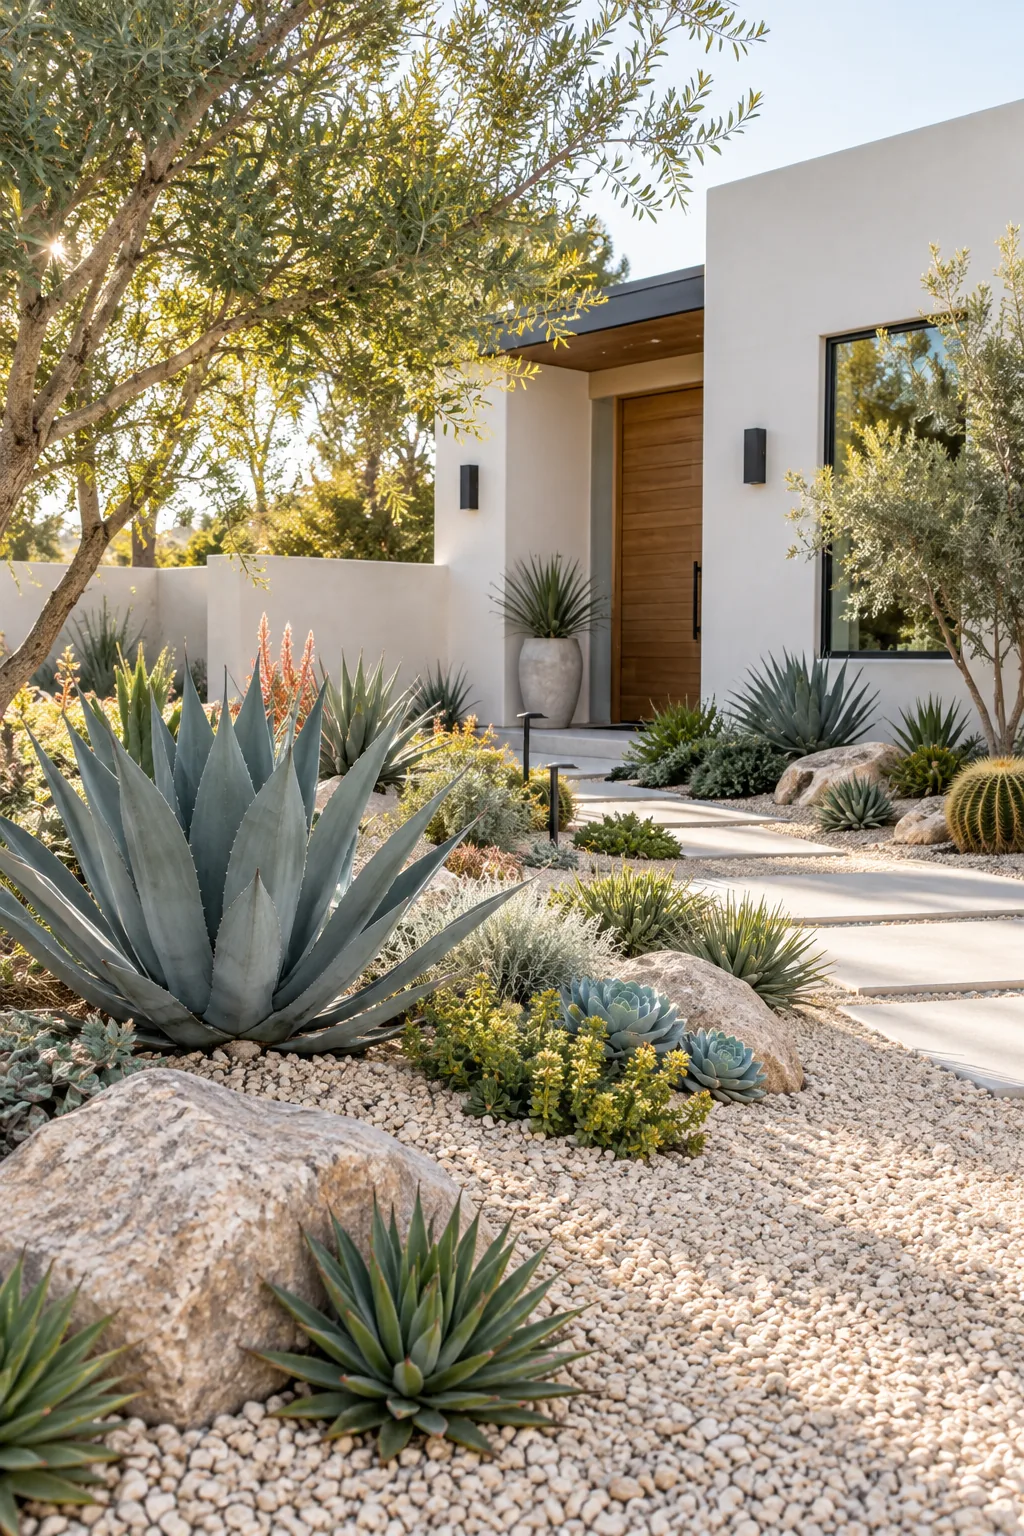
Desert Modern Stucco Entryway: Crisp white exterior walls create a striking contrast against architectural agaves and pale gravel.
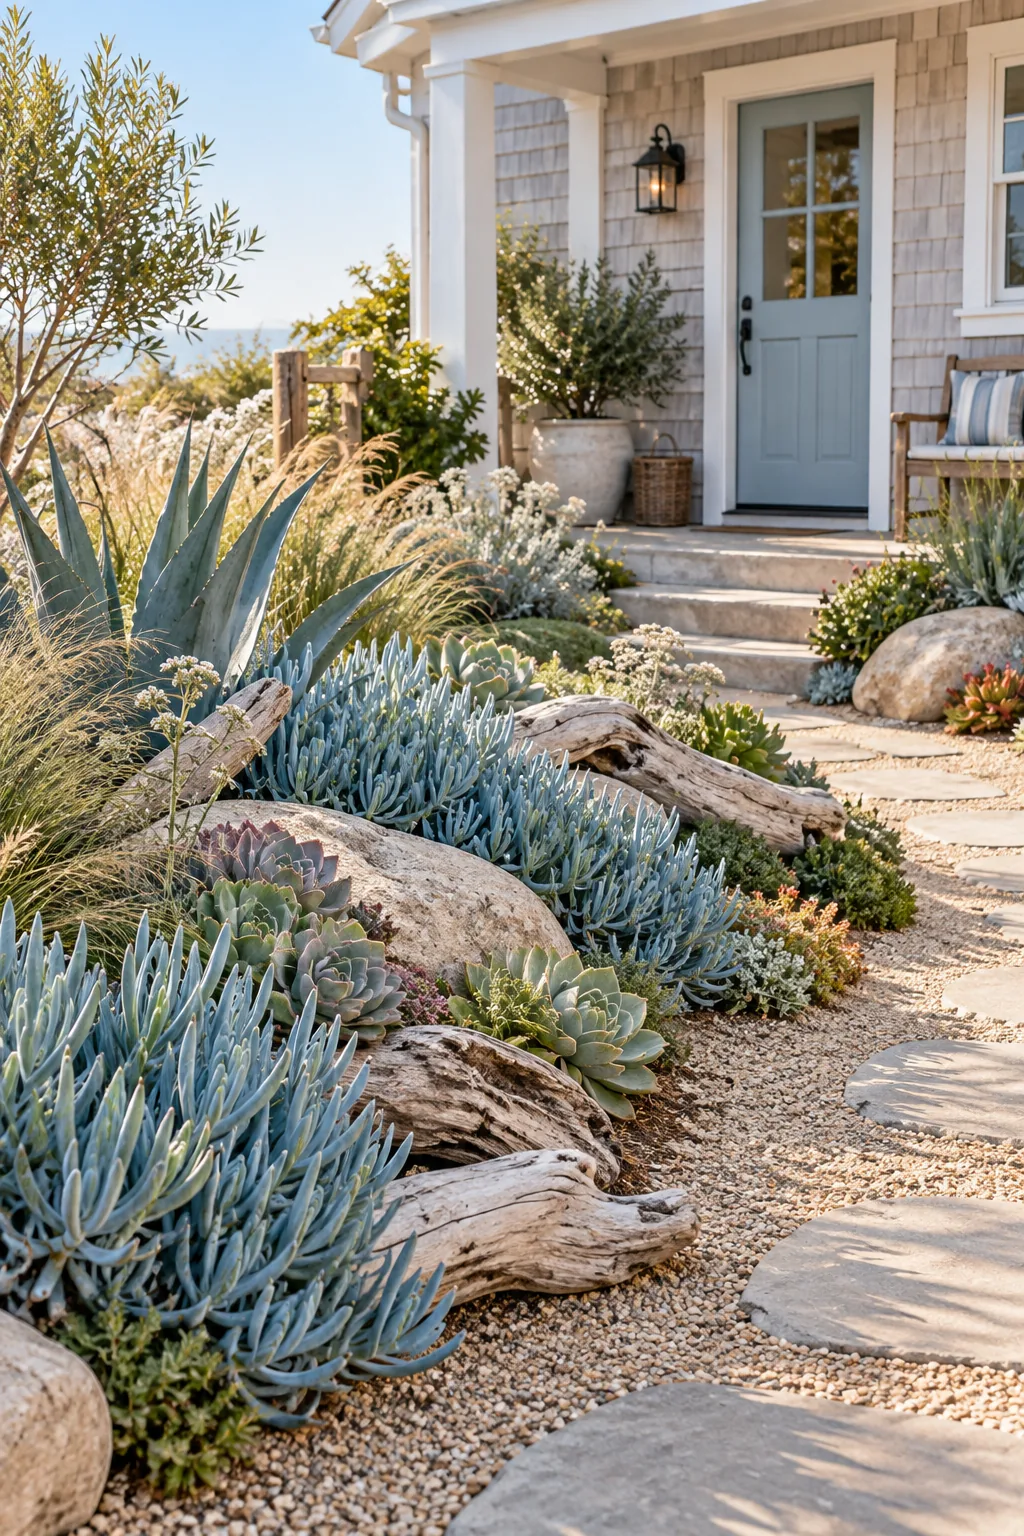
Coastal Cottage Sandy Border: Incorporate weathered driftwood and soft blue-toned succulents to mimic the relaxed feel of the seaside.
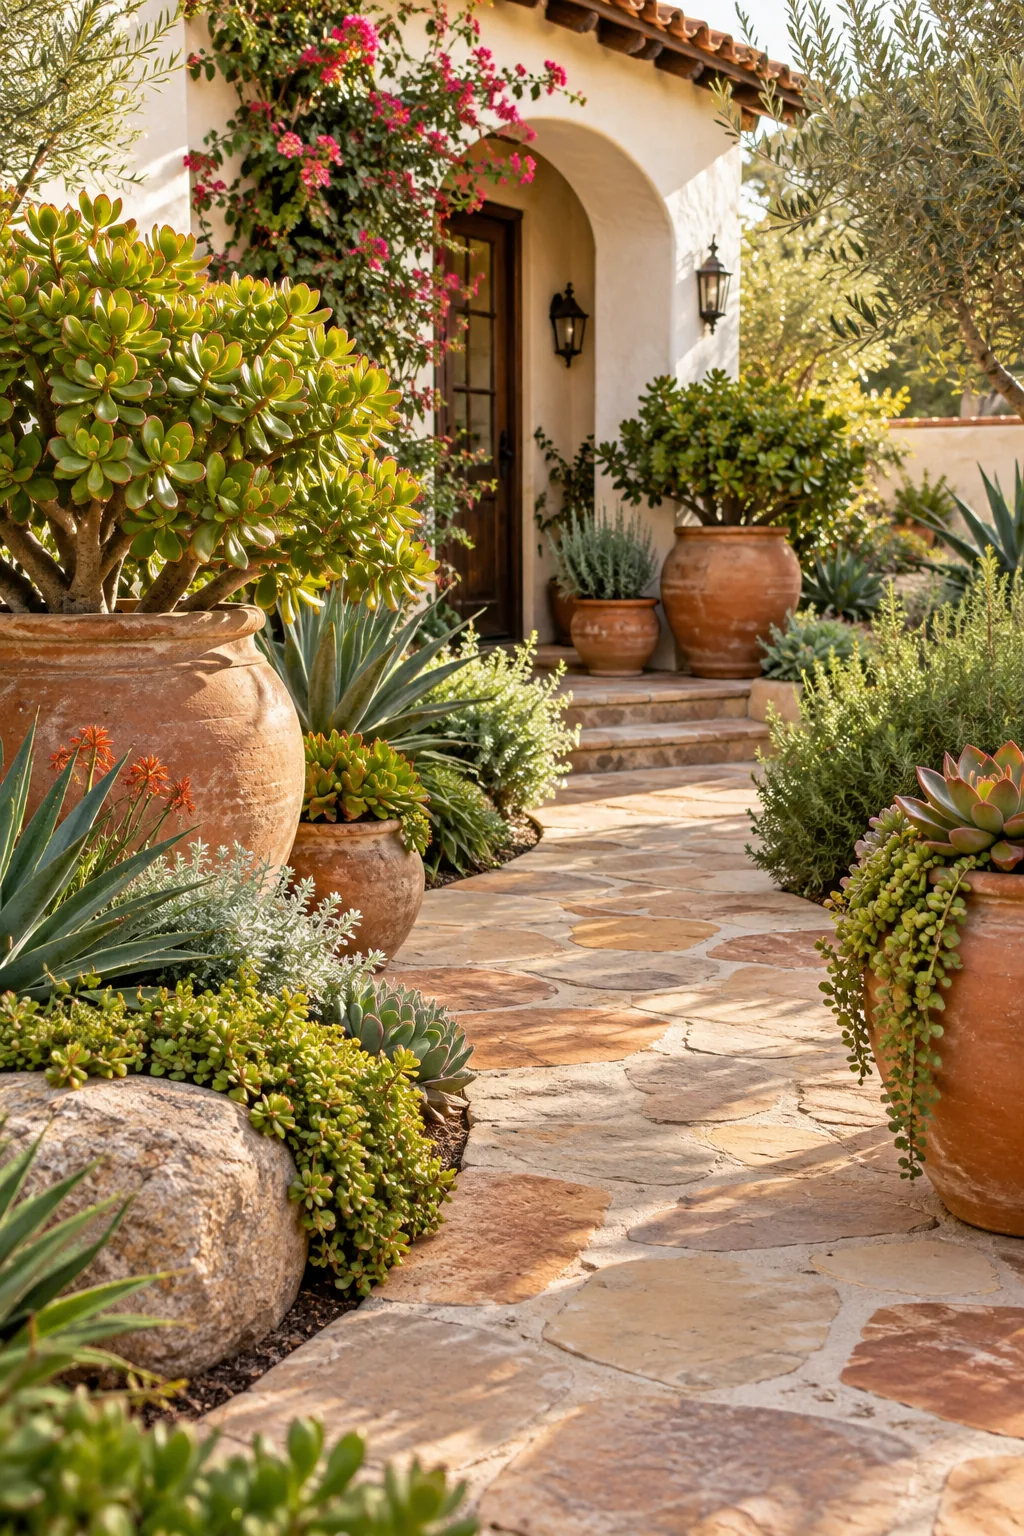
Mediterranean Terracotta Courtyard: Warm flagstone paths and oversized terracotta planters give lush jade plants a classic European aesthetic.
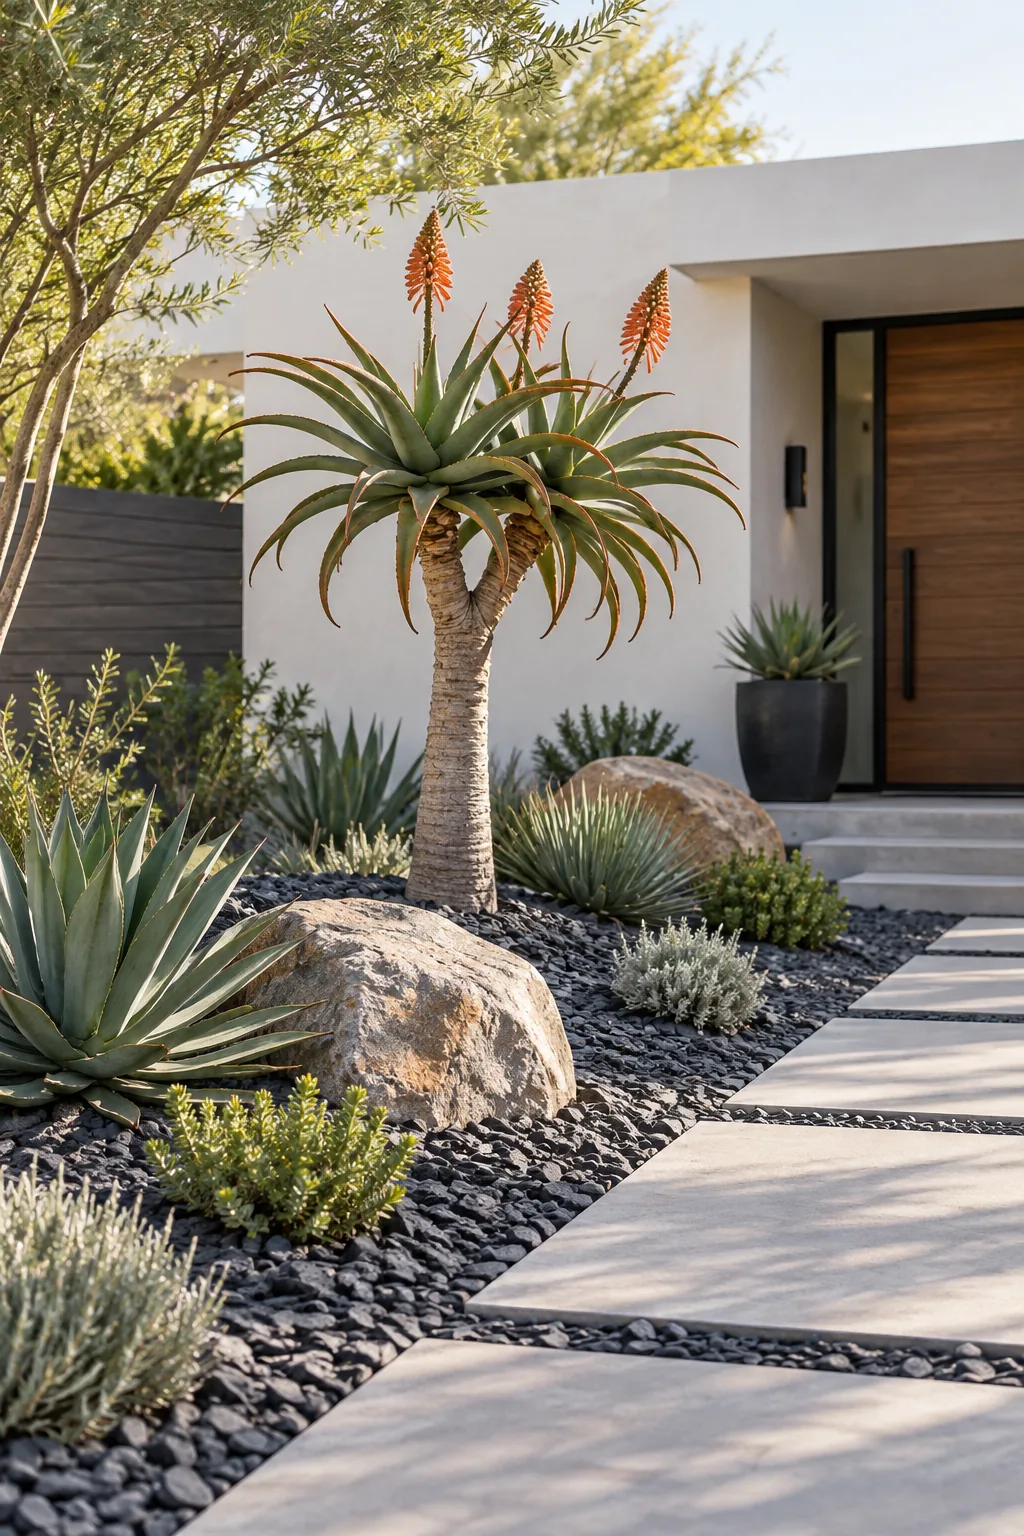
Minimalist Zen Slate Garden: A single specimen aloe stands out dramatically when surrounded by dark slate chips and negative space.
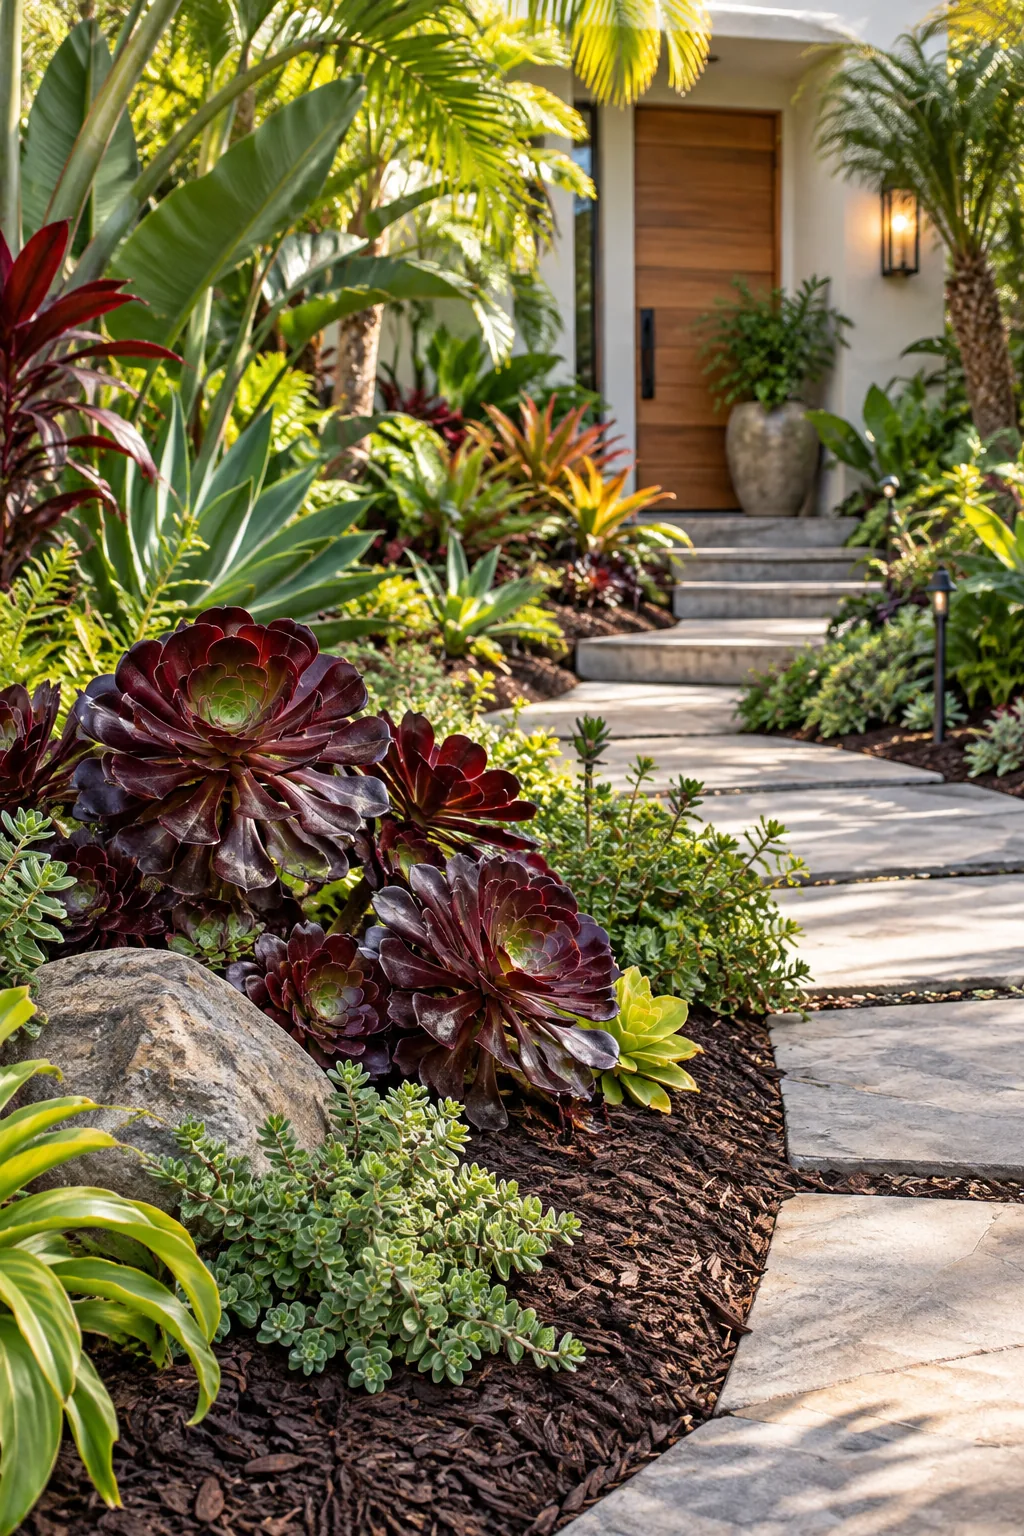
Lush Layered Front Walk: Densely packed burgundy aeoniums against dark mulch create a surprisingly rich, jungle-like atmosphere.
The Front Yard Layout Plan
You can now download the front yard layout plan to perfectly space your anchor agaves, boulders, and supporting echeverias. Mapping out my own garden on paper first saved me from buying way too many plants for my available space.
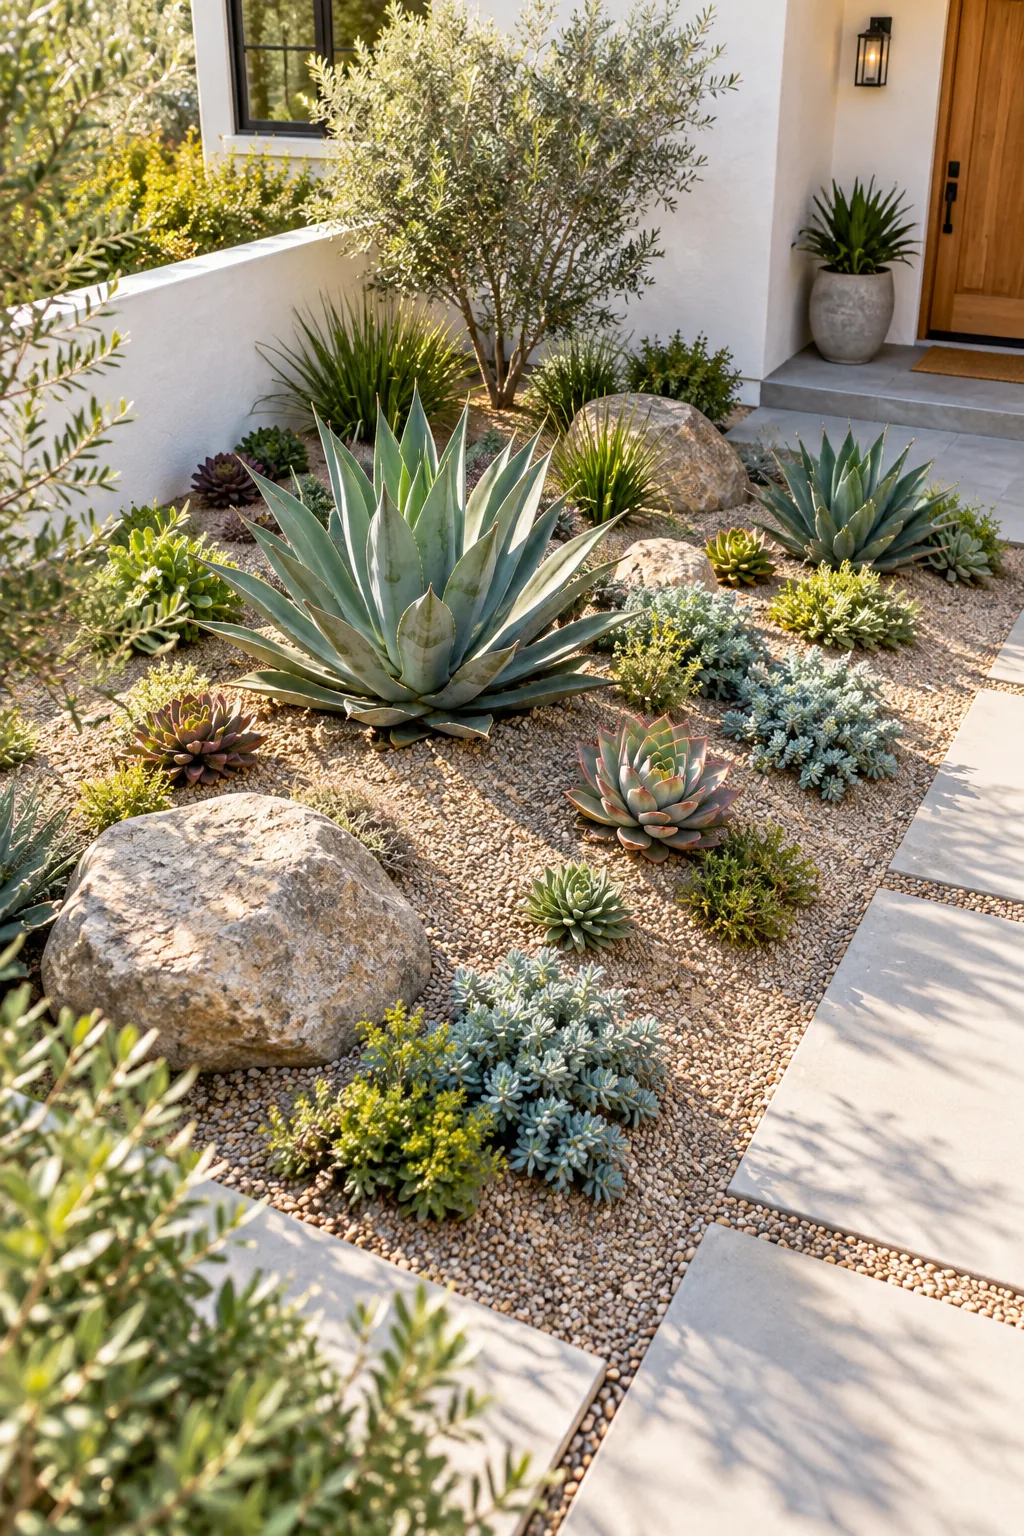
Use the provided one-foot grid system on the printable layout and spacing plan to translate the design directly to your yard. This blueprint guarantees maximum curb appeal by establishing proper asymmetrical groupings and ensuring every plant has room to reach maturity.