Candy Bouquet Tutorial: Step-by-Step Guide & Custom Build Sheet
You will be able to build a perfectly domed, stable candy arrangement in any size pot using our exact measurements and assembly sequence. Print our Candy Bouquet Build Sheet below to get the exact candy counts, skewer lengths, and bean ballast measurements for small, medium, and large pots.
Choosing the Right Ceramic Pot
A heavy ceramic container with a wide base is essential to counter the top-heavy dome of chocolates and prevent your arrangement from tipping over. Measure the inner diameter across the rim to determine if your build will follow the small 4-inch, medium 6-inch, or large 8-inch specifications.
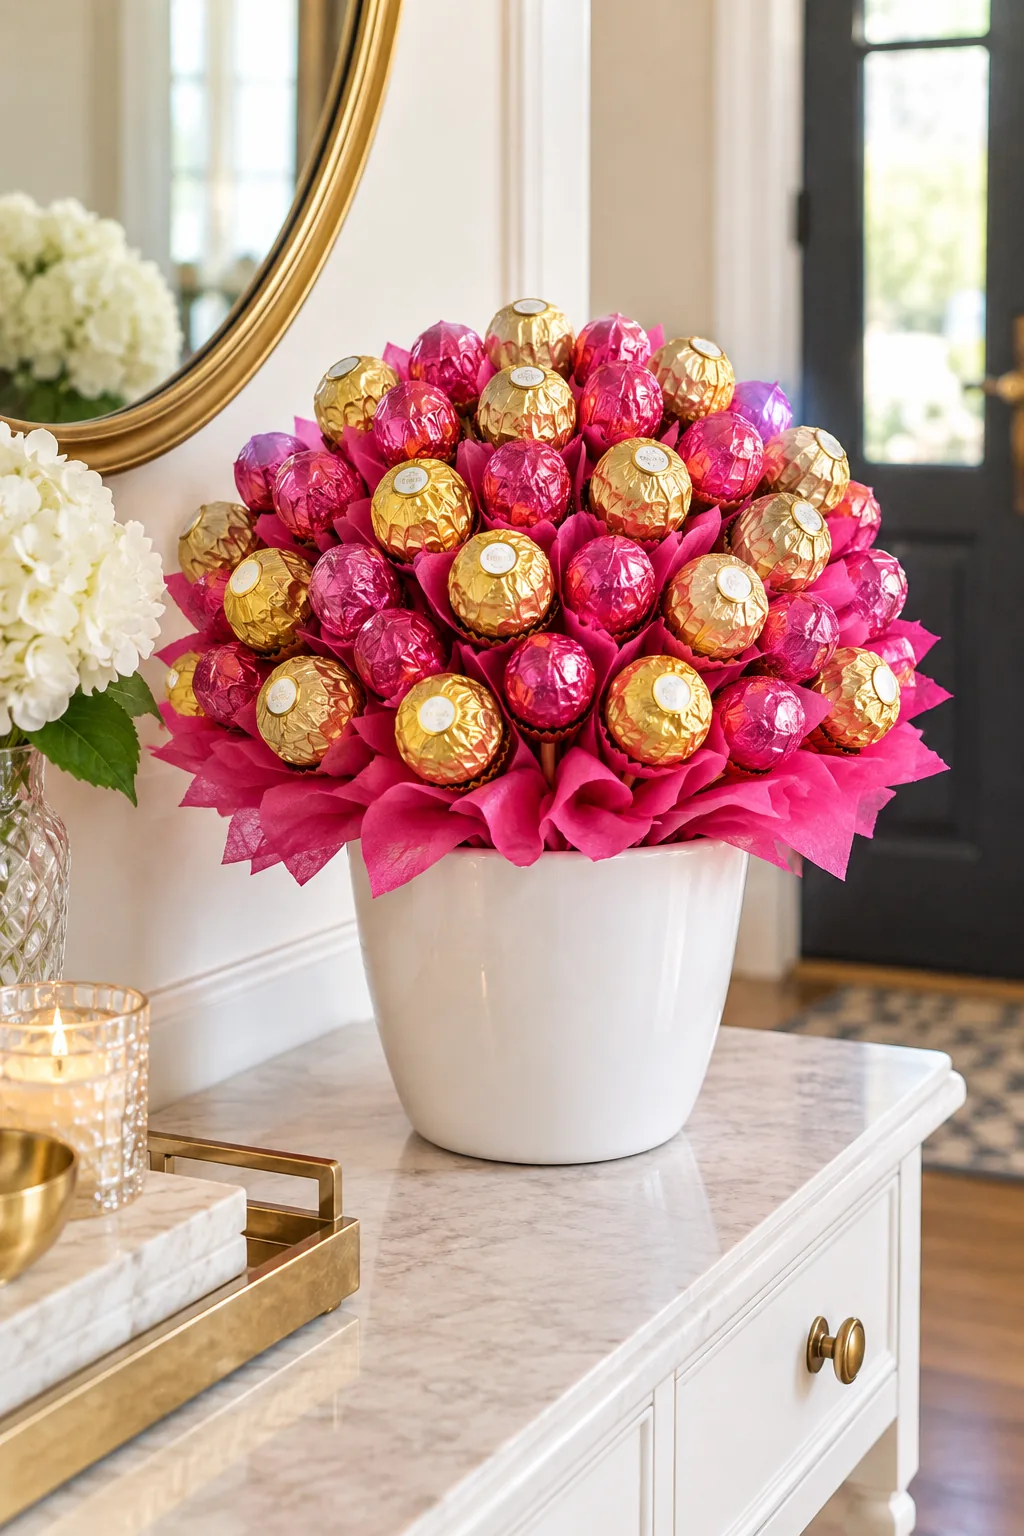
Selecting a glazed ceramic rather than lightweight plastic ensures the foundation remains firmly planted on narrow tables. The smooth interior walls also help the upcoming ballast layer settle evenly without catching on textured ridges or seams.
Evaluating Pot Depth and Shape
Avoid tall, narrow orchid pots because they raise the center of gravity dangerously high once the candies are attached. A standard squat planter profile provides the ideal ratio of width to height, keeping the heavy chocolate dome balanced safely over the center.
Pouring the Dried-Bean Ballast
Adding a dried-bean ballast provides inexpensive, shifting weight that perfectly conforms to the curved bottom of your container. I once used cheap plastic beads for a birthday bouquet, and it toppled right off the gift table, so I strictly use heavy pinto beans now.
While it is tempting to use whatever filler you have on hand, the wrong base material can ruin the entire project once the heavy candy is added.
Pouring exactly enough beans to fill the bottom quarter of the pot creates the perfect center of gravity. This precise measurement leaves ample vertical space for the floral foam to sit flush without peeking over the rim.
Sizing and Setting the Foam Block
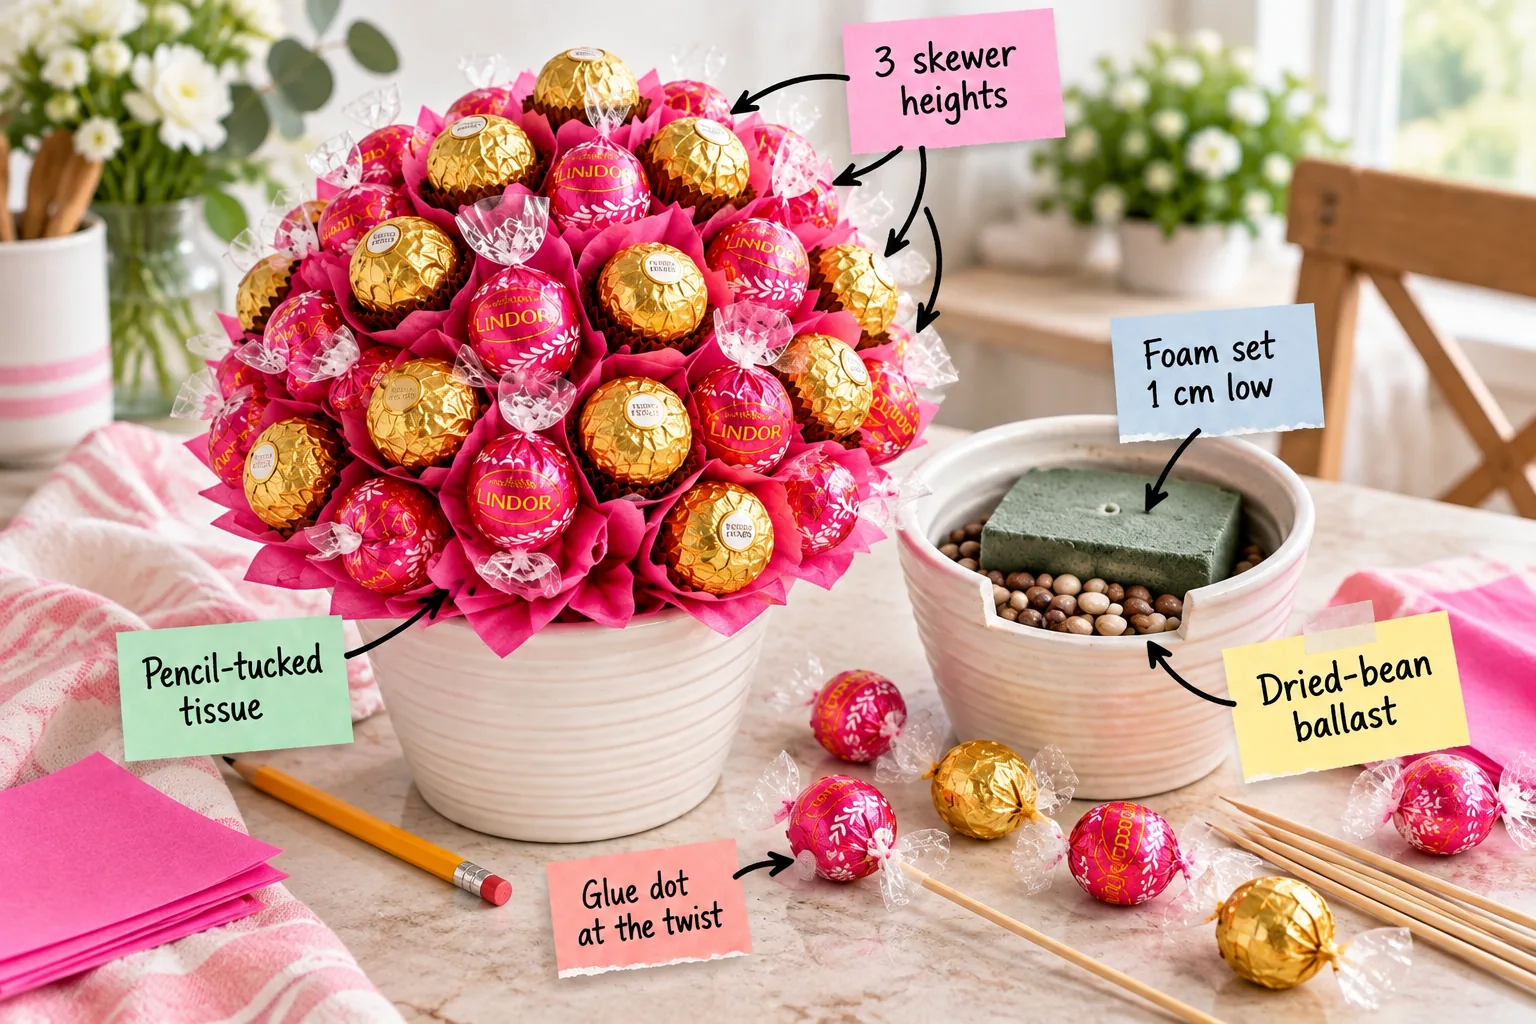
Cut your dry floral foam to fit snugly over the bean layer to create a stable, immovable foundation for your skewers. You must set the top edge of the foam exactly 1 centimeter below the rim to conceal the mechanics while fully supporting the lowest candy tier.
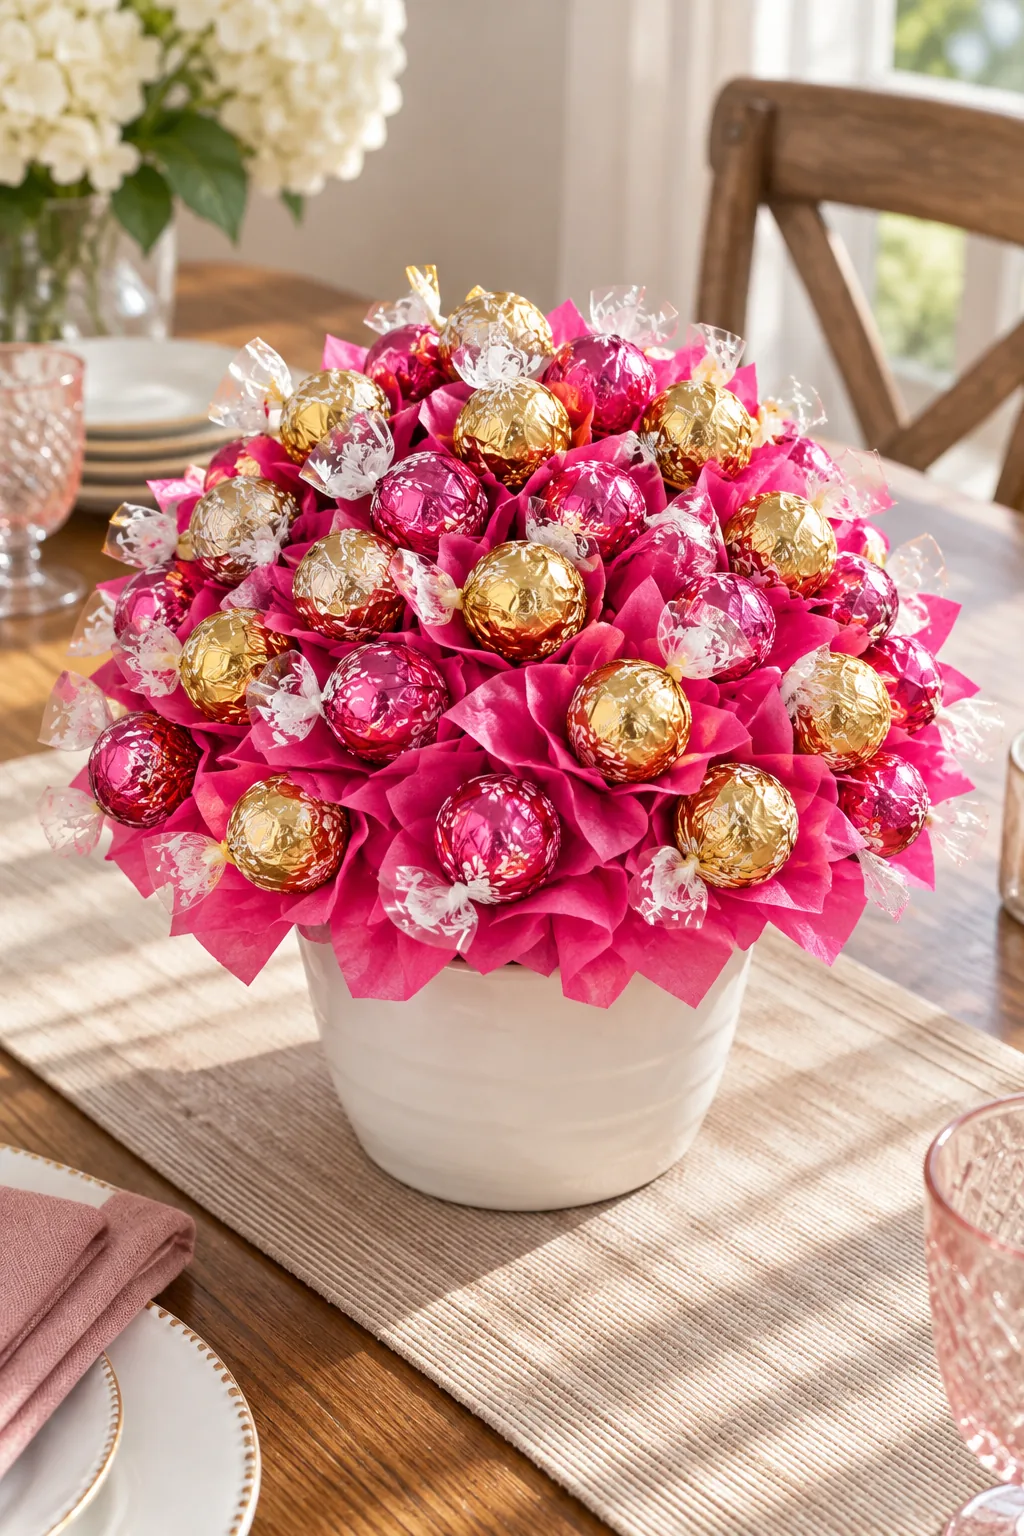
Pressing the foam block down firmly compresses the bean layer slightly, locking both foundation materials securely in place. Trimming the corners of a square block allows it to slide cleanly into a round pot without crumbling or leaving massive air gaps.
Securing Candies with Glue Dots
Attaching the sweets properly requires placing a clear glue dot at the twist of the candy wrapper rather than puncturing the package. Press the dot onto the wooden skewer tip and roll the wrapper end tightly around it, which secures the chocolate perfectly.
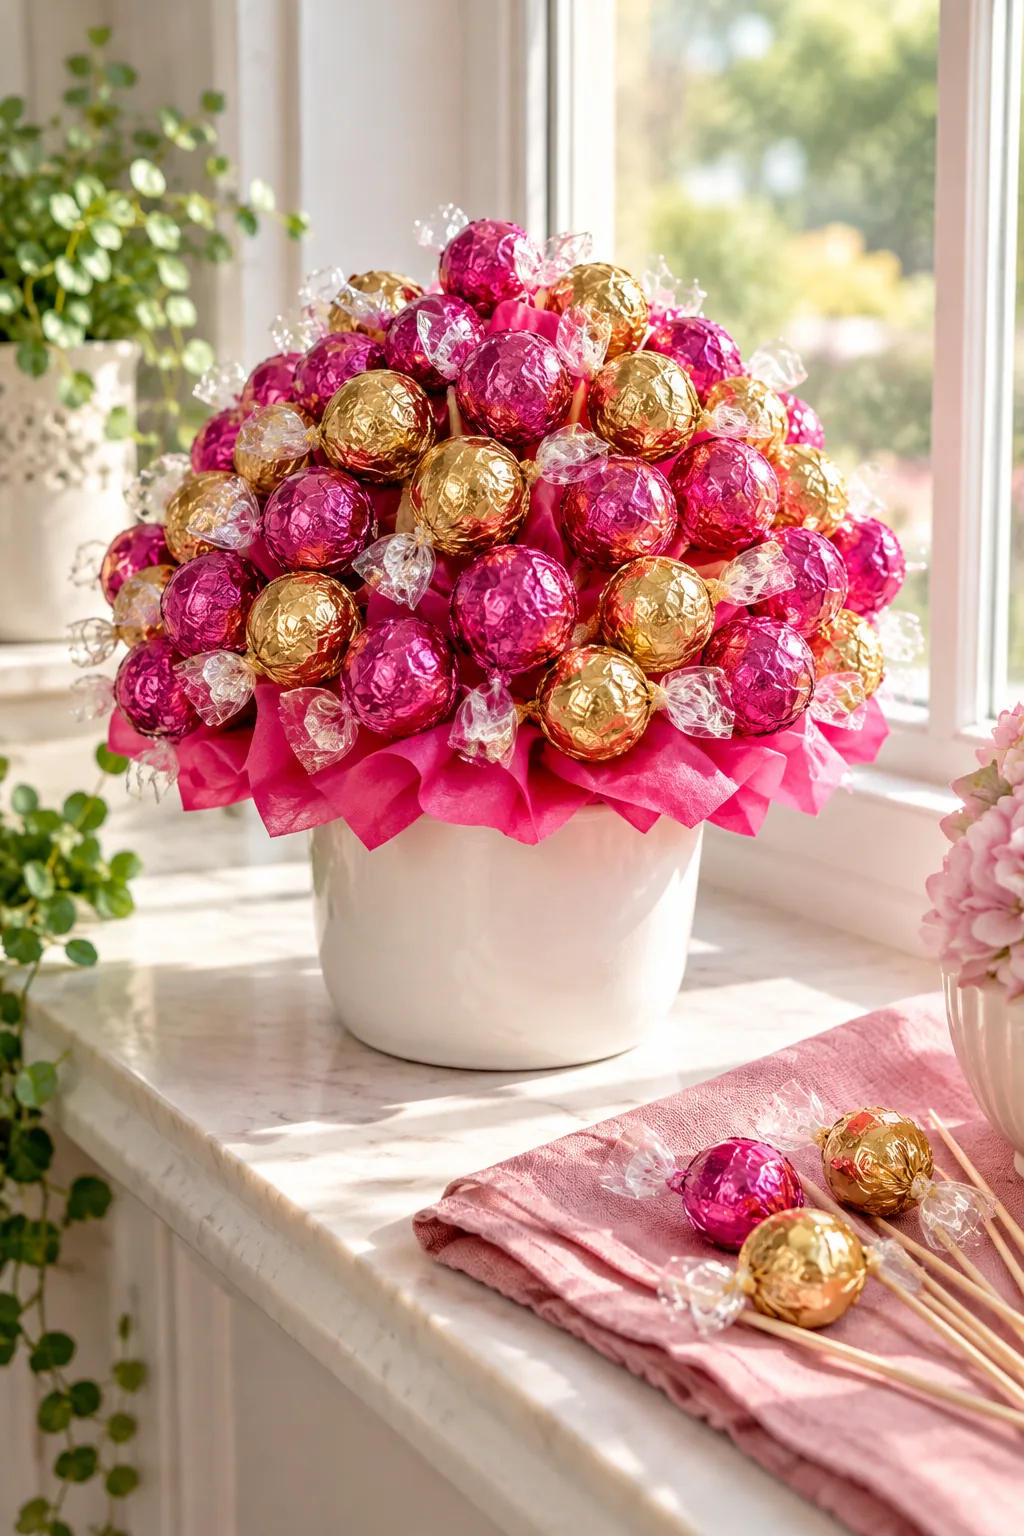
Keeping the foil intact ensures the chocolate remains fresh for weeks and prevents unsightly cracks in the candy shell. This gentle attachment method also allows the recipient to easily pull the treats off the sticks without eating splinters or dried glue.
Prepping the Skewer Sticks
Using standard bamboo skewers provides the right balance of rigidity and ease of cutting for this project. Always place the blunt end of the skewer against the candy wrapper, leaving the sharp pointed end free to pierce easily into the dense floral foam base.
Cutting the Three Skewer Heights
Creating a professional, rounded shape requires pre-cutting your wooden skewers into 3 skewer heights before you begin inserting them. You will need a tall center group, a mid-length ring, and a short outer ring based on the exact inch measurements for your pot size.
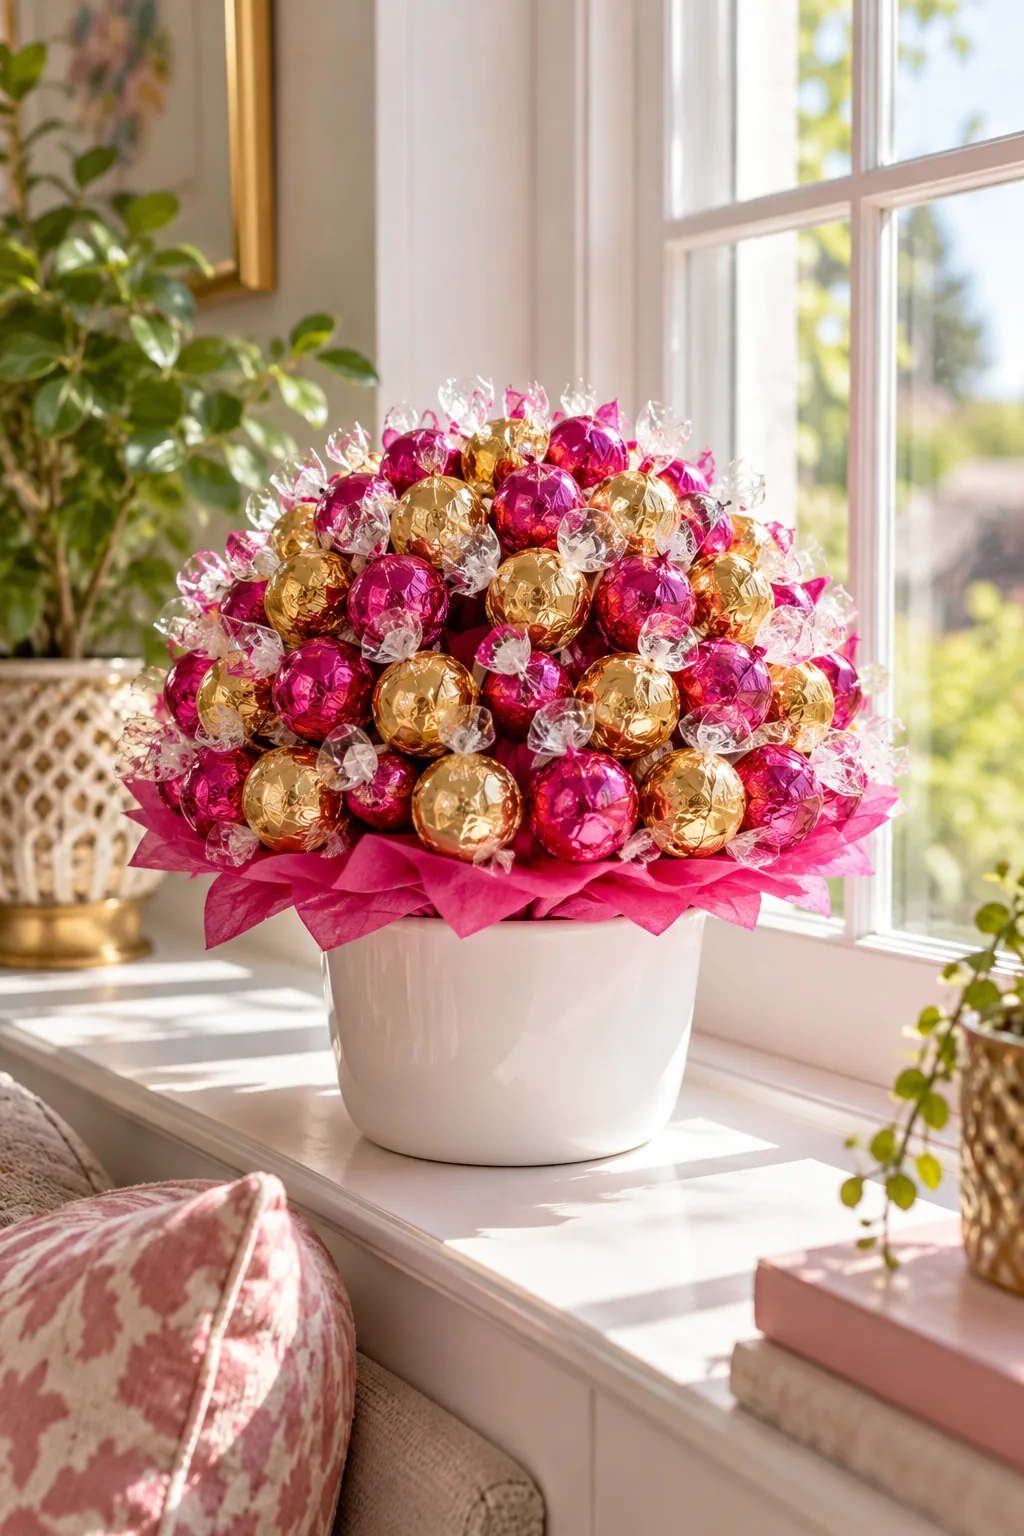
Using heavy-duty wire cutters or garden snips guarantees a clean break on the bamboo without splintering the wood. Sorting your freshly cut sticks into three distinct piles keeps the assembly process moving quickly and prevents you from accidentally grabbing the wrong size.
Arranging the Tiered Candy Dome
Start the assembly by inserting the tallest center candies straight down into the foam, then build the middle ring at a slight angle. Finish by angling the shortest outer ring outward to seamlessly bridge the gap to the ceramic rim.
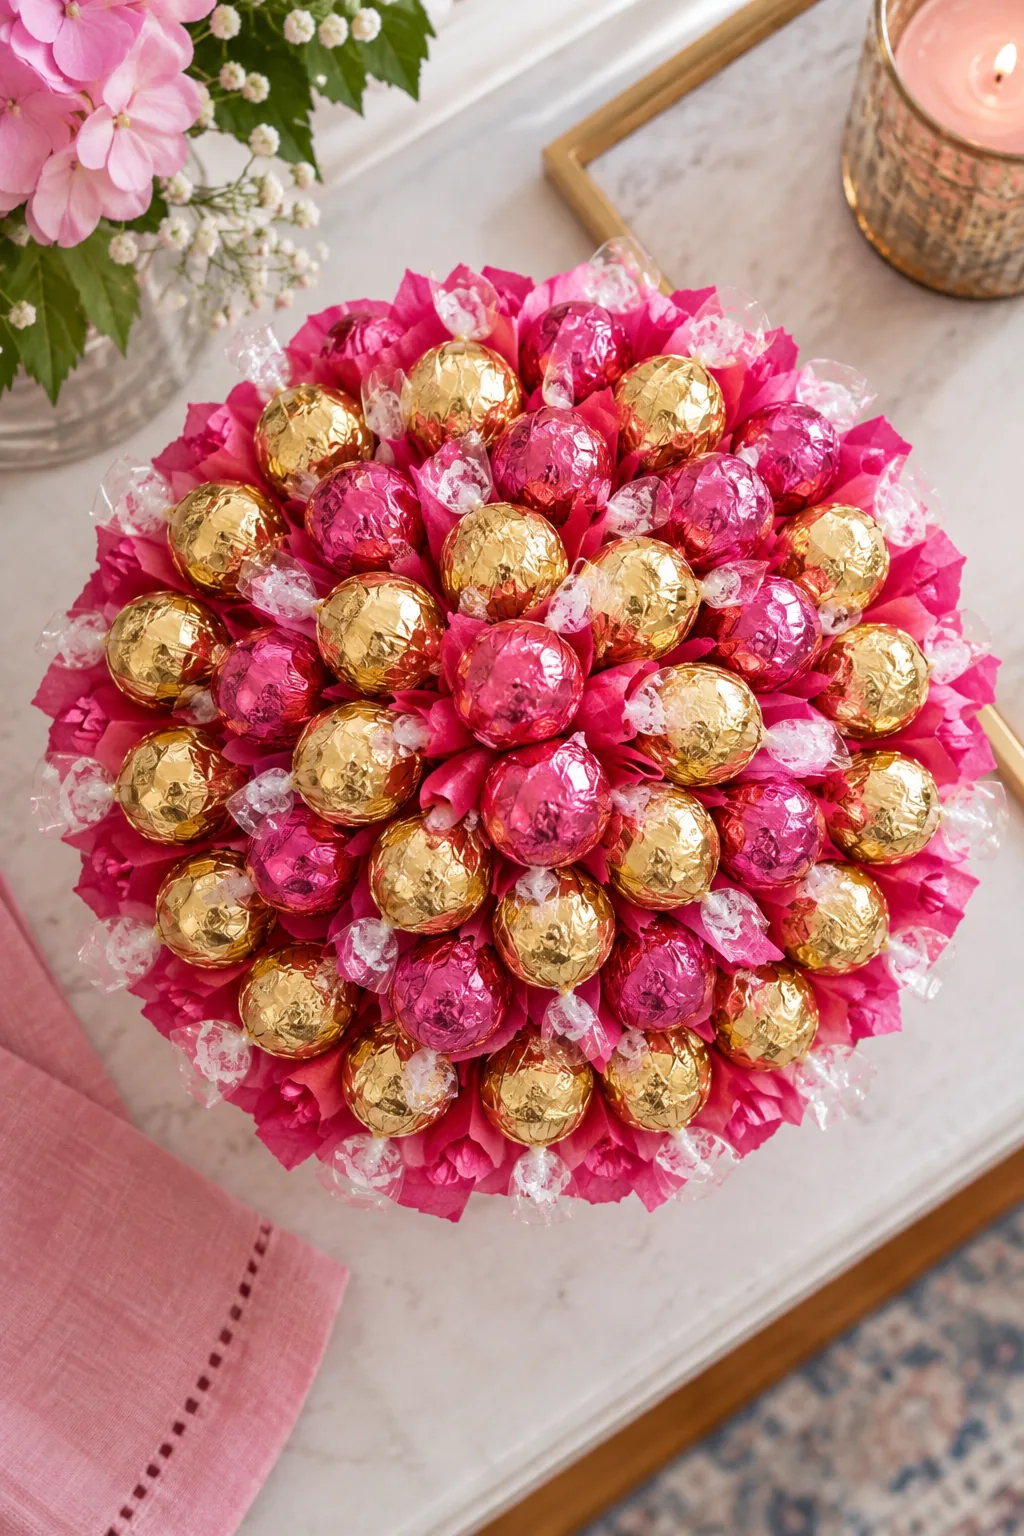
Getting the classic rounded shape requires a specific approach to how you push the skewers into the foam base.
Working in concentric circles ensures the dome builds symmetrically and hides all the wooden stems from view. If a candy looks slightly out of place, pull the skewer completely out and pierce a new hole rather than wiggling it and loosening the foam.
Filling Gaps with Pencil-Tucked Tissue
The final finishing touch uses pencil-tucked tissue to completely hide the wooden skewers and floral foam from every angle. I keep a dedicated unsharpened pencil in my craft drawer just for this, using the eraser end to gently push pink tissue squares between the lowest candies.
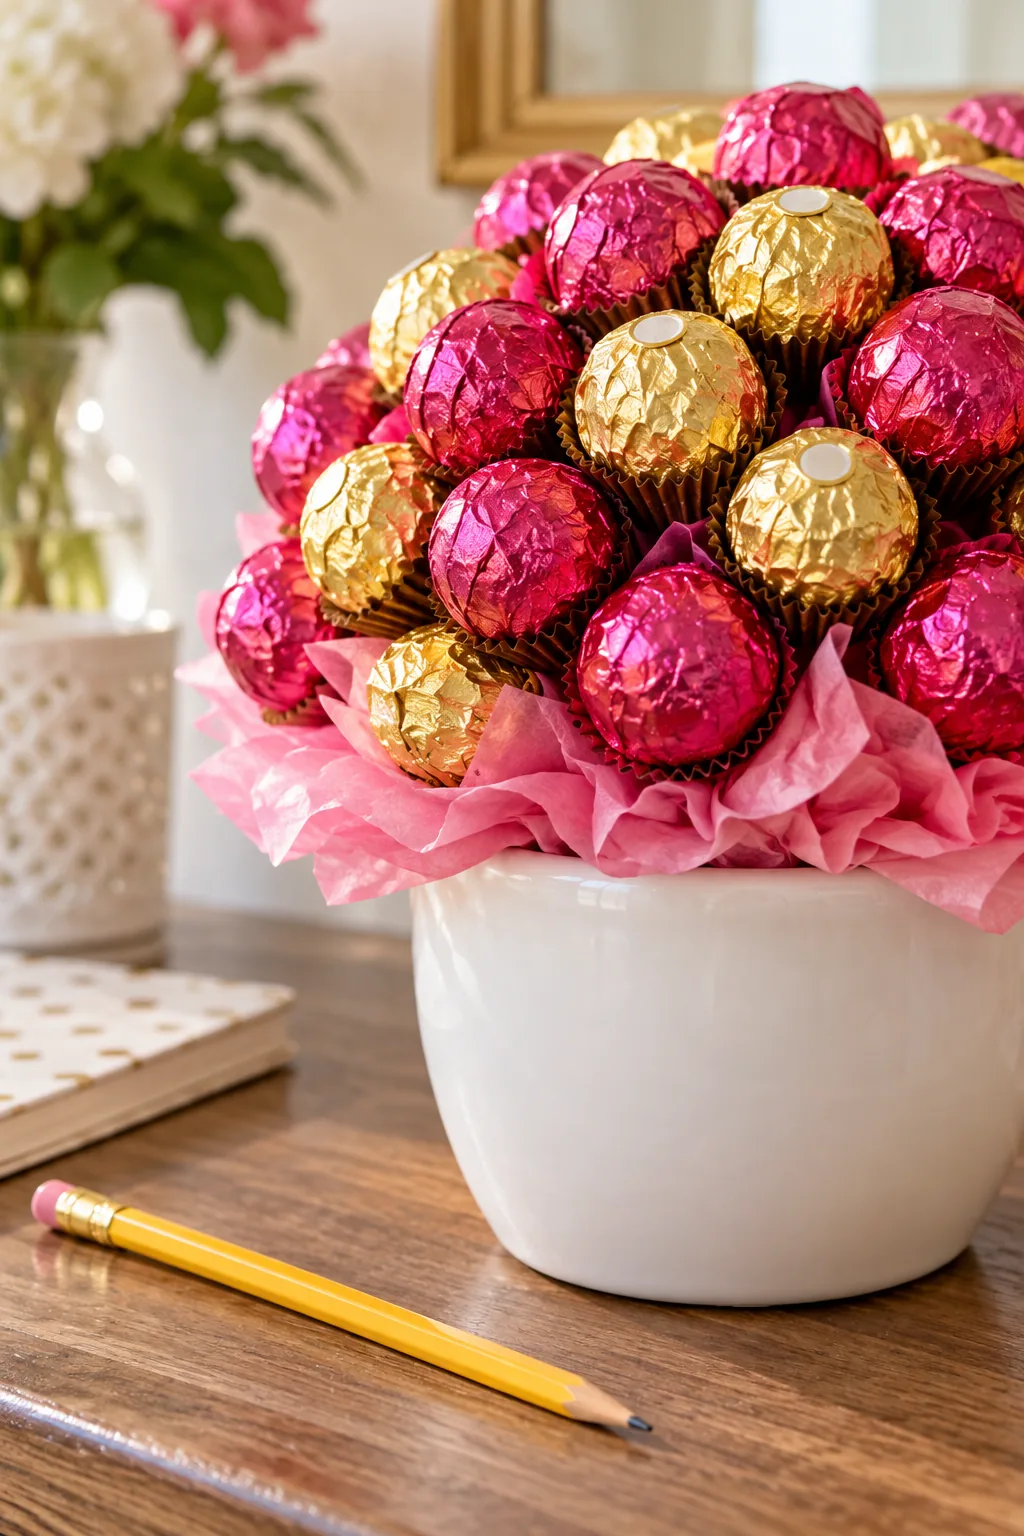
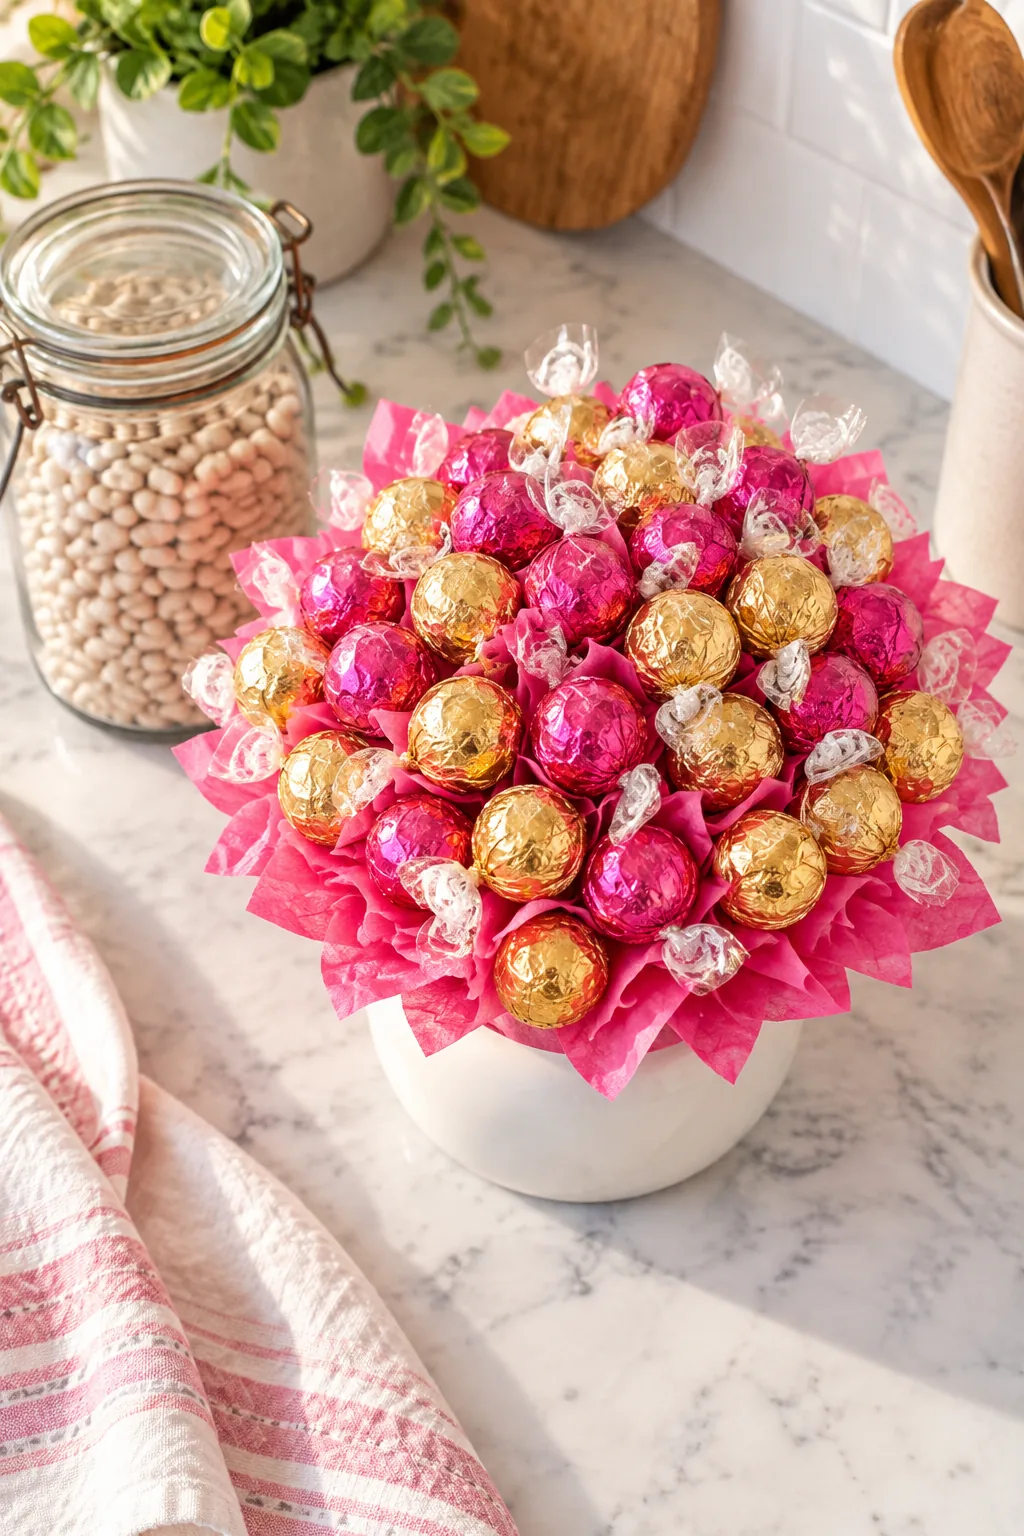
Cutting the tissue paper into uniform two-inch squares creates the perfect amount of fluff without swallowing the shiny gold wrappers. Tucking these small bursts of color right at the rim creates a polished, professional transition between the ceramic container and the chocolate dome.
Your Candy Bouquet Build Sheet
Use this printable reference chart to buy the exact right amount of candy and supplies for your chosen pot size. I tape this exact cheat sheet inside my pantry door whenever I am batch-making teacher appreciation gifts for the kids’ school.
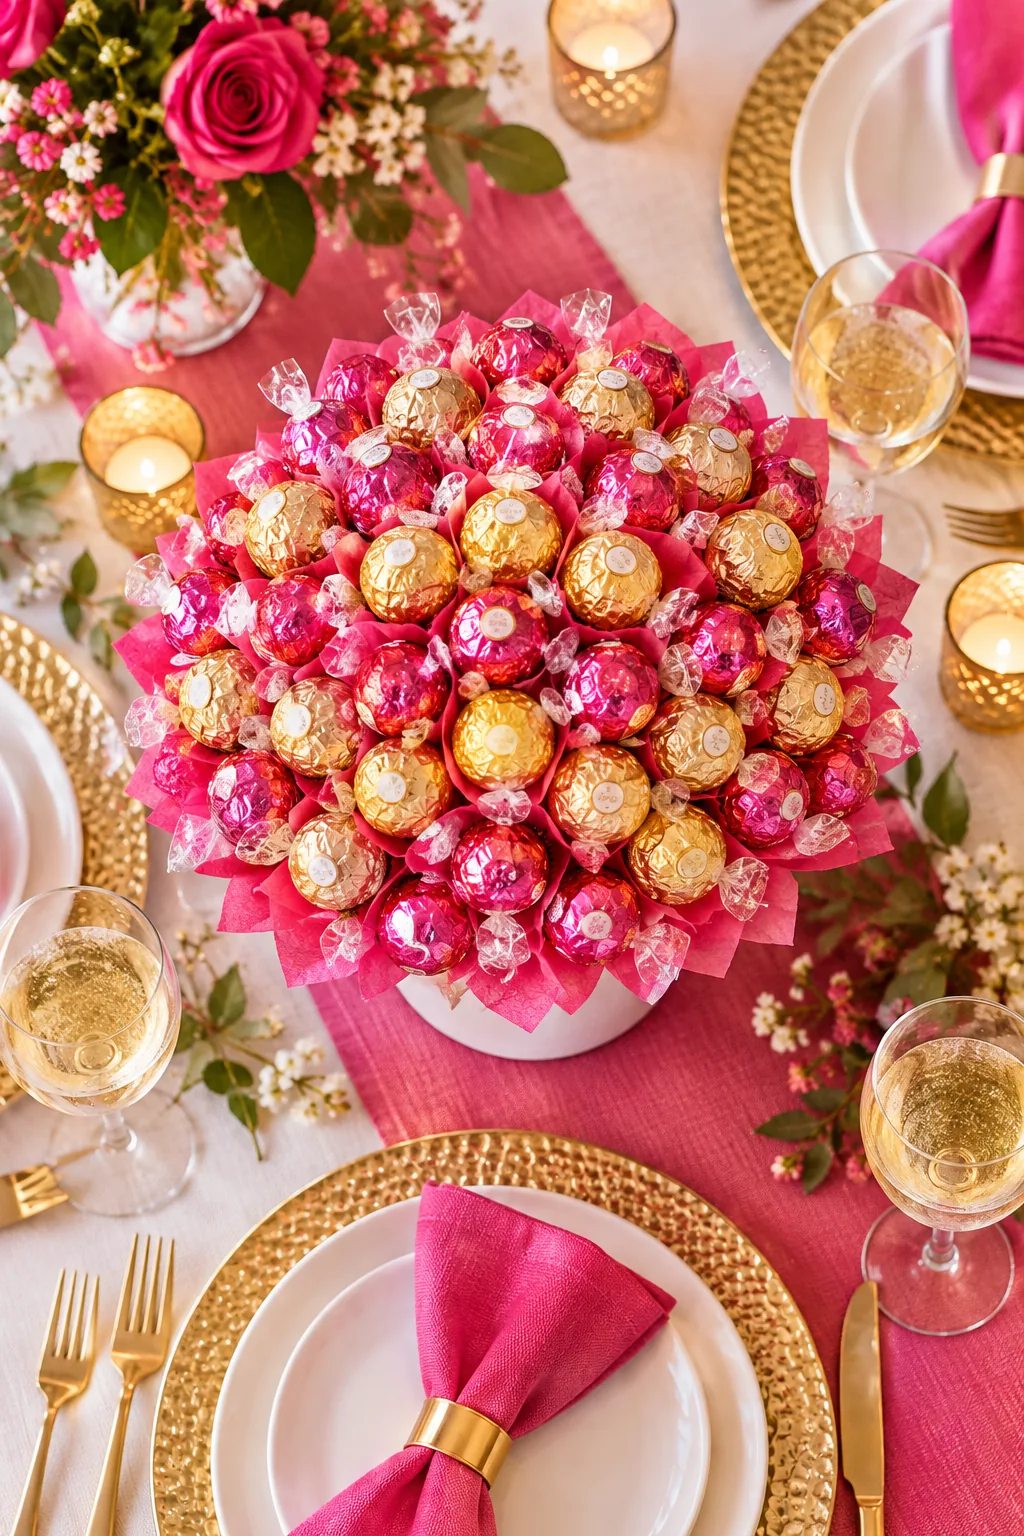
Match your measured pot diameter to this table to find your required candy counts, skewer lengths, and bean ballast amounts.
| Pot Size | Candy Count | Skewer Lengths (Tall/Mid/Short) | Bean Amount |
|---|---|---|---|
| Small (4-inch) | 19 pieces | 6″ / 5″ / 4″ | 1/2 cup |
| Medium (6-inch) | 37 pieces | 7″ / 5.5″ / 4″ | 1 cup |
| Large (8-inch) | 61 pieces | 8″ / 6″ / 4.5″ | 2 cups |
Once your materials are prepped and sorted by size, follow this exact sequence to build your arrangement smoothly from the inside out.
- Pour the dried-bean ballast into the bottom quarter of the pot.
- Wedge the cut foam block firmly over the beans, 1 cm below the rim.
- Attach all candies to their skewers using clear glue dots.
- Insert the tall center skewers straight down into the foam.
- Add the mid-length ring and short outer ring at increasing angles.
- Tuck tissue paper squares into the gaps using a pencil eraser.
Sticking strictly to this order prevents you from knocking over previously placed candies while trying to squeeze tissue paper into tight gaps.
5 Ways to Style a Candy Bouquet
Swap out the wrappers and the vessel to match any party theme or room aesthetic.
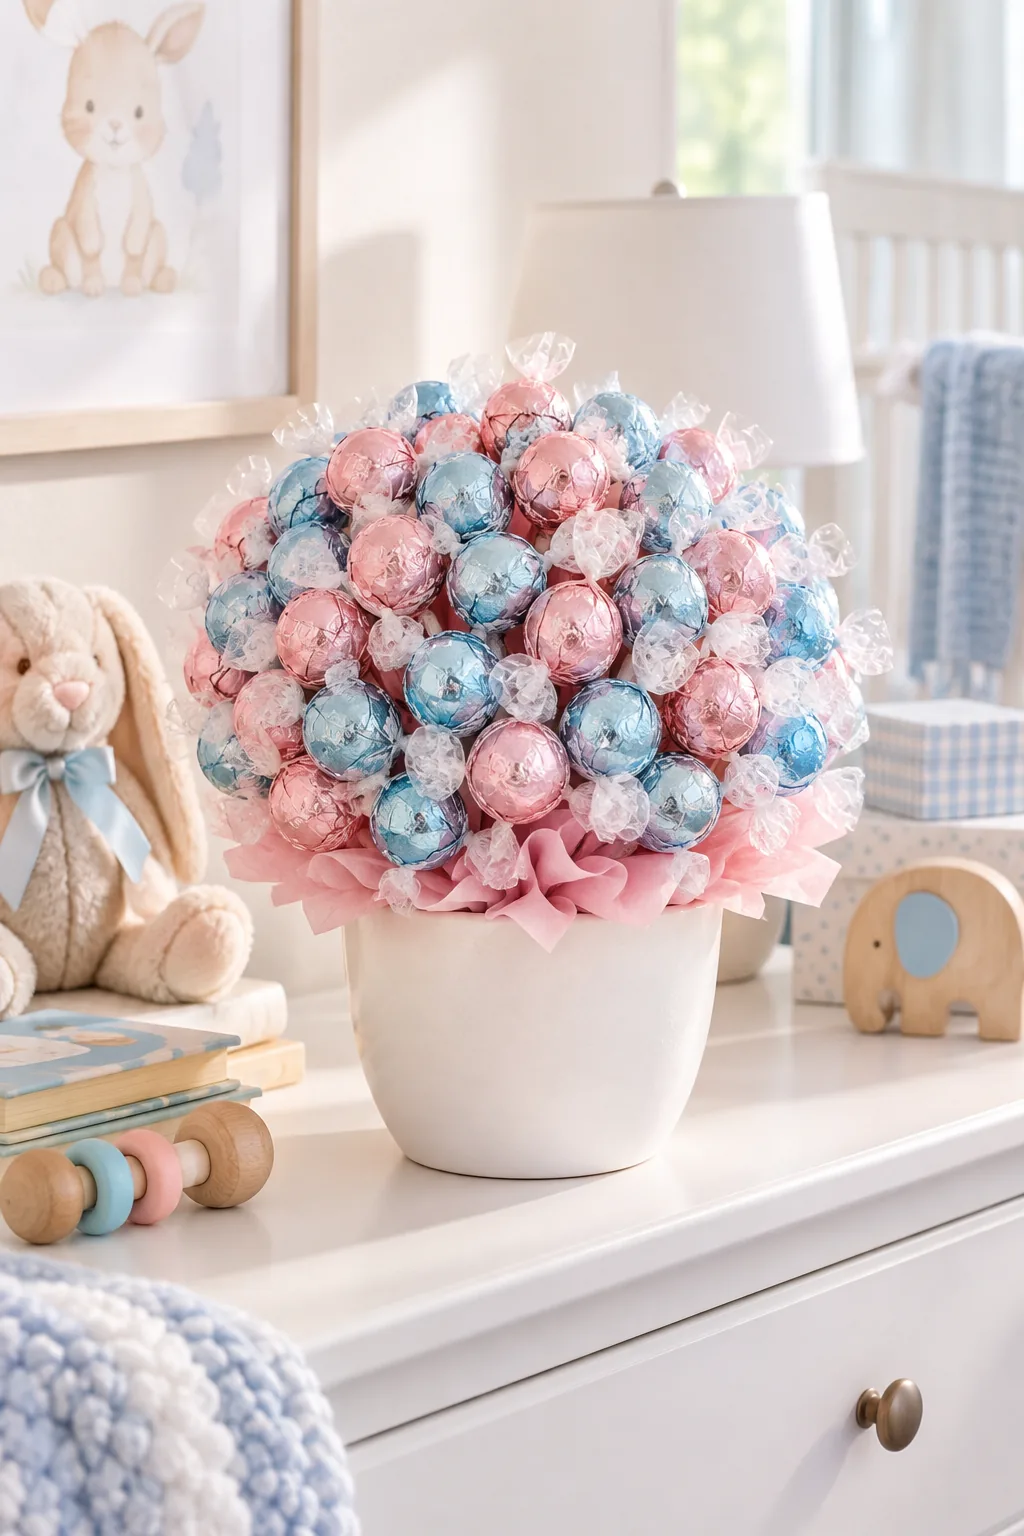
Pastel Baby Shower: Soft pink and blue wrappers in a simple white ceramic pot create a sweet, gentle centerpiece perfect for a baby shower gift table.
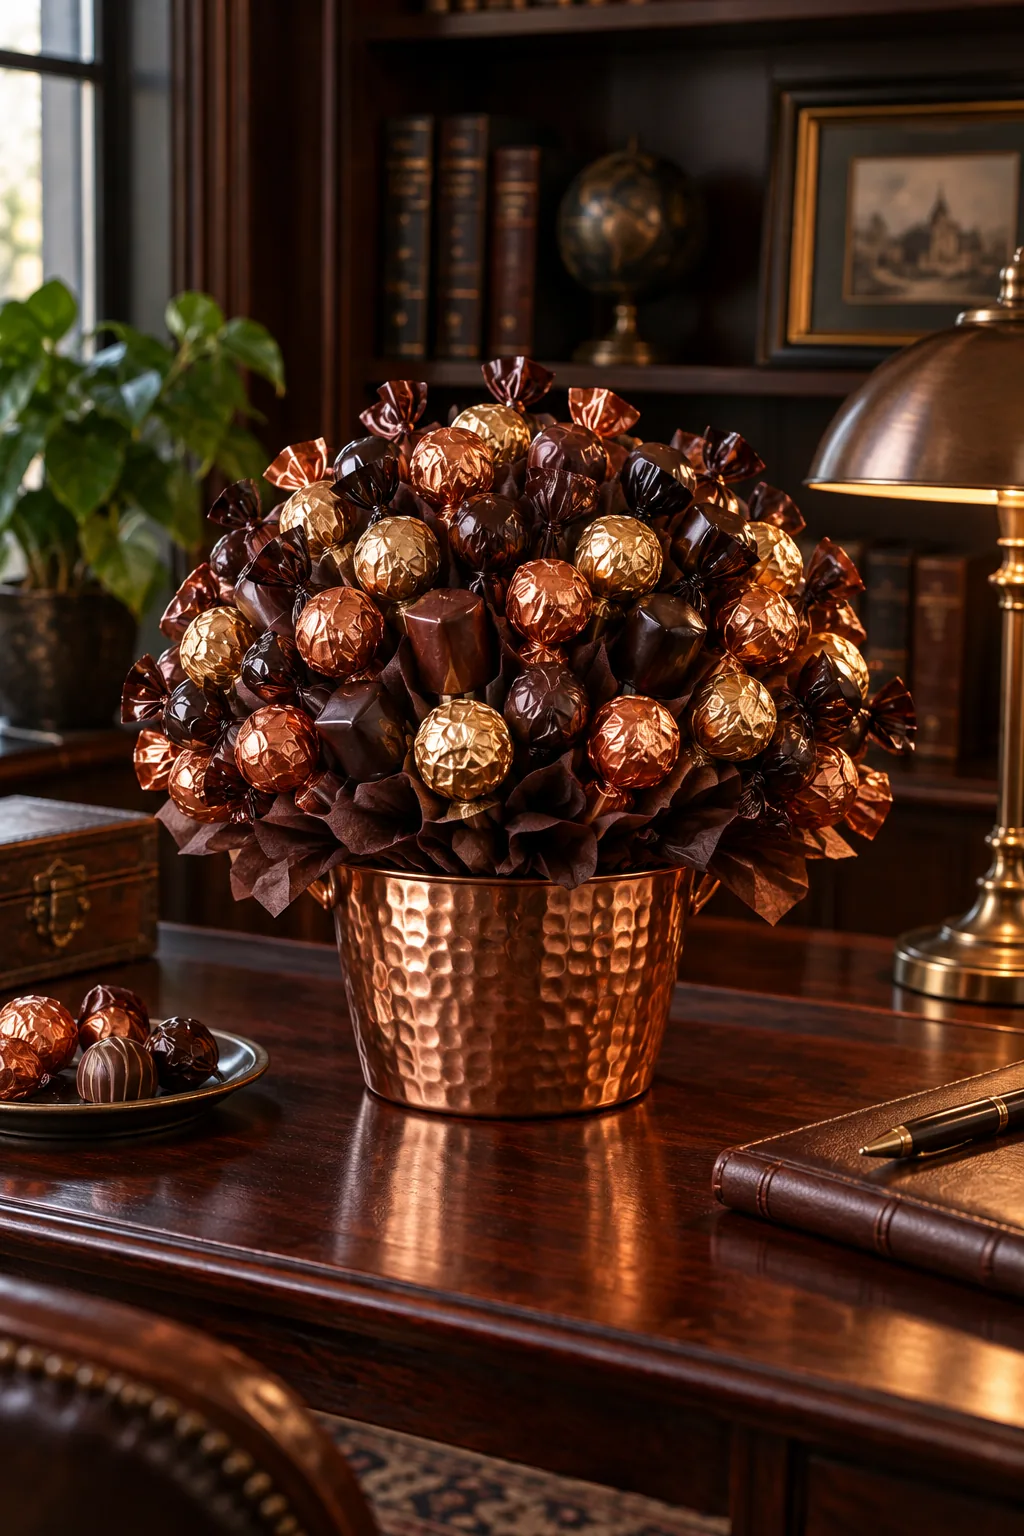
Dark Chocolate & Copper: Deep metallic wrappers paired with a hammered copper vessel offer a moody, sophisticated look suited for a home office or library.
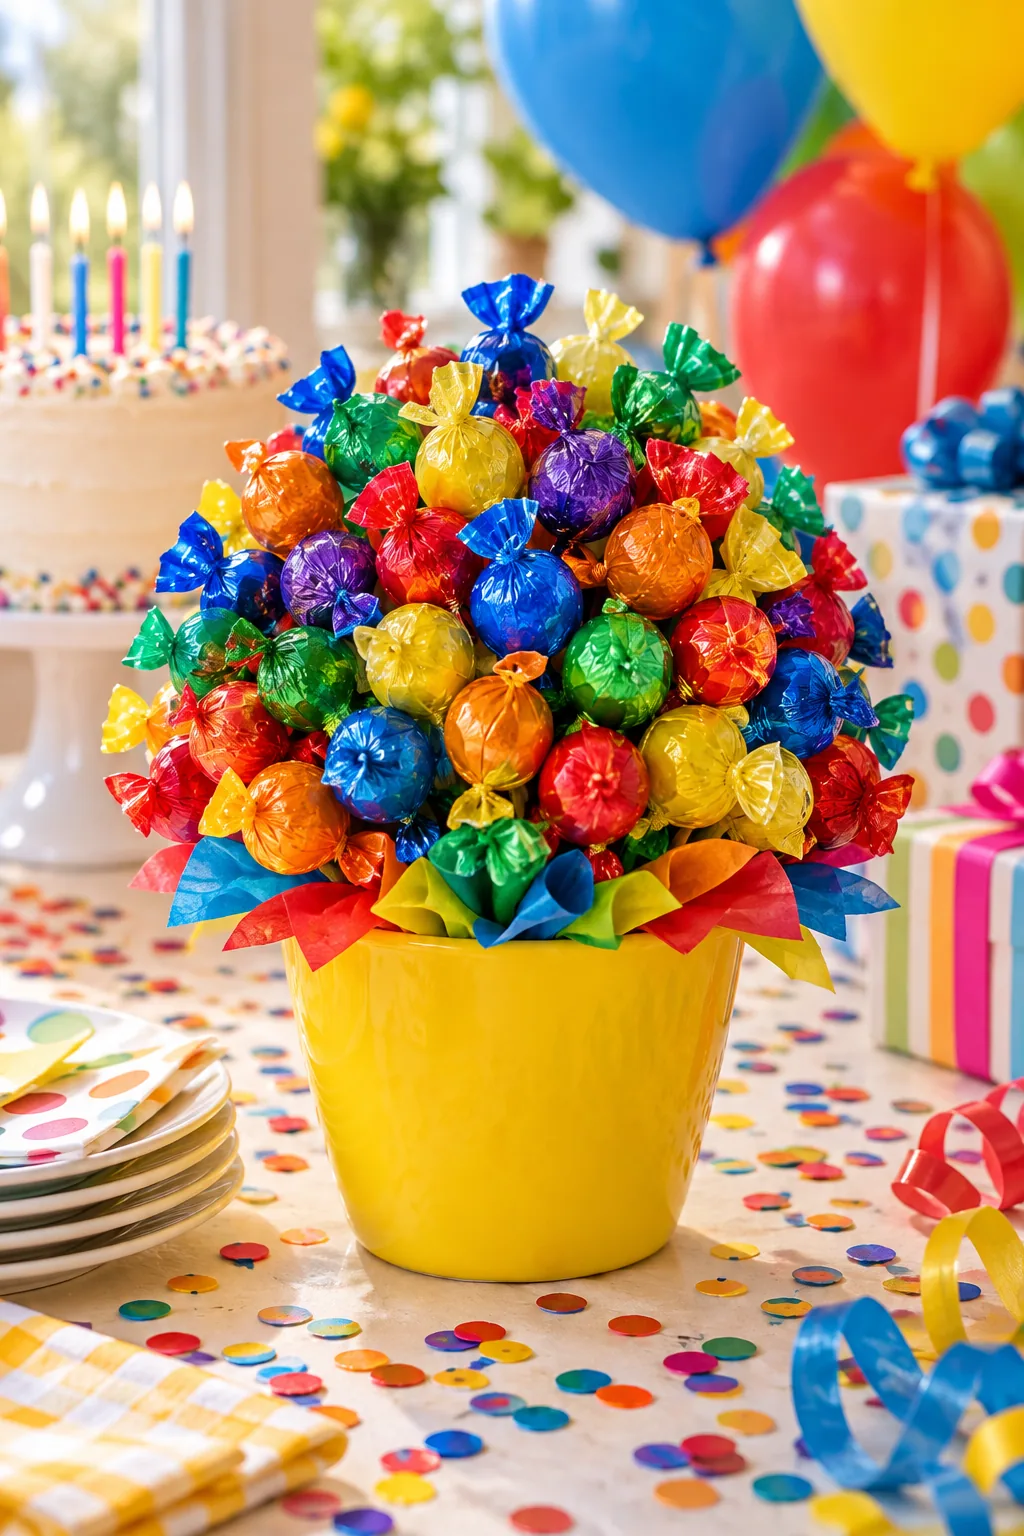
Bright Rainbow Birthday: Vibrant primary colors bursting from a sunny yellow pot bring instant energy to a kid's birthday party or festive summer gathering.
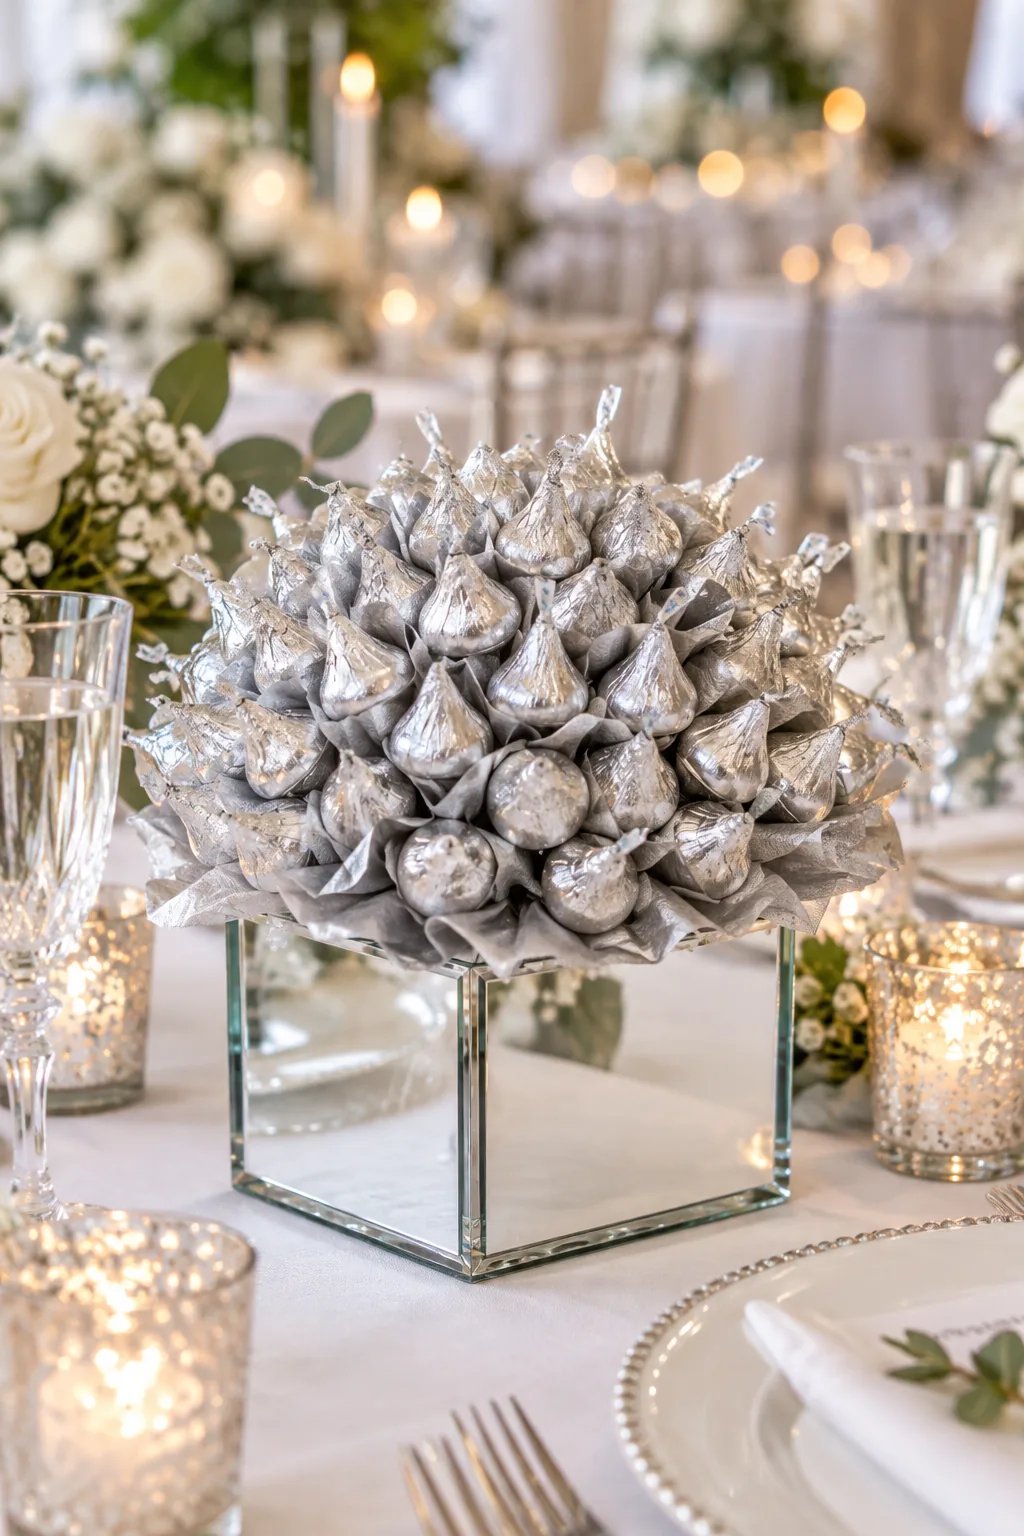
Elegant Silver & White: Sleek silver foils arranged in a mirrored glass cube provide a highly reflective, glamorous touch ideal for an anniversary or winter wedding.
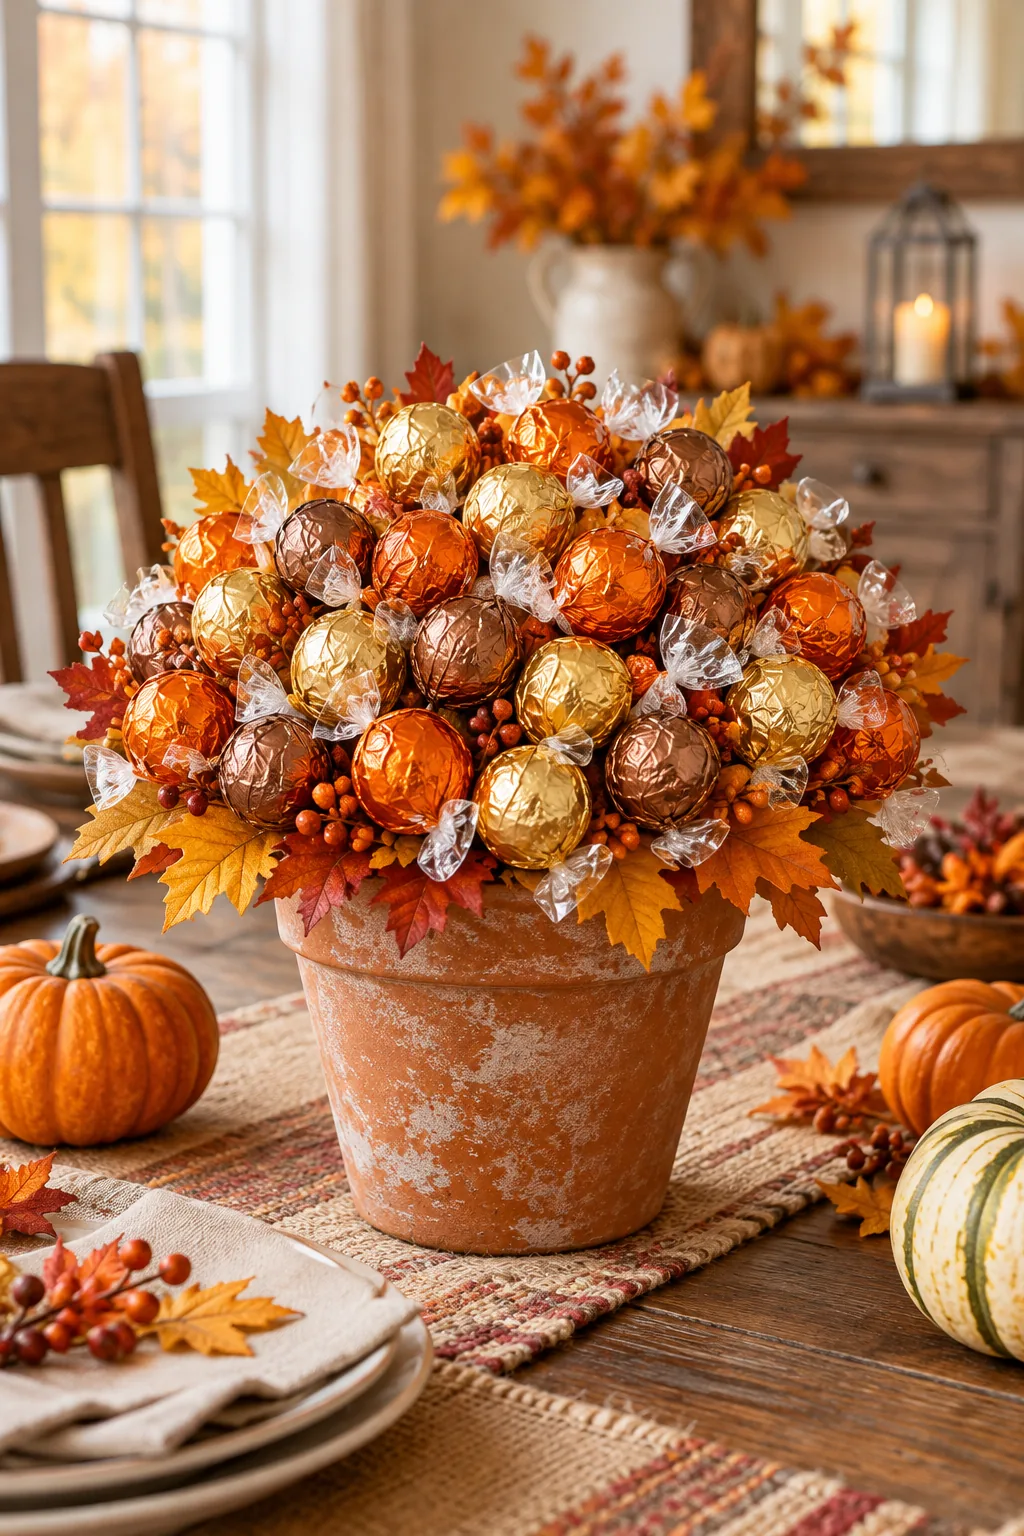
Rustic Fall Harvest: Warm orange and gold candies nestled in a weathered terracotta planter add cozy, seasonal charm to a rustic autumn dining table.