
Build a 36-Inch Z-Brace Garden Gate in One Weekend
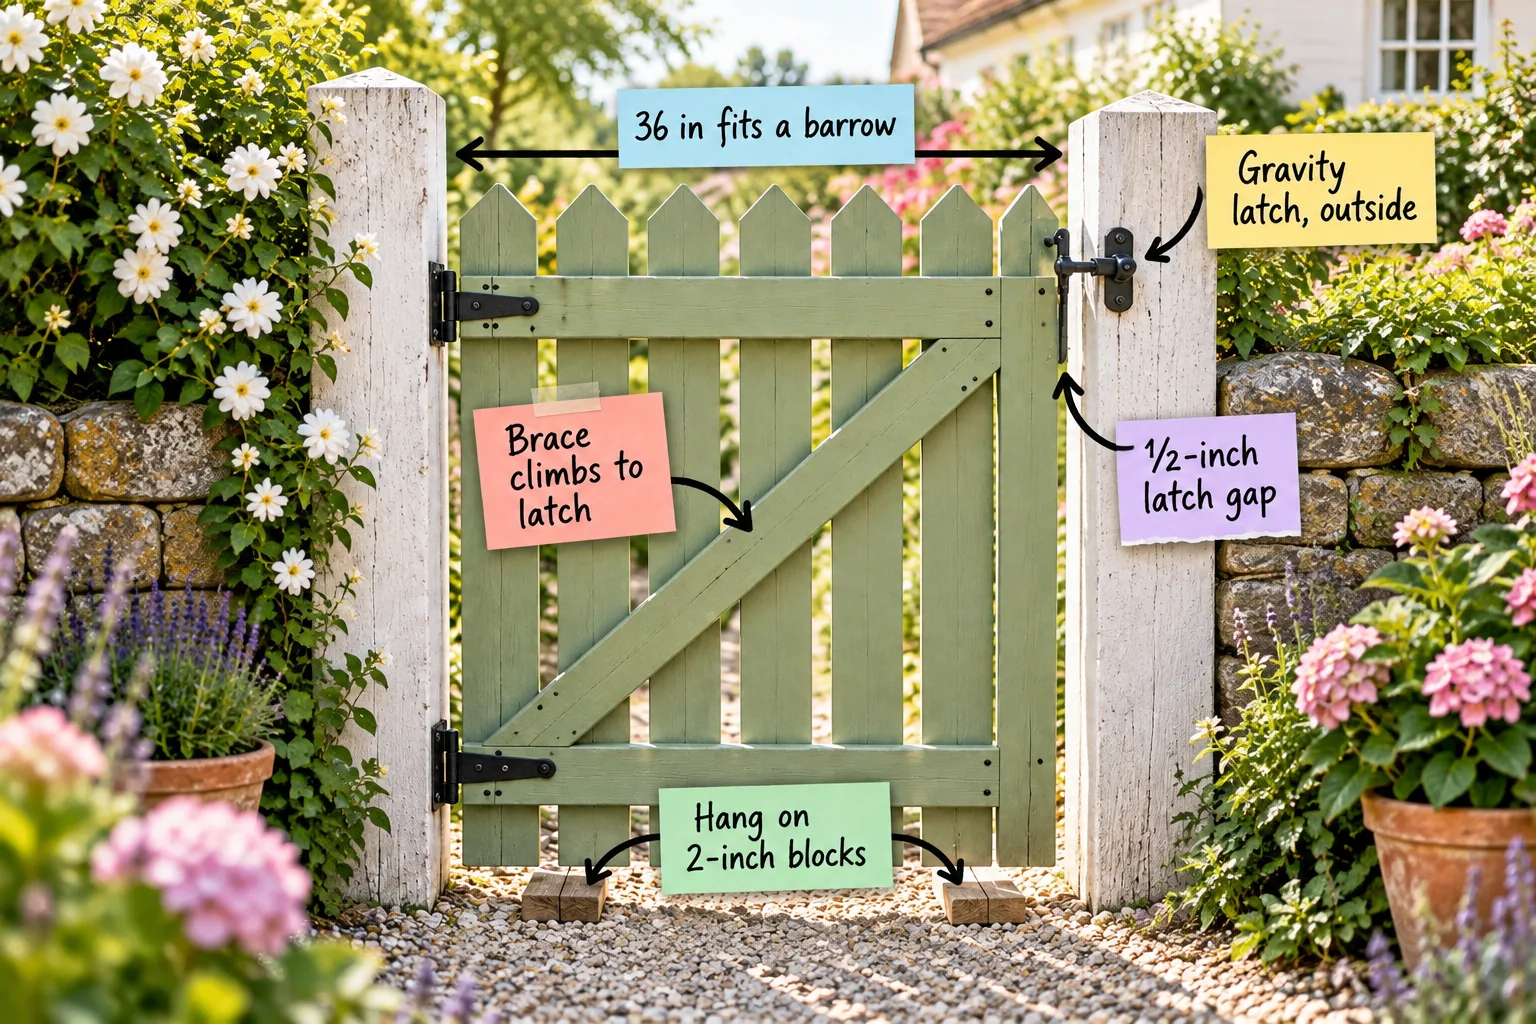
You will be able to cut, assemble, and perfectly hang a 36-inch Z-brace wooden garden gate using our printable weekend schedule. Grab the complete cut list, hardware guide, and spacing measurements below to start building today!
Planning a 36-Inch Gate Opening
A 36-inch width is the golden standard for a residential garden gate because it comfortably accommodates a standard loaded wheelbarrow or a wide lawnmower. This dimension allows two people to walk side by side without putting excessive leverage stress on the metal hinges.
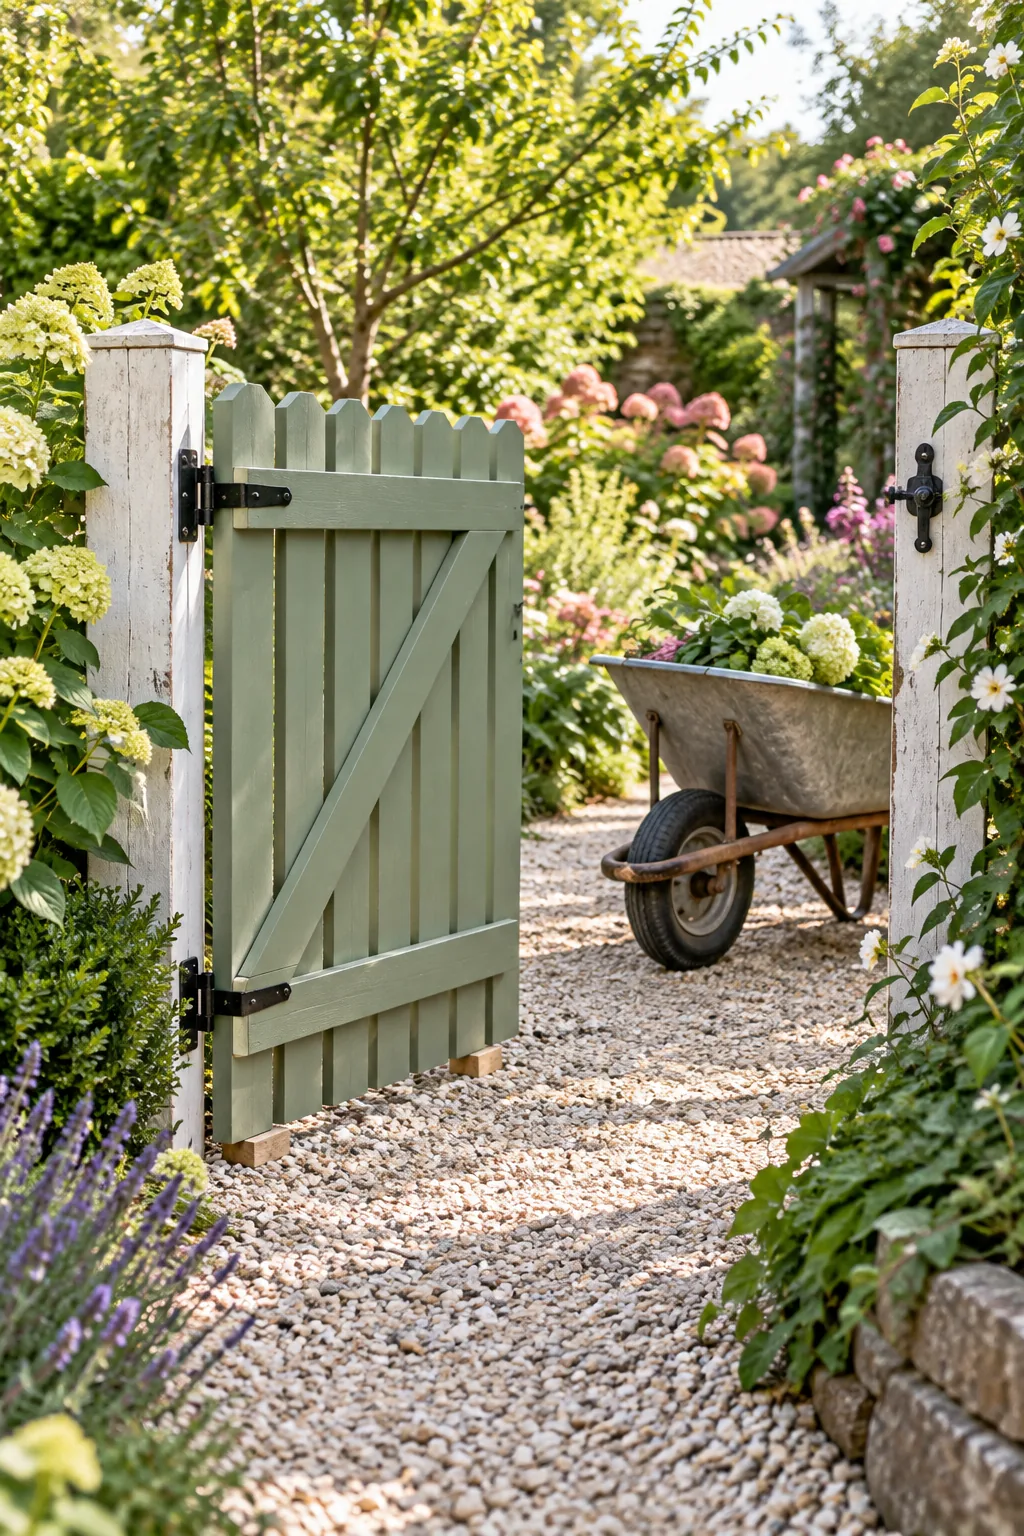
When laying out your garden path, always ensure the gravel or paving extends fully through this 36-inch opening to provide a smooth, continuous rolling surface for your heavy yard equipment.
Sizing the Gate Posts
A heavy wooden gate requires substantial structural support to prevent leaning or sagging over time. Always use pressure-treated 4×4 or 6×6 lumber for your hinge and latch posts, ensuring they are specifically rated for direct ground contact to resist hidden rot.
| Post Size | Gate Width | Hole Depth | Concrete Needed |
|---|---|---|---|
| 4×4 inch | Up to 36 inches | 24 inches | 2 bags |
| 6×6 inch | 36 to 48 inches | 36 inches | 3 bags |
Digging the Post Holes
Frost heave will violently push shallow wooden posts right out of the ground during deep winter freezes. Dig your post holes at least 24 inches deep, or six inches below your local frost line, to guarantee a permanent, unmoving foundation for your gate.
Setting Posts in Concrete
Pour six inches of crushed drainage gravel into the bottom of each hole before adding your fast-setting concrete mix. Plumb the posts perfectly with a two-foot level, bracing them securely with scrap wood until the concrete cures completely overnight.
Measuring the Final Opening
Never cut your expensive gate lumber based on your original paper plans or theoretical dimensions. Always measure the actual distance between your fully set posts at the top, middle, and bottom to account for any slight bowing in the wood.
Choosing the Right Gate Lumber
Cedar and redwood are naturally rot-resistant and dimensionally stable, making them the absolute best choices for a lasting garden gate. If you use pressure-treated pine to save money, let the wet wood dry for three weeks before applying any paint.
Cutting the Horizontal Rails
The top and bottom horizontal rails define the exact width and structural integrity of your Z-frame structure. Cut these 2×4 boards exactly one inch shorter than your total post-to-post opening to leave adequate room for the necessary hardware expansion gaps.
Securing the Vertical Stiles
Attach the vertical side stiles to your horizontal rails to form the strong outer rectangular boundary of your gate. Drive three-inch exterior screws through the stiles directly into the end grain of the rails for maximum structural holding power.
Squaring the Gate Frame
A gate that isn’t perfectly square will never latch correctly or look right within the finished opening. Measure diagonally from corner to corner; when both diagonal measurements match exactly, your wooden frame is perfectly square and ready for the brace.
Framing the Z-Brace Correctly
The diagonal brace is the structural heart of a wooden gate, and I learned the hard way at my first Austin home that it must always run upward from the bottom hinge. This transfers the hanging weight directly back into the supporting post.
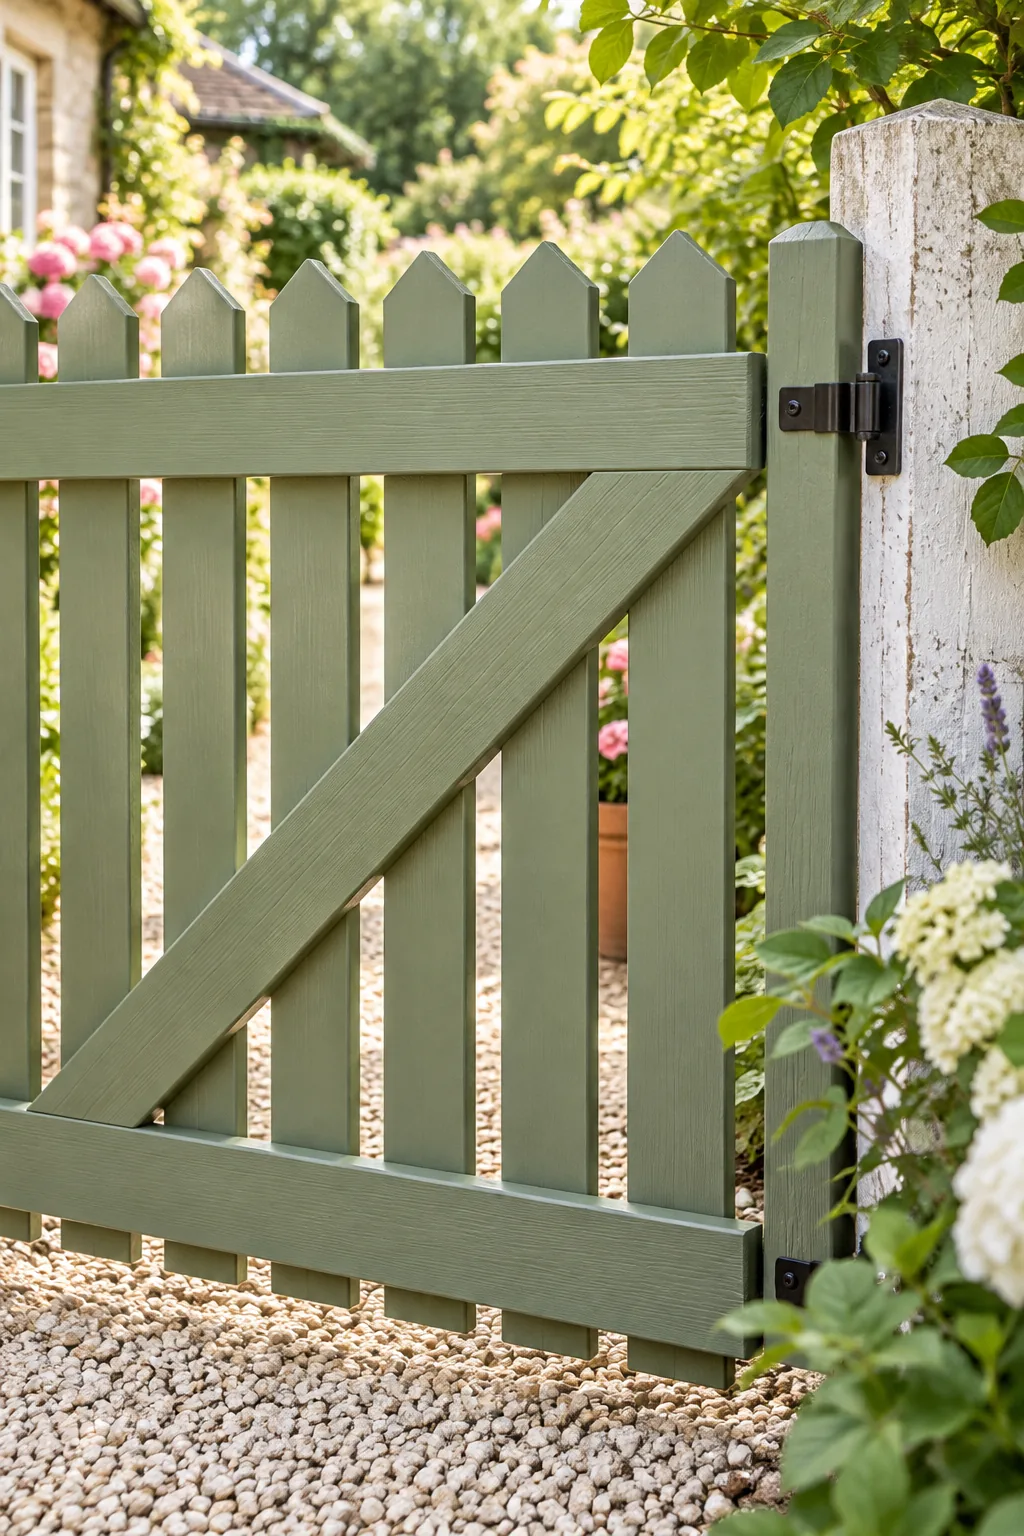
A sagging gate is almost always a structural framing failure rather than a simple hinge problem. Avoid these common framing errors to keep your heavy wooden gate swinging smoothly and latching perfectly for many years to come.
Cutting the Diagonal Angle
Lay your 2×4 brace board diagonally across the squared frame and carefully trace the exact intersection angles with a carpenter’s pencil. Cut along these lines with a compound miter saw to achieve a tight friction fit against the horizontal rails.
Gluing the Structural Joints
Mechanical fasteners alone will eventually loosen as the heavy gate slams shut repeatedly over the years. Apply a generous bead of waterproof exterior wood glue to every intersecting joint before driving your screws to create an incredibly unified, rigid structure.
Sealing the End Grain
The exposed end grain of your cut lumber acts like a thirsty sponge, soaking up rainwater and accelerating hidden rot. Sand the rough edges smooth and brush a heavy, protective coat of exterior primer onto every single cut end.
Painting Before Assembly
It is nearly impossible to paint the overlapping wood seams once the vertical pickets are permanently attached to the frame. Roll two thick coats of exterior acrylic latex paint onto every individual board while they lay flat on your sawhorses.
Attaching the Pickets
Once the Z-frame is square, space the privacy pickets evenly using a 1-inch scrap wood spacer to ensure consistent gaps. I always use a spacer block because it guarantees perfect alignment while letting strong Texas winds pass right through.
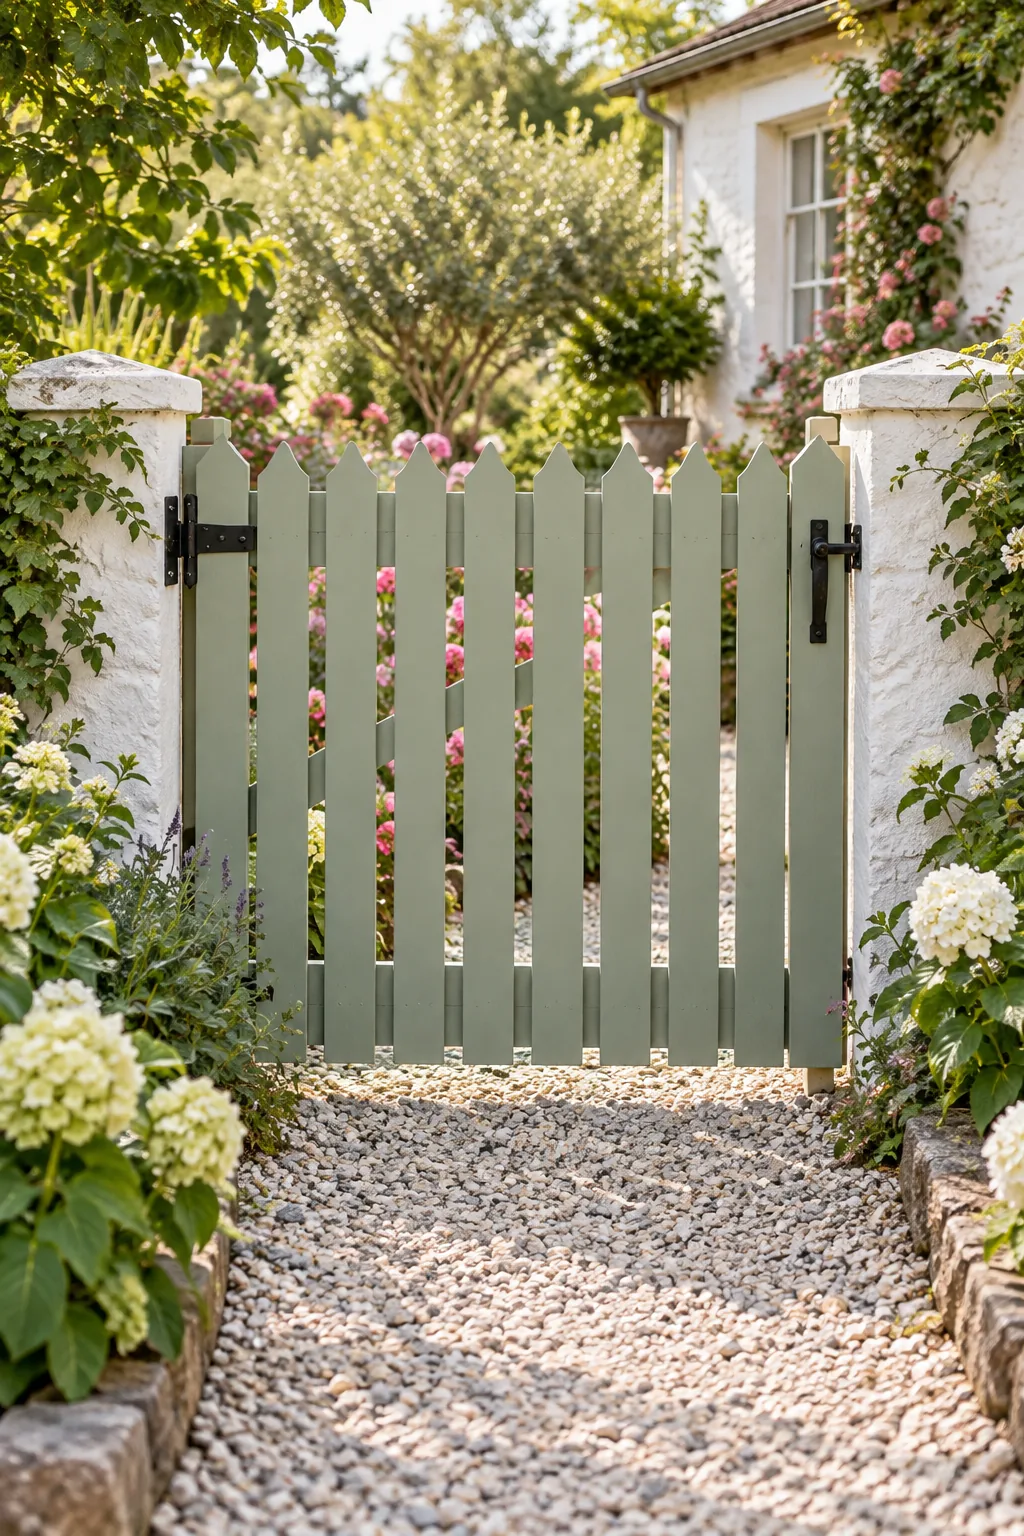
Leaving these calculated gaps between your vertical pickets prevents the gate from acting like a solid sail during intense summer thunderstorms, massively reducing the wind load on your hinges.
Selecting the Right Fasteners
Standard indoor drywall screws will snap under the sheer weight of a swinging gate and leave ugly black rust streaks down the wood. Secure every wooden picket with 1.5-inch coated deck screws or stainless steel brad nails for a flawless, lasting outdoor finish.
Setting the Ground Clearance
A garden gate needs ample room to swing freely over uneven ground, fallen autumn leaves, or winter snowdrifts. Resting the bottom rail on two 2-inch scrap wood blocks during installation holds the gate perfectly level while you drive the hinge screws.
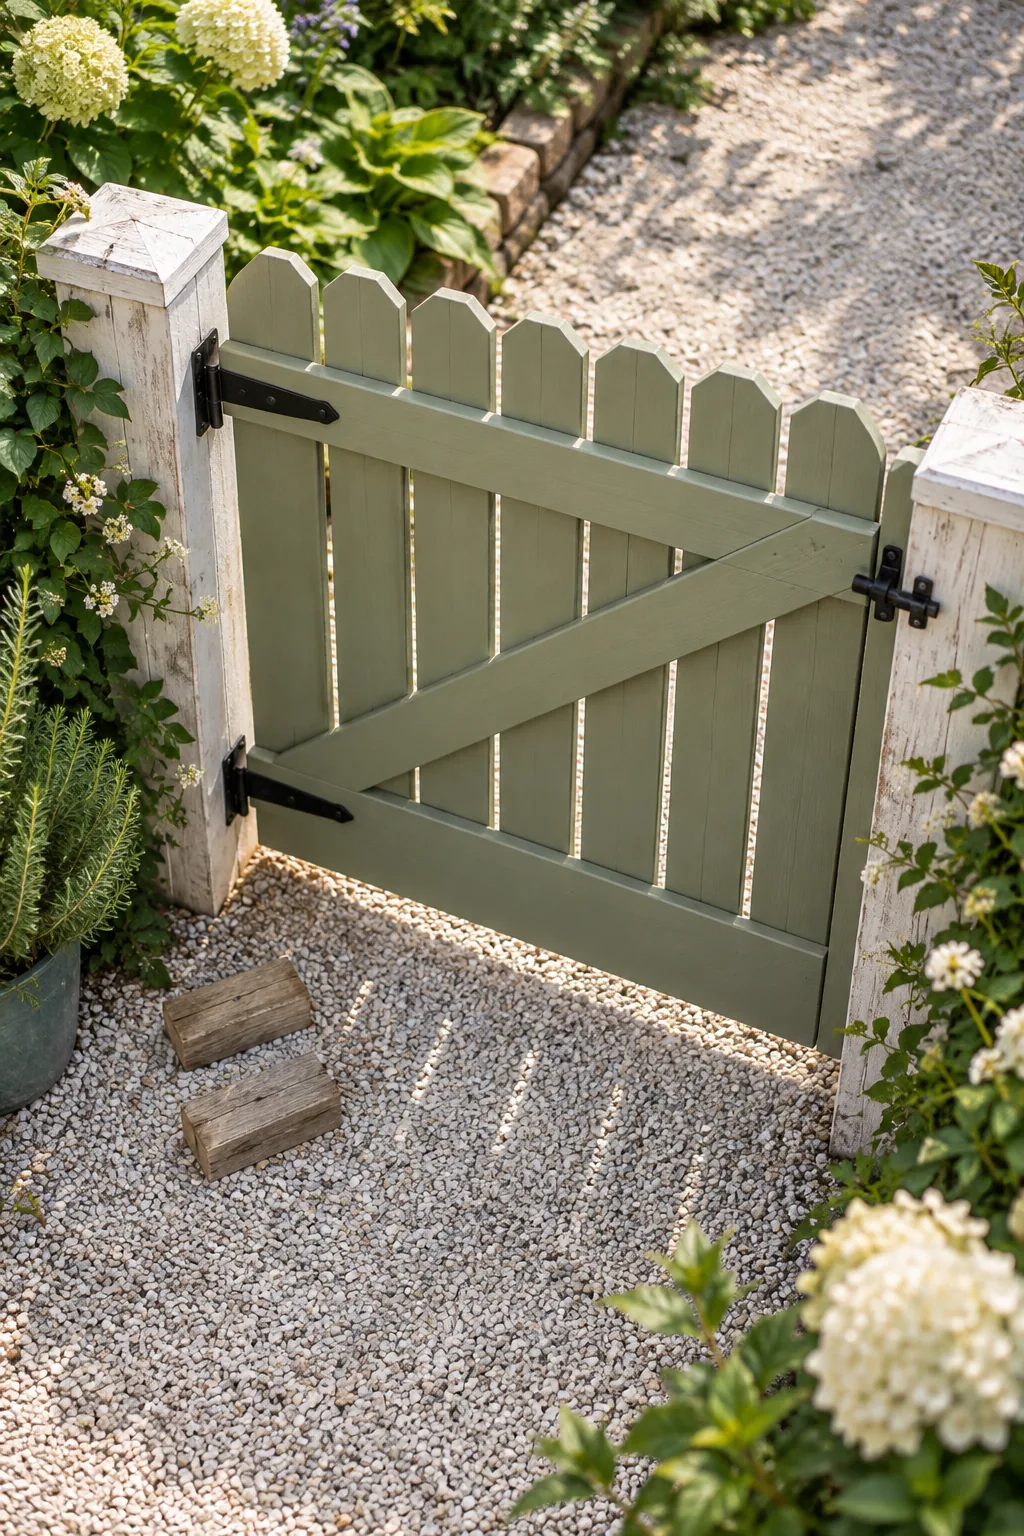
This two-inch clearance is especially critical over loose gravel paths, which tend to shift and mound up slightly higher than poured concrete walkways over the course of a busy gardening season.
Leveling the Bottom Rail
Before committing to your final hinge placement, rest a long spirit level across the top rail of the blocked gate. Adjust the thickness of your scrap wood shims until the bubble sits dead center in the glass for a flawless swing.
Mounting the Heavy-Duty Hinges
Heavy wooden gates require robust hardware, and after my first flimsy gate ripped off its post during a Texas storm, I always use heavy-duty T-hinges mounted directly over the horizontal rails. Ensure the long strap is secured with thick exterior-grade lag screws that bite deeply into the gate’s structural framing.
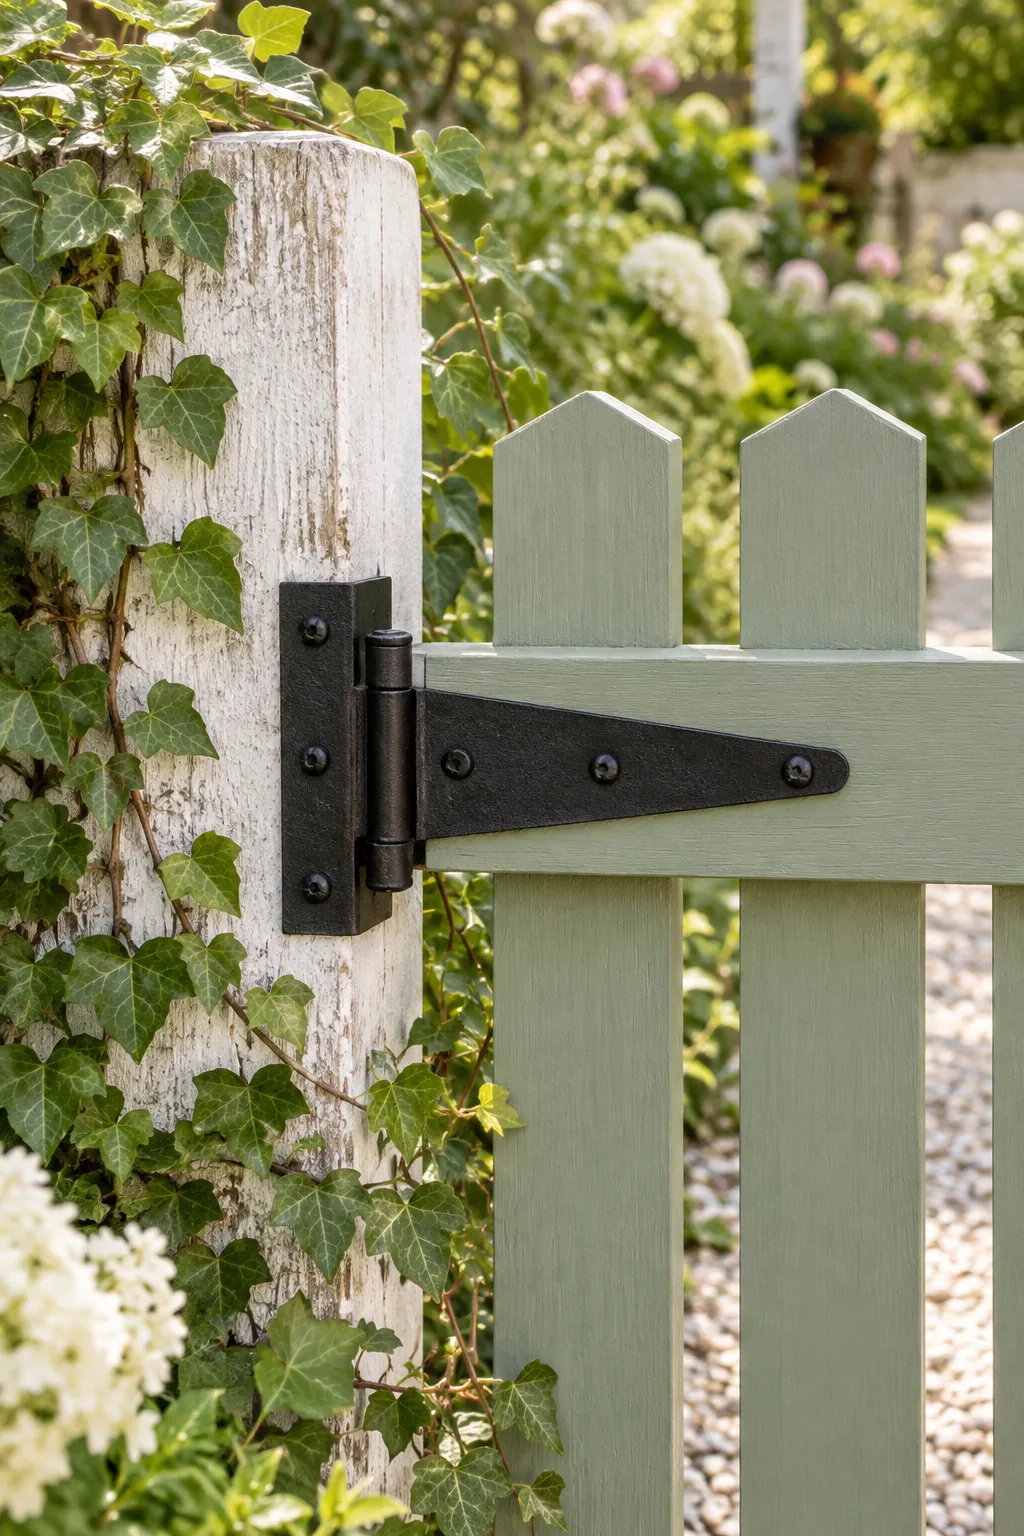
Positioning the hinge straps directly over the horizontal 2×4 rails guarantees your heavy lag screws are anchoring into solid structural lumber rather than just biting into the thin, decorative privacy pickets.
Pre-Drilling the Hinge Lags
Thick lag bolts displace a massive amount of wood fiber and will easily split your beautifully painted cedar framing. Always drill a pilot hole slightly smaller than the bolt threads before ratcheting the heavy hardware tight with a socket wrench.
Measuring the Latch Gap
Wood swells heavily in the humidity and shrinks in the winter, which caused my first backyard gate to jam shut every May. Leaving a precise 1/2-inch gap between the gate’s latch-side stile and the post ensures it will never bind.
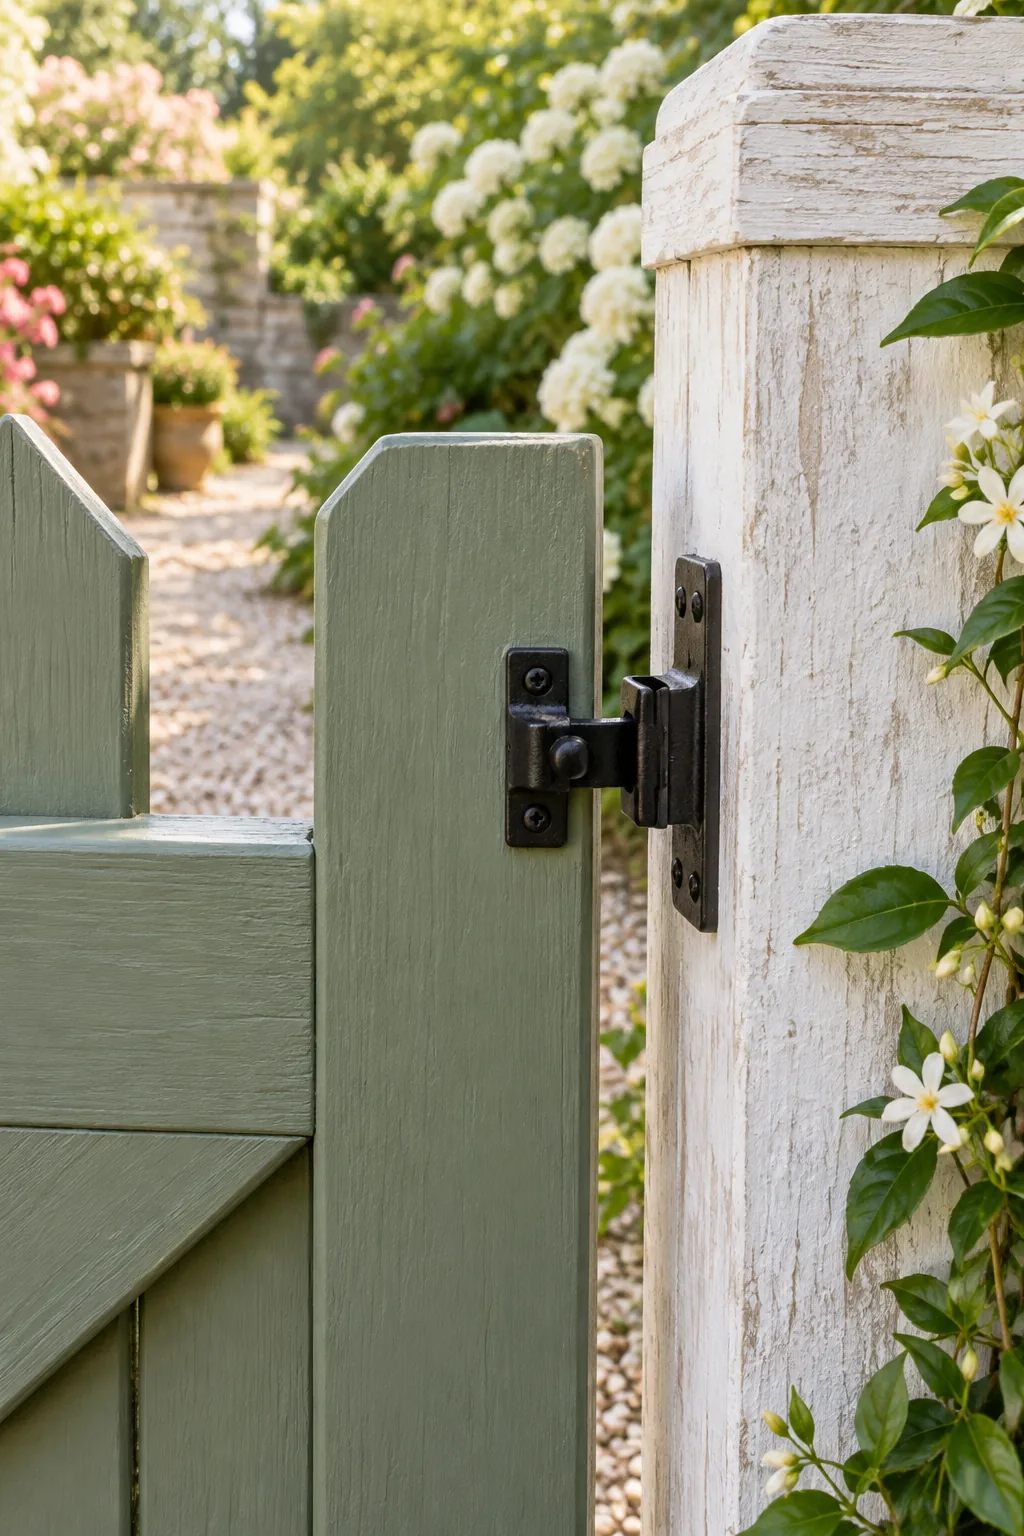
This half-inch tolerance provides just enough breathing room for seasonal expansion while remaining narrow enough that the striker bar can still reliably reach the catch mechanism on the post.
Adjusting for Seasonal Wood Swell
If you are building your wooden gate during a dry August drought, the lumber is fully contracted and at its smallest. Leave a slightly larger 5/8-inch clearance gap to ensure the door won’t stick when the damp spring rains finally arrive.
Installing the Gravity Latch
A gravity latch offers incredibly reliable, one-handed operation when your hands are full of heavy garden tools or plant pots. Mount the main latch mechanism on the outside of the stationary post at top-rail height, aligning the striker bar perfectly.
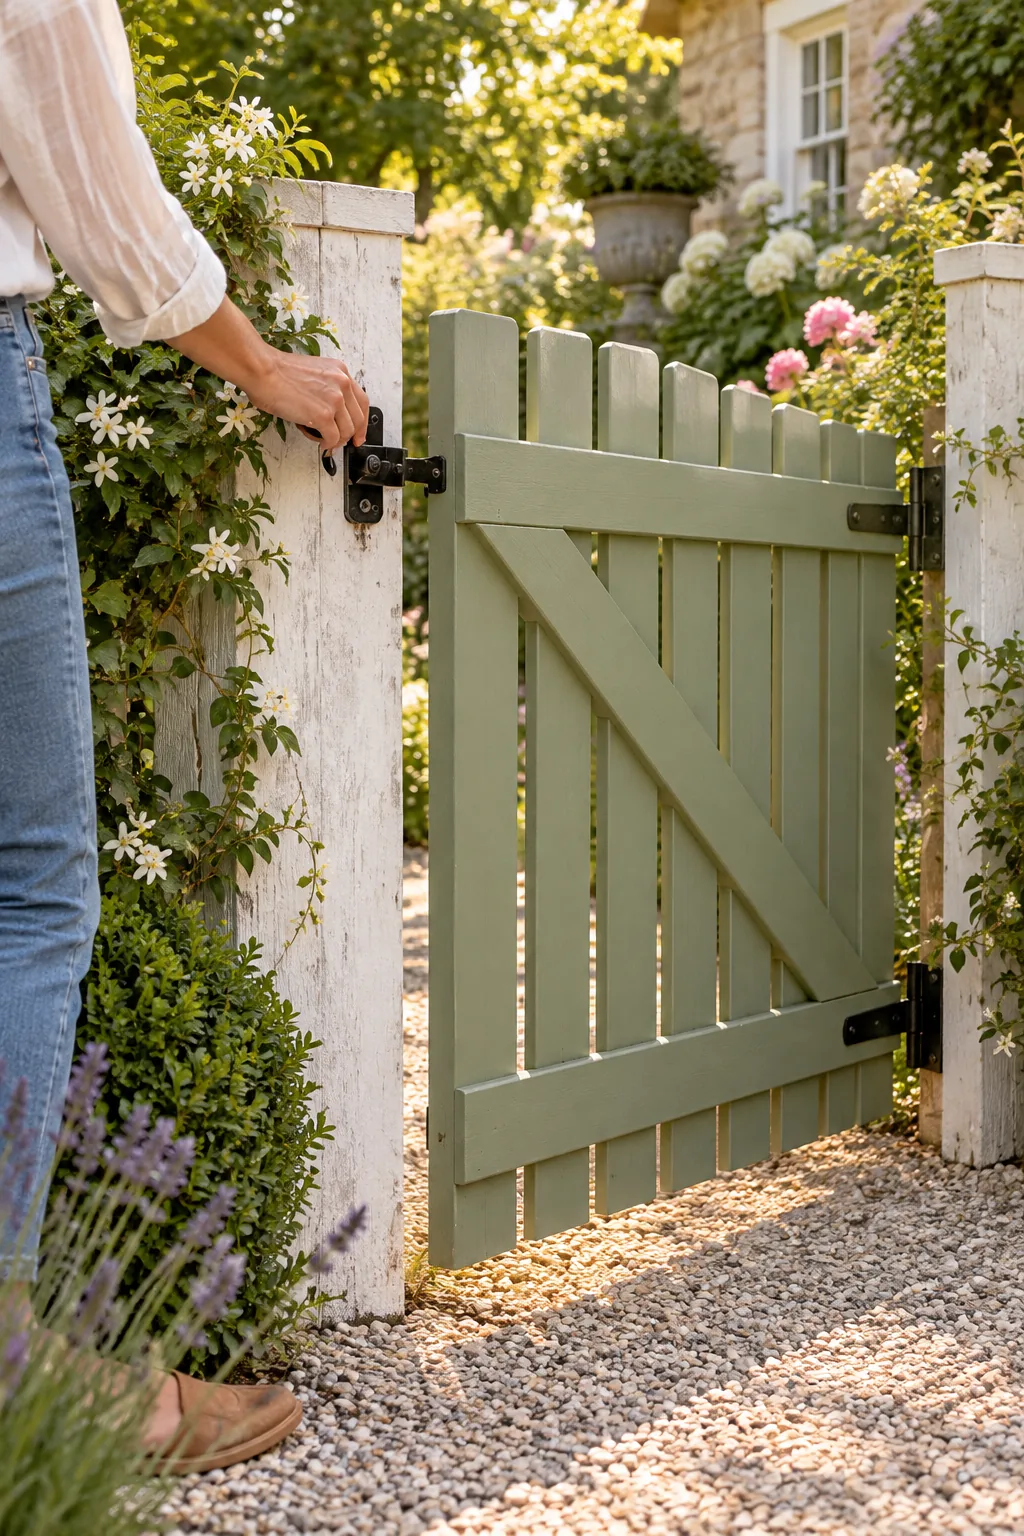
Positioning the release lever at this comfortable standing height means you will never have to bend down or awkwardly reach over the top of the tall pickets to open your garden entrance.
Adding a Protective Gate Stop
Fierce wind gusts can violently blow a gate past its intended closed position, ripping the metal hinges right out of the wood. Nail a simple vertical 1×2 wood strip along the latch post to catch the gate before it ever overextends.
Maintaining the Gate Hardware
Outdoor metal hardware takes a constant daily beating from the hot sun, heavy rain, and continuous friction. Spray the hinge pins and the moving gravity latch components with a dry silicone lubricant every spring to prevent annoying squeaks and rust.
5 Ways to Style a Garden Gate
Discover how different materials, paint colors, and hardware choices can completely transform the look of your garden entrance.
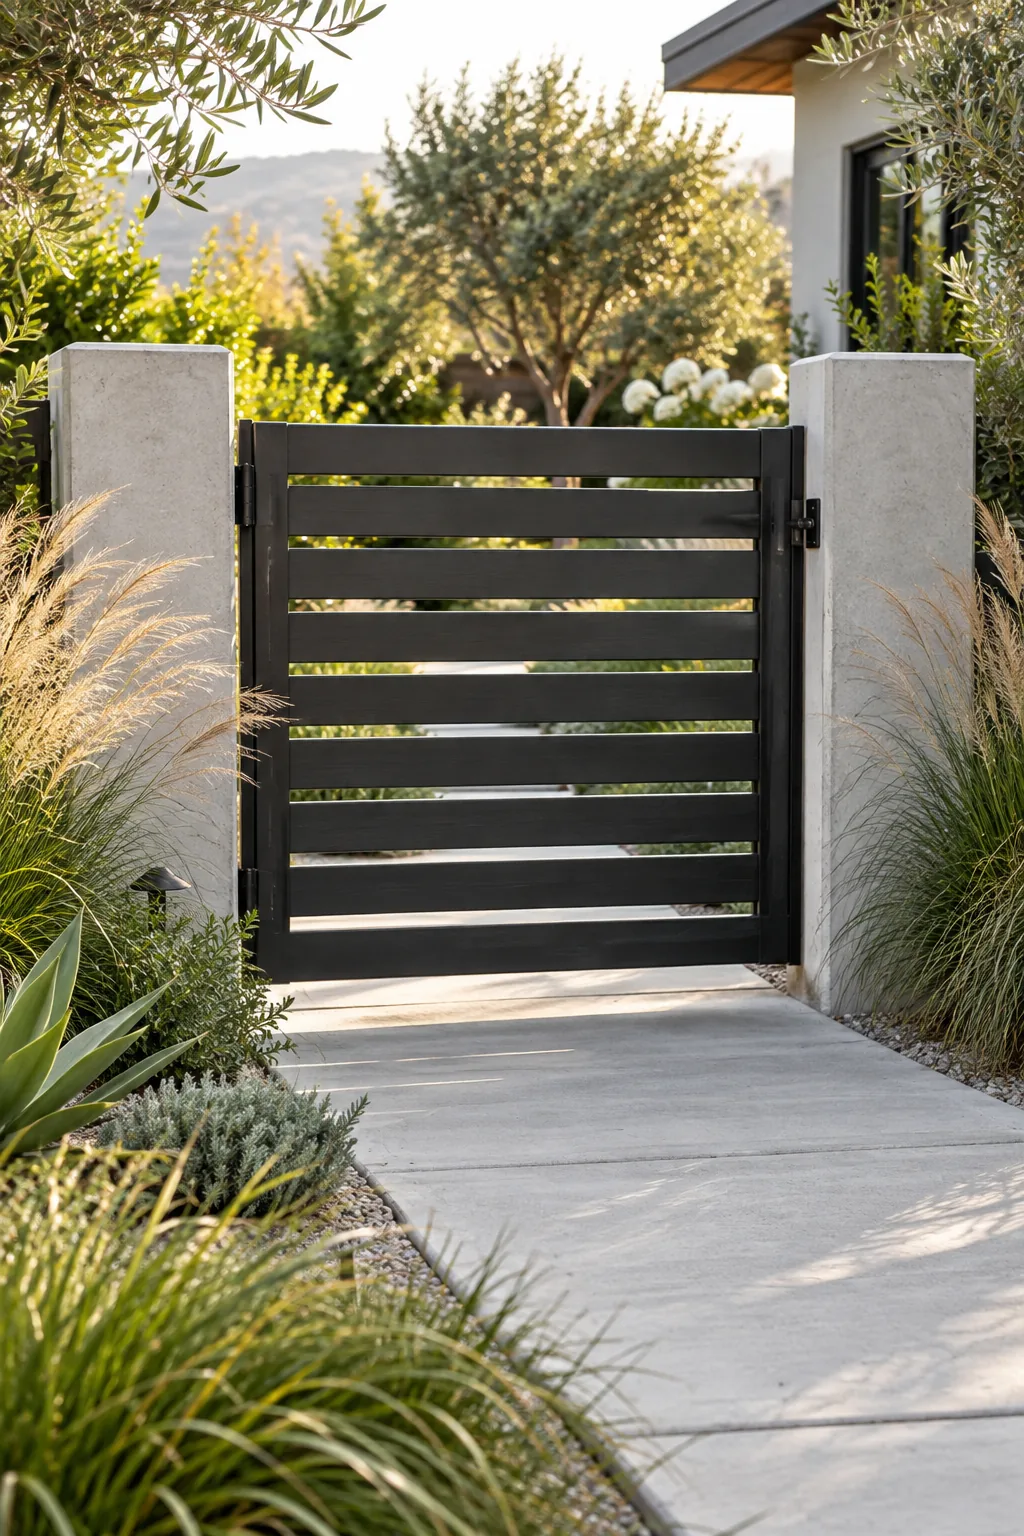
Modern Black Horizontal: Sleek horizontal slats painted matte black offer a contemporary contrast against smooth concrete pillars.
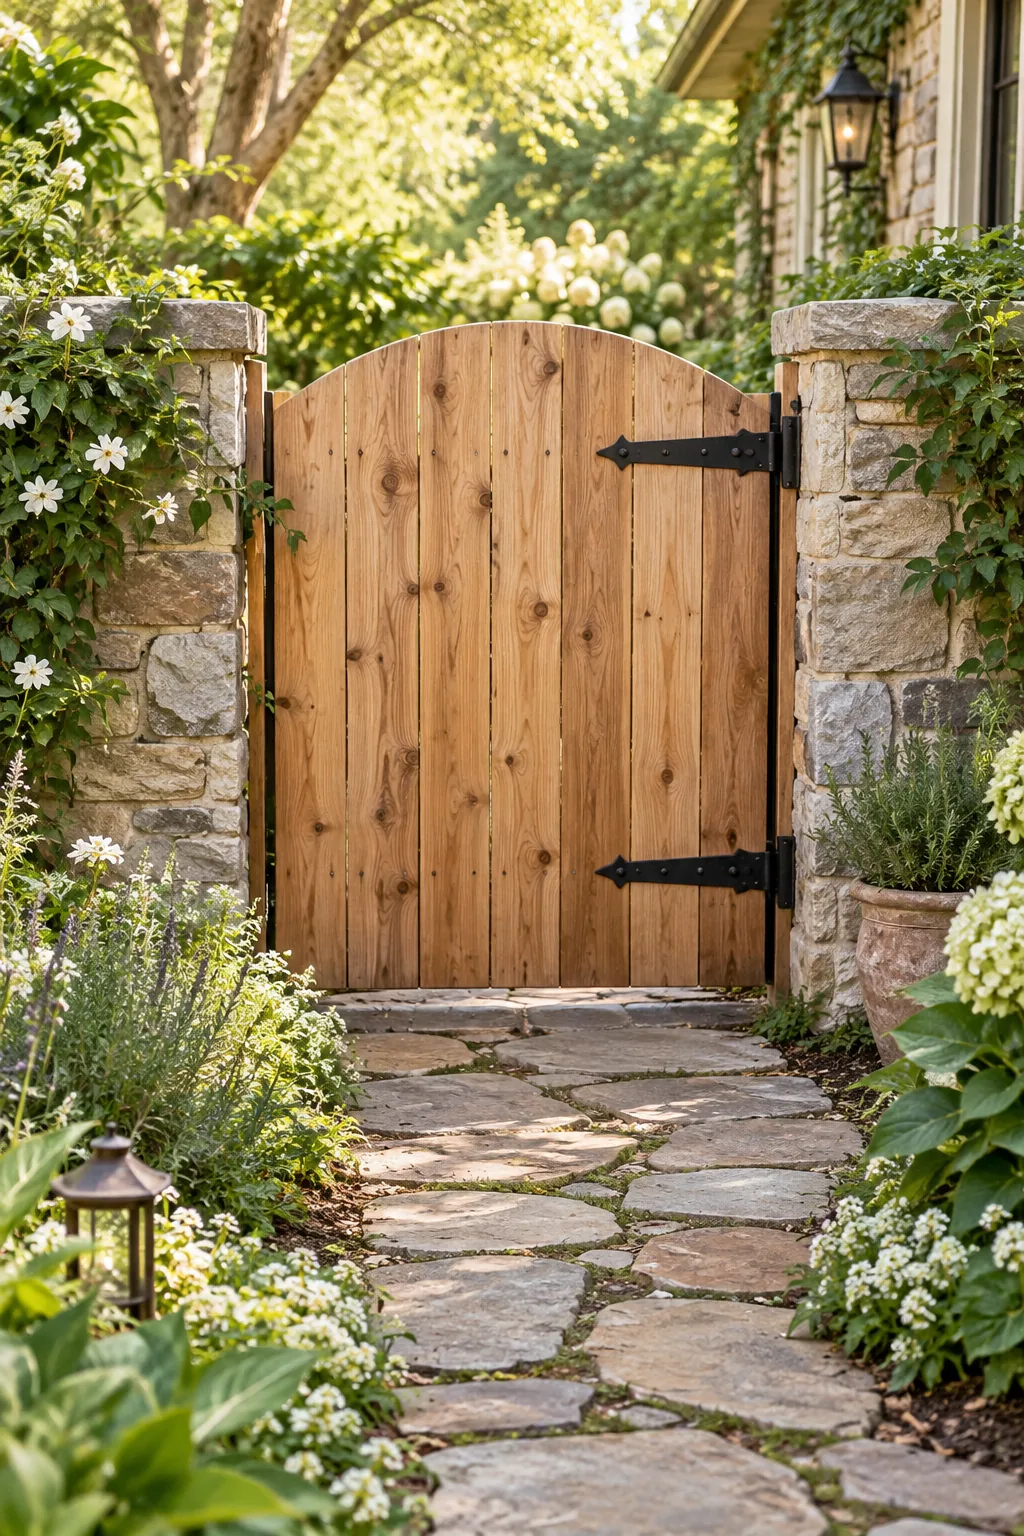
Natural Cedar Arched: Leave raw cedar unpainted to weather naturally, and pair it with an arched top for a rustic woodland feel.
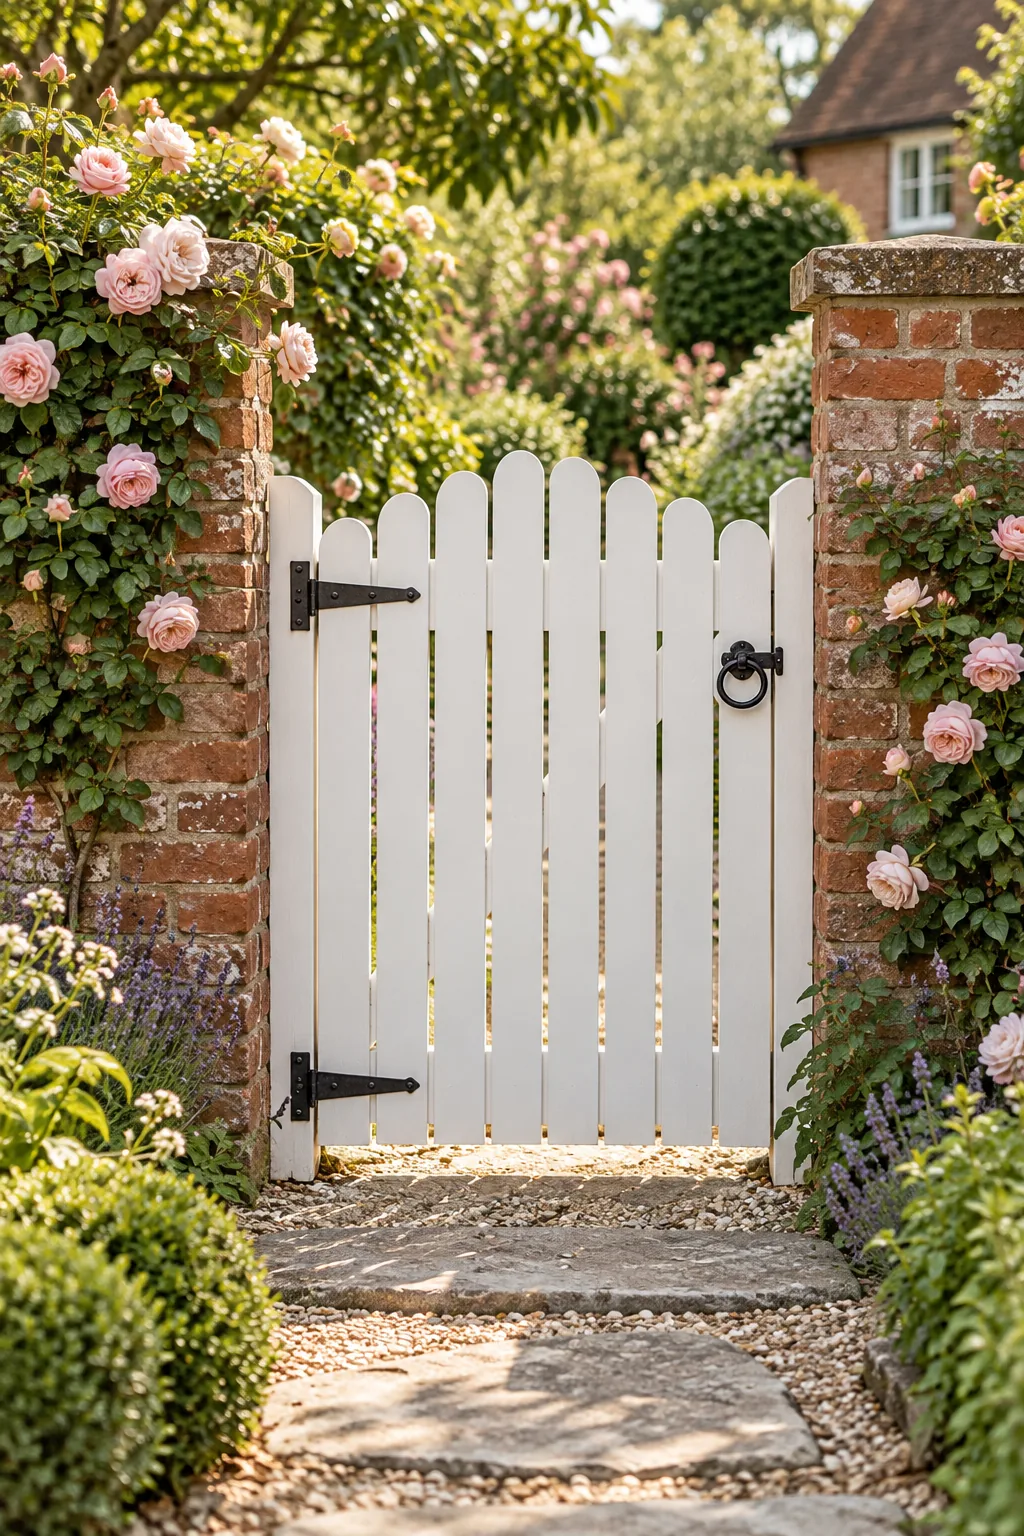
Classic White Scalloped: Scalloped pickets painted crisp white create a timeless, formal entrance when set into a traditional brick wall.
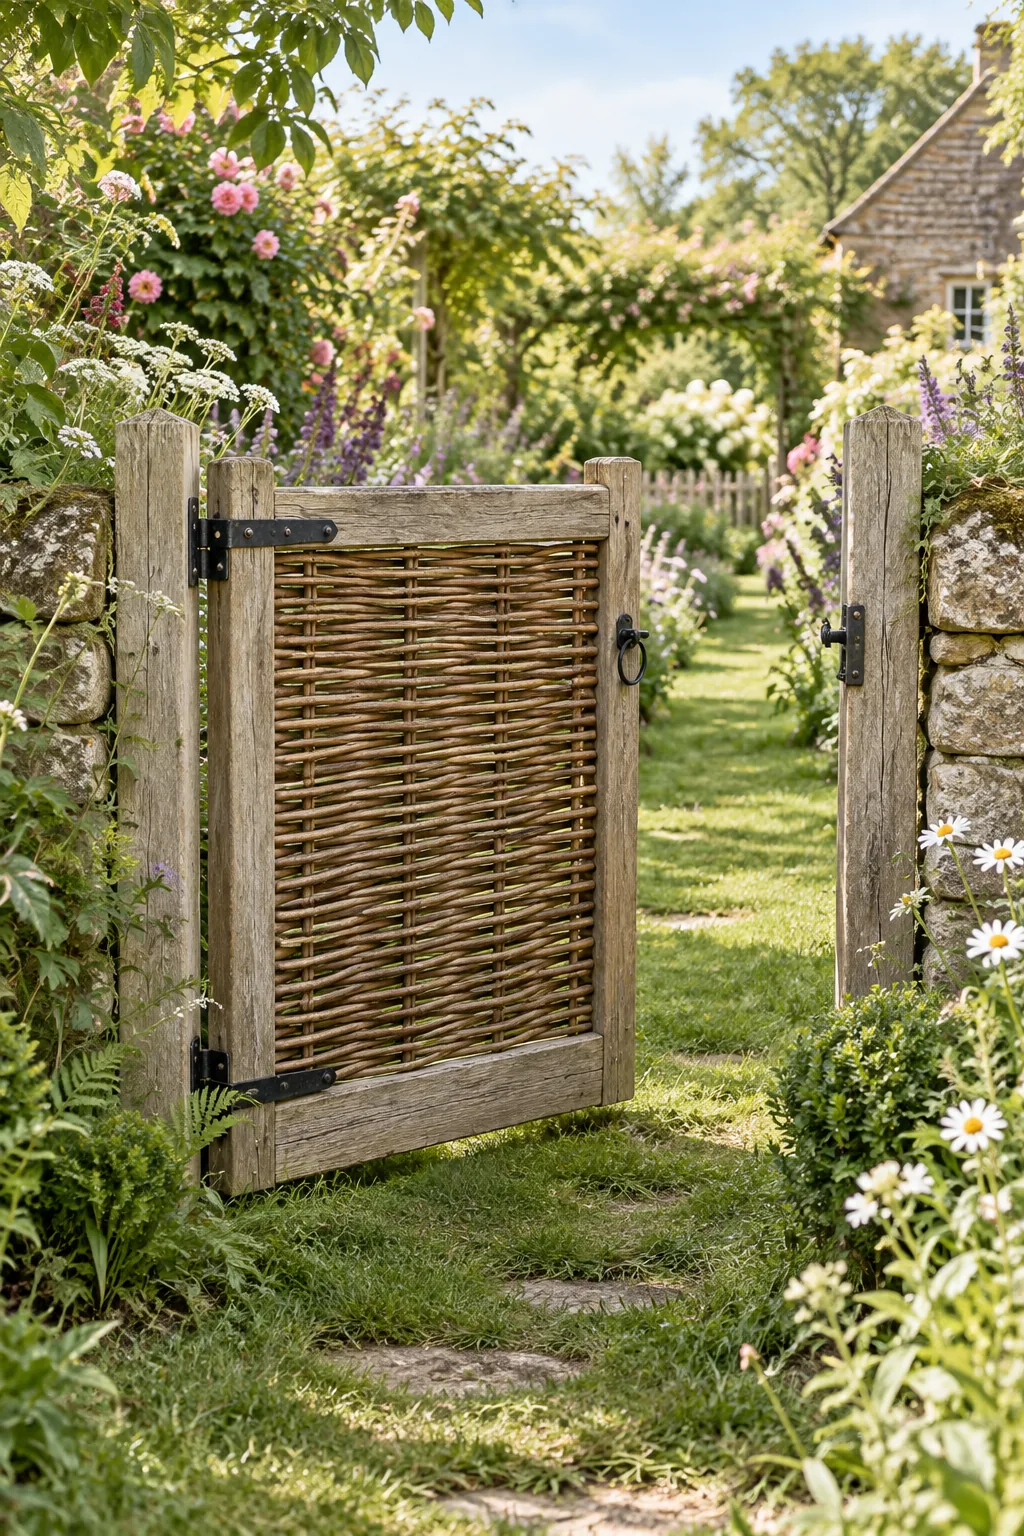
English Cottage Woven: Woven willow branches framed in sturdy oak provide organic texture that blends seamlessly into wild cottage gardens.
Coastal Blue Cross-Buck: A distinctive X-brace design painted in soft, weathered blue brings an instant nautical feel to a coastal property.
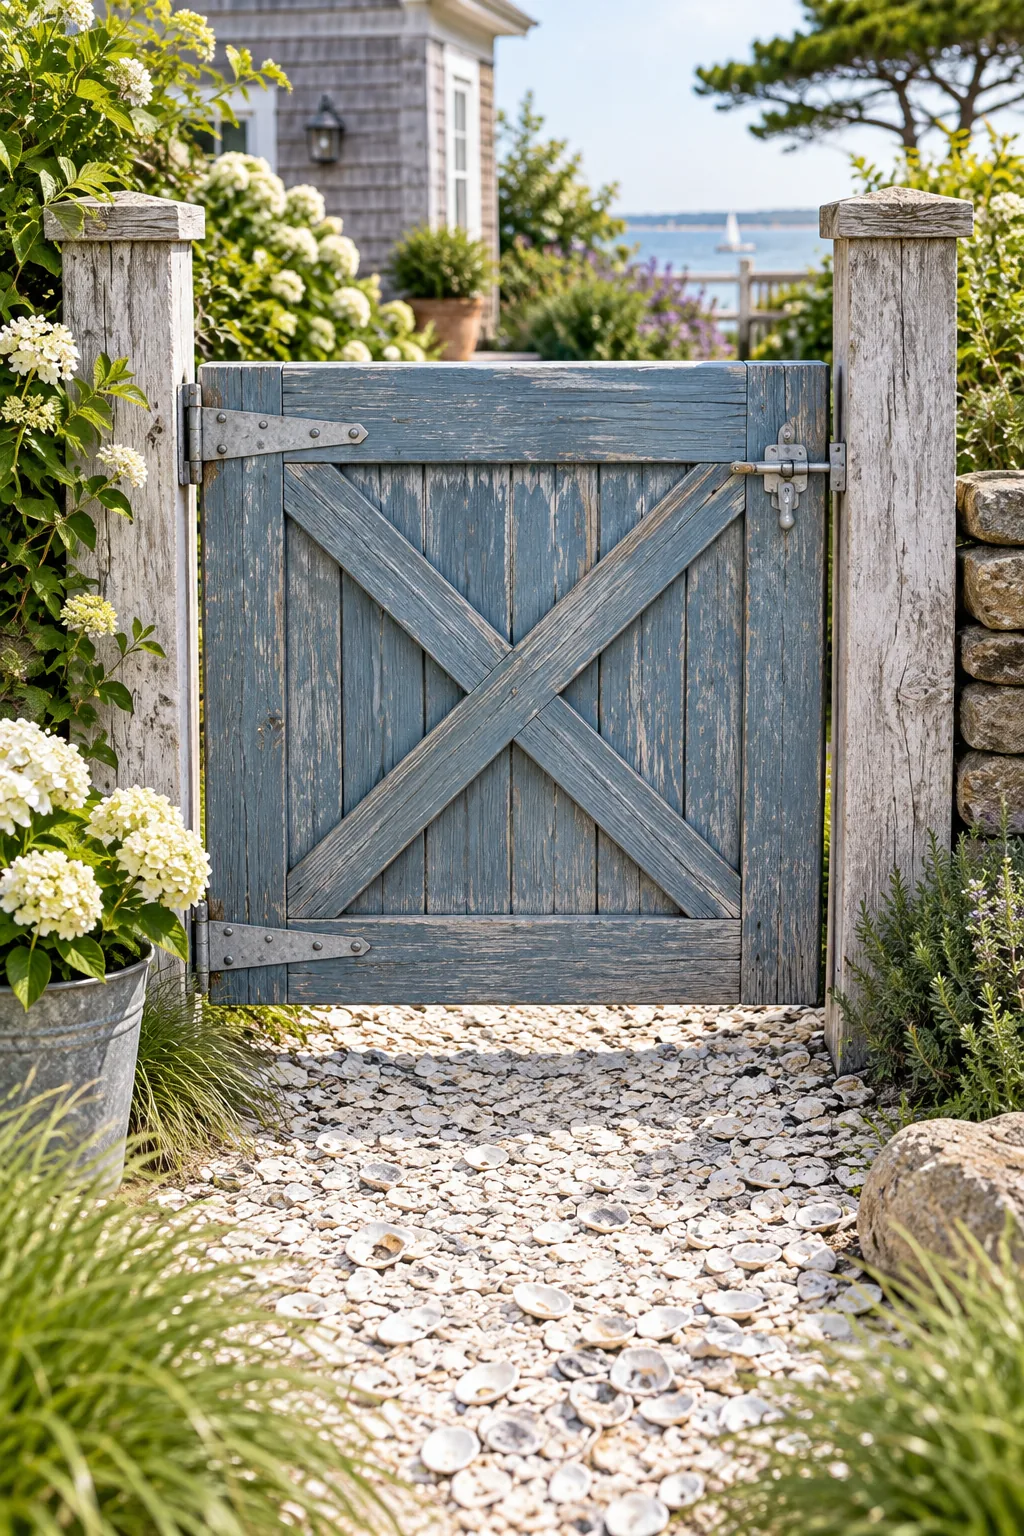
The Weekend Gate Build Sequence
Building this classic gate is a perfect two-day project, dedicating Saturday to cutting the lumber and Sunday to hanging the hardware. Download the 36-inch cut list and follow this exact sequence to frame, paint, and install your beautiful new entrance.
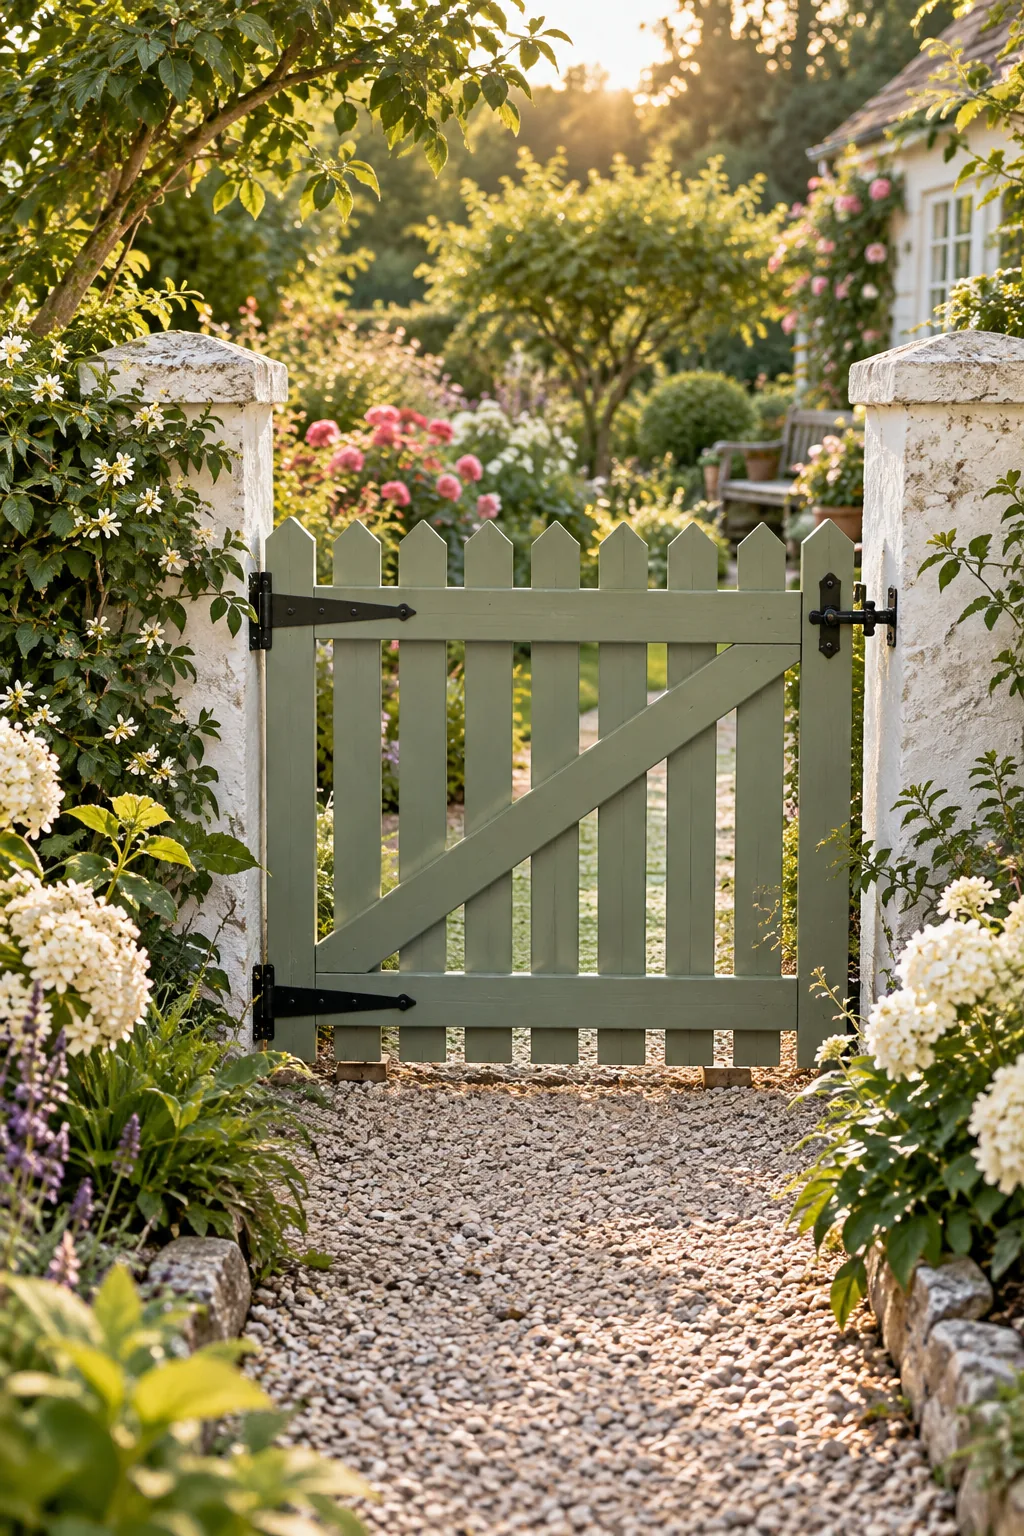
Ready to upgrade your garden entrance this weekend without feeling overwhelmed? Follow this printable breakdown to gather your materials on Friday afternoon and finish the entire installation by Sunday evening.