Honey Oak to Espresso Banister Makeover: Step & Supply Sheet
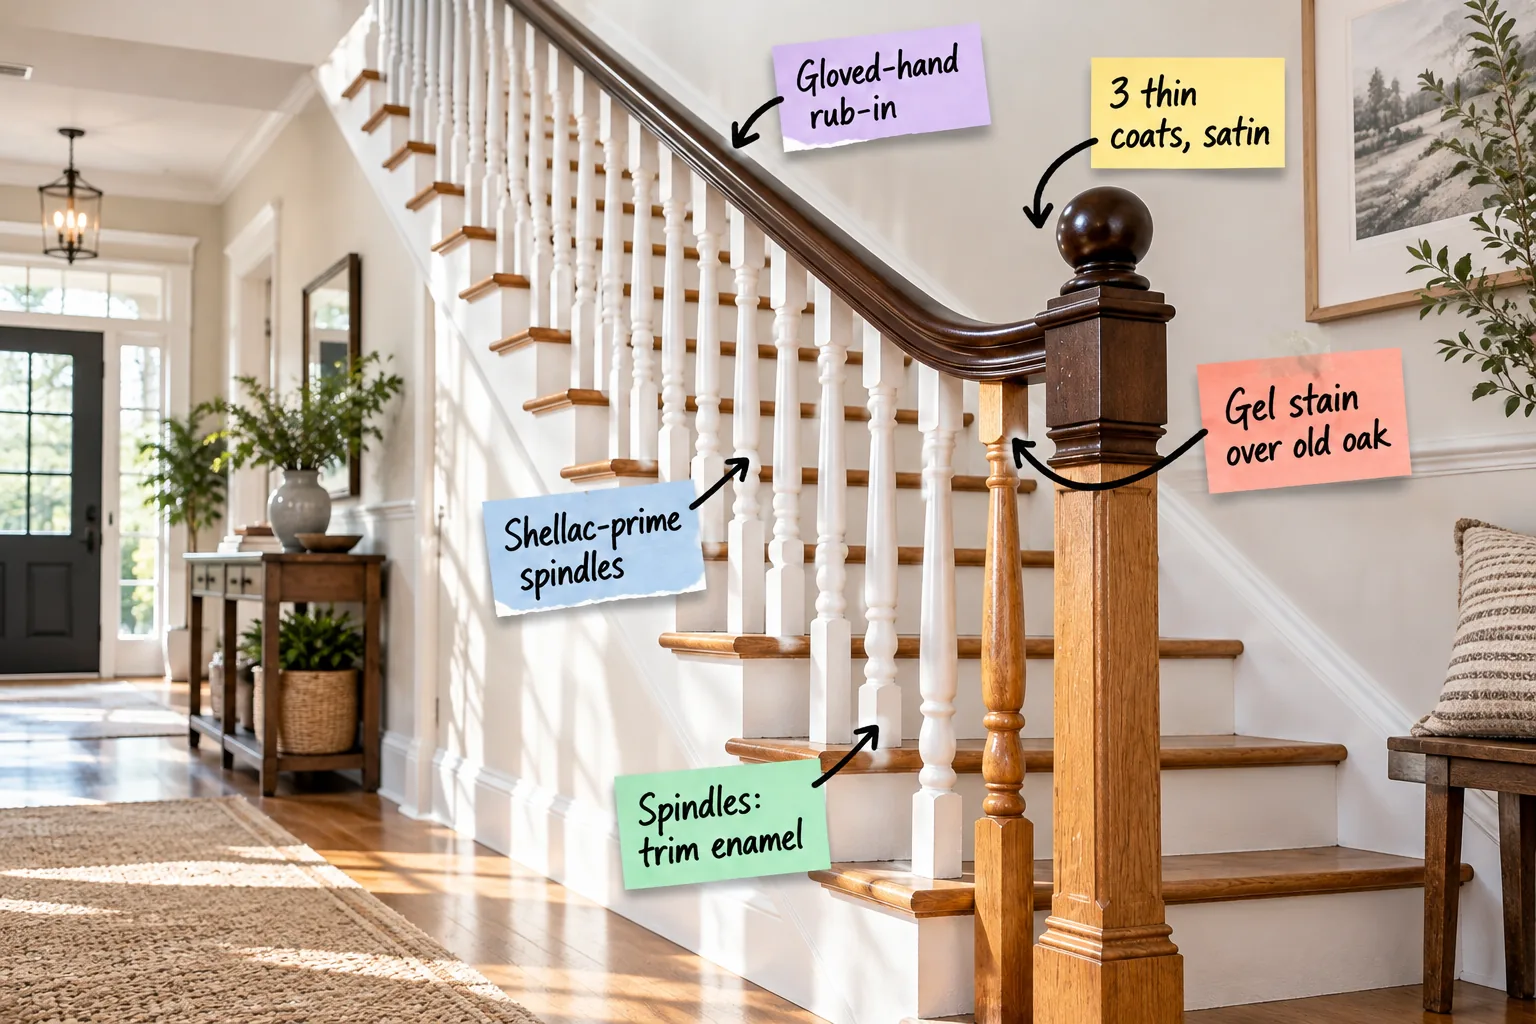
If you want to confidently prep, prime, and stain your staircase for a durable new look, you need the right sequence and exact dry times. Grab our complete Banister Makeover Step & Supply Sheet below to track every layer from the initial scuff-sand to the final espresso topcoat.
The Banister Step & Supply Sheet
When I tackled my own Austin entryway, having a physical checklist taped to the wall kept me from rushing the crucial drying phases. You can print this two-page sequence to track your 120-grit and 220-grit scuff-sanding steps alongside the comprehensive materials list.
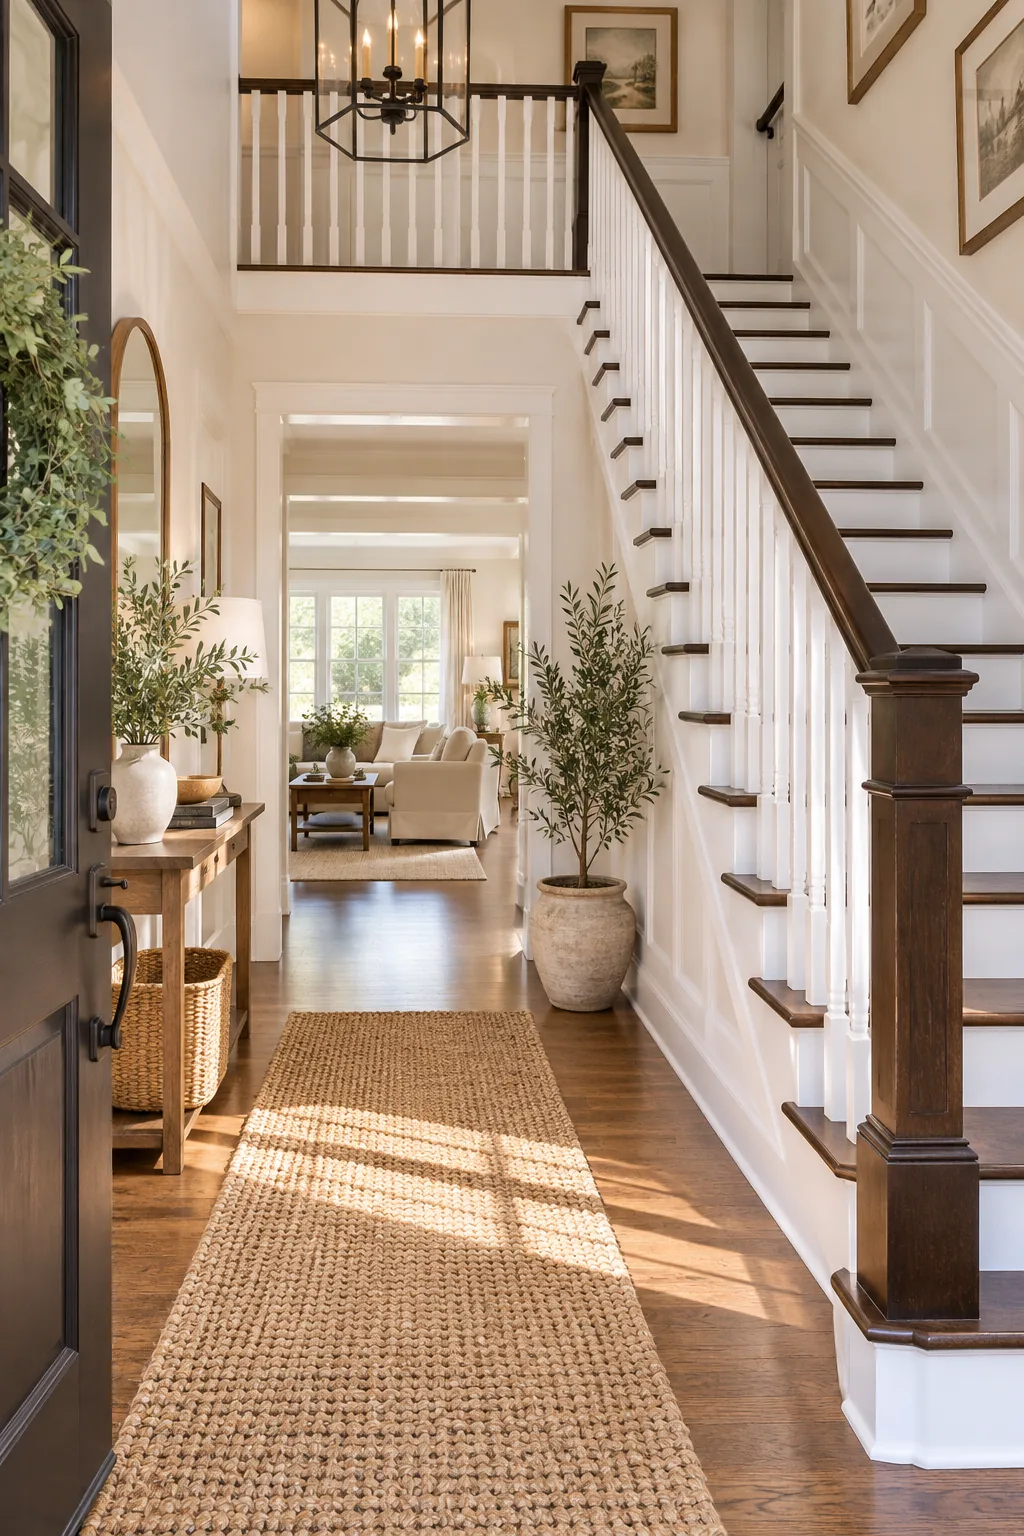
Before printing your supply sheet and heading to the hardware store, verify your workspace is completely ready for the multi-day curing process so you do not encounter unexpected humidity issues.
Protecting Floors and Treads
Because we are working from the bottom up, securing your surroundings is the first physical step. You must protect the adjacent stair treads and flooring before opening any primers or deglossers to prevent permanent chemical damage.
- Lay heavy canvas drop cloths over the entire staircase run to absorb accidental spills.
- Apply heavy-duty painter’s tape exactly where the spindle bases meet the raw wood tread.
- Press the tape edges down with a plastic putty knife to seal out liquid seepage.
Taking the extra time to build this secure protective barrier ensures your original floor finish remains completely untouched during the messy chemical preparation and sanding phases.
Blocking Bleed-Through with Shellac Primer
Raw or scuffed wood contains natural tannins that will quickly ruin a fresh white finish if they are not permanently blocked. A shellac-prime spindles approach seals the wood grain instantly, preventing those stubborn yellow stains from migrating into your topcoat.
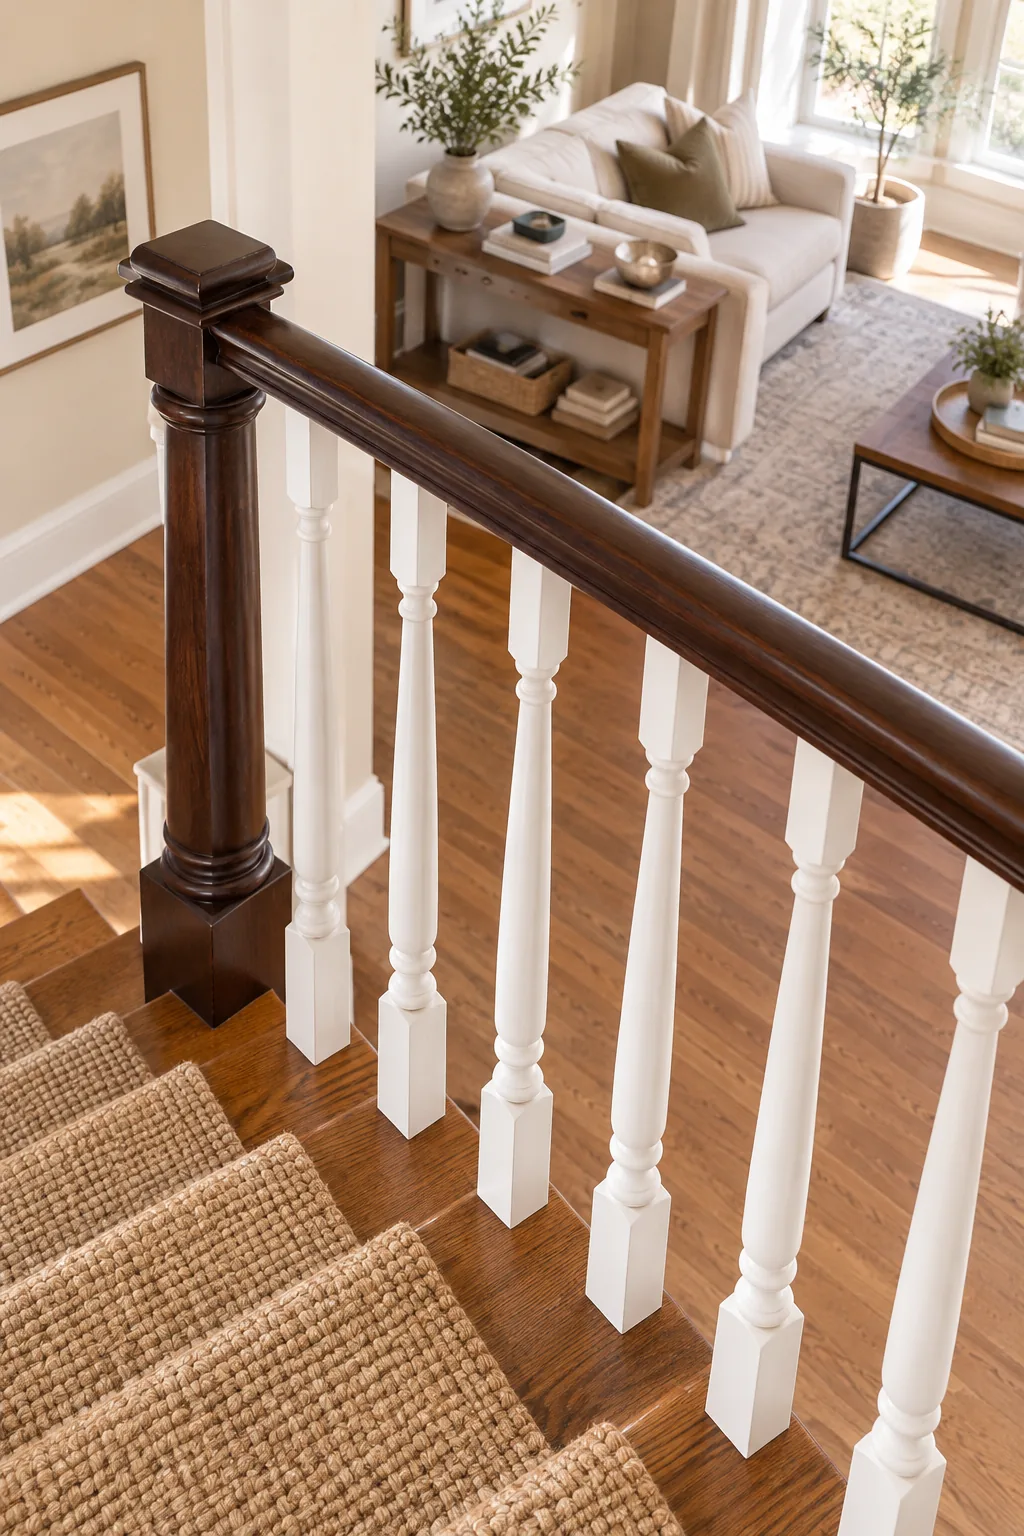
You must allow a crucial 45-minute dry time for the shellac to harden completely. Once cured, perform a light smoothing pass with 220-grit sandpaper to knock down any raised wood fibers before applying your paint.
Crisp Spindles with Trim Enamel
Upgrading to a high-quality urethane formula guarantees a spindles: trim enamel finish that self-levels as it dries. This specific paint eliminates visible brush strokes on the rounded wood, leaving a smooth surface that resists heavy vacuum bumps.
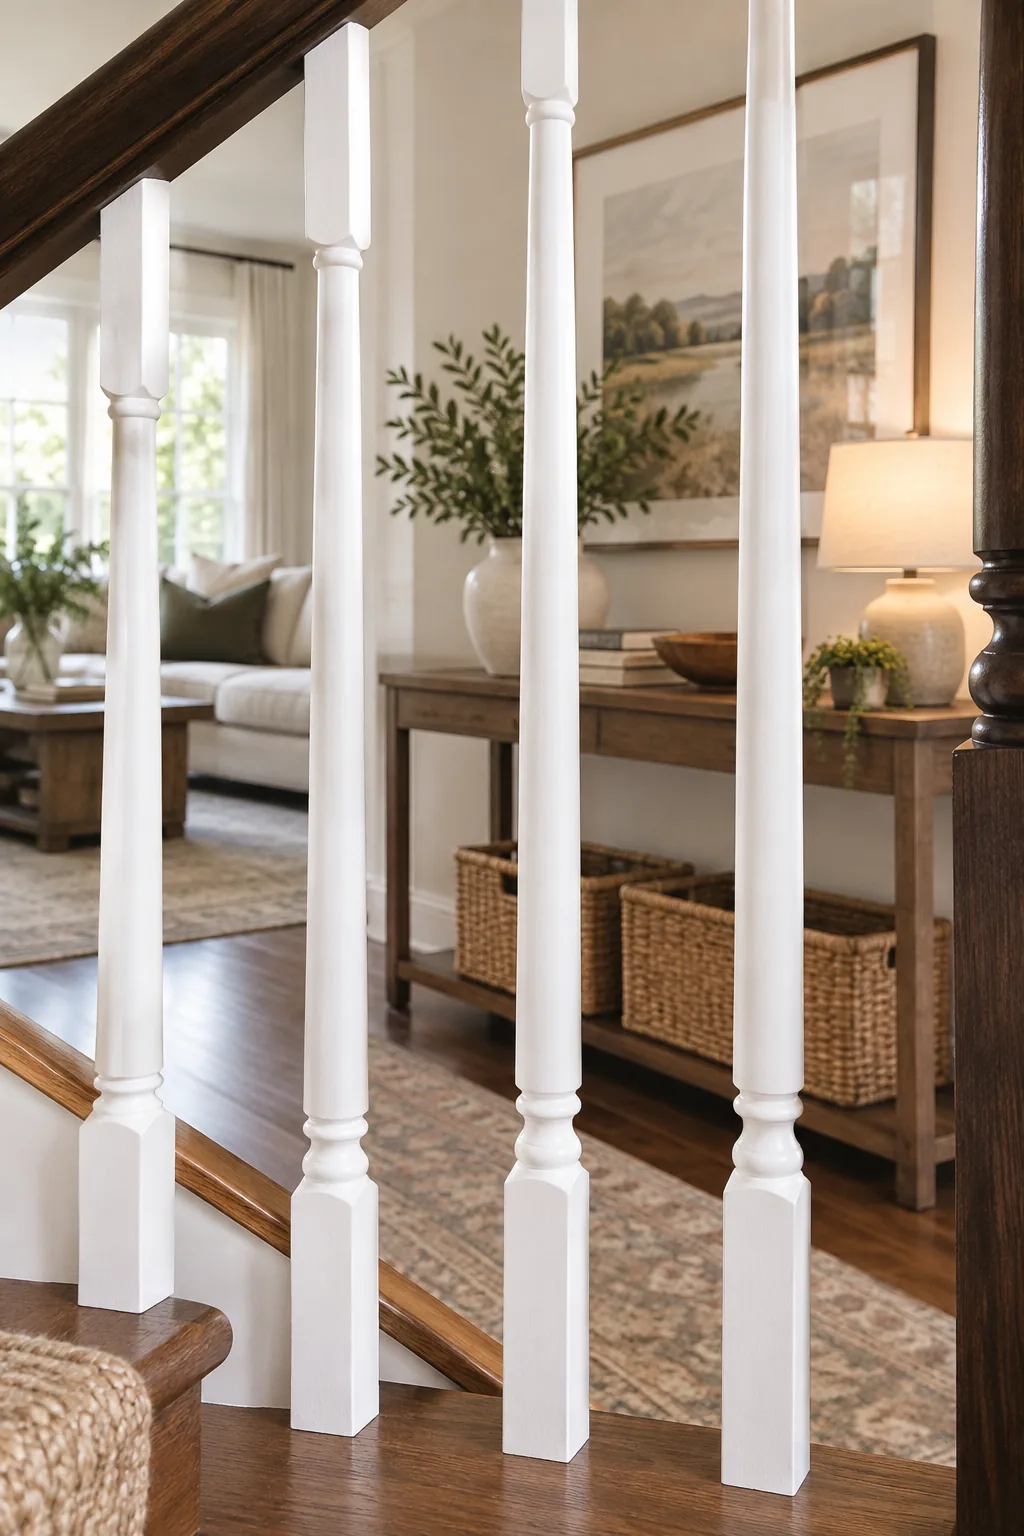
Apply two thin coats of the enamel, adhering to a strict 4-hour recoat time between layers. Rushing this window traps moisture underneath, which compromises the rock-hard durability you need for high-traffic staircase zones.
Chemical Deglossing for the Handrail
With the spindles painted and protected, you must strip the slick factory finish off the handrail. A liquid deglosser chemically etches the existing clear coat, creating microscopic pores that give the new color something to grip.
| Method | Mess Level | Surface Profile | Best For |
| Liquid Deglosser | Low | Chemically etched | Intricate curves |
| Power Sanding | High | Physically leveled | Flat broad areas |
| Hand Scuffing | Medium | Lightly abraded | Between topcoats |
Always wipe the etched handrail down with a lint-free cloth dampened in mineral spirits to remove any residual chemical sludge before proceeding to the staining phase.
Gel Stain Over Old Oak
I learned the hard way that old honey oak repels standard liquid stain, which is why I now rely exclusively on thicker formulas. Applying gel stain over old oak works because the pigment sits on top of the sealed wood rather than trying to penetrate it.
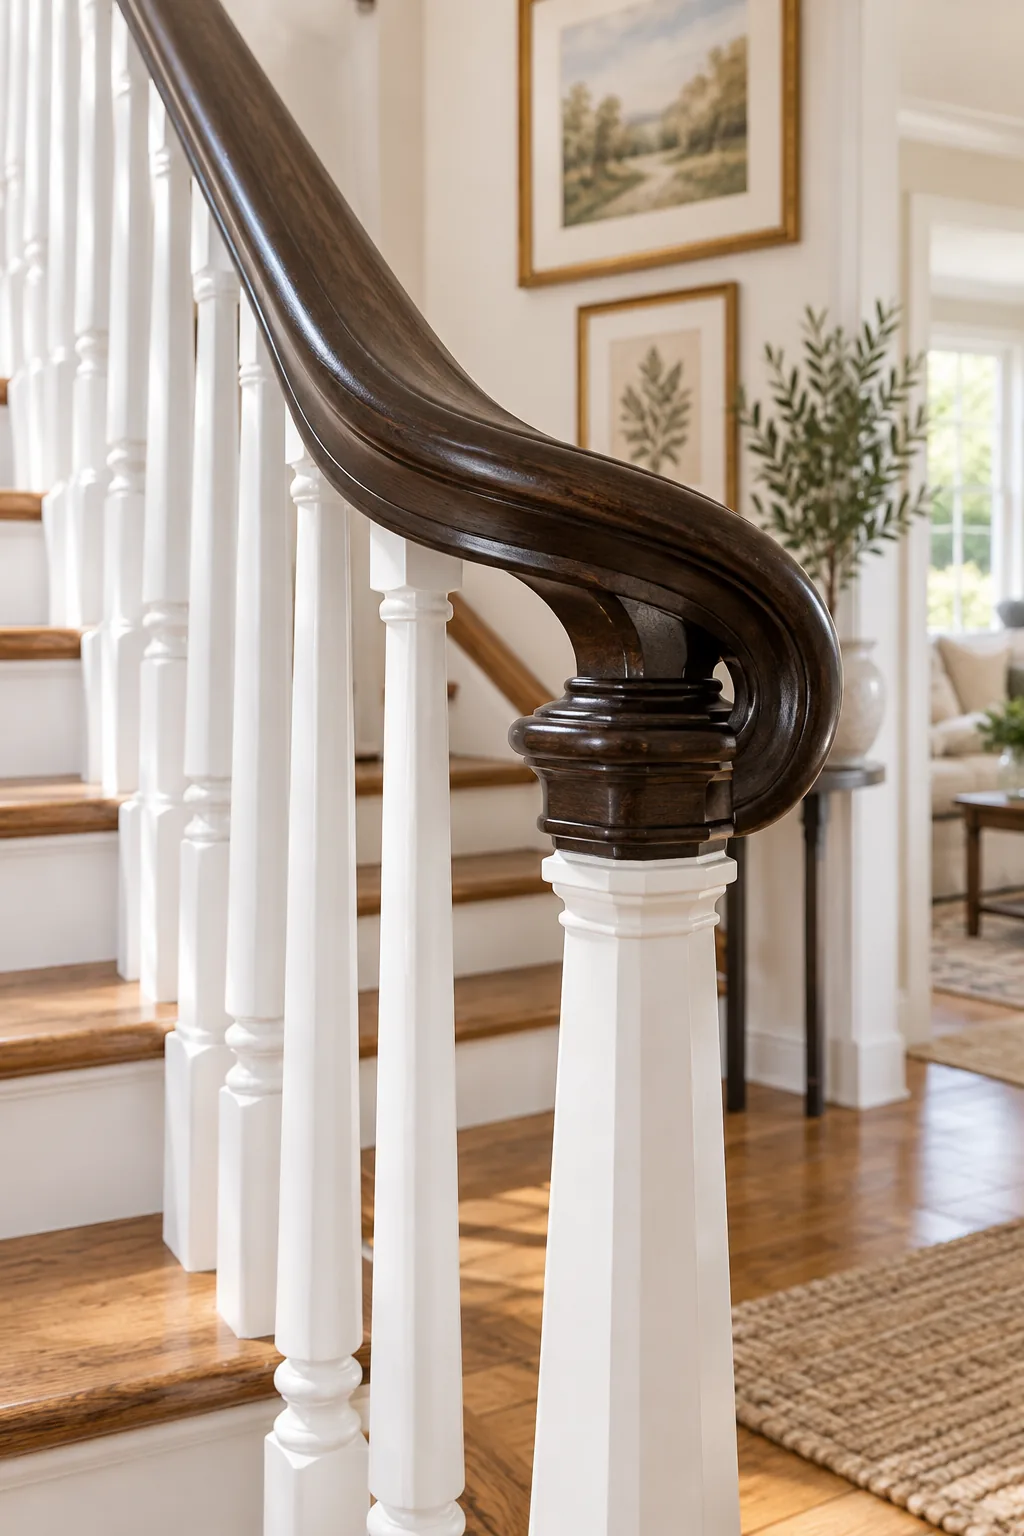
Because gel stain acts more like a translucent paint, surface preparation dictates whether your new espresso finish will adhere smoothly or eventually peel off.
The Gloved-Hand Rub-In Technique
Achieving a flawless finish on rounded profiles requires ditching the standard bristle brush. The gloved-hand rub-in technique involves wearing a nitrile glove under a clean cotton sock to massage the thick pigment into the wood.
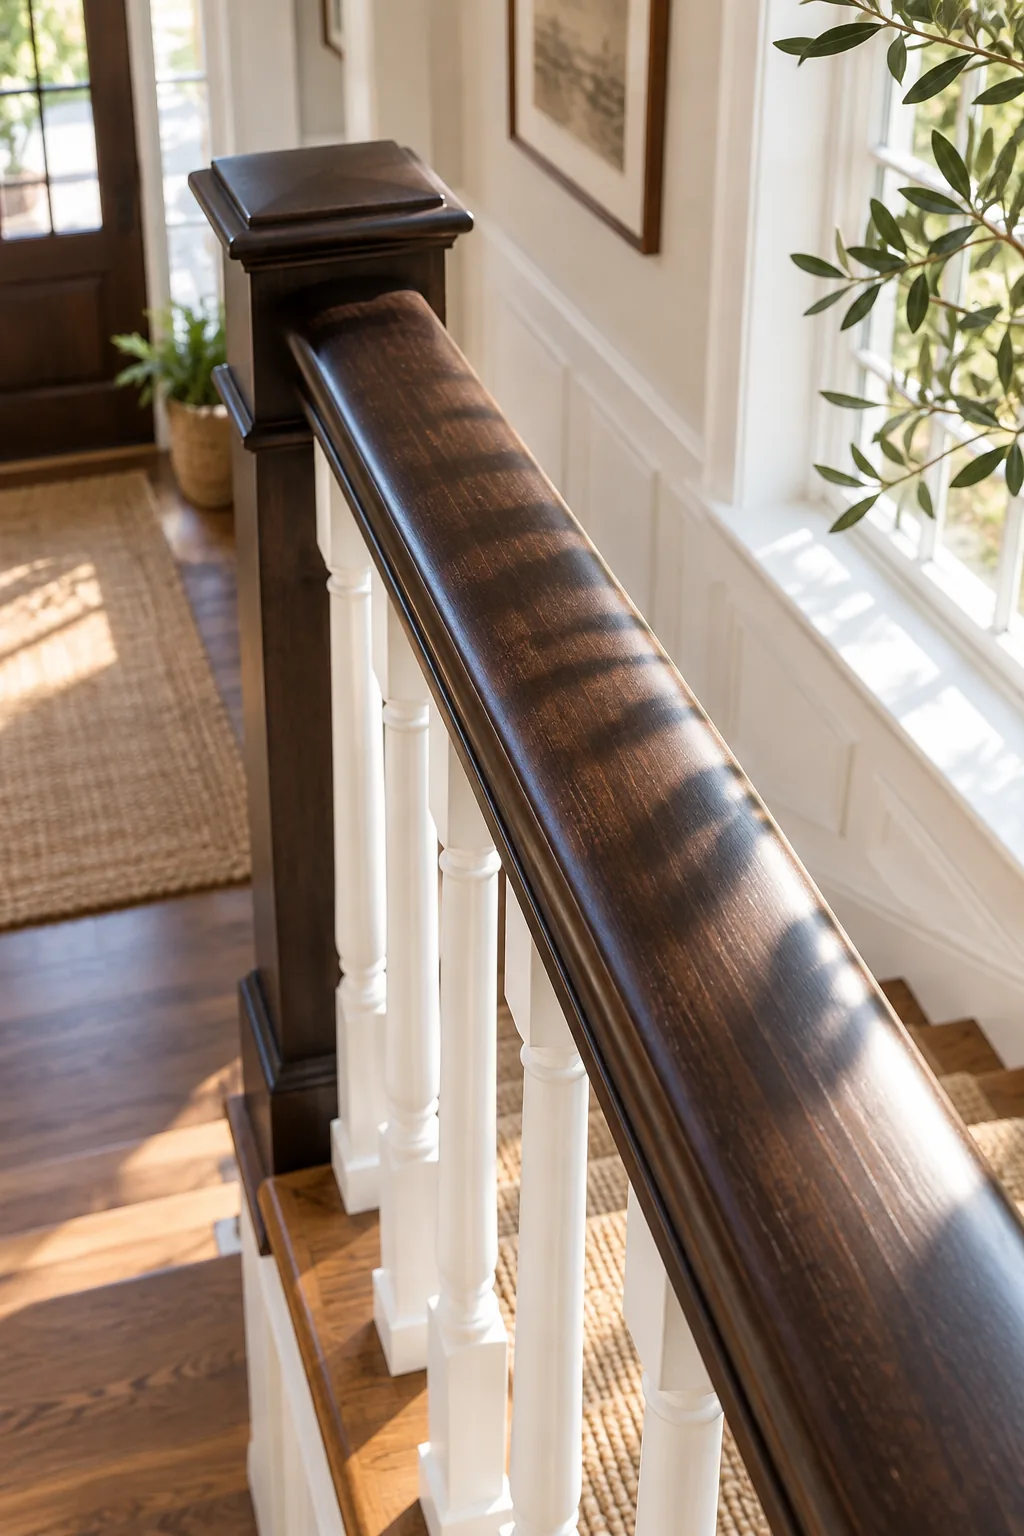
This tactile method allows you to feel the curved underside profile of the handrail as you work. It ensures seamless wiping without leaving heavy drips or sticky pooling behind on the hidden surfaces.
Building Color with Three Thin Coats
In my own home, the first coat looked terrifyingly streaky, but I resisted the urge to slather it on thick and trusted the layering process. You must build the deep espresso color gradually by applying 3 thin coats, satin finish, wiping the excess away gently.
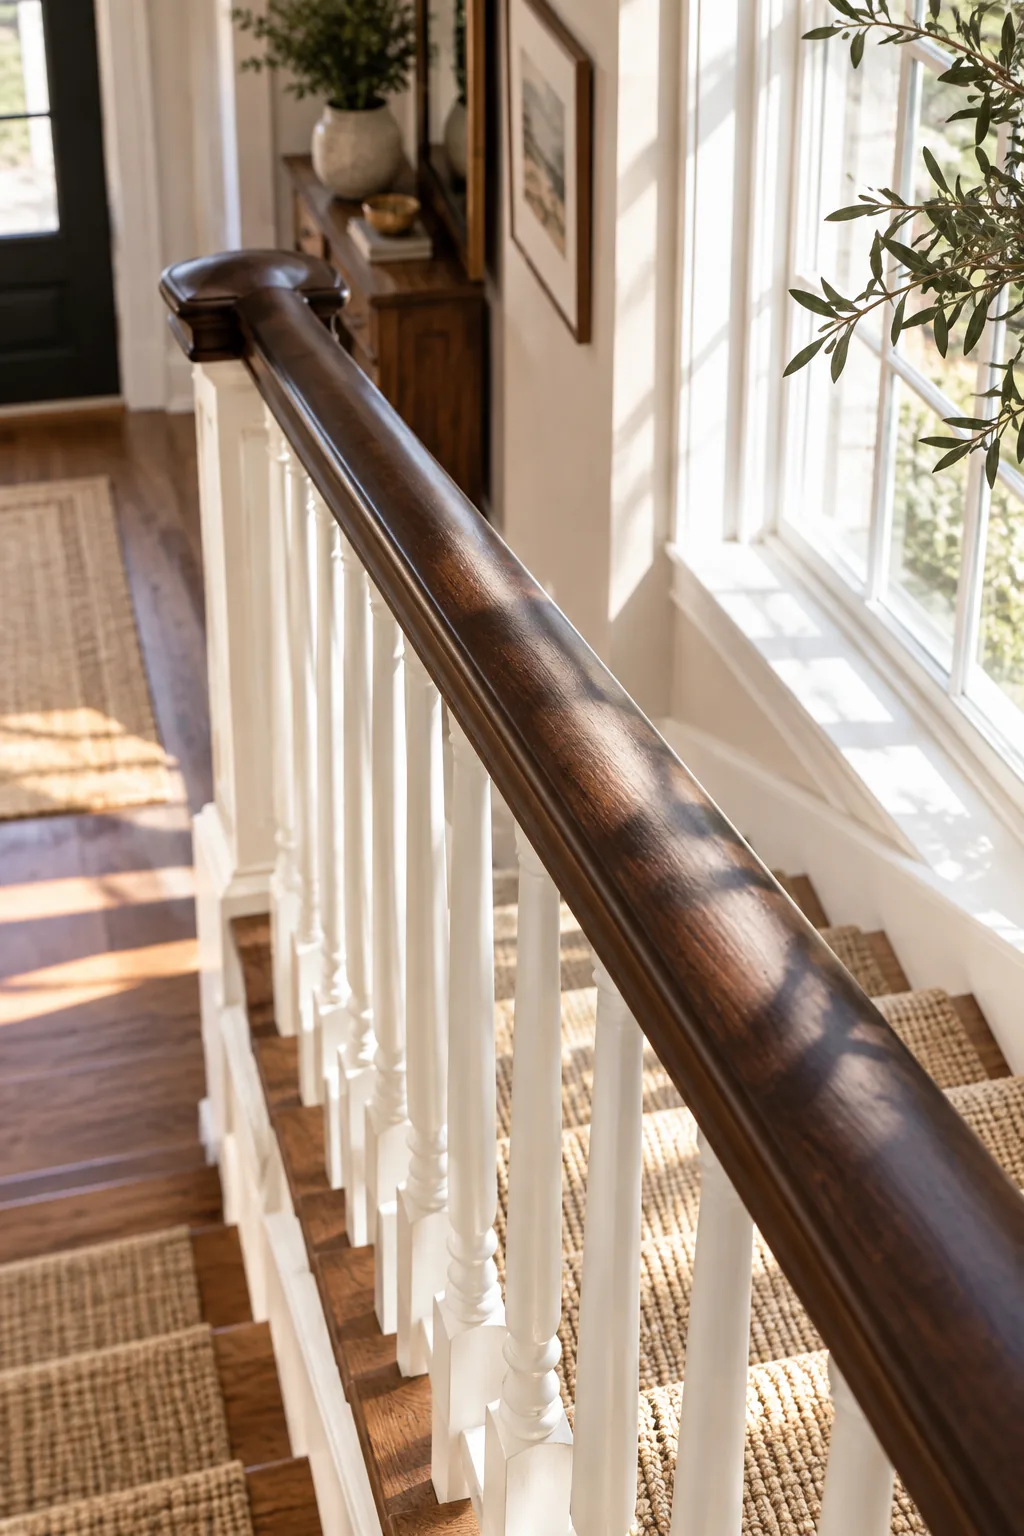
You must wait a full 24 hours between each layer to let the solvents evaporate. Applying the next layer too soon will reactivate the previous coat, turning your beautiful handrail into a sticky, uncured mess.
Light Sanding Between Topcoats
Once your final layer of color has dried completely, the wood grain will likely feel slightly rough to the touch. You must lightly abrade the handrail with a 400-grit sanding sponge to sever these raised fibers without removing the underlying pigment.
Removing this microscopic dust ensures your clear protective topcoat will lay down perfectly smooth and bond tightly to the dark espresso stain.
Controlling Sheen with a Satin Finish
Selecting the right clear coat determines how well your banister handles daily wear and tear. A wipe-on polyurethane in a satin finish provides a soft, elegant glow that beautifully complements the rich espresso tones.
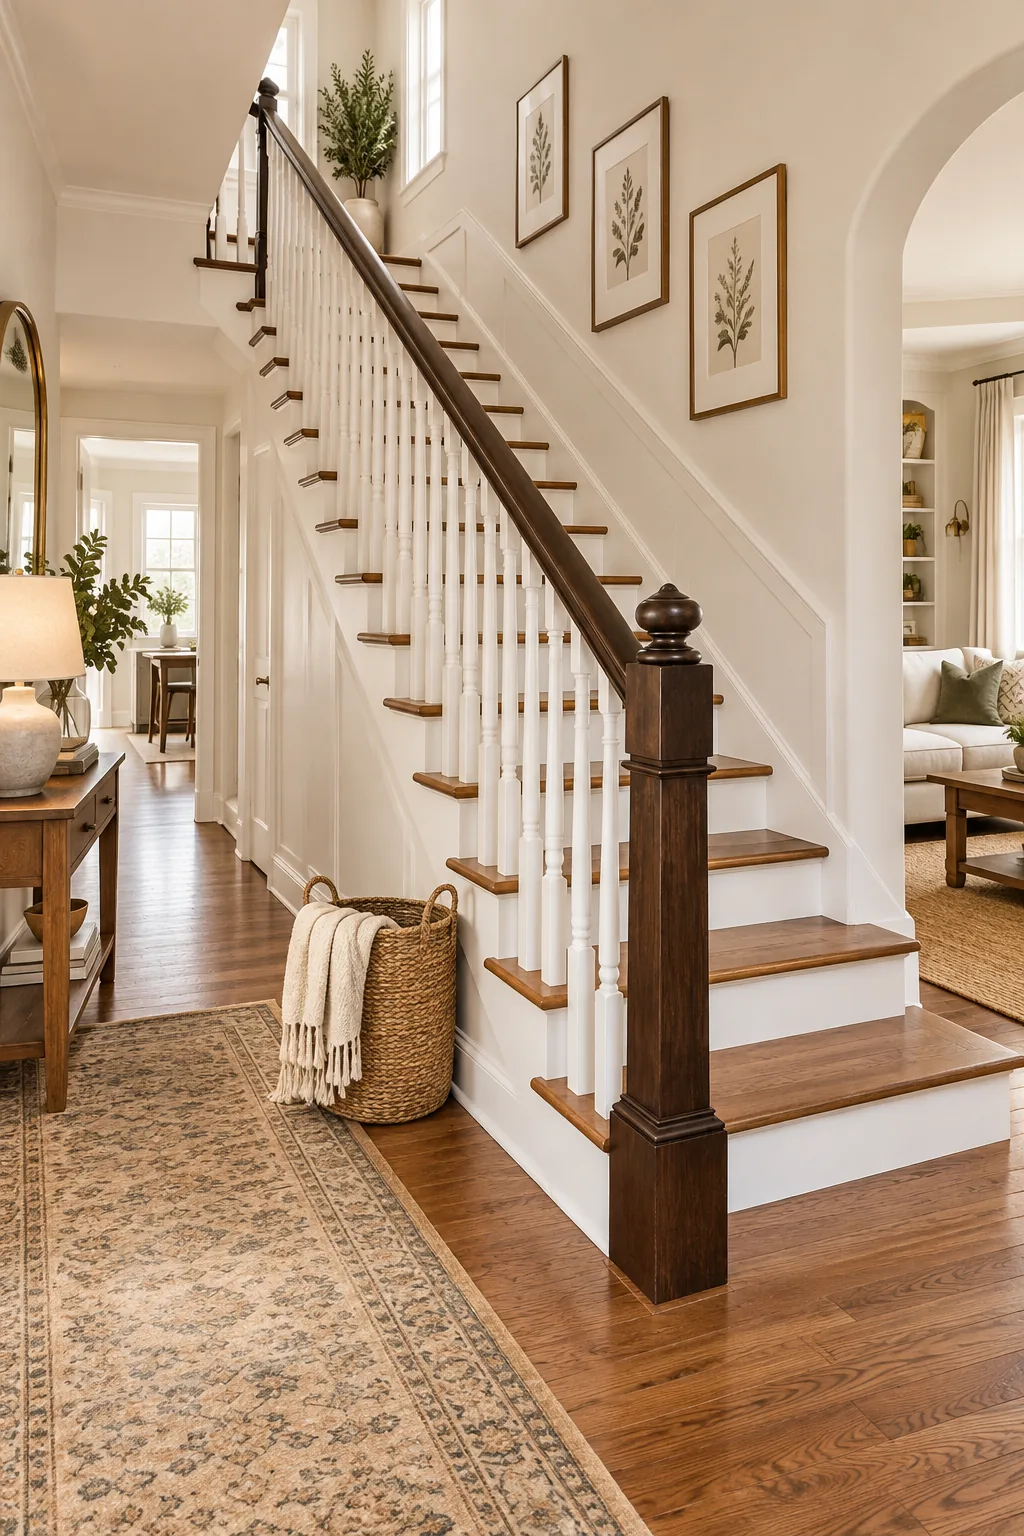
This lower sheen level is the best choice for high-traffic handrails because it hides micro-scratches and oily fingerprints far better than a glossy or semi-gloss alternative.
Curing Time for Everyday Traffic
Reaching the final topcoat feels like the finish line, but the chemical hardening process is just beginning. You must treat the banister gently for the first 72 hours, allowing only light, clean-handed touches as the surface cures.
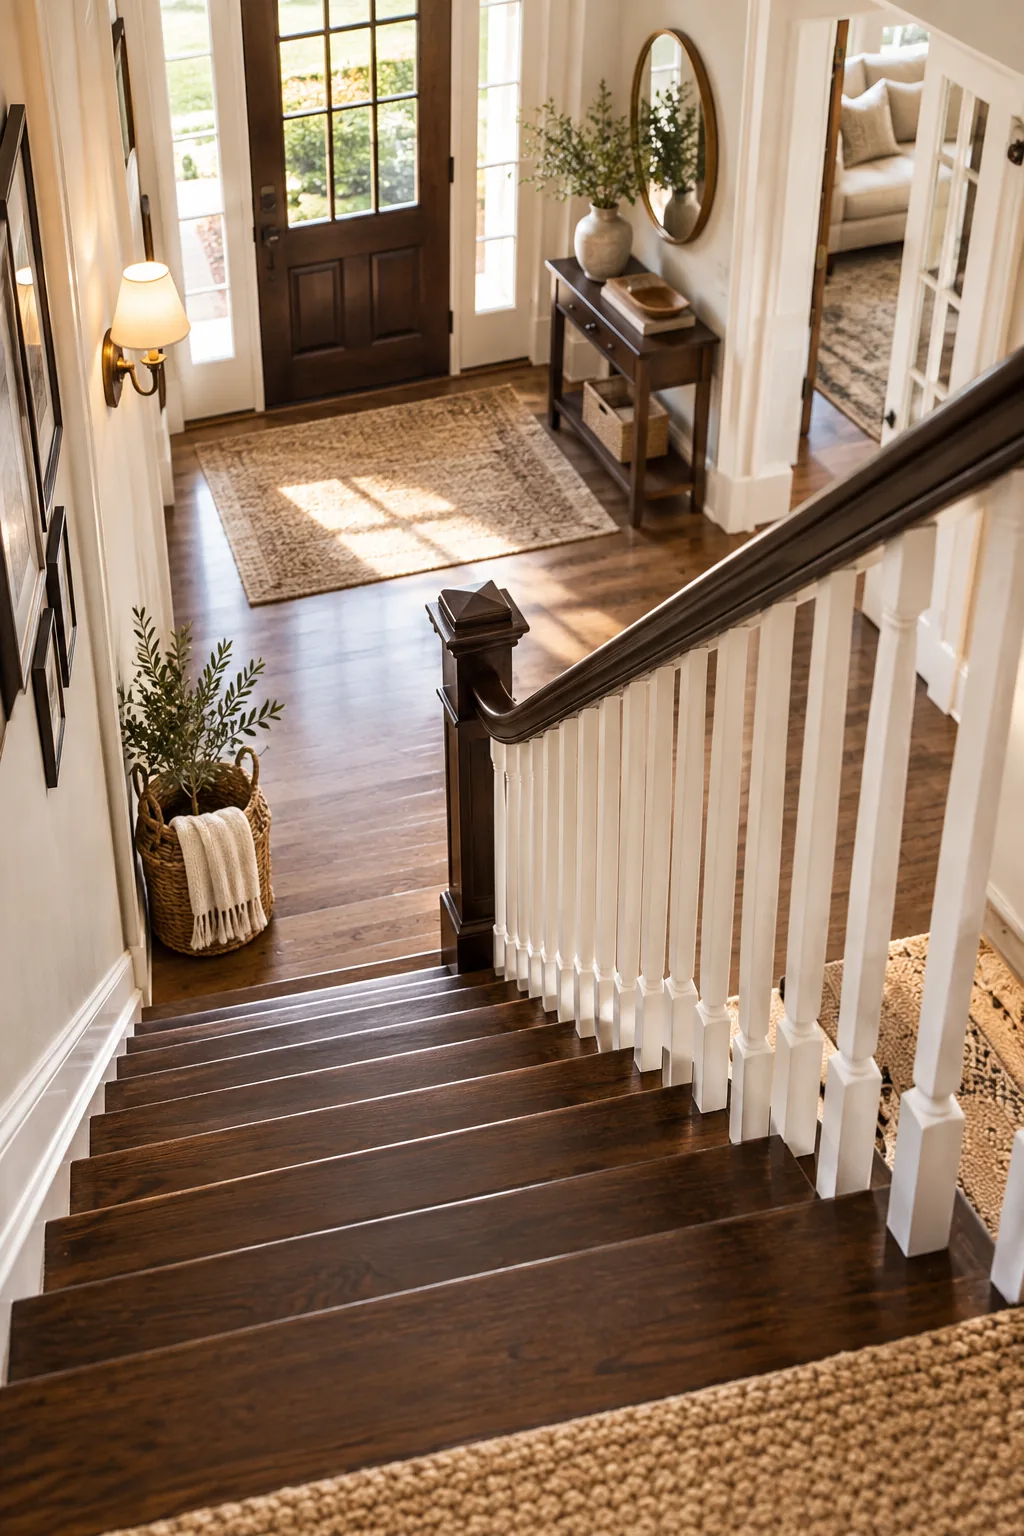
While the handrail will feel dry to the touch by the next morning, you must wait a full 30 days before using any wet cleaning sprays or disinfecting wipes on your new finish.
More Staircase Color Transformations
Find the perfect palette for your entryway with these finished banister styles.
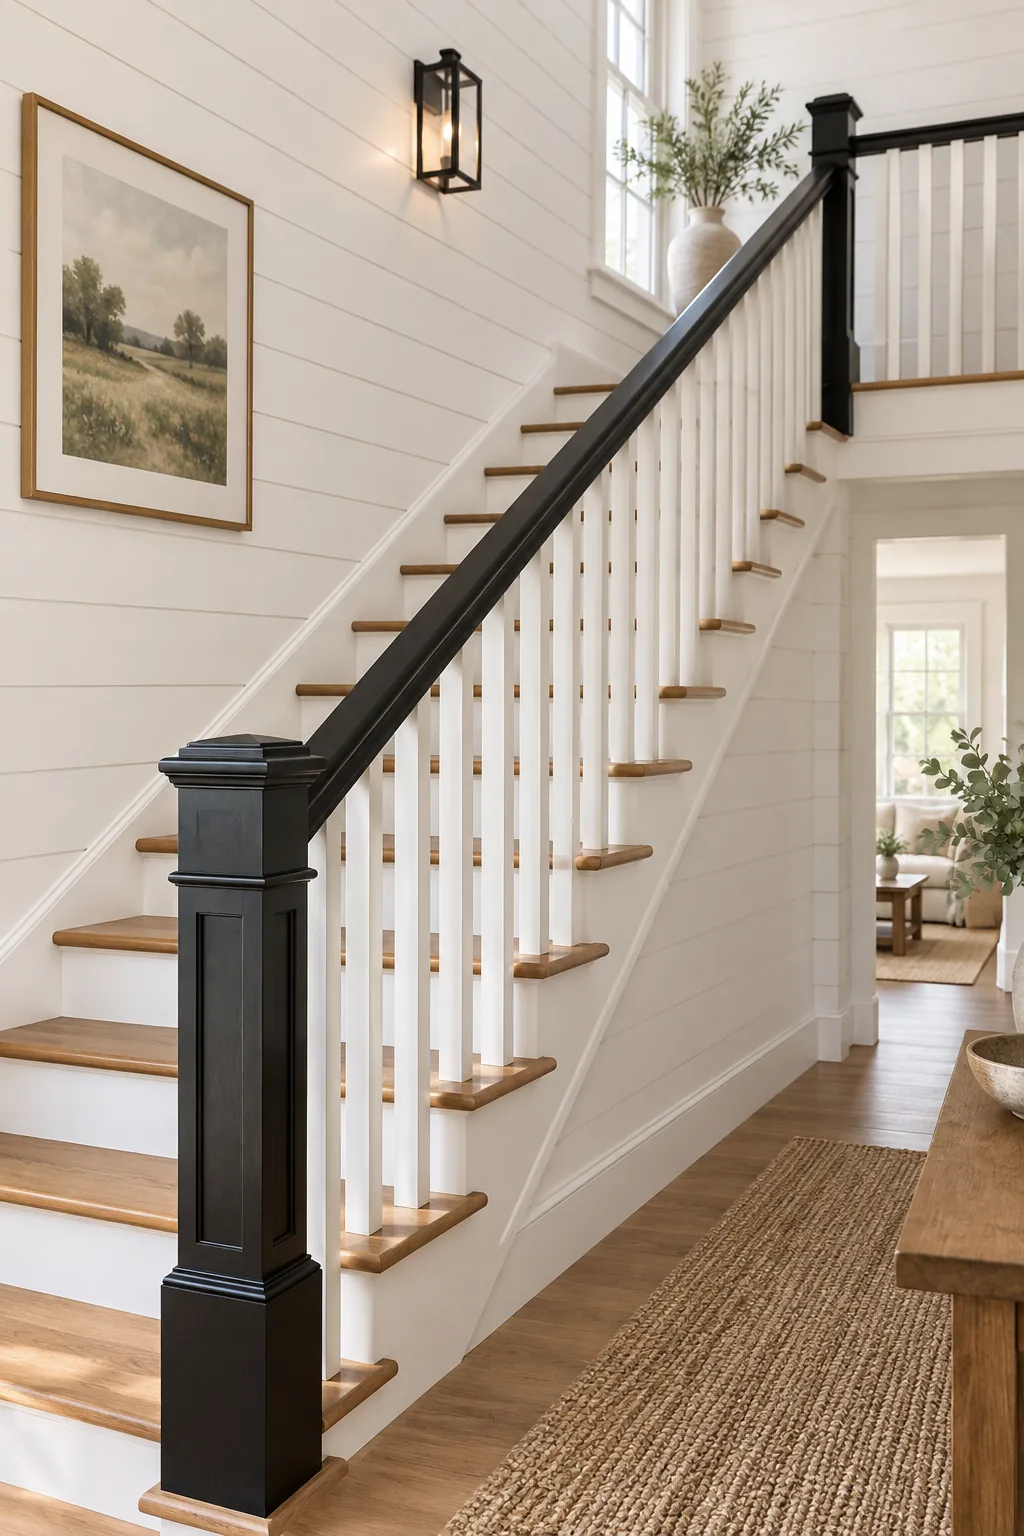
Modern Farmhouse Matte Black: Square spindles and a stark matte black rail create sharp, clean lines that pair perfectly with bright white shiplap walls.
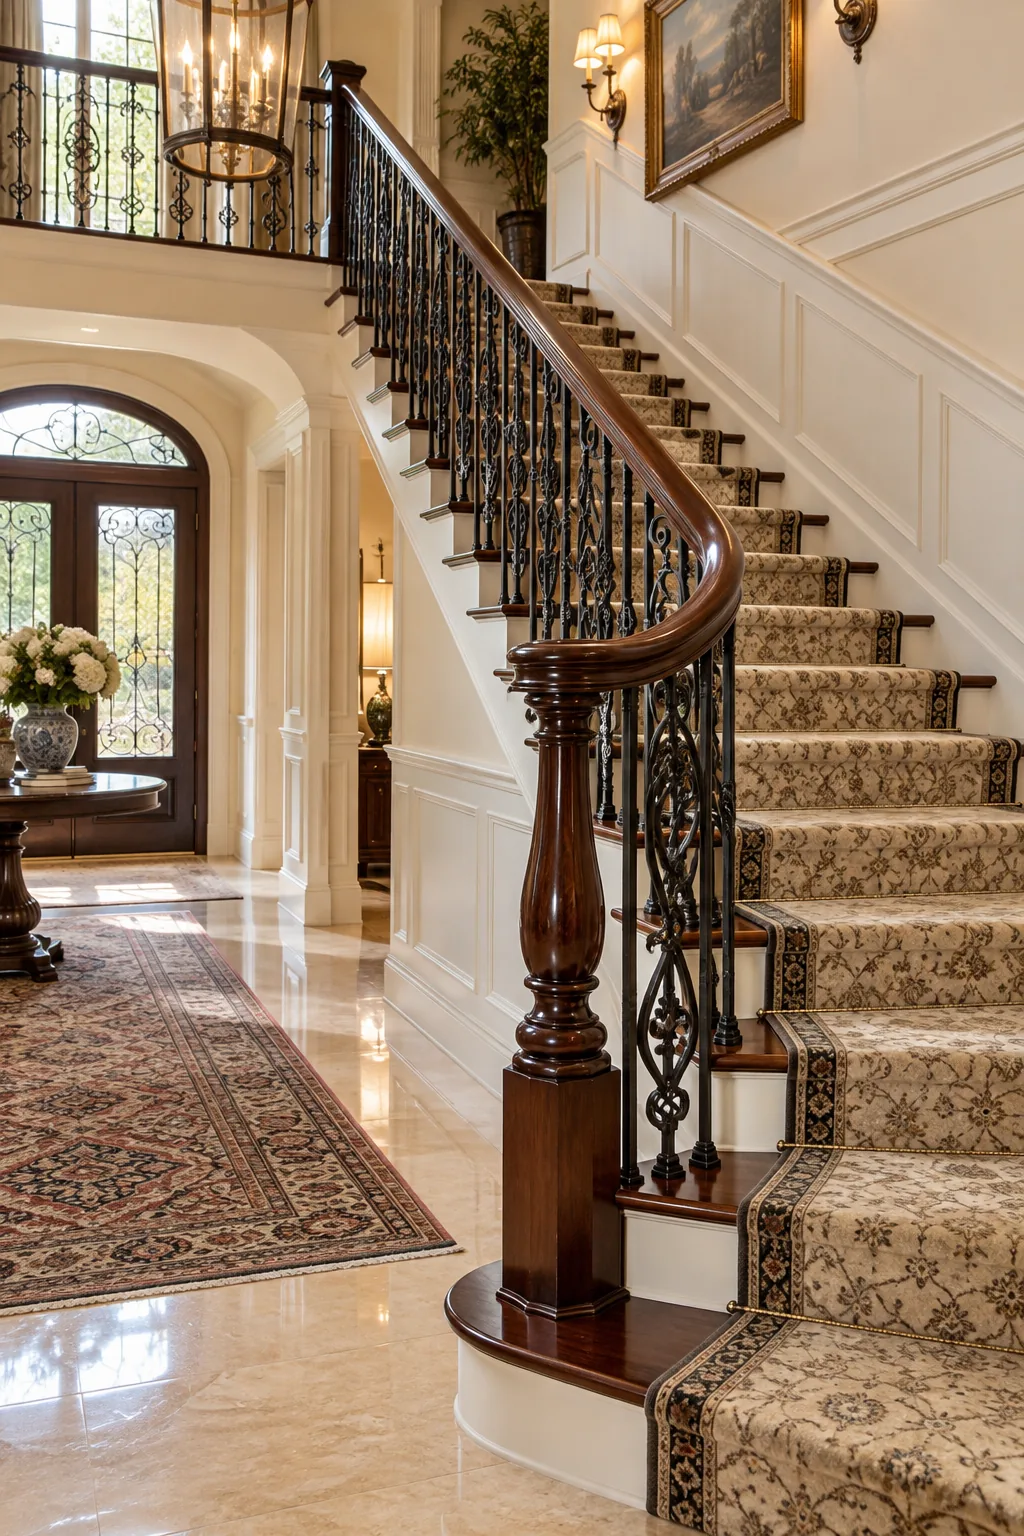
Traditional Mahogany and Iron: Swap wooden spindles for wrought iron balusters to instantly elevate a glossy mahogany handrail into a grand, traditional statement.
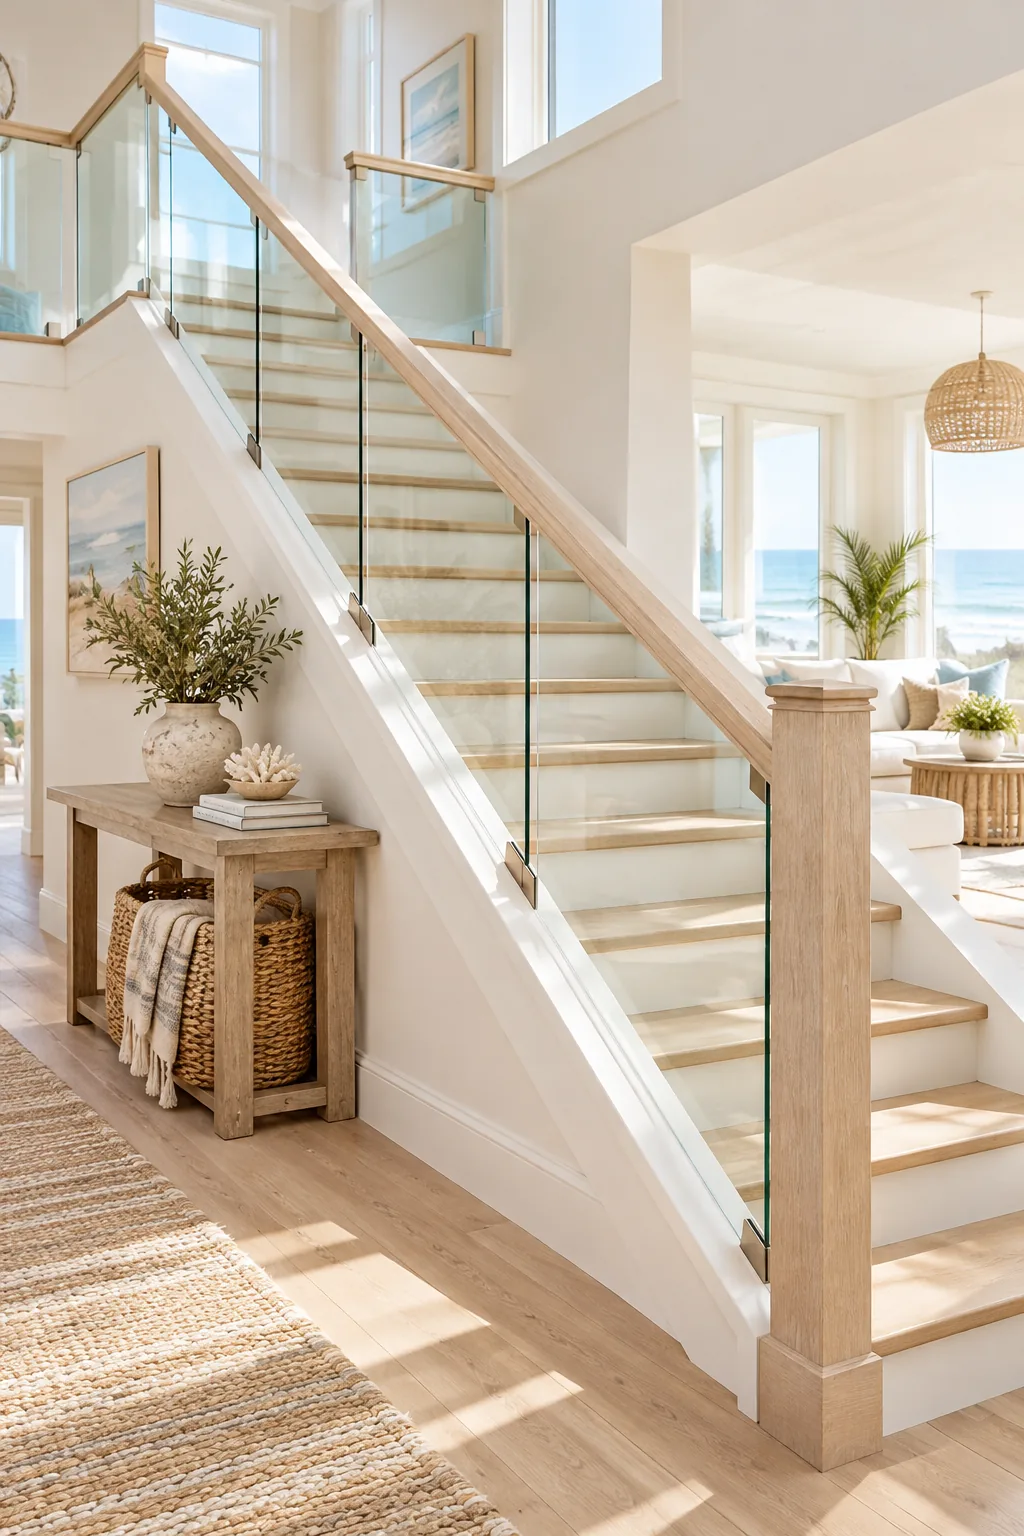
Coastal Whitewash and Glass: Maximize natural light in a beach house by replacing traditional spindles with glass panels under a soft whitewashed rail.
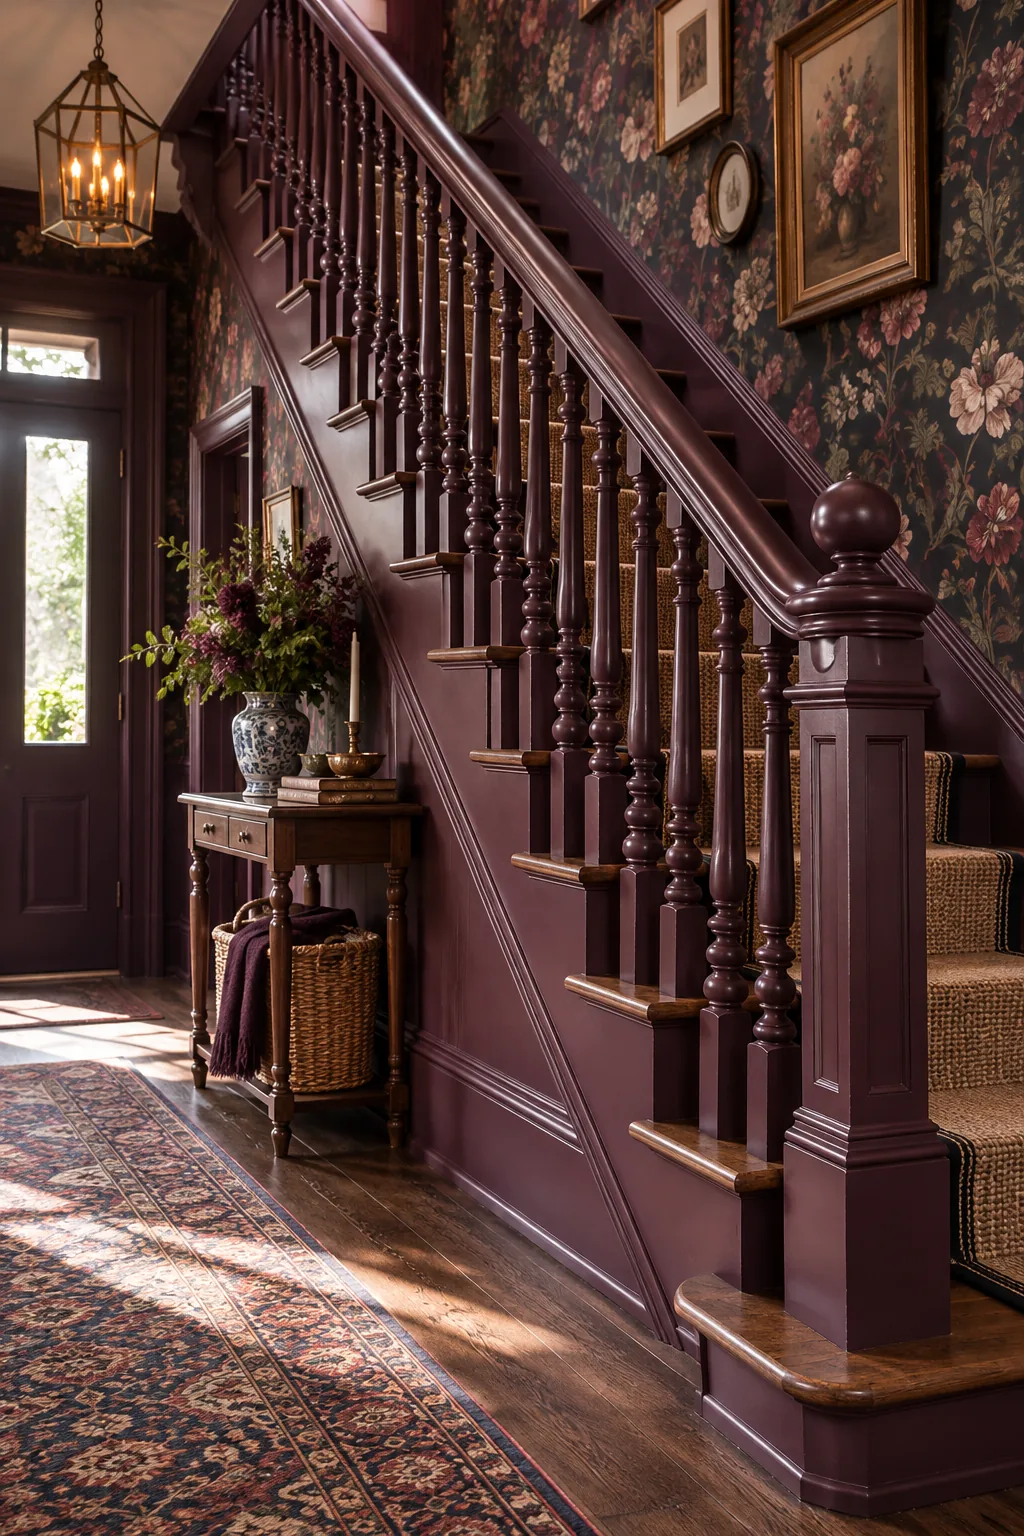
Moody Victorian Color Drenching: Paint both the handrail and the ornate spindles in the same deep plum to create a dramatic, color-drenched Victorian aesthetic.
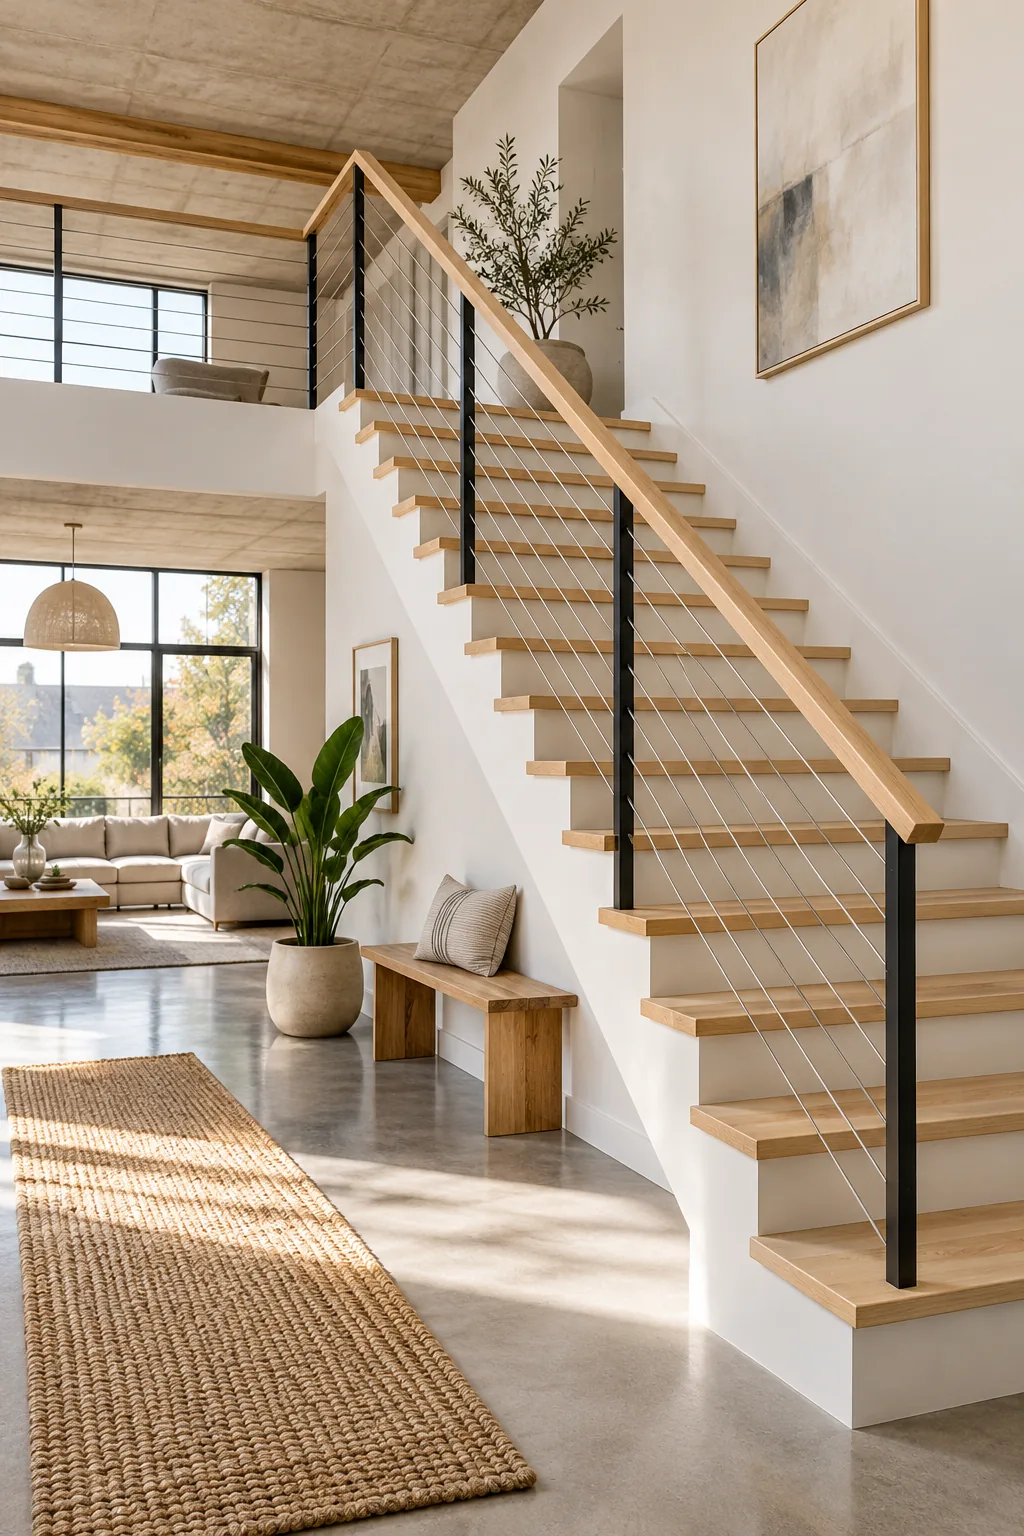
Scandinavian Minimal Ash Wood: Keep the wood tone raw and natural, pairing an ash handrail with horizontal steel cables for an airy, minimalist loft vibe.