Spring Decor Swaps Under $50: The Complete Console Checklist
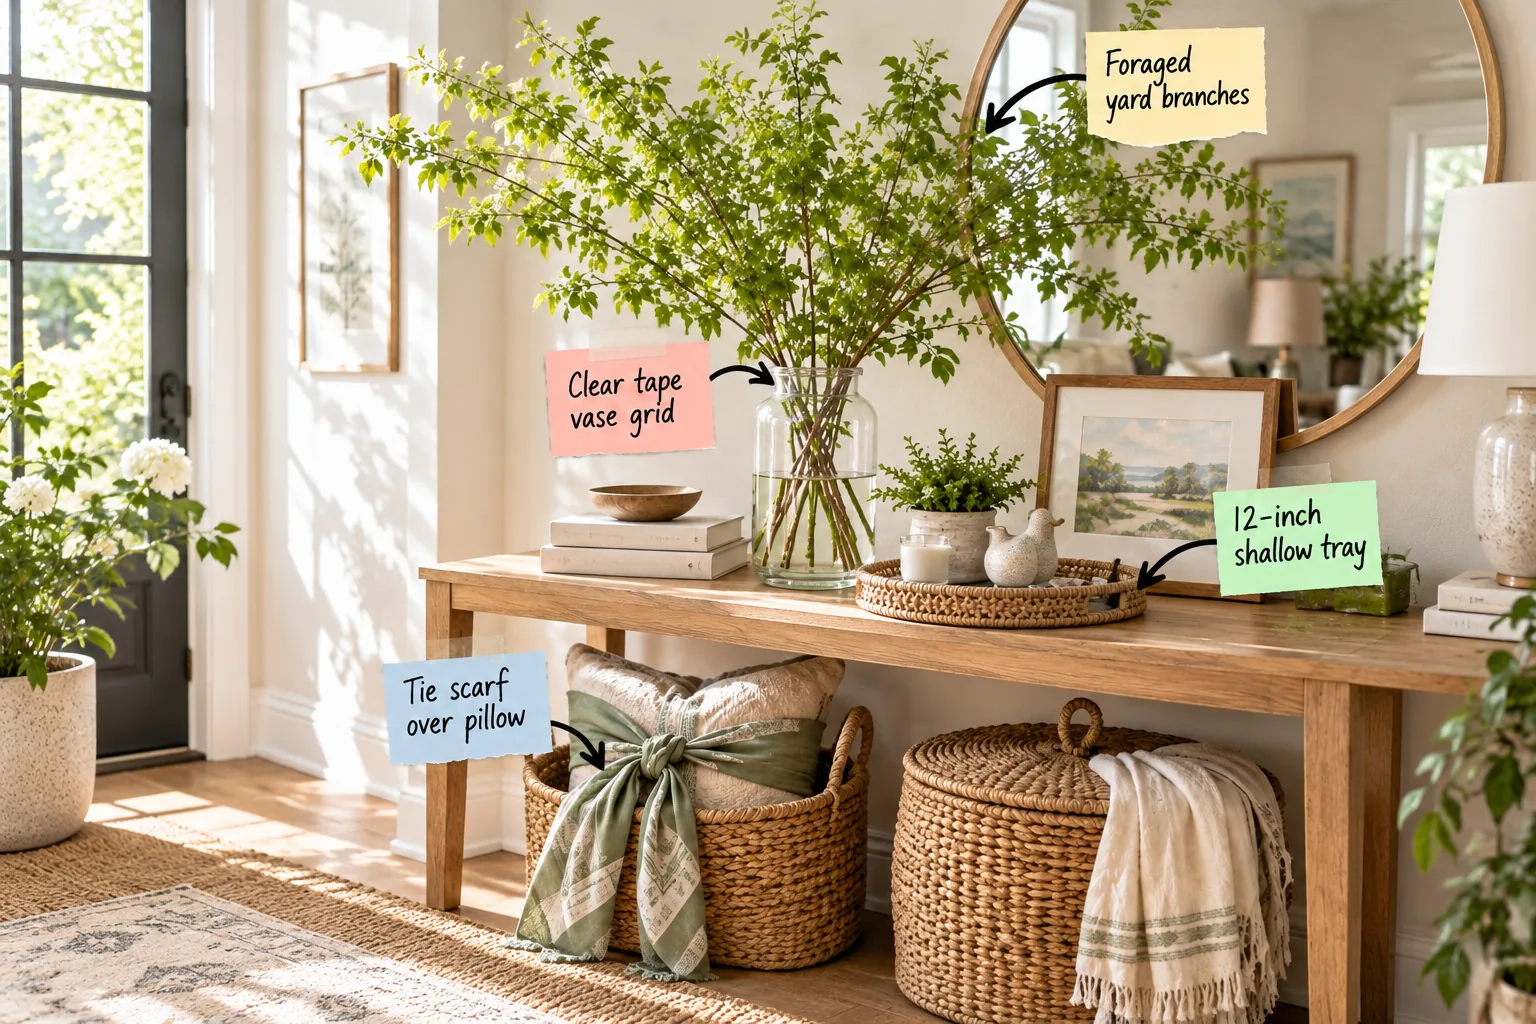
You will be able to style a bright, cohesive spring console table using our exact $50 Spring Swap Checklist and clever household tricks. We will build this seasonal arrangement layer by layer, starting from the tall focal point down to the floor baskets.
The $50 Spring Swap Checklist
In my own Boston apartment, I stick to a strict seasonal budget to keep things fresh without overspending. Establishing this complete budget-friendly spring console requires allocating exactly $50 for high-impact accessories while relying on free yard clippings for your main focal point.
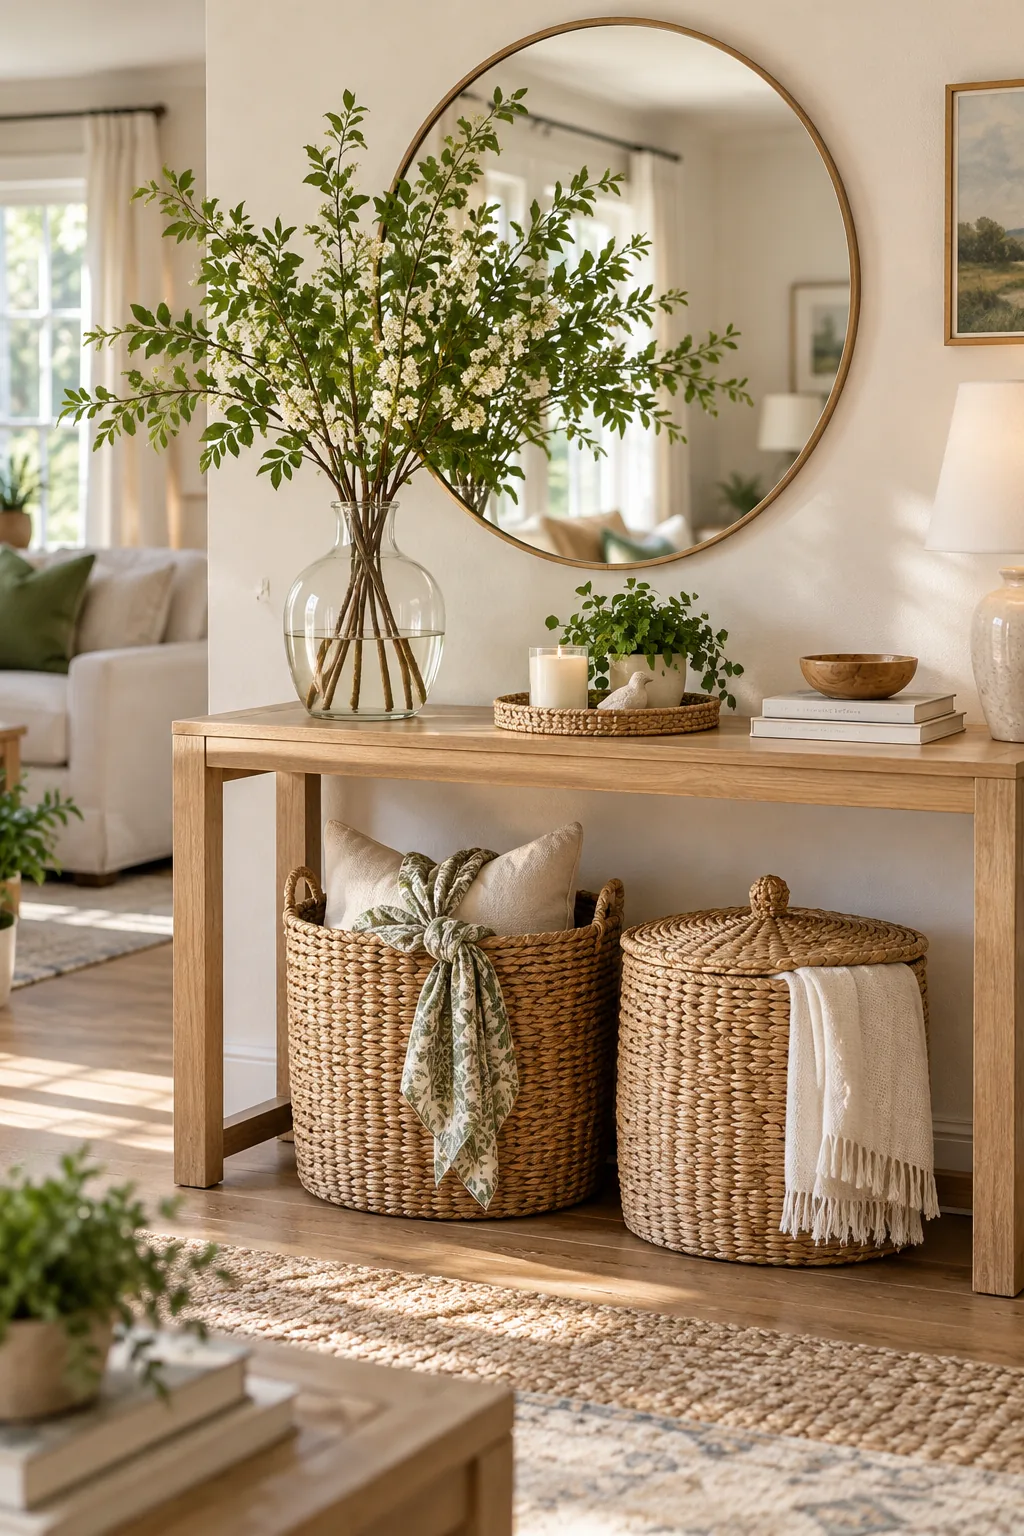
Before heading to the store, check your home for existing neutral books and baskets, then stick to this exact shopping list for your seasonal update.
Preparing Your Console Surface
Always begin your seasonal refresh by completely clearing the wood surface and wiping it down. Follow these exact preparation steps to ensure a flawless foundation before you start layering your new decorative elements:
- Remove every existing winter decor piece from the table.
- Dust the mirror frame and the surrounding wall space.
- Wipe the bare wood with a gentle, streak-free cleaner.
Starting with a blank slate allows you to accurately evaluate the natural light in the room and ensures dust does not get trapped under your new spring layers.
Evaluating Your Natural Light
Take a moment to observe how the morning sun hits your entryway before finalizing your layout. Positioning your reflective surfaces directly opposite a window maximizes the brightness and makes the entire living room feel significantly larger and more welcoming.
Foraging High-Impact Yard Branches
Using tall yard clippings for dramatic scale brings immediate organic texture into the living room while keeping the largest element completely free. Skip the expensive florist runs and clip three to four tall stems directly from your own yard to create an airy canopy.
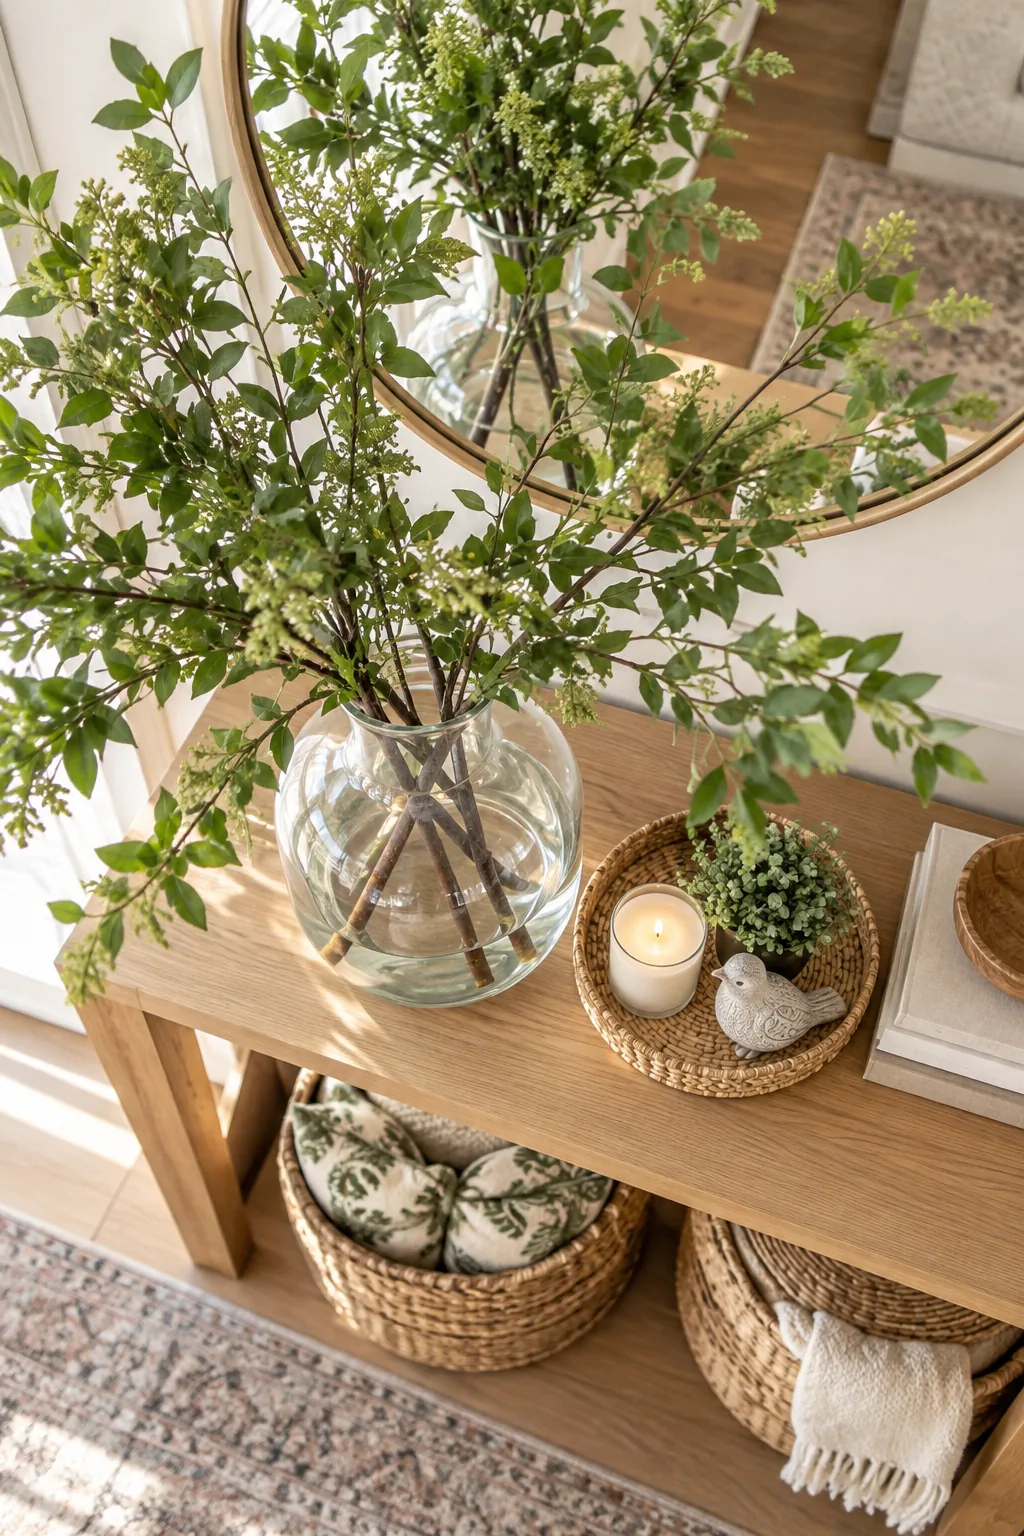
Cut stems that are at least 36 inches tall to ensure the foraged yard branches easily clear your wall decor and draw the eye upward toward the ceiling.
Trimming the Branch Ends
Always use sharp bypass pruners to cut your stems at a sharp 45-degree angle right before placing them in water. This angled slice maximizes the surface area for hydration and prevents the woody ends from sitting flat against the glass bottom.
Selecting the Right Glass Vase
A heavy glass vessel is essential to counterbalance the extreme height and weight of freshly cut spring branches. Choose a vase with a wide base and a slightly tapered neck to naturally gather the stems while maintaining absolute stability on the console.
| Vessel Style | Minimum Base Width | Ideal Water Depth |
|---|---|---|
| Straight Cylinder | 6 inches | Half full |
| Tapered Neck | 8 inches | One third full |
| Wide Flared | 5 inches | Two thirds full |
Matching your vase shape to the appropriate water depth ensures your heavy arrangement will not accidentally tip over when someone brushes past the entryway table.
The Clear Tape Vase Grid
I learned this invisible structure trick during a tricky photoshoot, and keeping branches upright with a hidden tape grid perfectly prevents heavy stems from leaning to one side. Build a simple 3×3 grid across the mouth of your glass vase for instant professional support.
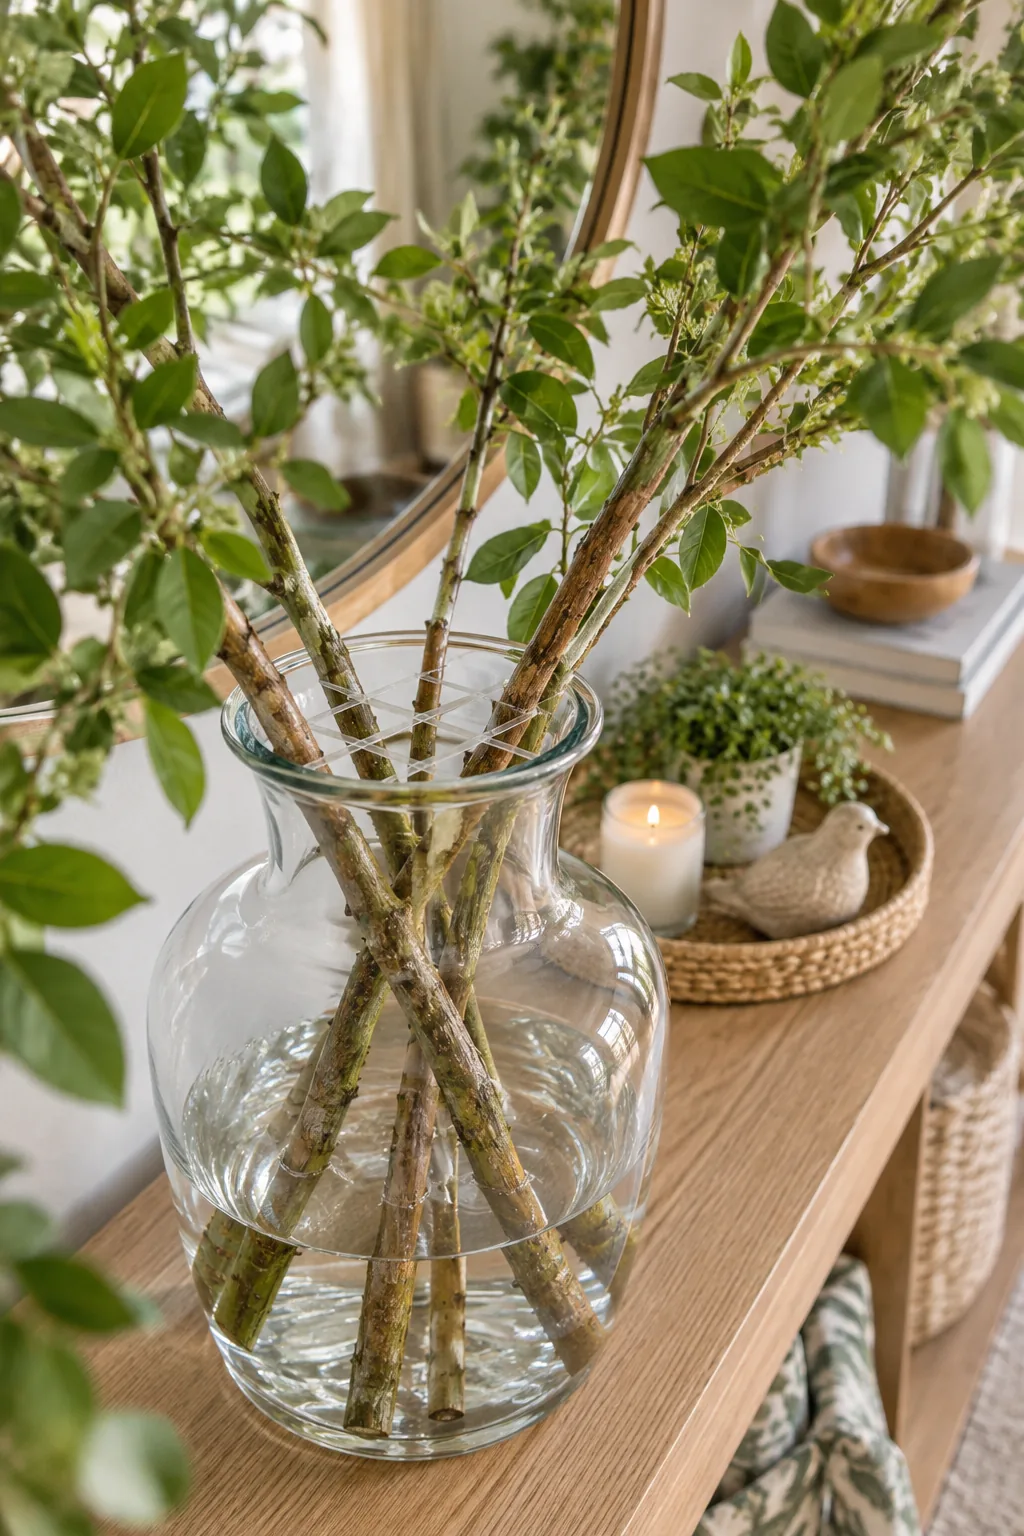
Creating a sturdy clear tape vase grid requires a pristine glass surface to ensure the adhesive holds up against the immense weight of the branches.
Watering and Maintenance for Cut Stems
Change the tap water completely every three days to prevent bacterial growth and keep the arrangement looking vibrant. Adding a single drop of clear bleach to the fresh water extends the life of your greenery without altering the natural stem color.
Grounding the Vignette With a 12-Inch Tray
A 12-inch shallow tray provides the perfect footprint to anchor your tabletop without overcrowding the wood surface. This specific diameter is large enough to hold multiple accents while leaving plenty of open space for essential visual breathing room.
Balancing Textures in the Tray
Combine contrasting materials within your woven base to create a dynamic and engaging vignette. Pairing smooth ceramic figures with rough natural fibers ensures the small grouping feels curated and intentional rather than looking like a random collection of leftover objects.
Choosing a Spring-Appropriate Candle
A fresh taper candle introduces a vertical line that bridges the gap between the flat tray and the towering greenery. Consider these specific seasonal color options for your candle swap:
- Crisp white for a clean, traditional aesthetic.
- Soft sage green to beautifully echo the natural branches.
- Pale slate blue for a subtle, cooling spring contrast.
Opt for unscented tapers to maintain the airy atmosphere without overwhelming the room with competing artificial fragrances as guests walk through the front door.
Adding a Small Potted Spring Plant
Introduce a secondary layer of greenery by placing a small potted plant directly inside your woven tray. A low-profile maidenhair fern adds lush density at eye level, contrasting beautifully with the sparse, architectural branches towering above.
Layering Books for Varied Height
To successfully corral small decor items into a single tray, place the woven base first and stack two neutral books inside to elevate a small wooden bowl. This simple foundation prevents the tabletop from feeling cluttered and disjointed.
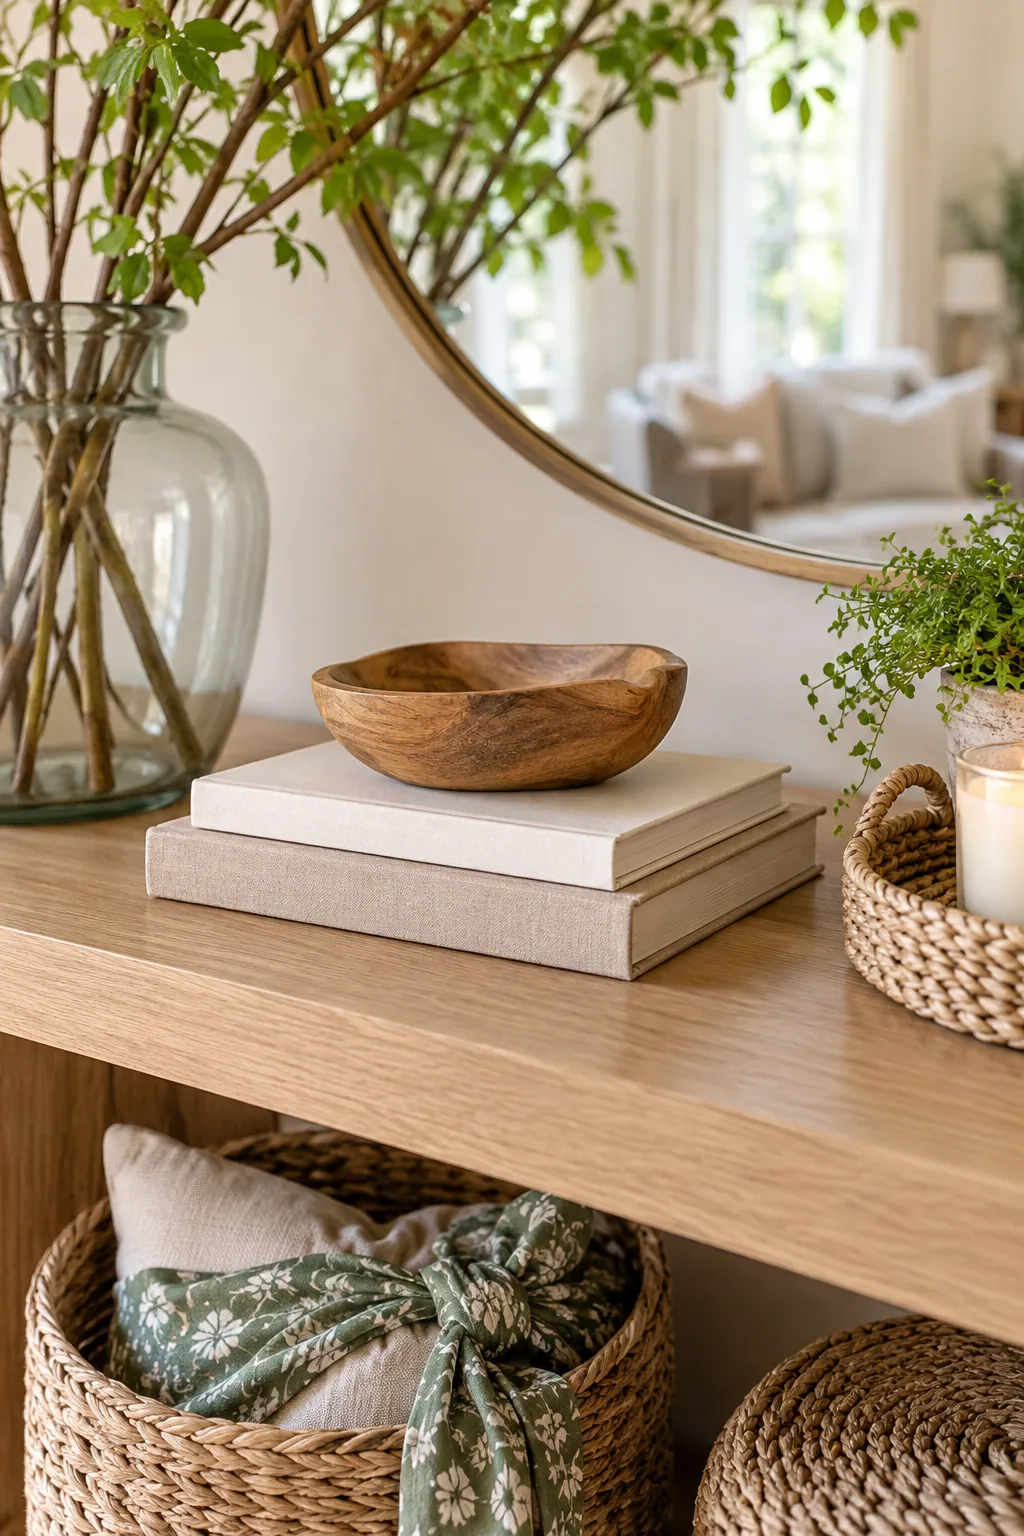
Varying the heights of your objects keeps the eye moving across the console and perfectly bridges the visual gap between the flat tray and the tall vase.
Selecting Neutral Spines for Styling
Remove the glossy dust jackets from your existing hardcover books to reveal the textured linen or matte paper covers underneath. Using neutral-spined books creates a quiet foundation that allows the vibrant green leaves to remain the undisputed focal point.
Selecting a Wooden Accent Bowl
Top your stacked books with a shallow wooden bowl to introduce a warm, earthy tone that complements the woven tray. This small sculptural element provides a perfect resting place for your keys while maintaining the elevated spring aesthetic.
Reflecting Light With Leaning Art
Using stacked books to elevate secondary accents creates a visual stepping stone toward your larger background pieces, ensuring the transition feels intentional. Lean a small framed landscape print against a larger round mirror to add profound depth to the background layer.
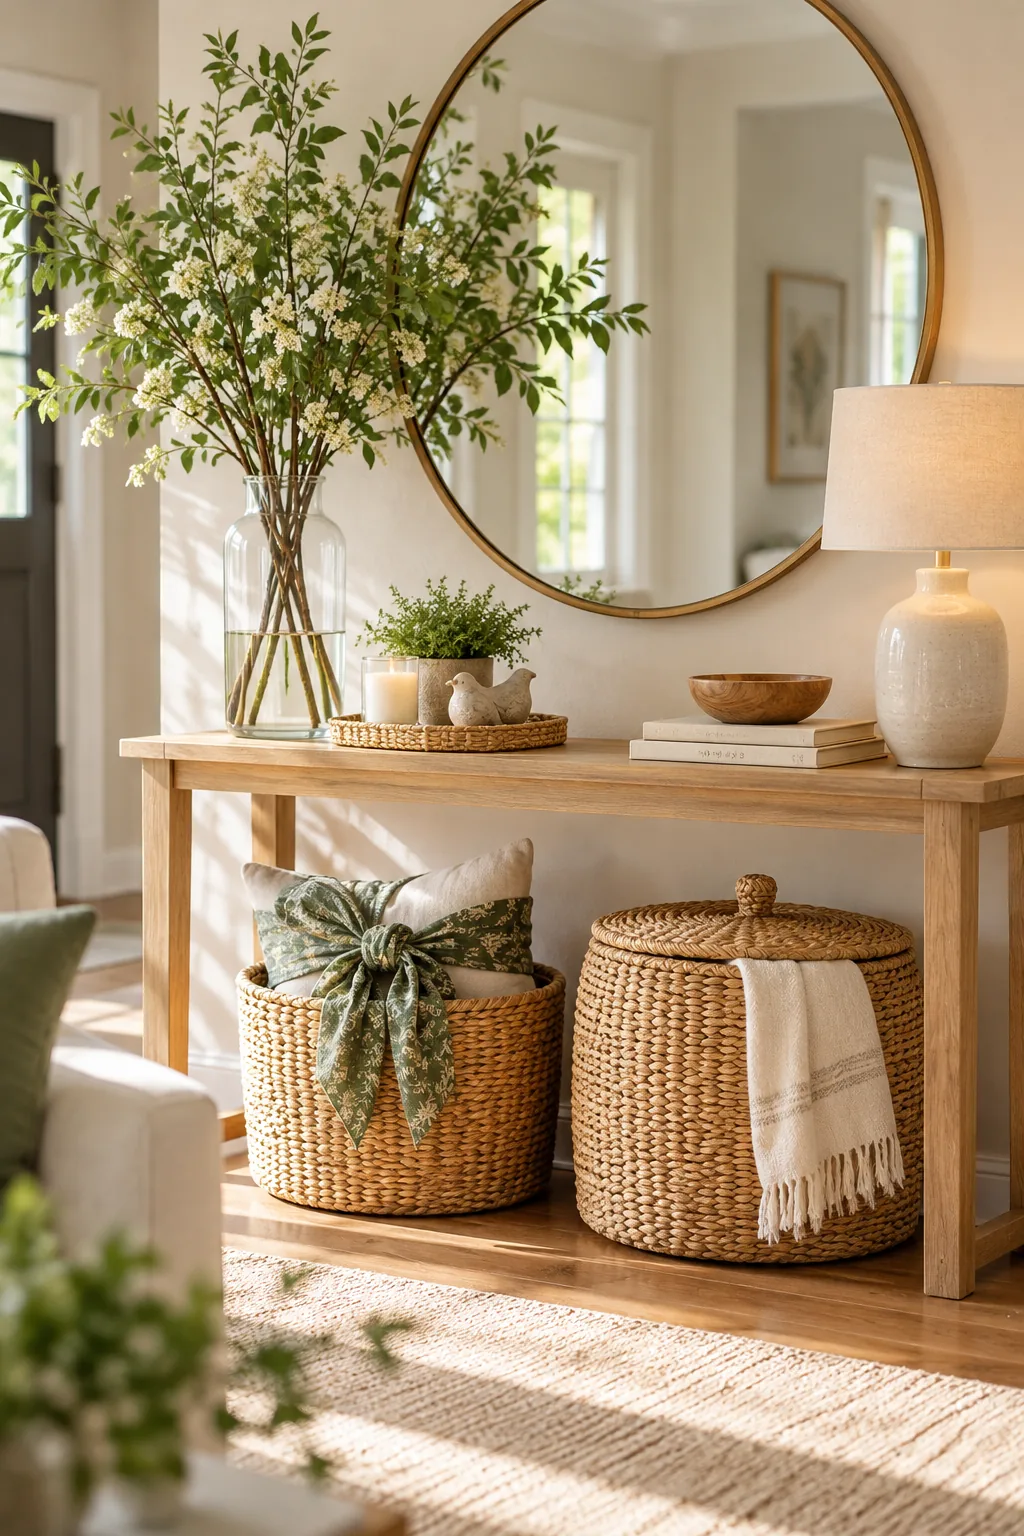
This overlapping technique easily bounces natural spring light around the room and creates a relaxed, collected atmosphere without requiring you to put new holes in the wall.
Positioning the Round Mirror
Center a large round mirror directly above the console table to act as the primary anchor for the entire vignette. The curved frame softens the sharp rectangular lines of the furniture and beautifully doubles the visual impact of your fresh greenery.
Choosing the Right Silk Scarf
A lightweight square scarf is the perfect budget-friendly textile for introducing seasonal patterns into your living space. Look for breathable silk or linen blends featuring delicate floral motifs or soft geometric shapes in muted green and blue tones.
Matching the Scarf to Your Rug
Select a scarf pattern that pulls at least one minor accent color directly from your living room rug. This subtle color repetition ensures the bright new textile feels deeply integrated into the existing space rather than looking like an afterthought.
Tying a Scarf Over a Throw Pillow
Updating an existing 18-inch neutral throw pillow with a knotted scarf completely transforms its look, adding a pop of spring green and organic texture for zero extra cost. Tie a simple double knot at the front to secure the fabric beautifully.
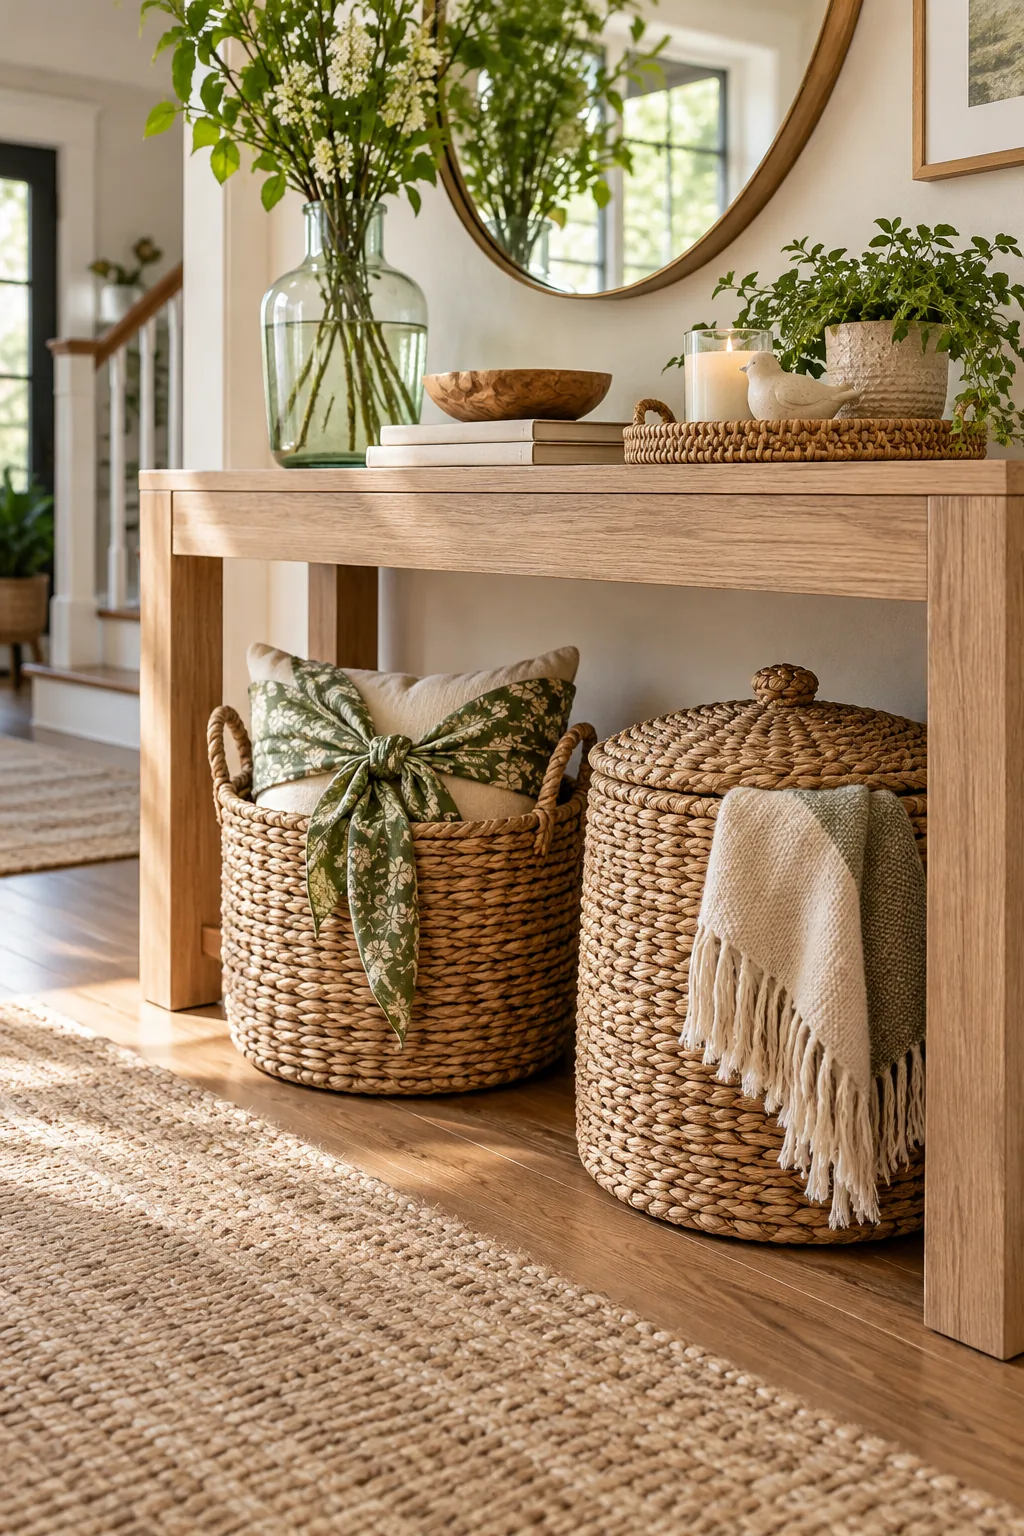
When you tie scarf over pillow, always pull the delicate fabric taut enough to stay secure without distorting the clean square corners of the cushion insert.
Folding Extra Spring Throws
Swap out your heavy winter knits for lightweight cotton or waffle-weave throw blankets in soft seasonal hues. Fold them neatly and drape them over the edge of your floor storage to soften the harsh transition between the wooden furniture legs and the rug.
Anchoring the Console With Woven Baskets
Using floor baskets to balance the tall branches physically grounds the entire arrangement and prevents the table from looking top-heavy. Place two large, heavily textured woven baskets underneath the console table to provide essential visual weight at the floor level.
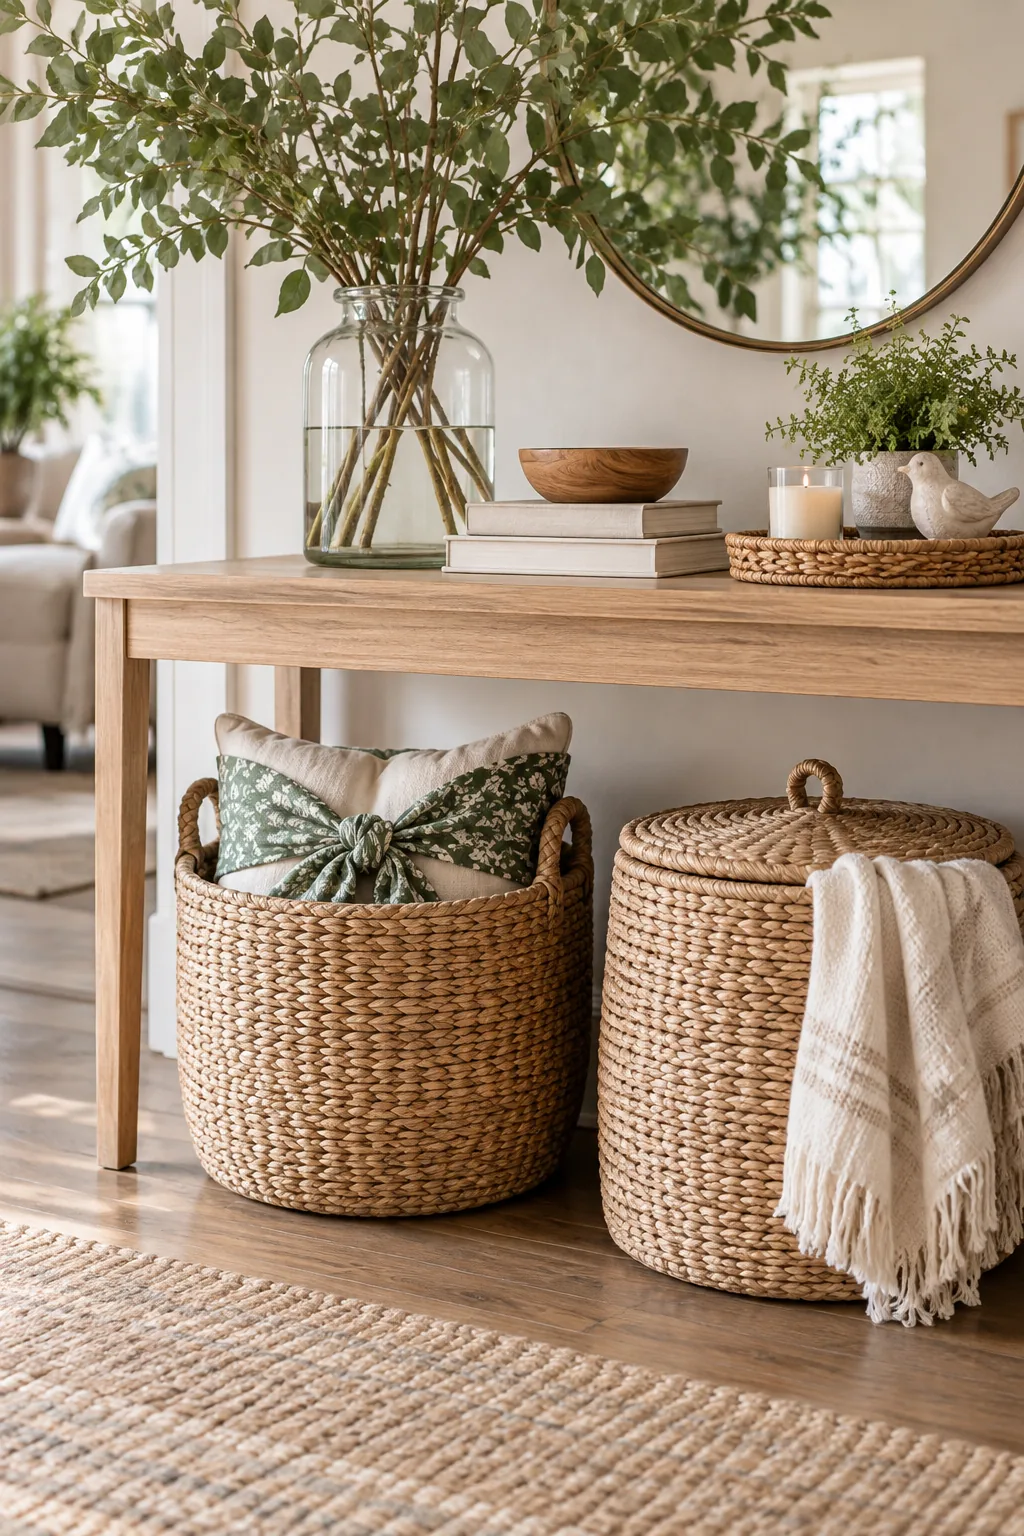
I keep two oversized baskets under my own entryway table, which perfectly hide my extra winter throws while keeping the new seasonal textiles easily accessible for chilly spring evenings.
More Spring Console Styling Ideas
Explore these distinct seasonal looks to find the perfect palette for your own space.
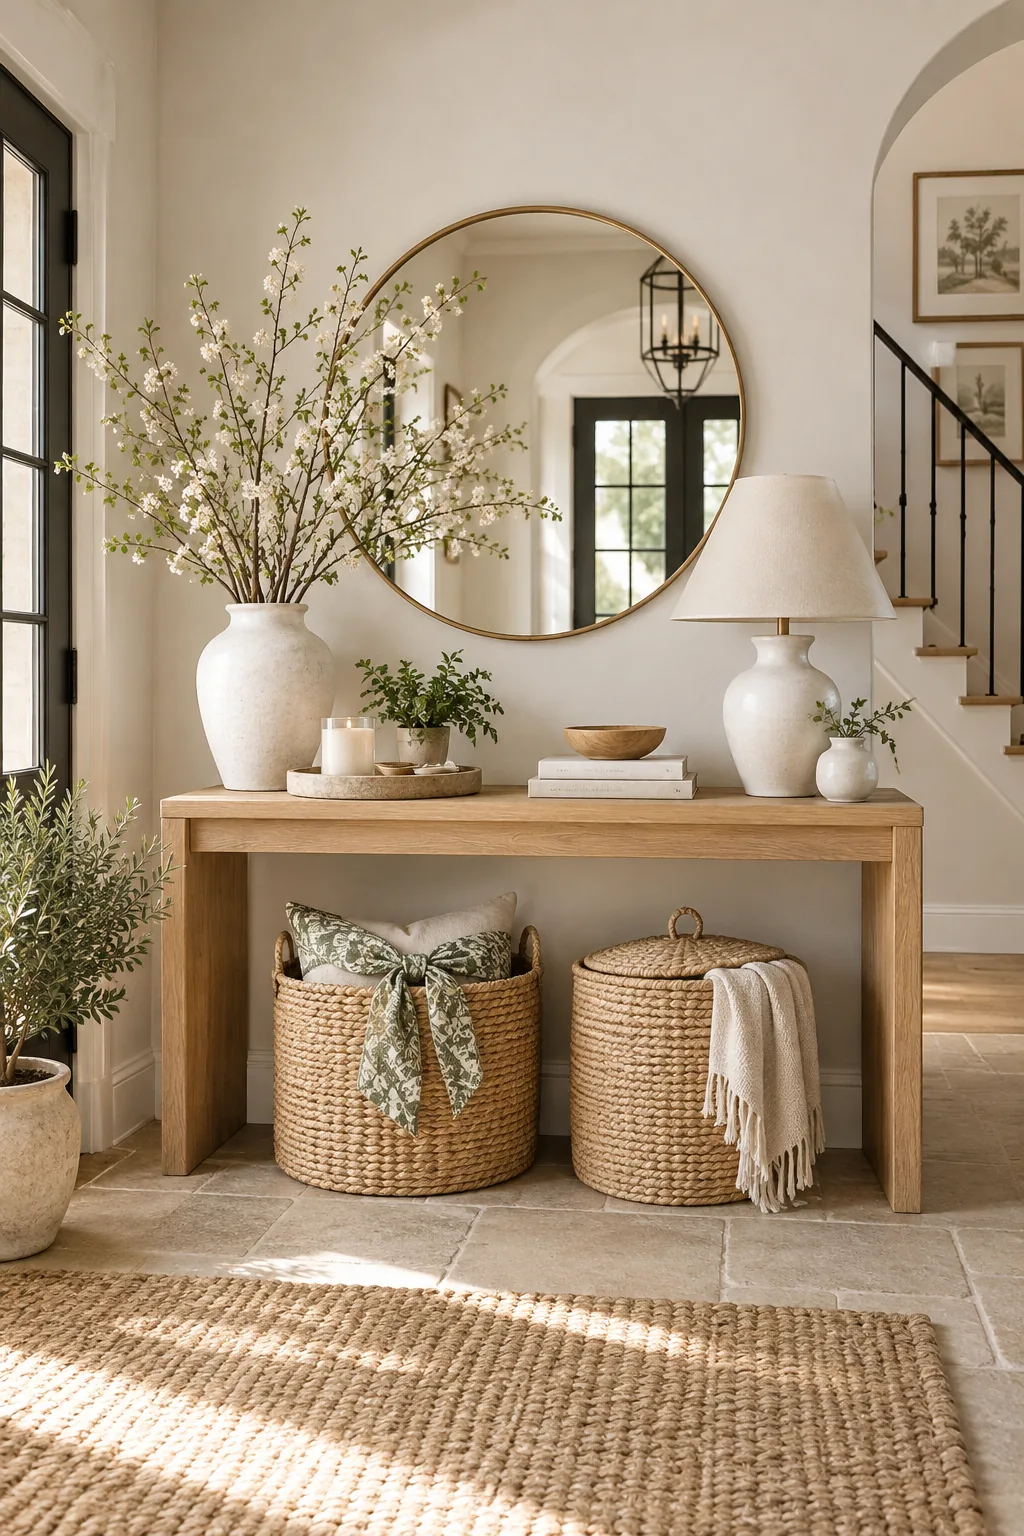
Minimalist Neutral Entryway: Bleached branches and stark white ceramics create a calm, understated welcome that feels incredibly fresh.
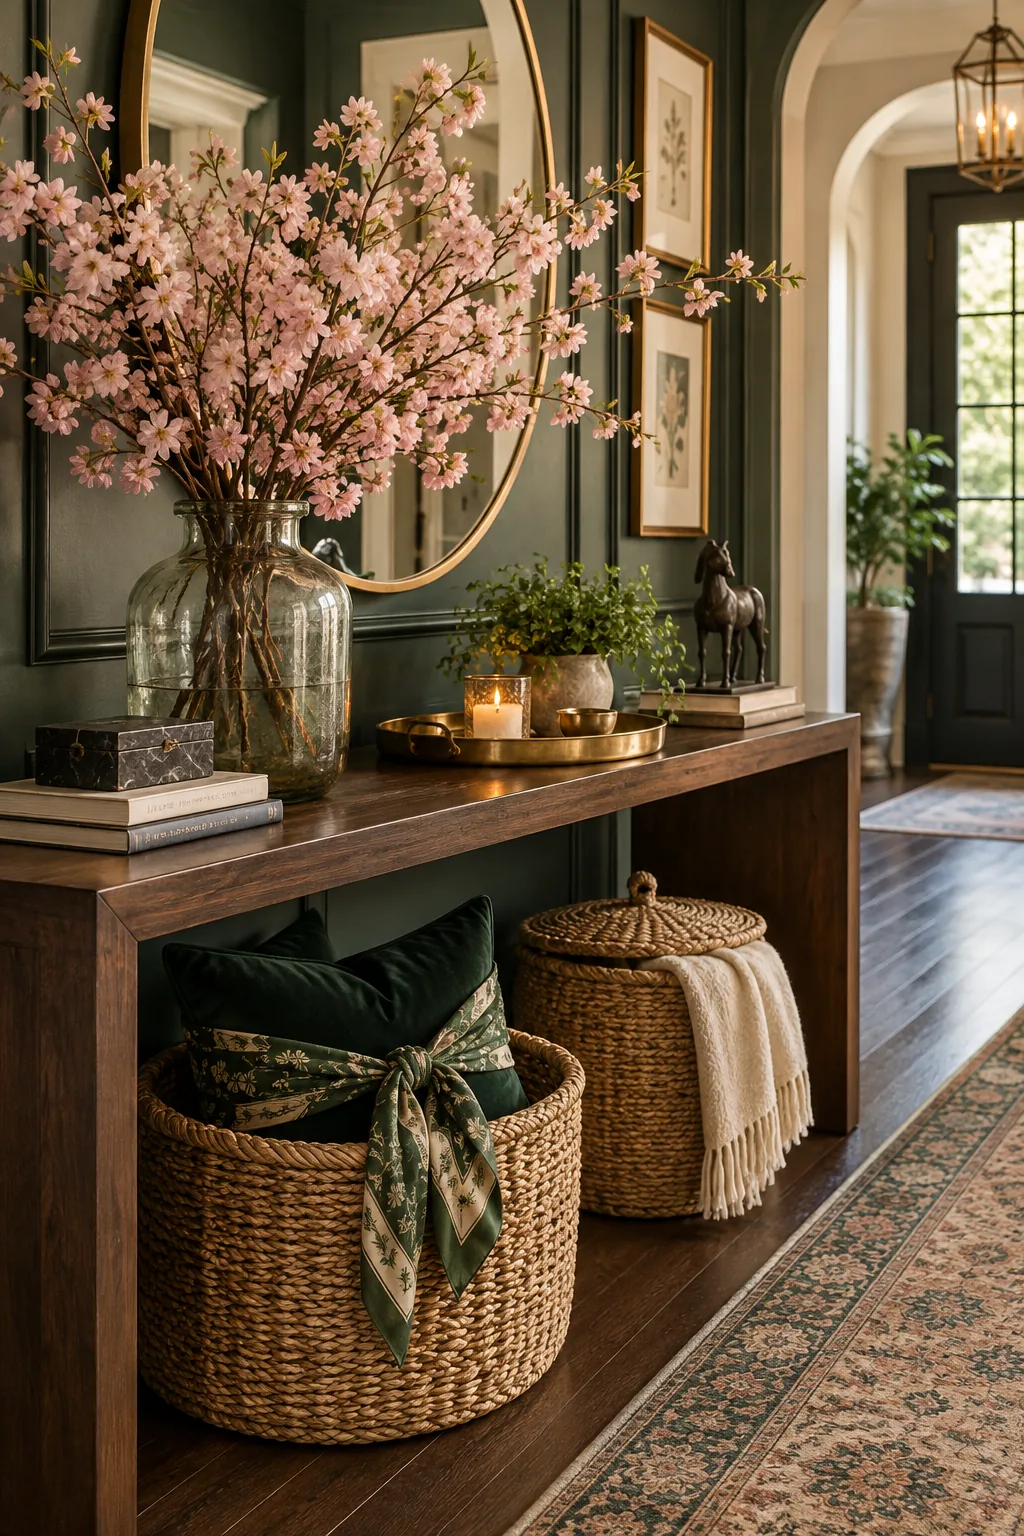
Moody Botanical Hallway: Rich walnut tones contrast beautifully against vibrant pink cherry blossoms and reflective brass accents.
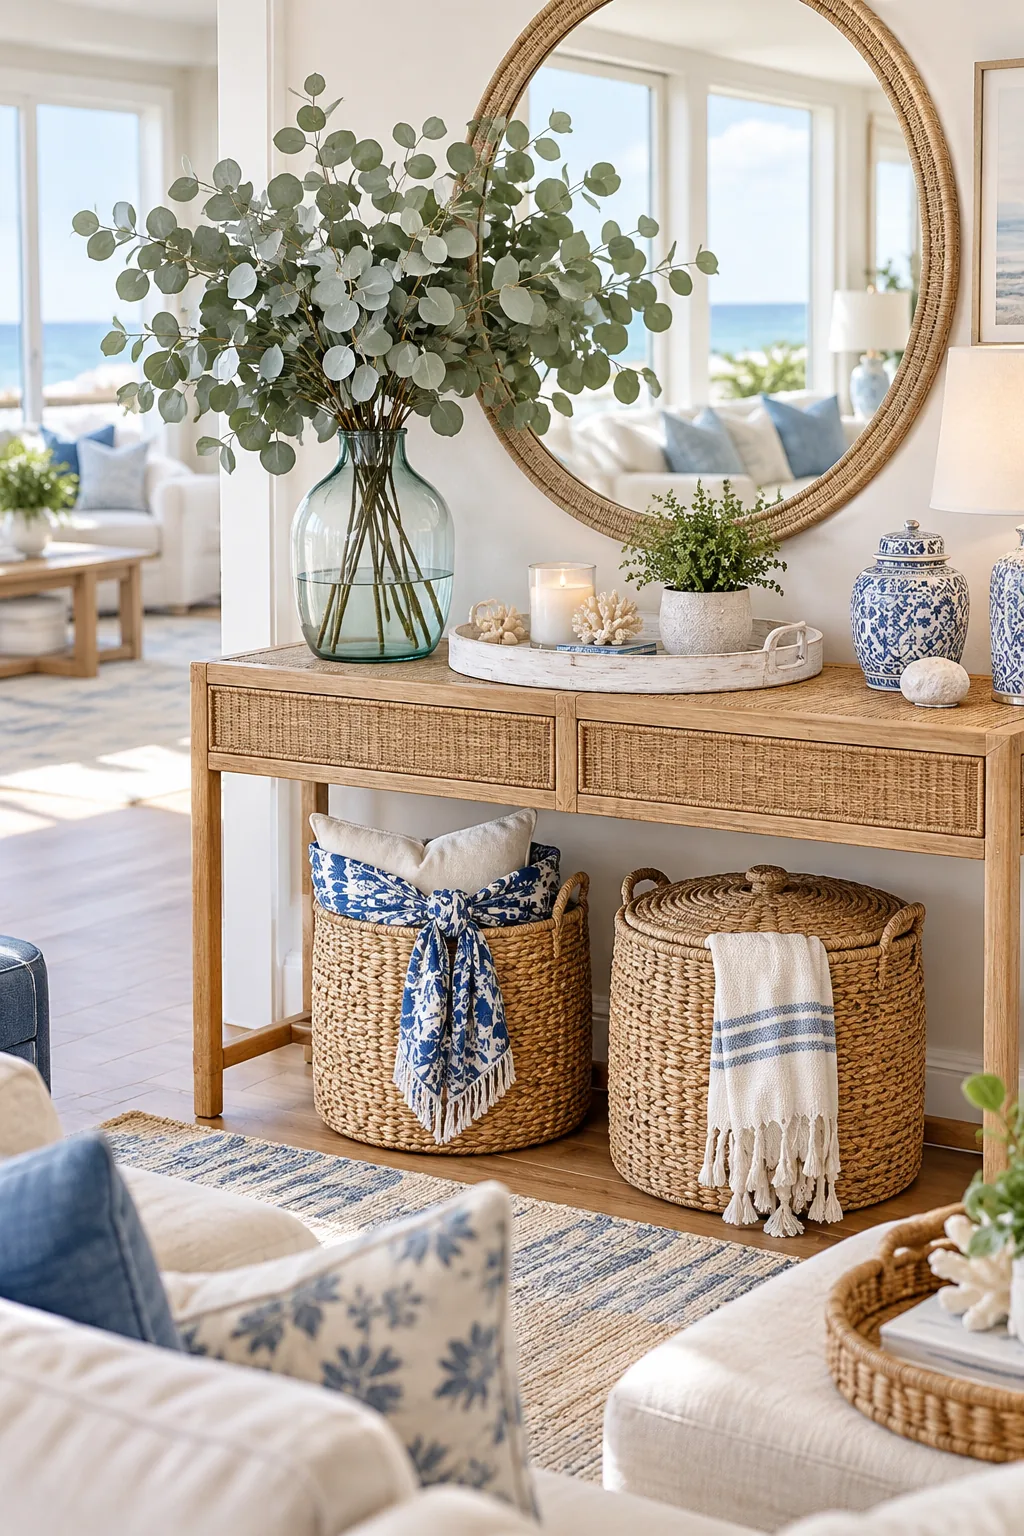
Coastal Spring Living Room: Soft blue patterns and fragrant eucalyptus stems bring a breezy, beach-inspired atmosphere indoors.
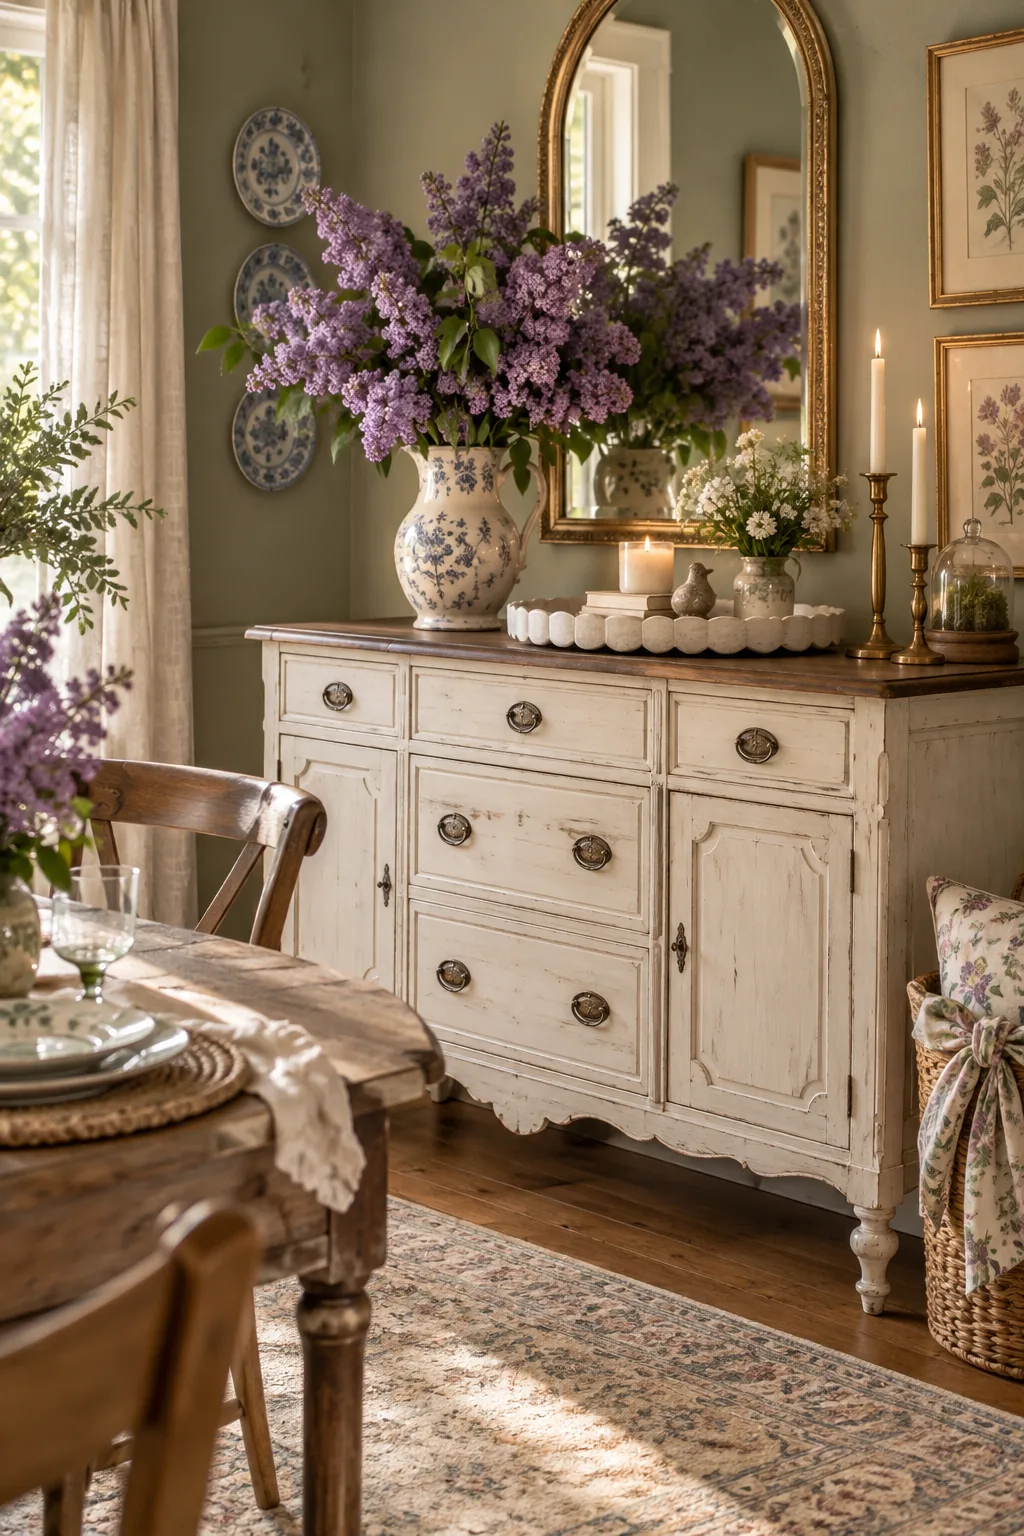
Cottagecore Dining Buffet: A scalloped tray and romantic purple lilacs instantly soften a vintage painted dining room buffet.