
Inexpensive Butcher Block Countertops: The Underside Checklist
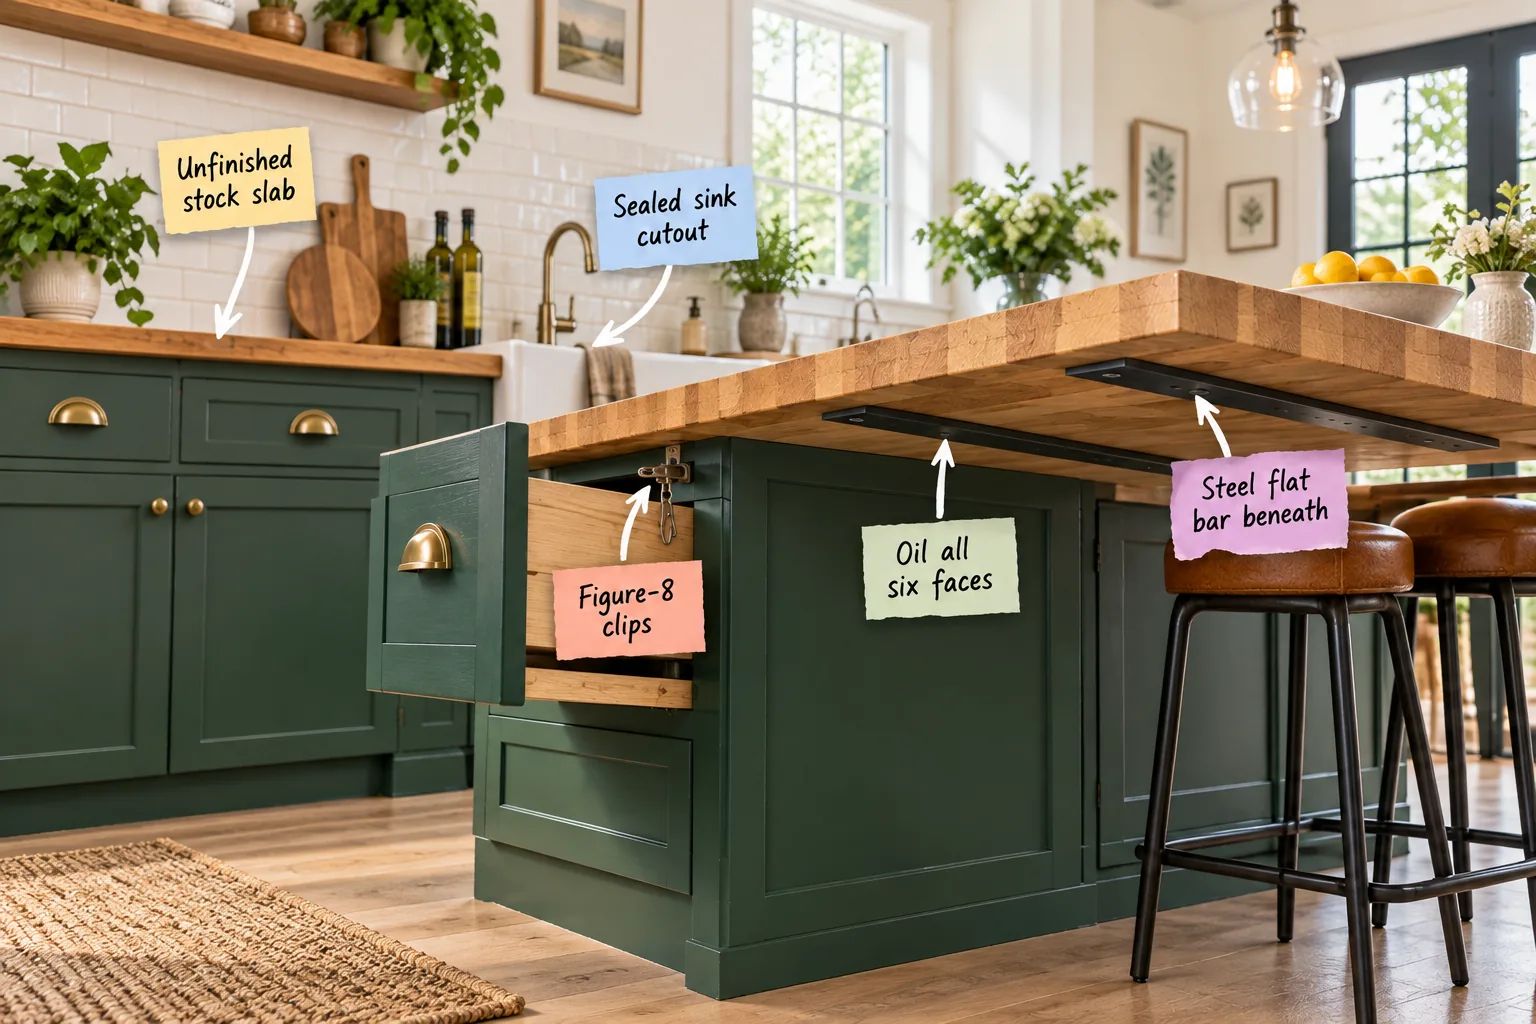
You can build stunning, inexpensive butcher block countertops that last for decades by following our complete Butcher Block Underside Checklist for fastener spacing, steel supports, and the exact curing schedule. Grab the printable reference sheet below to properly seal and secure your stock wood slab.
Sourcing Unfinished Stock Slabs
Buying unfinished stock slabs with continuous edge-grain strips is the most cost-effective foundation for a custom kitchen. When I remodeled my Austin bungalow, I saved thousands by choosing standard 25-inch and 36-inch widths that accommodated my perimeter runs with minimal ripping.
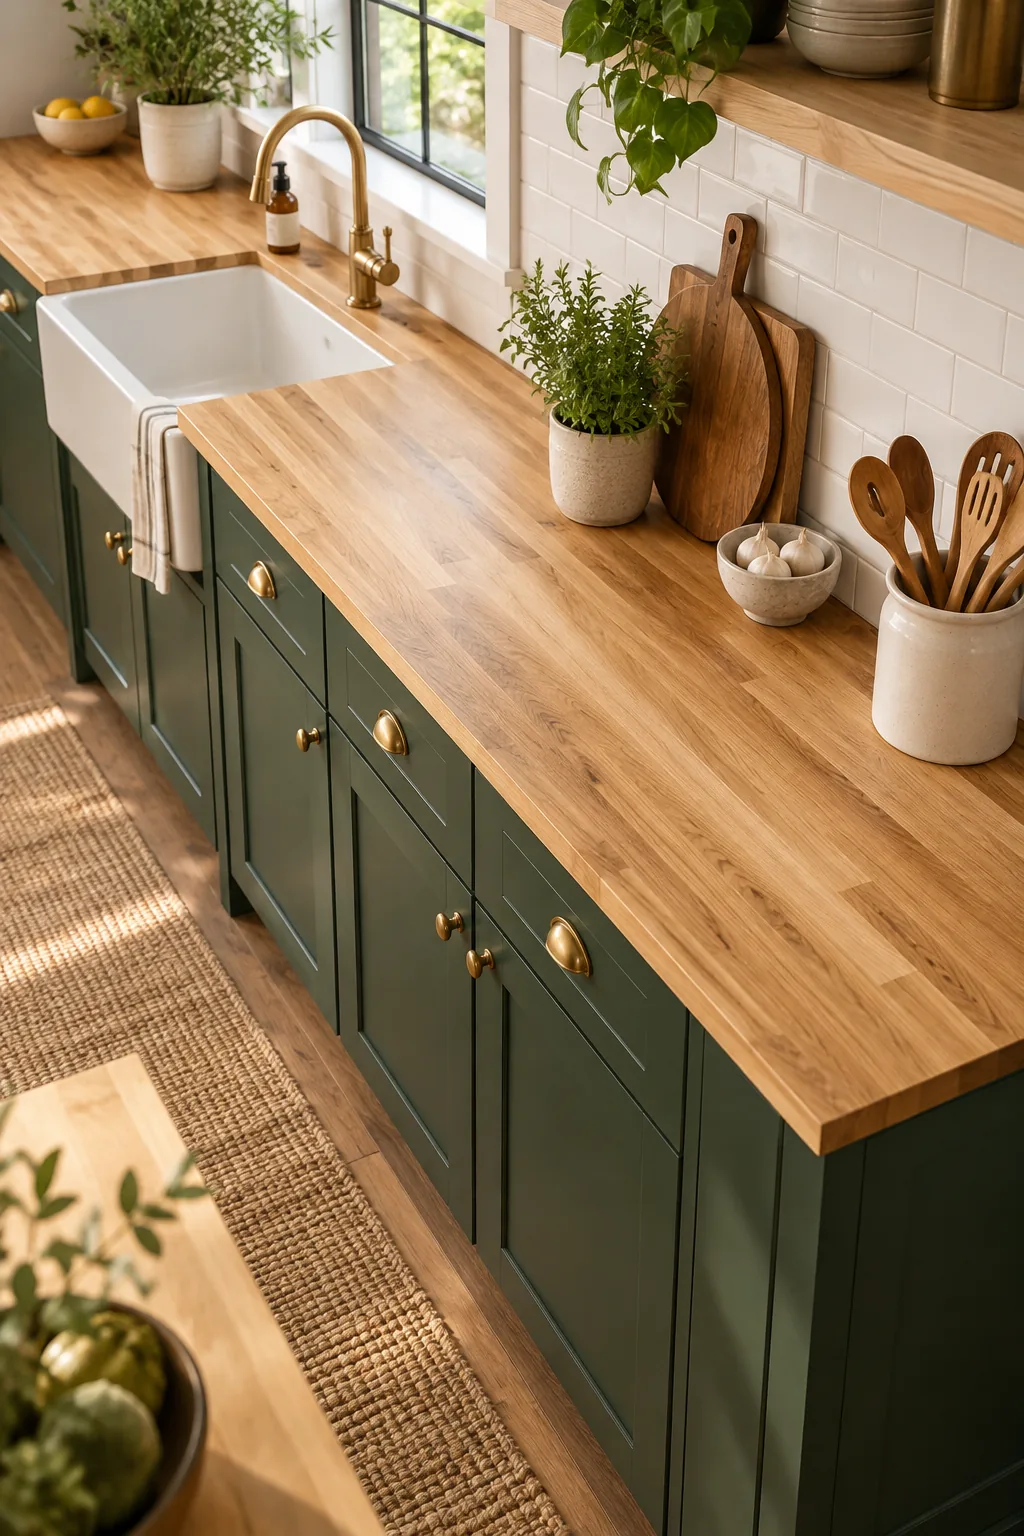
Bringing a new slab directly from a warehouse into a climate-controlled home shocks the wood. Give the material time to adjust to your interior humidity before making a single cut.
Acclimatizing the Wood Indoors
Stack the slabs flat on the floor using small wooden spacers between each board to allow proper airflow. This crucial resting period ensures the moisture content stabilizes, preventing the wood from twisting out of square before installation.
Planning Your Countertop Overhangs
Map out your cabinet boxes to determine the exact length of stock slab required for your layout. Allow a standard 1.5-inch overhang past the front cabinet faces to protect your lower doors and drawers from inevitable liquid spills.
| Location | Standard Overhang | Maximum Unsupported | Support Required |
|---|---|---|---|
| Front edge | 1.5 inches | 2 inches | None |
| Exposed ends | 1 inch | 2 inches | None |
| Seating area | 12 to 15 inches | 8 inches | Steel flat bars |
Measuring the Perimeter Run
Always measure your back wall in three different places because drywall is rarely perfectly straight. Use the longest measurement for your cut list and plan to scribe the back edge of the wood to match any wall bows.
Cutting the Slabs to Length
Use a circular saw equipped with a brand-new, 60-tooth carbide blade to ensure a splinter-free crosscut. Clamp a straight edge directly to the slab to guide the saw, moving slowly to prevent burning the dense oak end-grain.
Joining Seams With Countertop Bolts
If your kitchen requires an L-shaped corner, connect the two slabs using hidden dog-bone countertop bolts underneath. Route matching pockets into the bottom of both pieces and tighten the bolts to pull the seam perfectly tight.
Routing the Sink Opening
Trace your provided sink template onto the wood and drill a starter hole inside the waste area. Use a jigsaw to rough out the shape, then finish the edge with a pattern-routing bit for a perfectly smooth profile.
Sealing the Raw Sink Cutout
Waterproofing the vulnerable end-grain around your wet zone is non-negotiable for a lasting installation. You must protect the sealed sink cutout by applying a continuous barrier exactly where the sealed wood meets the white drop-in sink rim.
- Sand the raw cutout edge perfectly smooth using 120-grit sandpaper.
- Rub three heavy coats of hardwax-oil directly into the exposed end-grain.
- Run a thick bead of 100-percent silicone along the rim before dropping the sink in.
Sanding the Underside Smooth
Even though the bottom remains hidden, you must sand it to at least 120-grit to open the wood pores. Skipping this step prevents the oil from penetrating deeply, leaving the bottom vulnerable to moisture changes from your dishwasher.
Removing All Surface Dust
Vacuum every square inch of the slab using a soft brush attachment to pull debris out of the grain. Wipe the entire surface down with a tack cloth or a rag lightly dampened with mineral spirits before opening your finish.
Oiling All Six Countertop Faces
The underside requires the exact same rigorous sealing as the top to prevent catastrophic cupping. You must oil all six faces equally so the wood absorbs and releases ambient moisture at the exact same rate across the entire board.
I always recommend a high-quality hardwax-oil finish to achieve a durable, water-resistant soft sheen. This penetrating finish bonds directly with the wood fibers rather than just sitting on top like a vulnerable, peeling plastic film.
Buffing the Hardwax Finish
Pour a small puddle of hardwax-oil onto the wood and spread it evenly using a white abrasive applicator pad. Let the oil penetrate for fifteen minutes, then vigorously buff away all excess liquid with a clean, lint-free cotton cloth.
Following the Coat-and-Cure Schedule
Achieving that flawless finish requires applying two thin coats and allowing a strict 24-hour dry time between layers. Even the highest quality wood will fail if you rush this process, leading to black water stains and permanently bowed islands.
Preparing the Cabinet Bases
Ensure your base cabinets are perfectly level across the entire room before setting any heavy wood down. Shim the bases at the floor if necessary, because a warped cabinet line will eventually force the rigid countertop to crack.
Adding Corner Braces for Stability
If your cabinet boxes lack solid wood corner blocks, install metal L-brackets inside the upper corners now. These reinforced mounting points provide a much stronger anchor for your fasteners than driving screws directly into thin particleboard sides.
Drilling for Recessed Hardware
Mark your fastener locations along the top edge of the cabinet face frames and side panels. Use a 3/4-inch Forstner bit to drill a shallow recess at each mark so the mounting hardware sits entirely flush with the top edge.
Securing With Figure-8 Fasteners
Traditional rigid screws will eventually split expanding wood, so you must use flexible figure-8 clips instead. These clever pivot fasteners allow the wood to expand and contract naturally without cracking the slab during seasonal humidity changes.
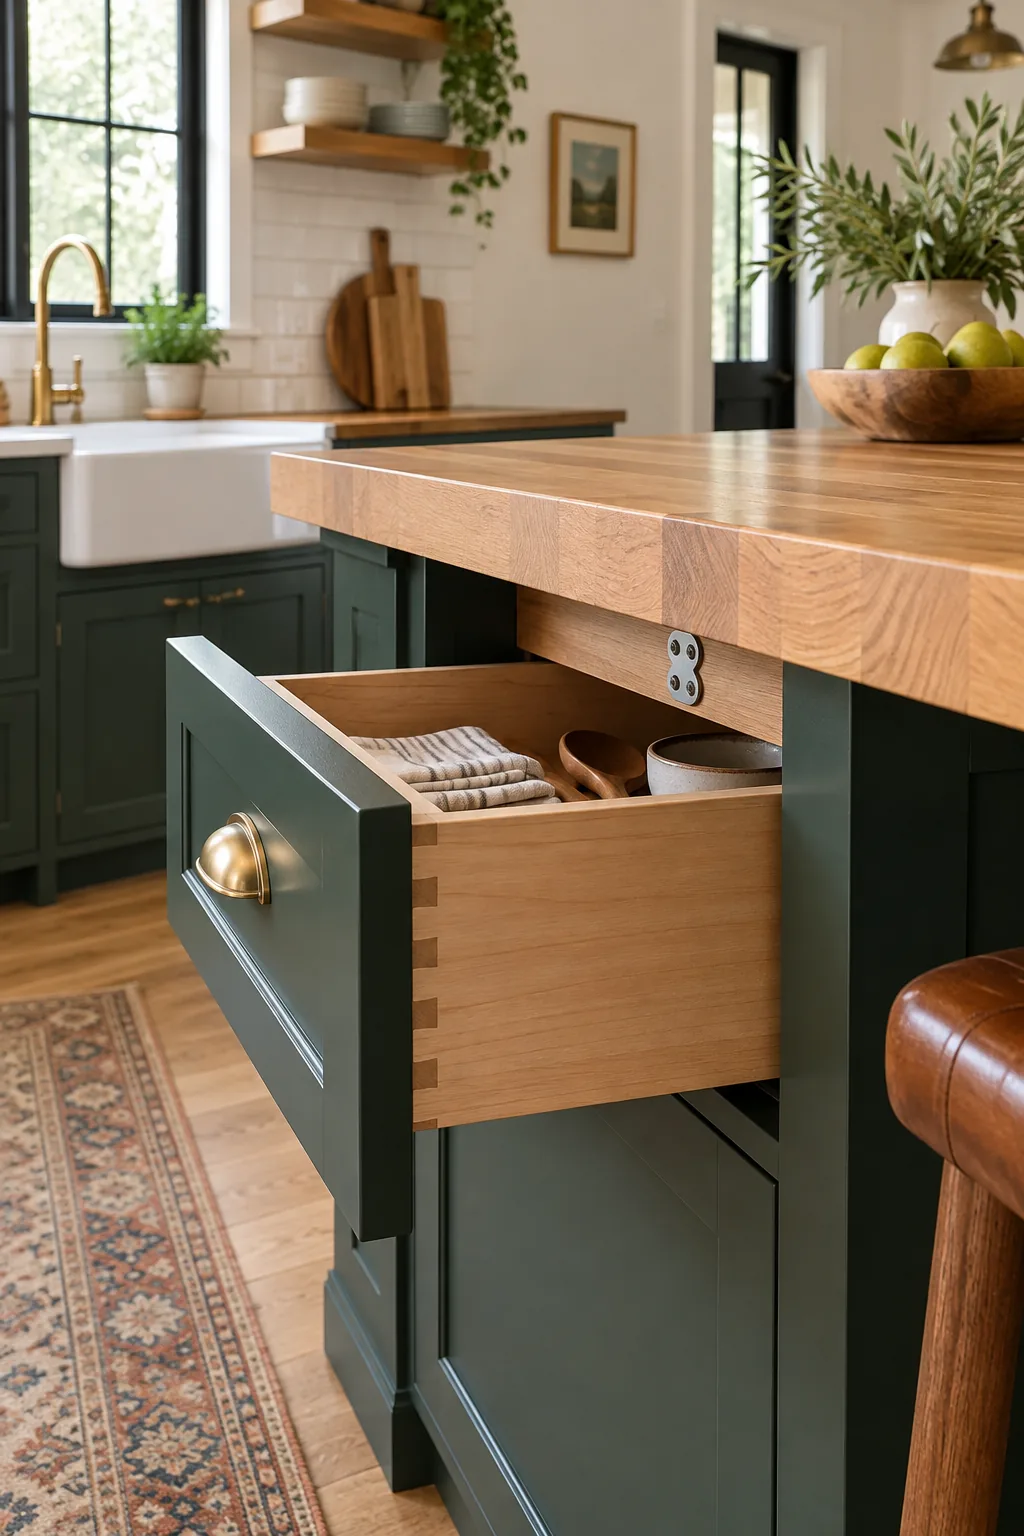
Drop one side of the metal figure-8 into your drilled recess and secure it to the cabinet frame with a wood screw. The empty loop hangs slightly over the inside edge, ready to accept a screw driven upward into the countertop.
Spacing the Cabinet Clips
Proper clip placement distributes the heavy countertop weight while still allowing necessary lateral movement. Place one figure-8 fastener every 12 to 16 inches along the perimeter cabinet rails to keep the slab completely secure.
Routing Channels for Steel Brackets
Use a plunge router and a straight bit to carve shallow trenches into the underside of the island overhang. Cut these grooves just deep enough so the metal brackets will sit completely flush with the surrounding wood surface.
Hiding Steel Flat Bars Beneath
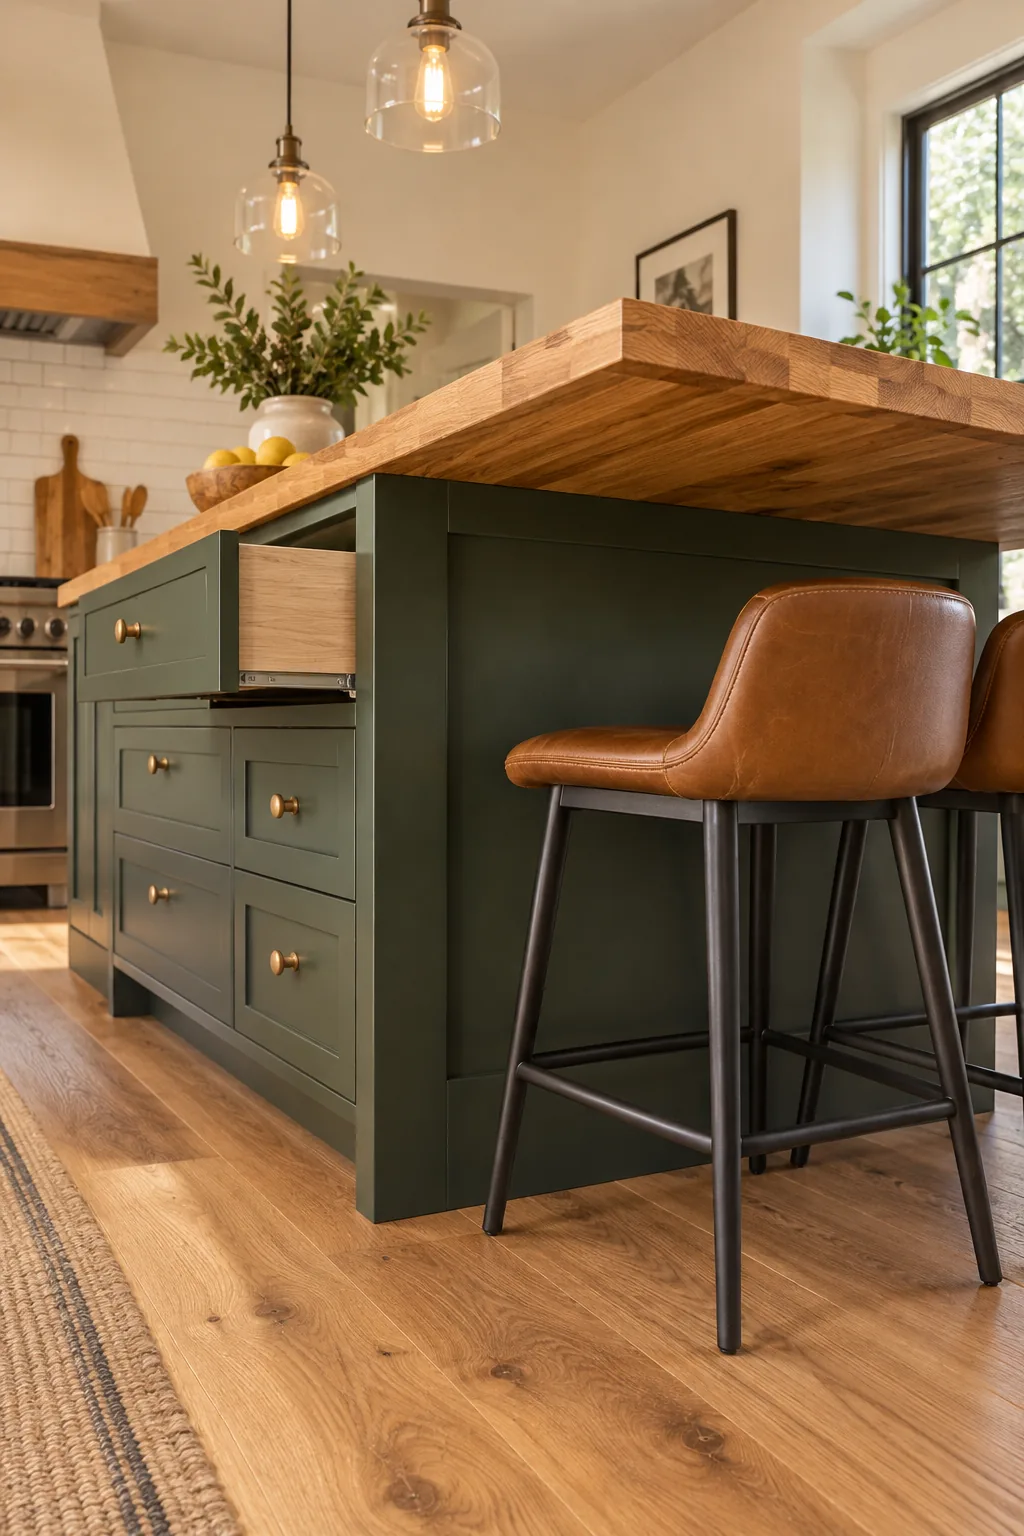
You can support deep seating overhangs without bulky, knee-banging corbels by routing dark steel flat bars beneath the wood. When I built my own kitchen island, sinking these brackets flush into the underside gave the whole room a sleek, modern feel.
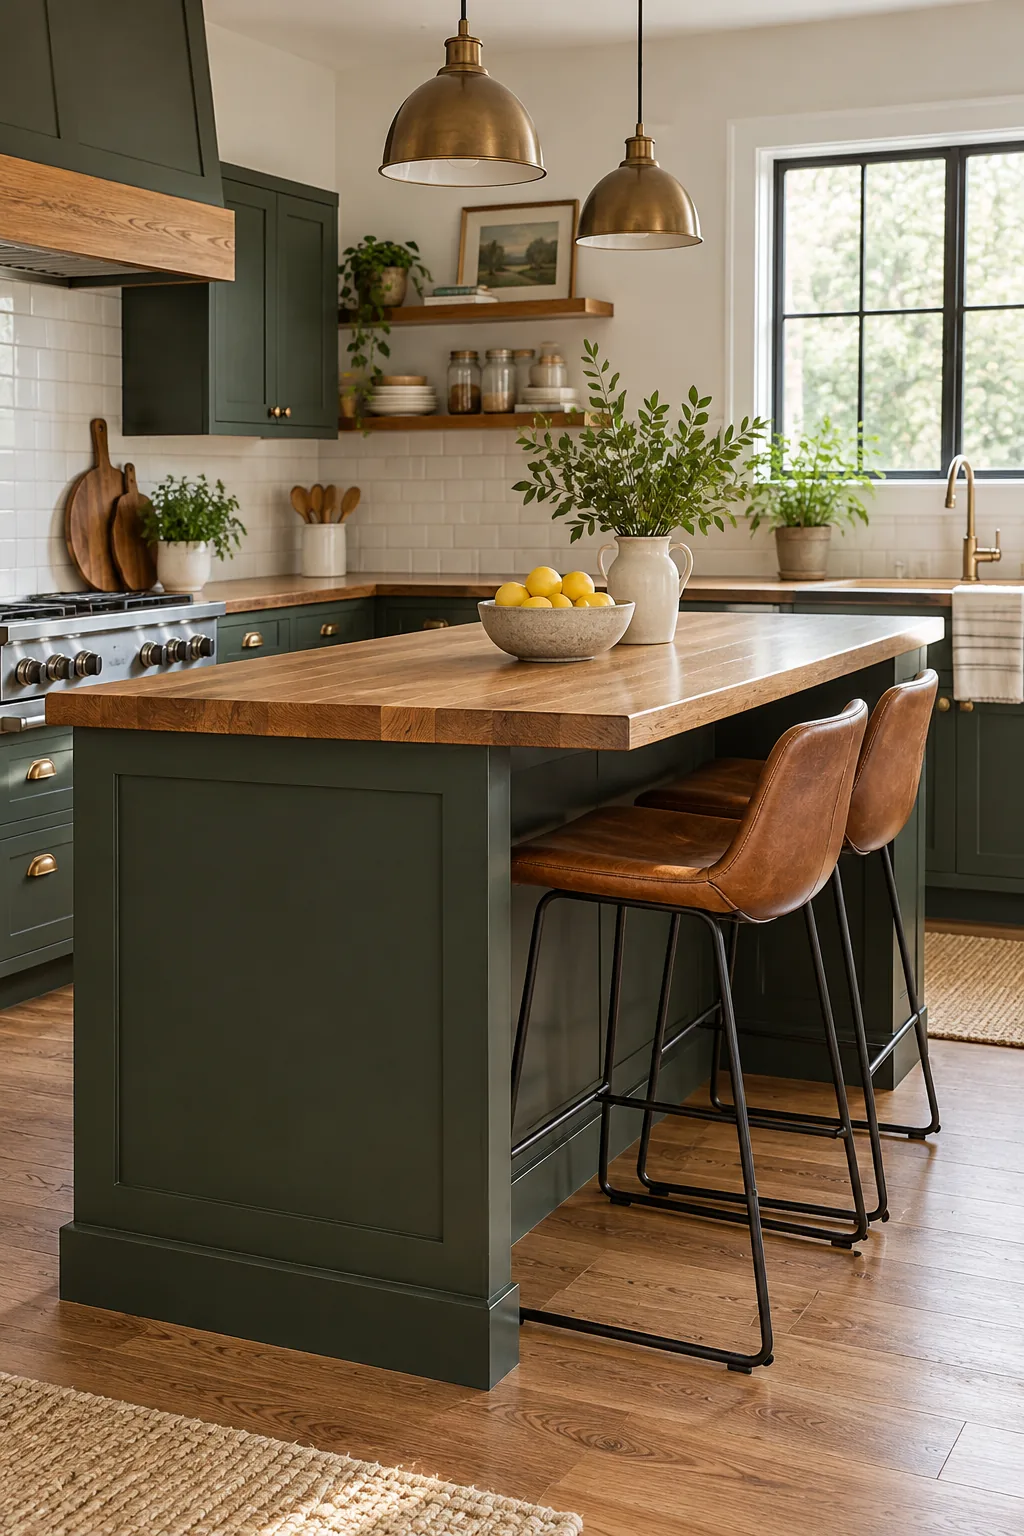
This hidden cantilever system transfers the heavy countertop weight directly to the reinforced cabinet base. Because the steel sits completely flush, your guests will never catch their clothes on the structural hardware.
Sizing the Overhang Support
Using the correct metal gauge is critical for preventing dangerous island tipping or sagging wood. Use 1/4-inch thick by 2-inch wide steel flat bars spaced every 18 inches for standard seating overhangs up to 12 inches deep.
Positioning the Island Slab
Enlist a helper to carefully lift the finished slab onto the prepared island cabinets. Double-check your overhang measurements on all four sides with a tape measure before driving a single screw into the pristine underside.
Attaching the Underside Hardware
Crawl inside the cabinet boxes and drive the final screws through the hanging loops of your figure-8 fasteners. Secure the flush-mounted steel bars by driving heavy-duty lag screws through the metal and down into the solid cabinet framing.
More Butcher Block Kitchen Ideas
See how different wood species and cabinet colors completely change the room's atmosphere.
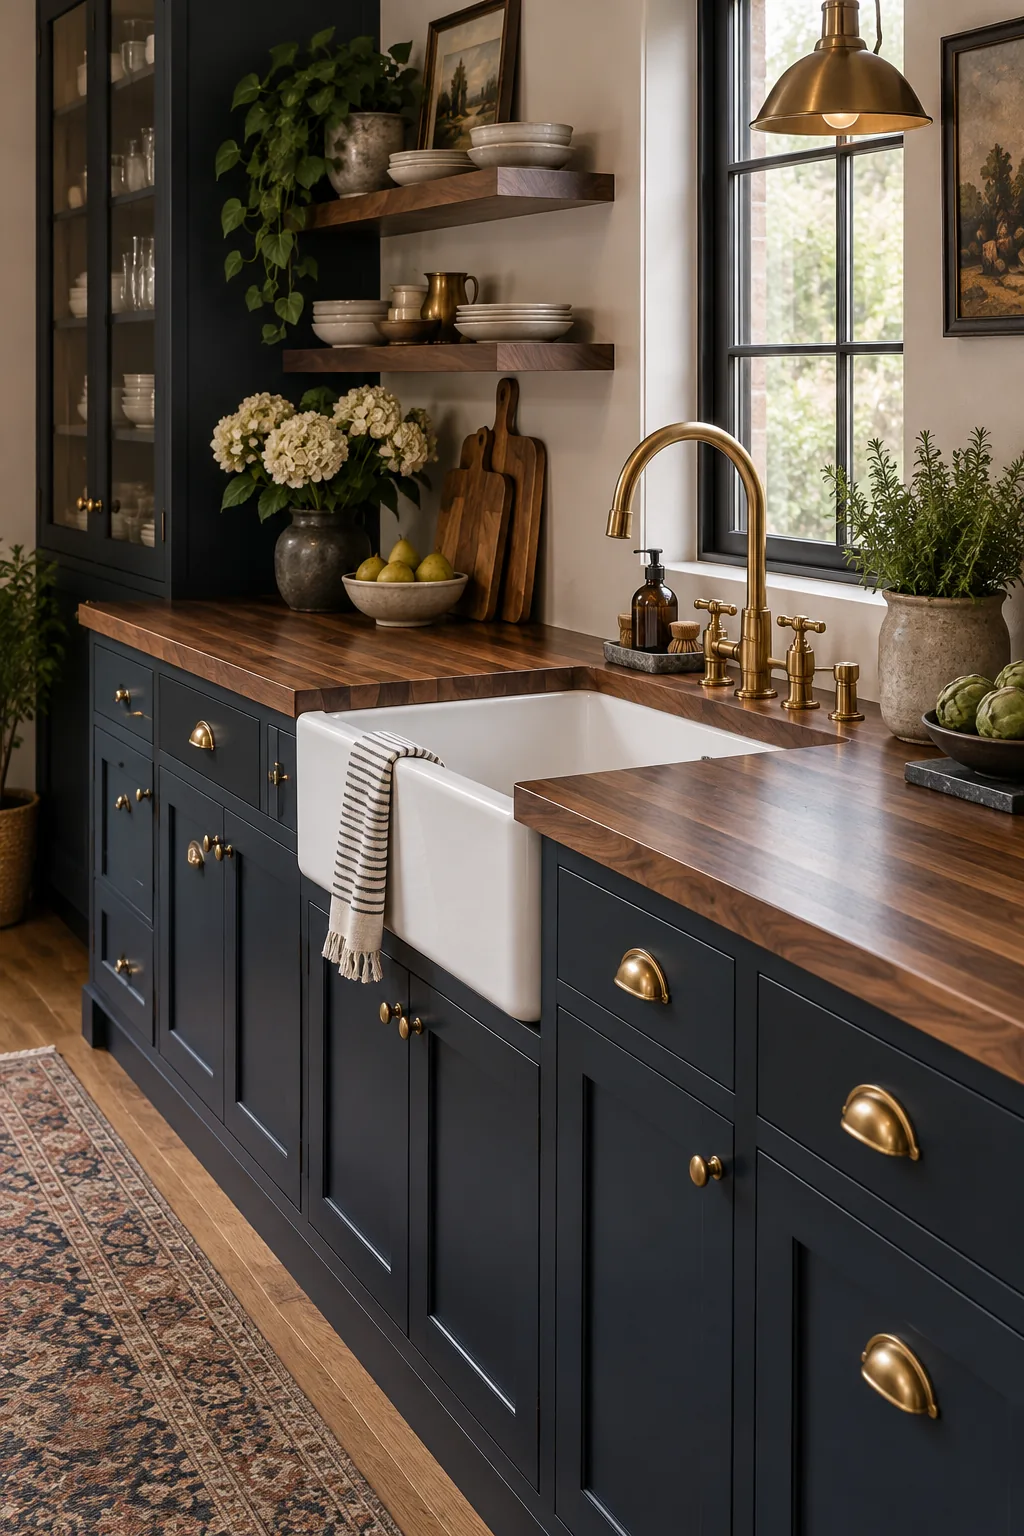
Walnut and Navy Traditional: Dark walnut offers a sophisticated contrast against deep blue cabinetry for a timeless, moody atmosphere.
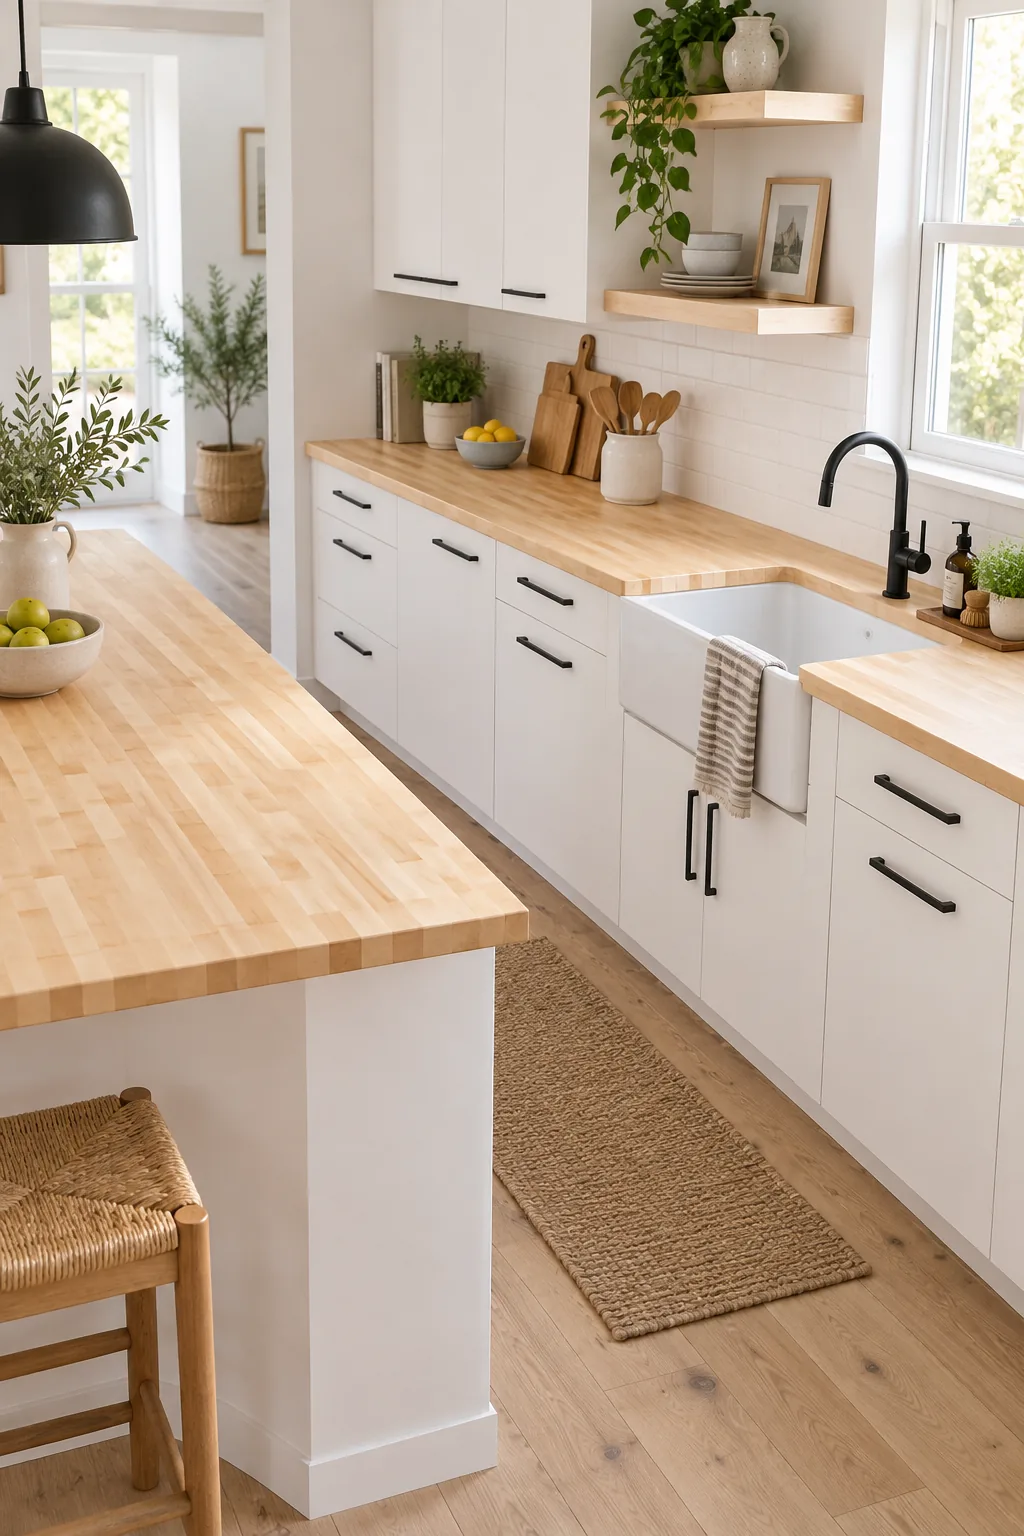
Maple and White Scandinavian: Pale maple keeps the space feeling bright and airy when paired with minimalist white flat-panel doors.
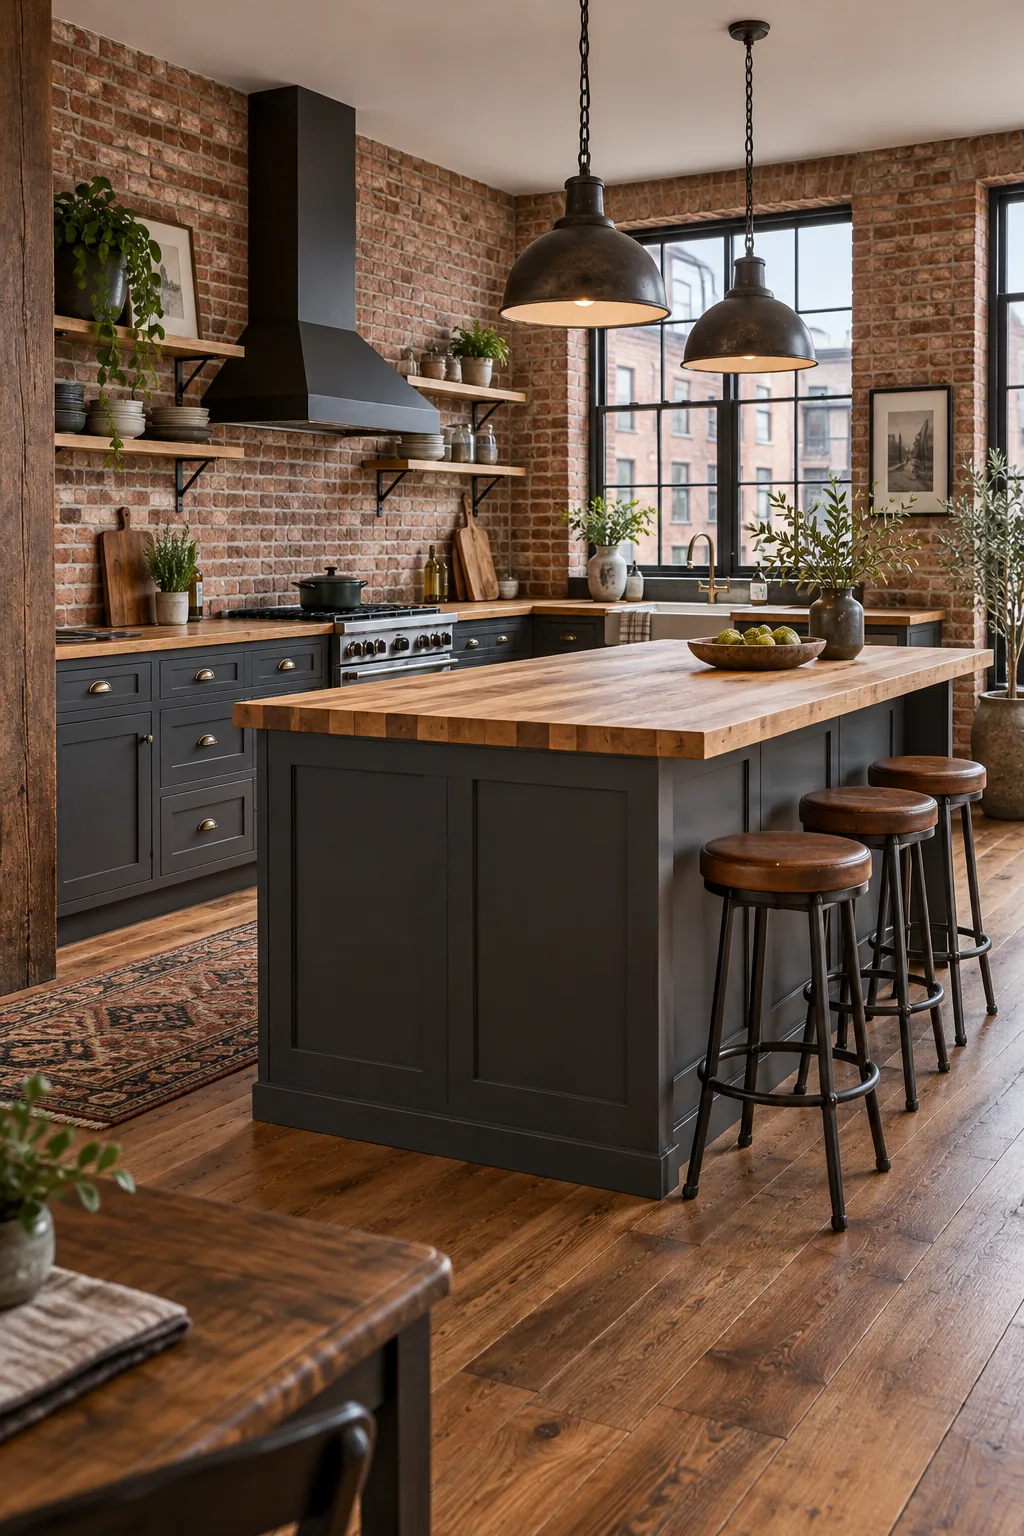
Ash and Charcoal Industrial: The pronounced grain of ash wood adds necessary organic warmth to cool charcoal tones and exposed brick.
The Butcher Block Underside Checklist
Our complete printable checklist provides the exact specifications needed for a flawless, professional-grade installation. Following these hidden support and sealing rules guarantees your inexpensive countertop will perform beautifully for years.
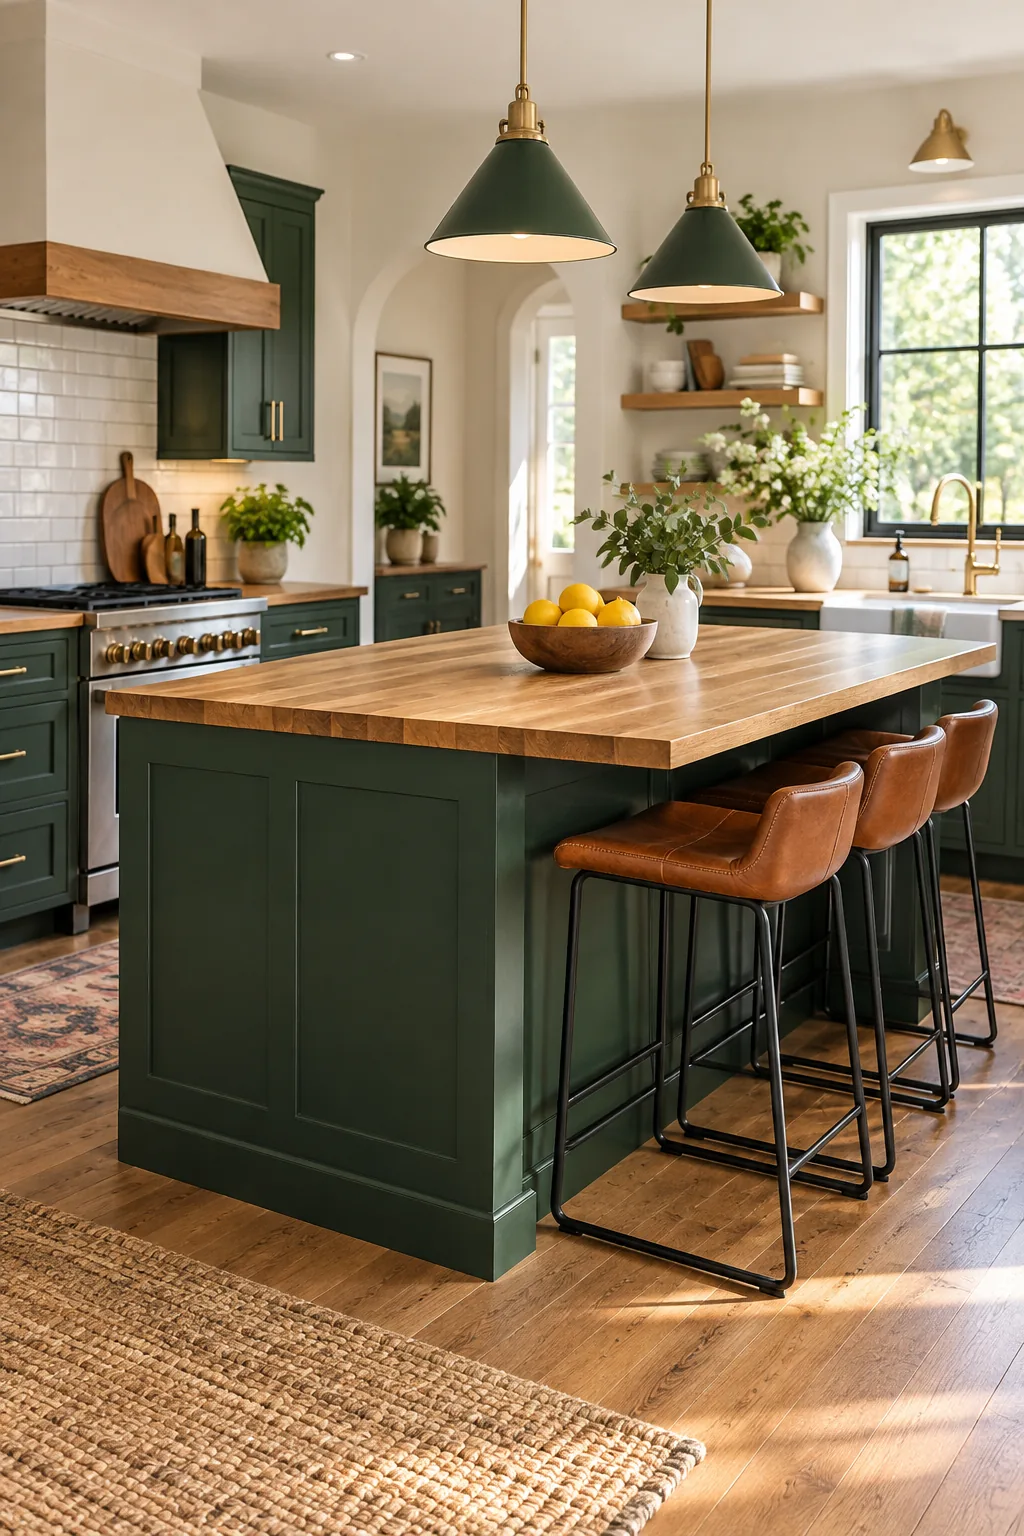
Grab your materials and review these final measurements before you start cutting. This checklist covers everything from your steel flat bar sizing to the exact hardwax-oil schedule required for a waterproof finish.
- Figure-8 fasteners (one per 12-16 inches)
- 1/4″ x 2″ steel flat bars
- Hardwax-oil finish
- 100-percent silicone sealant