How to Wrap a Graduation Bouquet: Grocery Flowers to Luxury
Grab our step-by-step paper folding guide to turn basic grocery store flowers into a massive luxury graduation gift. You will be able to assemble, hydrate, and professionally wrap a voluminous bouquet using standard blooms.
Choosing the Right Grocery Store Blooms
When I designed graduation florals for my niece in Boston, selecting 3-4 different grocery store bunches was the secret to an expensive look. Aim for exactly 25-30 stems total to achieve the necessary fullness.

Mix large focal flowers like sunflowers with sturdy fillers and textured greens to build contrast. This strategic variety ensures the final arrangement looks custom rather than hastily grabbed from a supermarket display.
Calculating the Total Stem Count
Buying too few flowers leaves the paper looking empty, while too many makes the binding impossible to hold. Sticking strictly to the 25-30 stem limit guarantees a lush appearance that remains manageable for a beginner’s hands.
Prepping the Focal Flowers
Before attempting any assembly, you must strip all foliage that will fall below the water line. Leaving leaves on the lower stems introduces bacteria into your hydration bag and creates unnecessary bulk at the binding point.
- Remove all lower leaves by pulling firmly downward.
- Pluck off any bruised or discolored outer guard petals.
- Snip a half-inch off every stem base at a sharp angle.
Clean stems slide together smoothly when building your shape. This initial prep work is non-negotiable for a professional, long-lasting result.
Cleaning the Filler Stems
Delicate filler flowers often have tiny, tangled side shoots that catch on other stems during assembly. Trim away these lower offshoots so the bottom eight inches of every single stem are completely bare and smooth.
Establishing the Core Bloom
Start your arrangement by holding one large, perfect focal flower straight up in your non-dominant hand. This single center stem acts as the anchor for the entire structure, giving you a steady point to build around.
Building the Spiral Stem Structure
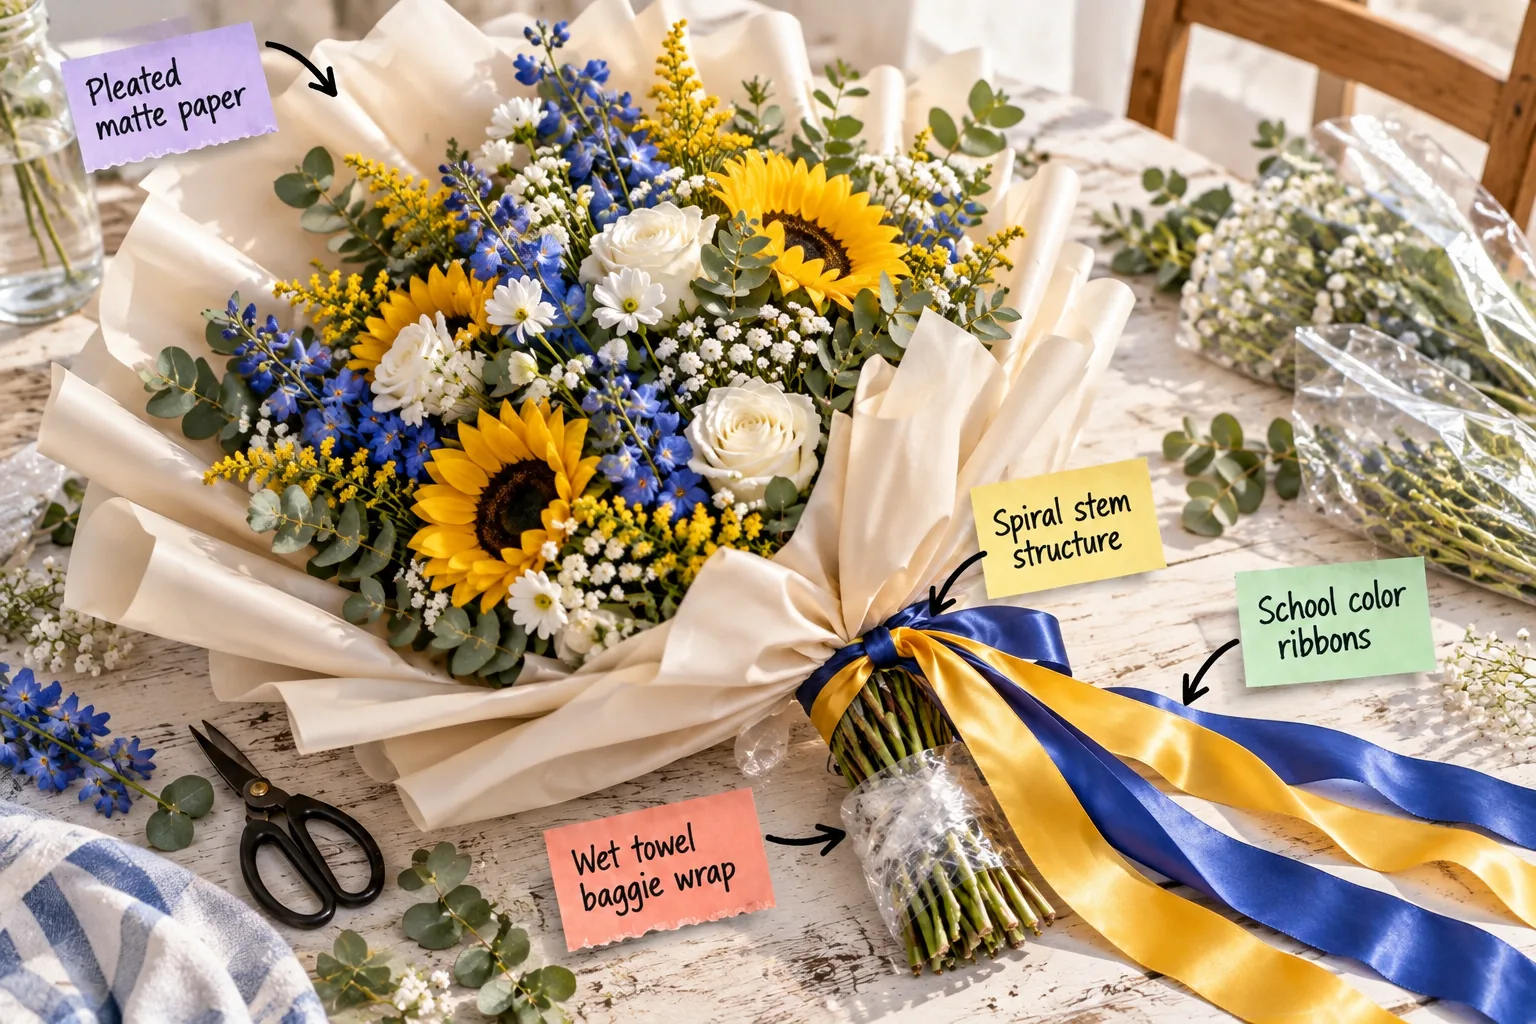
Add each new flower by crossing its stem over the previous one at a strict 45-degree angle. This continuous, angled layering creates a self-supporting spiral stem structure that naturally fans the blooms outward.

While the spiral technique looks effortless once completed, a few common handling errors can quickly turn your beautiful arrangement into a tangled, frustrating mess.
Locking the Binding Point
Once your spiral is complete, wrap waterproof floral tape around the exact spot where all the stems intersect. Pull the tape tight as you stretch it to activate the adhesive and lock the structure permanently.
Trimming the Base Evenly
With the binding secured, use sharp floral shears to cut all stems to the exact same length. Leaving about six inches of stem below the tape provides enough surface area for the hydration wrap.
Securing the Wet Towel Baggie Wrap
During outdoor Boston ceremonies, I always wrap the freshly trimmed ends in a damp paper towel and seal it inside a small plastic bag. This unseen wet towel baggie wrap provides 4-6 hours of hydration in the sun.

Twist the top of the plastic bag tightly against the floral tape to lock the moisture inside. A well-sealed base ensures the graduate’s gown stays completely dry while the blooms remain vibrant.
Taping the Hydration Pouch
Wrap a final layer of floral tape completely over the twisted plastic bag top to secure it to the stems. This prevents the heavy, wet towel from slipping off when the bouquet is carried upside down.
Sourcing the Right Floral Paper
Standard tissue paper disintegrates instantly when it touches wet stems, so upgrading your material is essential. You need thick, waterproof floral sheets that can hold a sharp crease without tearing.
| Material | Water Resistance | Crispness | Best Use |
|---|---|---|---|
| Standard Tissue | None | Low | Inside dry gift boxes |
| Kraft Paper | Low | Medium | Rustic indoor gifts |
| Waterproof Matte | High | High | Luxury graduation bouquets |
The matte finish specifically prevents camera glare during graduation photos while hiding any minor condensation from the water bag.
Sizing the Wrapping Sheets
Pre-cut floral paper usually comes in standard squares, which eliminates the need for measuring from a continuous roll. Check that your sheets measure at least twenty inches across to provide enough height behind the flowers.
The Step-by-Step Paper Folding Guide
Grab exactly 3 sheets of 20×20 inch waterproof floral paper and fold them slightly off-center to create double peaks. Pinch the bottom center of this pleated matte paper to gather the base tightly.

Managing multiple sheets of stiff paper while holding a heavy bouquet can be tricky, but one simple trick keeps those perfect pleats from shifting.
Taping the First Paper Layer
Place your first folded sheet directly behind the bouquet so the peaks rise just above the highest focal flower. Secure the pinched base of the paper to your stem binding point using clear tape.
Adding the Side Paper Panels
Take your remaining two folded sheets and place them on the left and right sides of the bouquet, overlapping the back sheet slightly. Tape these side panels tightly to the binding point to finish the frame.
Fluffing the Paper Pleats
Reach into the folds of your matte paper and gently pull the layers apart to maximize their volume. This quick adjustment instantly makes the entire arrangement look twice as wide and significantly more expensive.
Tying the School Color Ribbons
When I wrapped a bouquet for a local university grad, I used wide, double-faced satin ribbon to completely conceal the tape and baggie top. Choose two 1.5-inch wide ribbons in the graduate’s school colors.

Tie the school color ribbons into a tight, simple knot directly over the mechanics rather than a bulky bow. Leaving elegant 18-inch trailing tails adds a sophisticated, flowing element that looks stunning in motion.
Cutting the Satin Tails
Fold the ends of your ribbon tails in half vertically and snip them upward at a sharp angle. This creates a professional, fray-resistant dovetail cut that elevates the entire presentation.
Storing the Wrapped Arrangement
Keep your finished project in a cool, dark room until it is time to leave for the ceremony. Never leave the wrapped flowers sitting inside a hot car, as the trapped heat will wilt the petals instantly.
Transporting the Flowers Safely
Place the bouquet upright in a tall bucket on the floorboard of your car during transit. This prevents the heavy blooms from crushing the crisp paper pleats against the car seats.
Holding the Bouquet for Portraits
Instruct the graduate to hold the arrangement at a slight forward angle resting near their hip. This specific positioning shows off the layered paper and blooms without hiding their face or diploma.
Repurposing the Ribbon
After the ceremony ends, the high-quality satin ribbon can be untied and saved as a keepsake. Many graduates pin these trailing ribbons to their memory boards alongside their printed commencement programs.
Keeping the Bouquet Fresh for Photos
Advise the graduate to keep the arrangement in a shaded spot and avoid resting it flat on its face to protect the delicate paper pleats. Proper handling ensures the blooms survive the lengthy speeches.

Before handing over your masterpiece, a quick final review ensures the bouquet looks just as flawless in graduation photos as it did on your crafting table.
More Graduation Bouquet Styles
Swap the colors and paper to match any graduate's personal style.
Modern Minimalist Pastel Wrap: Soft pink peonies and crisp white paper create a clean, modern aesthetic perfect for a college graduate.

Dark Academia Velvet Wrap: Black kraft paper and deep red roses offer a dramatic, sophisticated look tied together with velvet.

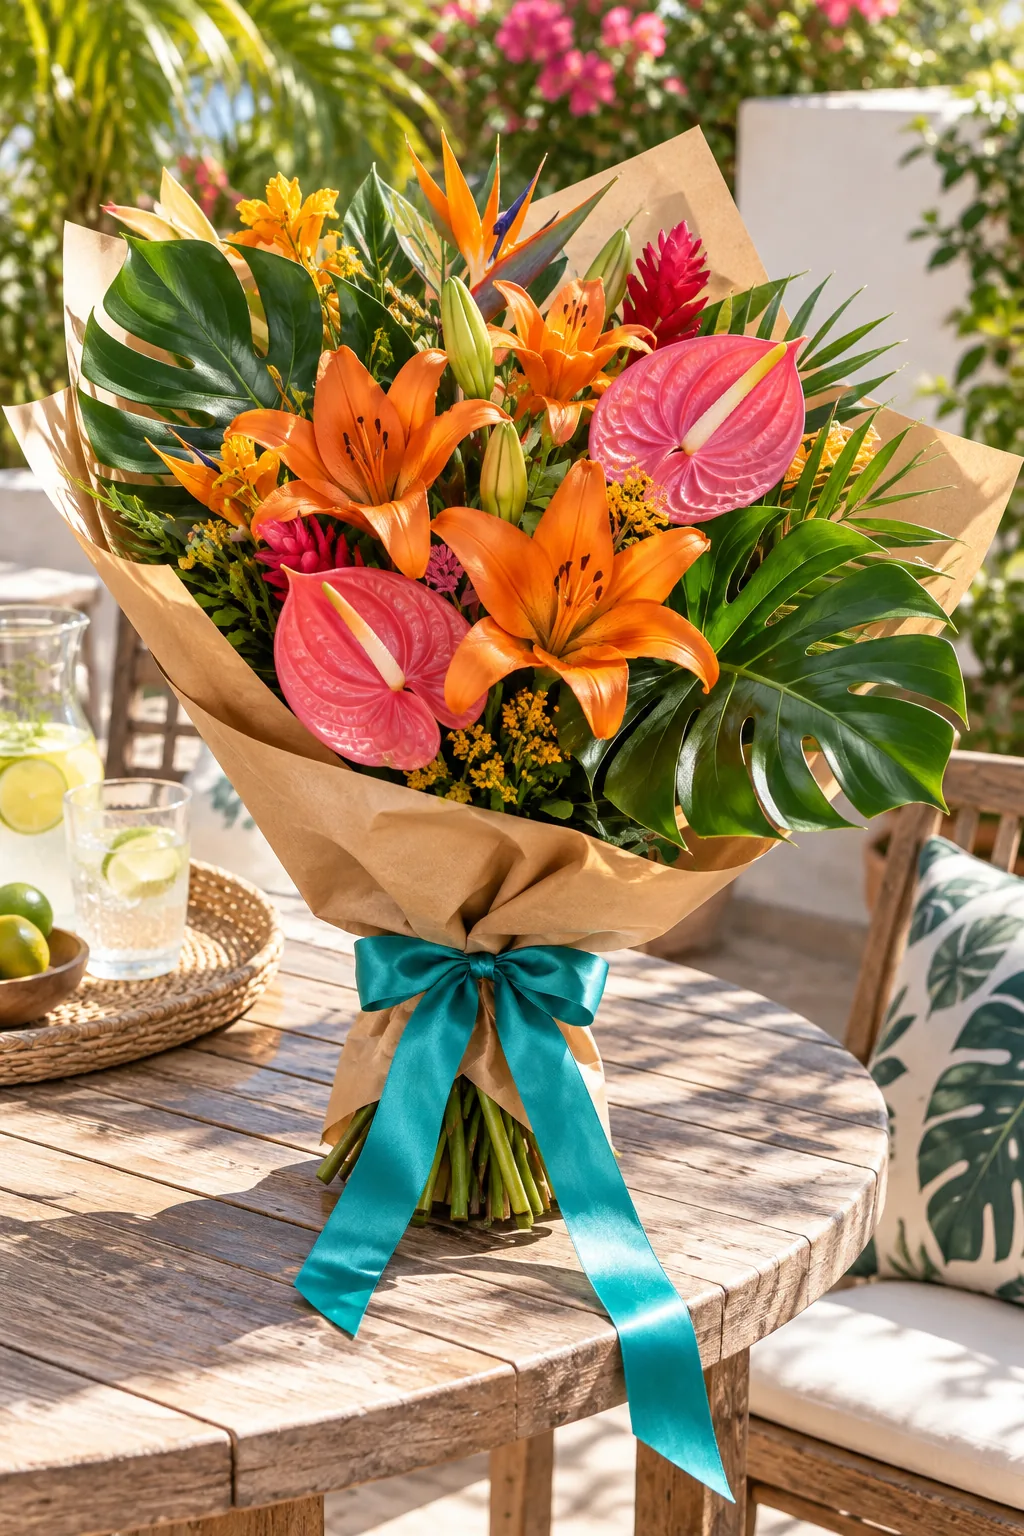
Vibrant Tropical Kraft Wrap: Bold tropical blooms pop beautifully against simple brown kraft paper for a fun, sunny celebration.
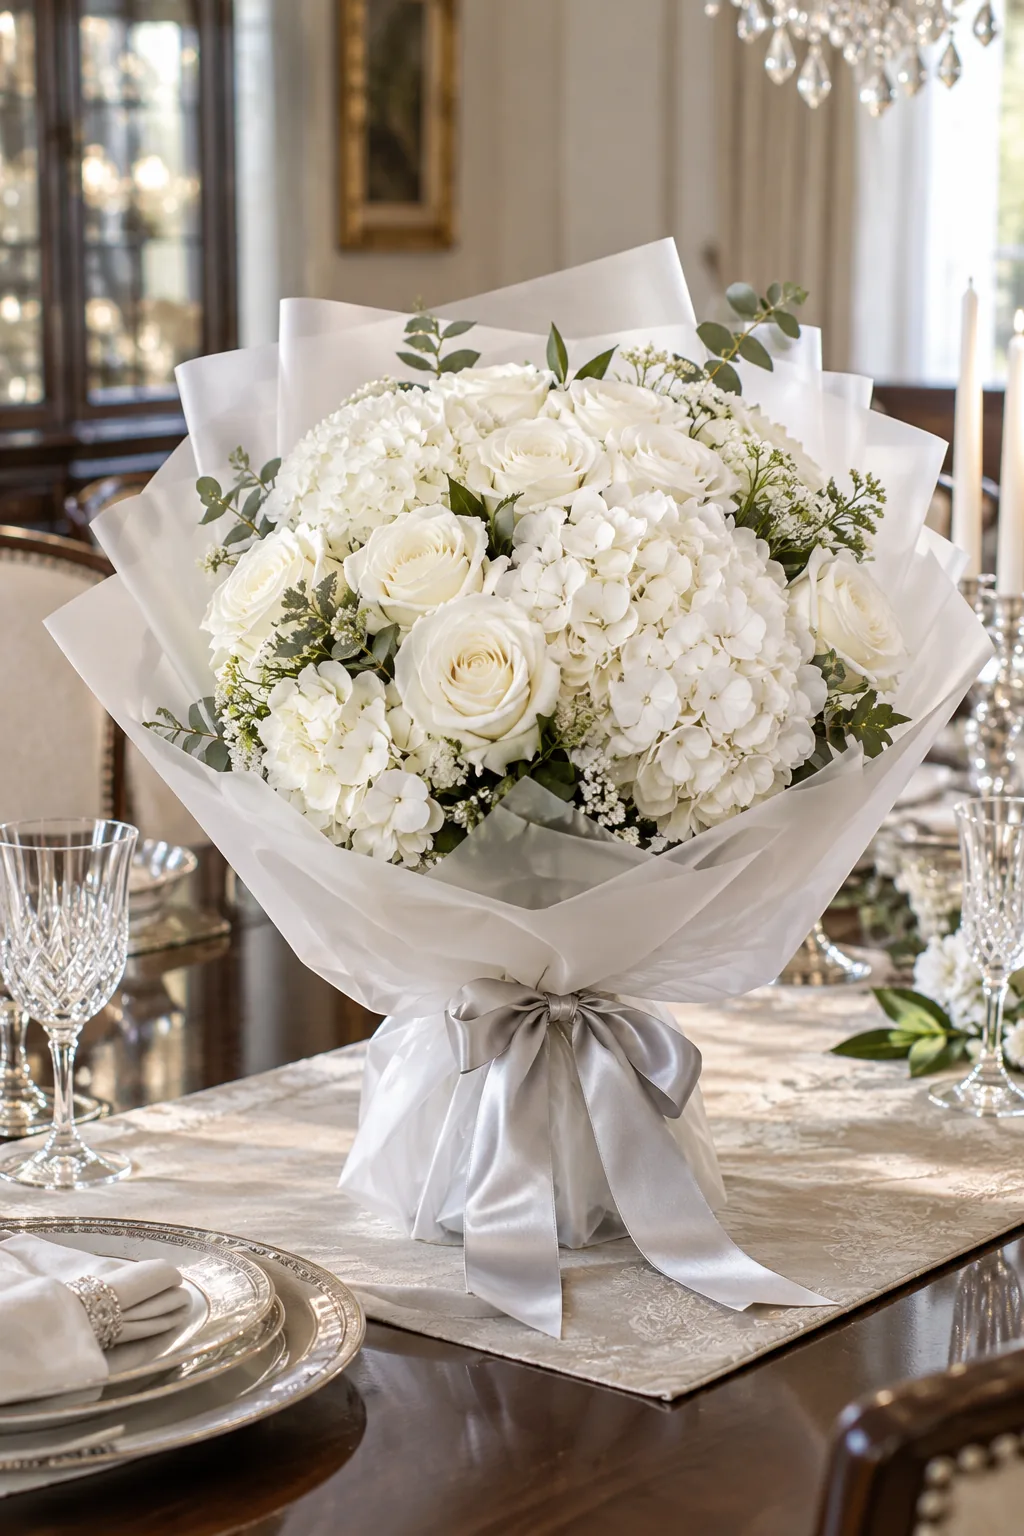
Classic Frosted White Wrap: Translucent frosted paper gives an all-white arrangement of roses a highly polished, high-end florist feel.