
Build a Sag-Free Small Yard Clothesline: Hardware & Spacing Guide
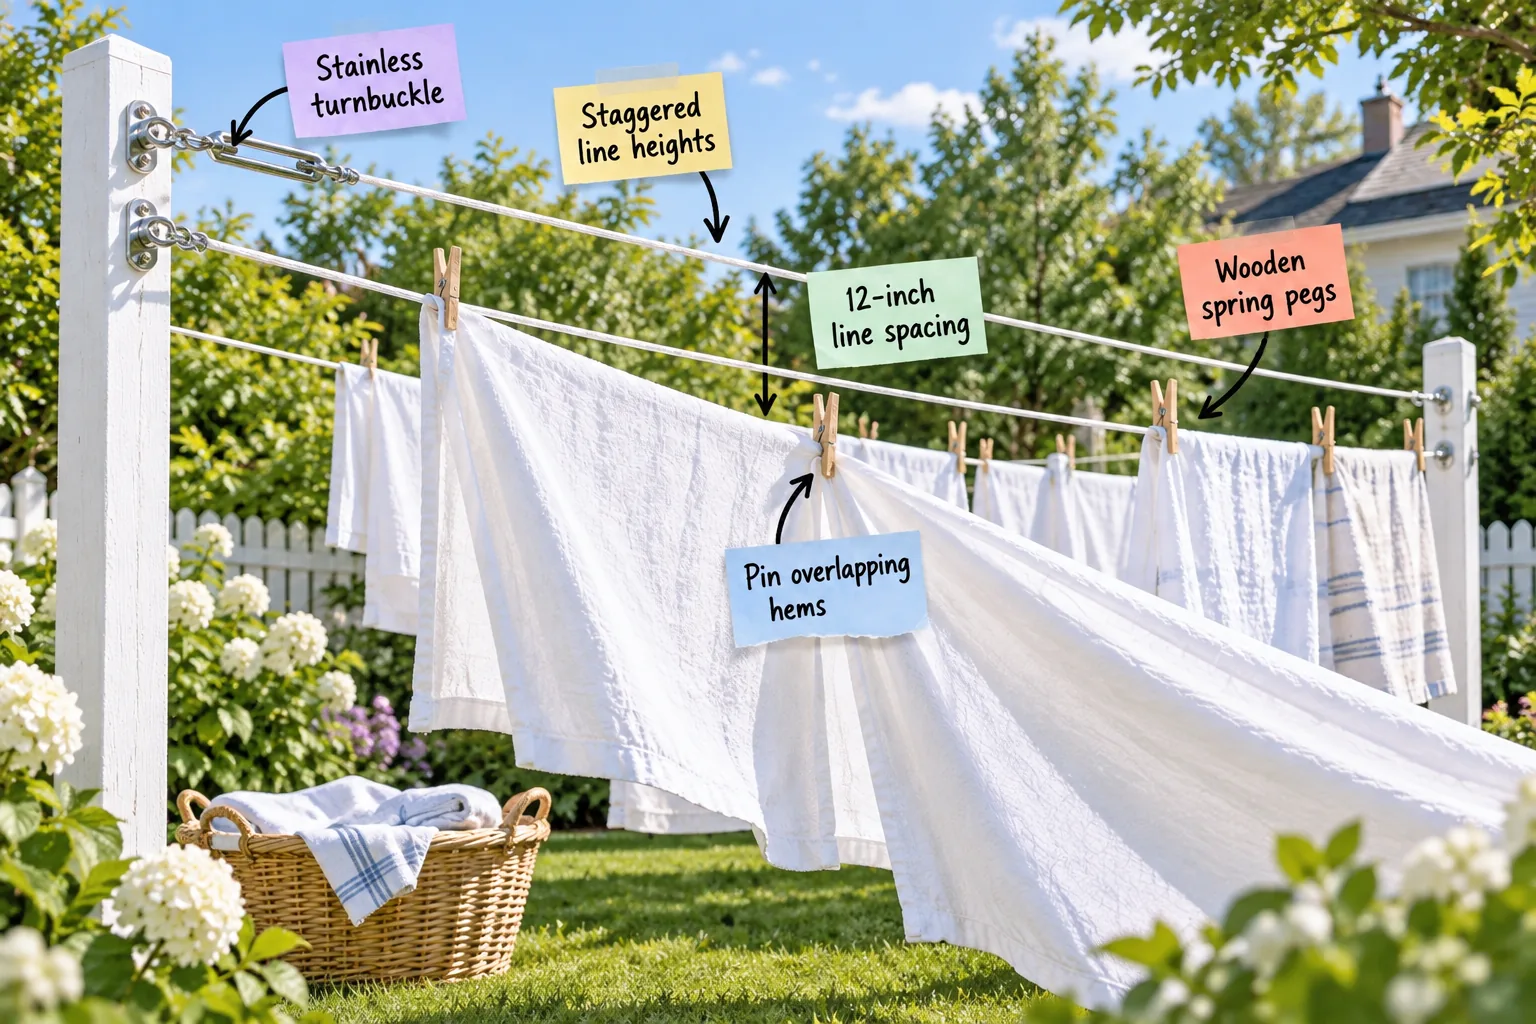
You can build a taut, multi-line drying setup that maximizes small outdoor spaces using our sag-free clothesline hardware and spacing checklist. Getting the exact measurements and tensioning components right means you will enjoy perfectly crisp, fresh laundry without constantly battling drooping wires.
Anchoring the Line with Stainless Turnbuckles
A sag-free clothesline relies entirely on its anchor points, which is why installing a stainless steel turnbuckle at one end of every line lets you easily dial in the tension. I used to just tie knots in my Austin backyard, but the humidity stretched the lines so badly that my sheets dragged on the grass.
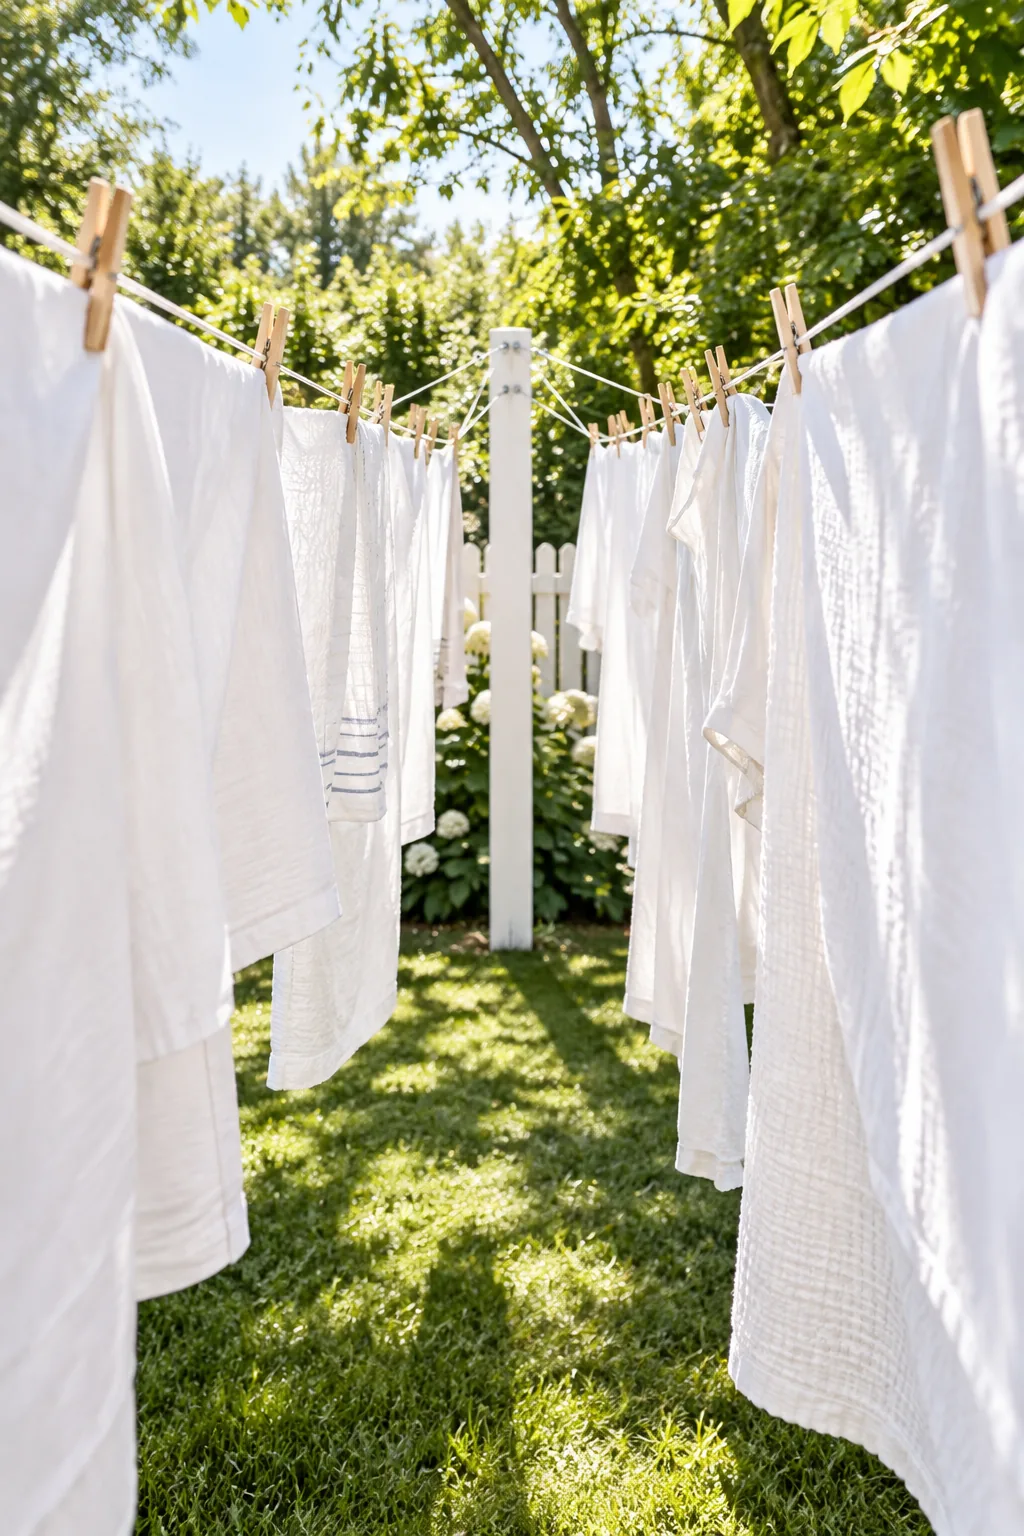
Checking the tension on your hardware at the beginning of every summer ensures the cables remain perfectly rigid before the heavy washing season begins.
Sizing Your Wooden Support Posts
Supporting multiple tensioned steel cables requires substantial lumber that will not bow under the combined weight of wet fabric and wind resistance. Choosing a 4×4 treated wood post provides the minimum structural rigidity necessary for a standard residential drying span.
| Yard Span Length | Recommended Post Size | Concrete Footing Depth |
|---|---|---|
| Up to 10 feet | 4×4 inches | 24 inches |
| 10 to 16 feet | 4×6 inches | 30 inches |
| 16 to 20 feet | 6×6 inches | 36 inches |
Setting the 12-Inch Line Spacing
Drilling your anchor holes with exactly 12-inch line spacing ensures wet items will not blow into each other while still fitting multiple lines onto a standard post. Proper airflow is absolutely essential for fast drying in a compact footprint.
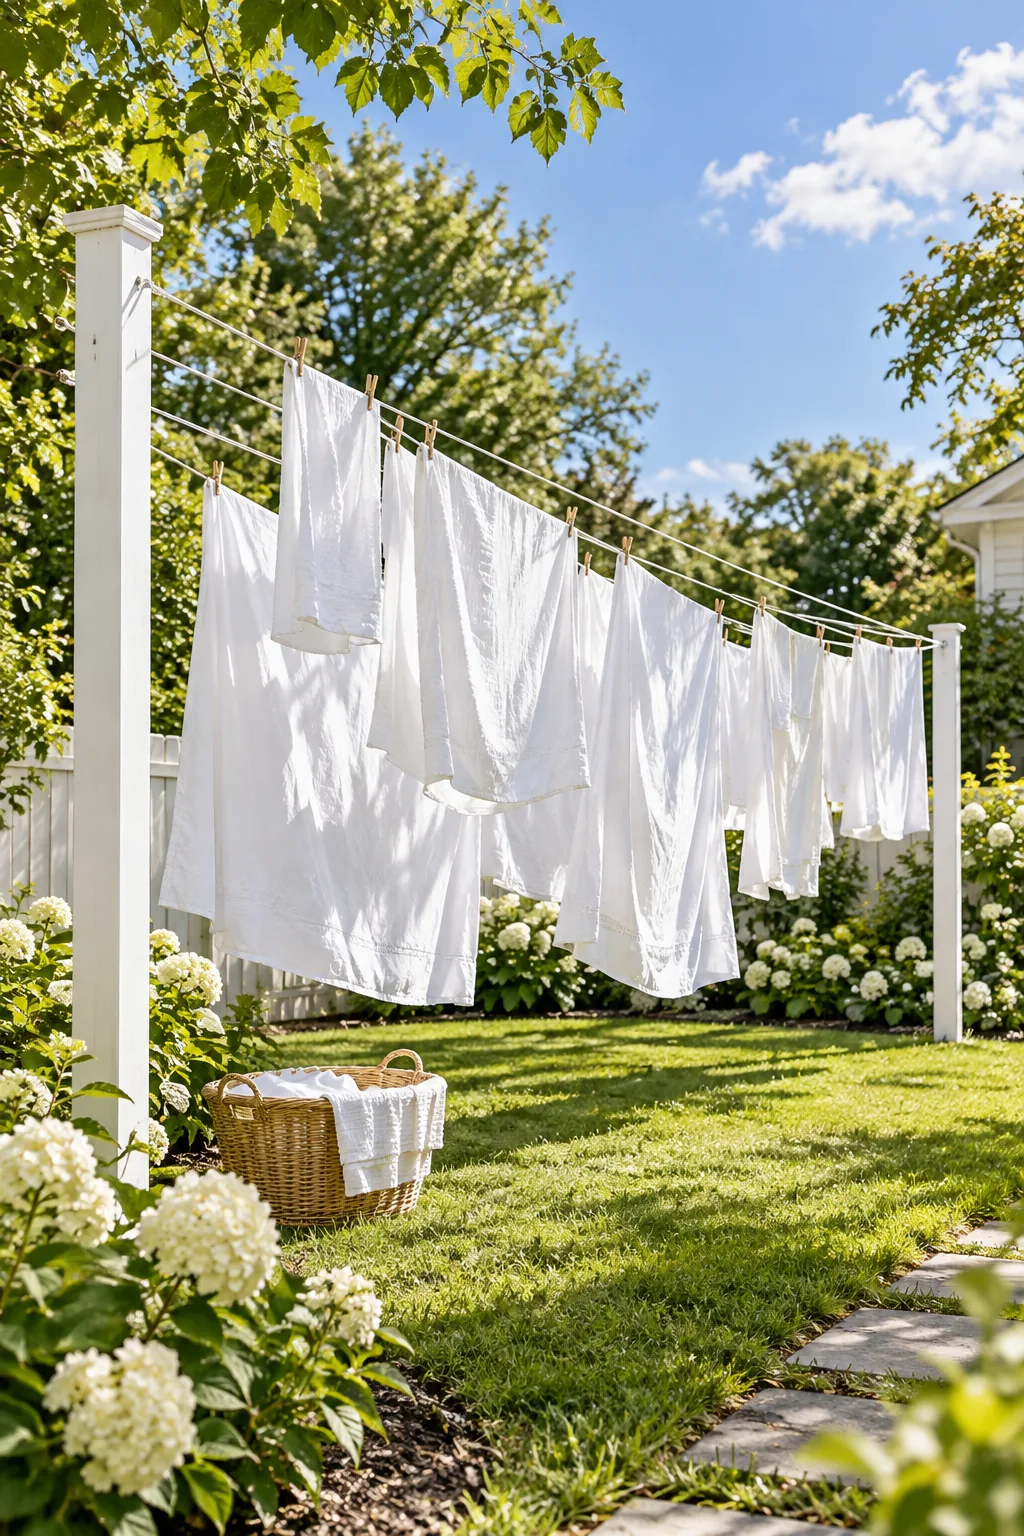
Leaving adequate breathing room between the cables prevents damp fabrics from transferring moisture back and forth when the wind changes direction.
Aligning the Setup with Wind Direction
Orienting your entire clothesline structure perpendicular to the prevailing summer breeze allows fresh air to pass straight through every hanging layer. Capturing the cross-breeze efficiently dramatically cuts down your total drying time and prevents mildew smells in thick fabrics.
Staggering Line Heights for Better Airflow
Placing the back wire slightly higher than the front wire creates a tiered effect that dries everything evenly without the front row blocking the sun and wind. When I finally staggered my own lines, my heavy bath towels started drying twice as fast in the afternoon breeze.
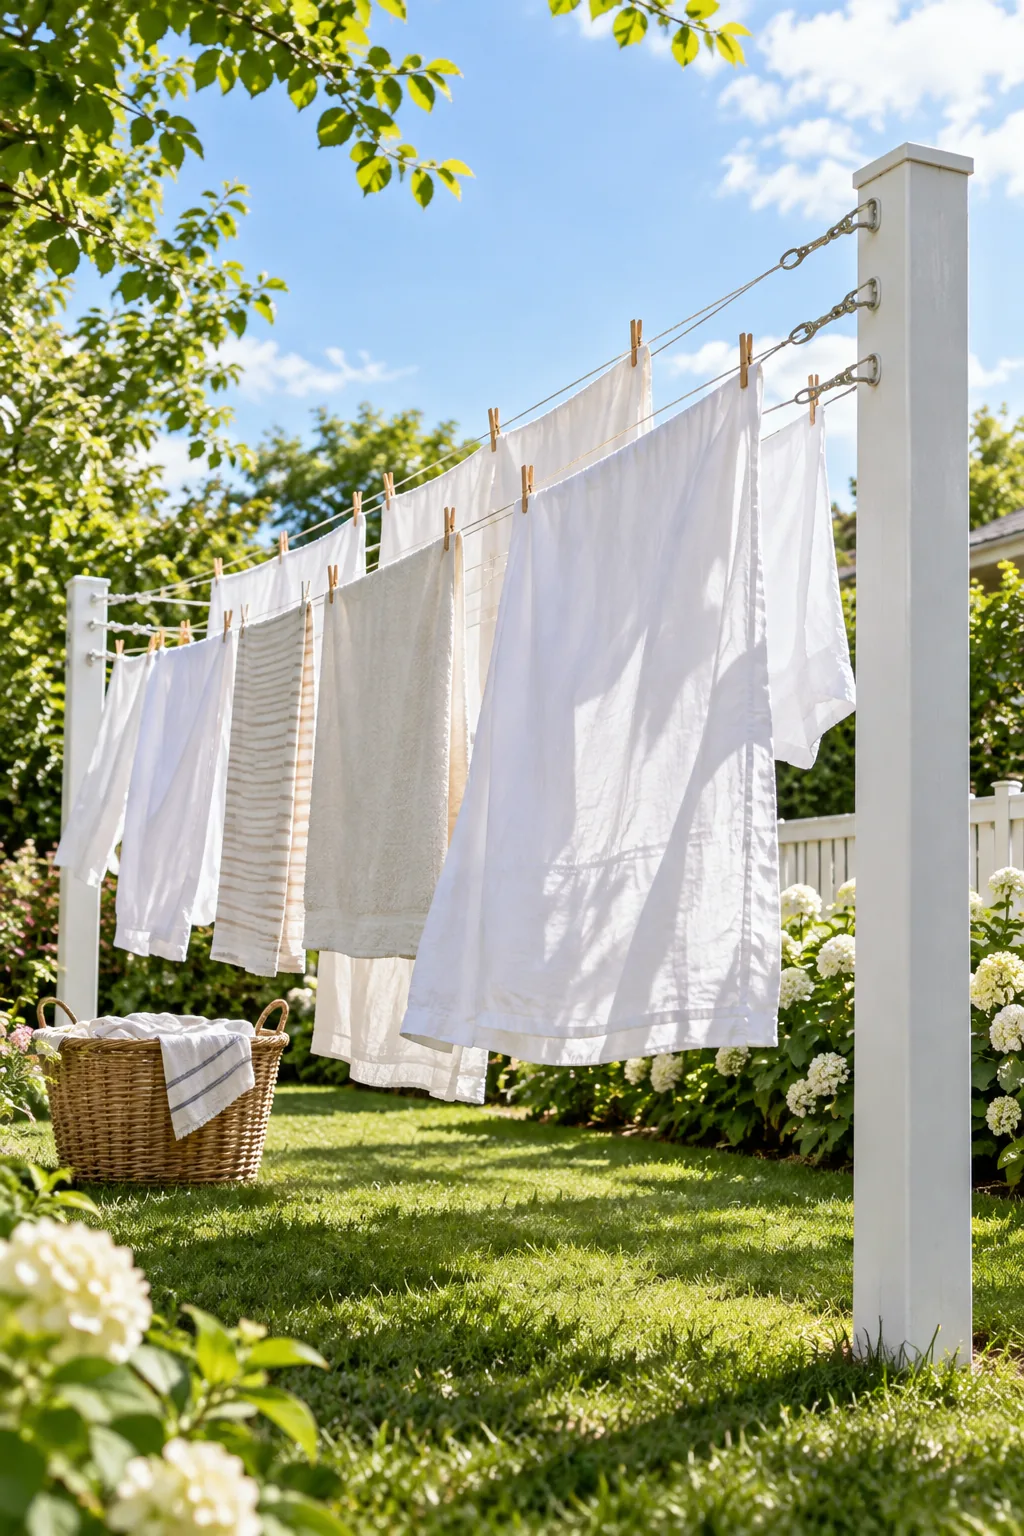
Elevating the rear lines also makes it significantly easier to reach over the front row when pinning up your final load of laundry.
The Complete Hardware and Spacing Checklist
You will need rust-proof fittings and a coated wire that will not degrade in the sun or leave orange marks on your clean linens. After replacing cheap hardware three times in two years, I finally invested in marine-grade components that actually last.
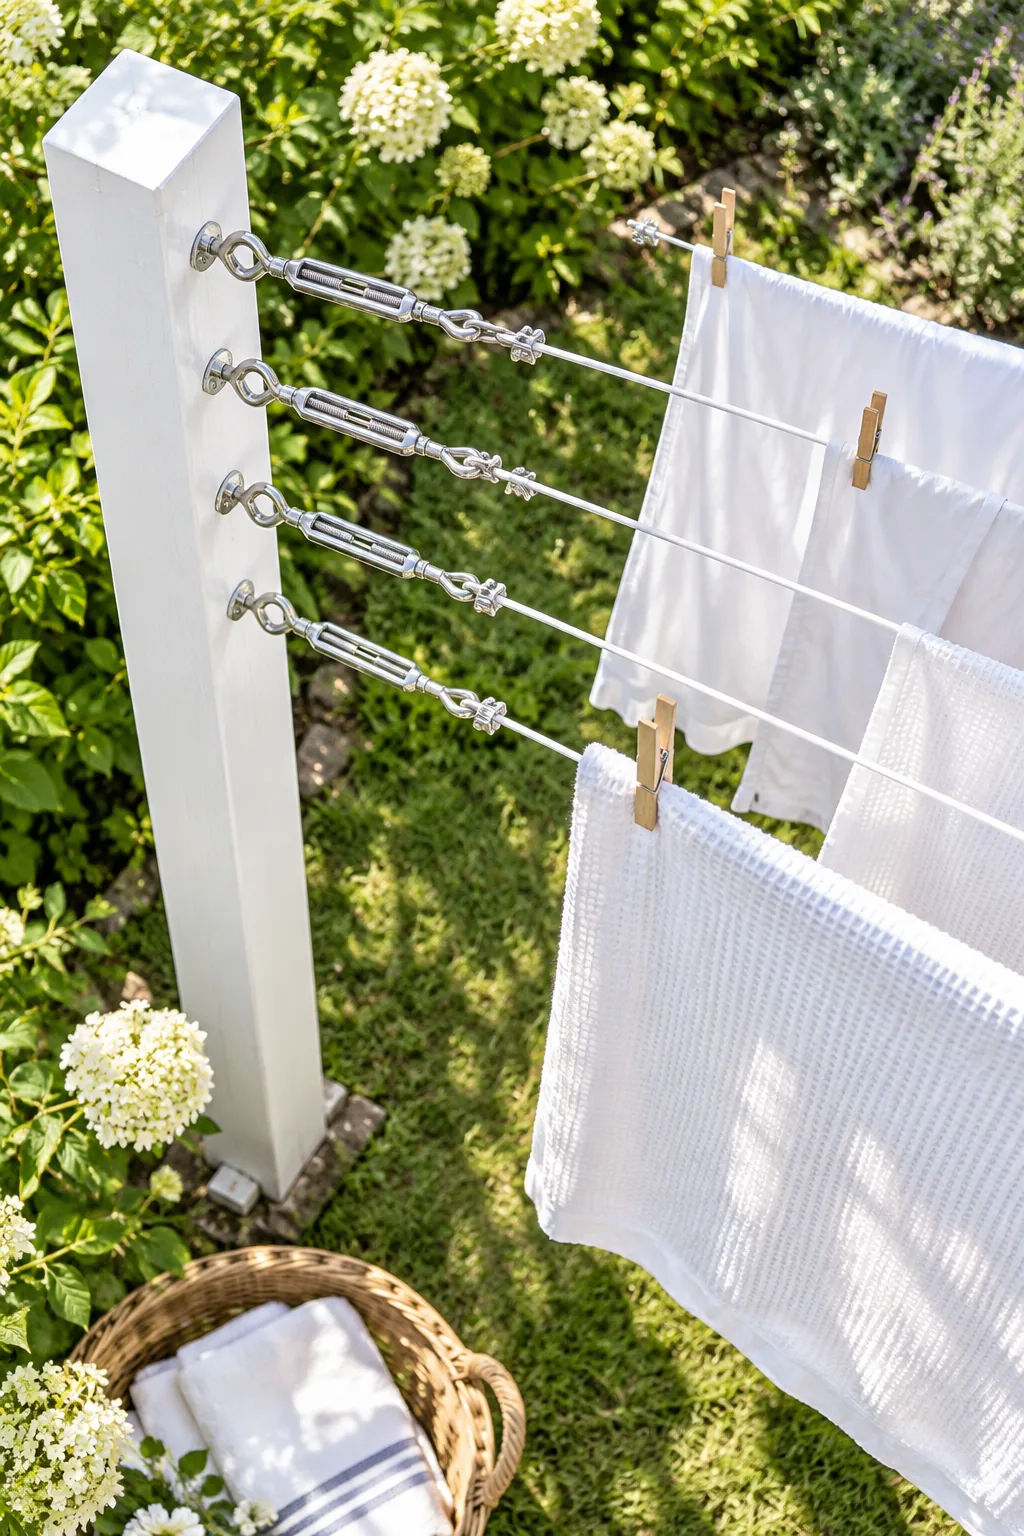
Before you start drilling into your posts, verify you have the exact tensioning components and measurements required to keep the system tight.
Securing Ends with Wire Rope Clamps
Forming a permanent, slip-free loop at the end of your steel cable requires proper mechanical fastening rather than simple knots. Using two wire rope clamps per anchor point guarantees the cable will never pull loose when loaded with heavy, wet laundry.
- Thread the coated wire through the eye of the turnbuckle and fold back six inches of slack.
- Place the first rope clamp one inch from the dead end of the wire and tighten the nuts securely.
- Attach the second clamp right next to the turnbuckle eye to lock the loop in place.
Selecting Classic Wooden Spring Pegs
Plastic clips often become brittle and snap after a single summer, so choosing classic wooden spring pegs provides a much stronger grip on thick towels. These natural tools easily withstand constant UV exposure without degrading in the intense afternoon heat.
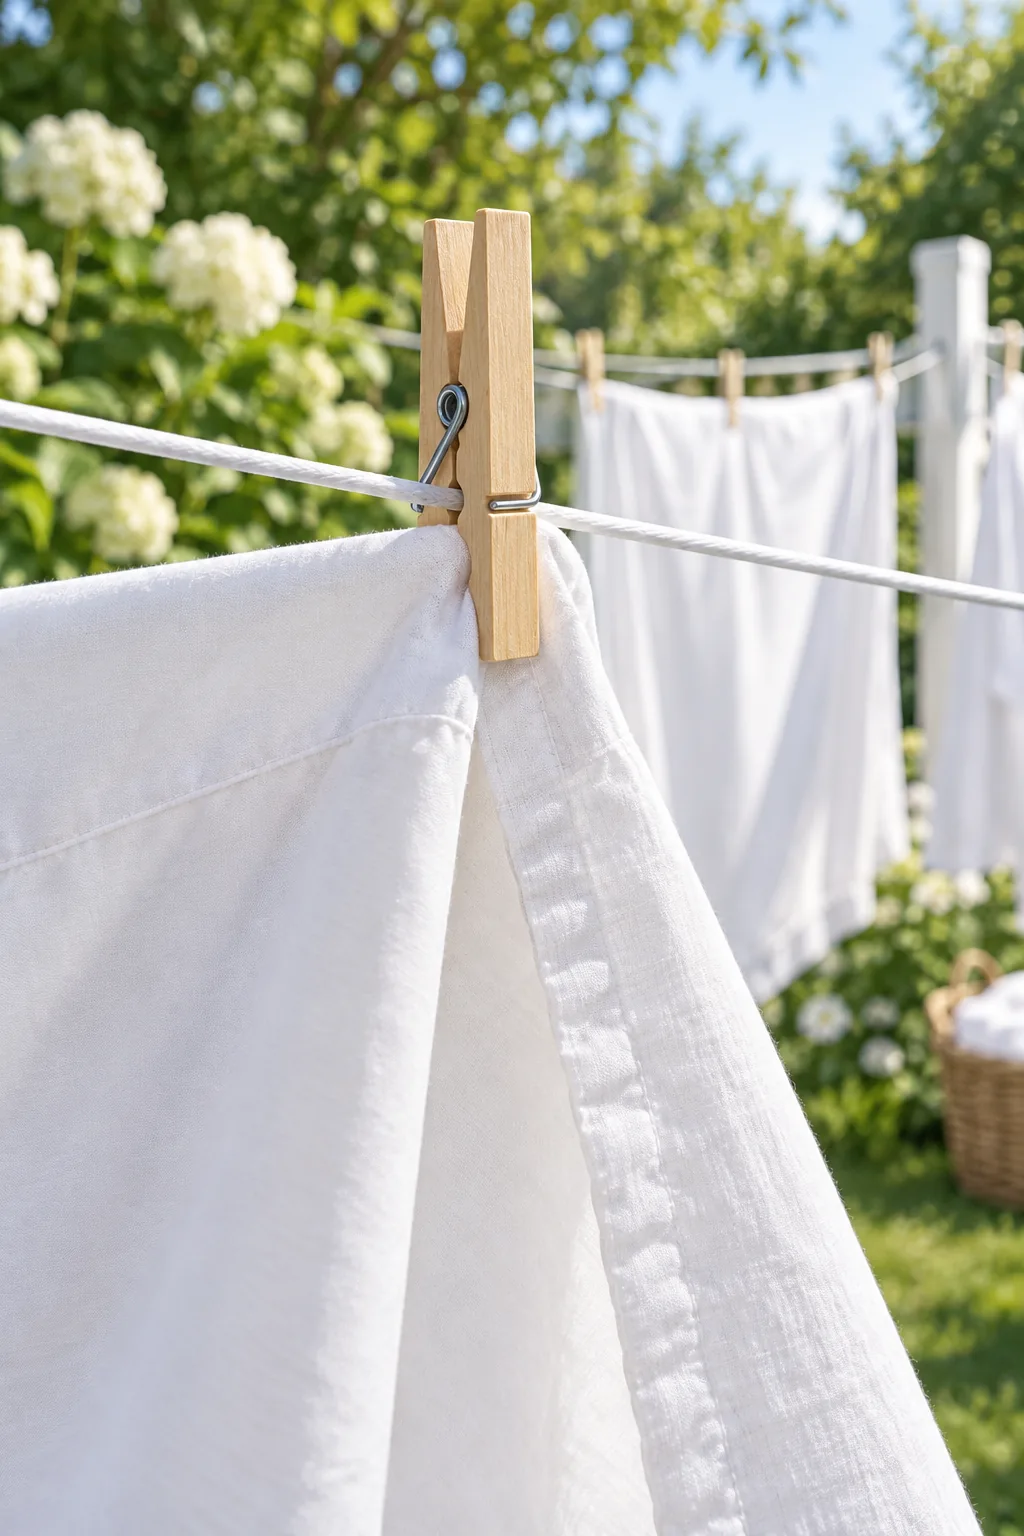
Natural wood also absorbs trace amounts of moisture from the damp fabric, which actually strengthens the clothespin’s grip during the drying process.
Maximizing Space by Pinning Overlapping Hems
You can save significant space on laundry day by using one clothespin to hold the overlapping corners of two different sheets together. When you are hanging large loads in a small yard, every single inch of wire capacity counts.
This simple hanging technique instantly frees up room on your line while keeping your linens perfectly secure in a strong breeze.
Managing Heavy Loads Without Sagging
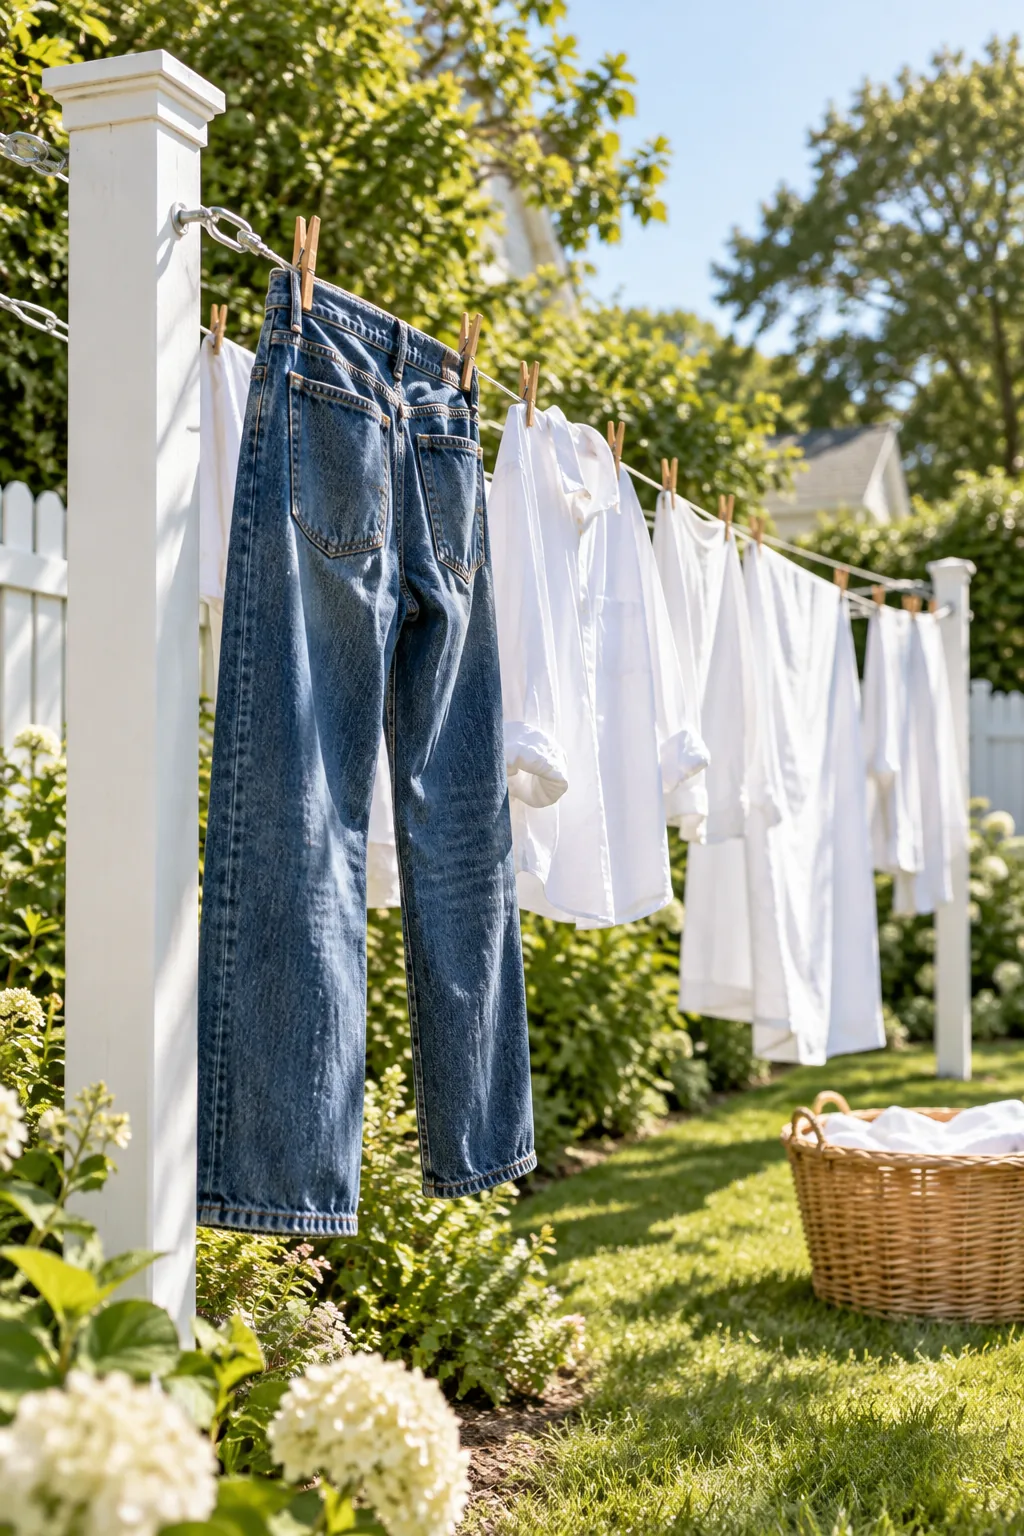
Always hang heavy items like wet denim or thick blankets as close to the wooden posts as possible, reserving the middle for lighter shirts. Even with high-quality turnbuckles, placing too much weight in the center of a long span will inevitably cause the wire to bow.
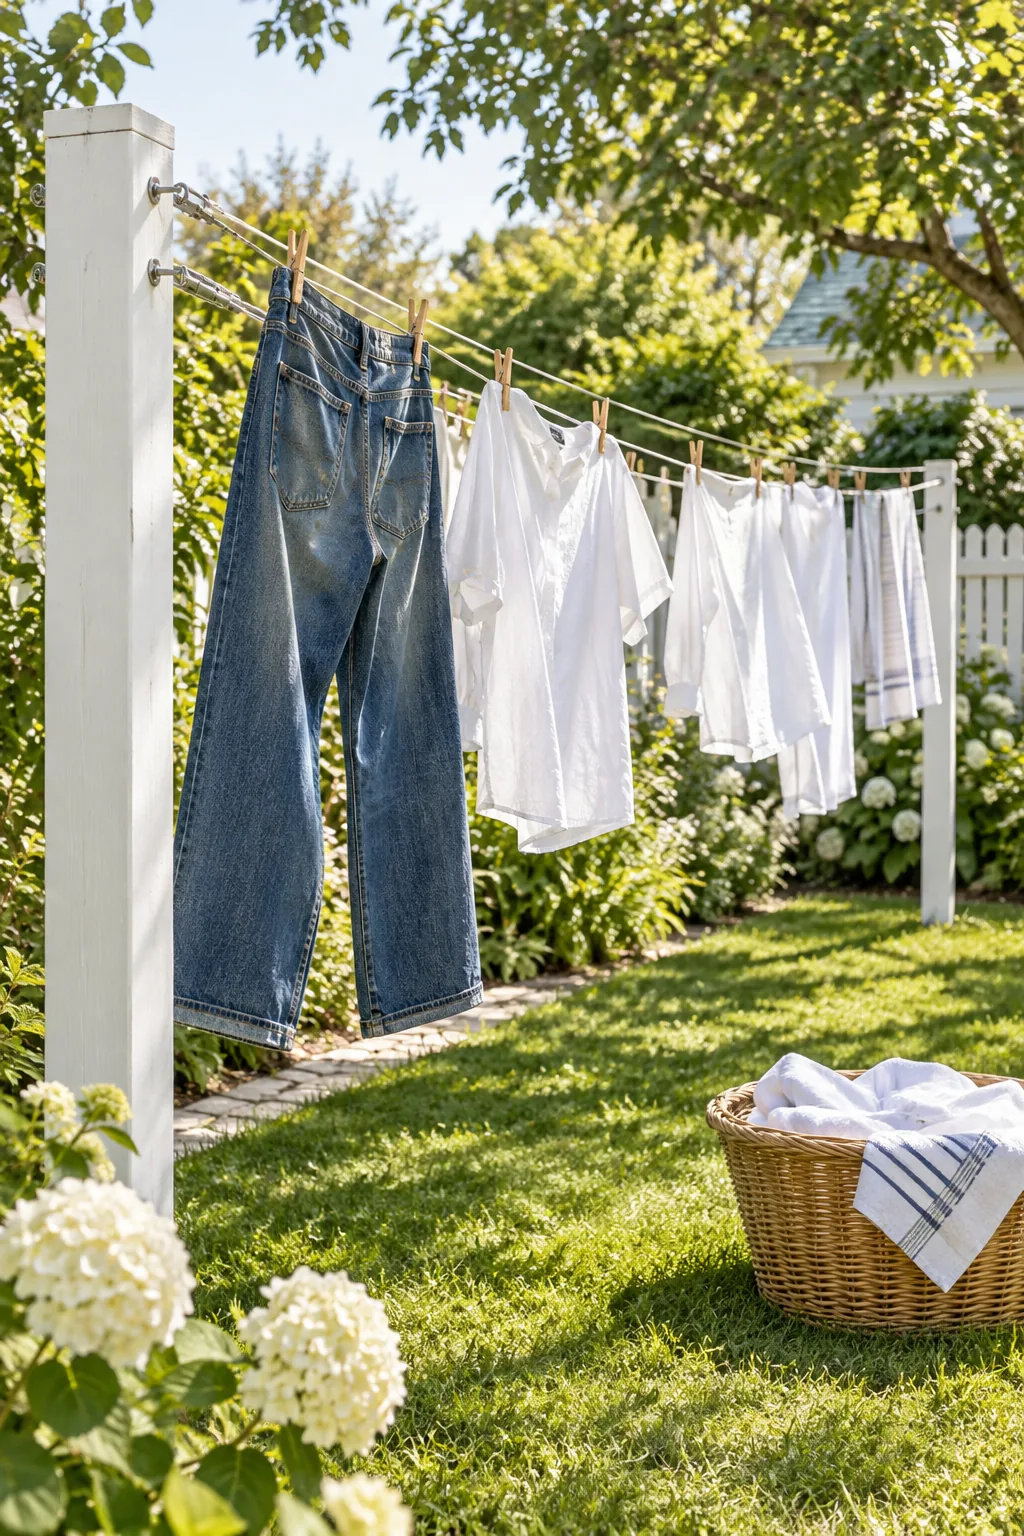
Distributing the heaviest pieces near the anchors keeps the entire cable straight and prevents unnecessary stress on your turnbuckle threads.
Clothesline Styles for Any Backyard
Find the perfect material and color combination to match your outdoor space.
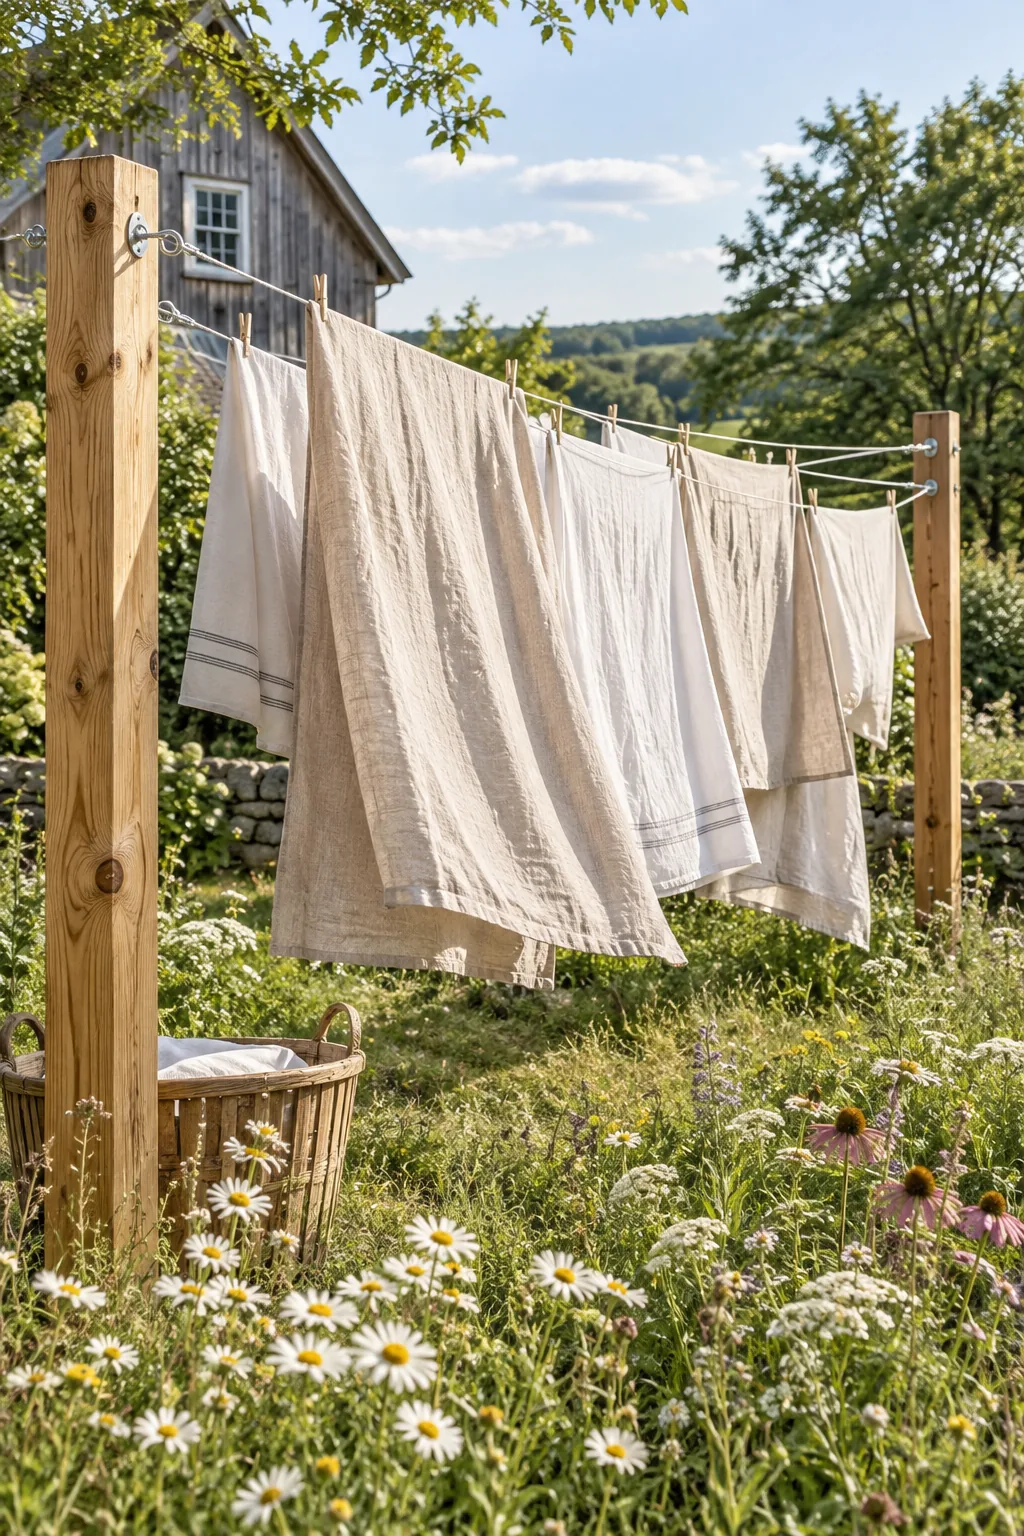
Rustic Farmhouse Cedar: Leave thick cedar posts unpainted to weather naturally alongside galvanized hardware for a relaxed, rustic farmhouse aesthetic.
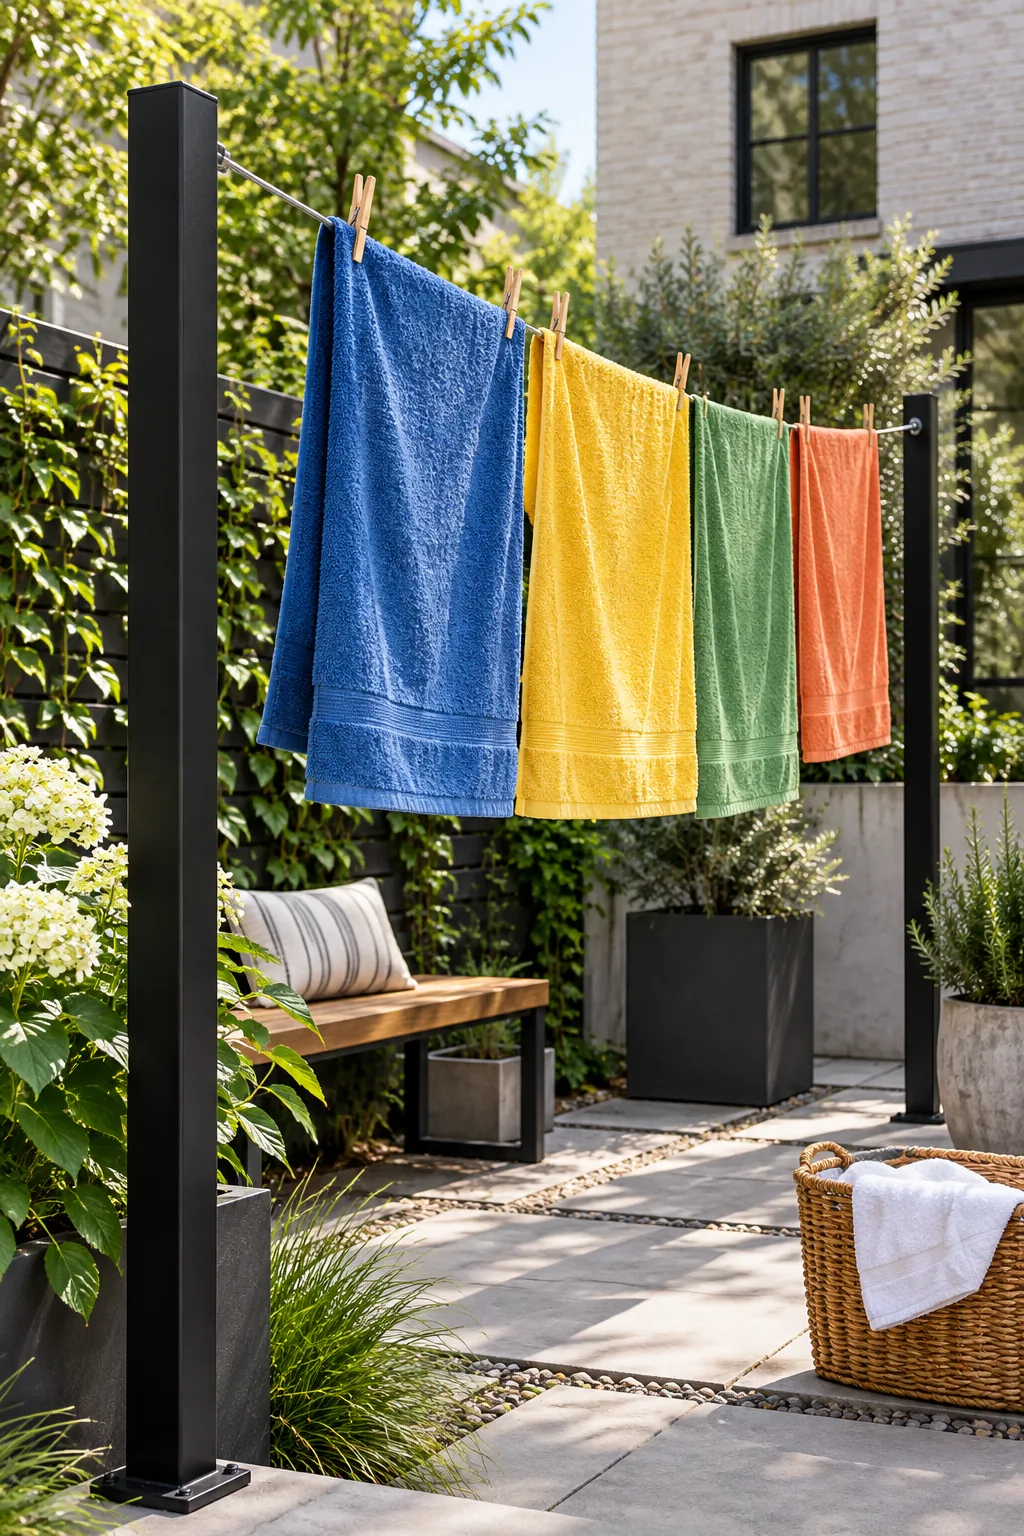
Modern Urban Metal: Swap bulky wood for sleek matte black metal posts and high-tension wire to complement a contemporary urban courtyard.
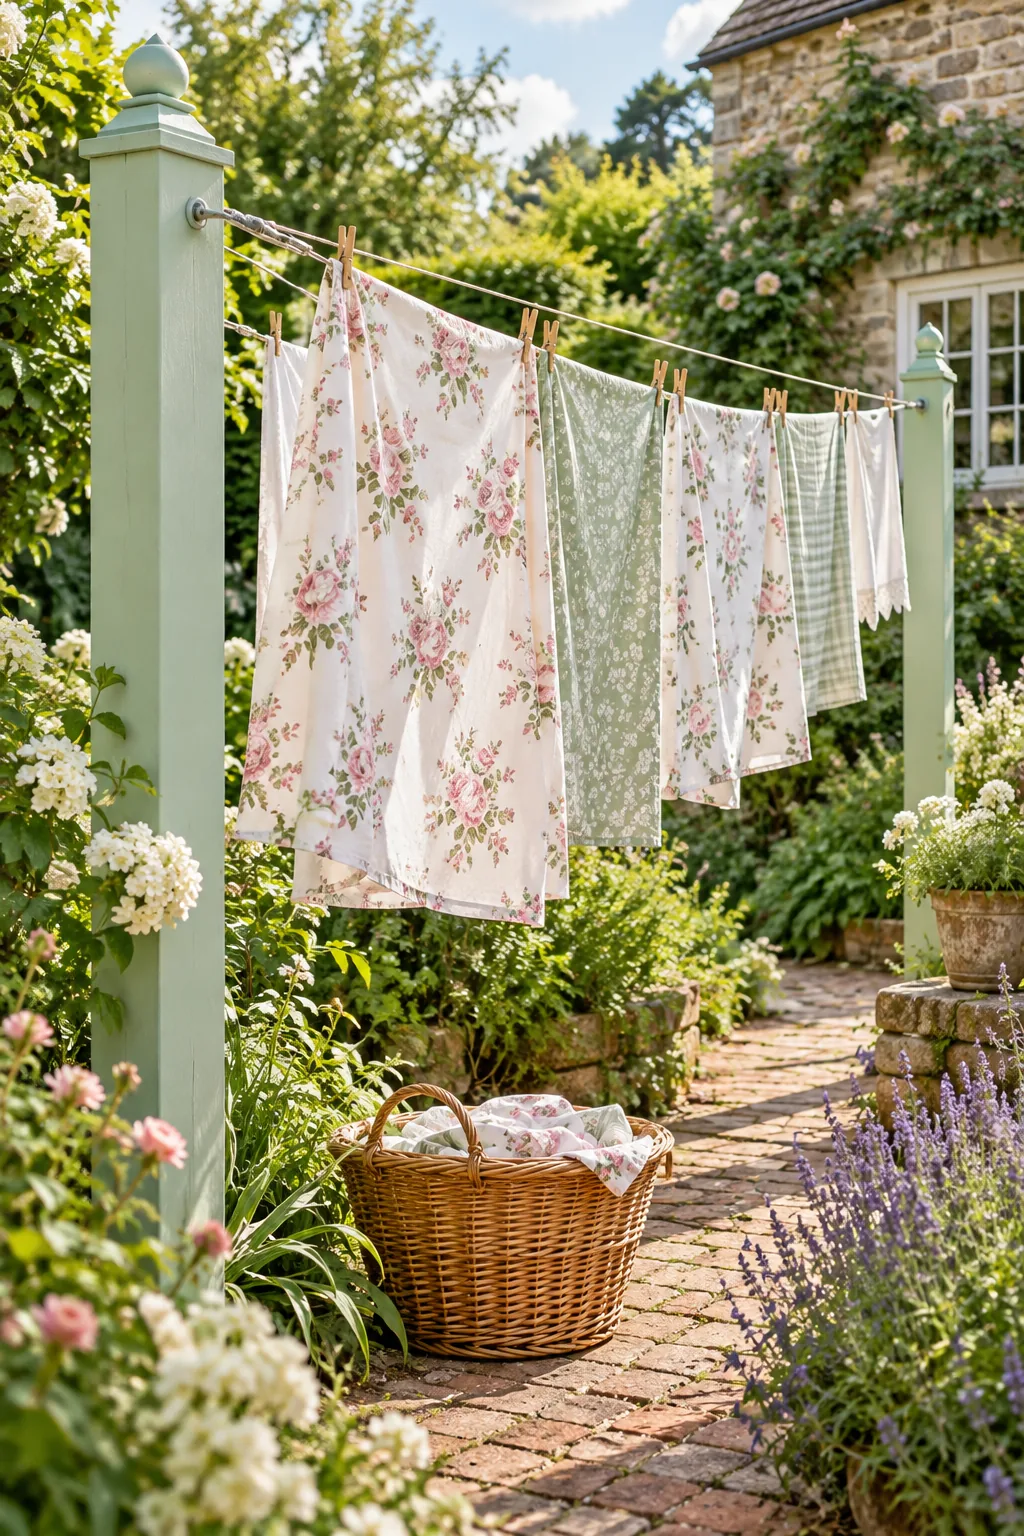
English Cottage Garden: Paint your posts a soft mint green to blend with lush foliage and complement vintage floral fabrics perfectly.
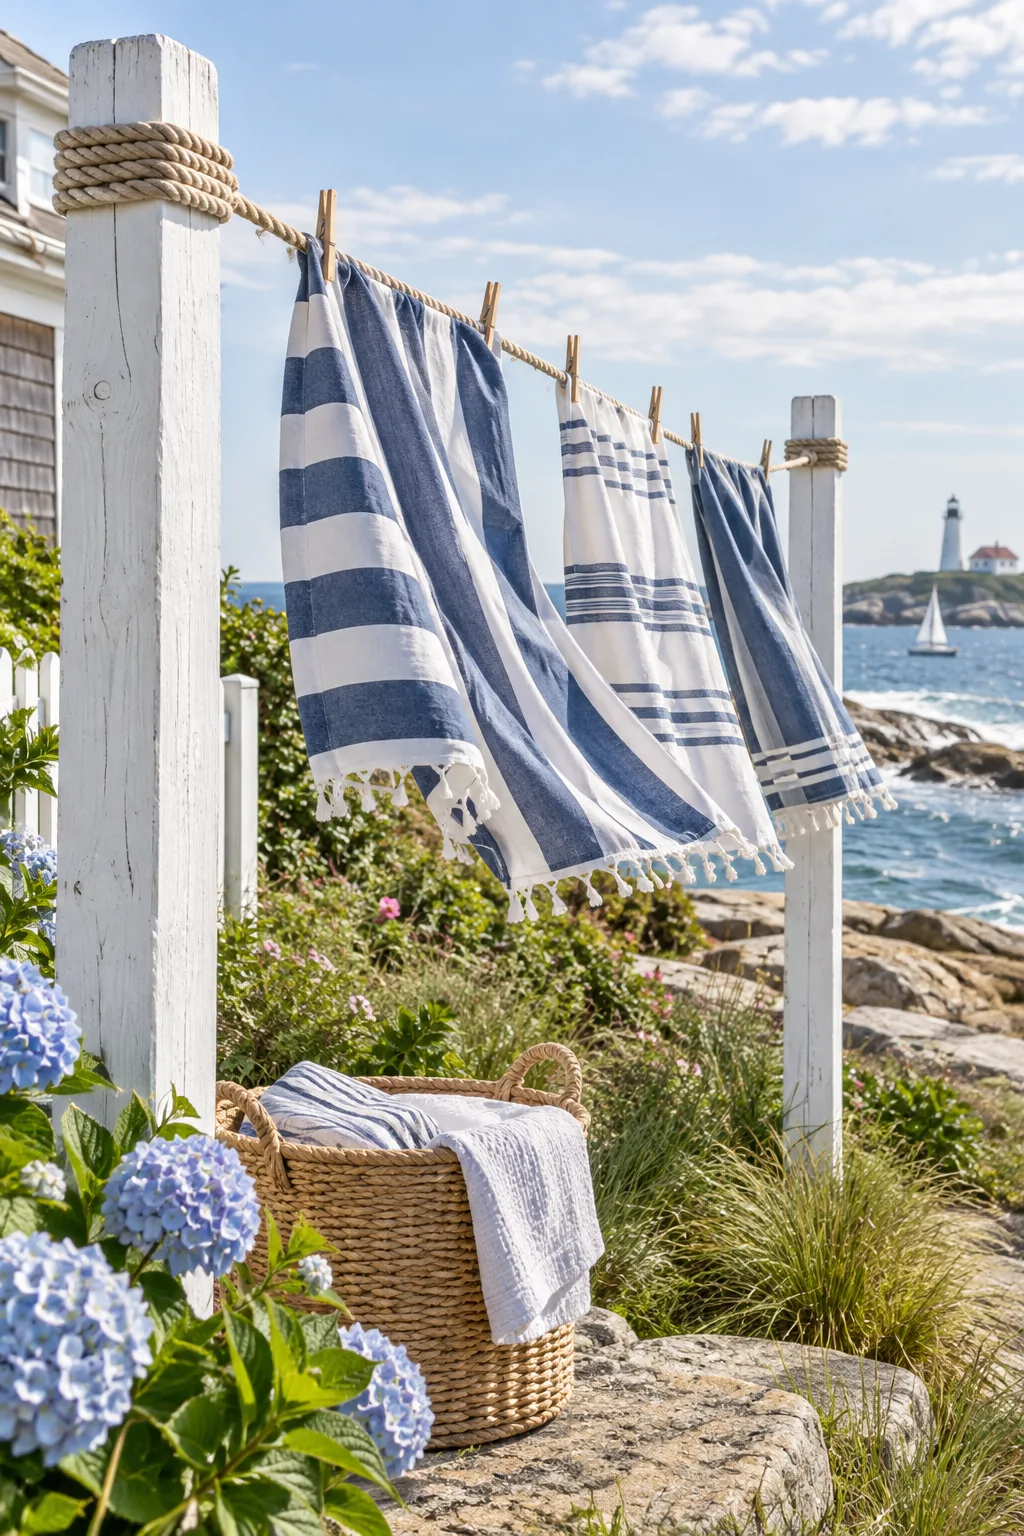
Coastal Nautical Rope: Use thick marine-grade rope instead of coated wire between weathered white posts for a durable, beach-inspired drying setup.
Keeping the Setup Crisp in a Small Yard
Painting sturdy wooden posts a crisp white allows the structure to blend beautifully with garden fencing, turning a functional utility into a charming backyard feature. A permanent clothesline does not have to be an eyesore when you match it to your existing outdoor architecture.
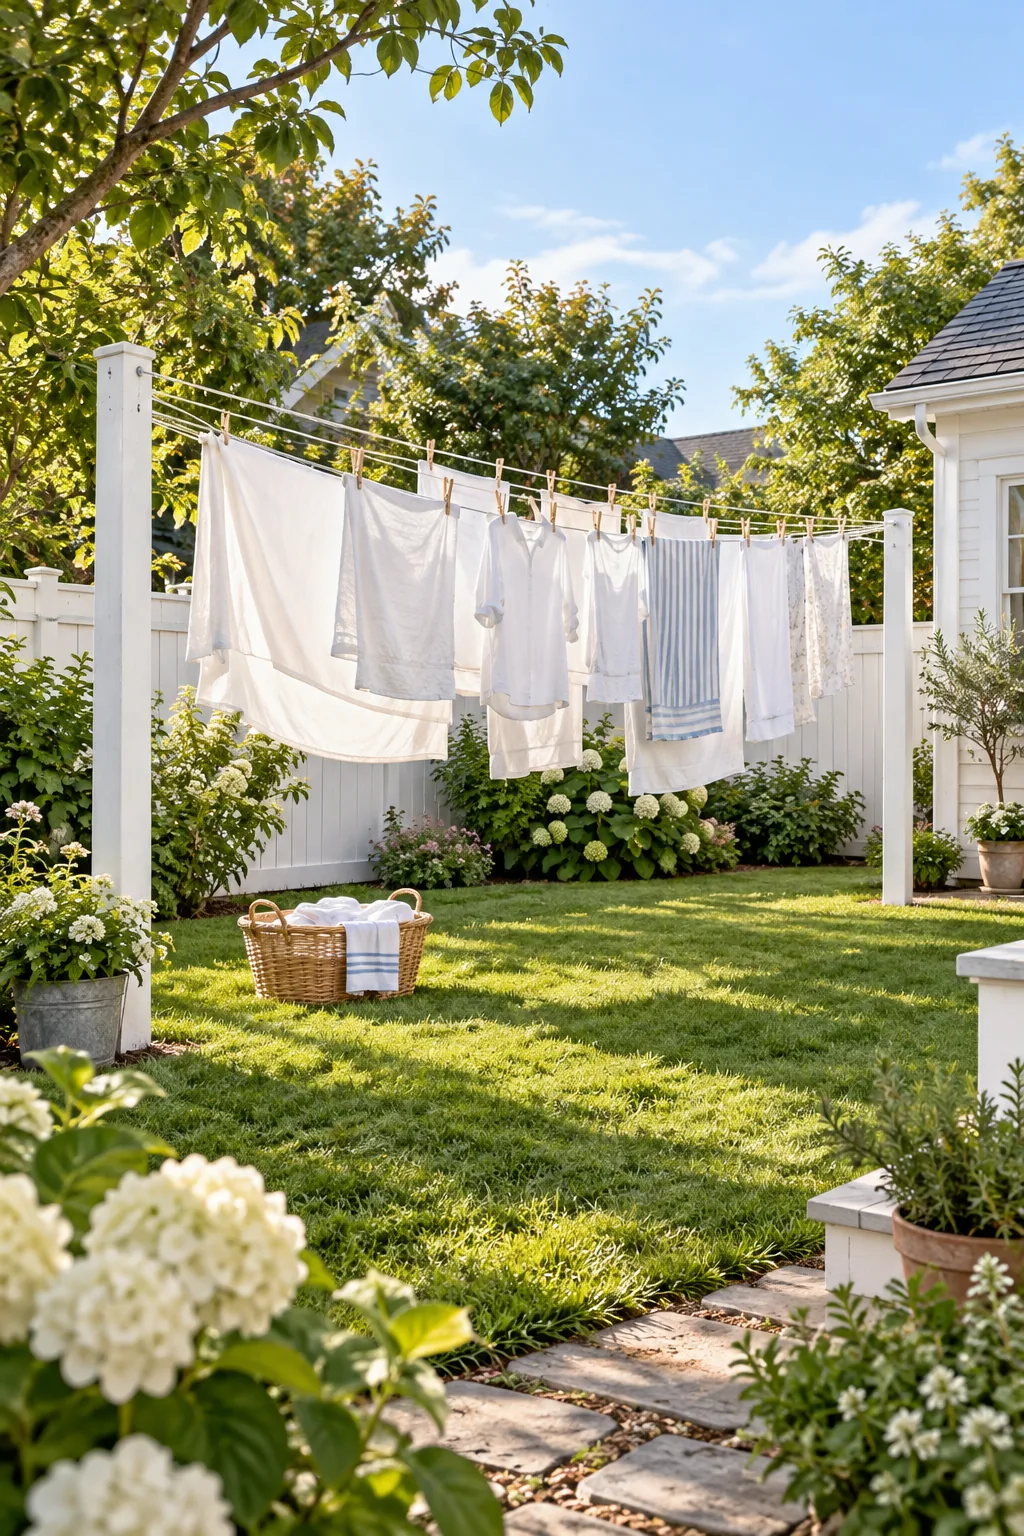
Applying a fresh coat of exterior trim paint every few years protects the wood from rot while keeping your laundry zone looking pristine.