
Small Bedroom Wall Design: The DIY Trim Math Cheat Sheet
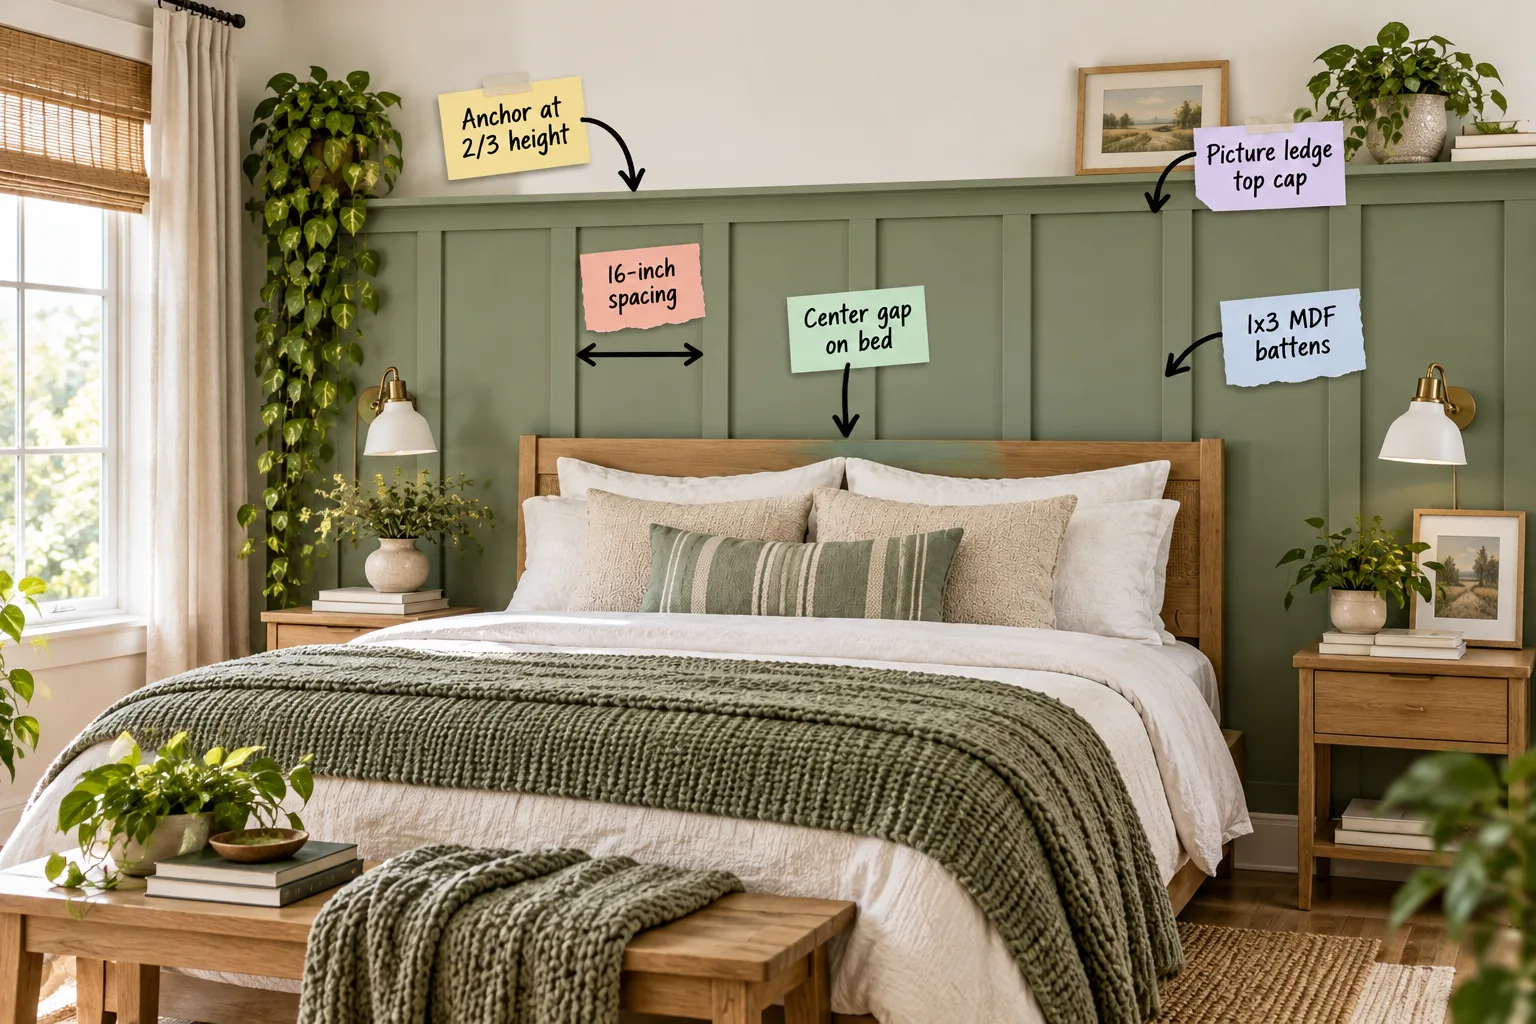
Master your board-and-batten layout with exact measurements to build a custom accent wall that makes a tight space feel significantly larger, and grab our wall trim math cheat sheet to calculate perfect spacing for your specific room dimensions right now.
The 2/3 Height Rule for Small Bedrooms
Stopping your trim at two-thirds of the wall height intentionally draws the eye upward, which makes ceilings feel significantly higher in compact spaces. You want to anchor at 2/3 height to create a grounded yet airy aesthetic that perfectly balances the room.
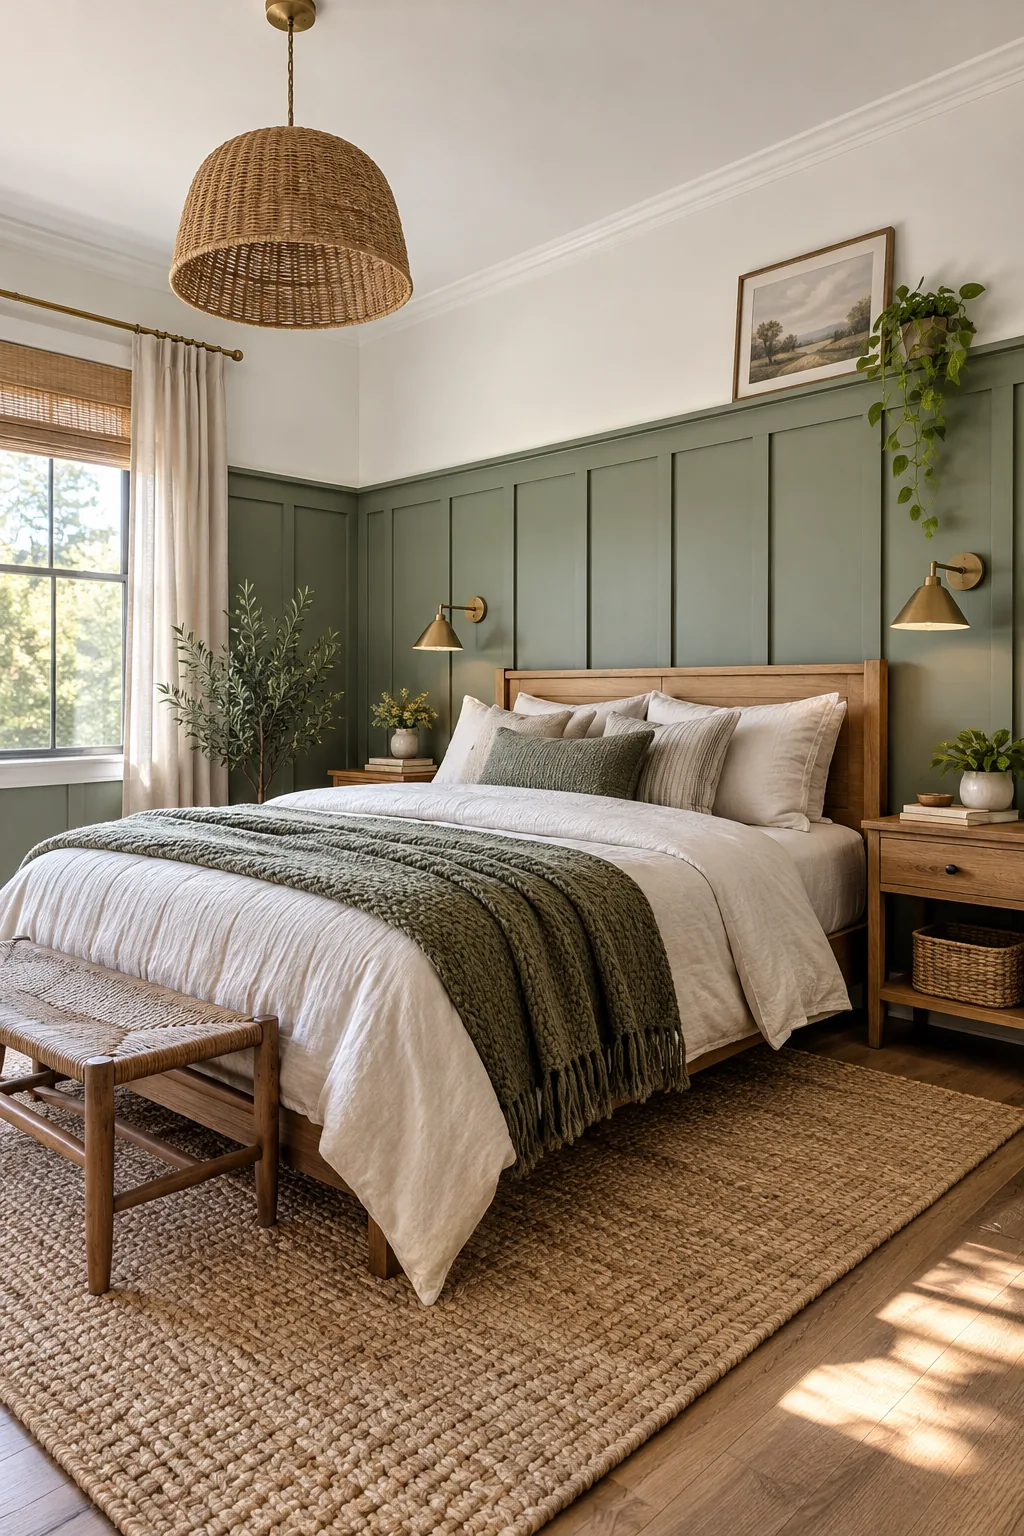
Executing this proportion formula correctly ensures your wall treatment complements the existing architecture rather than visually chopping the small bedroom awkwardly in half. Keeping the upper third painted in a bright white or soft neutral maximizes light reflection across the ceiling.
Matching Trim Height to Ceiling Height
Adjusting your horizontal anchor line based on your exact ceiling height keeps the room’s proportions harmonious, elegant, and visually appealing. Using a simple fraction prevents the awkward top-heavy feeling that happens when wainscoting climbs too close to the upper crown molding.
| Ceiling Height | Recommended Trim Height | Visual Effect |
|---|---|---|
| 8 feet (96 inches) | 64 inches | Lifts low ceilings |
| 9 feet (108 inches) | 72 inches | Balances medium rooms |
| 10 feet (120 inches) | 80 inches | Grounds tall spaces |
Measuring precisely from the finished floor before marking your horizontal chalk line guarantees that your entire layout stays perfectly level across the room. Taking the extra time to verify these numbers ensures your final accent wall feels intentional, balanced, and professionally designed.
Measuring the Room Perimeter
Before purchasing any materials, carefully measure your entire room perimeter with a laser distance measure to determine the exact linear footage required. Accurate initial measurements prevent you from buying excess wood or running out of supplies halfway through your weekend installation process.
Accounting for Doors and Windows
When calculating your total wall width, remember to subtract the exact dimensions of any doors, windows, or closet openings that interrupt the space. Skipping this crucial deduction often leads to purchasing far too many MDF boards and throws off your entire project budget.
Choosing 1×3 MDF for Clean Lines
I always insist on using 1×3 MDF battens for indoor trim projects because the manufactured material provides perfectly crisp, uniform edges straight off the shelf. When I built my first bedroom accent wall, choosing this engineered option over natural lumber saved me hours of frustrating prep work.
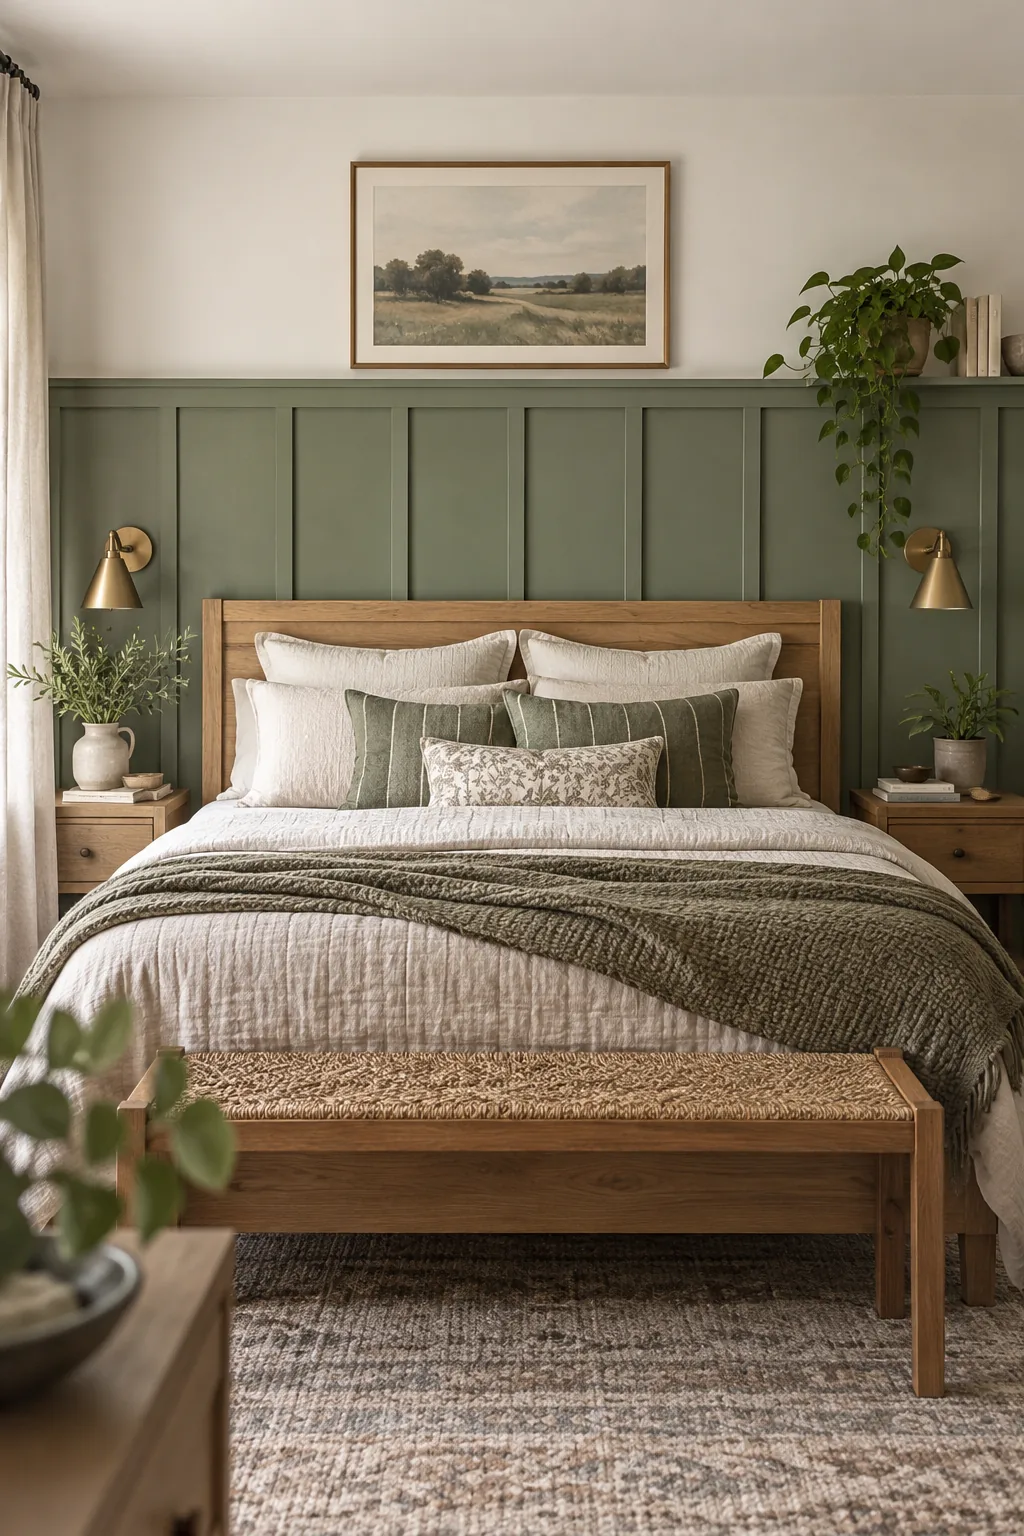
Before you start securing the boards to the drywall, a little material preparation goes a long way toward achieving a flawless, professional finish.
Centering the Layout on Your Bed
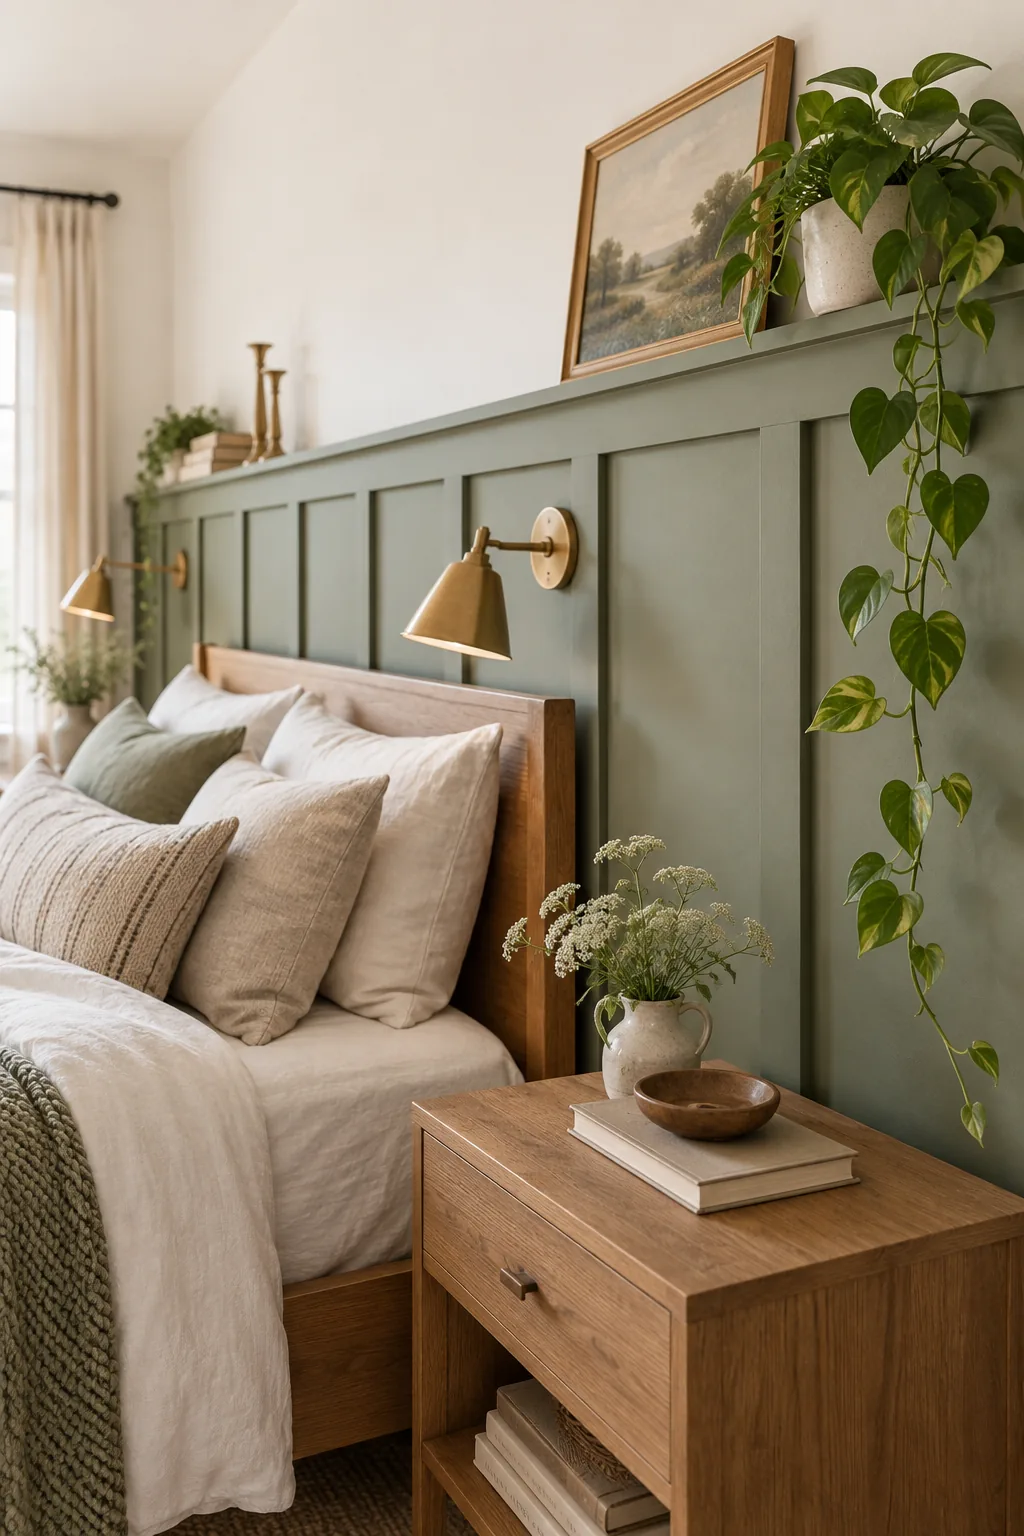
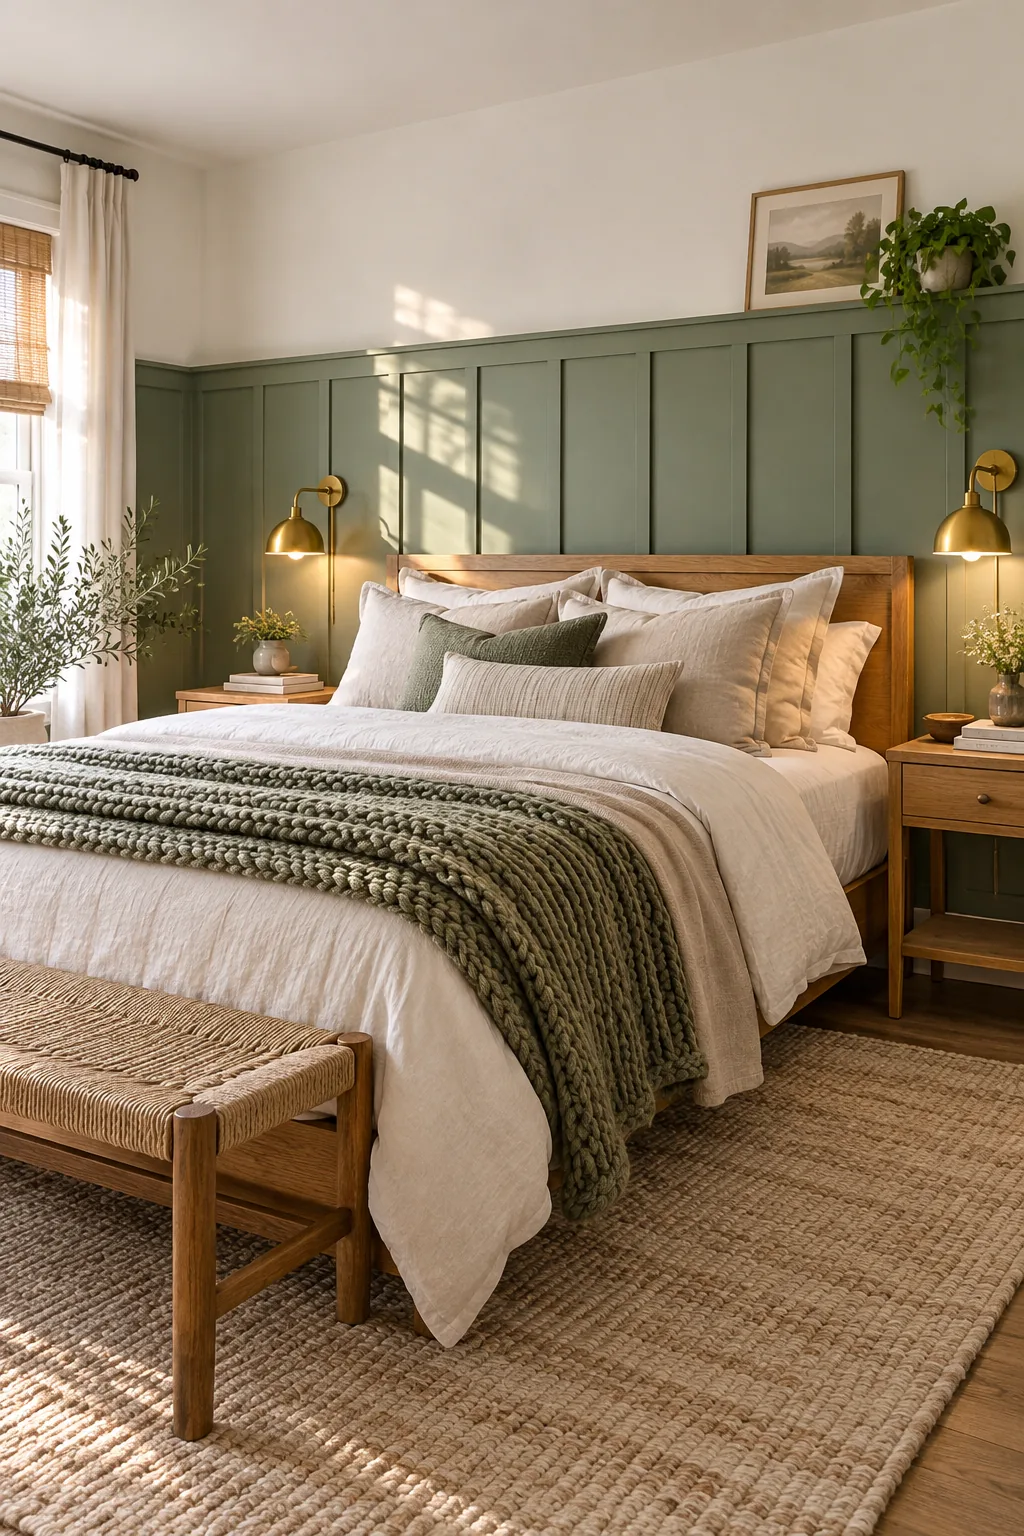
You must always center gap on bed to establish a perfectly symmetrical focal point that grounds the entire room layout. Placing the first empty wall space directly behind the headboard ensures the architectural framing naturally highlights your most important piece of furniture.
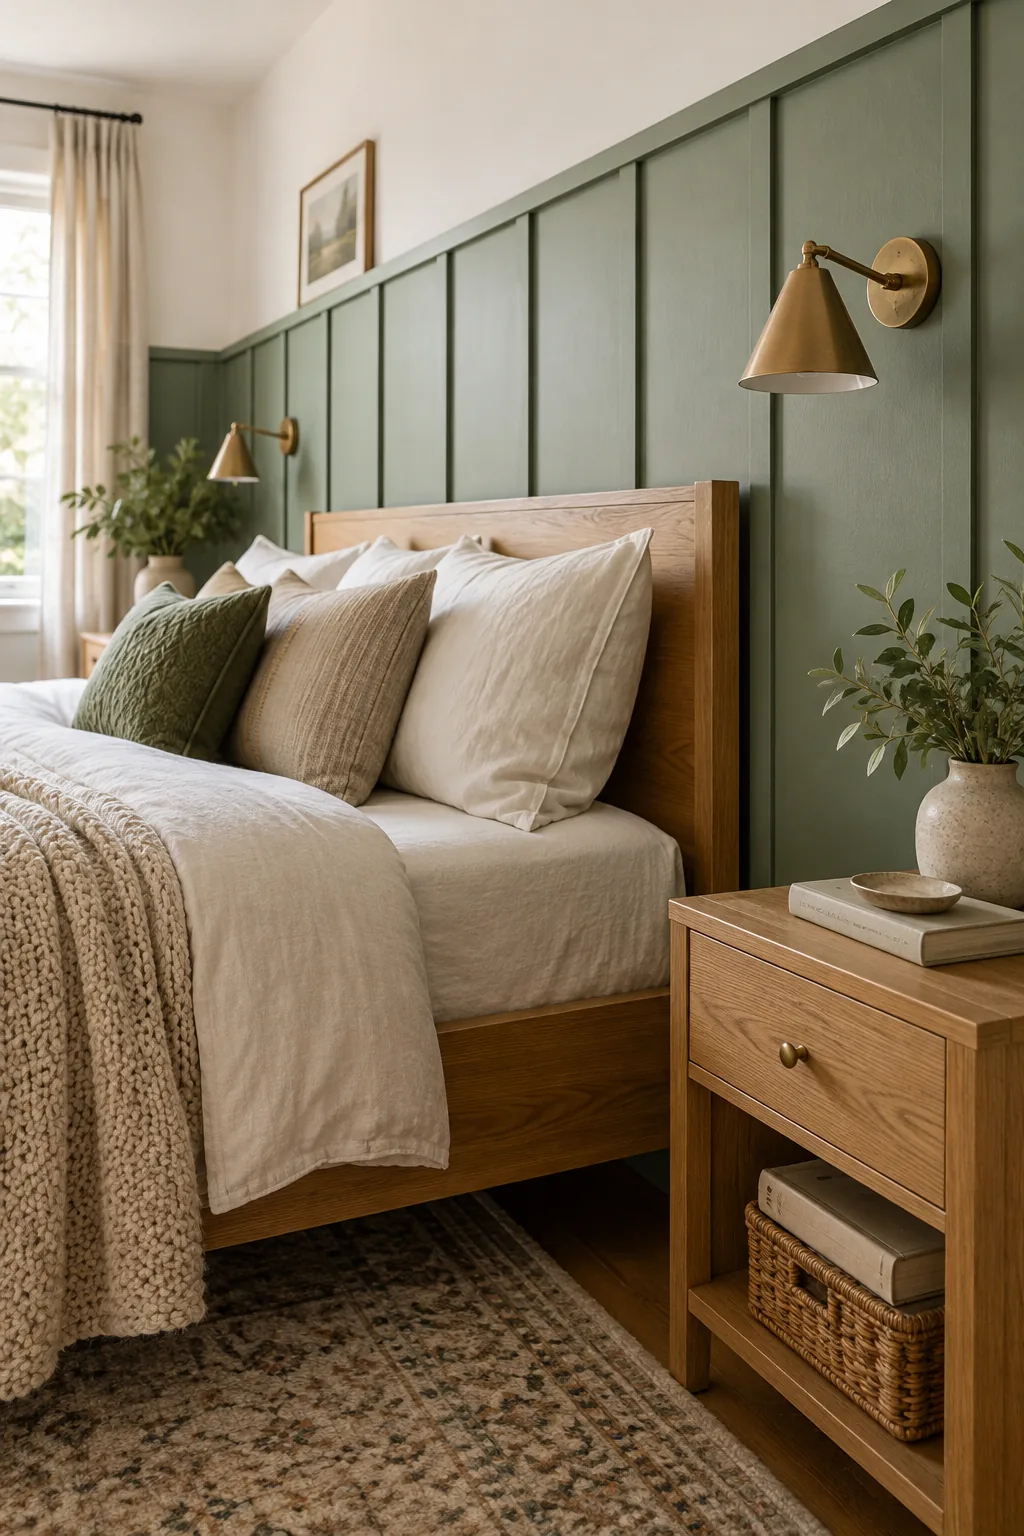
If you start measuring from the edge of the room instead, you risk ending up with awkward, asymmetrical framing right where your eyes naturally rest. Symmetrical placement creates a calming, structured environment that feels incredibly relaxing and intentional at the end of the day.
Planning Around Nightstands and Sconces
Once your center gap is locked in behind the bed, carefully mark where your nightstands and any wall-mounted lighting will sit before nailing anything down. This crucial planning step prevents your vertical trim pieces from awkwardly intersecting with your essential bedside furniture.
Shifting your entire layout left or right by just one inch can sometimes perfectly align a batten with a sconce base while maintaining overall symmetry. Visualizing these functional elements early saves you from making frustrating adjustments after the wood is already permanently attached.
Establishing the 16-Inch Spacing
Locking in a precise 16-inch spacing between the vertical boards across the entire width of your room makes the installation process incredibly straightforward. In my own guest bedroom, measuring from the center of one batten to the center of the next guaranteed a mathematically flawless layout.
This center-to-center measurement technique ensures the negative space remains identical, even if a board is slightly bowed or imperfect. Consistent gaps provide a soothing, predictable pattern that visually expands the dimensions of a cramped sleeping area without overwhelming the senses.
Your Wall Trim Math Cheat Sheet
Calculating the exact number of battens and gap widths for your specific wall length removes all the frustrating guesswork from your weekend DIY project. For a standard 120-inch bedroom wall, adjusting the target spacing slightly ensures every single board fits perfectly without awkward slivers.
- Measure the total wall width in inches from corner to corner.
- Subtract the combined width of all planned vertical battens.
- Divide the remaining inches by the total number of gaps.
- Cut a scrap wood spacer block to this exact calculated dimension.
Once you have your total wall measurement, follow this exact sequence to calculate your required materials and precise gap widths without any guesswork.
Building the Picture Ledge Top Cap
Installing a flat 1×2 or 1×4 horizontal board as your picture ledge top cap finishes the raw upper edge of the trim system beautifully. This sturdy architectural addition provides a secure, permanent base that effortlessly supports small framed prints and lightweight decorative objects.
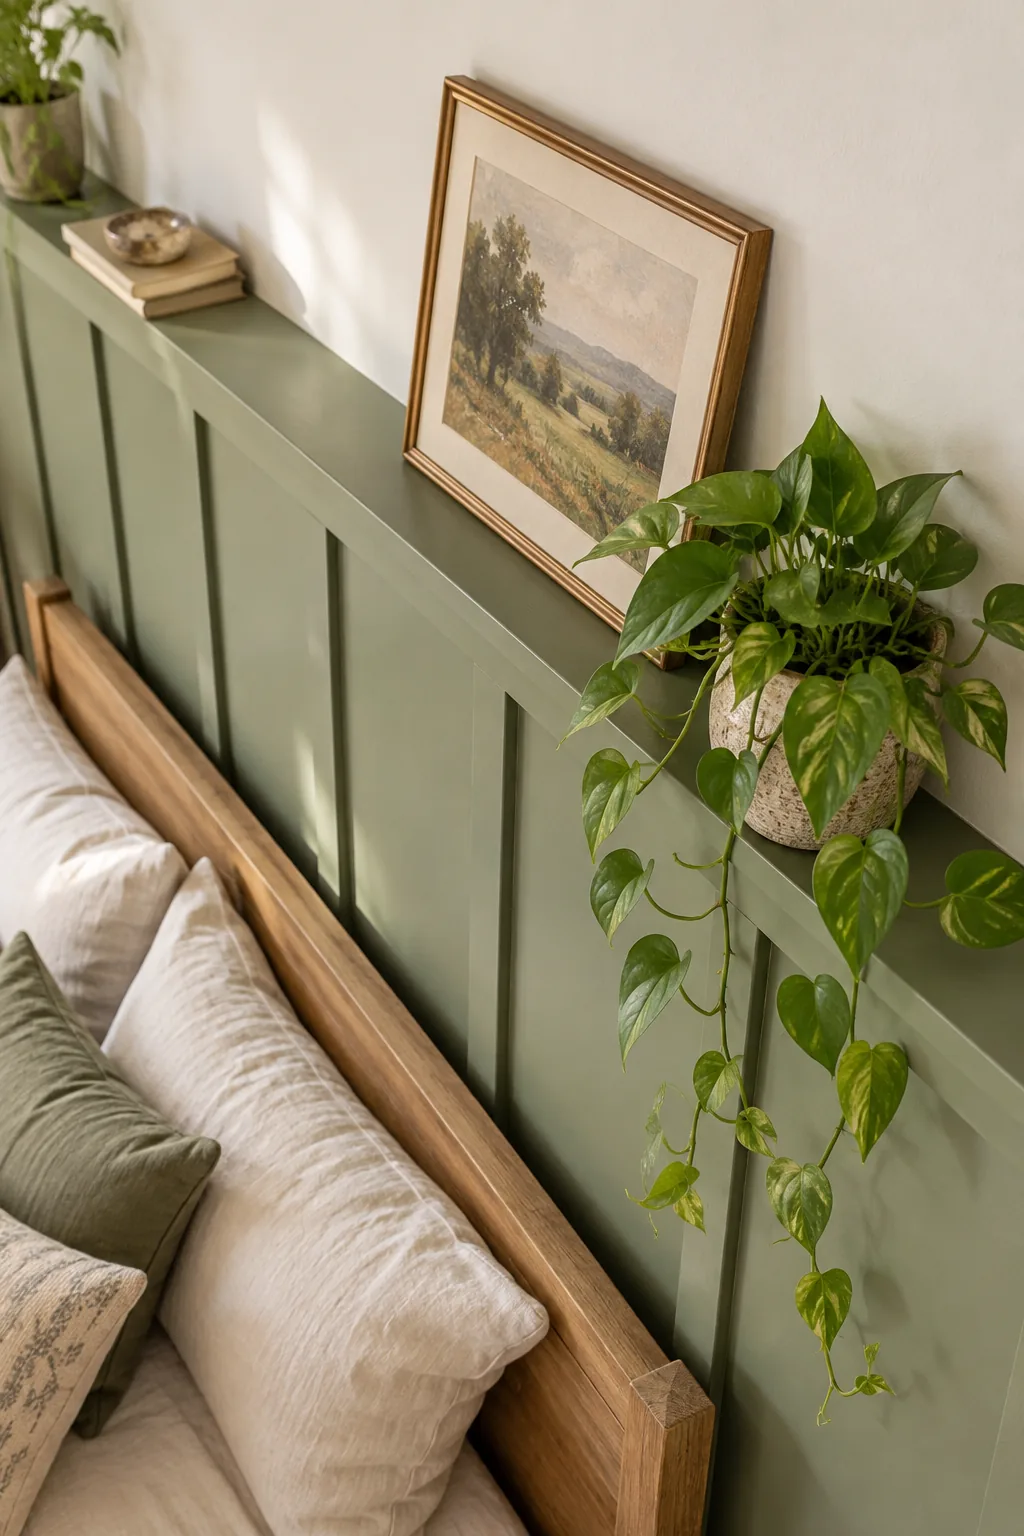
This simple architectural addition draws the eye upward while providing an easily interchangeable gallery space that does not require hammering new nails into the drywall. A sturdy top cap finishes the raw upper edge of your horizontal trim, giving the entire installation a polished appearance.
Securing Your Display Ledge Safely
Attaching the top cap securely ensures your framed art and decorative pieces remain safely in place without sagging or detaching over time. Driving two-inch brad nails downward through the cap into the horizontal trim locks the entire upper assembly together permanently.
Applying High-Quality Wood Glue
Applying a continuous bead of high-quality wood glue along the top edge before nailing guarantees the ledge can comfortably support heavy leaning frames. Taking the time to reinforce this upper ledge prevents future warping and keeps your favorite styling pieces completely secure.
Handling Baseboards and Outlets
Navigating existing baseboards and electrical outlets is a practical reality when installing vertical trim in any standard residential bedroom. Slicing the bottom of the battens at a clean 45-degree angle creates an elegant, tapered transition that looks entirely intentional.
When a vertical board inevitably lands directly over a wall receptacle, using inexpensive electrical box extenders keeps your wiring safe and fully code-compliant. These simple modifications ensure your new woodwork looks seamlessly integrated rather than clumsily layered over the original room fixtures.
Filling and Sanding for a Seamless Look
Properly filling every nail hole and caulking every single seam transforms a collection of raw boards into a cohesive, built-in architectural feature. Applying a paintable acrylic caulk along the vertical edges hides any minor waviness in your original walls for a flawless finish.
Caulking the Inside Corners
Running a smooth bead of flexible caulk down the inside corners where your accent wall meets the adjoining drywall prevents unsightly future cracking. Using a damp finger to smooth this transition creates a professional, sharp corner that looks incredible once the paint dries.
Choosing the Right Paint Finish
Selecting an eggshell or satin paint finish for your new board-and-batten wall provides the perfect balance of durability and elegant visual depth. These slightly reflective sheen levels highlight the crisp dimensional shadows cast by the trim while remaining incredibly easy to wipe clean.
More Board-and-Batten Looks
Explore how this classic trim style adapts to different rooms and distinct color palettes.
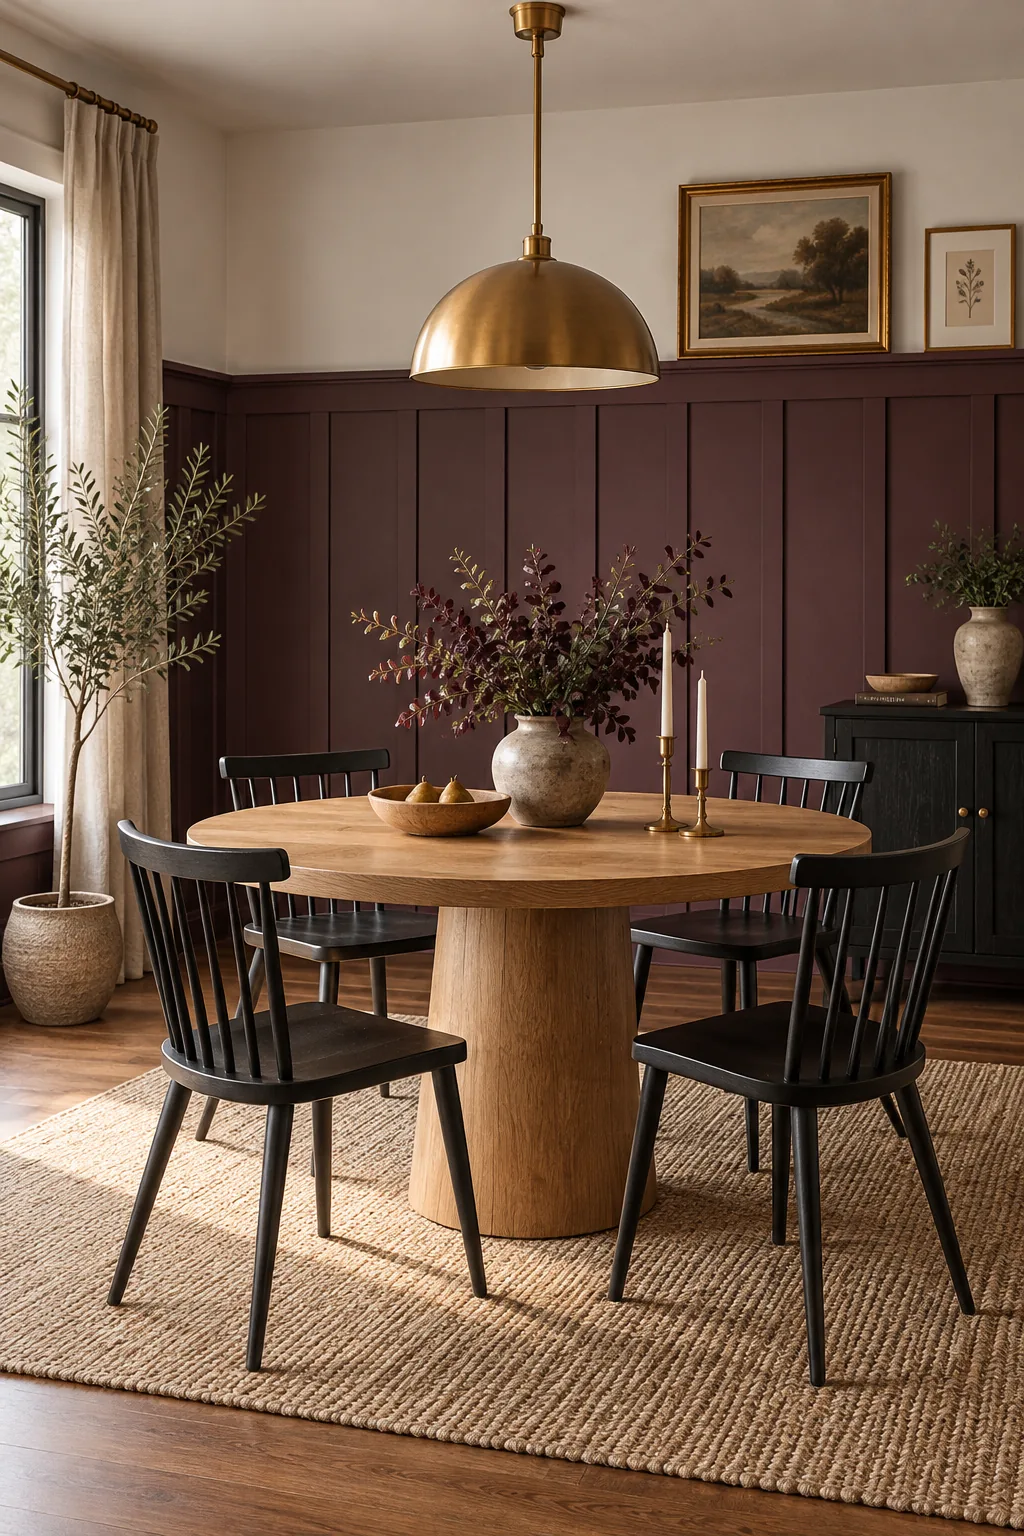
Moody Plum Dining Room: Take the 2/3 height rule into the dining room with a rich plum paint to anchor a modern oak table.
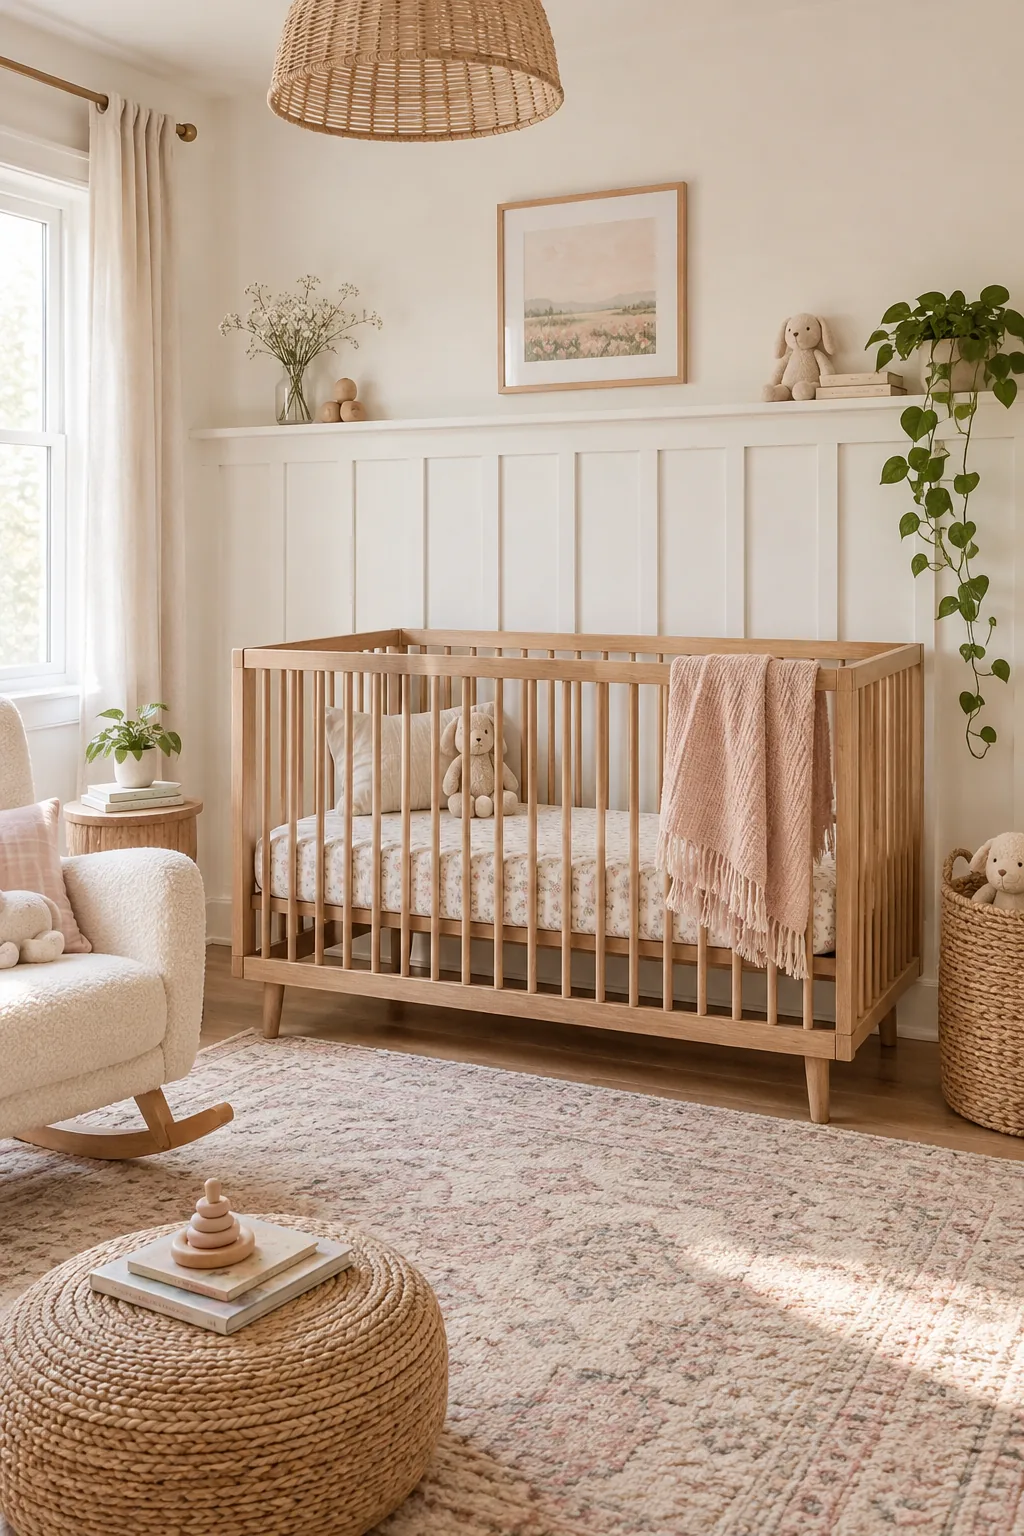
Crisp White Nursery: A pure white board-and-batten installation adds timeless texture behind a natural wood crib without darkening the room.
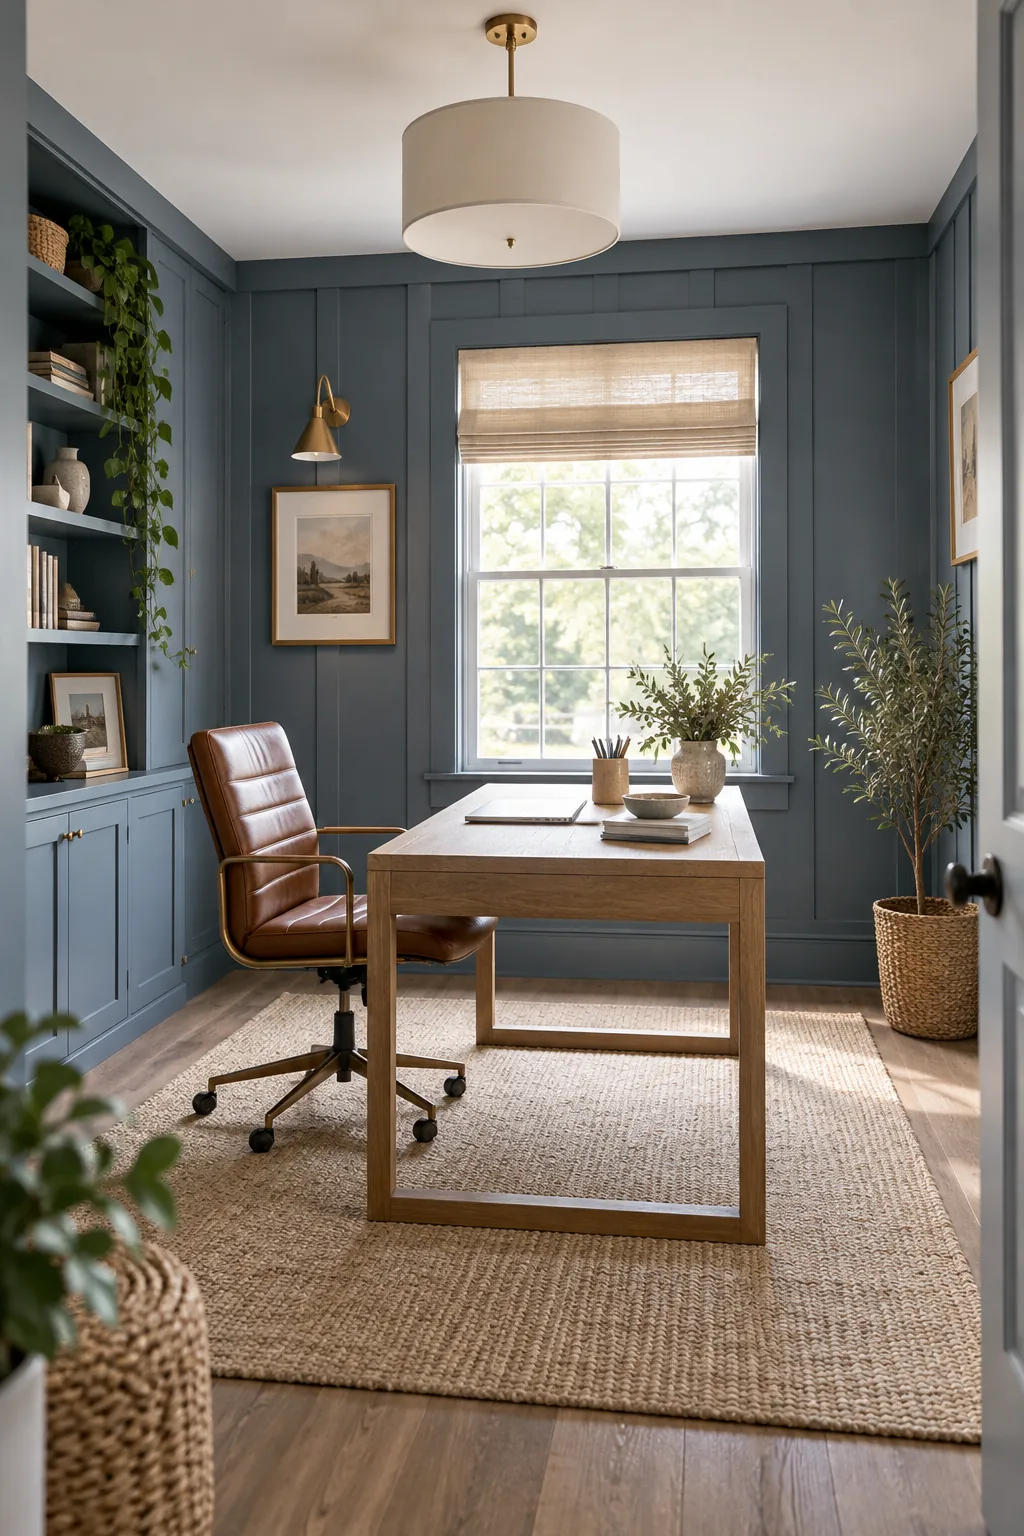
Slate Blue Home Office: Wrap the trim around all four walls in a calming slate blue to create an immersive, focused workspace.
Painting and Styling the Finished Wall
Finishing the space with a rich, uniform color like sage green creates an incredible visual impact that instantly elevates the entire room. In my own home, drenching both the woodwork and the wall in the exact same finish made the new trim look completely original to the house.
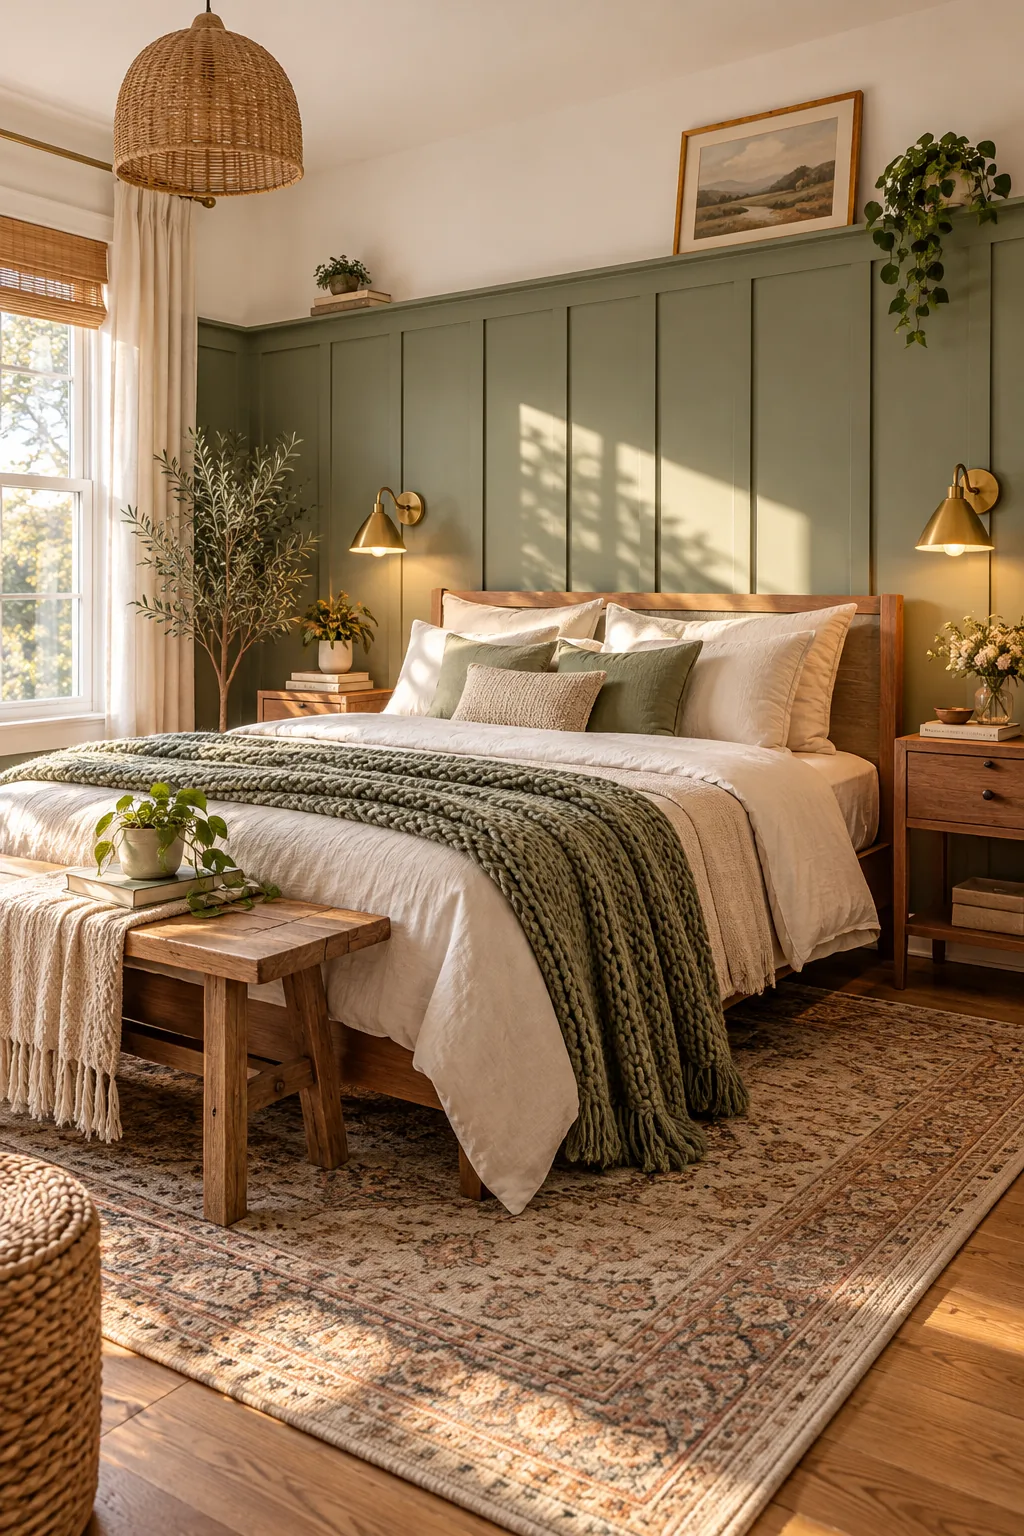
Styling the finished wall with cozy textured bedding, warm brass lighting, and natural wood accents completes the stunning bedroom transformation. These thoughtful decorative layers soften the structured grid of the woodwork, turning a cramped space into a luxurious, inviting retreat.