
Outdoor Fall Displays for Front Steps (Free Placement Map)
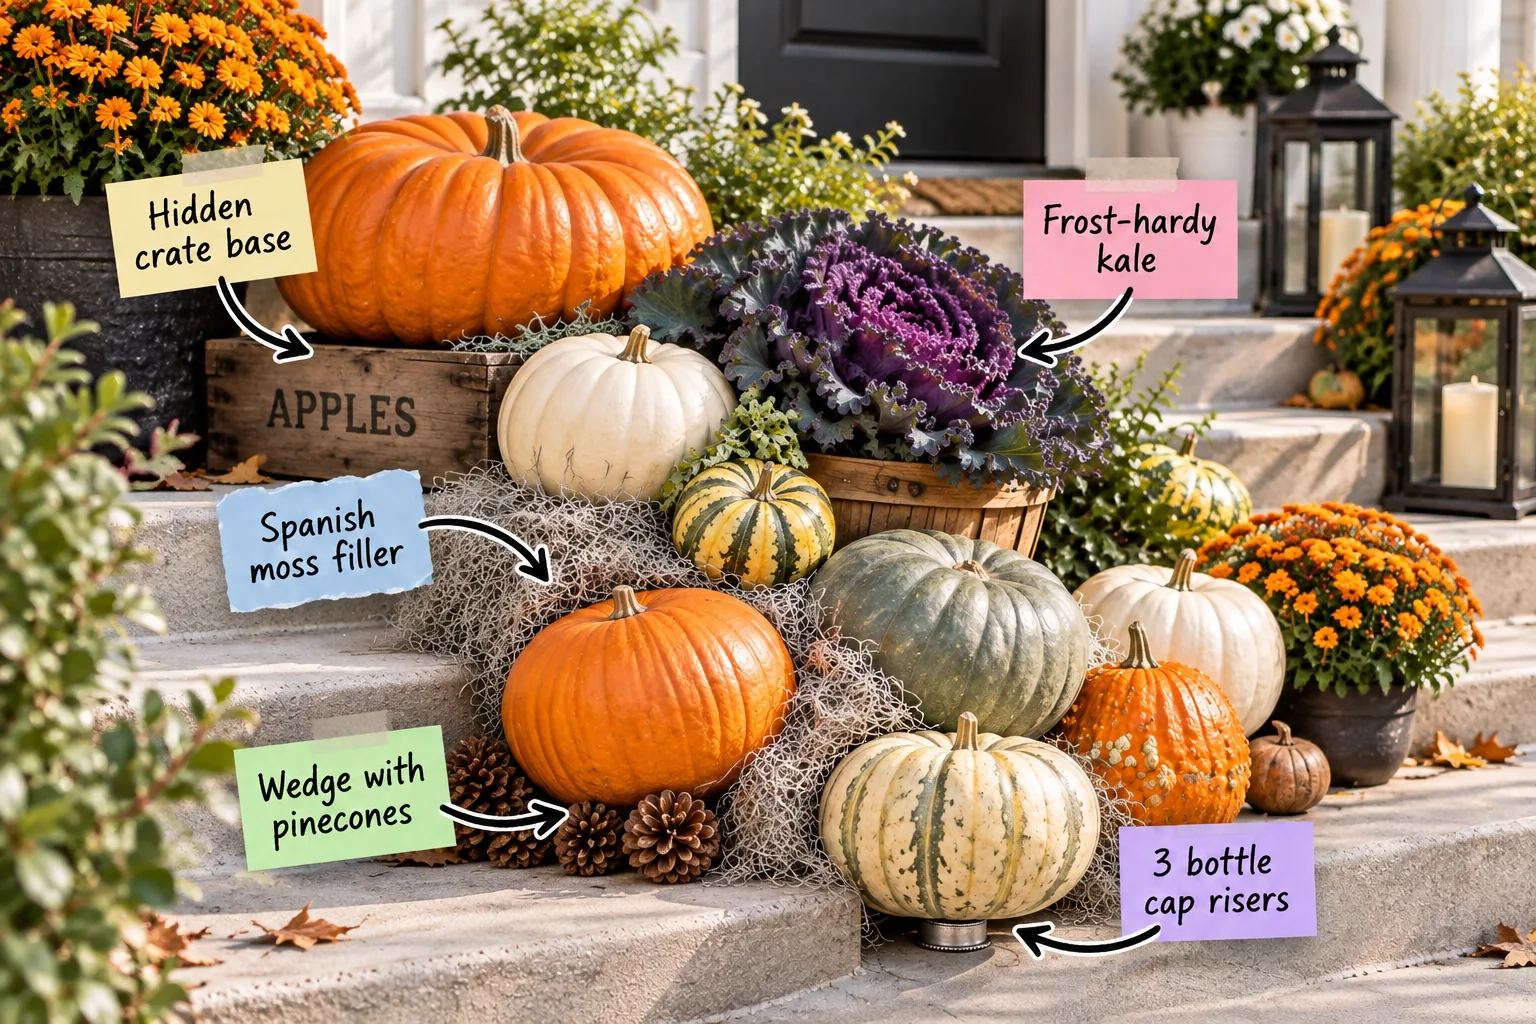
You will be able to arrange a stable, cascading fall display on your front steps using everyday household items for hidden support. Grab our front step placement map to recreate this exact autumn porch arrangement without blocking your busy entryway.
The front step placement map
Start by defining your boundaries to ensure the steps remain completely safe to navigate during rushed weekday mornings. Keep the main walking path at least 36 inches wide to easily accommodate heavy groceries, strollers, and daily package deliveries.
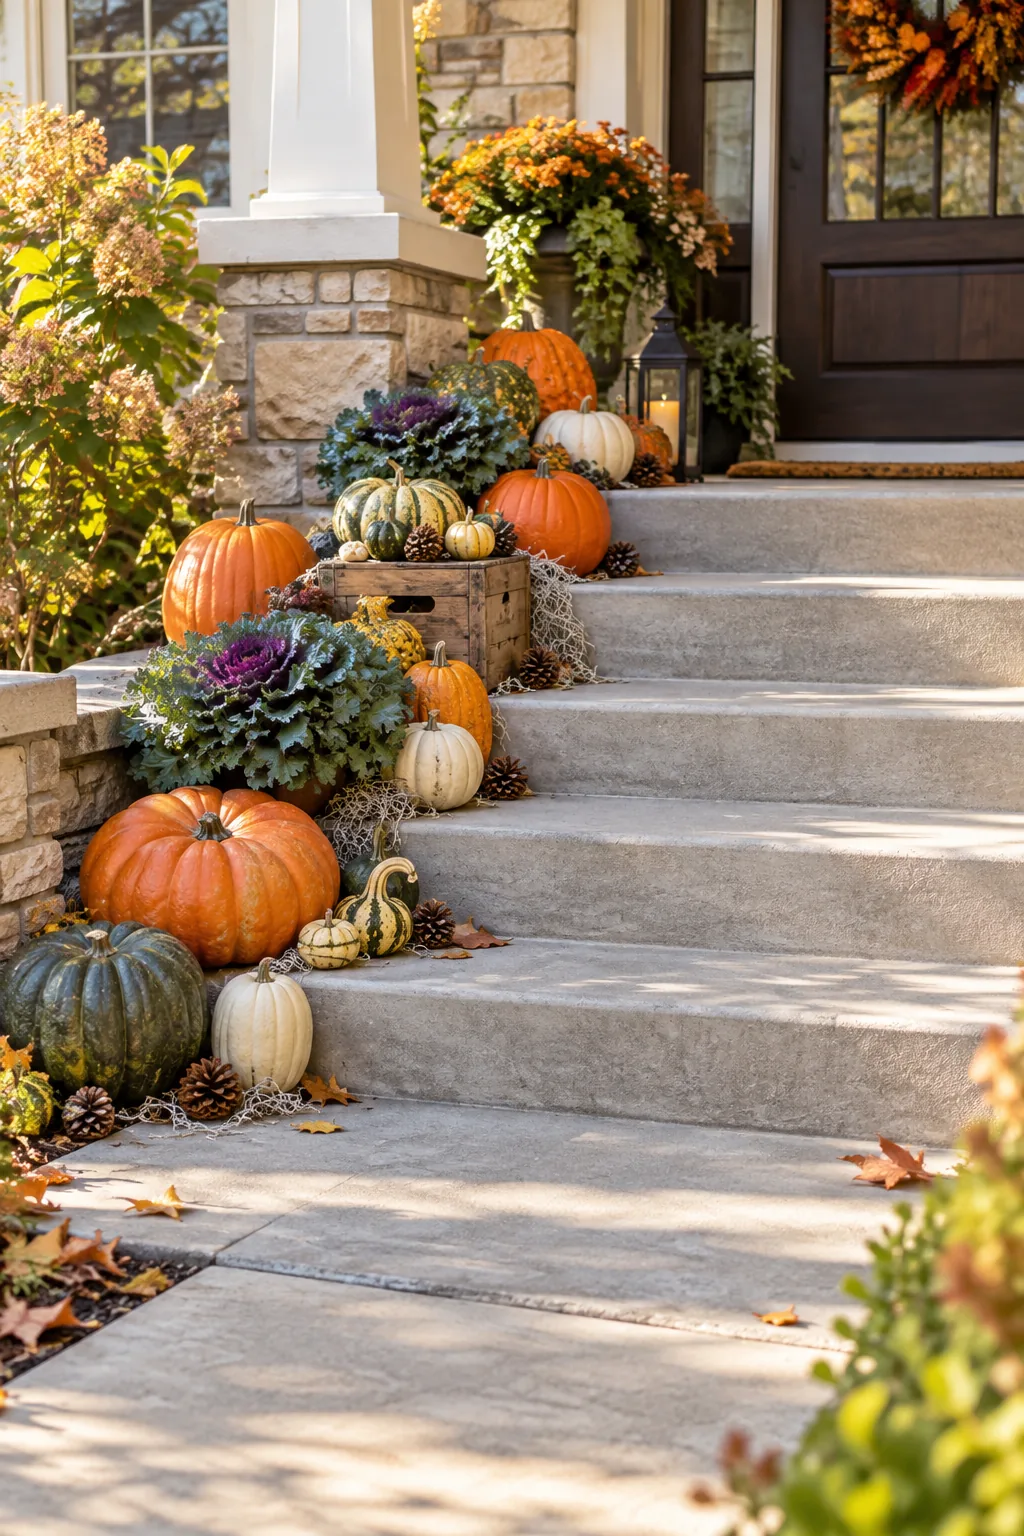
Our placement map designates this strict center or side path, leaving the remaining triangular zones exclusively for your cascading decor. Mapping these specific zones first prevents you from constantly shifting heavy pumpkins out of the way later.
Measure your porch footprint
Before buying a single decorative gourd, grab a metal tape measure and mark out your usable tread depth. Most standard residential concrete steps offer an 11-inch tread, which strictly dictates exactly how large your foundational anchor pieces can safely be.
| Stair Tread Depth | Maximum Pumpkin Base | Clearance Margin |
| 10 inches | 8 inches | 2 inches |
| 11 inches | 9 inches | 2 inches |
| 12 inches | 10 inches | 2 inches |
Respecting these physical limits ensures your display looks intentional and securely grounded rather than precariously balanced. A well-measured footprint naturally guides the eye down the steps in a pleasing, highly stable cascade.
Account for door swing clearance
Always open your front door fully before placing the highest tier of your arrangement on the top landing. Leave a strict six-inch buffer zone between the door’s maximum swing arc and your closest decorative element to prevent accidental smashing.
Anchor the display with a hidden crate base
Create an instant second tier without taking up valuable tread space by utilizing a vintage wooden apple crate. Positioning the crate correctly is essential for long-term stability as the heaviest 15 to 20-pound pumpkins naturally settle over time.
Build a secure foundation layer
Turn the crate on its side or upside down on the top step to support your absolute largest anchor piece. On my own Boston brownstone steps, I always hide a sturdy wine crate at the very back to give my prized Cinderella pumpkins a secure, elevated throne.
- Sweep the top step completely bare to remove any slippery organic debris.
- Center the wooden crate squarely within your designated triangular decor zone.
- Test the empty crate for wobbles before adding any heavy anchor weights.
Establishing this solid, hidden structure early makes the rest of the styling process incredibly forgiving. You can easily tuck smaller, lighter accents around this immovable base without worrying about the core collapsing.
Source authentic vintage support vessels
If you do not already own an apple crate, check local flea markets for sturdy wooden alternatives designed to hold actual weight. Look for thick, solid joinery rather than flimsy decorative staples that will buckle under a heavy harvest load.
Elevate flat pumpkins with 3 bottle cap risers
Flat-bottomed pumpkins trap moisture directly against the cold concrete, leading to rapid and messy bottom rot. Place three standard metal bottle caps in a triangle formation under the base to create a crucial quarter-inch airflow gap.
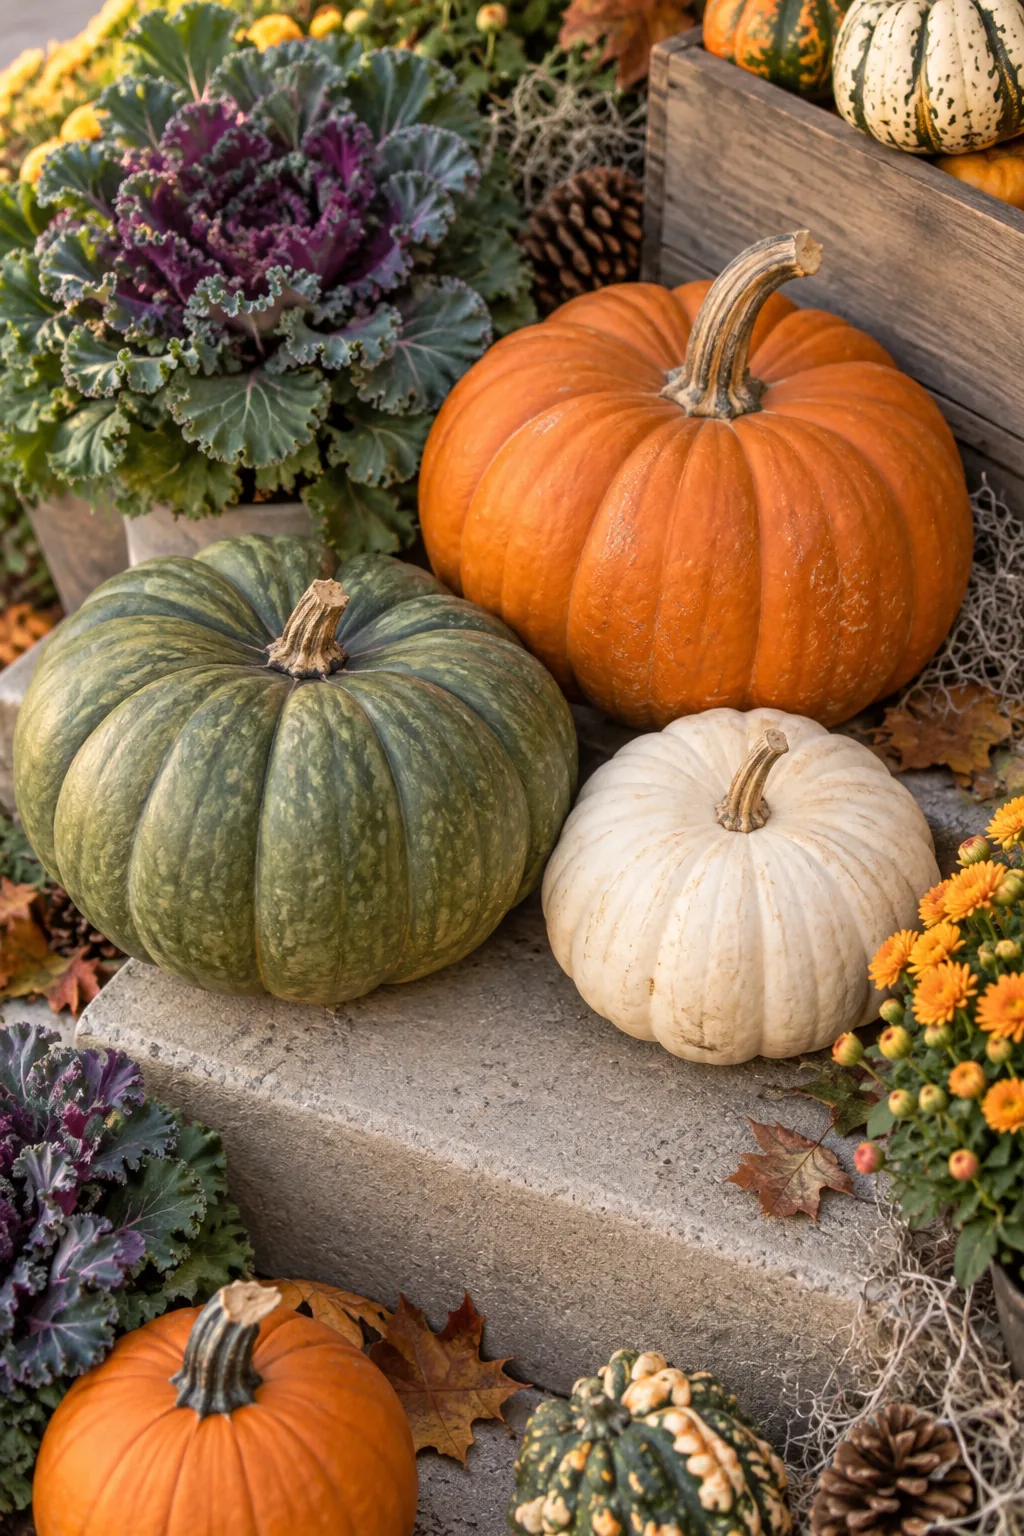
This simple household hack keeps the delicate rind completely dry even after a heavy autumn downpour. Elevating the fruit slightly extends its lifespan by weeks, saving you the frustrating hassle of replacing rotting decor mid-season.
Protect the concrete from organic stains
Porous concrete stairs quickly absorb the natural tannins and decaying matter from unraised gourds left sitting in puddles. When a pumpkin sits flush against the stone, the resulting dark orange stain requires aggressive power washing to fully remove.
- Use flat ceramic plant feet for extra heavy anchor pumpkins.
- Cut small squares of pressure-treated scrap wood for wide gourds.
- Repurpose thick rubber washers from the hardware store for tiny accents.
Always ensure your chosen risers sit entirely hidden within the dark shadow of the pumpkin’s bottom curve. The goal is maximum airflow with absolutely zero visual interruption to your rustic front porch display.
Position the metal caps carefully
Press the bottle caps gently into the concrete with the crimped edges facing upward toward the gourd. Never push the sharp metal directly into the pumpkin rind, as any puncture immediately accelerates the decaying process you are trying to prevent.
Add height and texture with frost-hardy kale
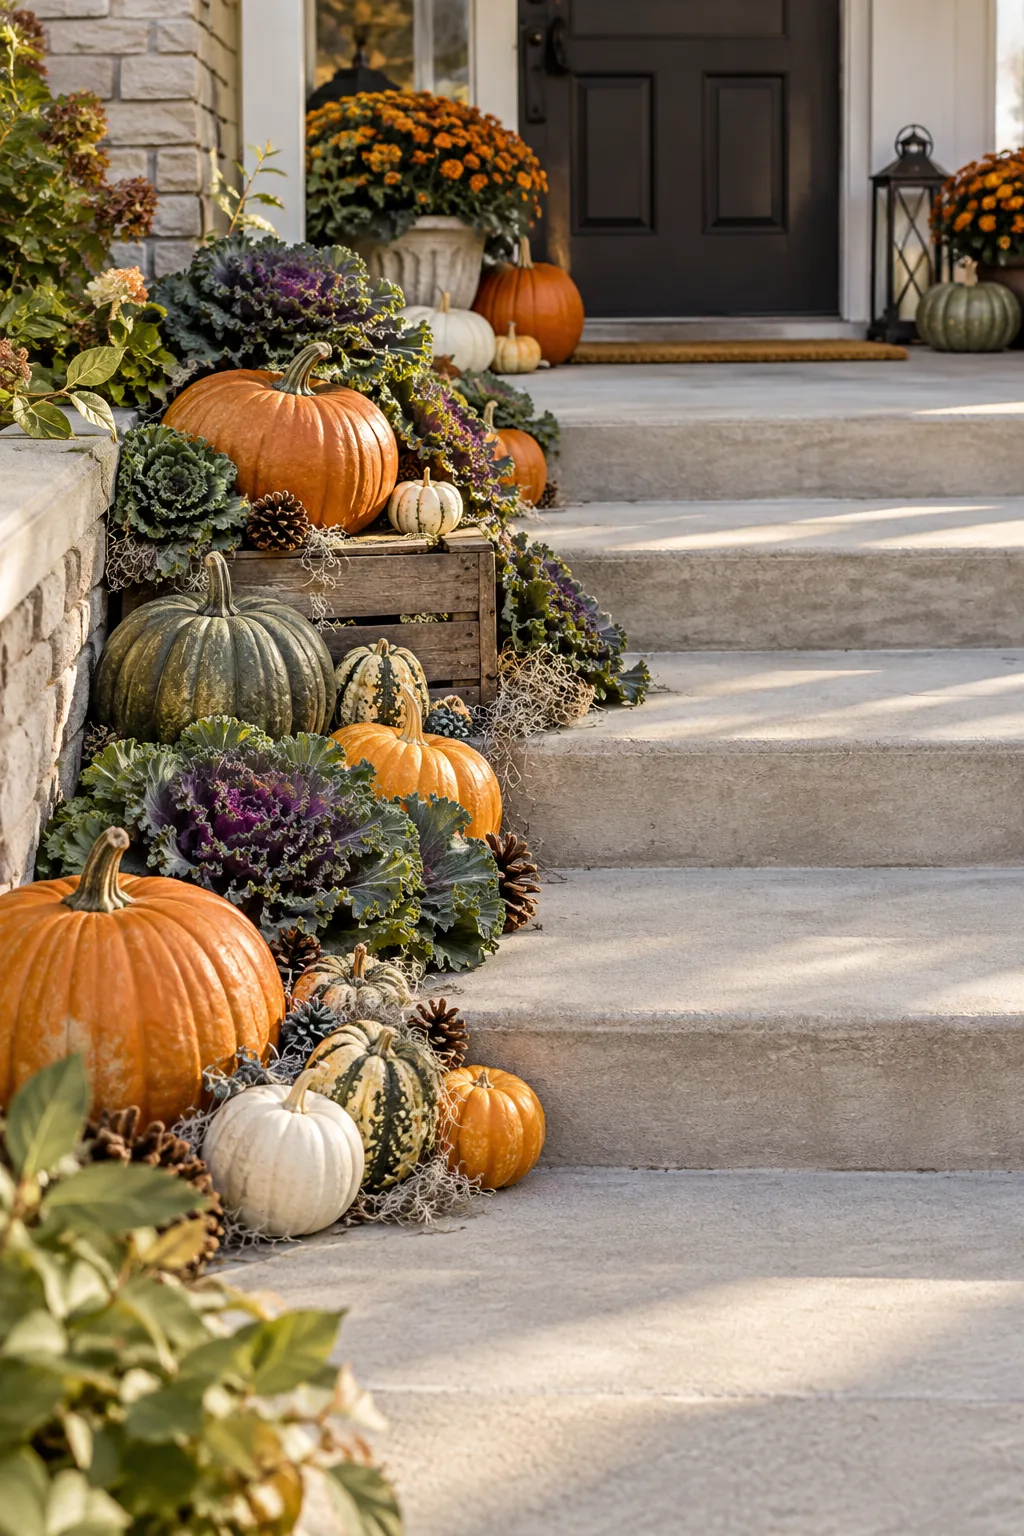
Break up the heavy, round orange shapes with deep purple ruffled ornamental cabbage. Keep the kale in a rustic wooden basket to contain the soil and protect the delicate roots from early morning temperatures dropping down to 20 degrees Fahrenheit.
Select the right rustic planter basket
Choose a loosely woven basket that allows excess rainwater to drain away freely from the plant roots. Line the bottom with a simple layer of landscape fabric to keep the dark potting soil from washing out onto your clean steps.
Care for your ornamental cabbage
Unlike delicate summer blooms, ornamental kale actually develops richer, more vibrant coloring after the first light frost hits. Position the basket where it receives at least four hours of direct morning sunlight to keep the ruffled leaves tightly formed.
Layer in heirloom pumpkins and gourds
Mix traditional orange carving pumpkins with muted green, white, and striped heirloom varieties for a sophisticated palette. Group them in natural clusters, letting the organic curves dictate the visual flow cascading down the concrete steps.
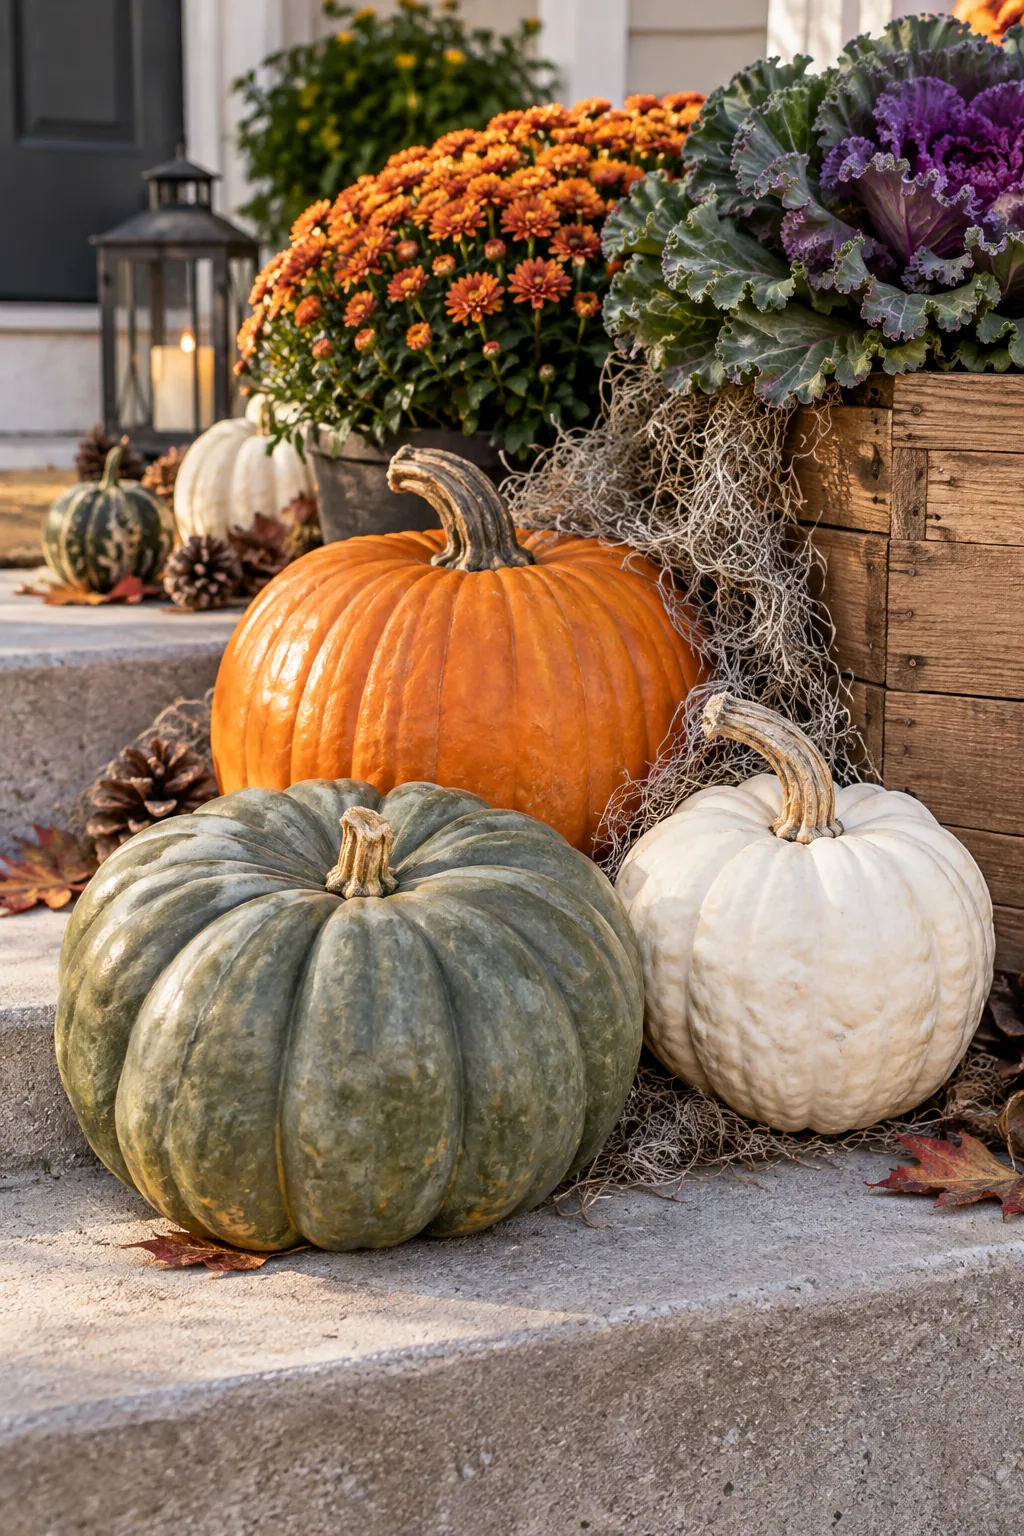
Start with the largest heirlooms at the back near the wooden crate, working your way forward with medium sizes. This staggered layering draws the eye smoothly from the front door all the way down to the neighborhood sidewalk.
Group by odd numbers for visual impact
Arrange your mixed gourds in distinct clusters of three or five items rather than even pairs. Odd numbers force the eye to move around the arrangement, creating a much more dynamic and professionally styled appearance.
Position the natural stems strategically
Pay close attention to the thick, twisted stems on your heirloom varieties when placing them on the steps. Rotate each pumpkin so the most interesting stem angles outward, adding structural interest and raw organic texture to the overall silhouette.
Balance the color palette naturally
Distribute your white and pale green gourds evenly throughout the arrangement to prevent heavy visual dark spots. Placing a bright white ghost pumpkin next to a deep orange classic creates a necessary contrast that makes both colors pop vividly.
Mix varying pumpkin textures
Contrast smooth, glossy rinds with deeply ribbed or heavily warted varieties to build a rich tactile experience. This intentional mixing of smooth and rough surfaces keeps the display visually engaging even from the street level.
Wedge with pinecones to prevent rolling
Round pumpkins are notorious for rolling off uneven concrete steps the moment a heavy delivery truck drives past. Tuck two or three natural pinecones firmly under the downhill side of any unstable gourd to lock it safely in place.
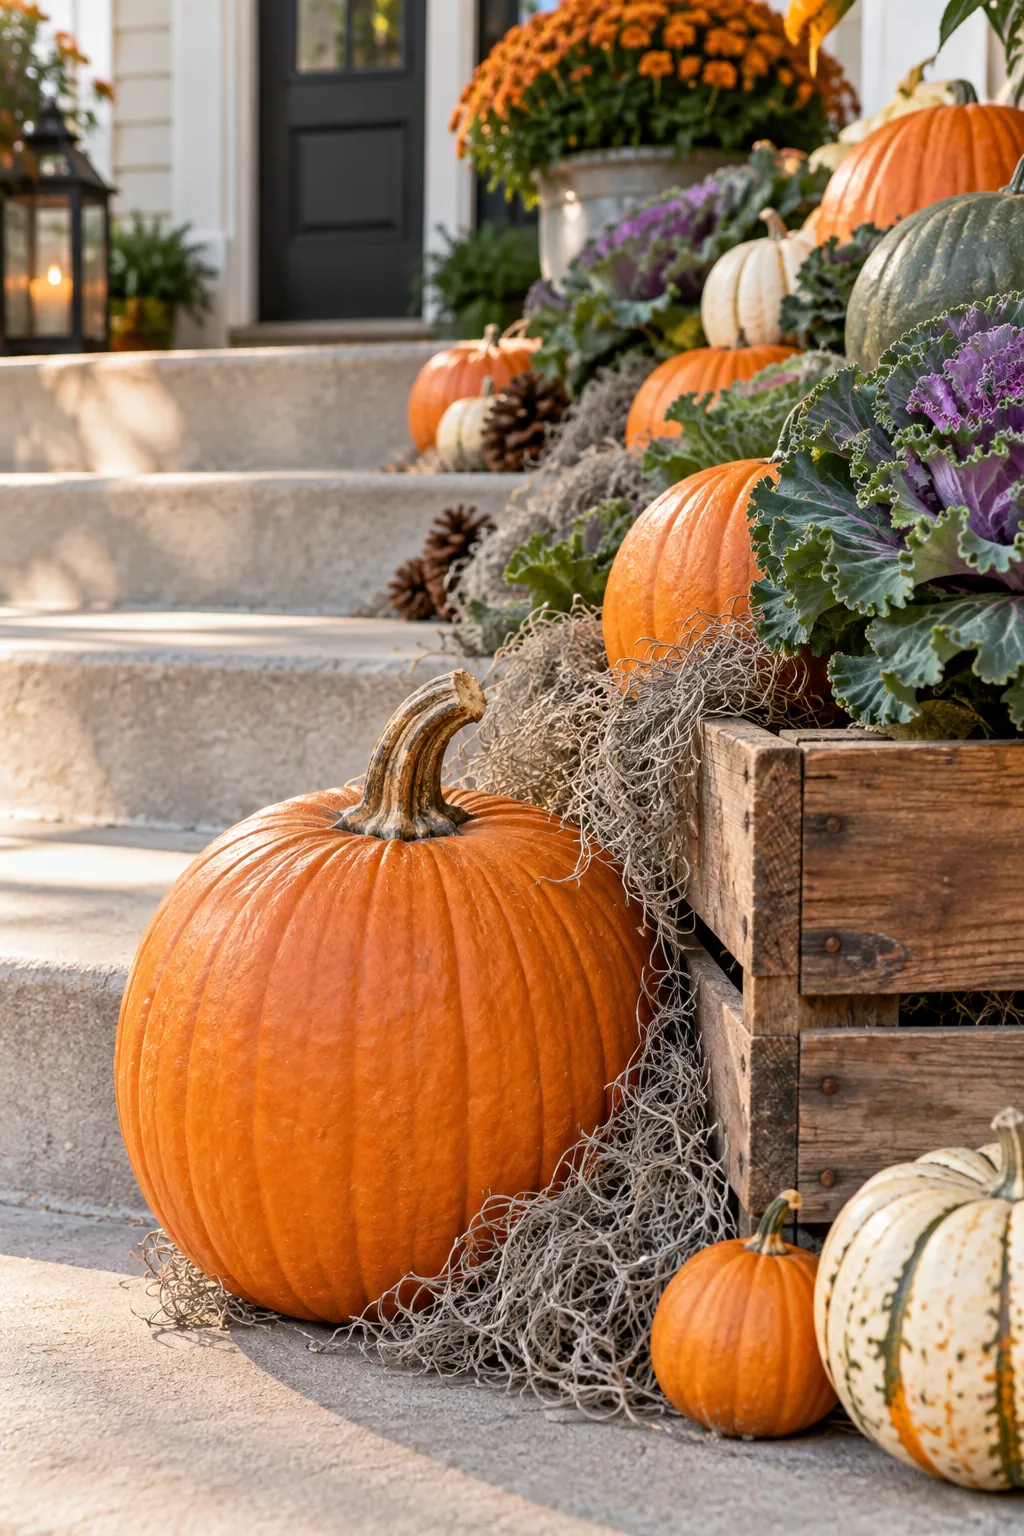
It is incredibly easy to underestimate how quickly a heavy pumpkin can shift overnight, so consciously avoid these common anchoring errors when finishing your display.
Secure the downhill slope naturally
Wedge the rigid pinecone scales directly against the smooth rind for maximum friction without using destructive chemical adhesives. On my own steep front steps, a few strategically placed pinecones have saved countless heavy gourds from tumbling down into the busy sidewalk.
Test the stability before finishing
Give every single pumpkin a firm, gentle nudge with your hand once it is finally positioned. If the gourd wobbles or shifts downward at all, add another pinecone wedge until the entire cluster feels completely immovable.
Conceal gaps with Spanish moss filler
Once the main elements are completely secure, tuck handfuls of dried Spanish moss into the empty shadows between the pumpkins and the crate. This final textured layer beautifully hides all your structural supports, wooden edges, and metal bottle caps.
Soften the hard concrete edges
Pull the moss slightly forward so it spills organically over the sharp lip of each individual step. This lightweight organic filler softens the harsh masonry lines and unifies the separate pieces into one lush, continuous autumn arrangement.
Prevent the dried filler from blowing away
Anchor the lightweight moss by wedging the ends firmly under the heavy base of your surrounding pumpkins. A light misting of plain water on a breezy day helps the dried fibers clump together and stay exactly where you placed them.
Extend the lifespan of your arrangement
Inspect the hidden undersides of your anchor pumpkins every few weeks for soft spots or early signs of mold. Swapping out a single failing gourd early on protects the rest of your beautiful display from rapidly spreading rot.
More front step fall display ideas
Explore these distinct seasonal styling variations to find the perfect match for your home's exterior.
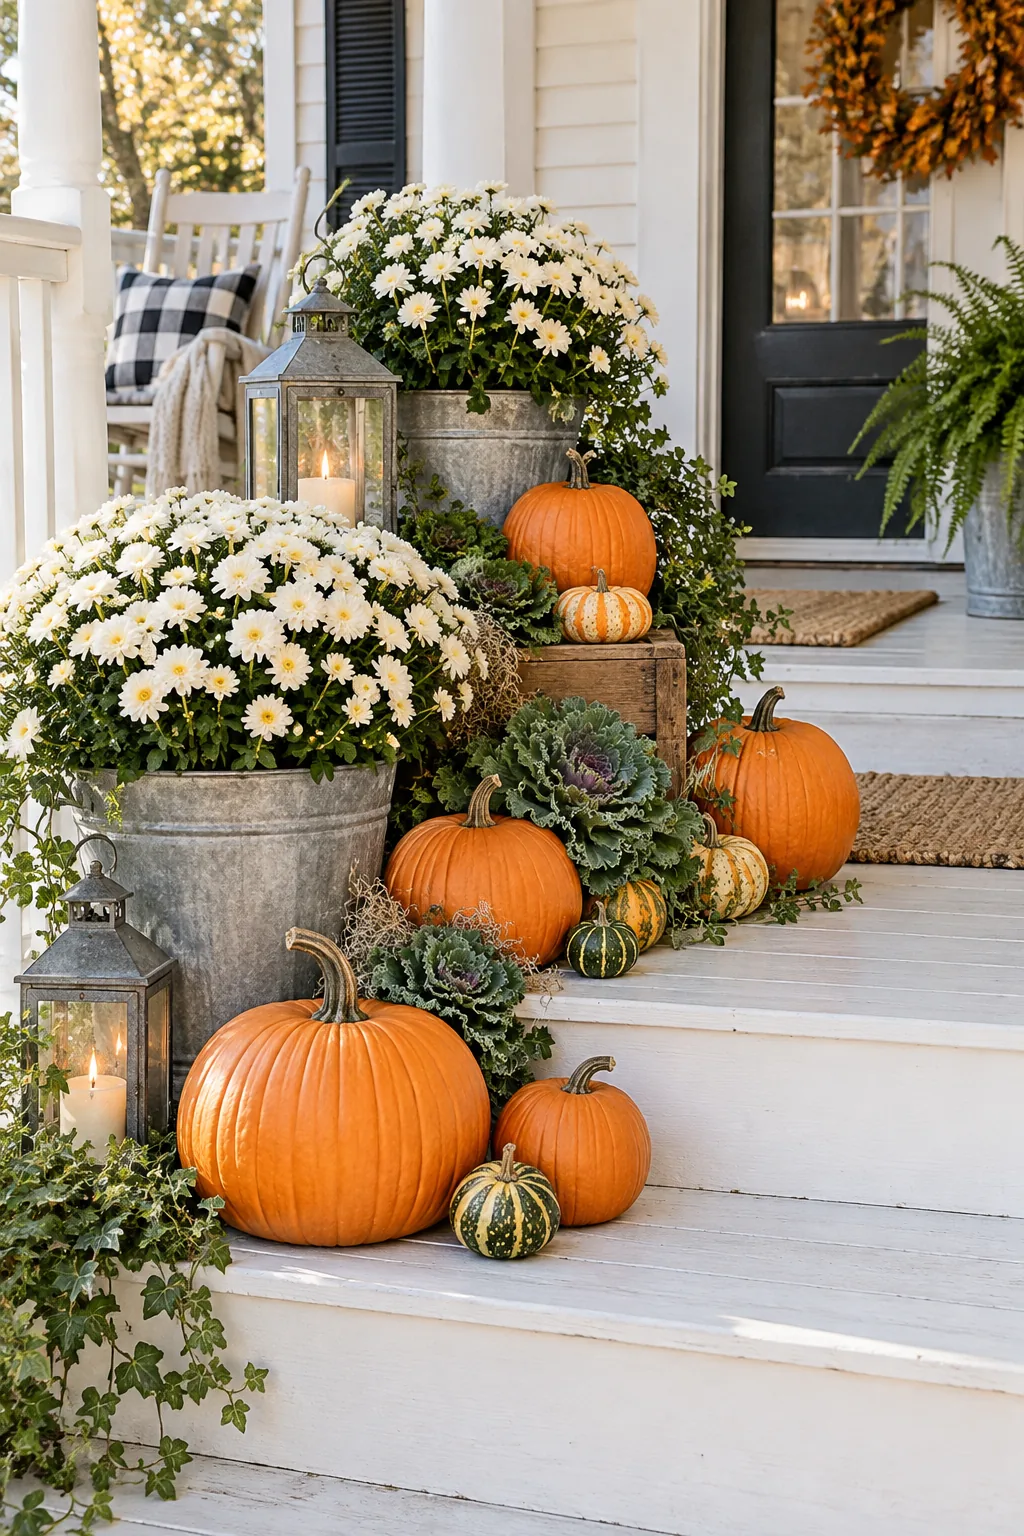
Farmhouse Classic: Bright orange pumpkins pop beautifully against white wooden steps when paired with rustic galvanized metal buckets.
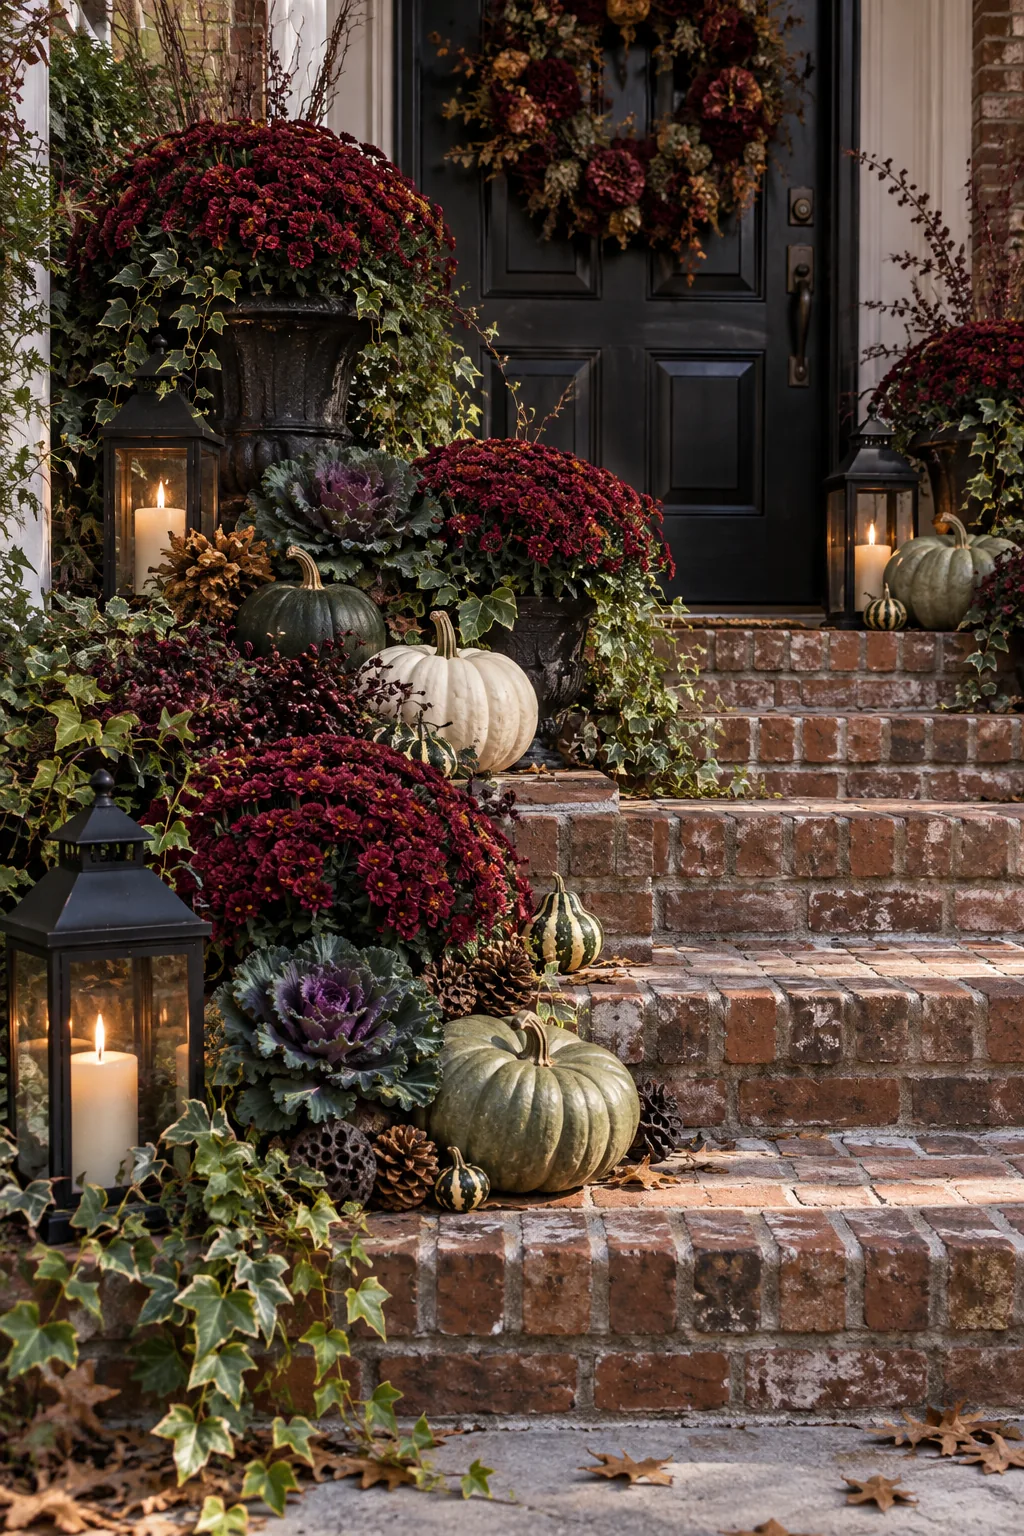
Moody Gothic: Embrace the darker side of autumn by mixing deep burgundy florals with black iron lanterns on brick stairs.
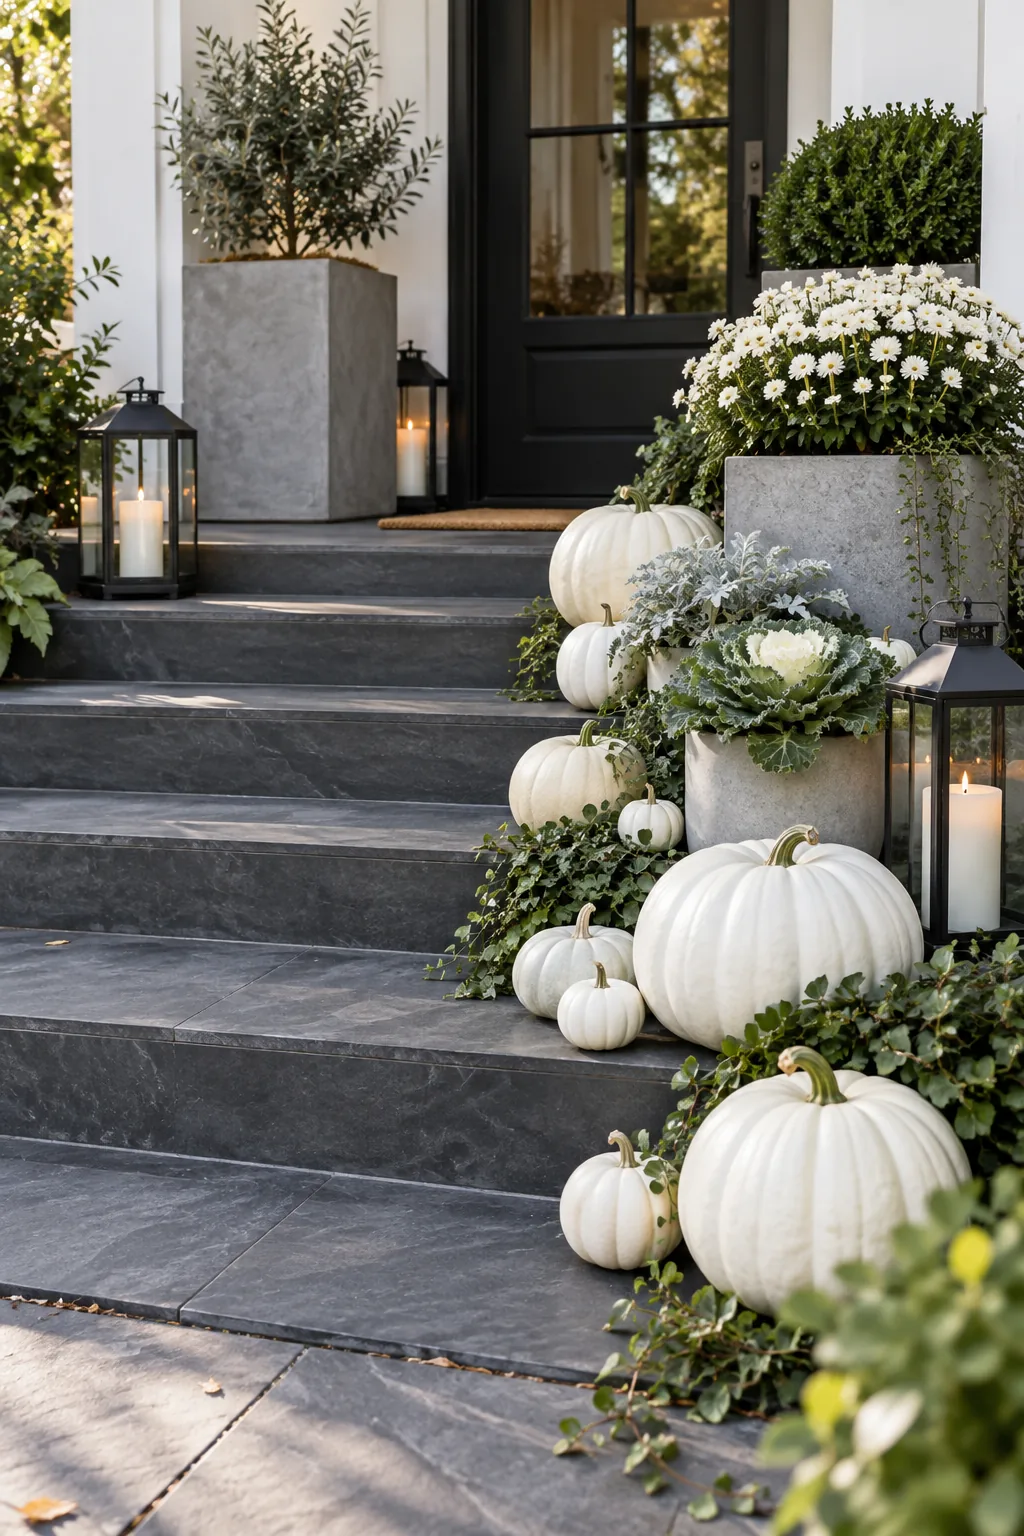
Minimalist Modern: Keep things sleek and sophisticated with an entirely monochromatic palette of white pumpkins on dark slate.
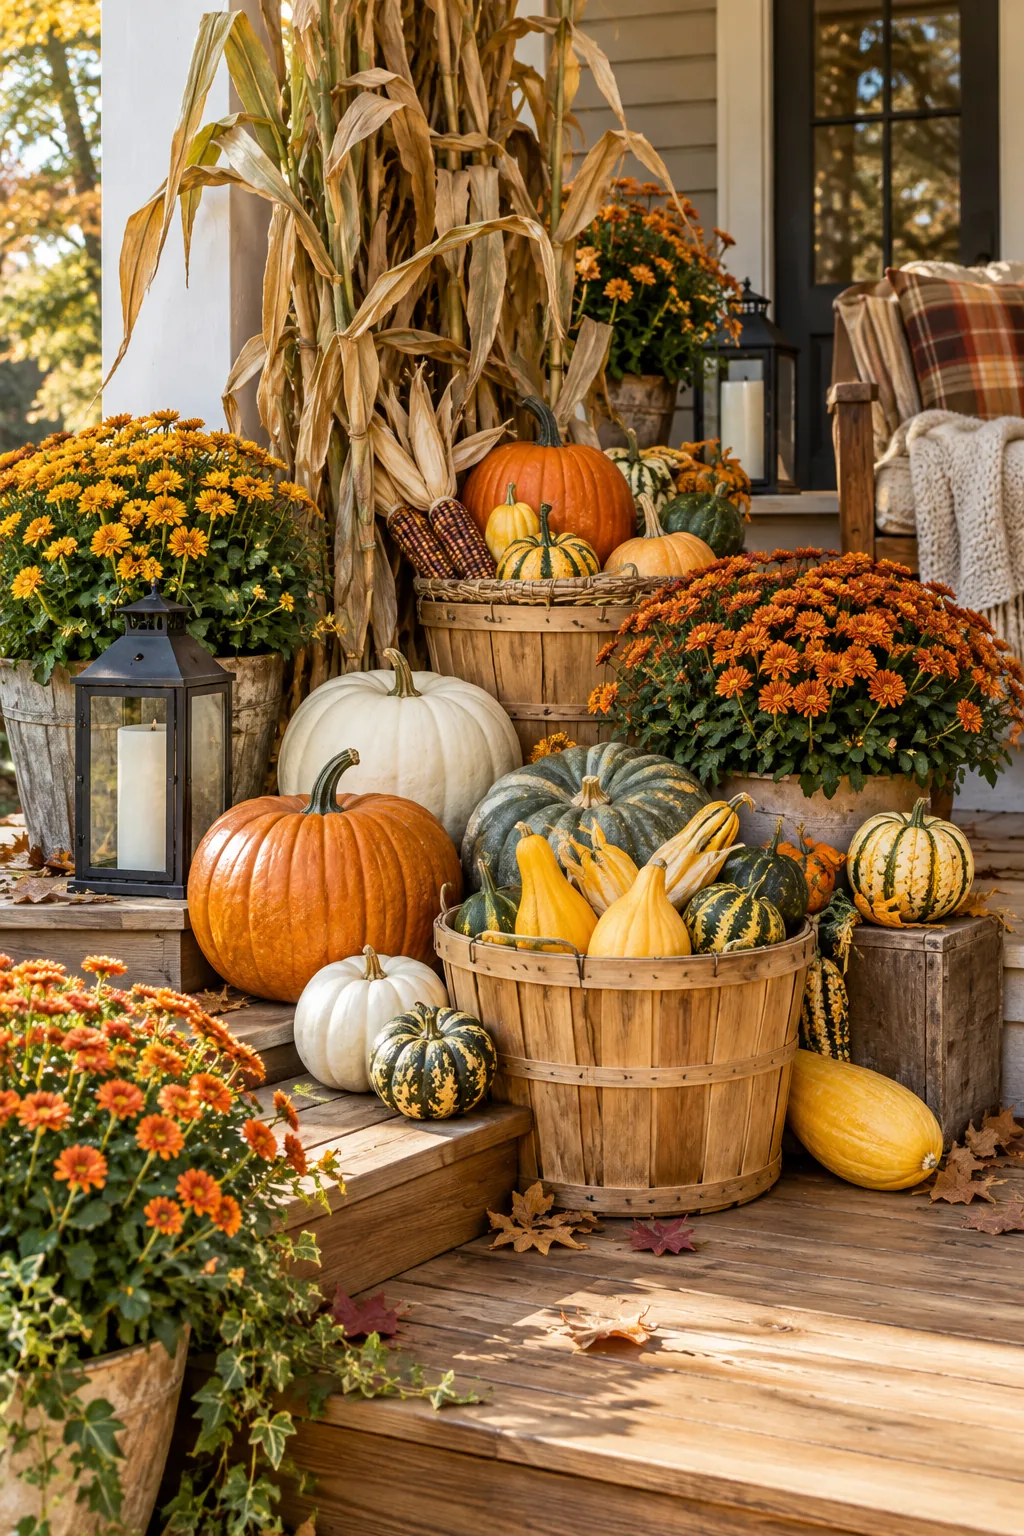
Harvest Abundance: Frame your entryway with towering dried corn stalks and overflowing woven baskets for a bountiful harvest feel.
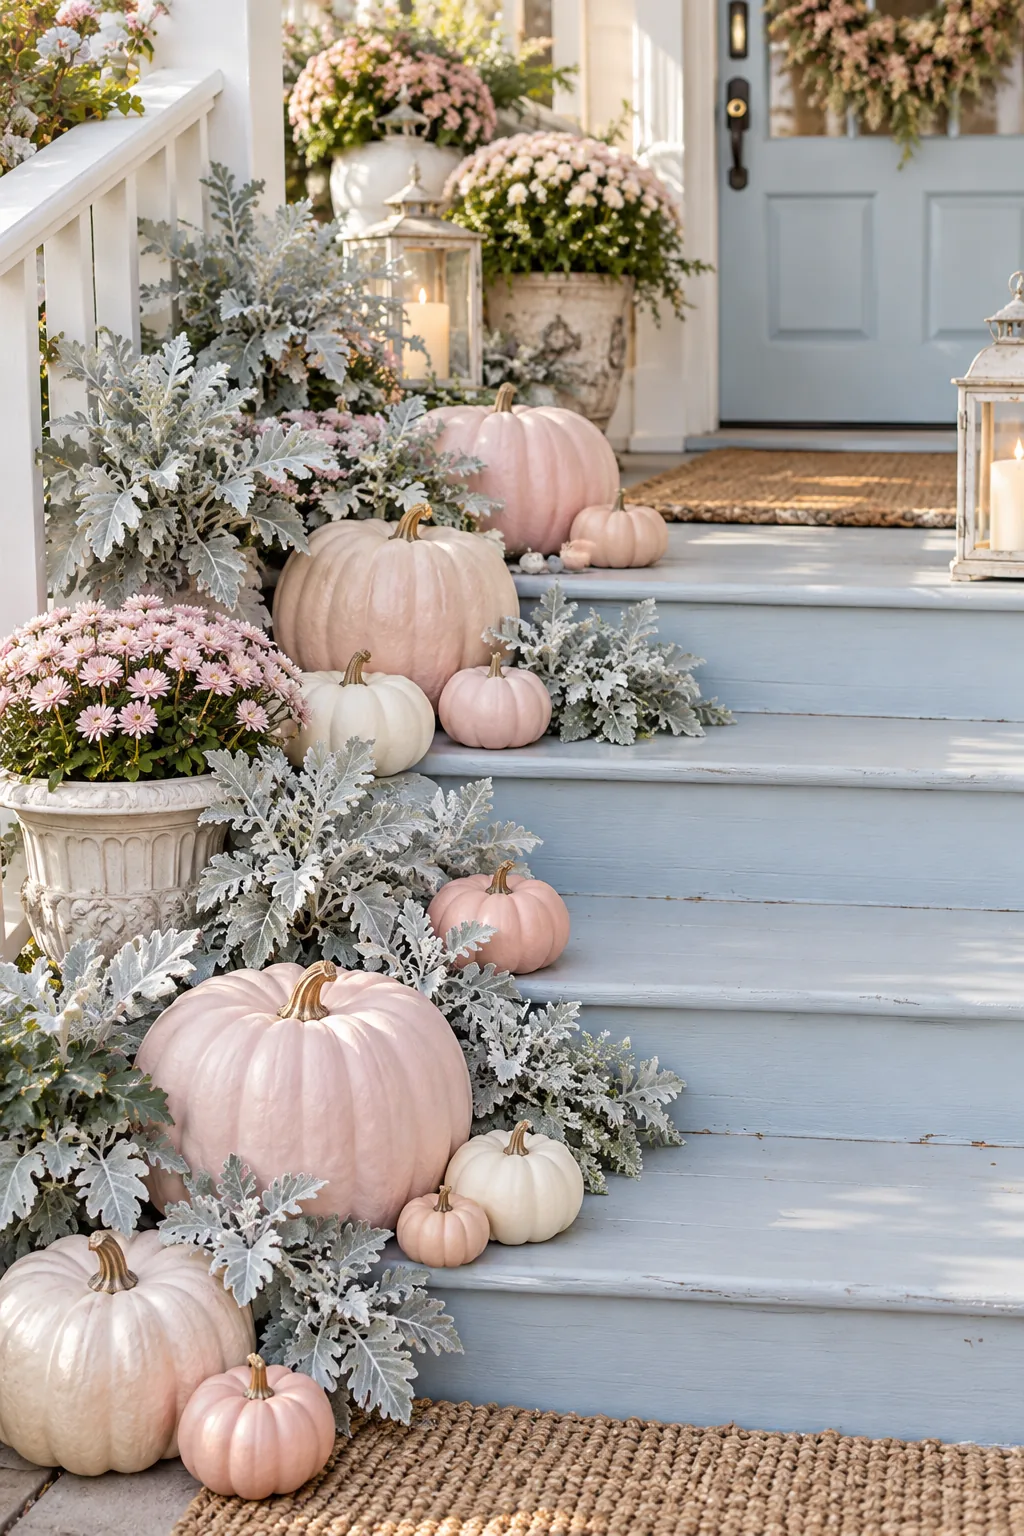
Pastel Fairytale: Soften your seasonal decor by trading traditional orange for blush pink pumpkins and silvery foliage.
Maintain the display through changing weather
Keep the display looking fresh by checking the bottle cap risers after heavy rain and removing any decaying foliage from the kale. A quick weekly sweep of the concrete steps prevents trapped moisture from staining the porous masonry surface.
In my neighborhood, taking five minutes for a quick Sunday morning sweep keeps the whole entry looking incredibly crisp. This simple maintenance routine ensures your cascading display remains perfectly welcoming all the way through Thanksgiving week.