
Pumpkin Painting Ideas: Morning Timeline for a Porch-Ready Trio
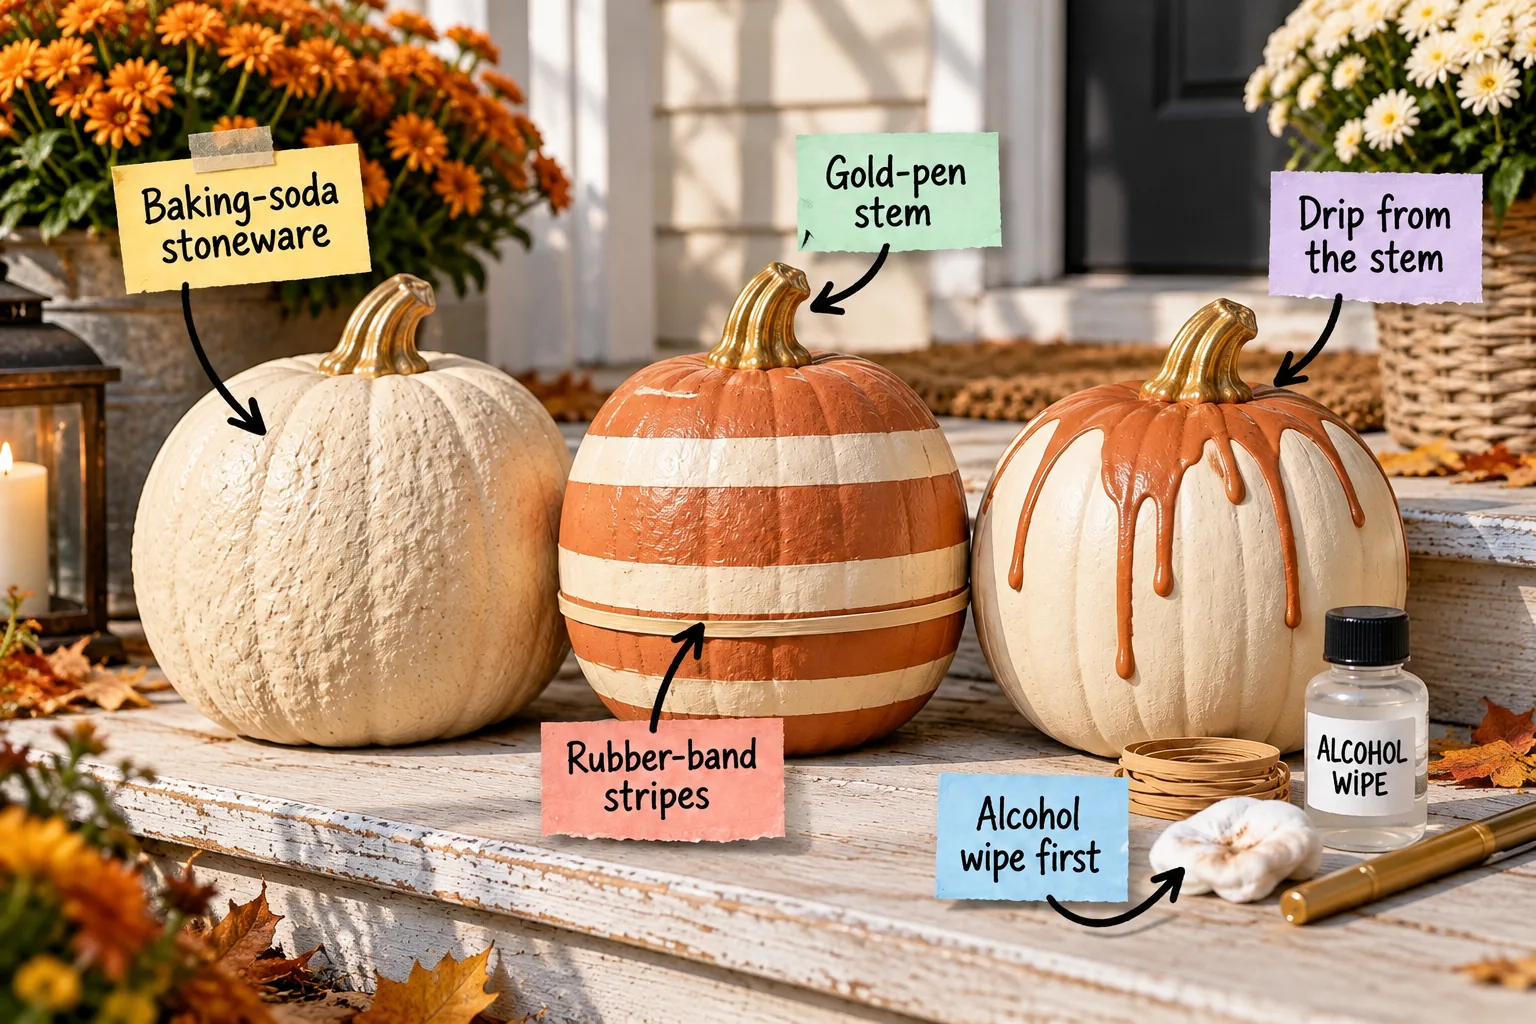
Download our printable morning schedule to prep, texture, paint, and seal a cohesive trio of pumpkins before lunch.
The Cohesive Trio Strategy
Planning your palette with exactly two complementary colors keeps your porch curated, but before applying any paint, wipe each gourd down with 70% isopropyl alcohol to remove the natural field oils that cause peeling.
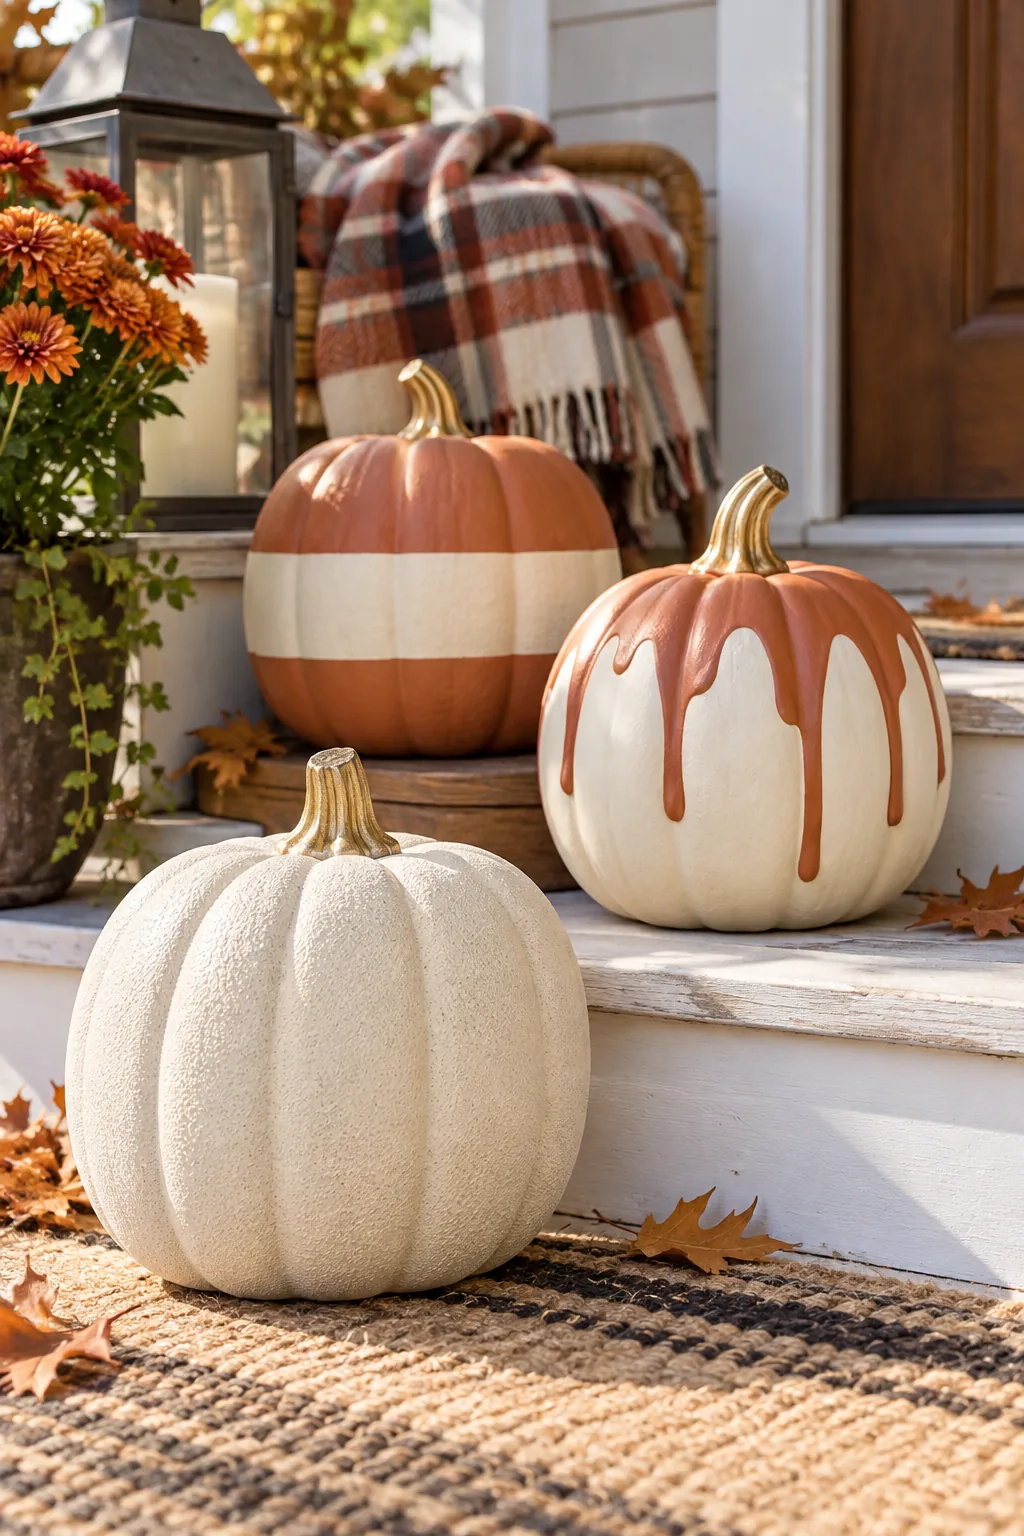
Prepping the Rind
Skipping the cleaning phase is the most common reason outdoor paint jobs fail prematurely, so run through this quick sequence before opening your paint.
Once the rind is completely dry, you can create a faux-pottery texture on your first pumpkin using a simple mixture of standard baking soda and acrylic paint.
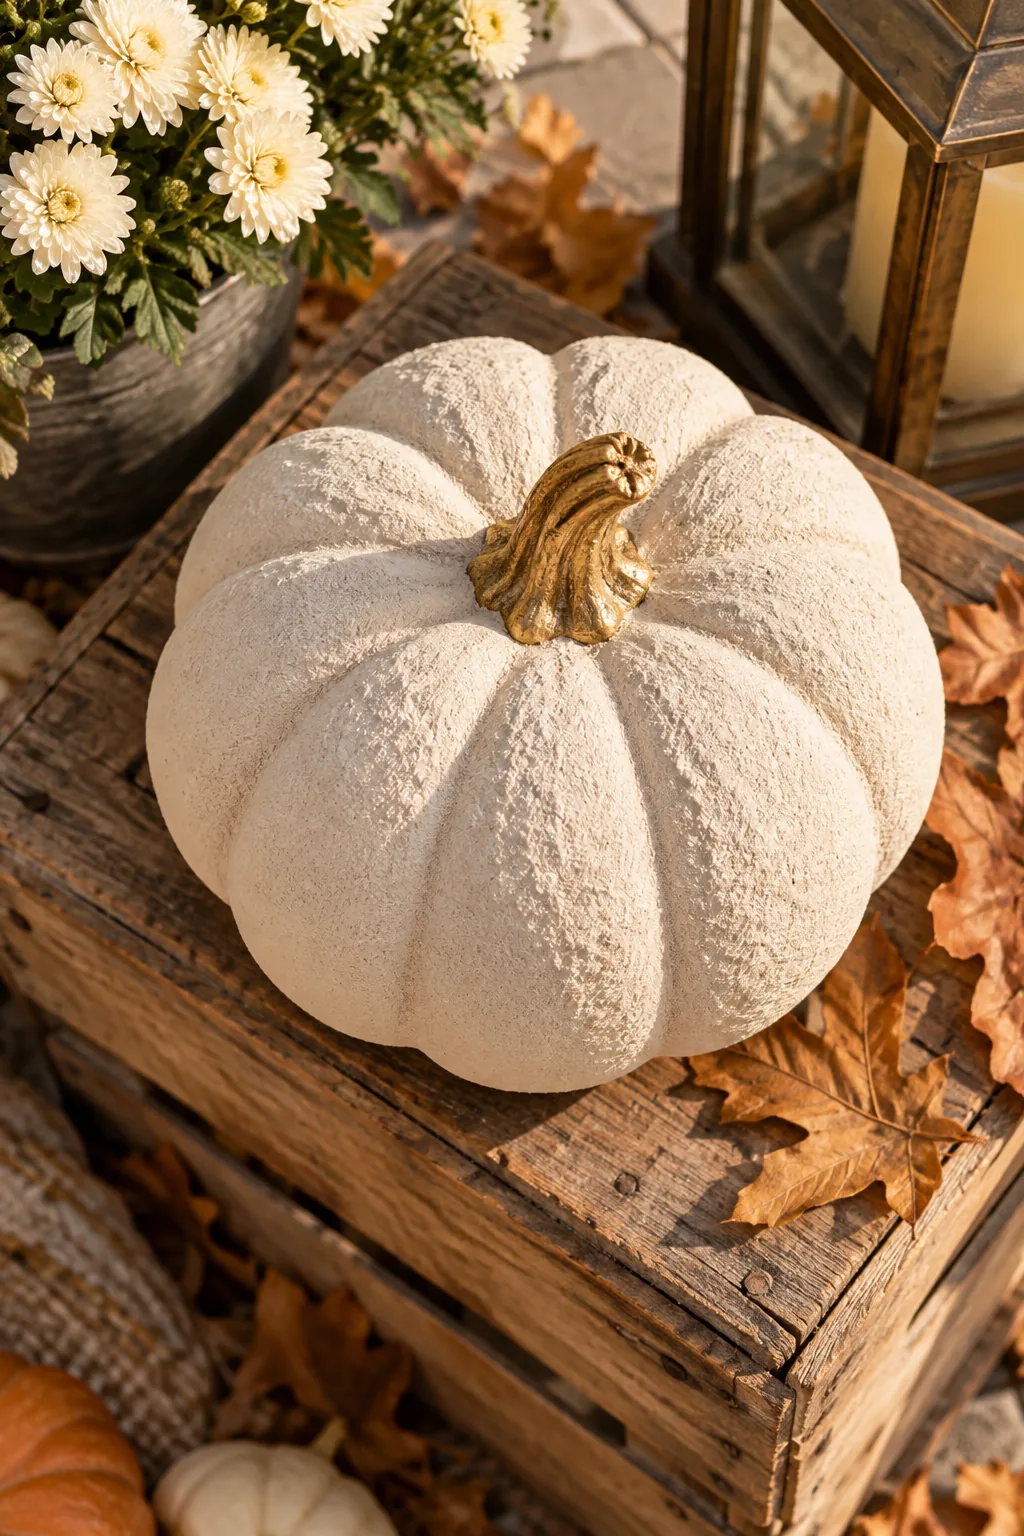
Mixing the Stoneware Base
To mimic the look of heavy pottery, mix 1 tablespoon of standard baking soda into 1/2 cup of cream acrylic paint and brush this textured base over the entire surface.
| Texture Finish | Mixing Ratio |
| Heavy Stoneware | 1 tbsp baking soda : 1/2 cup paint |
| Smooth Base | Unmixed standard acrylic paint |
Once your textured cream base dries completely, stretch thick rubber bands horizontally around your second pumpkin to block out clean stripes without relying on fragile painter’s tape.
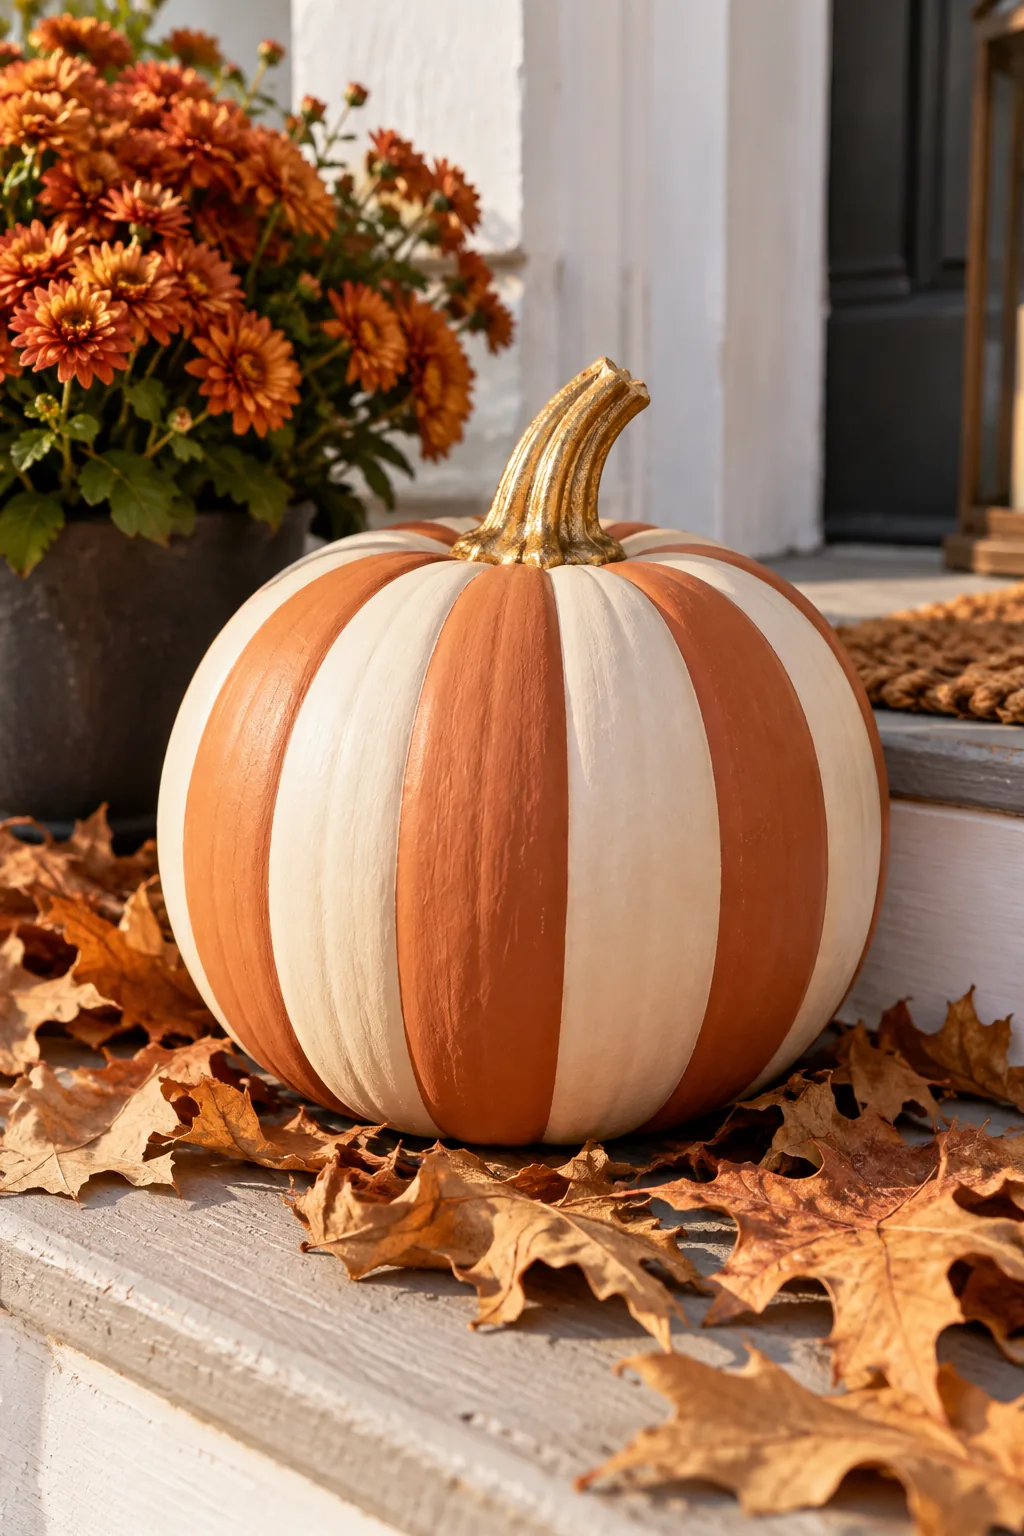
Masking with Rubber Bands
Achieving razor-sharp lines on a curved, ribbed surface requires timing the removal perfectly, a lesson I learned after ruining a beautiful terracotta stripe by peeling it too late.
Paint the exposed sections with terracotta, brushing away from the band edges to prevent bleed-through, and wait exactly 45 minutes before carefully snipping them away with scissors.
Pouring the Stem Drip
For the third design, thin 2 tablespoons of terracotta paint with a few drops of water until it reaches the smooth, pourable consistency of heavy cream.
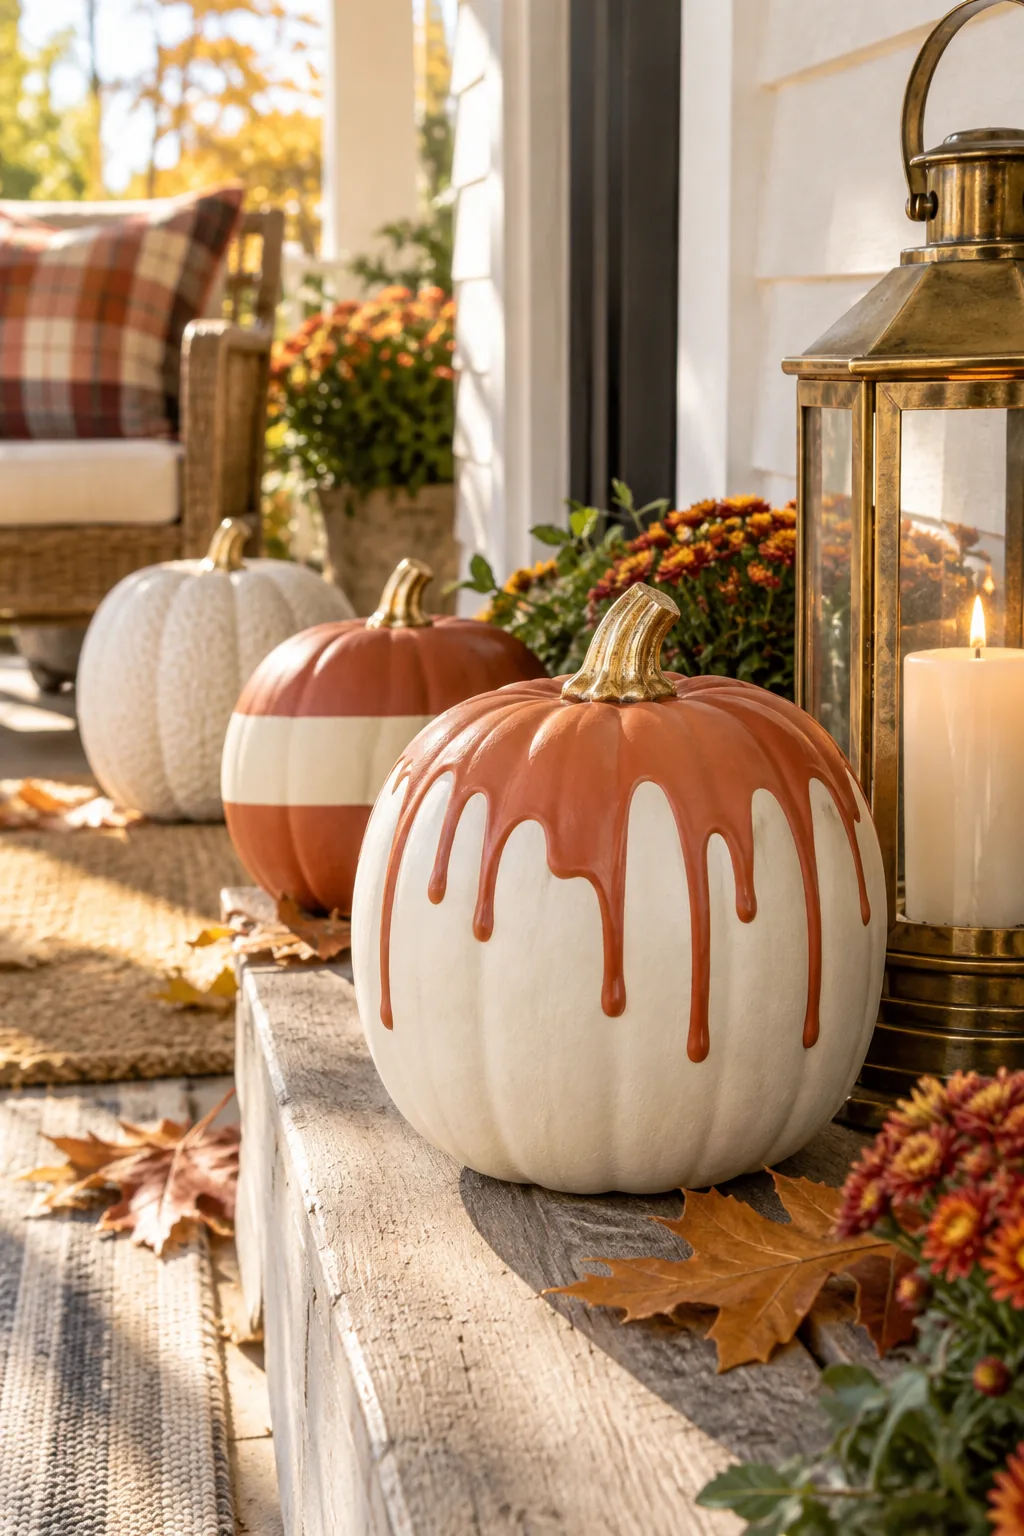
Using a standard kitchen spoon, carefully pour the thinned mixture directly around the base of the stem, allowing gravity to pull it naturally down the ribs over a dried cream base.
Gilding the Stems
Once the main bodies are completely dry to the touch, upgrade the natural stems using a broad-tip, oil-based gold paint pen.
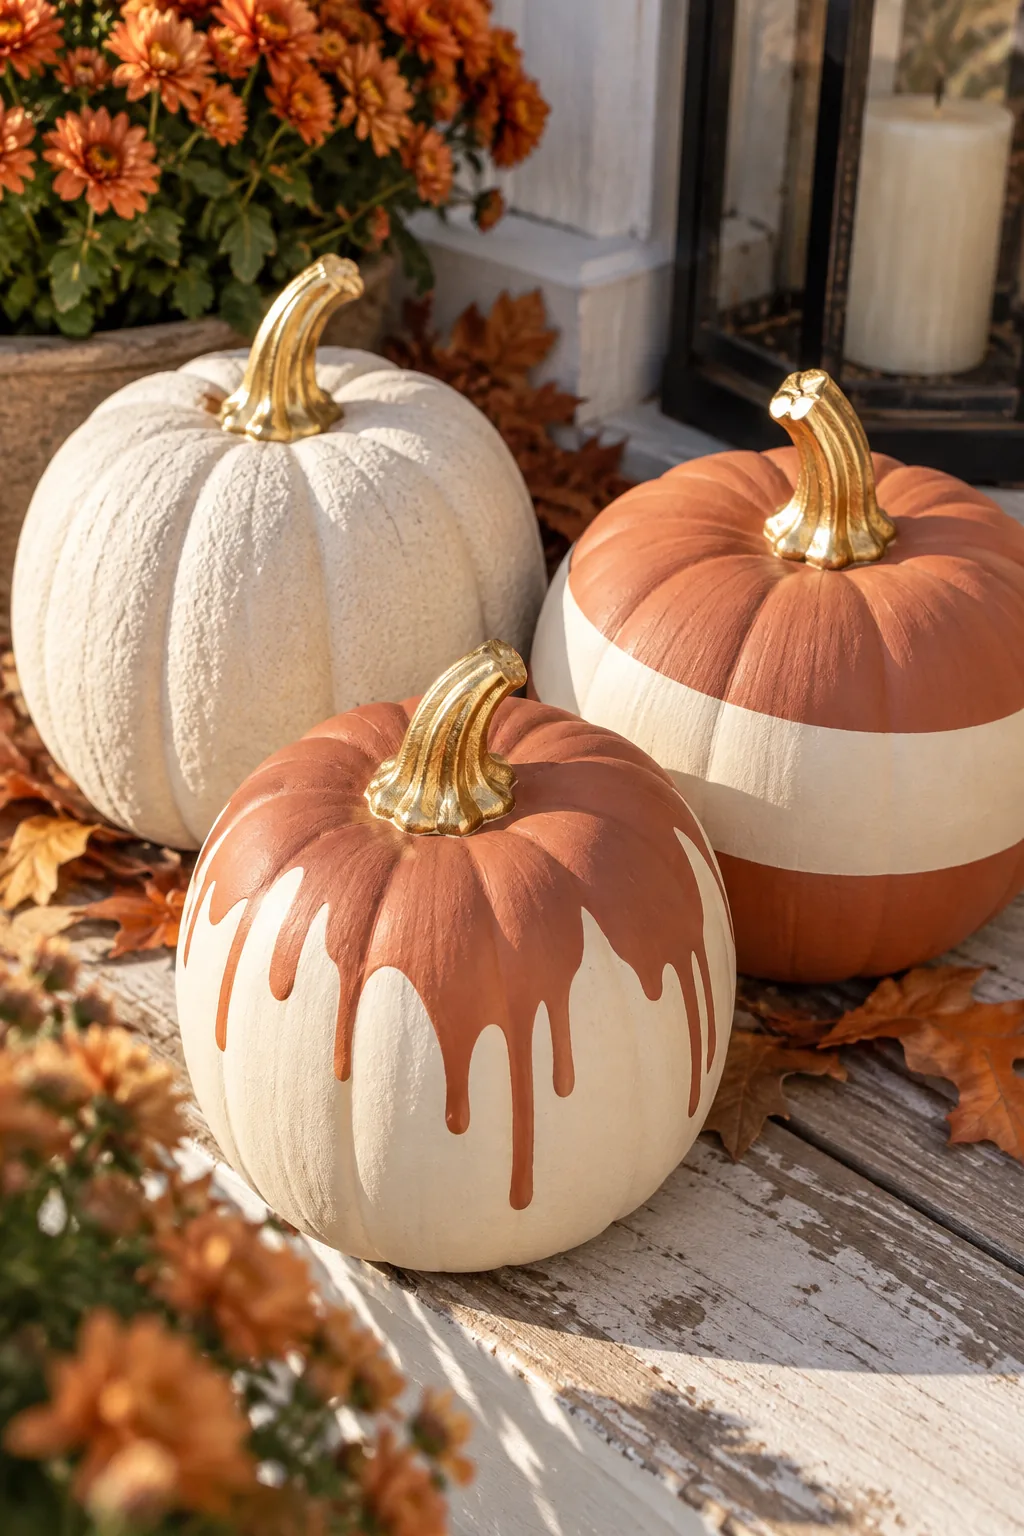
Coloring the stems from base to tip adds a refined, high-end metallic contrast to the matte stoneware and terracotta finishes below, instantly elevating inexpensive field gourds.
Weatherproofing for the Porch
Outdoor displays must survive morning dew and temperature swings, which I discovered the hard way when my first unsealed batch melted after a heavy Austin thunderstorm.
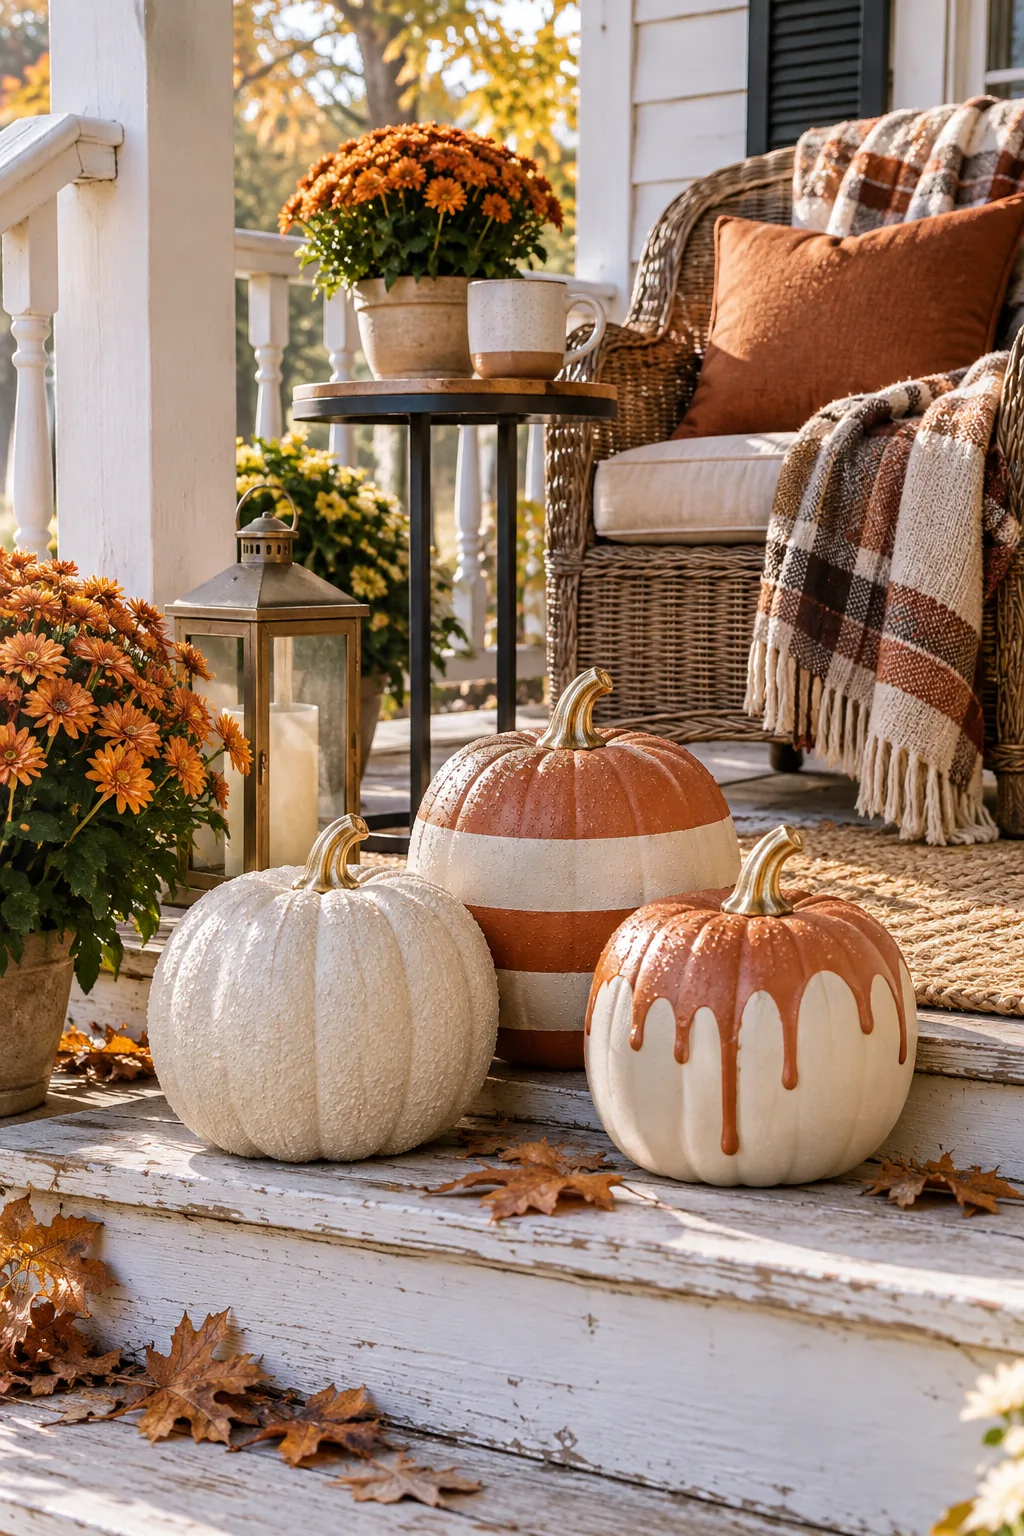
Take the finished trio to a well-ventilated exterior space and apply two light, sweeping coats of a clear, matte acrylic spray sealer, waiting 20 minutes between coats.
More Painted Pumpkin Palettes
Swap the terracotta and cream for one of these striking seasonal color combinations.
Moody Plum and Charcoal: Deep jewel tones pair beautifully with modern brass accents for a sophisticated, gothic-inspired entryway.

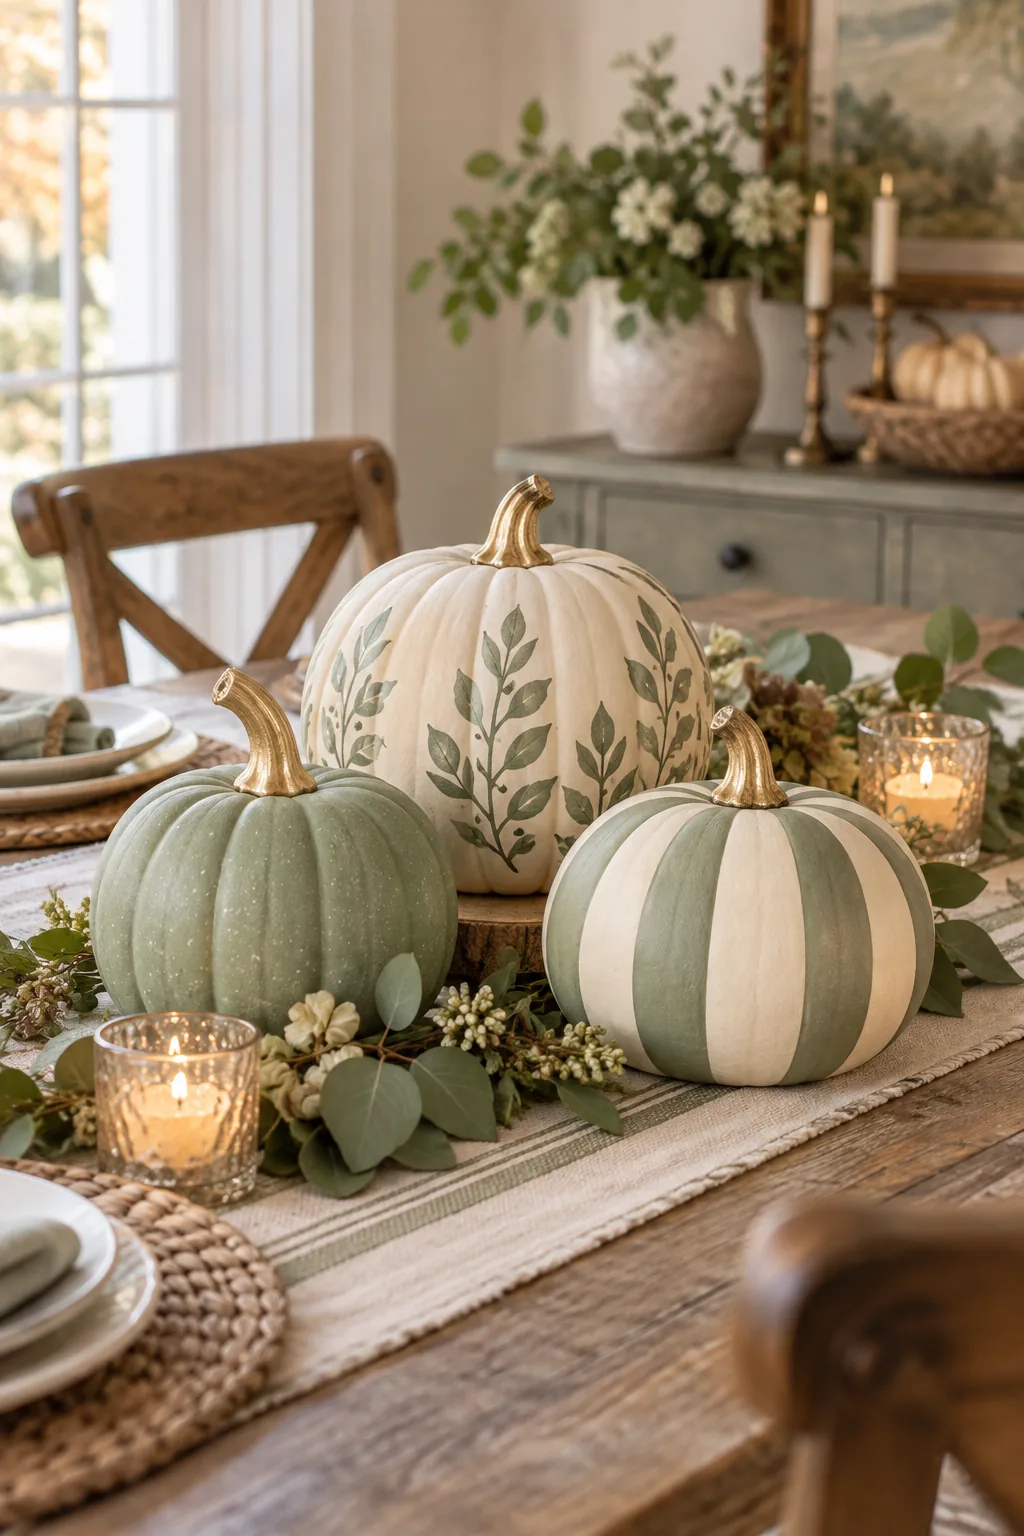
Soft Sage and Cream: Muted greens blend seamlessly into farmhouse dining rooms while keeping the autumnal spirit alive.
Navy Blue and Copper: Rich navy provides a striking backdrop that makes metallic copper stems absolutely glow outdoors.
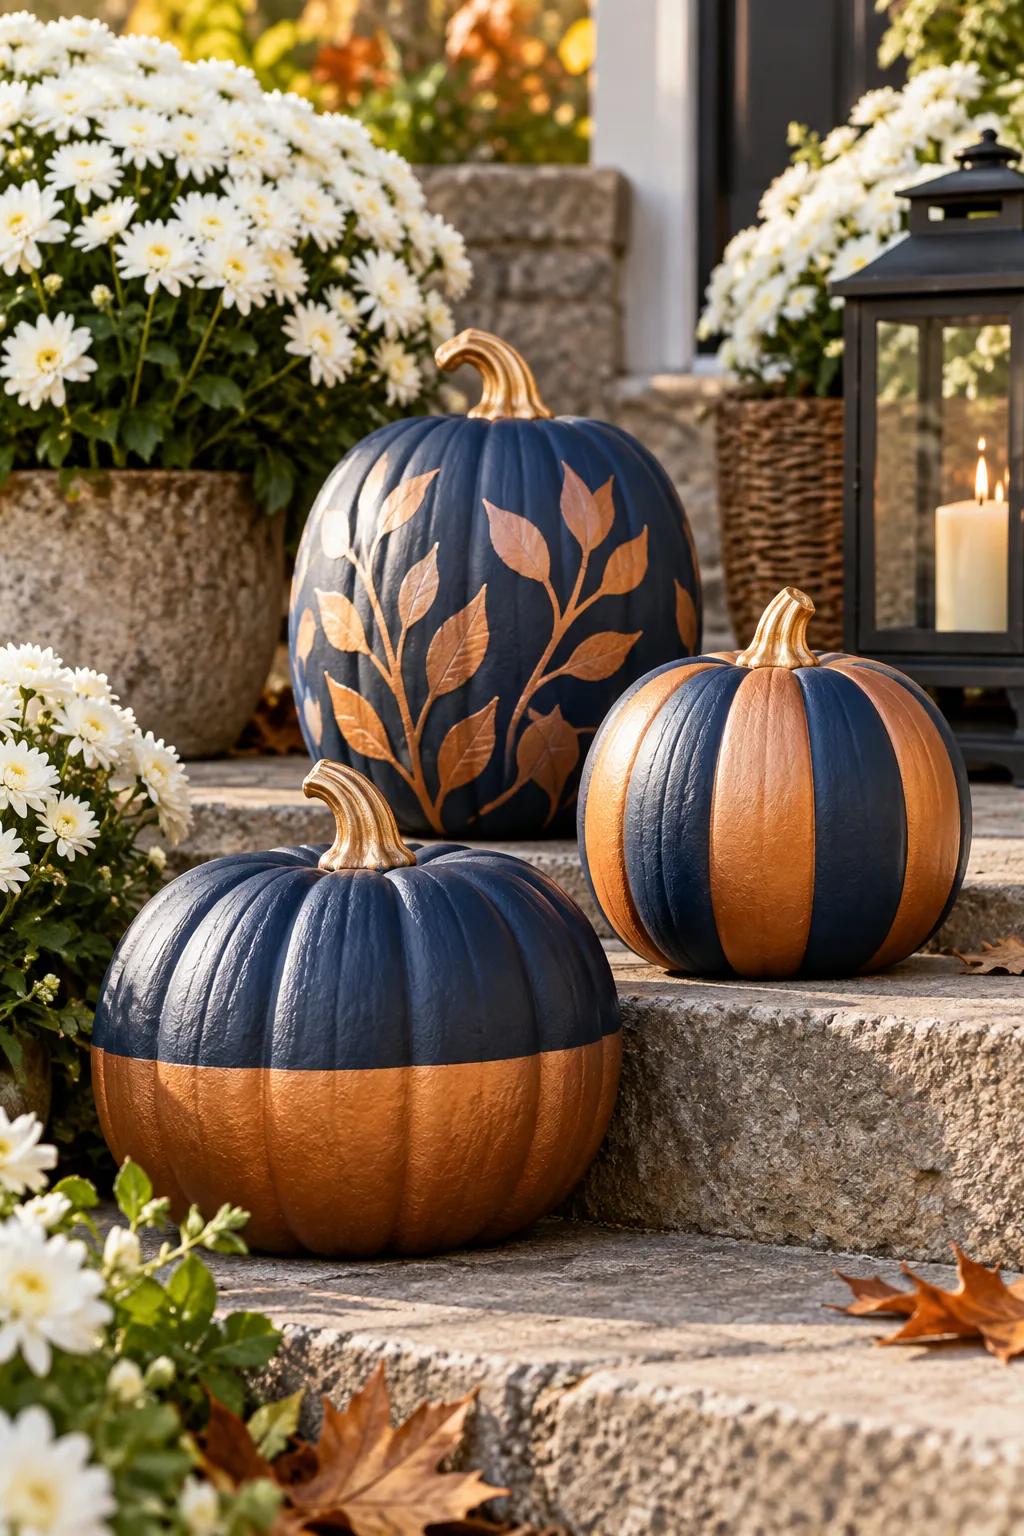
Mustard Yellow and Ivory: Warm, earthy mustard tones evoke vintage harvest charm when paired with natural dried botanicals.
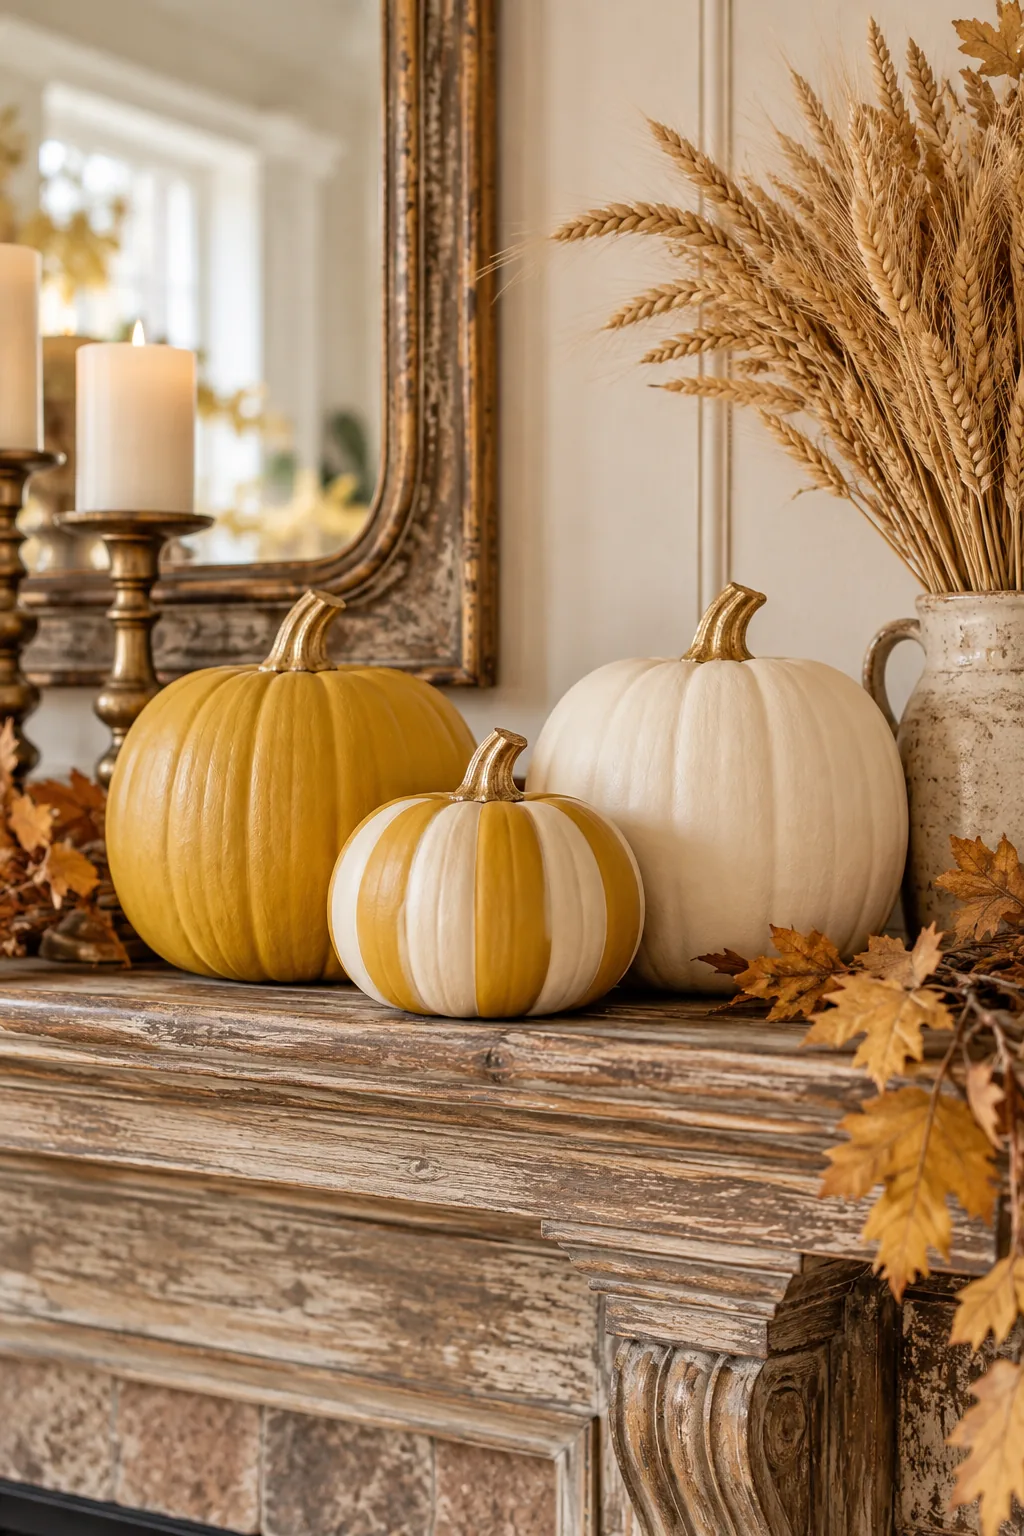
The Morning Paint Timeline
Executing three distinct designs requires managing overlapping dry times, so I created this sequenced schedule to help you batch the steps efficiently.
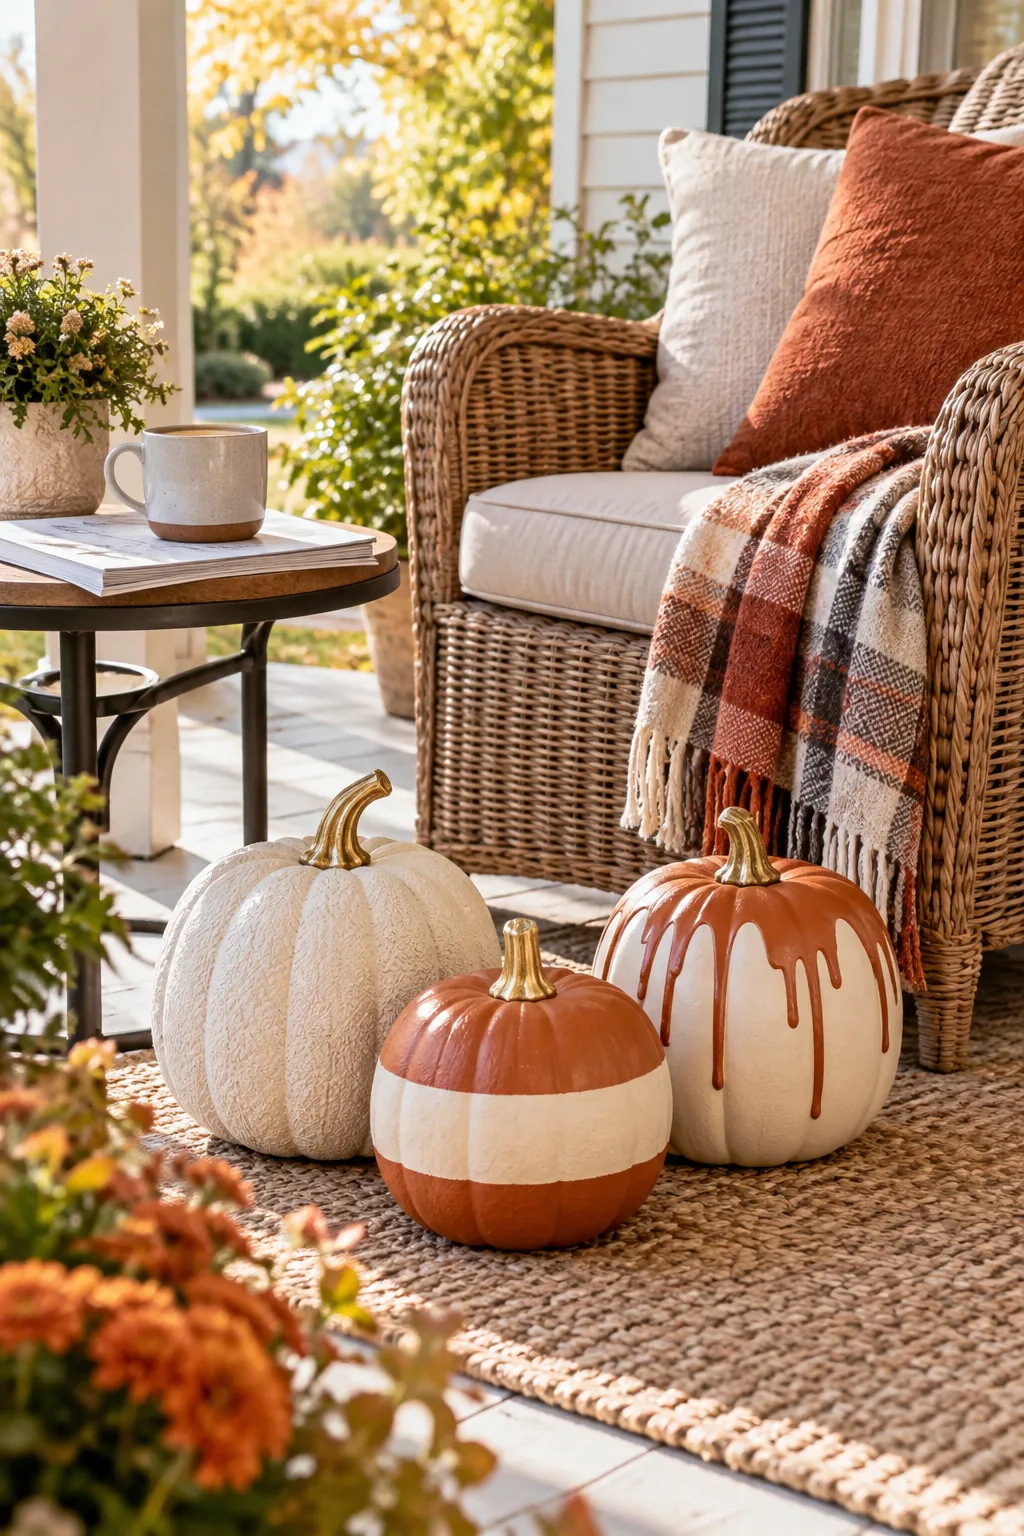
Grab your cream and terracotta paint, baking soda, thick rubber bands, gold pen, and spray sealer before starting this exact sequence to ensure your trio is porch-ready by lunch.
- 9:00 AM: Wipe all three pumpkins thoroughly with 70% alcohol and let them air dry completely.
- 9:30 AM: Mix the baking-soda stoneware base and apply it to pumpkins one and two.
- 10:15 AM: Apply rubber bands to pumpkin two; pour the thinned terracotta drip on pumpkin three.
- 11:00 AM: Snip the rubber bands off, then gild all three stems with the gold paint pen.
- 11:30 AM: Spray two coats of matte acrylic sealer outdoors, allowing proper dry time before displaying.